
If you are new to using trail cameras, it’s easy to become frustrated when checking cameras and finding out that many – or even most – of the pictures are blurry or poorly exposed. Don’t be; your camera is on its own in the elements, and you have no control over what nature will dish out. The main purpose of a trail camera is to see what is out there, and a beautiful picture is a bonus. If 1% of your images are worth framing, you’re doing pretty well!

M2E48L71-71R411B381 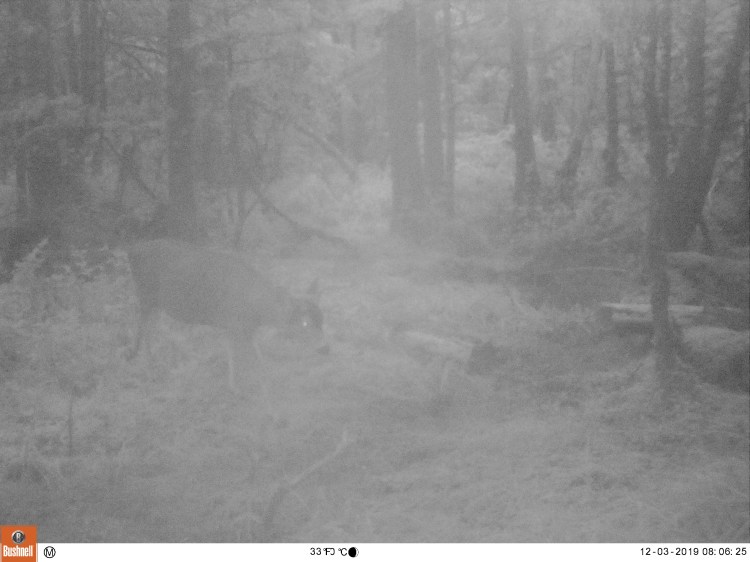
M2E75L44-44R350B362 
M2E59L1-19R350B362 
M2E6L0-0R350B362 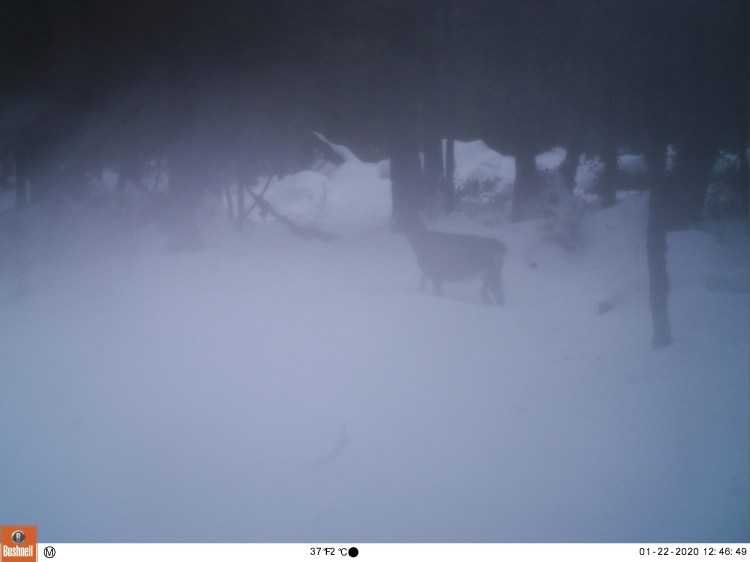
M2E75L151-151R391B381 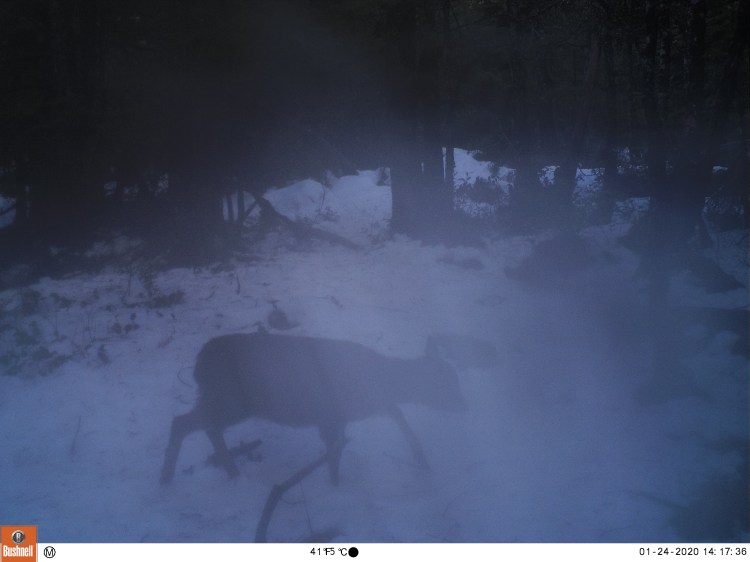
M2E80L160-160R391B381 
M2E43L25-49R411B381 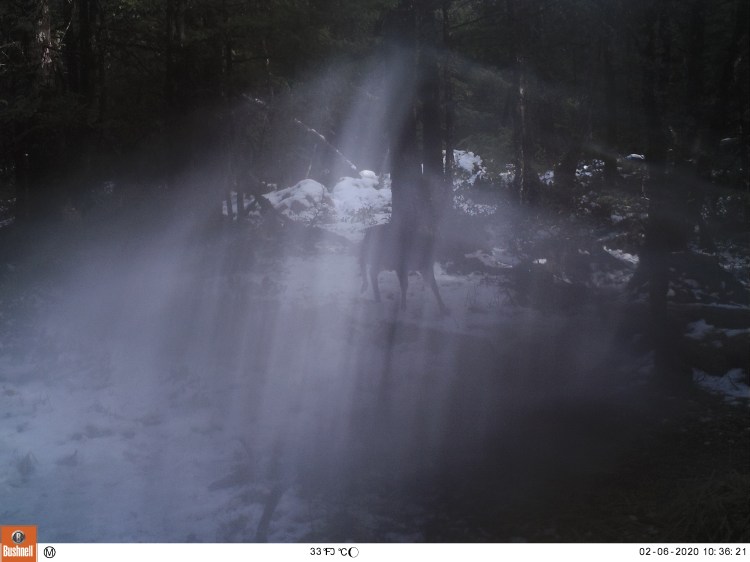
M2E86L174-174R393B383 
M2E59L101-101R413B383
While lousy pictures are unavoidable, there are a few things you can do to improve your chances of not getting burned by the weather or the lighting.
- Always set your camera to take a burst of at least 3 pictures; you never know when your target might slow down so that the shot will not be blurry, or clear the smear on the lens. Video also helps avoid blurs, and the camera will usually adjust to the lighting within a second or two of recording.

M2E6L0-0R350B362 
M2E6L0-0R350B362 
M2E59L0-23R350B362 
M2E73L143-143R402B382 
M2E73L143-143R402B382 
M2E72L140-140R401B381
2. Always aim your camera at a downward angle, even if only slightly. If storms usually come from one direction, point your camera the opposite way. If there is a choice, a good size tree between your camera and a driving rain storm helps a lot; plus the bases of big trees don’t shake in the wind.
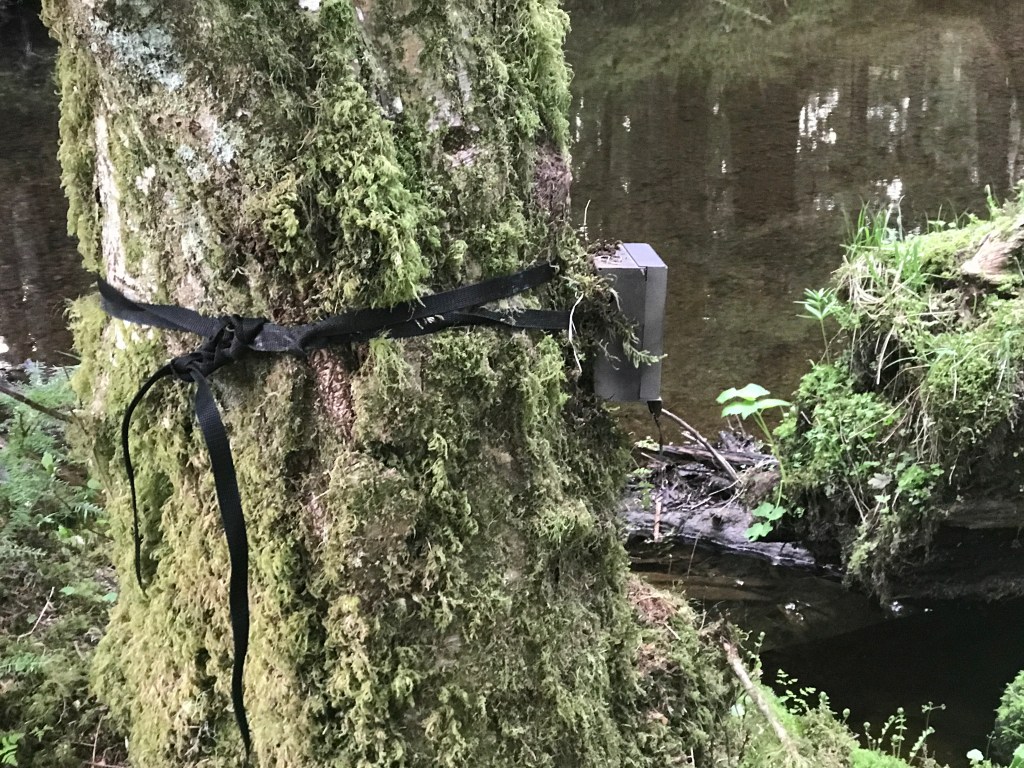
Tie your cameras on tightly after you buckle the belt and pack them in with moss, leaves, or whatever is handy to prevent another act of nature – known as bears or rutting bucks – from tearing them down or readjusting your aim.
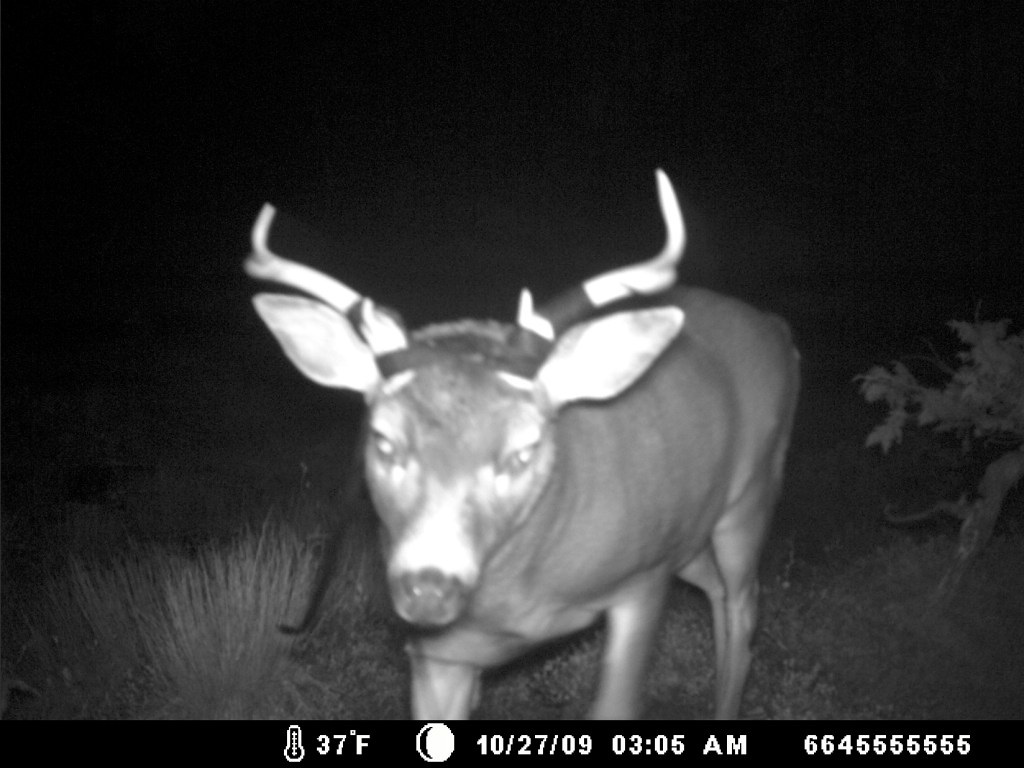
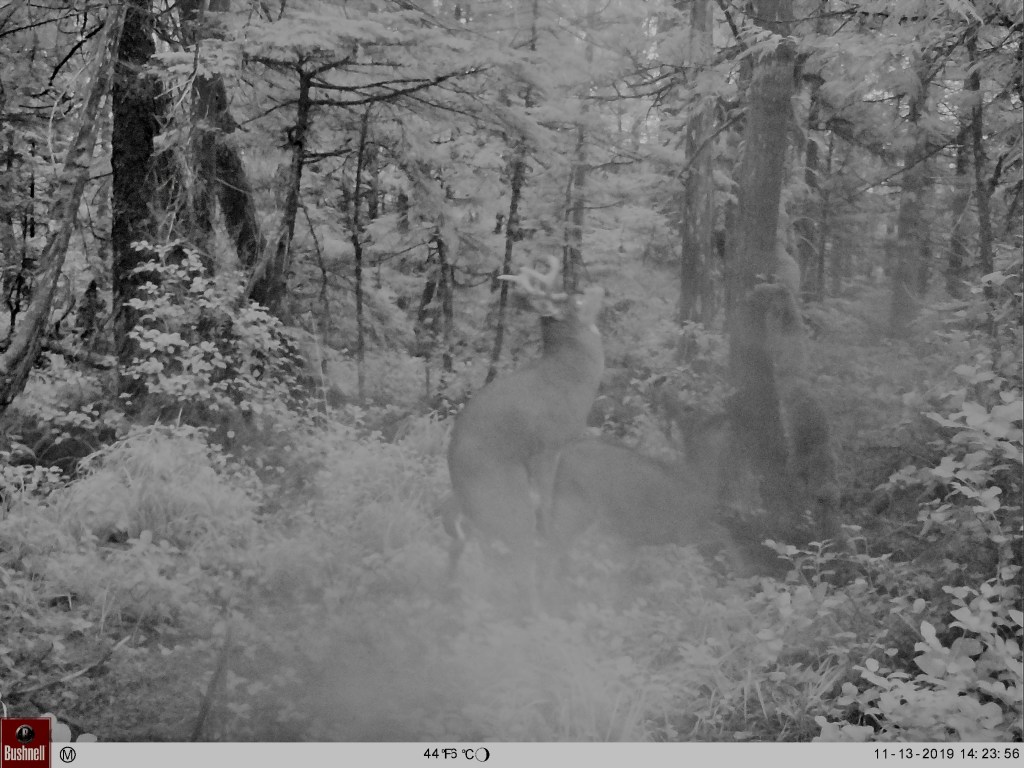
This young buck taught me to tie cameras on tightly; he tore one camera off the tree and wore the strap on his antlers for the rest of the rut, but that didn’t stop him from thrashing my other camera almost every day. Somehow, that one stayed up.
3. Photo editing software can save a lot of pictures and make a mediocre picture a good one. At the very least, it can make a blur identifiable.
I use the adjustment tools that come standard on Macs in Photos, but I’m sure there are other programs that are as good or better.
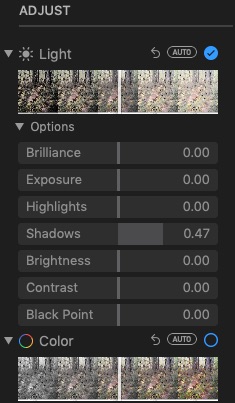
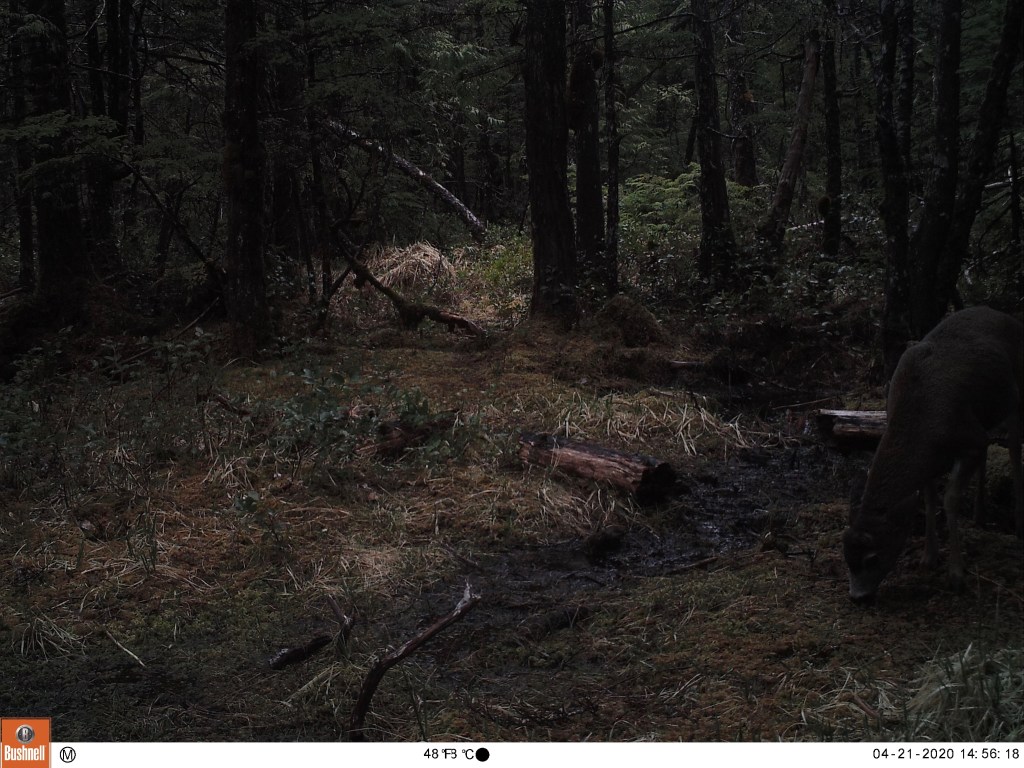
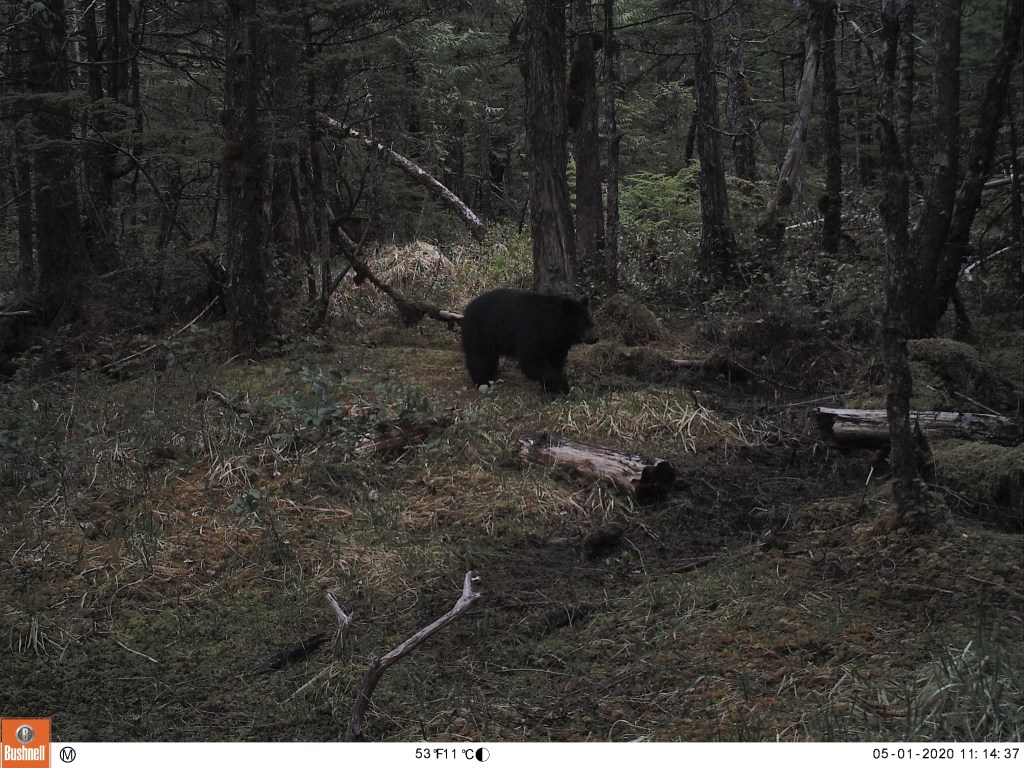
The main tool I use for daytime or full color photos is the shadow tool. Dark images can be a problem, especially if you put your cameras in the big timber or in the brush. I also find black bears don’t photograph well in less than optimal lighting, but adjusting the shadows can help bring out some of their details.


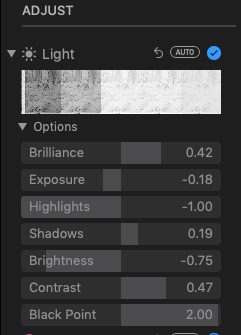
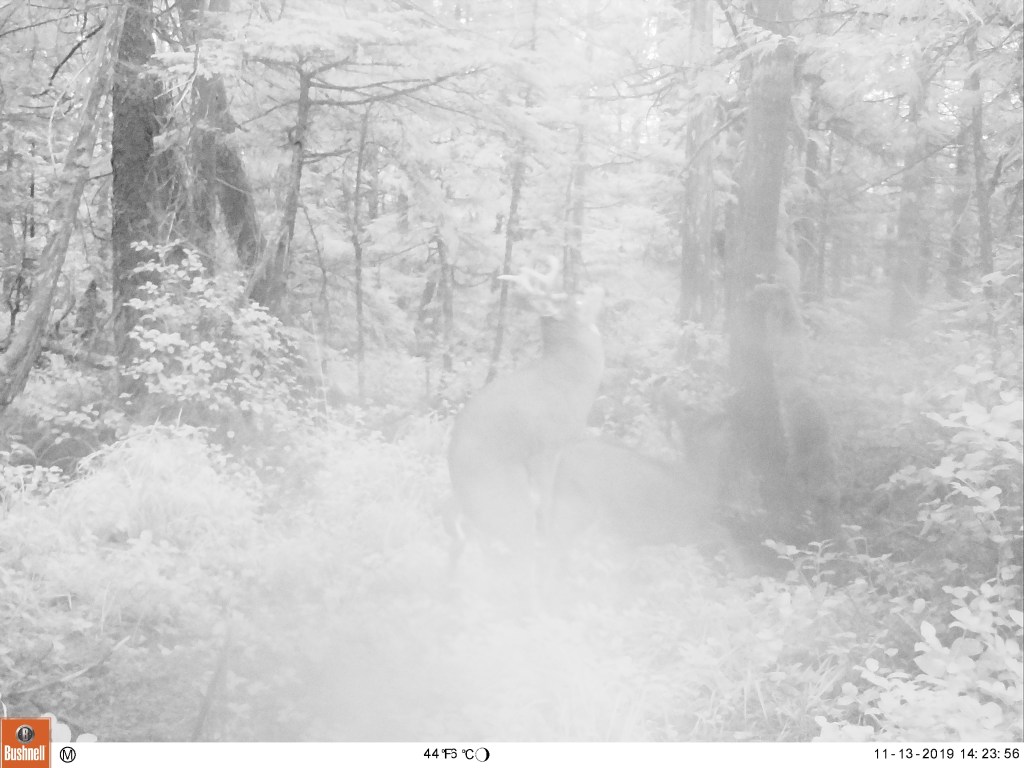
Another common problem I encounter is the infrared flash going off when it doesn’t need to. This happens most often under shadowy conditions in the timber, or when the camera is shaded but the subject or the background is well lit. Most of the time, adjusting the slider at the top of the tools is the best option to bring some sort of clarity to the image if it’s really bad, or make a mediocre image presentable, and it can make a good black and white image better.


Bugs, falling branches and trees, and other acts of nature can cause problems that are best dealt with by checking your cameras often, but sometimes you just have to get lucky.

