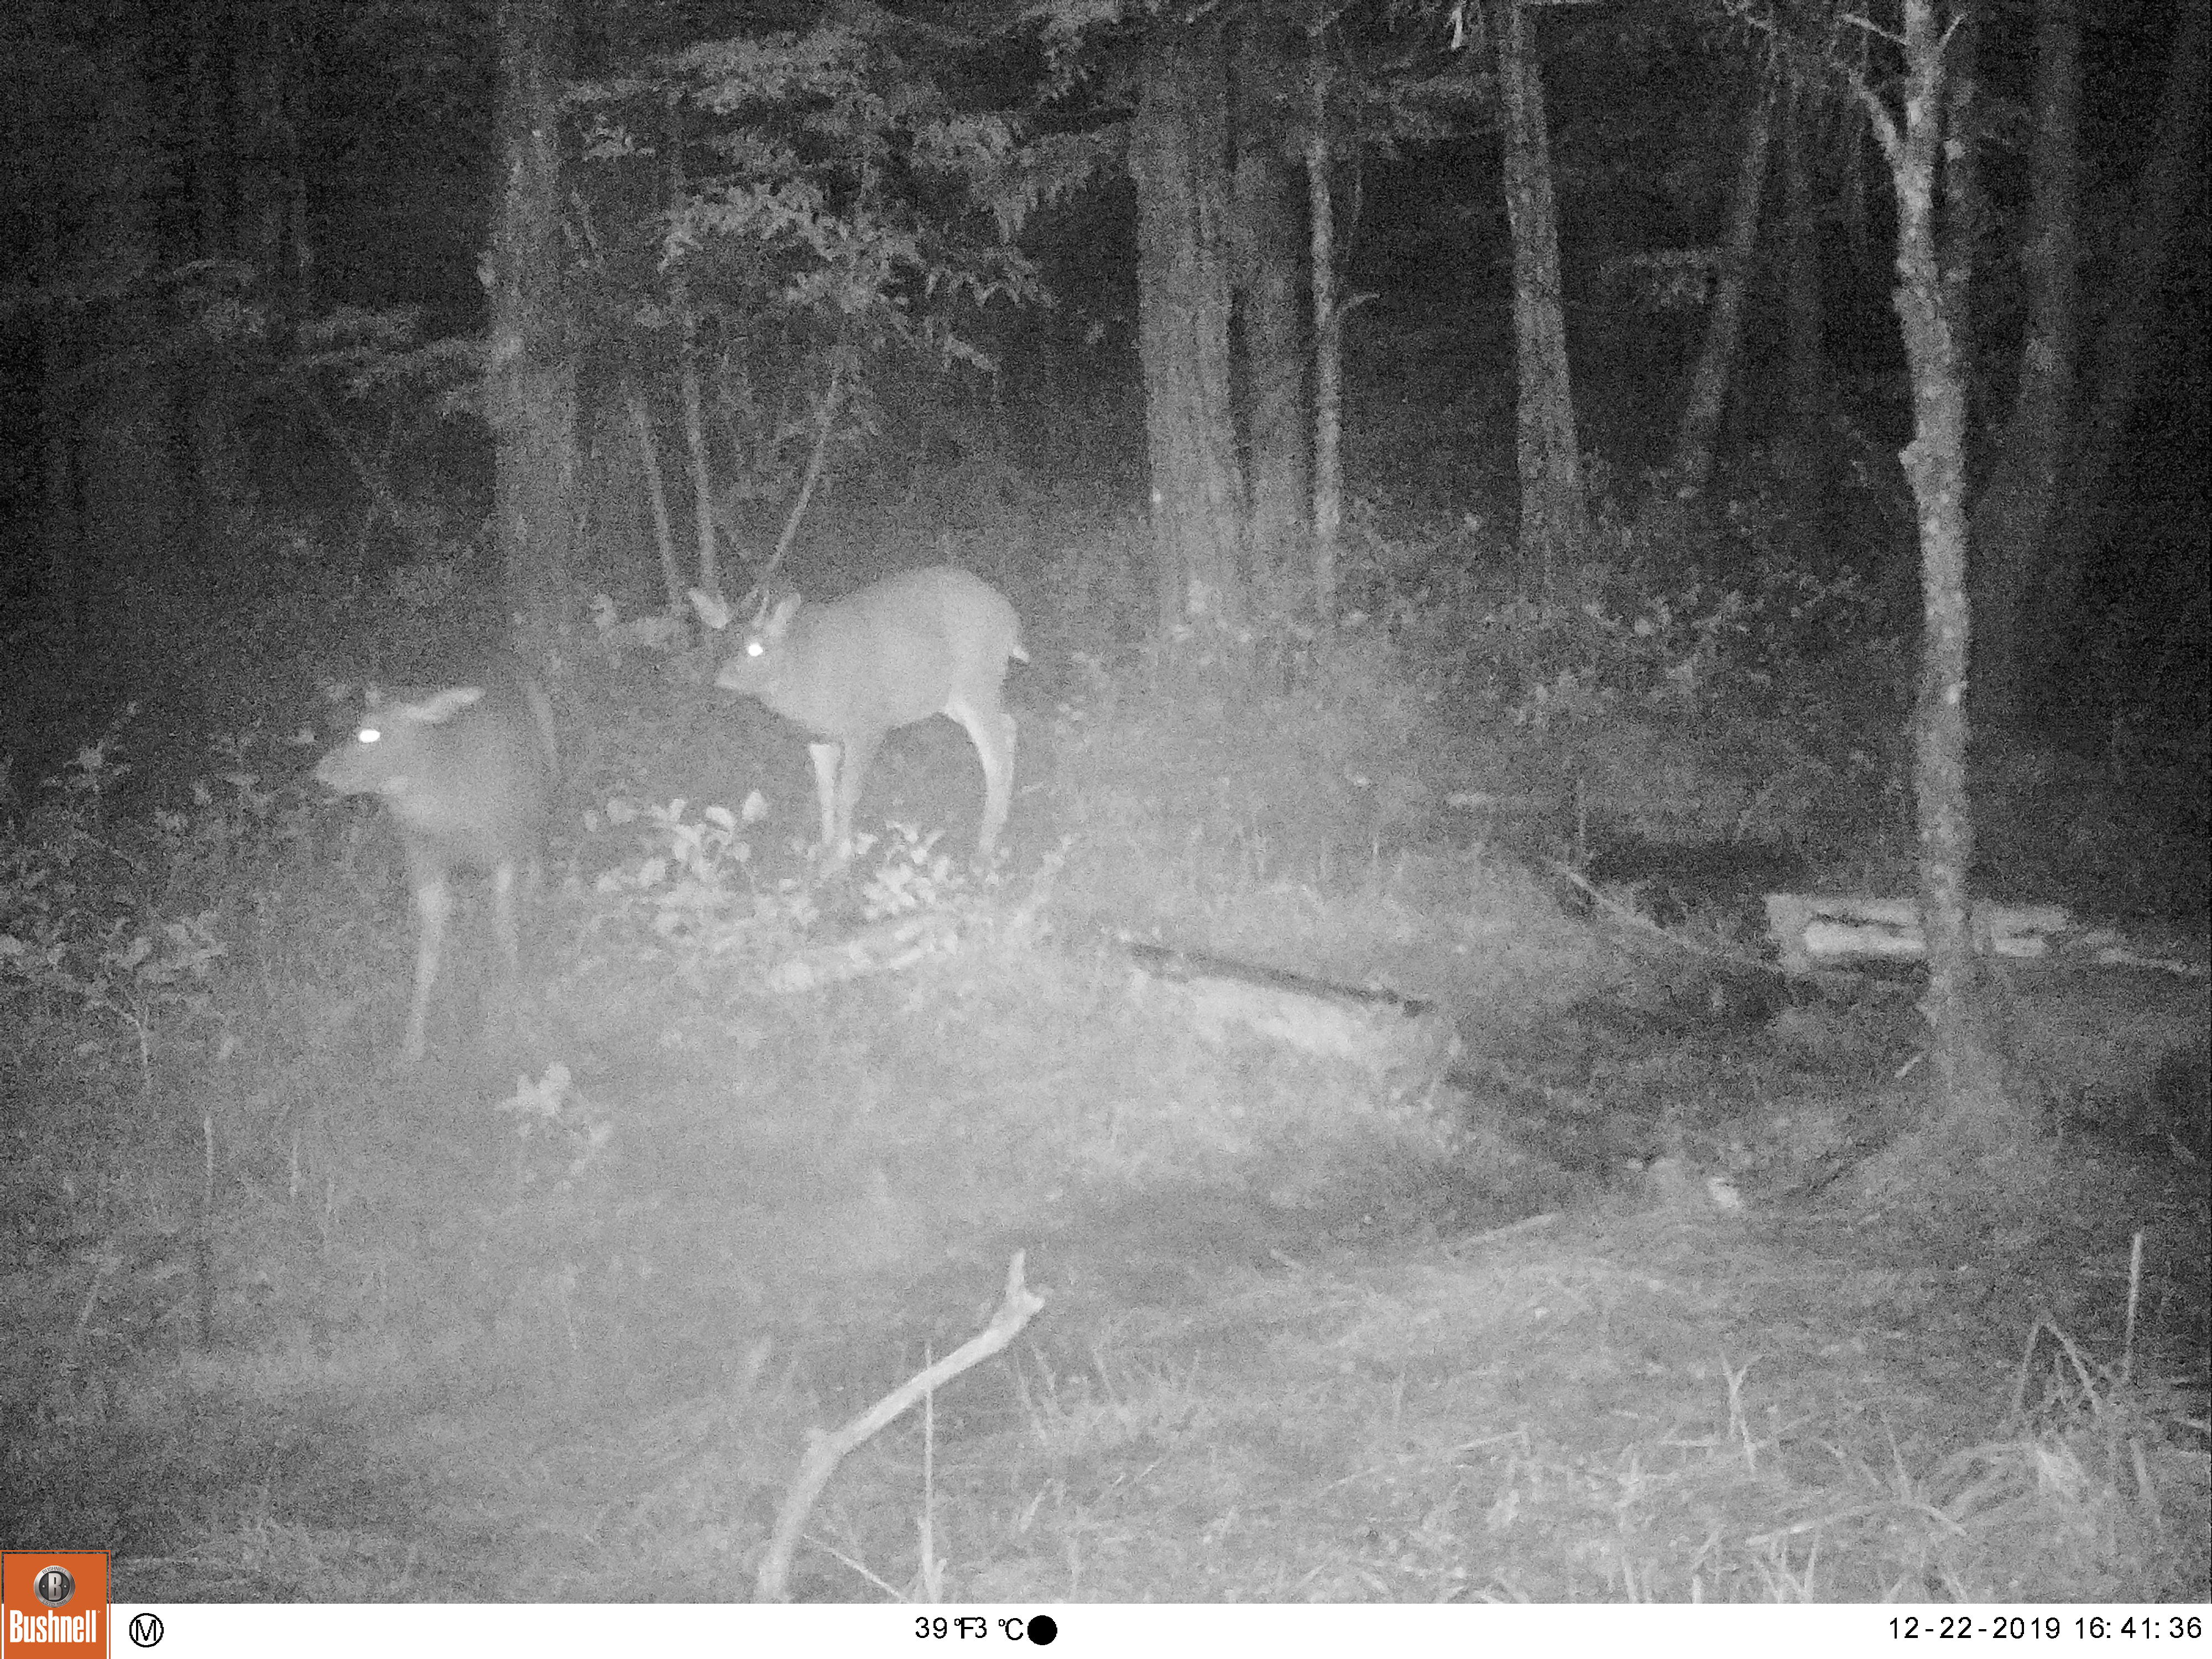
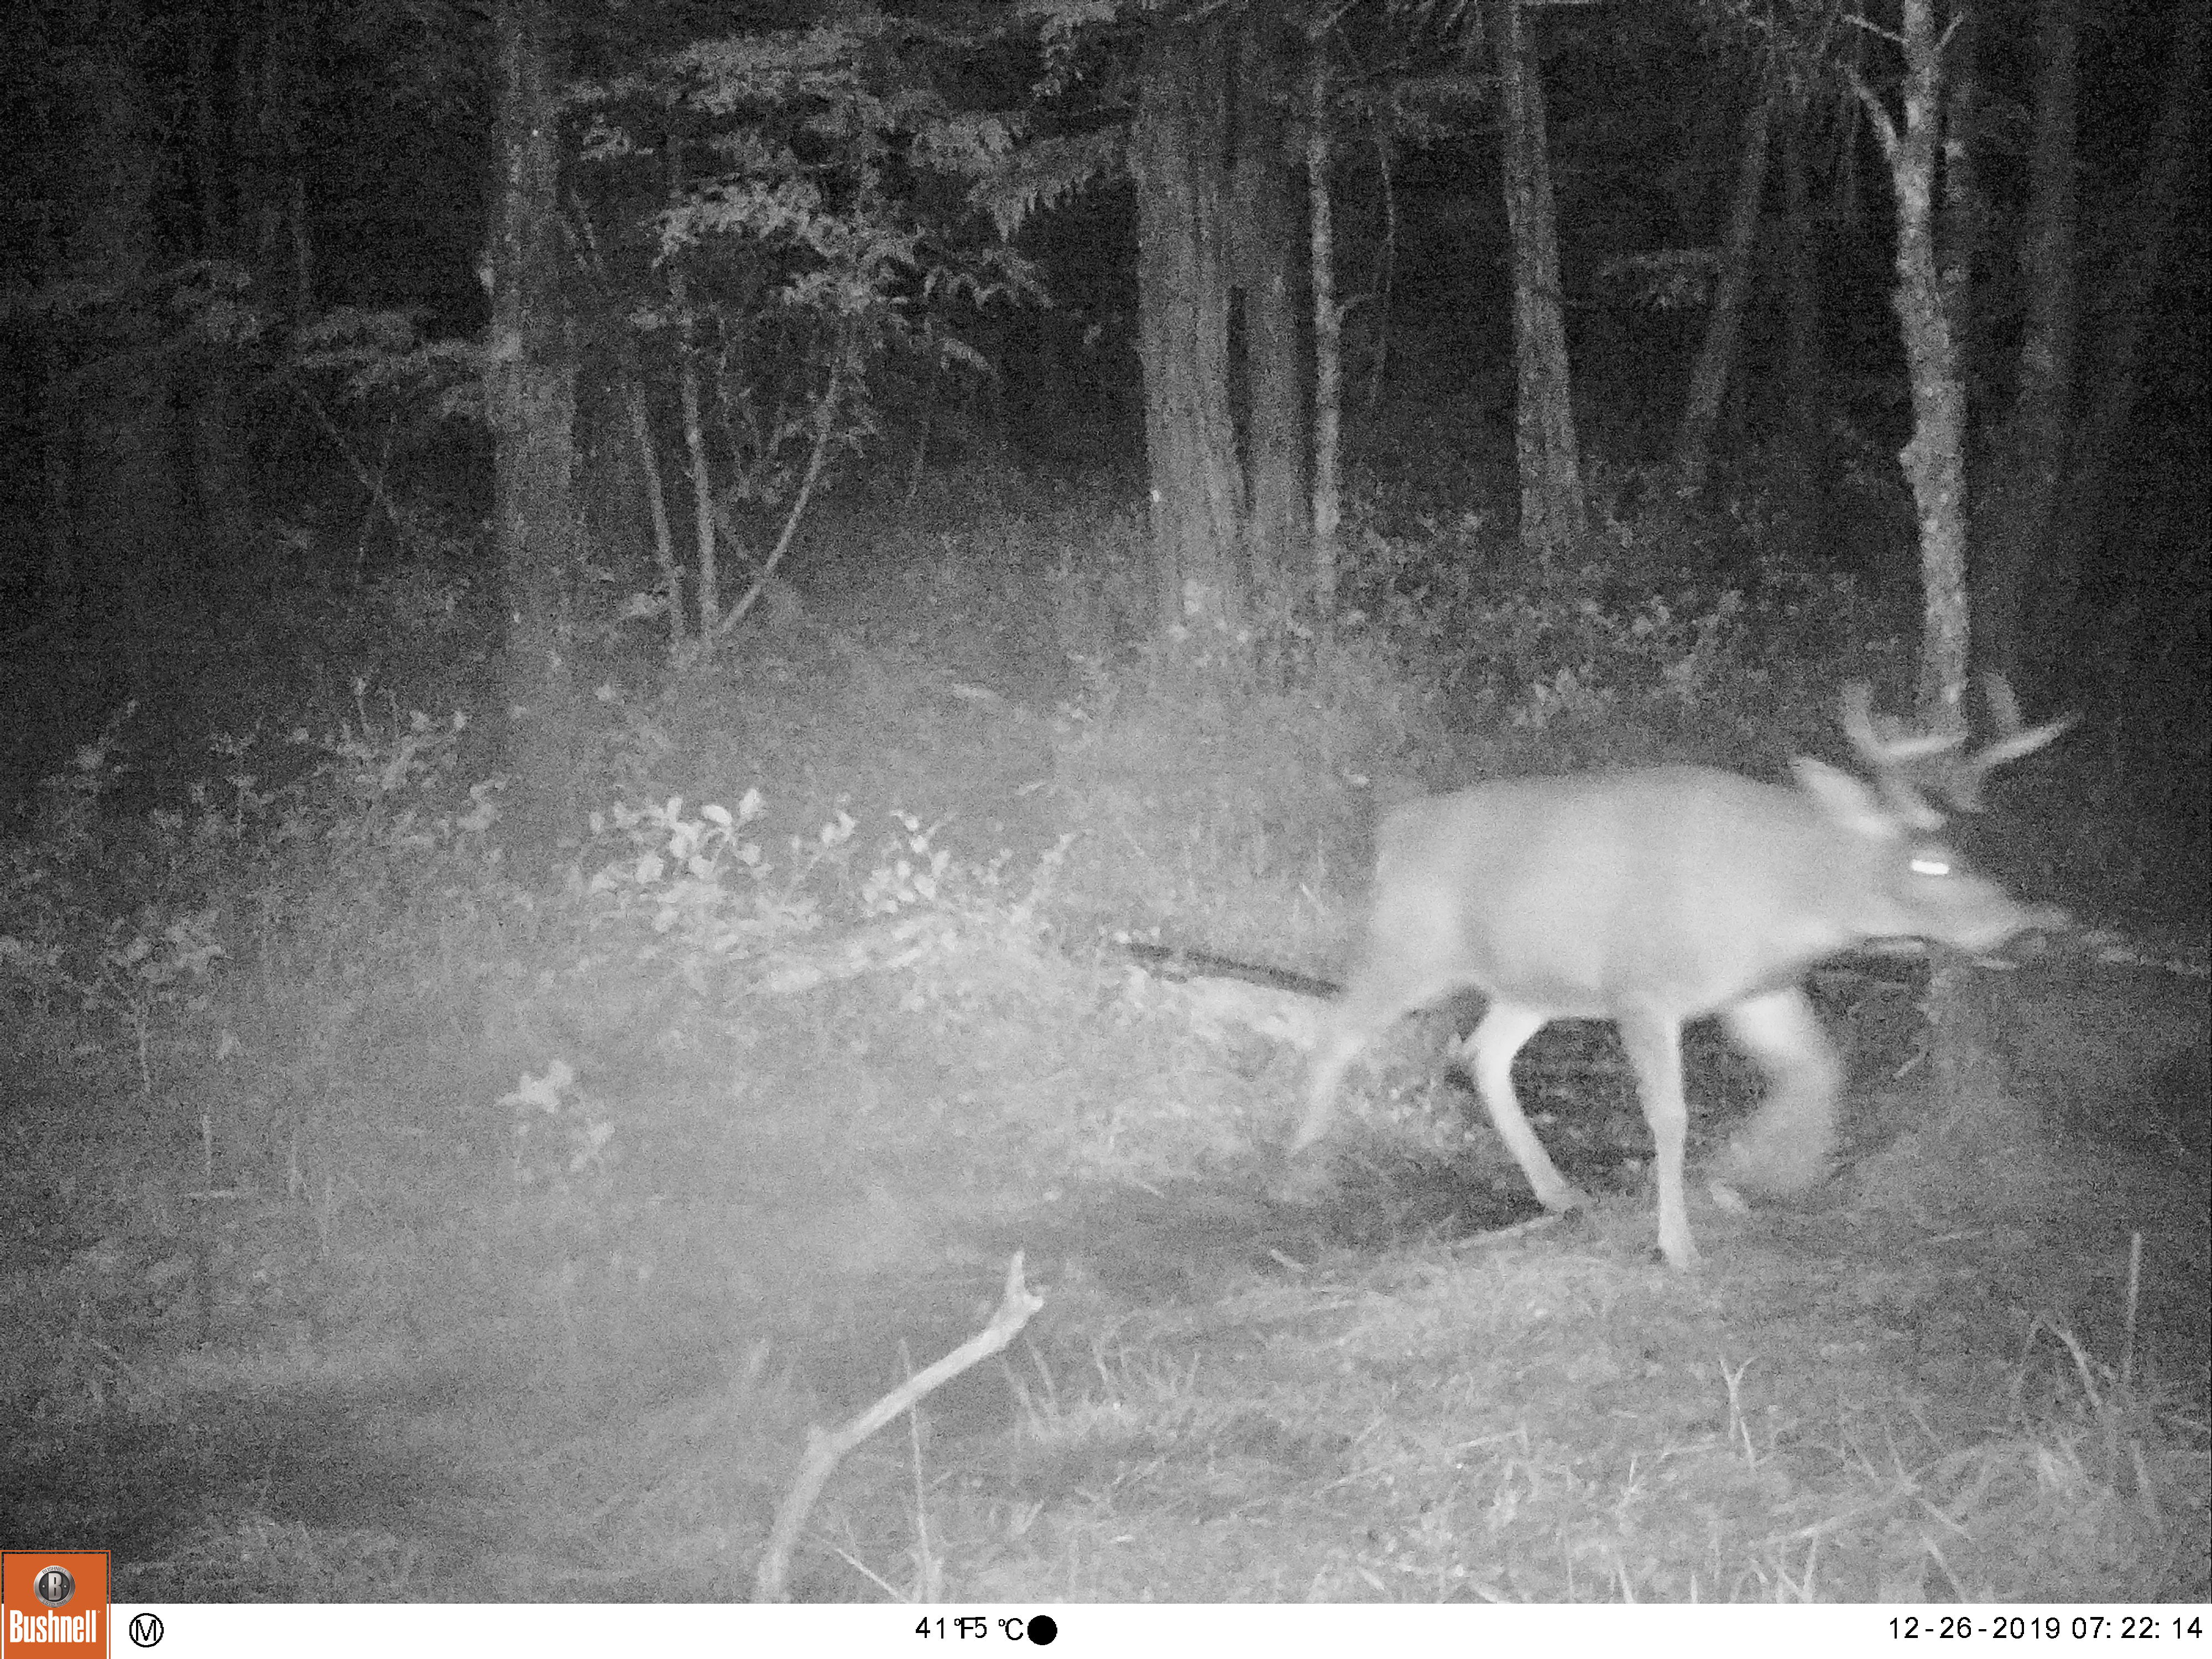
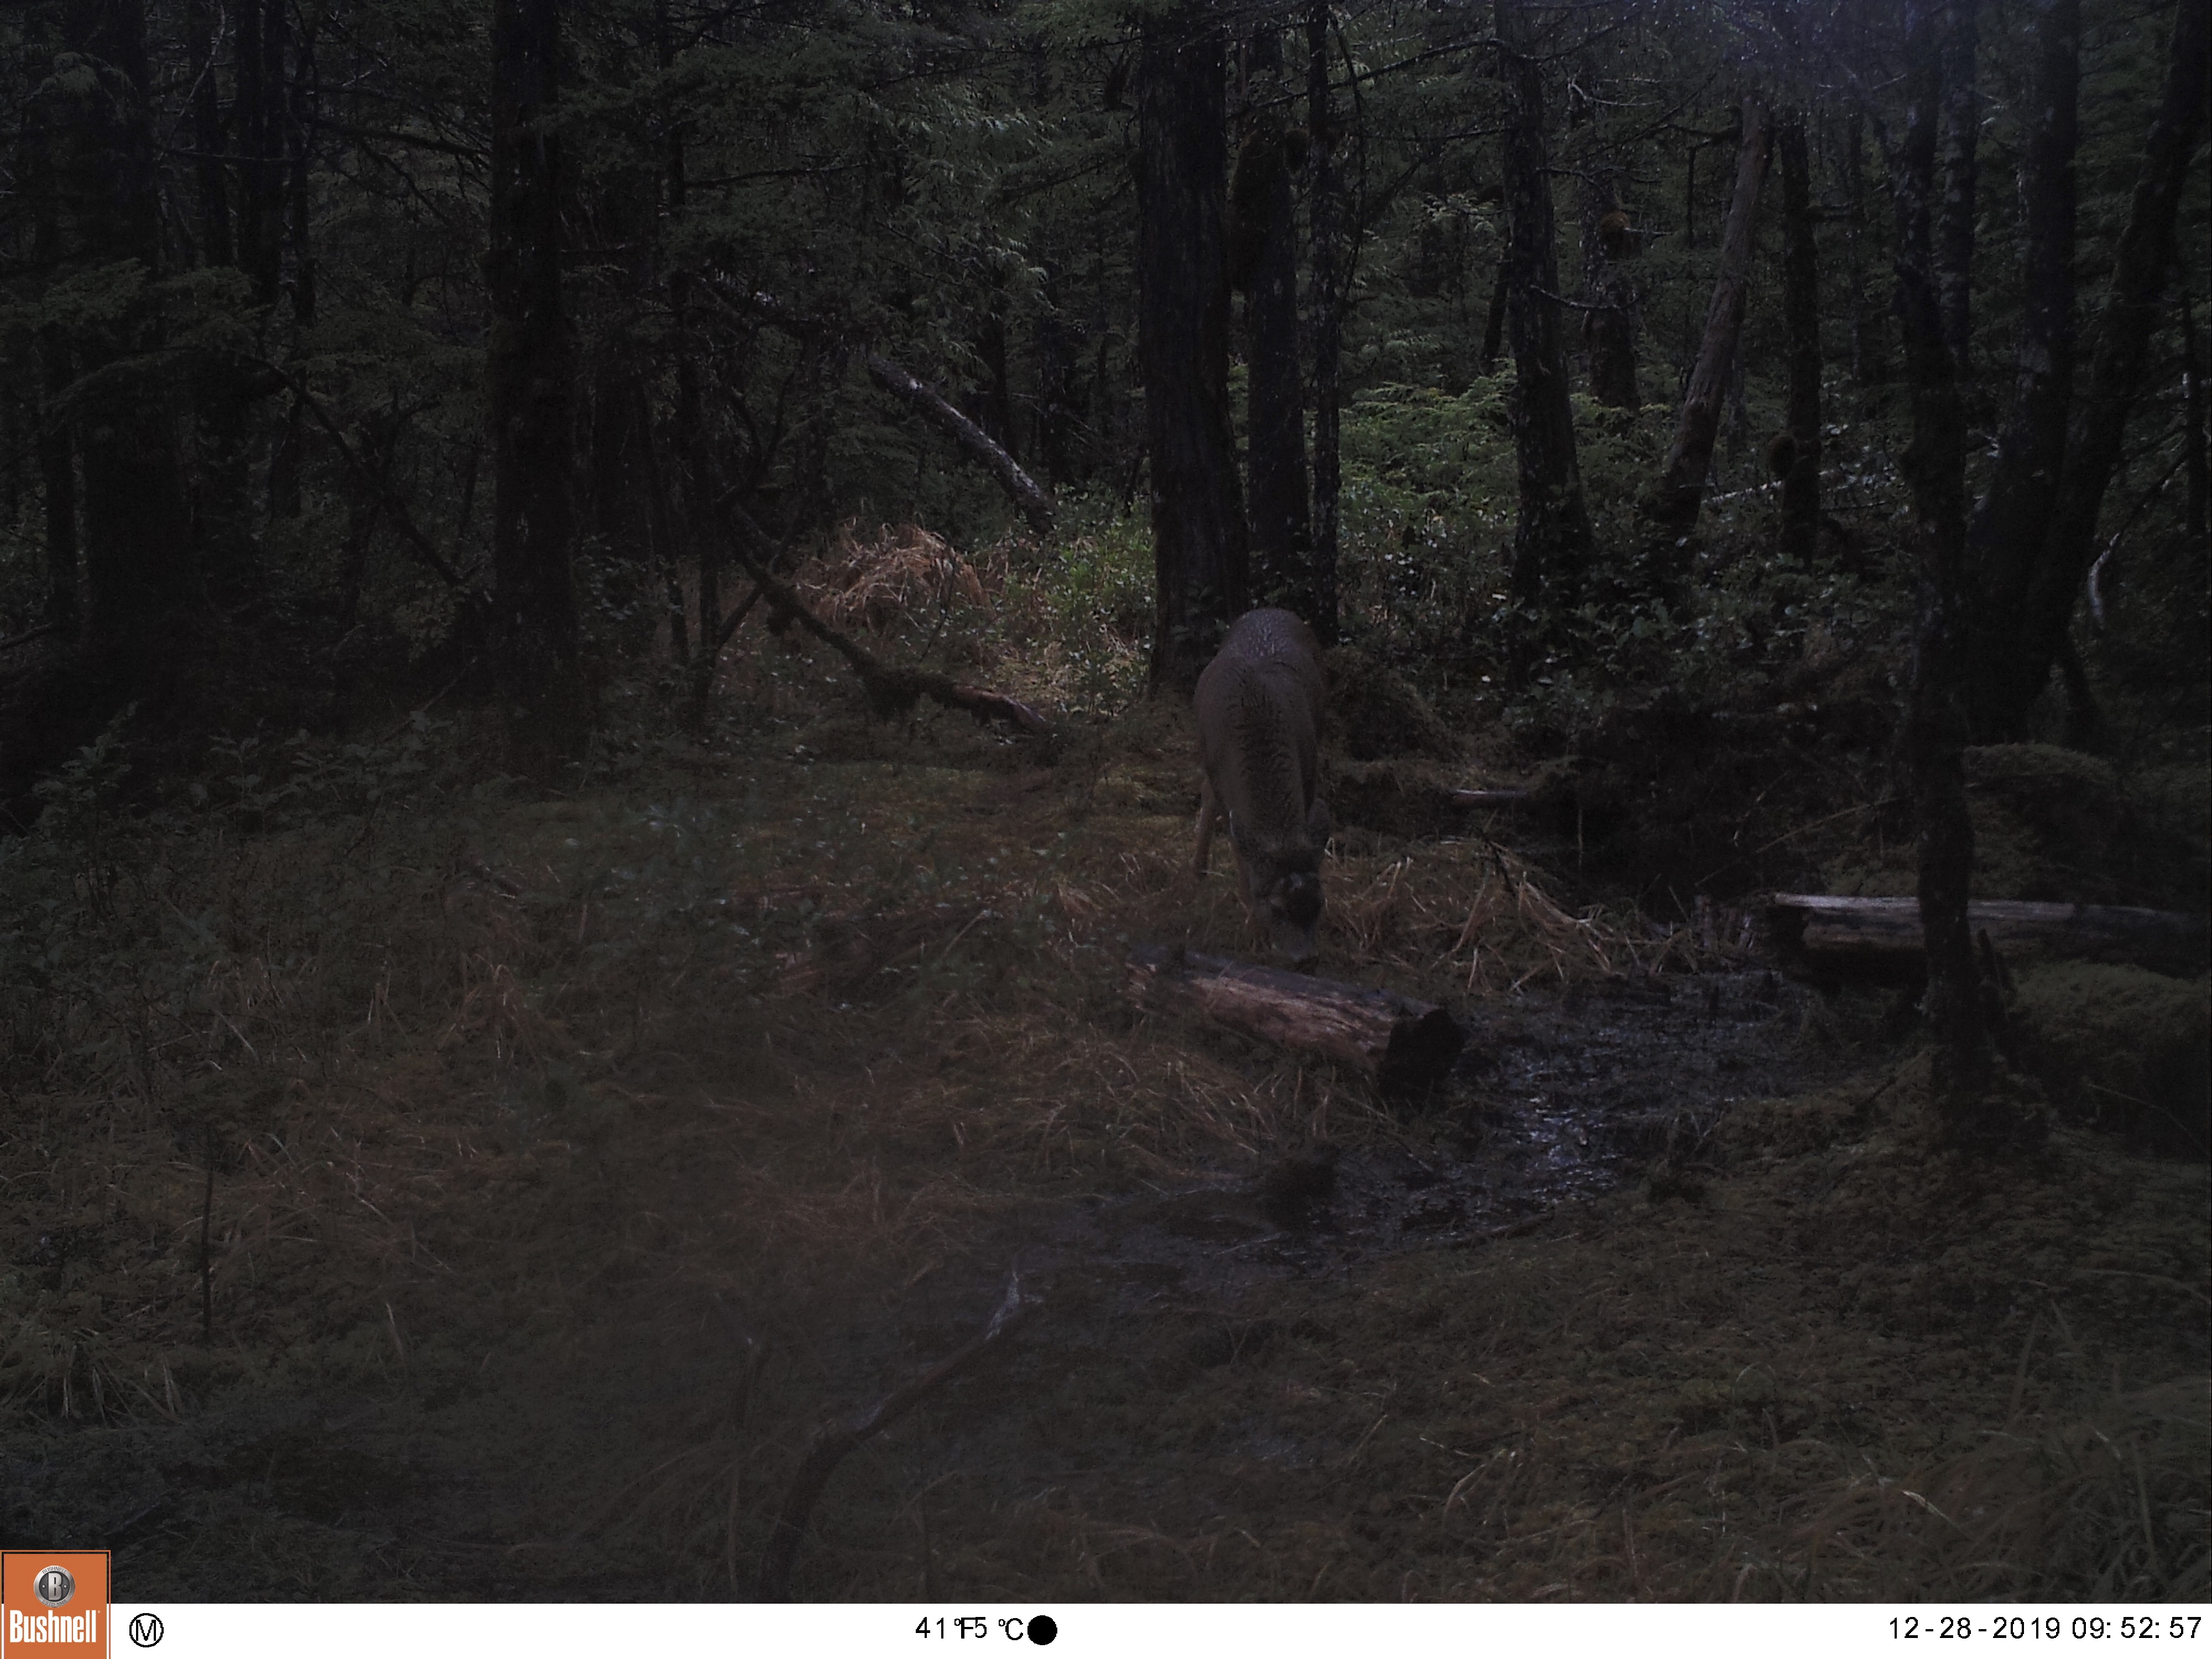
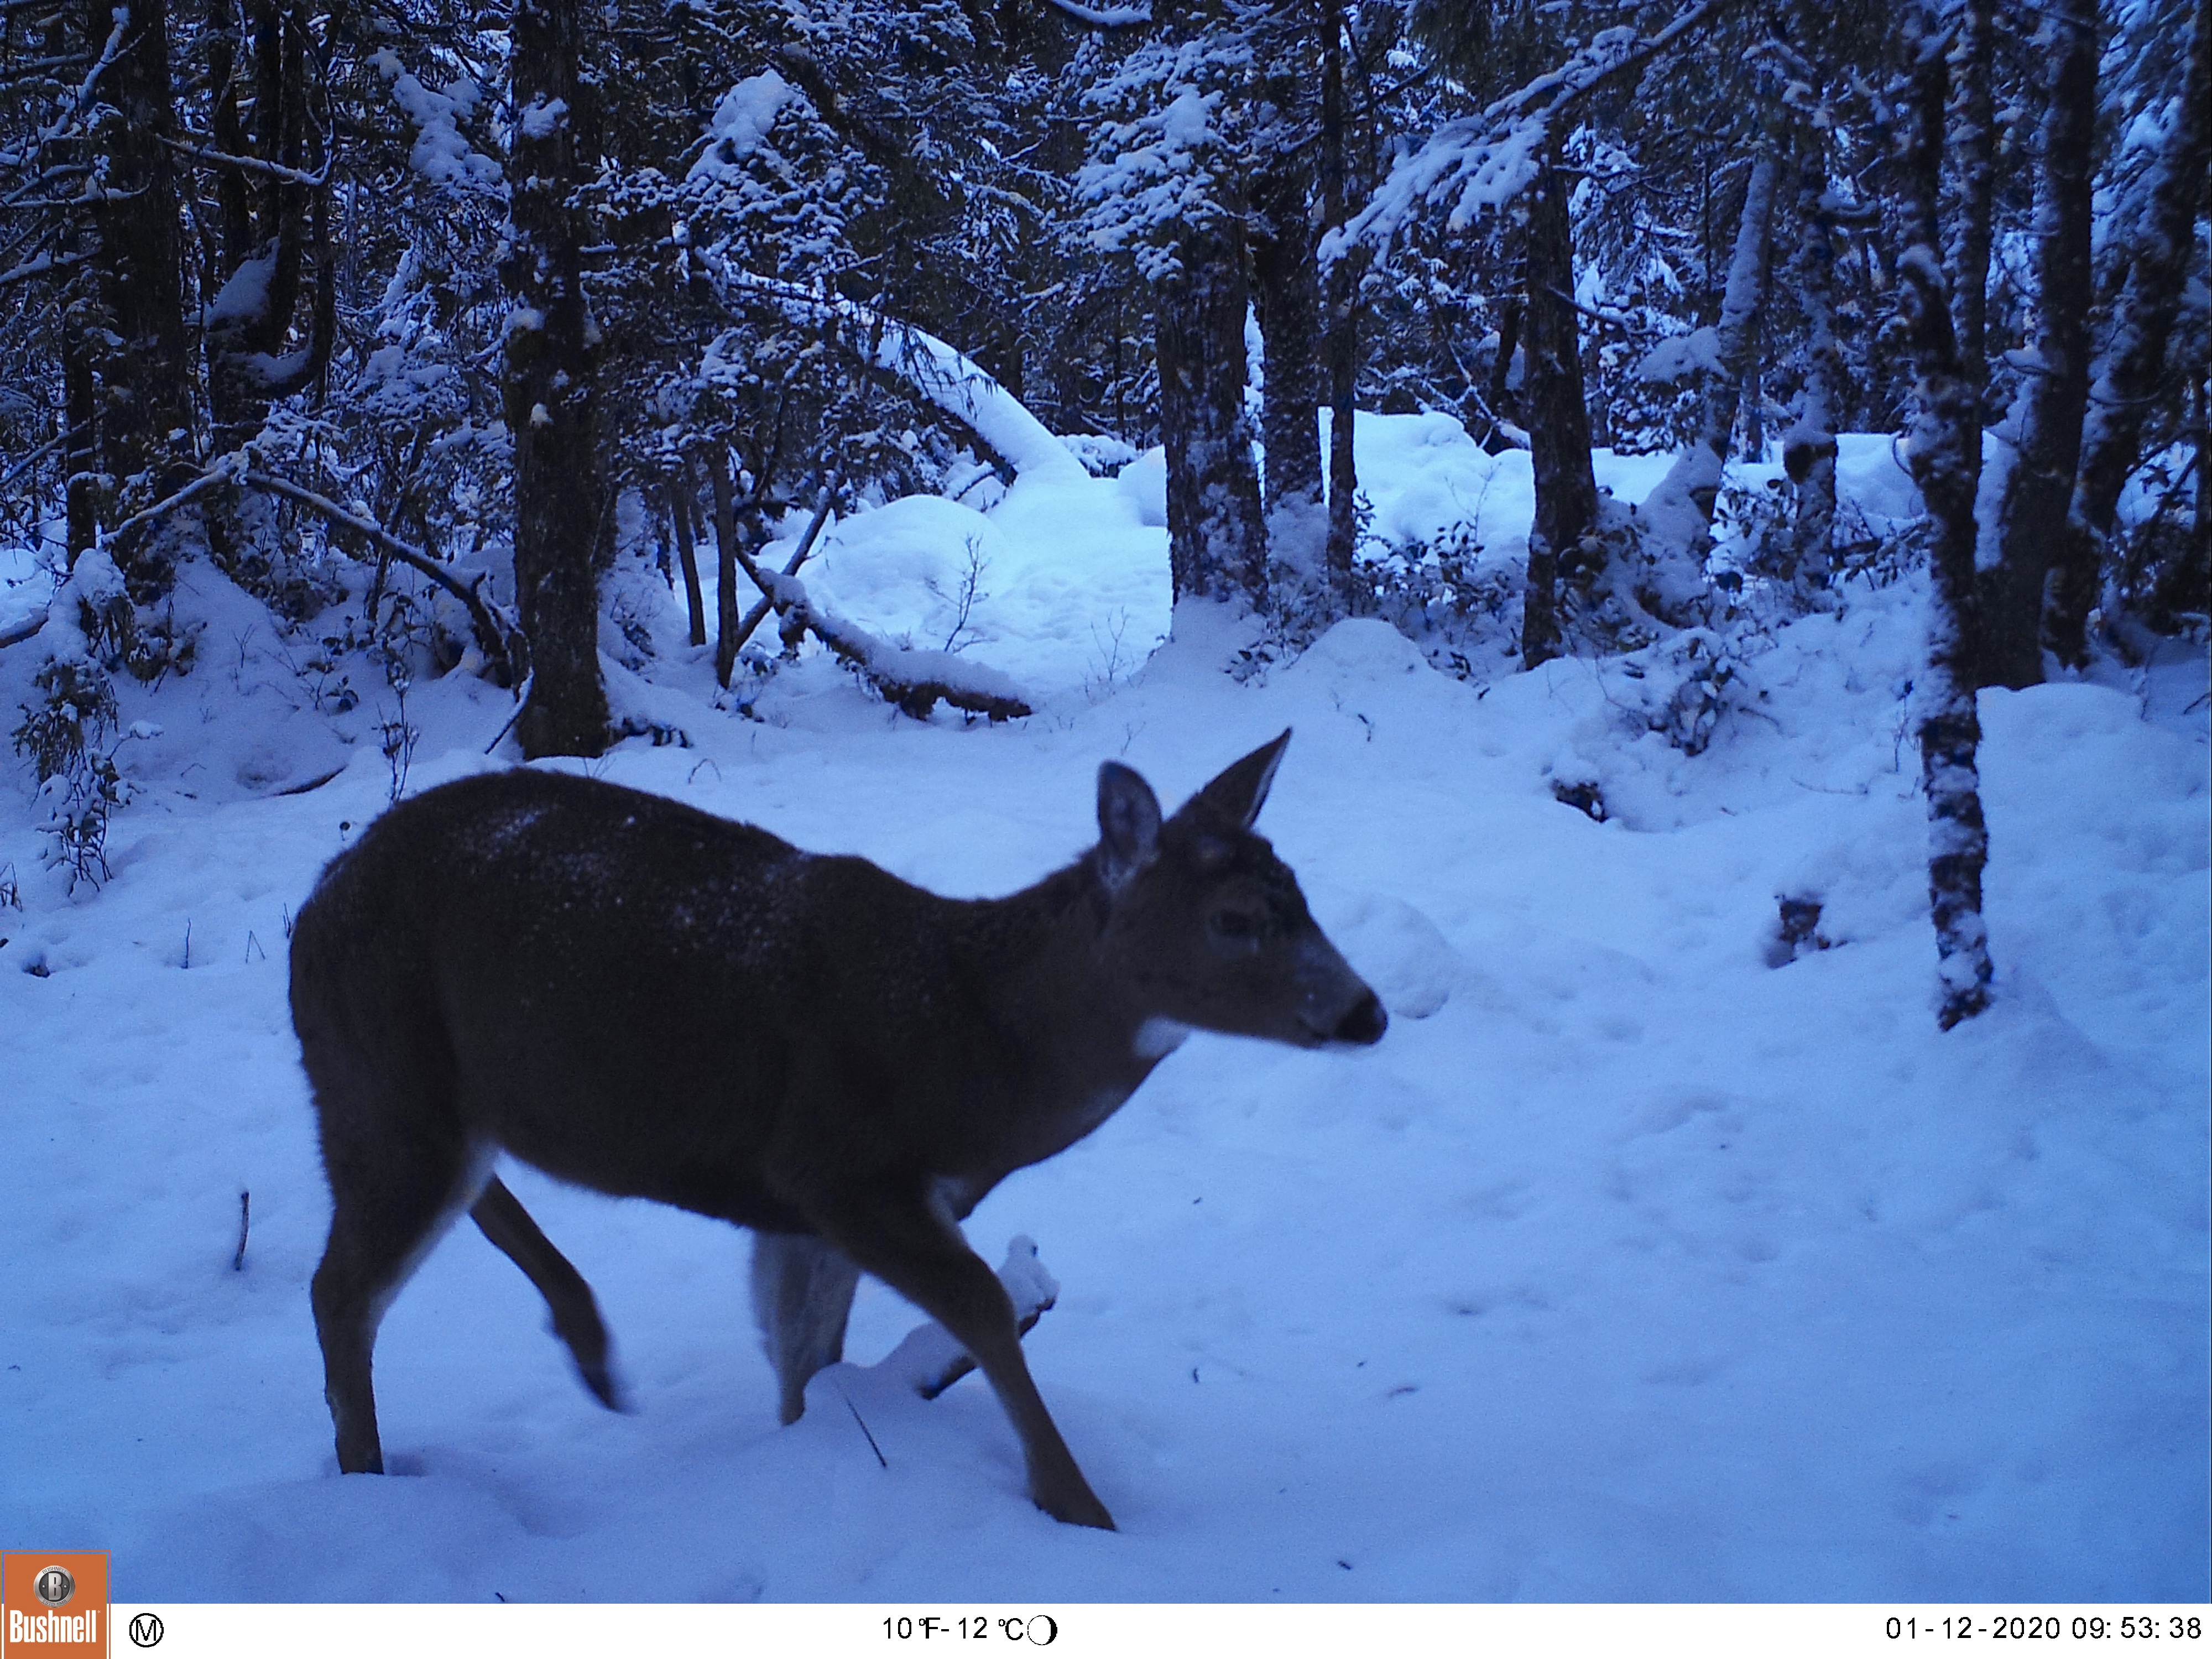
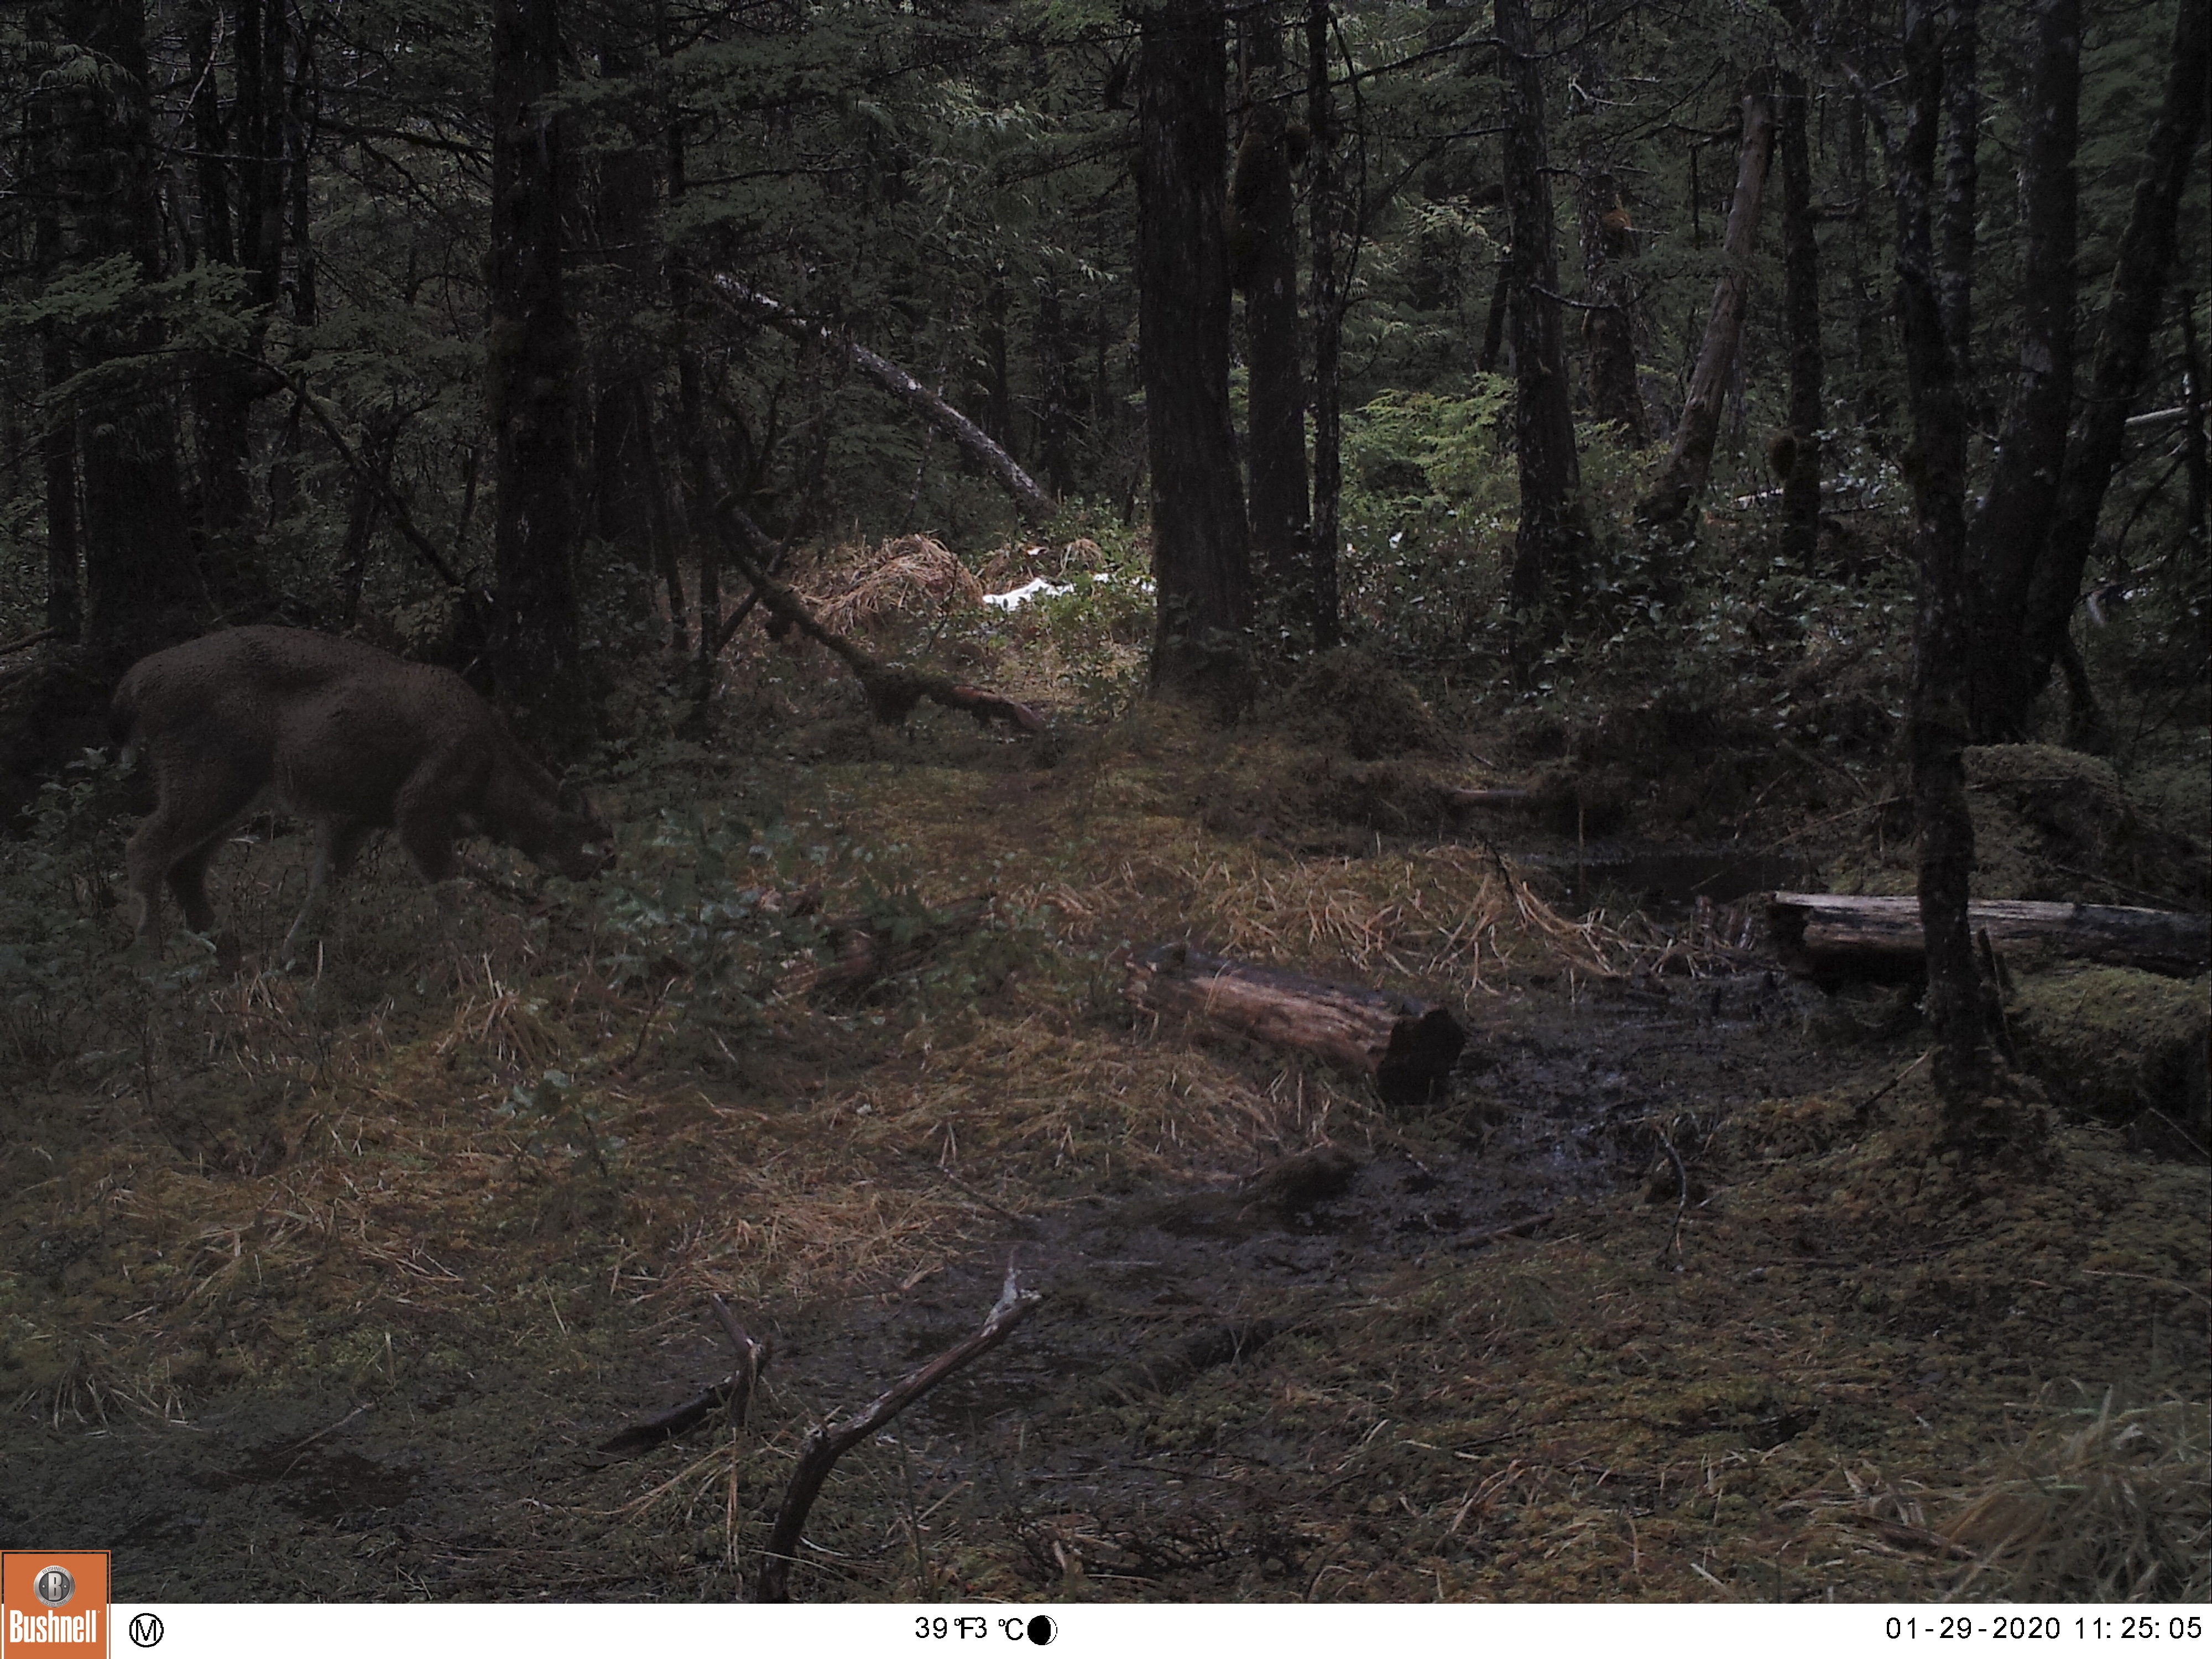
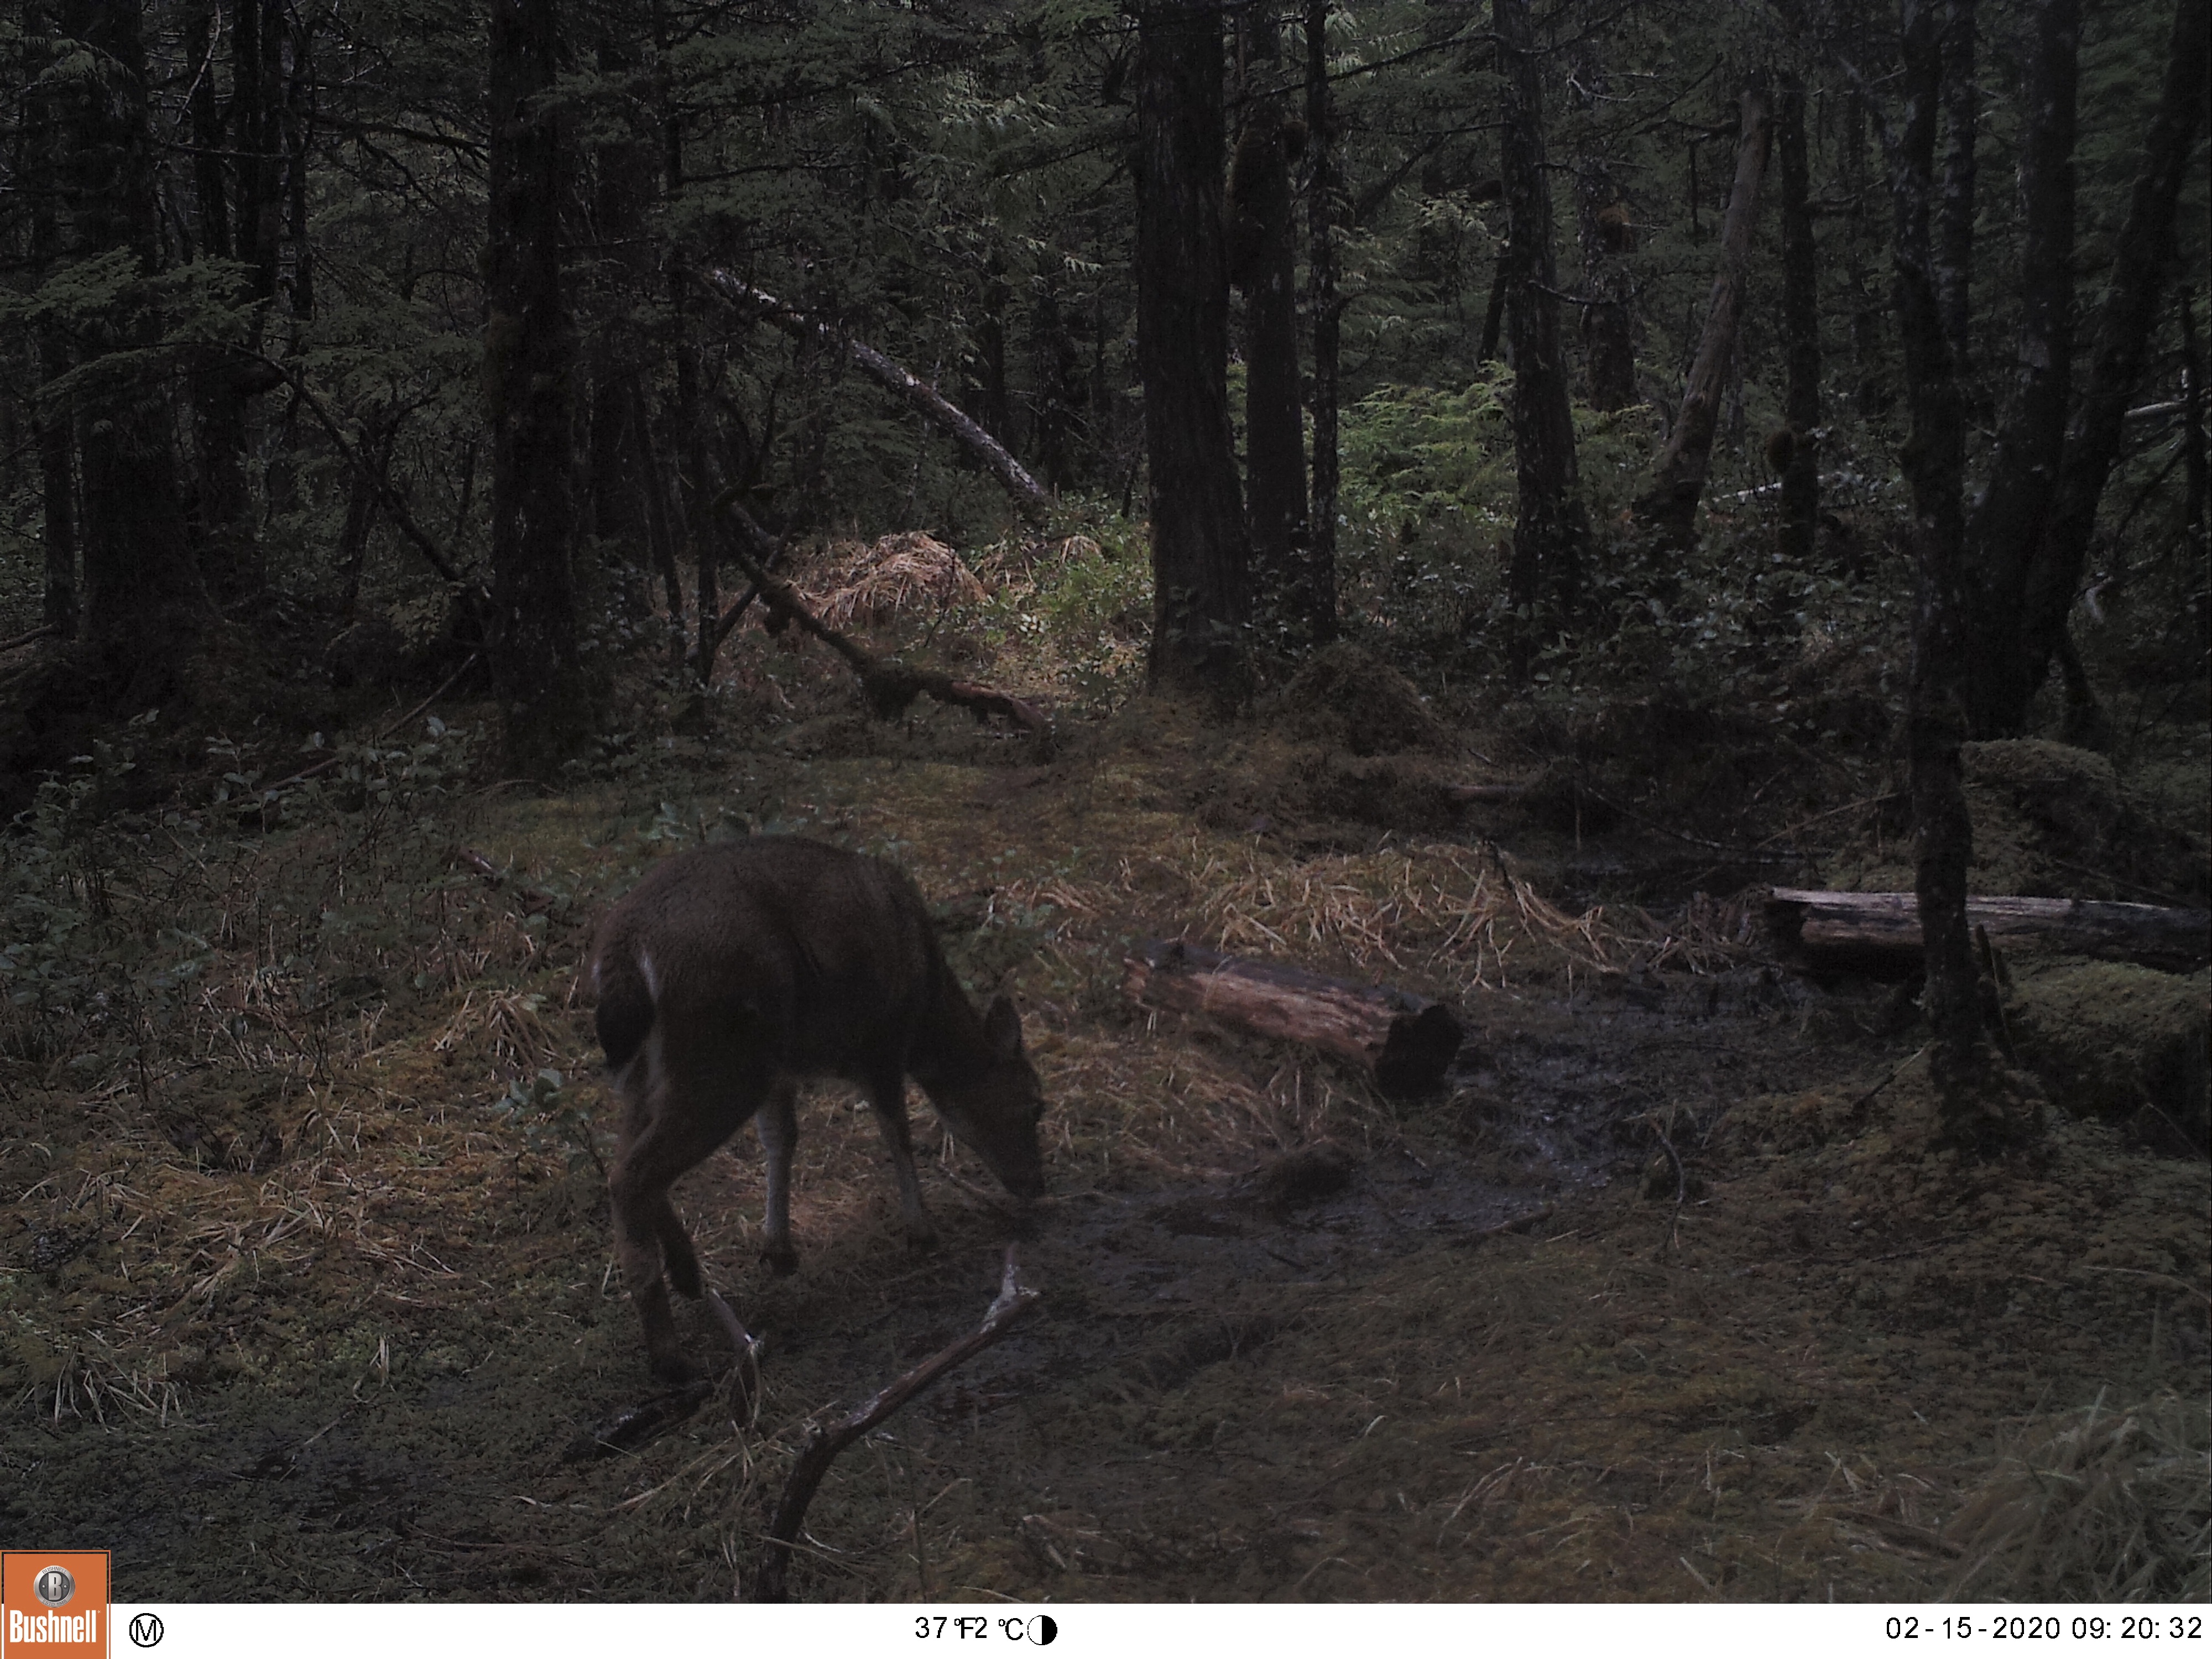
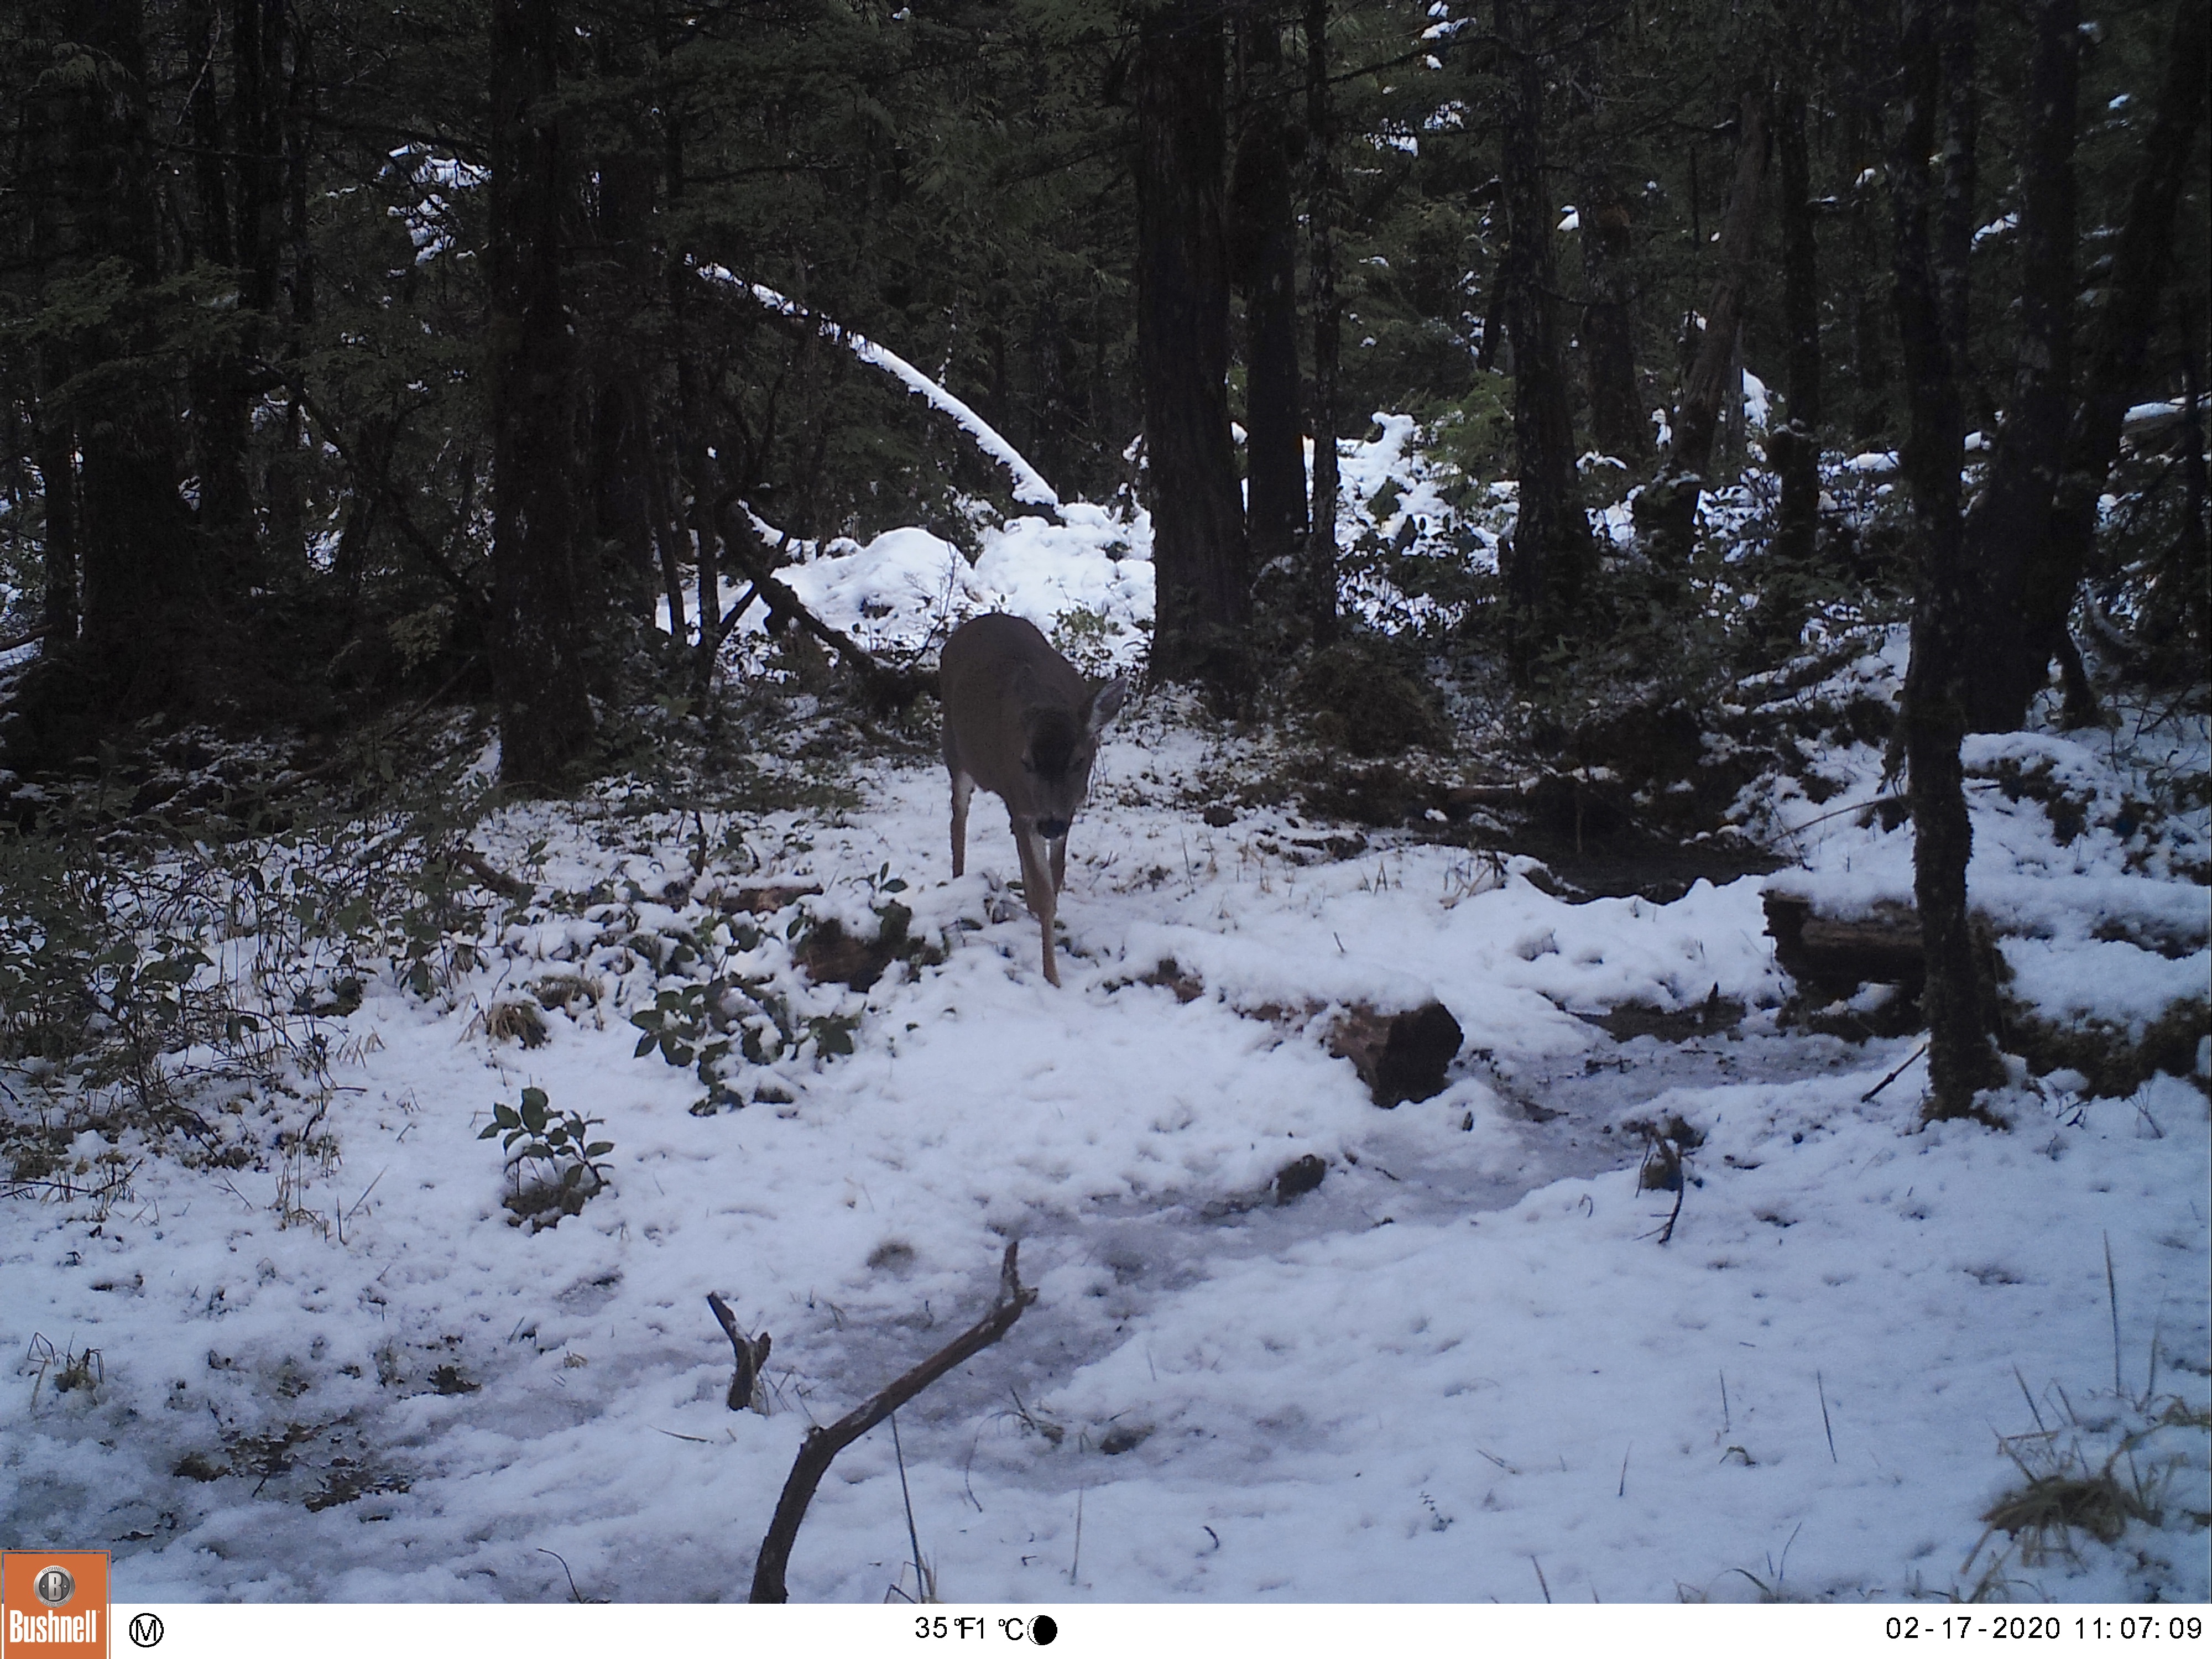
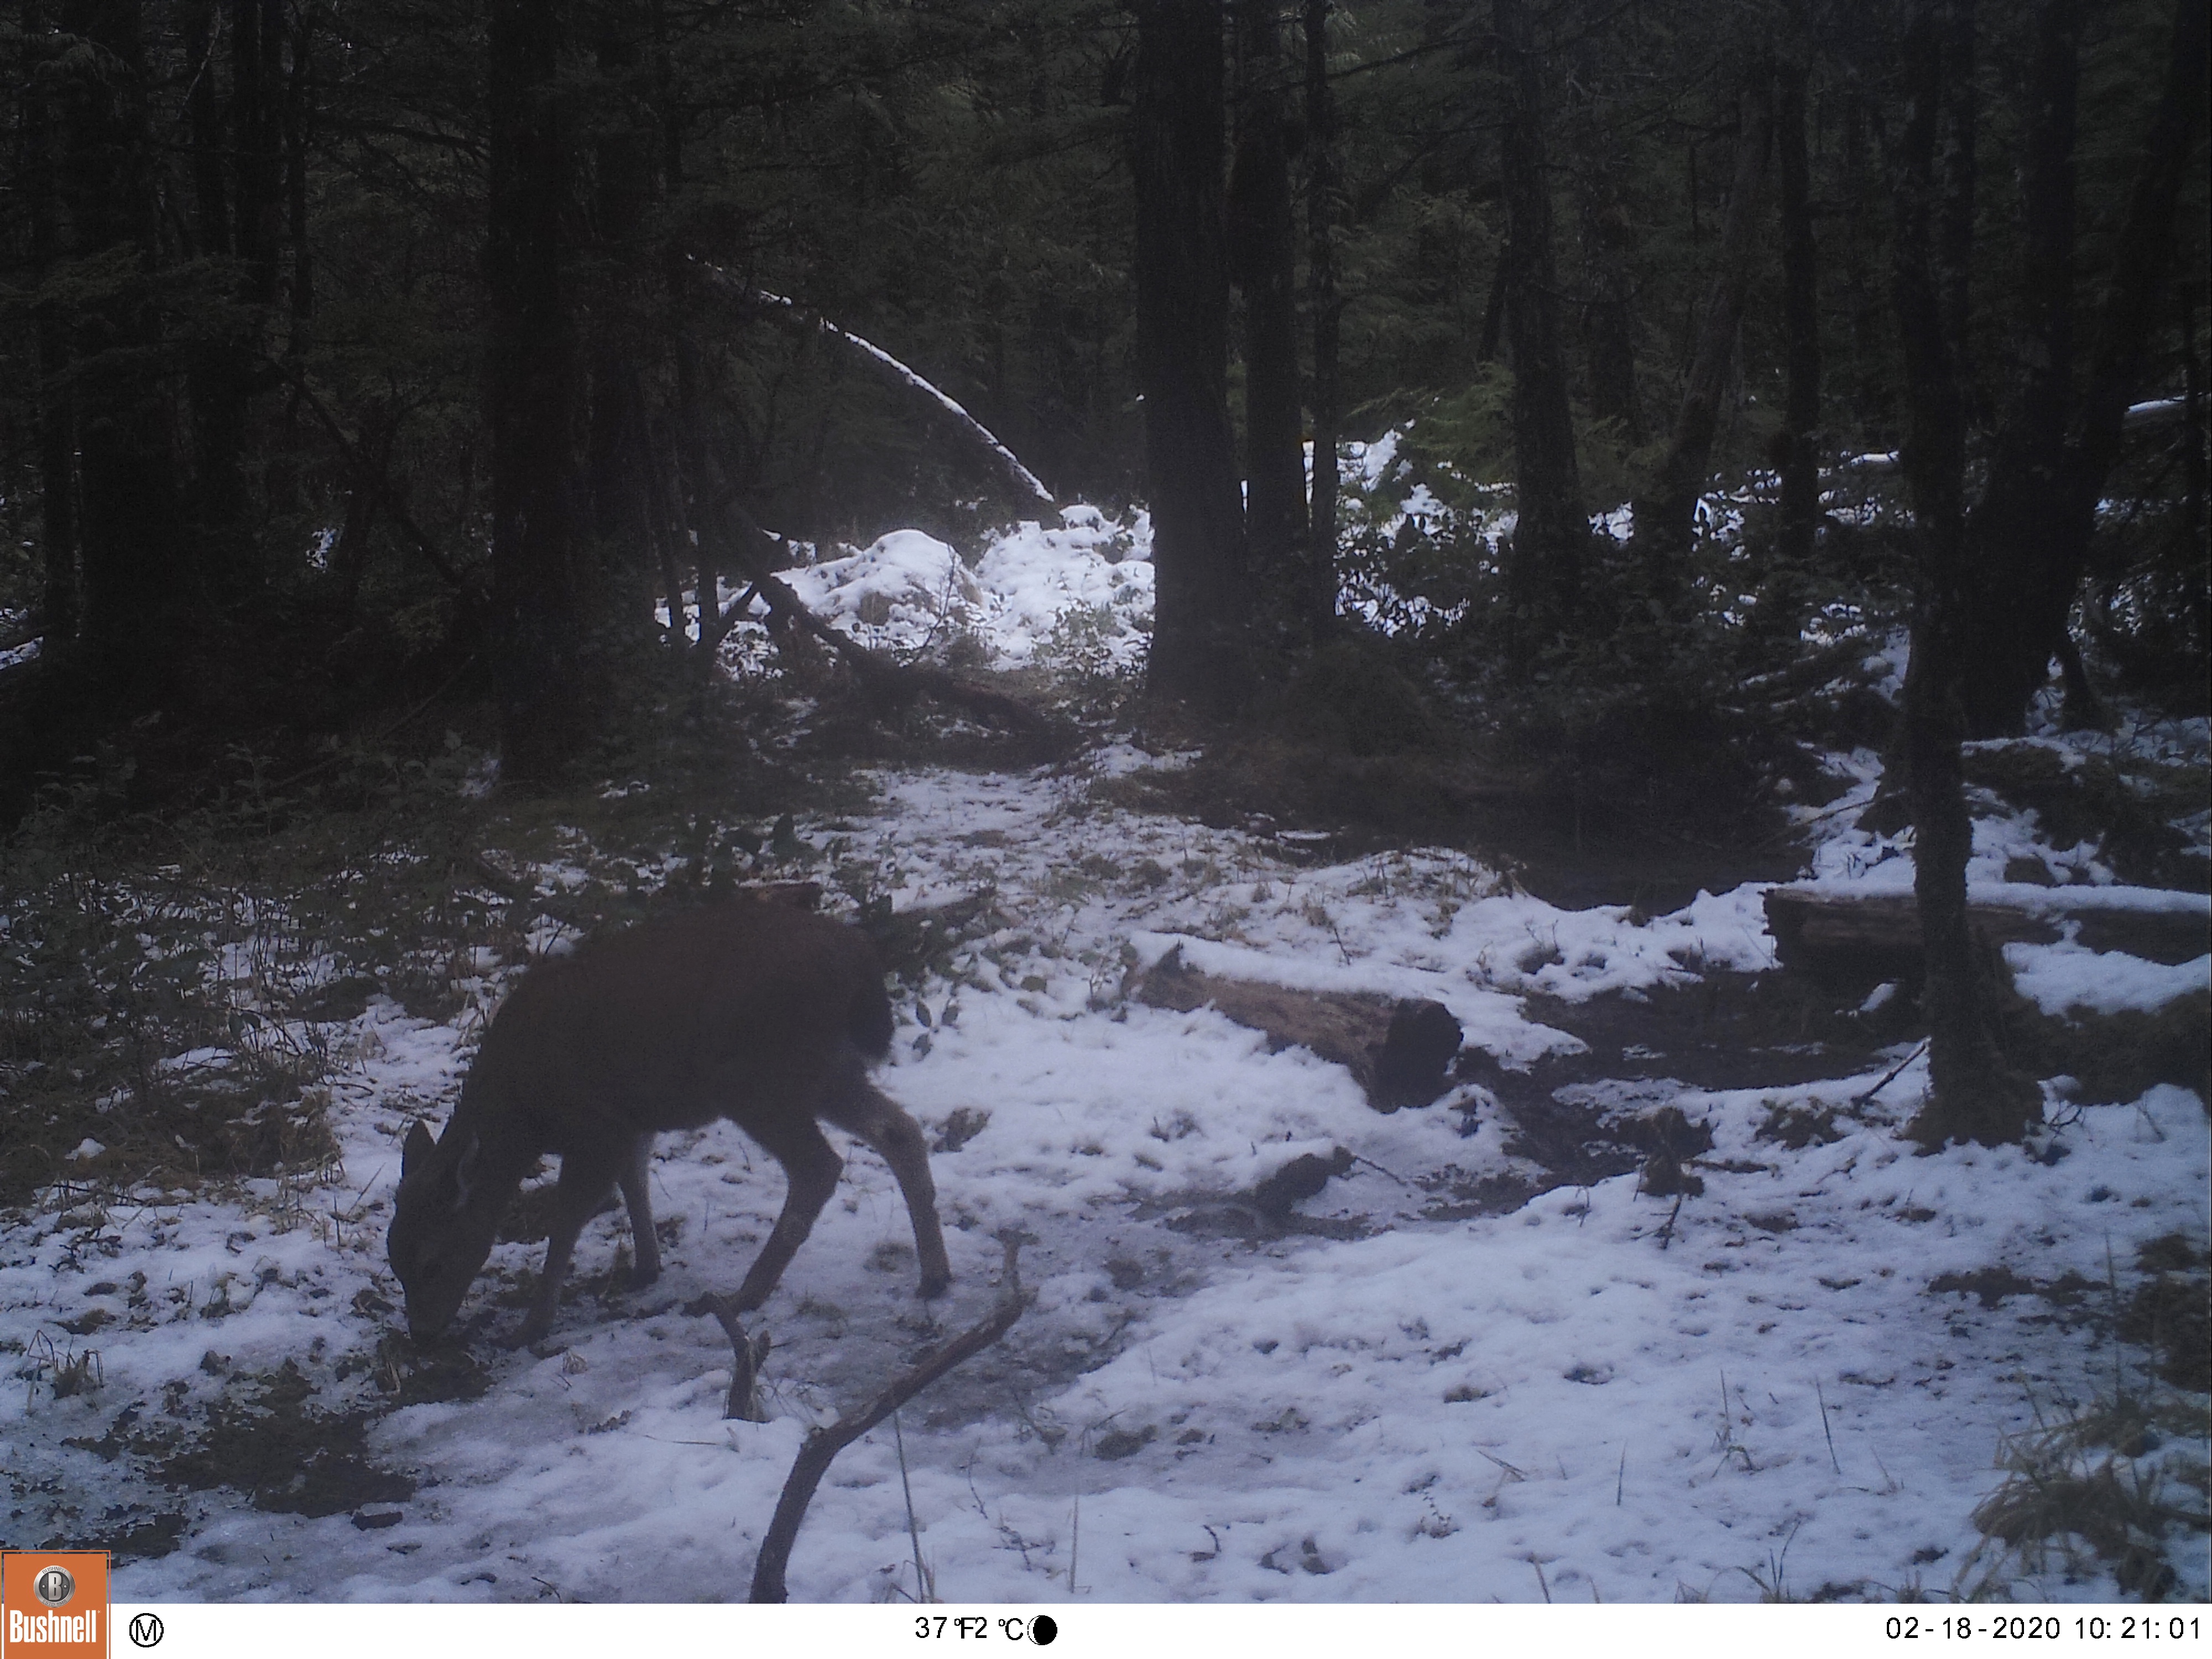
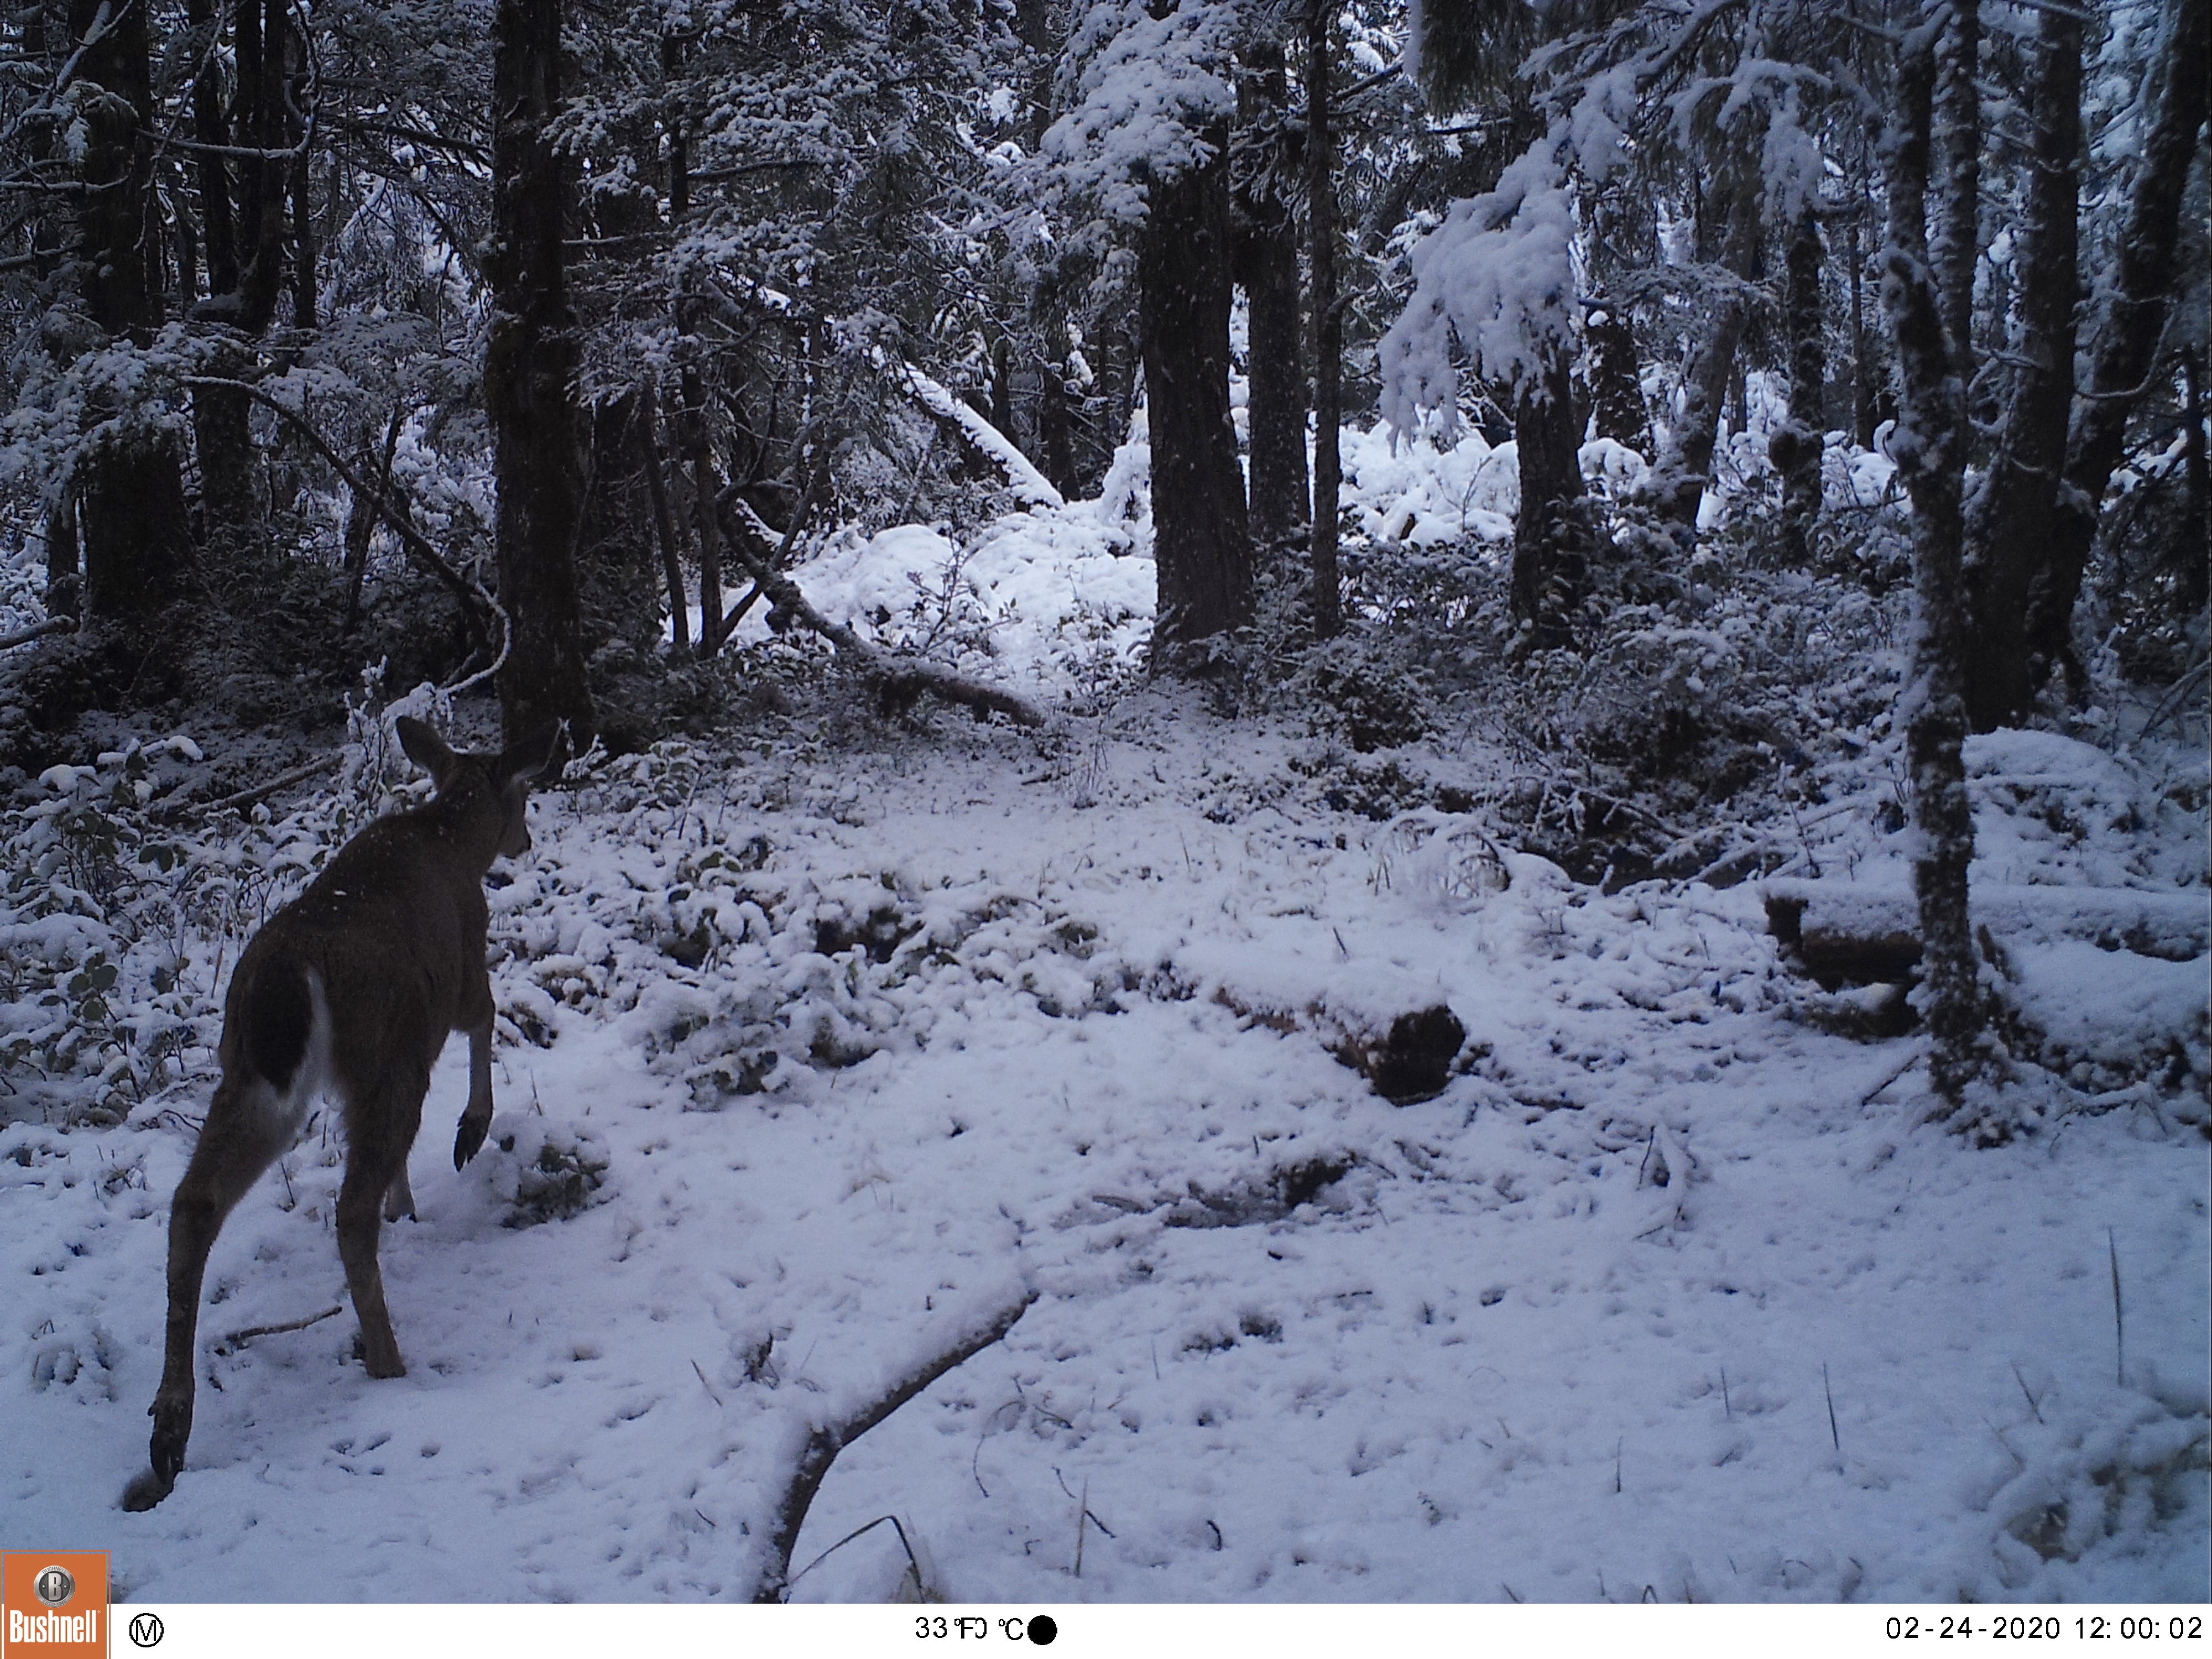
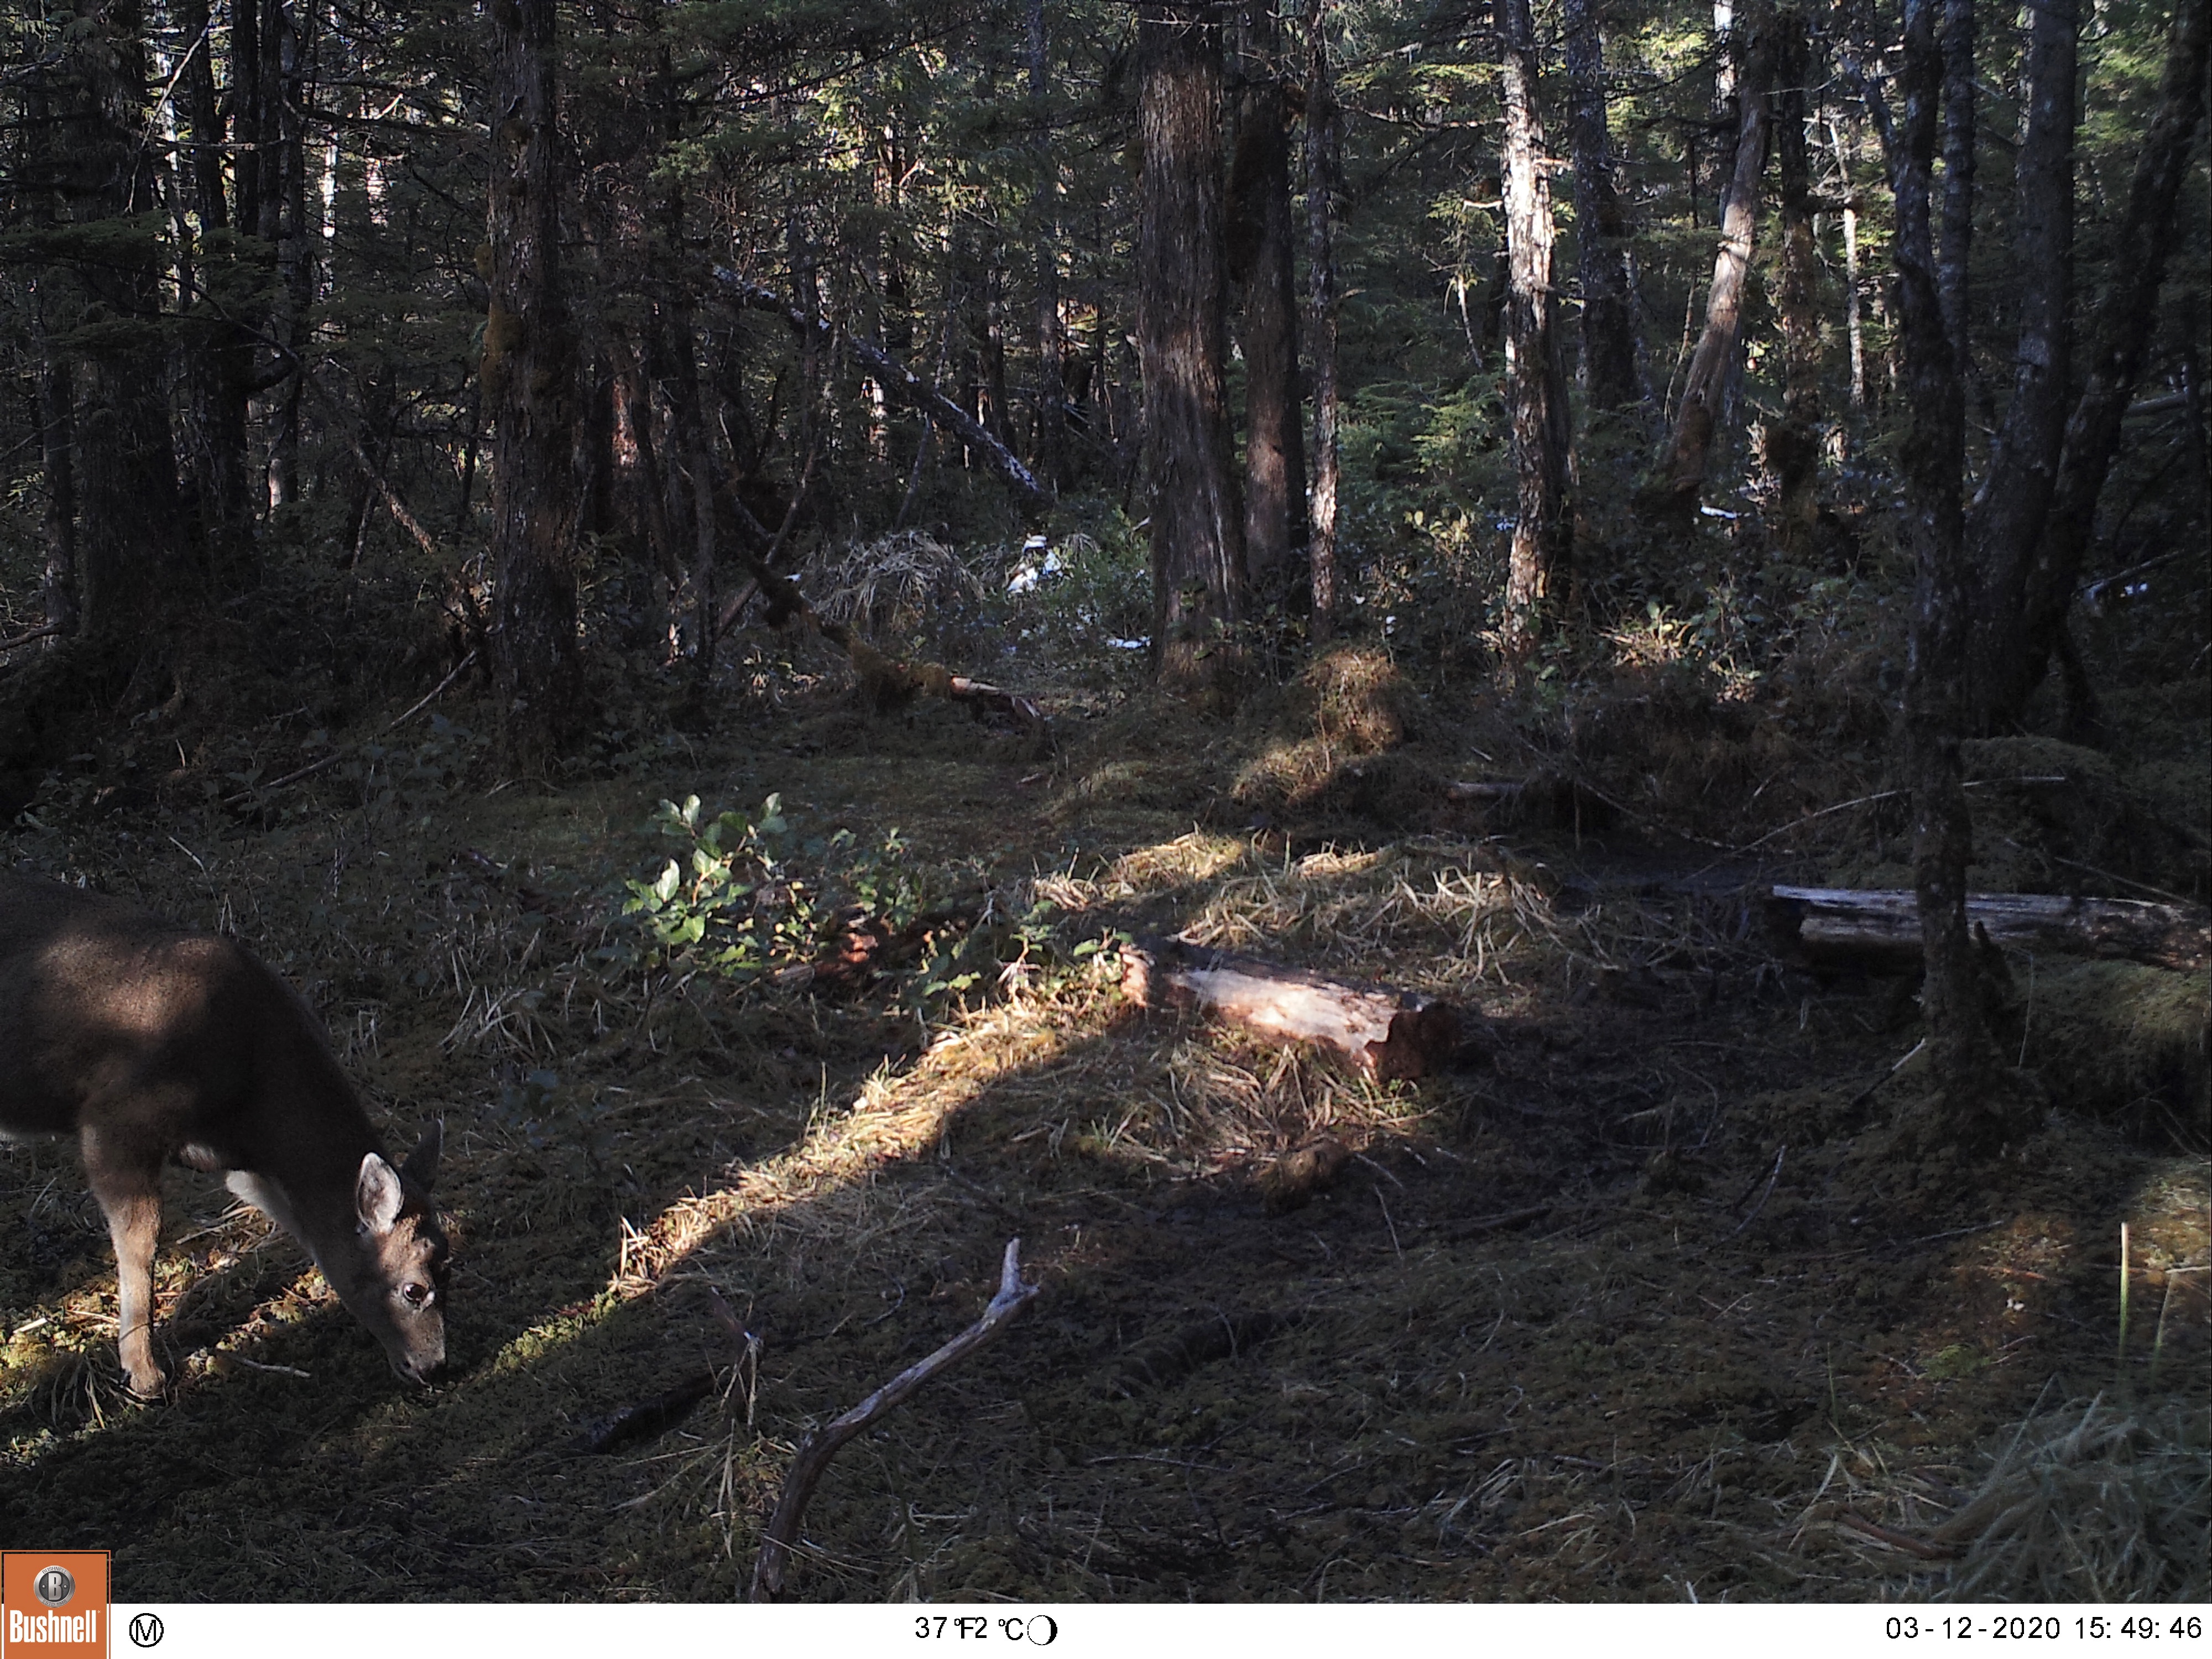
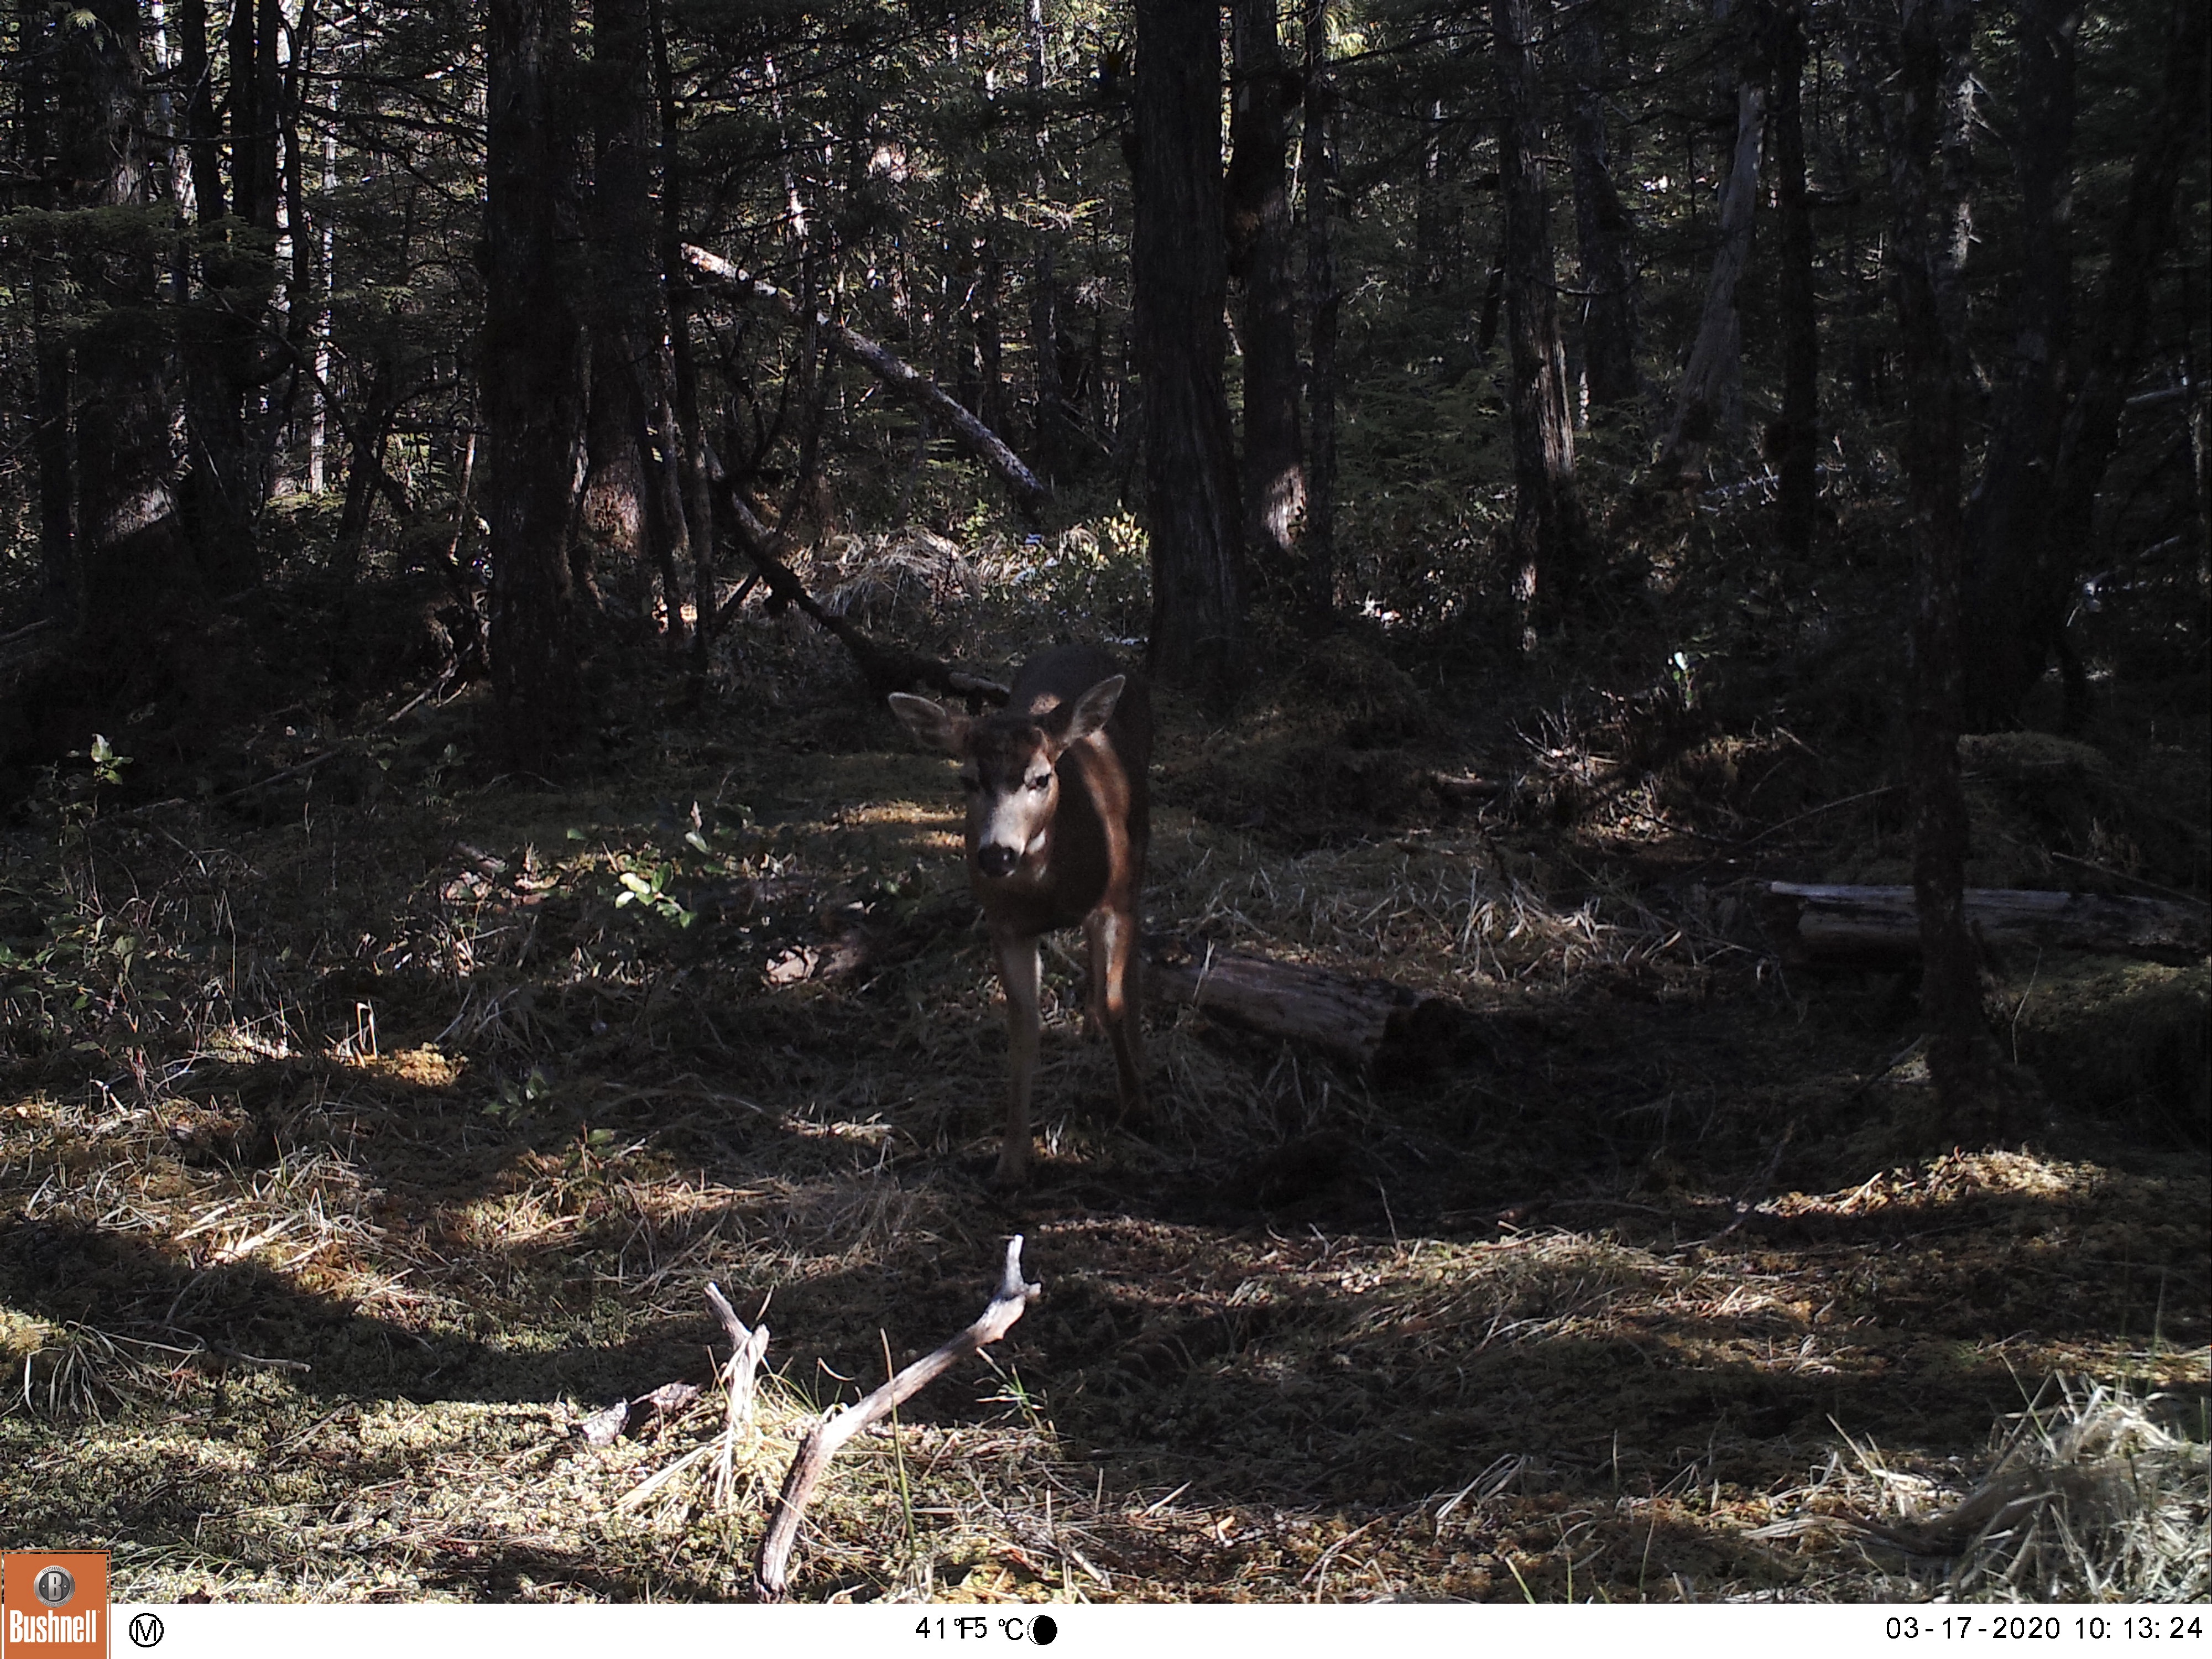
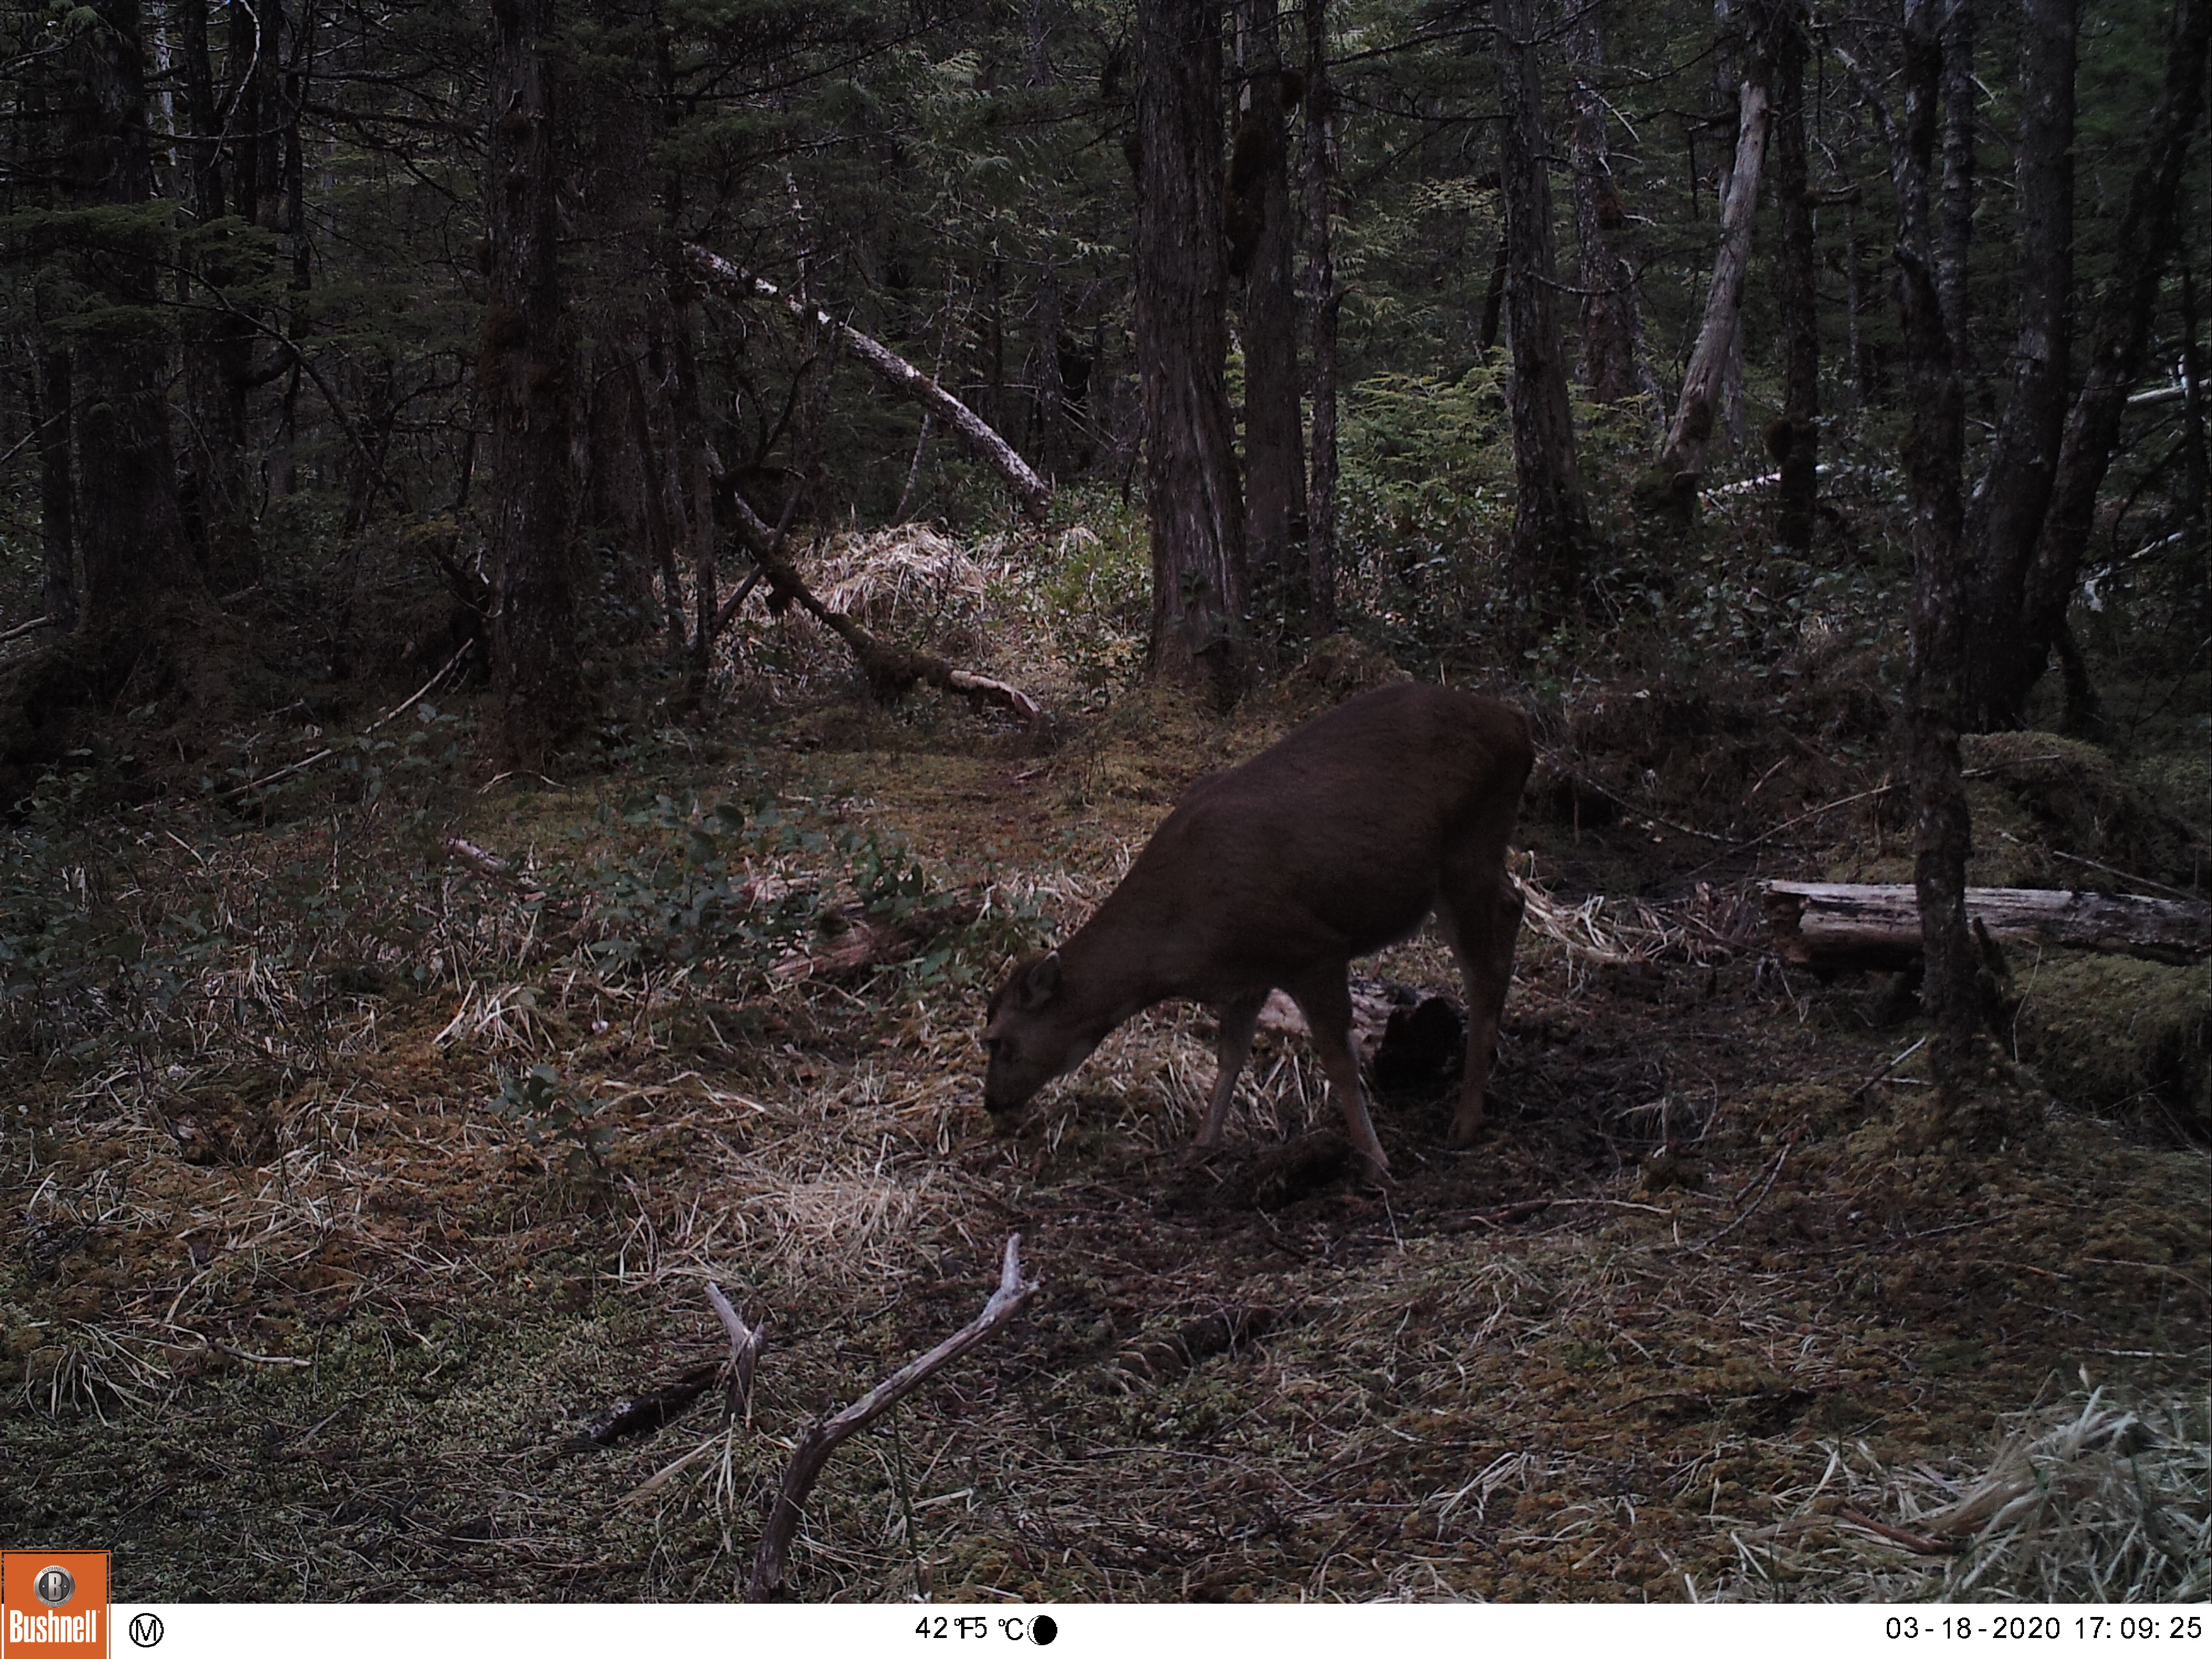
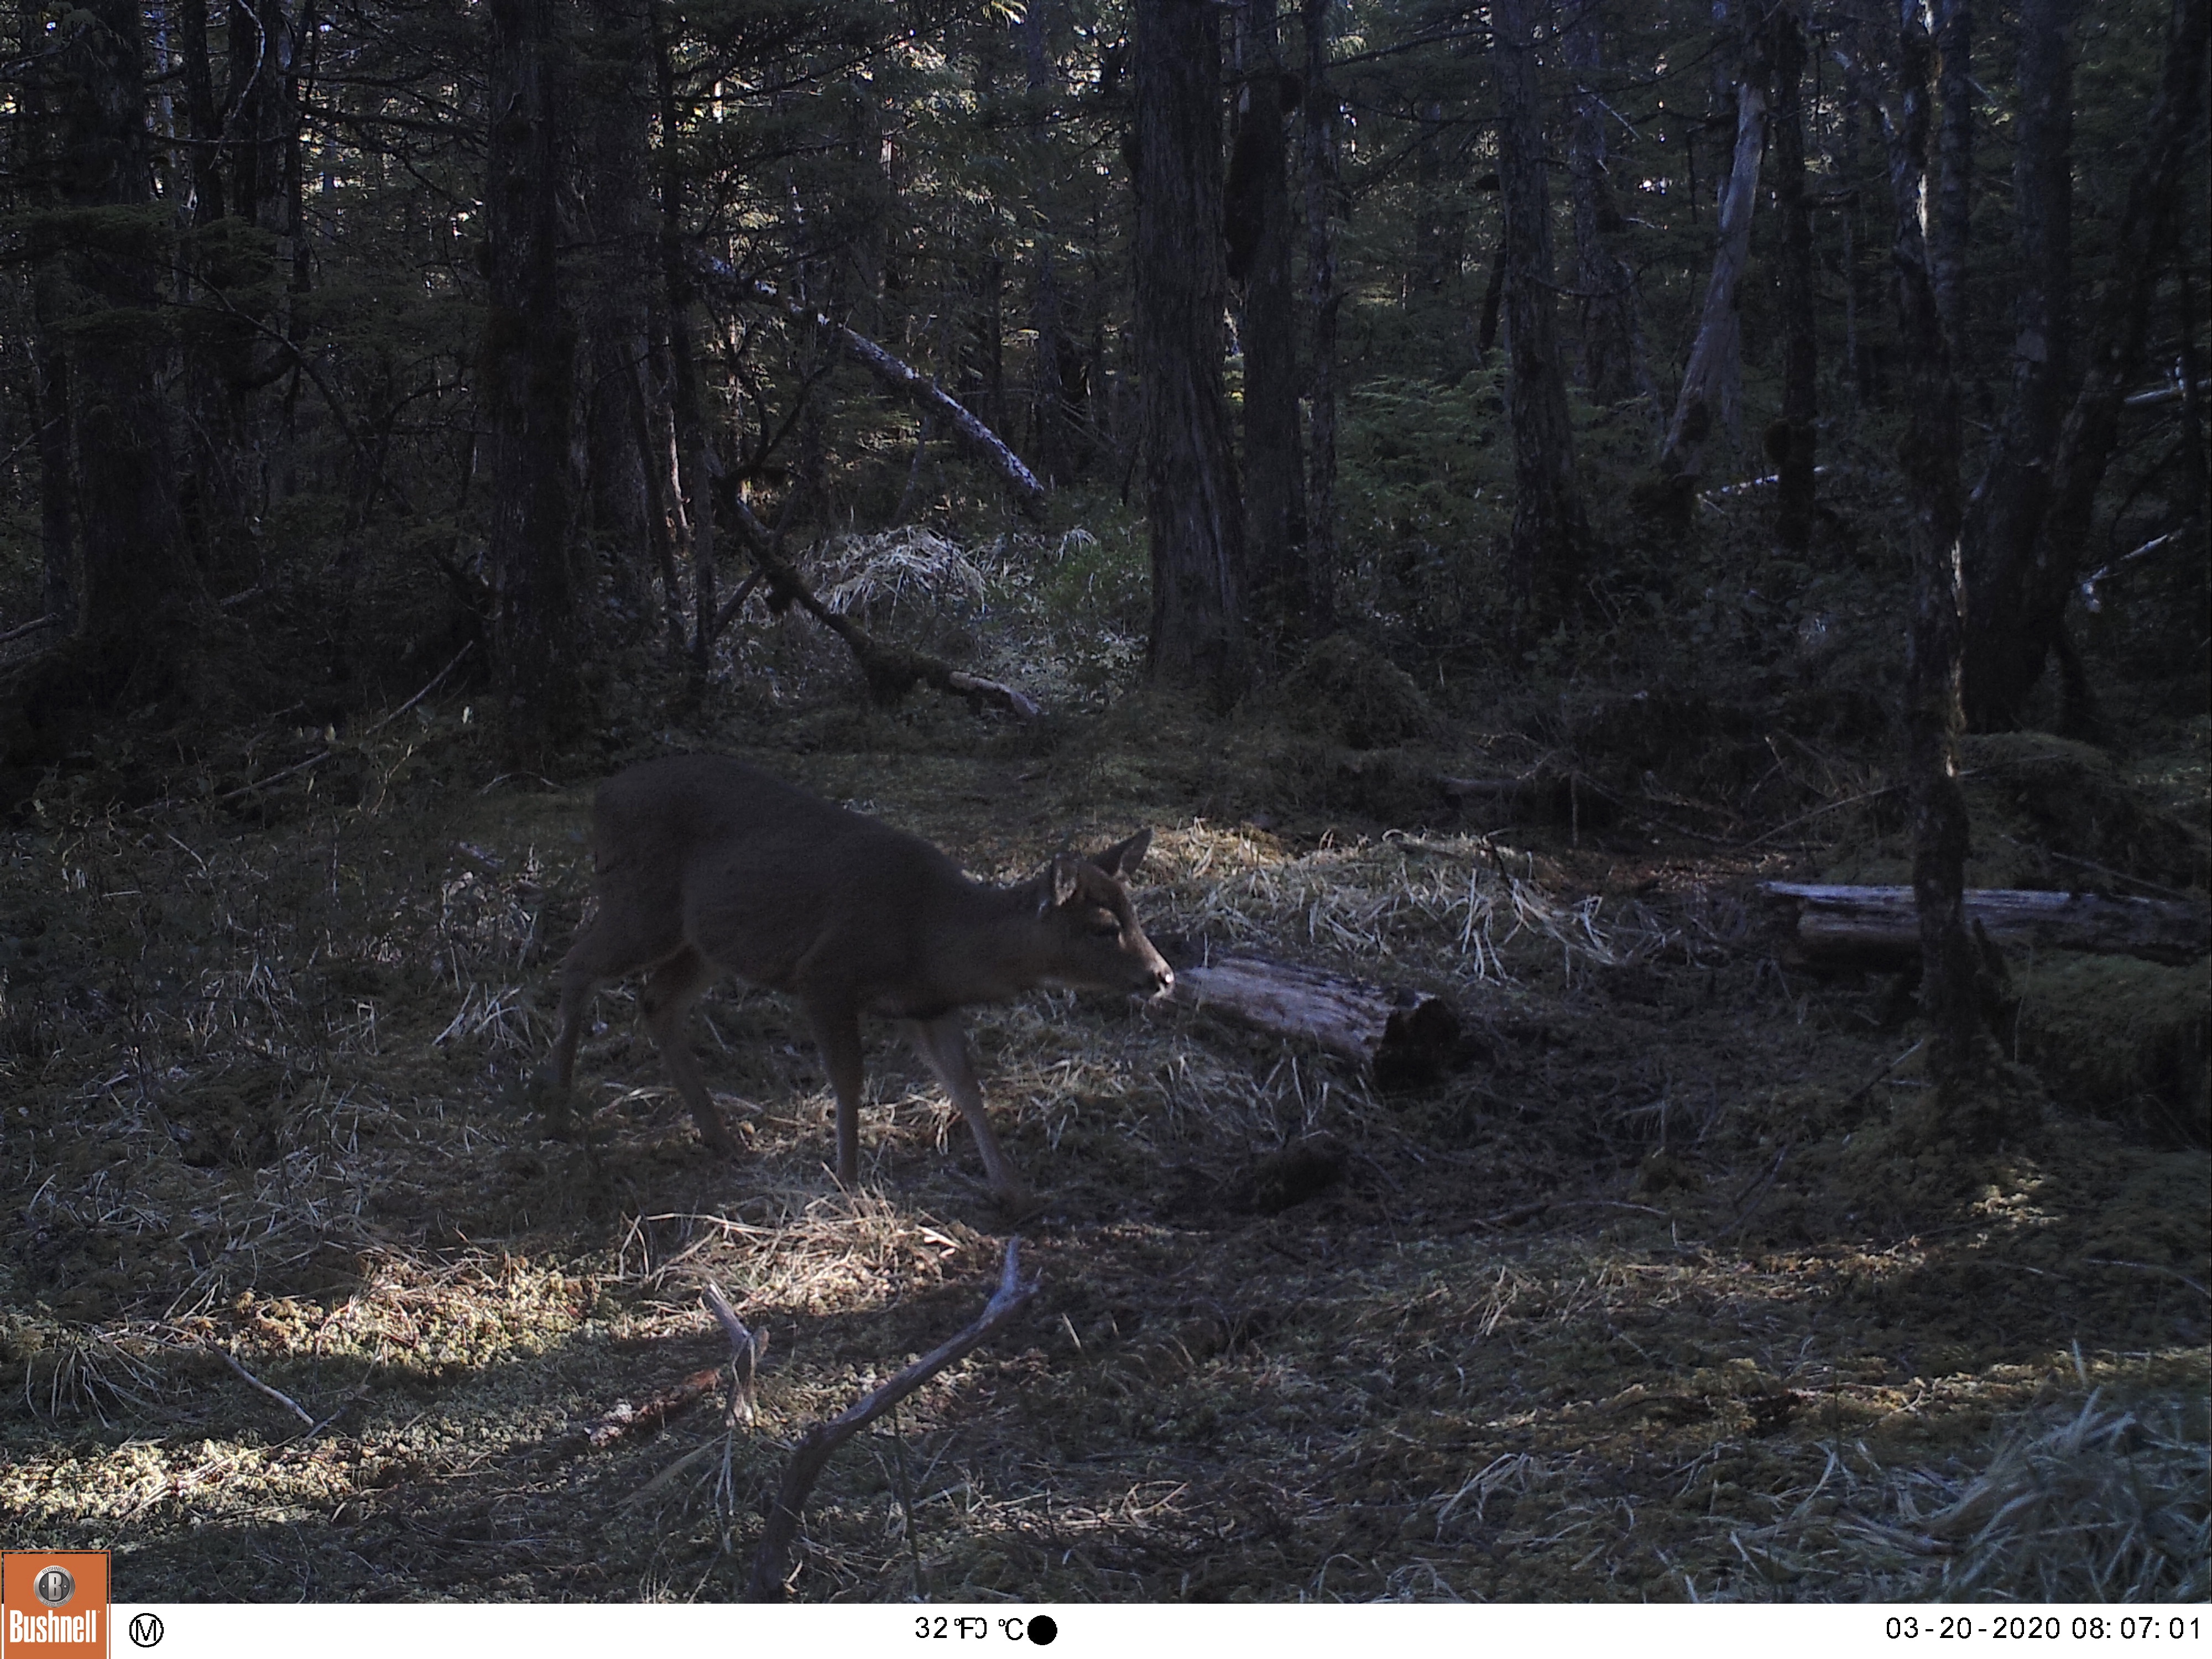
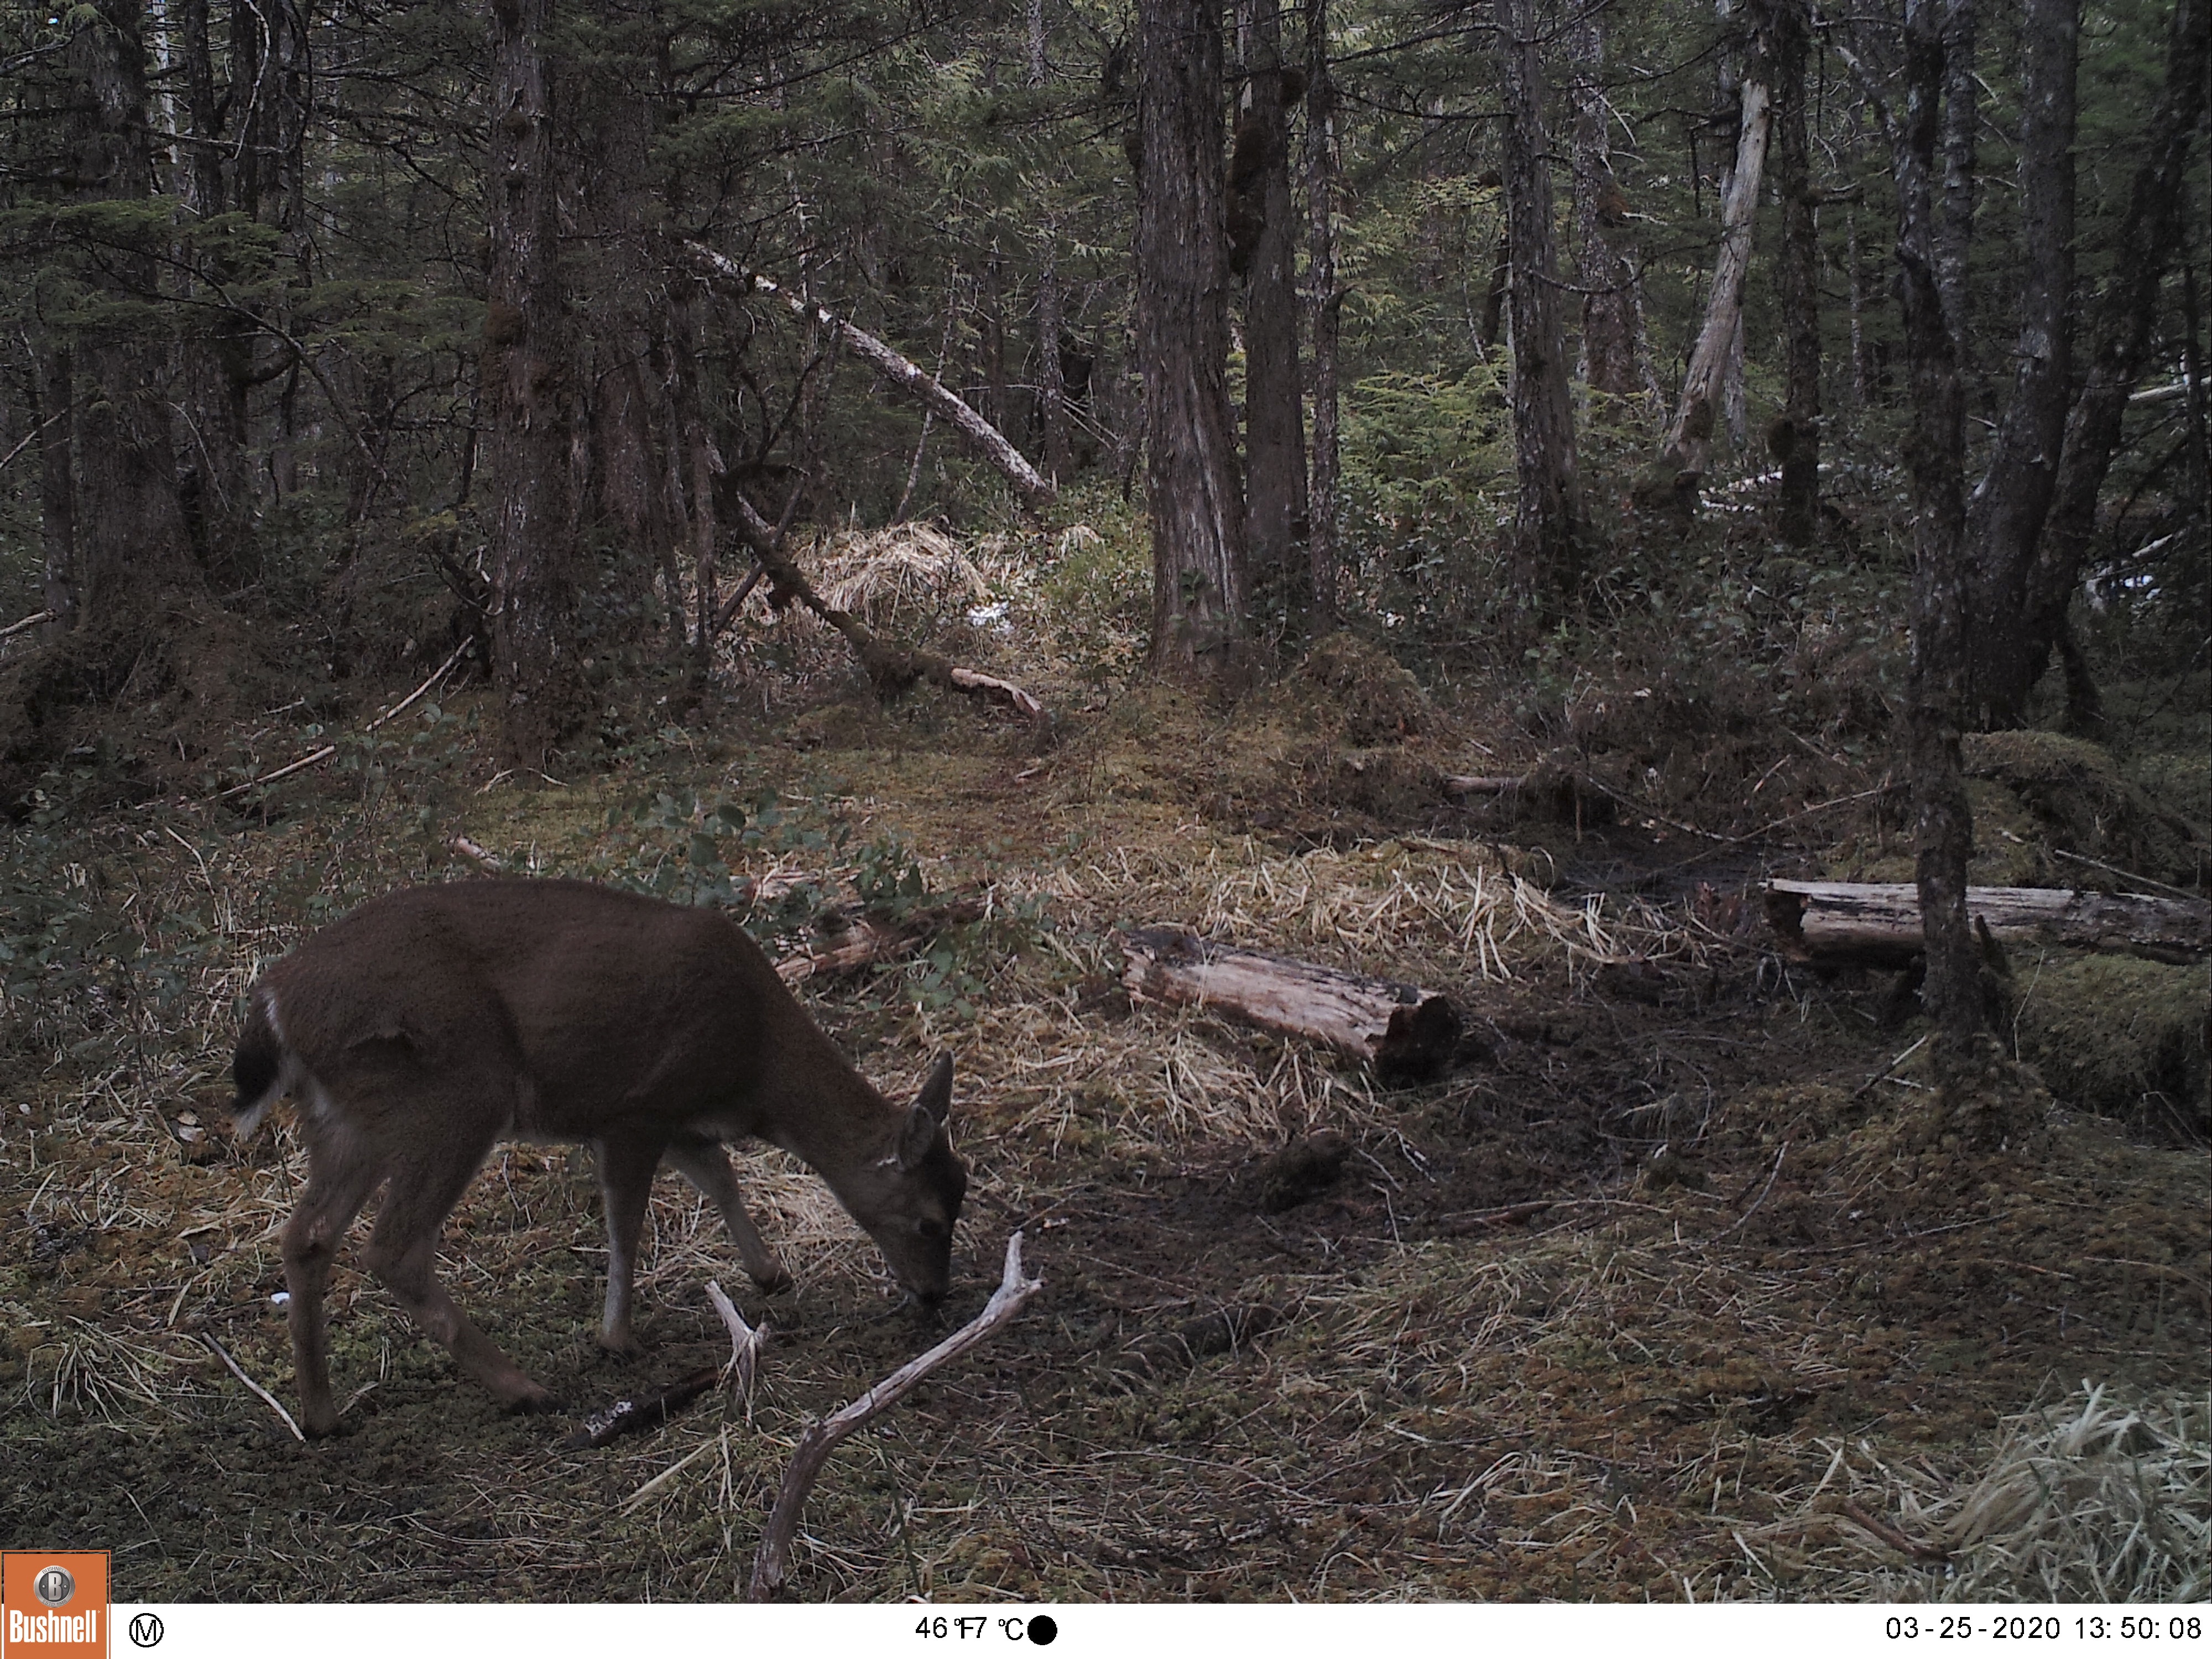
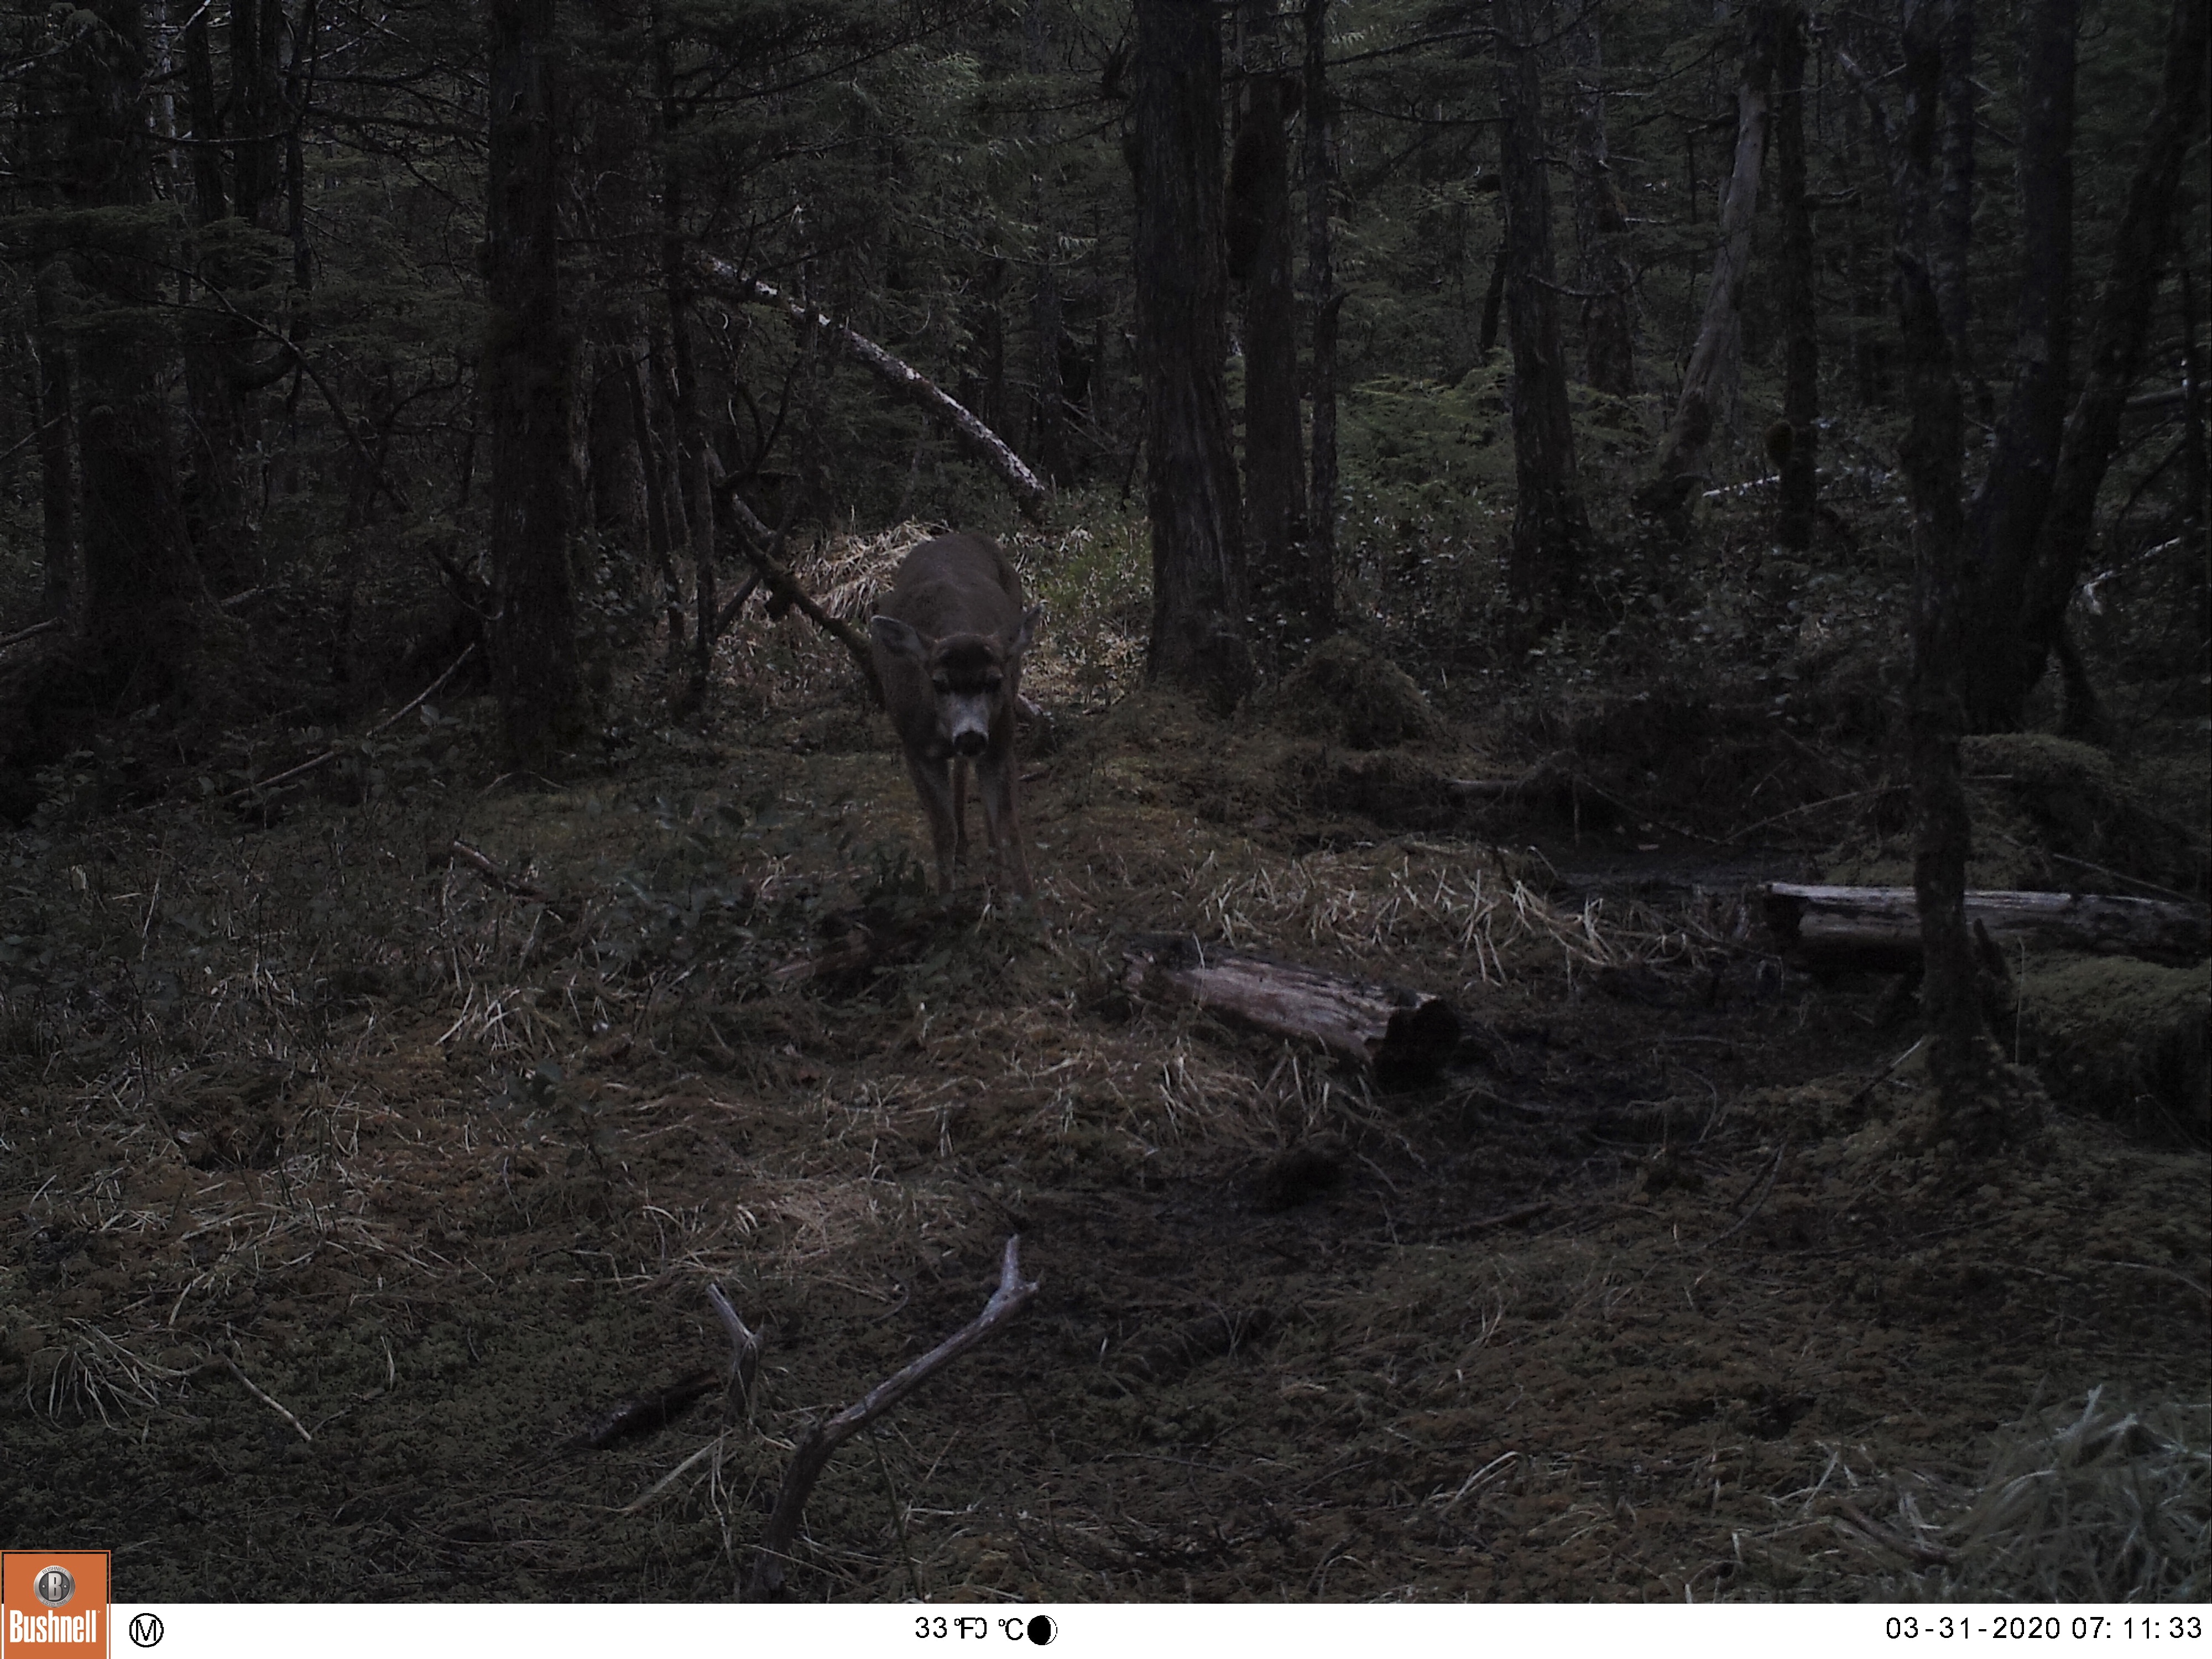
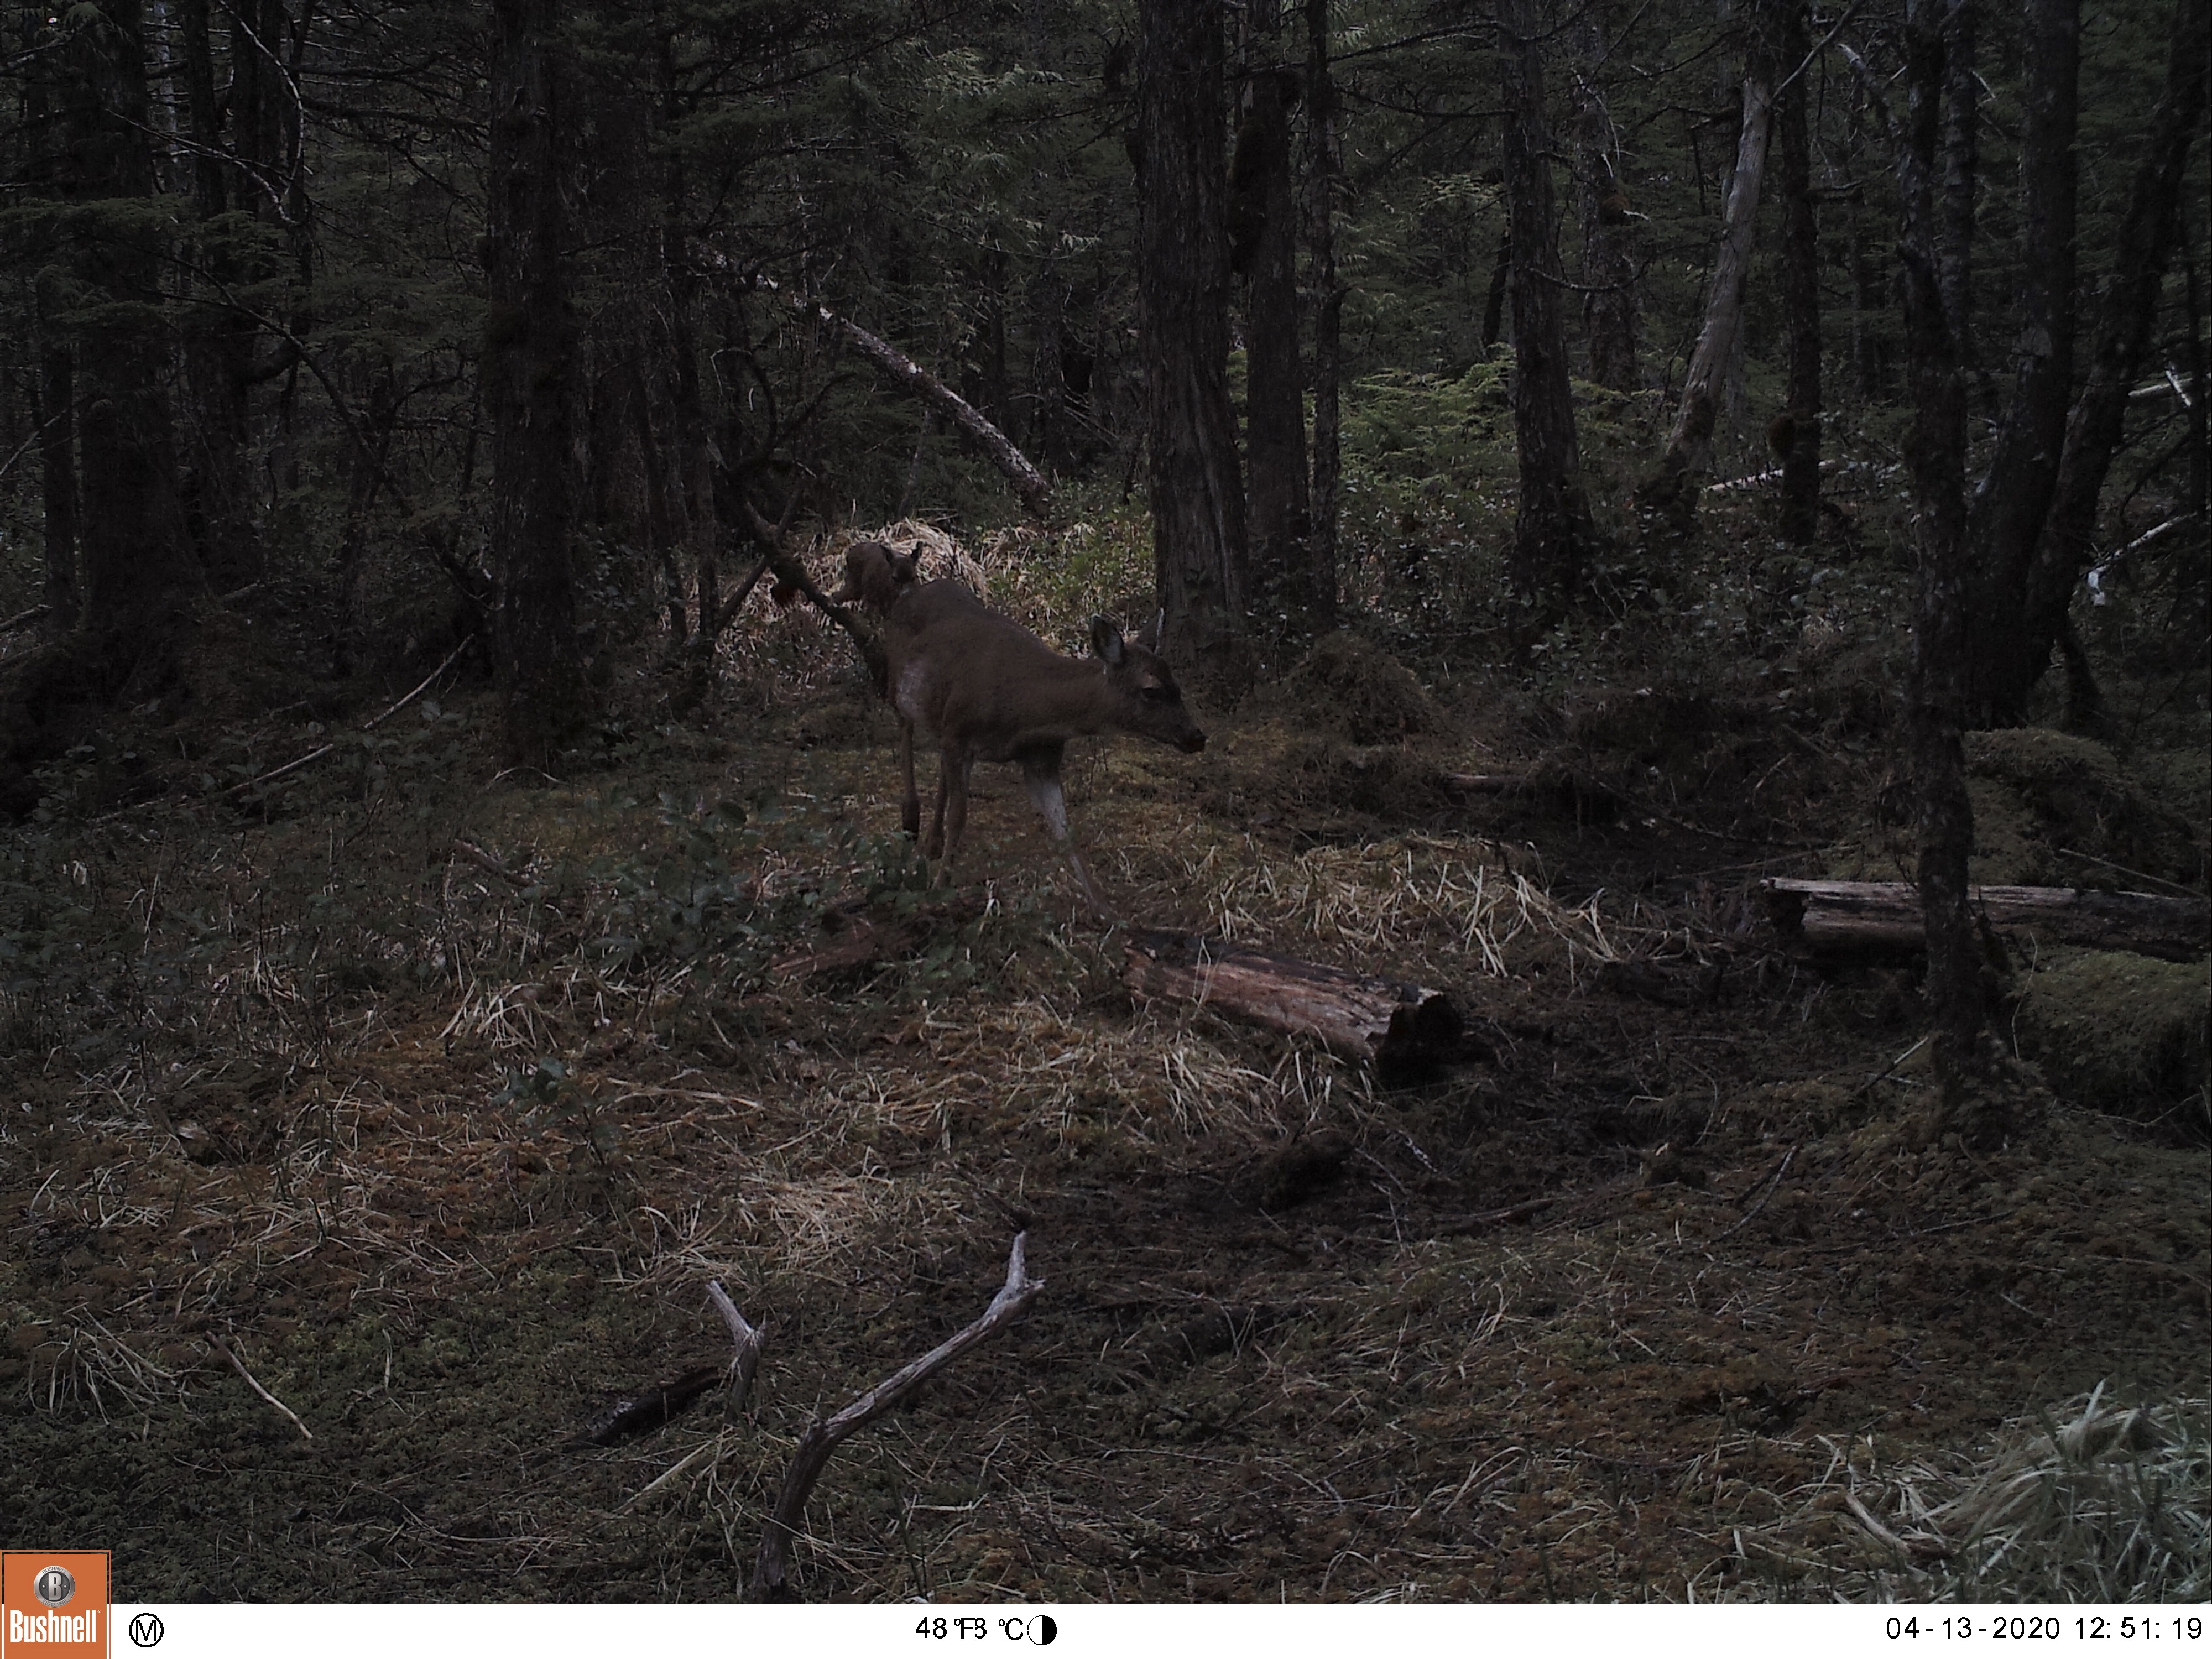
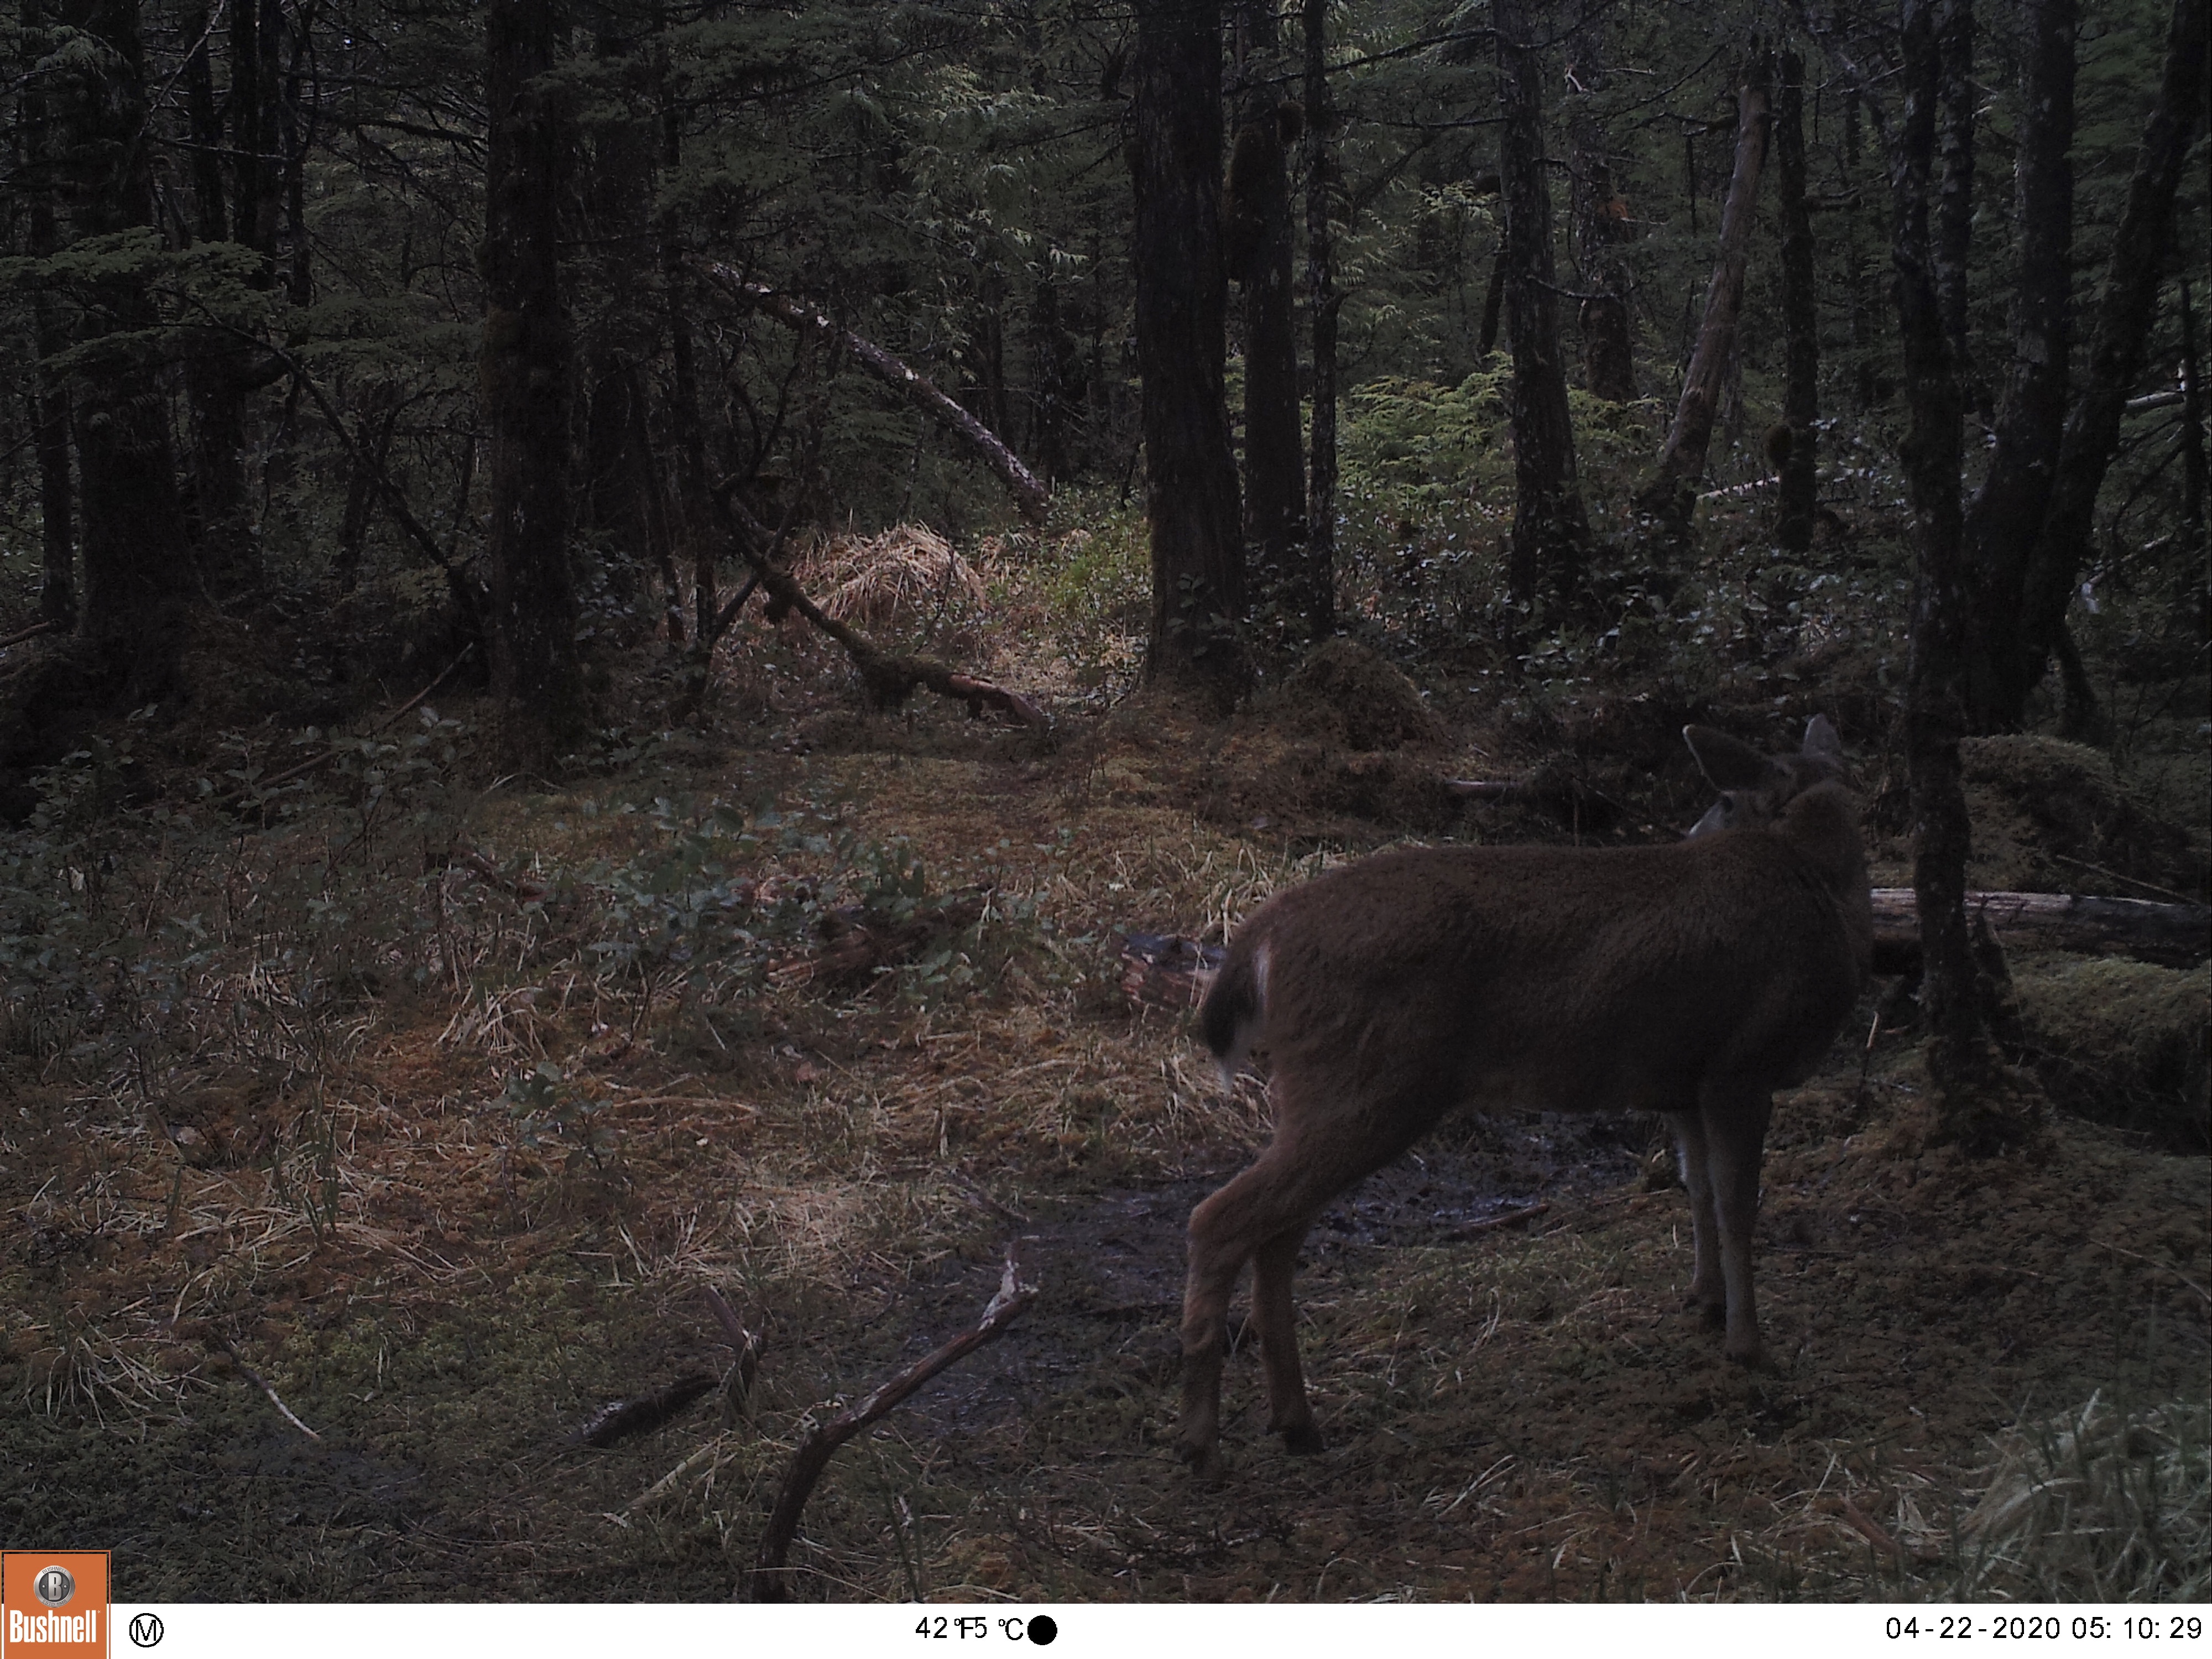
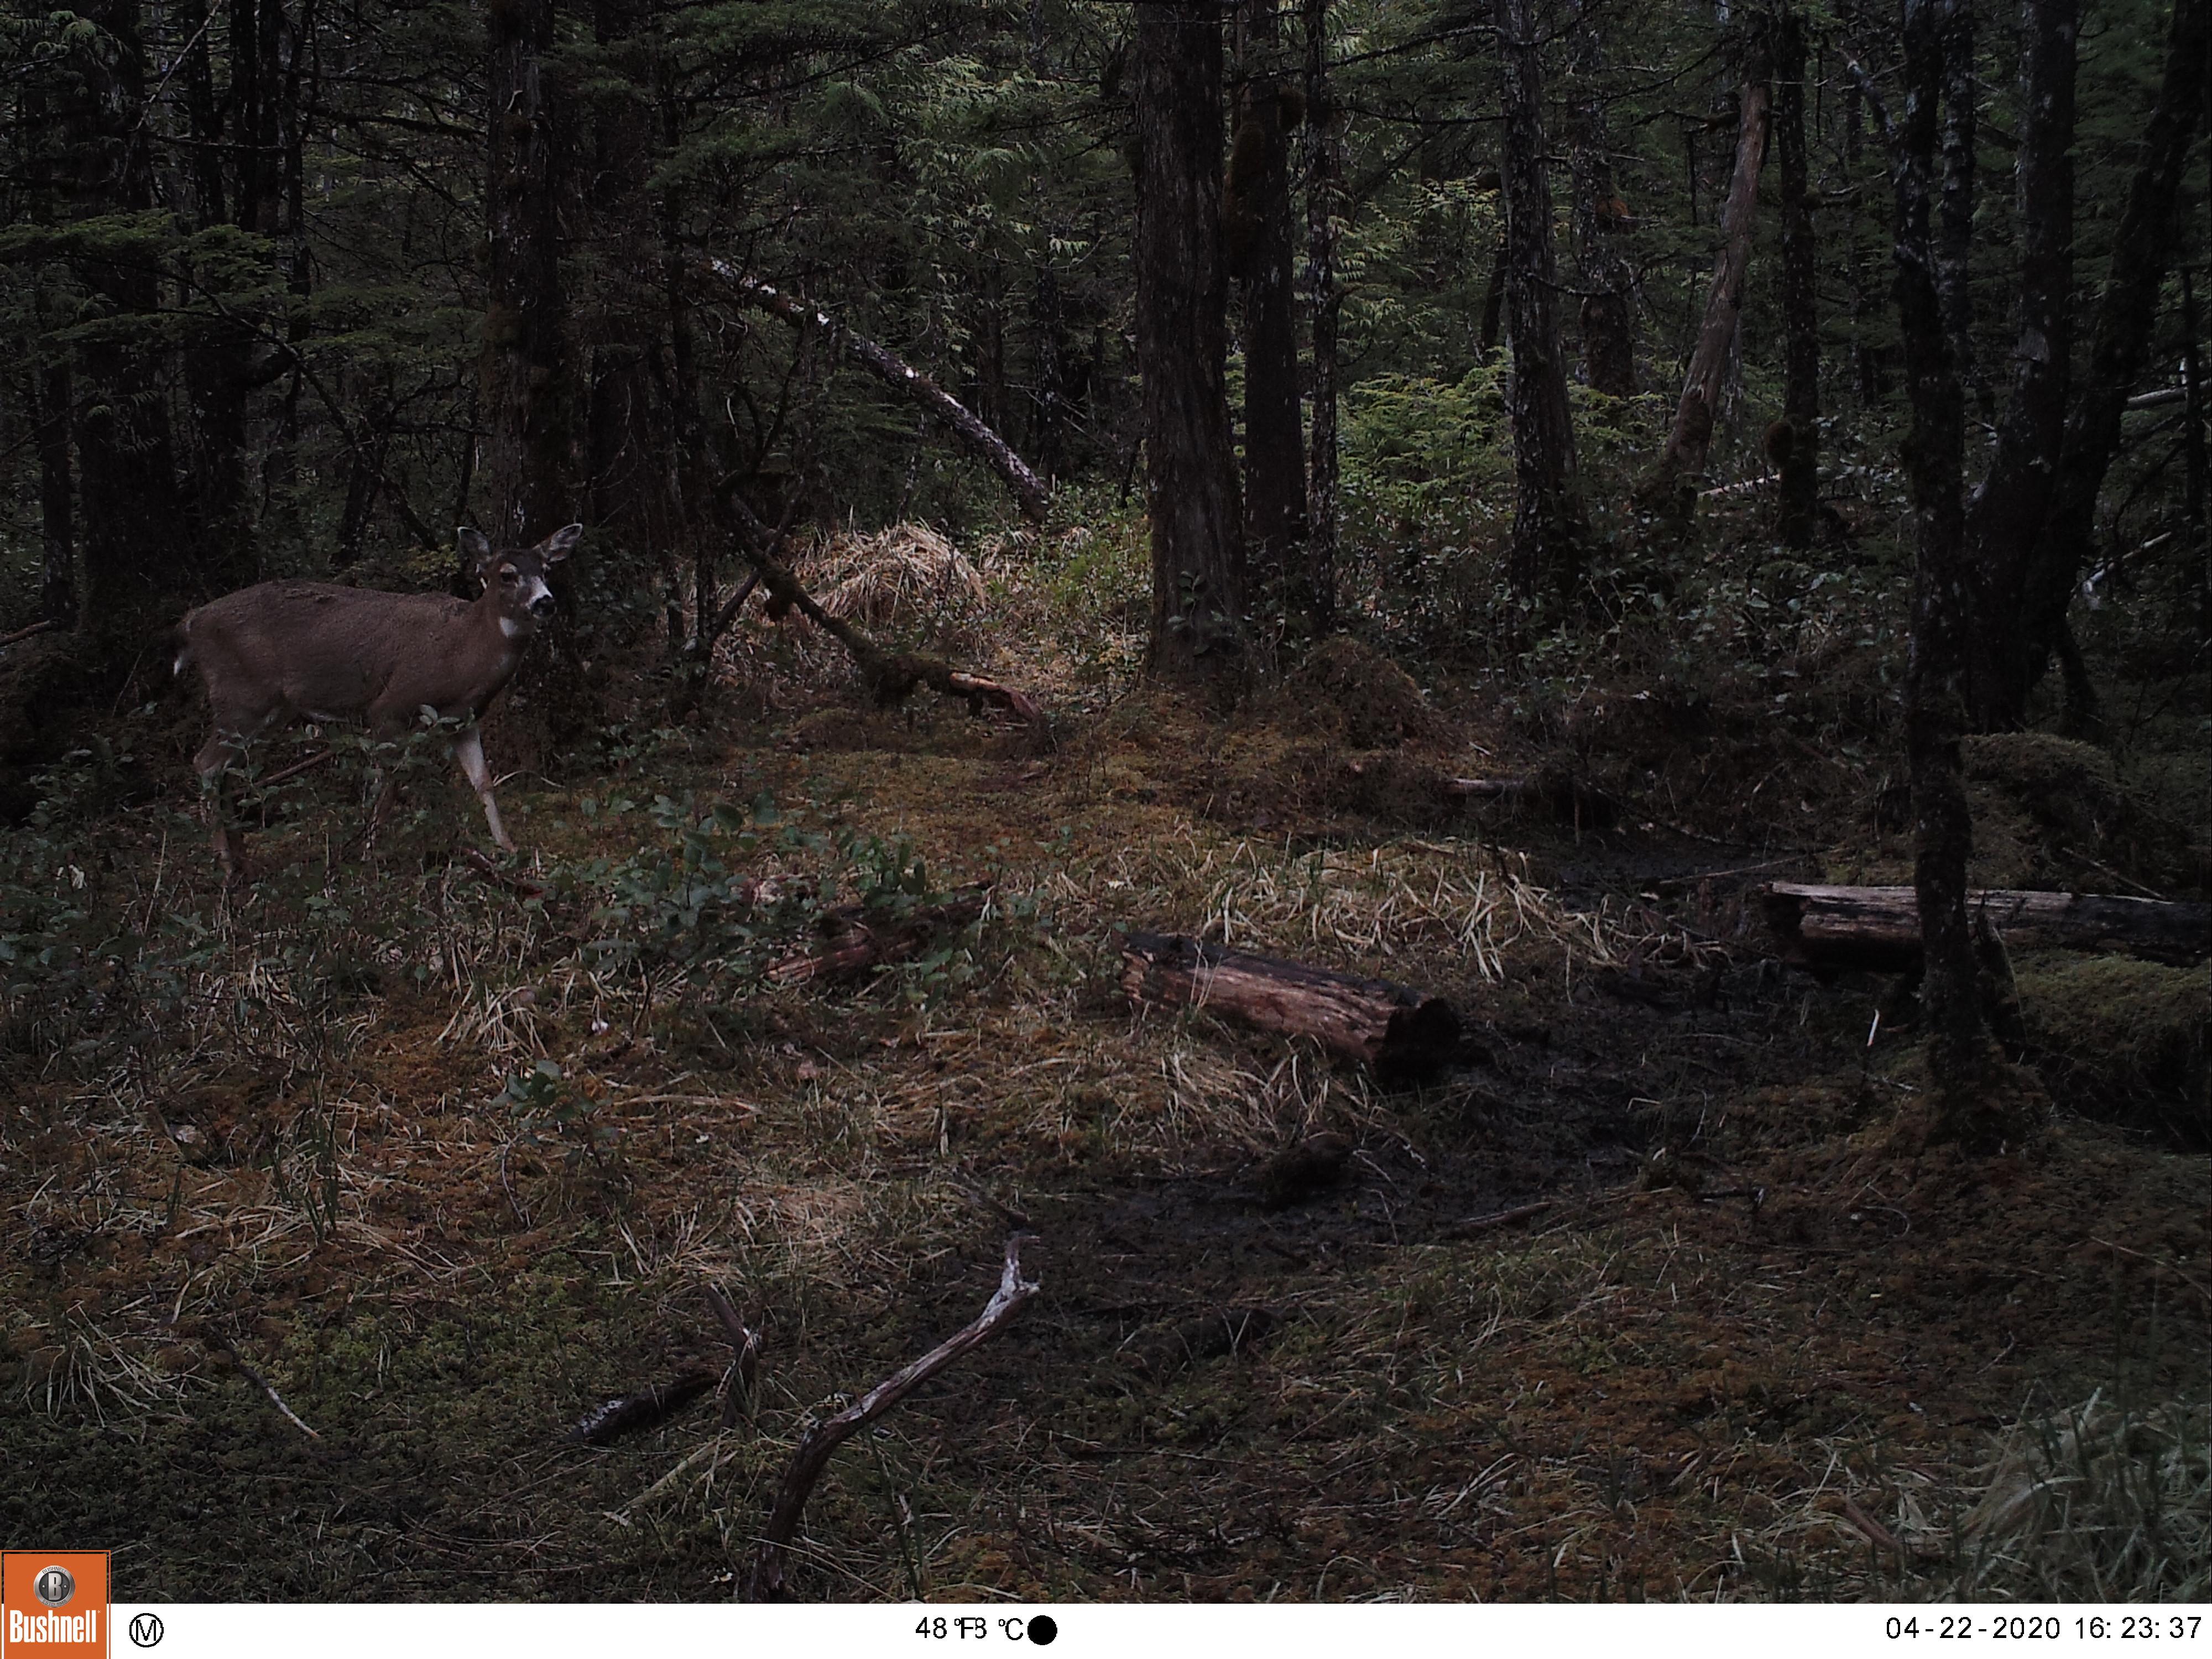
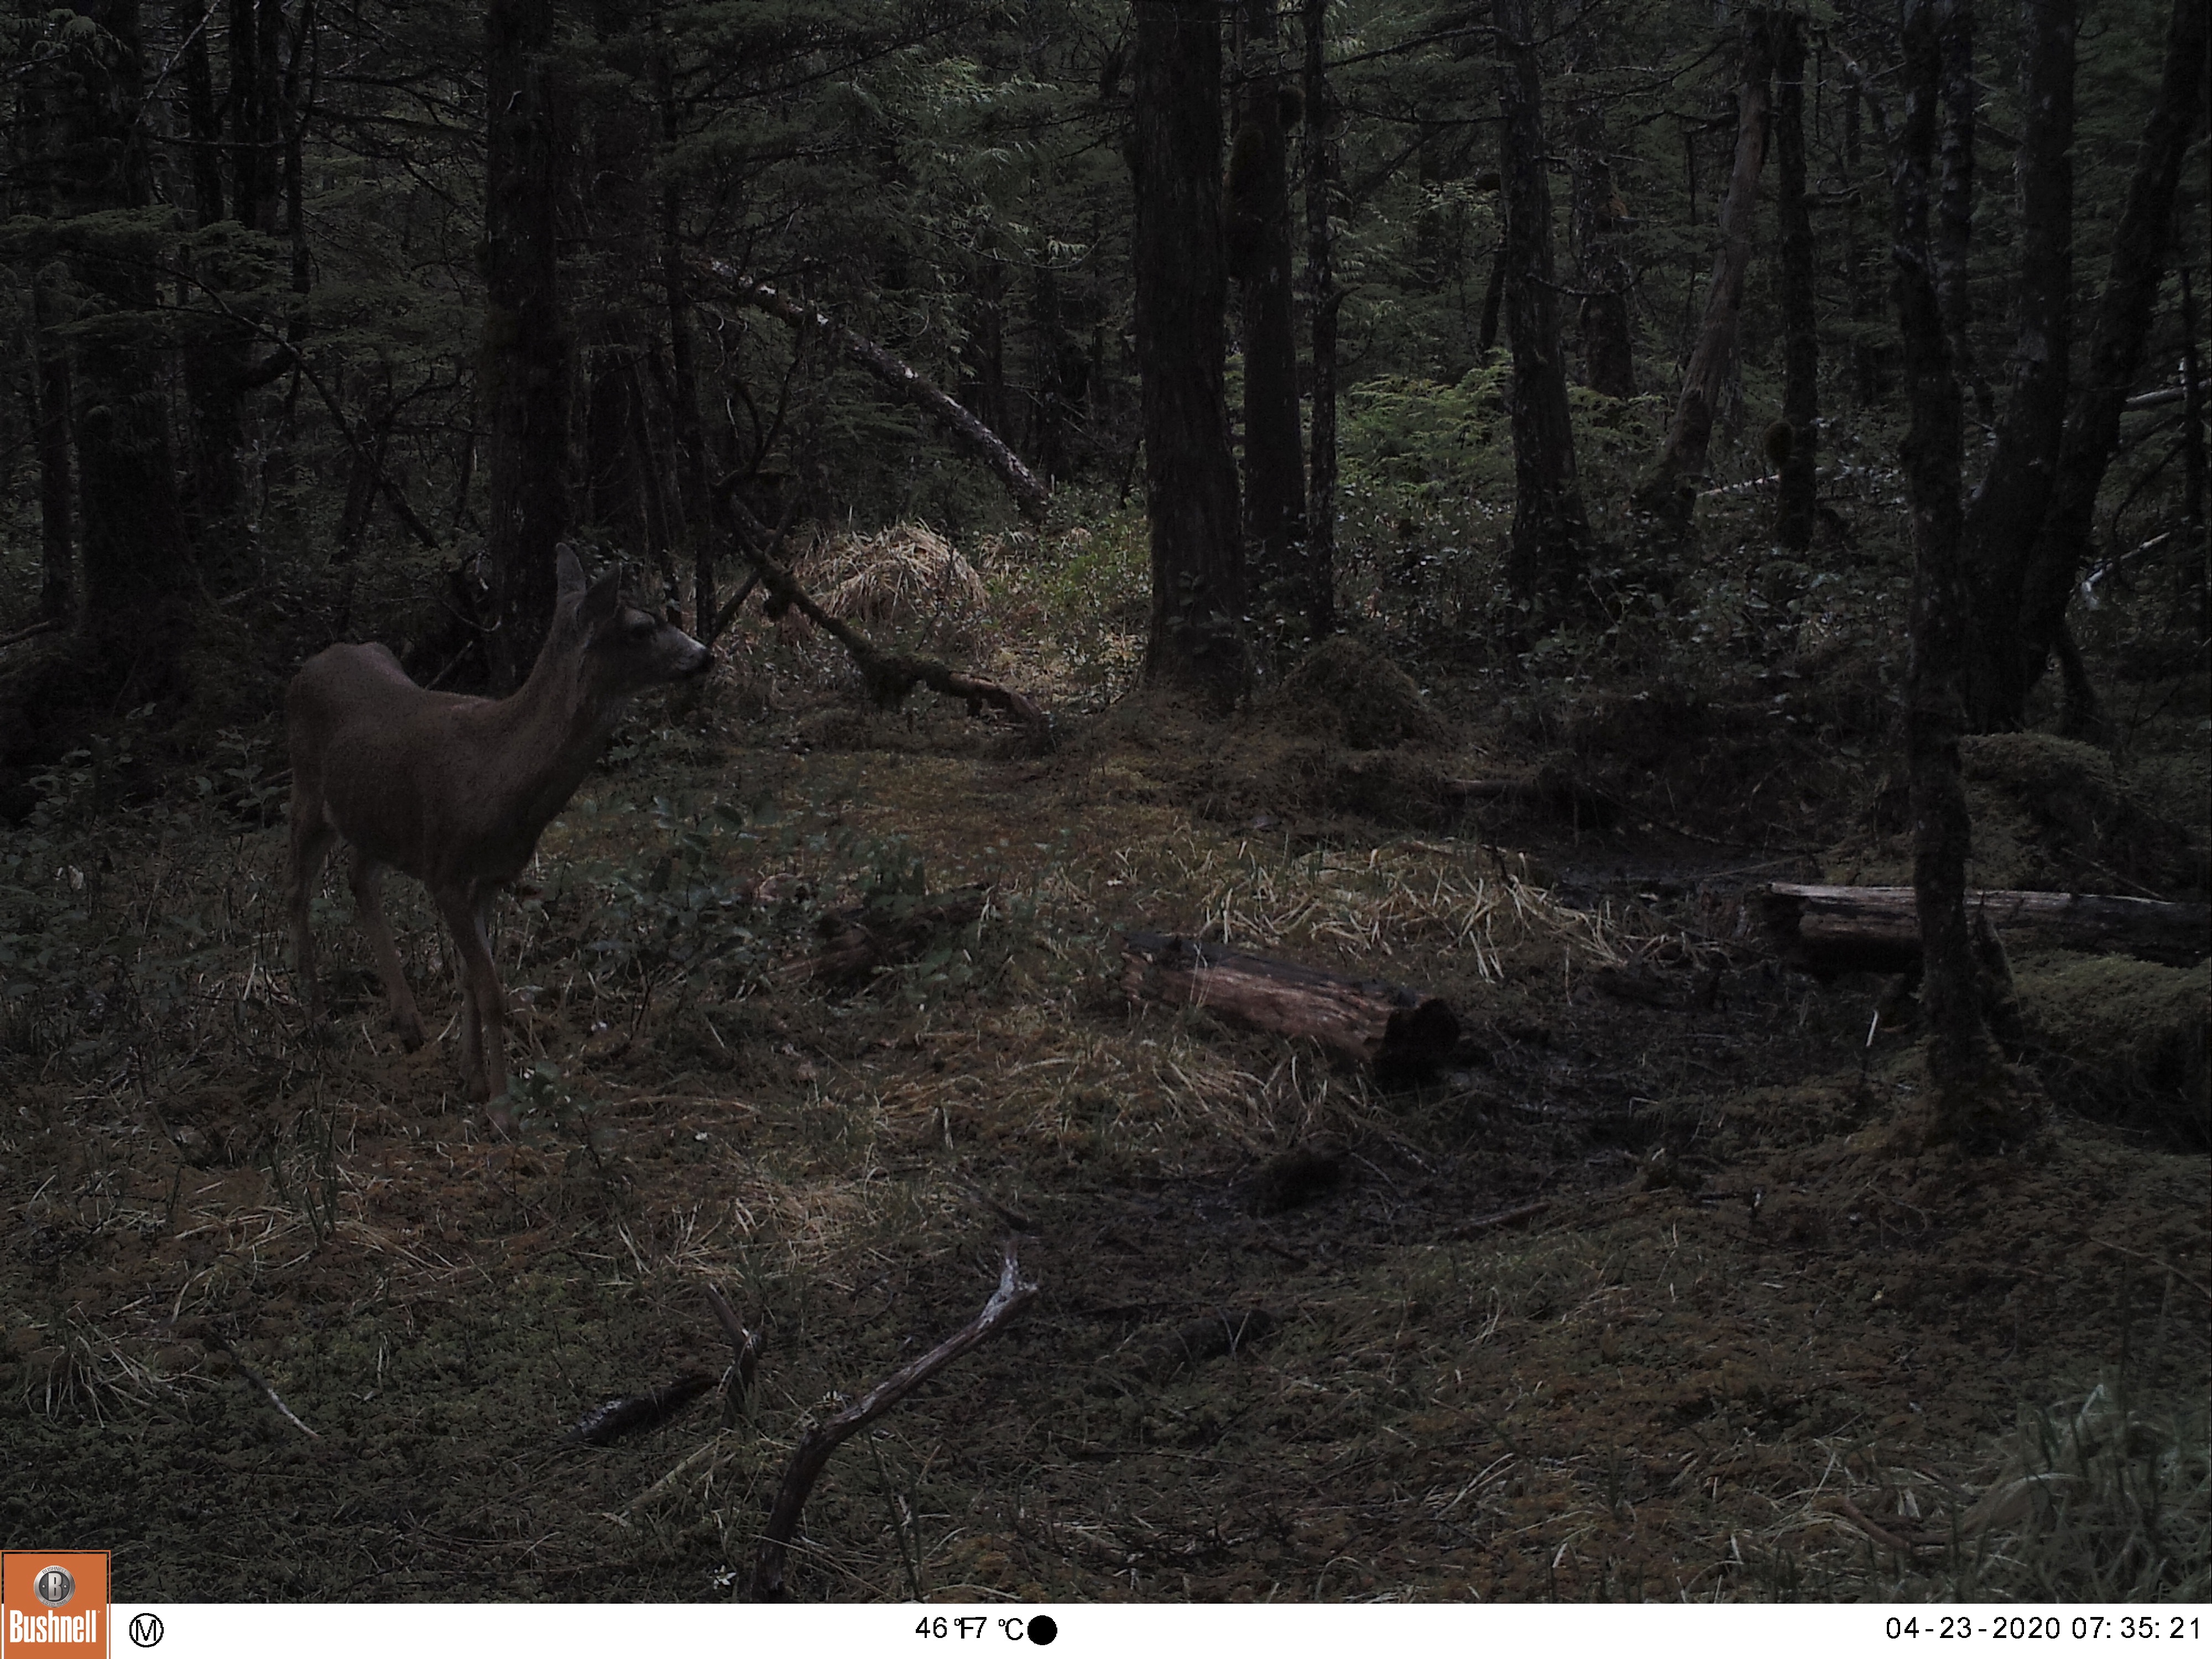
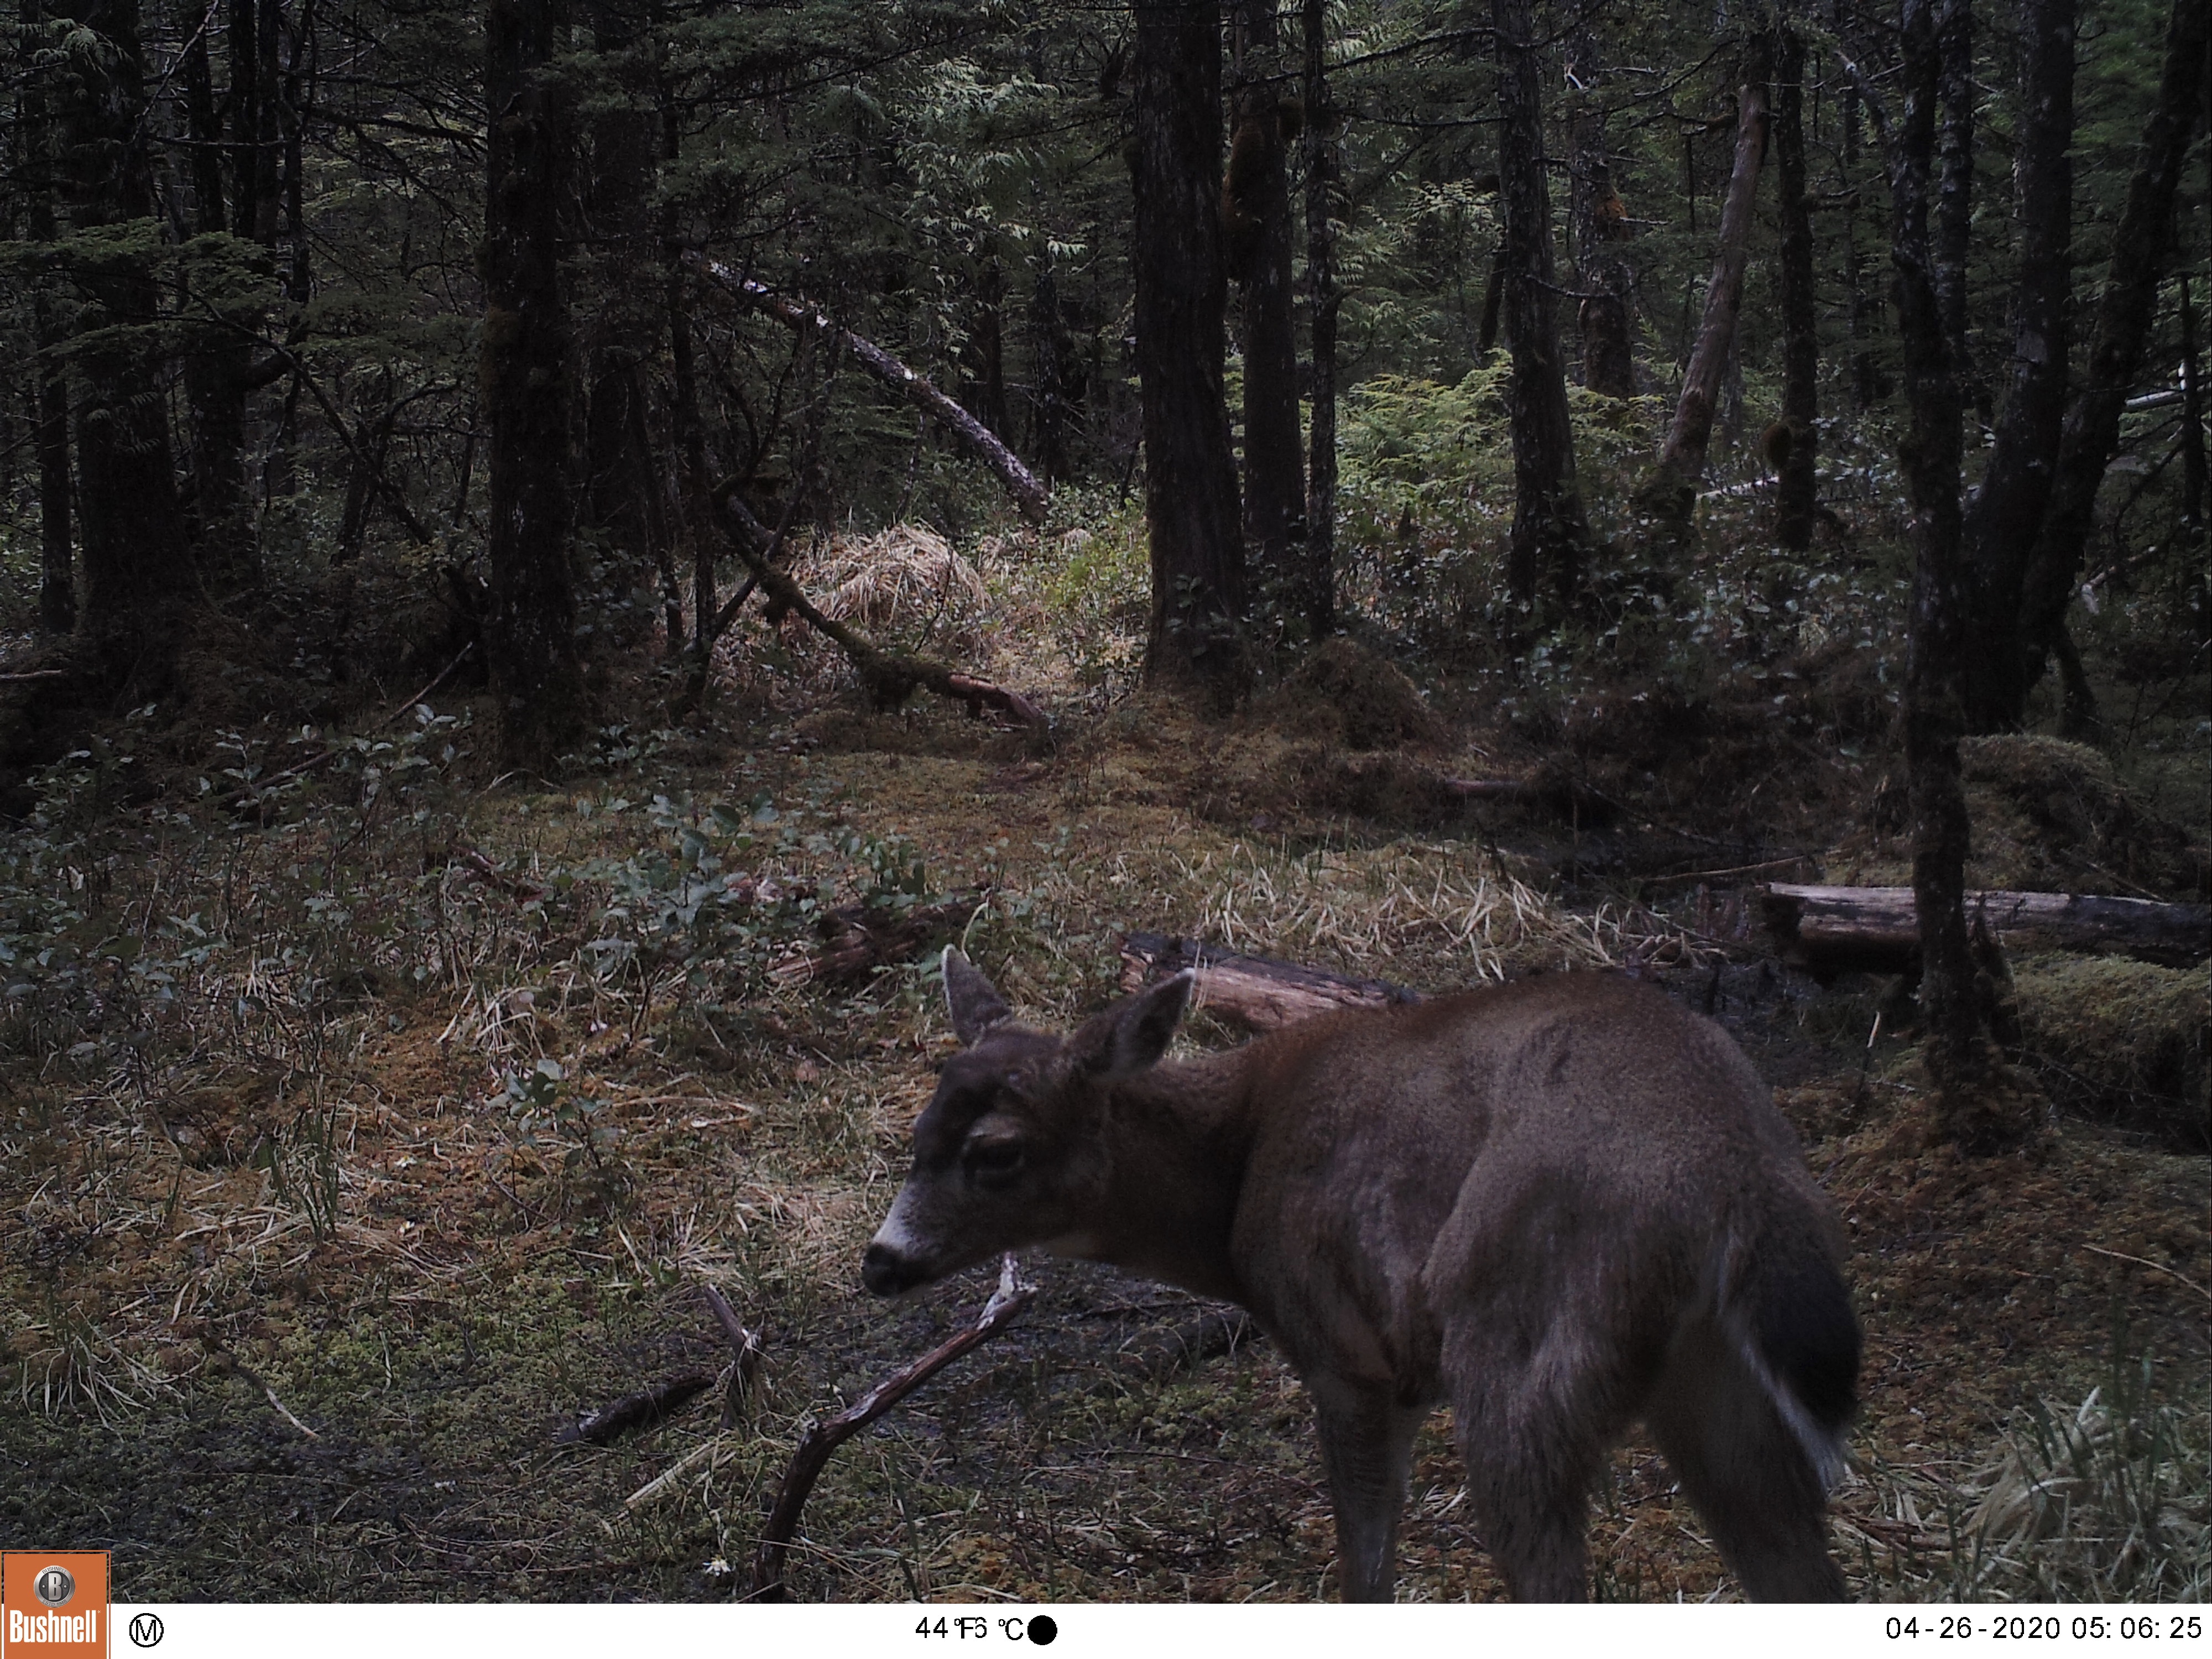
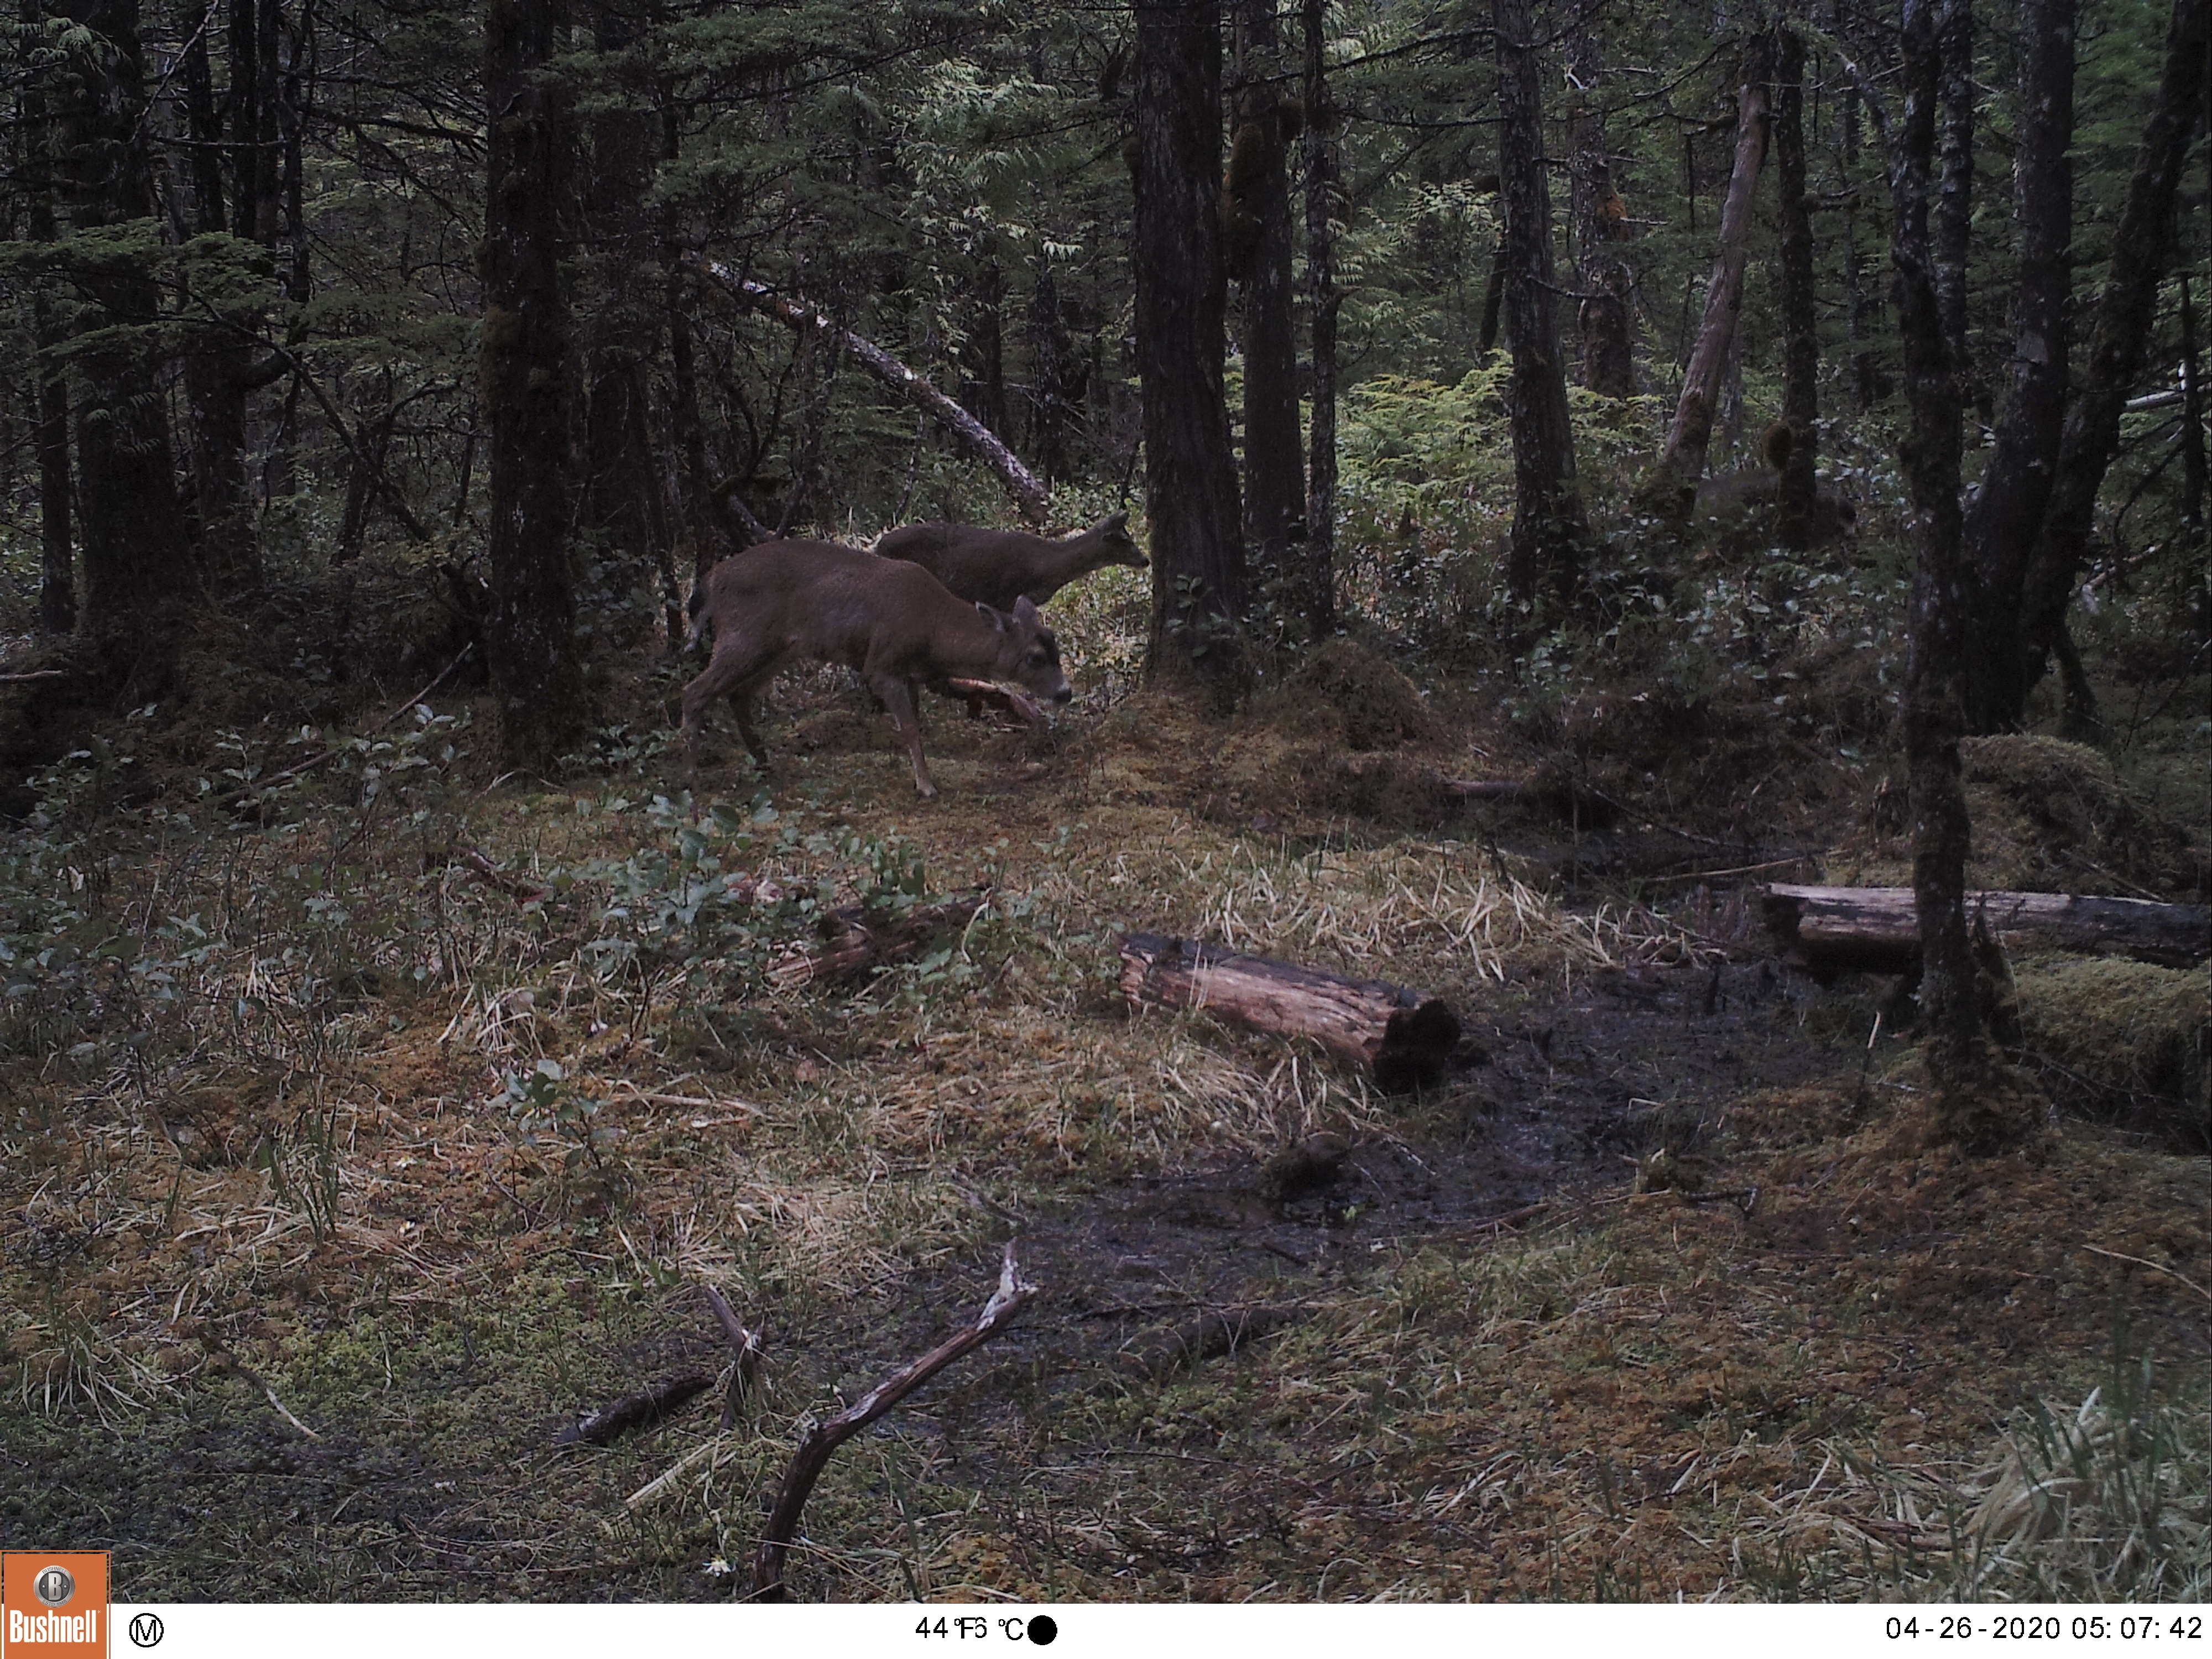
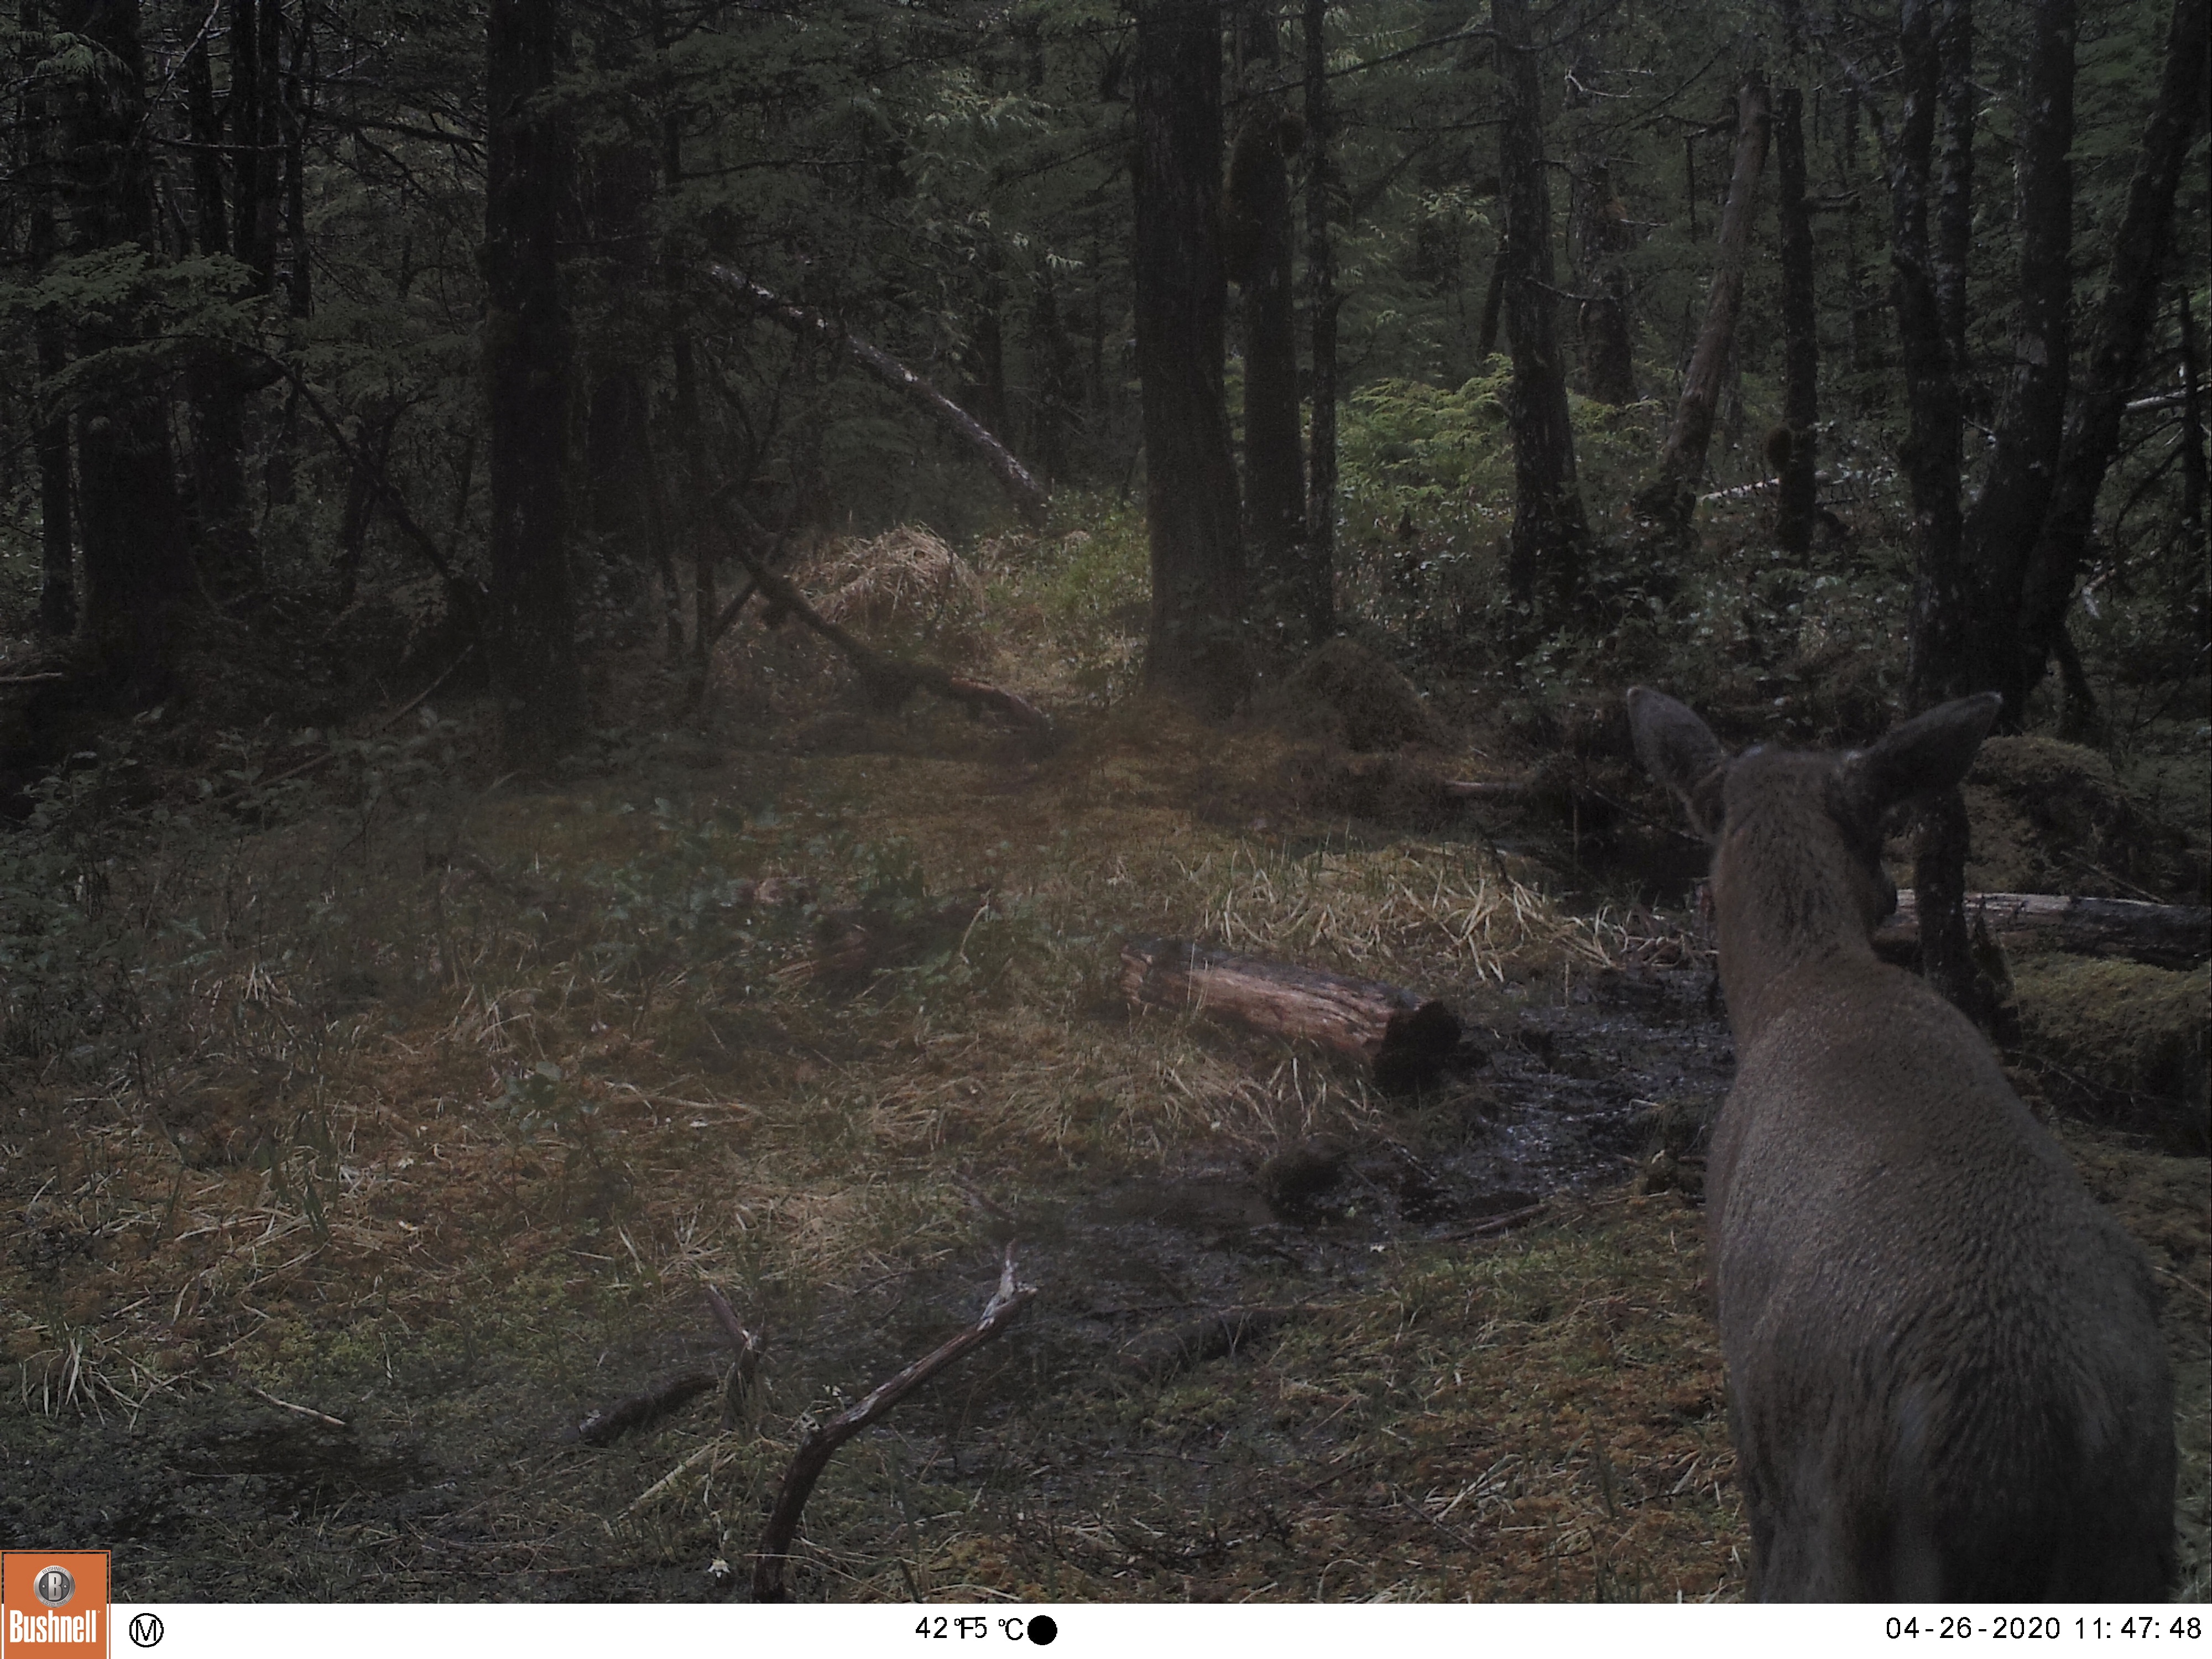
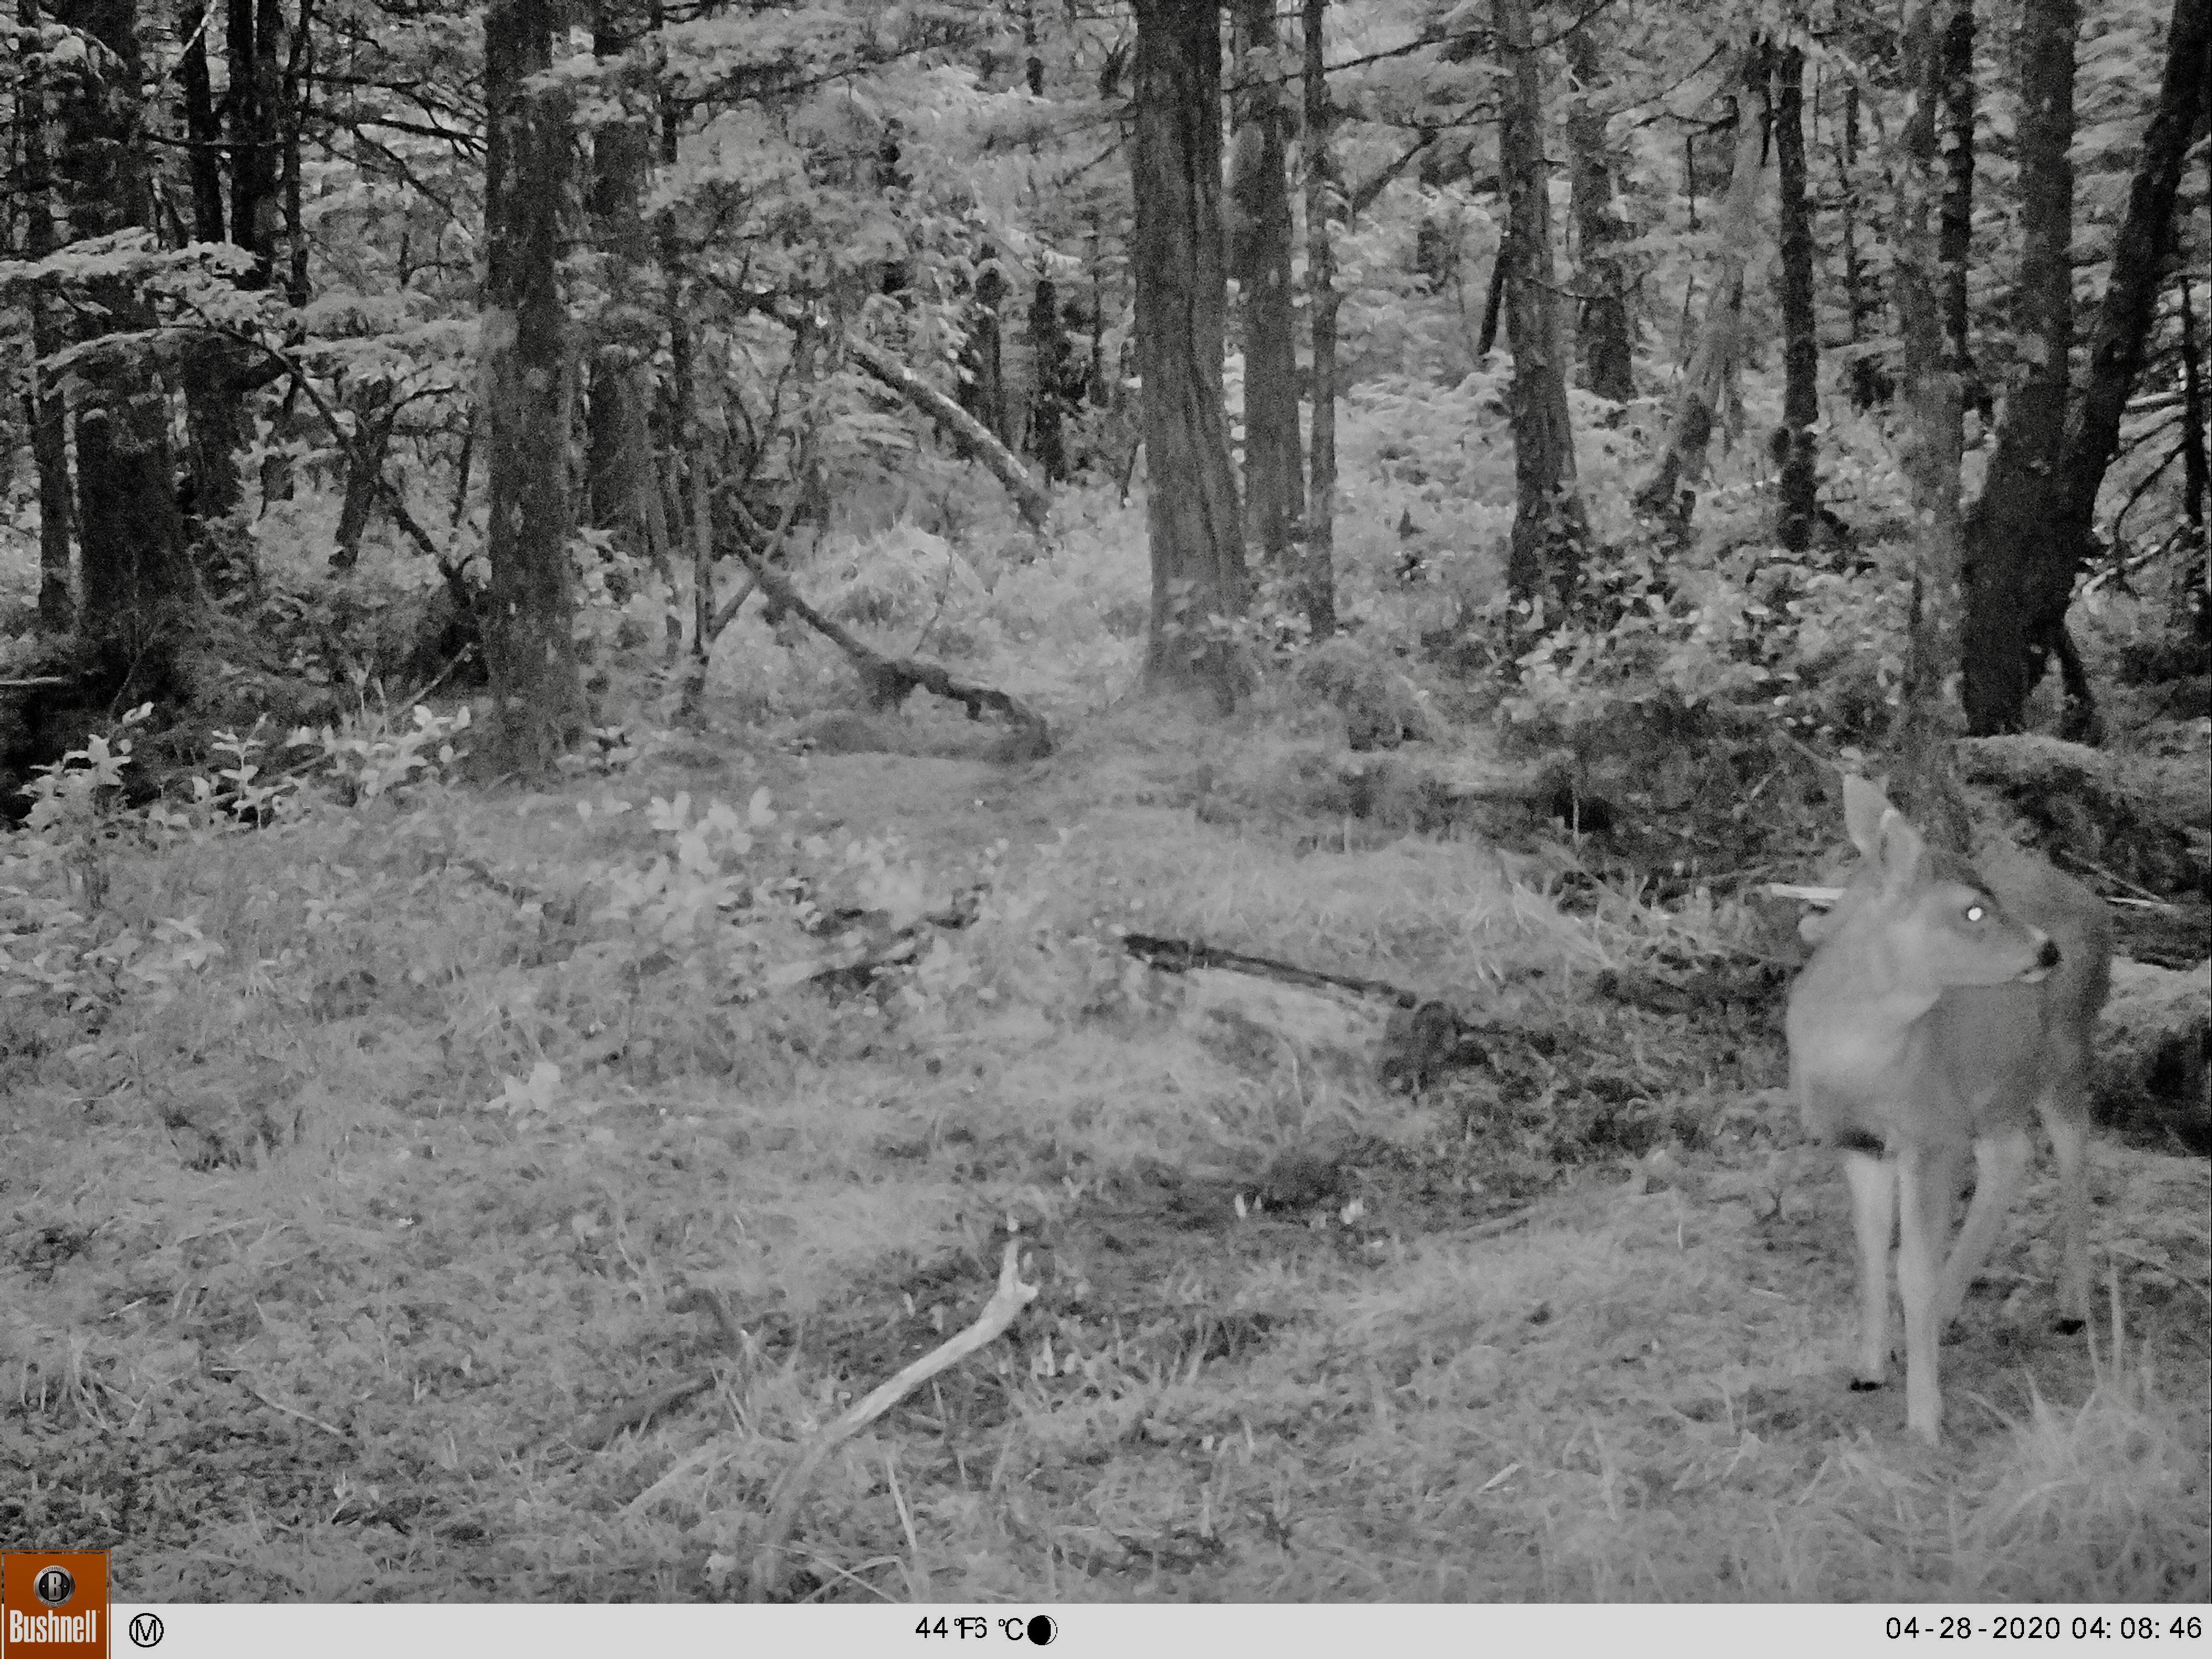
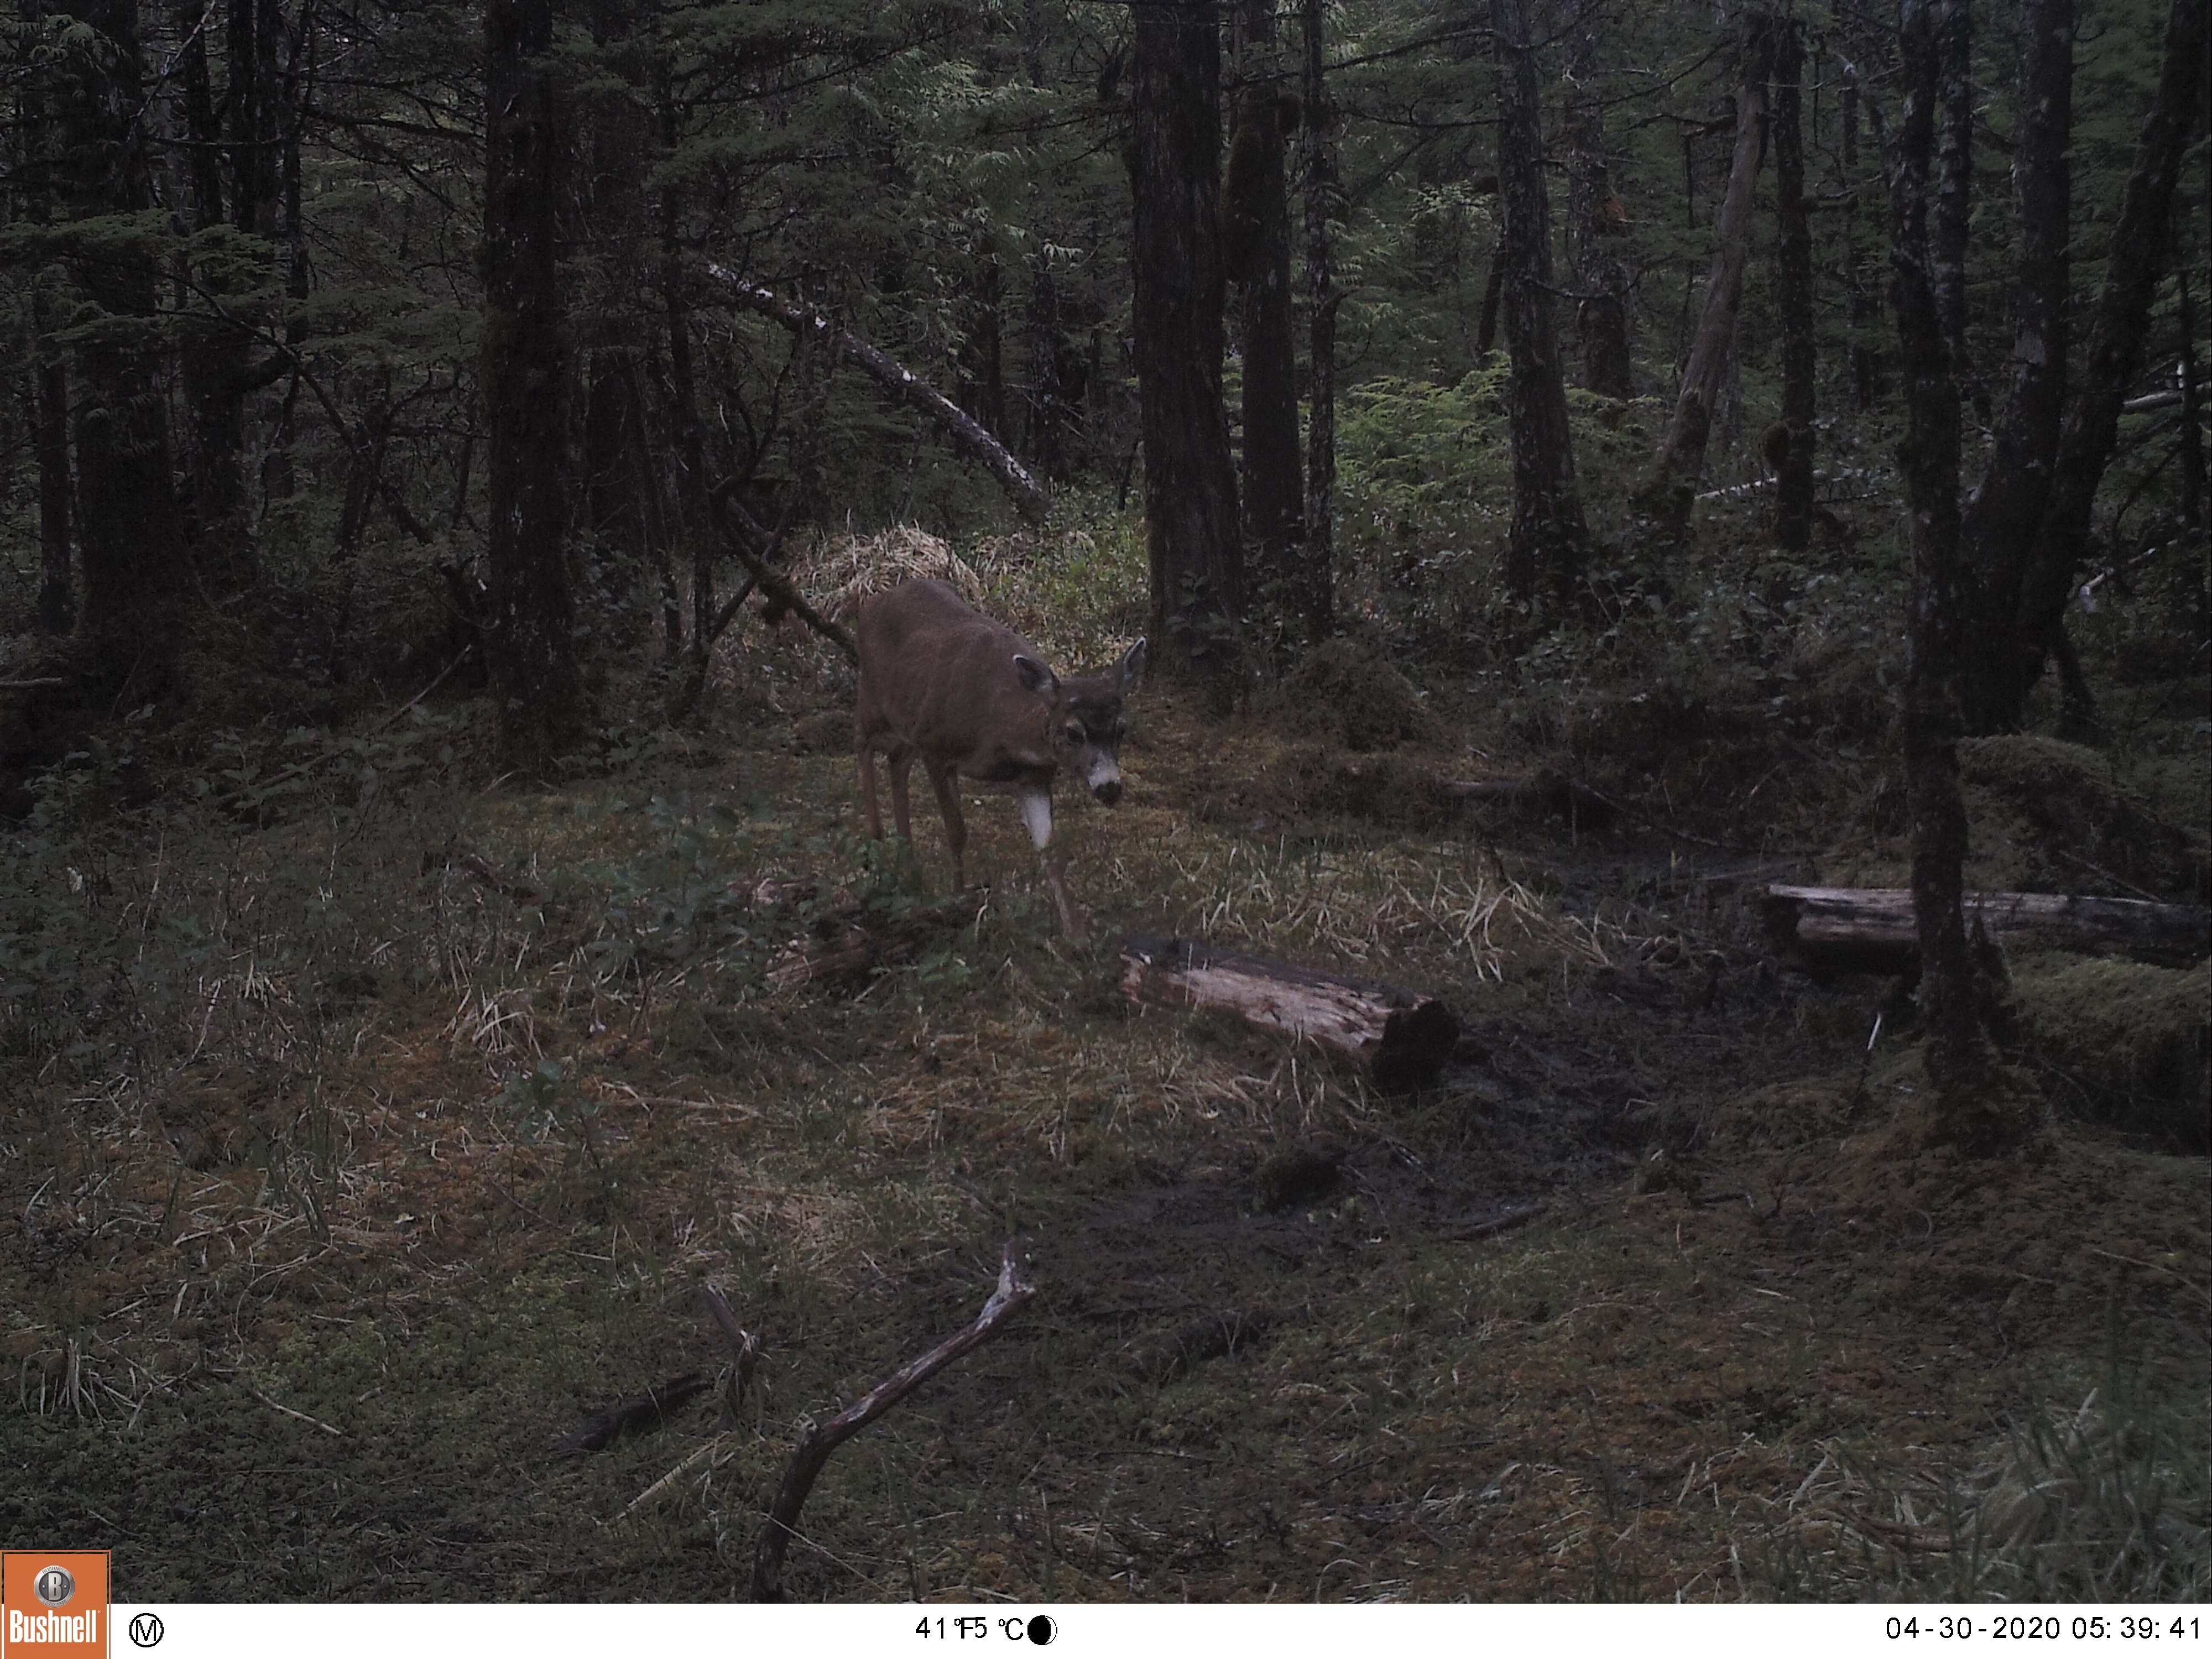
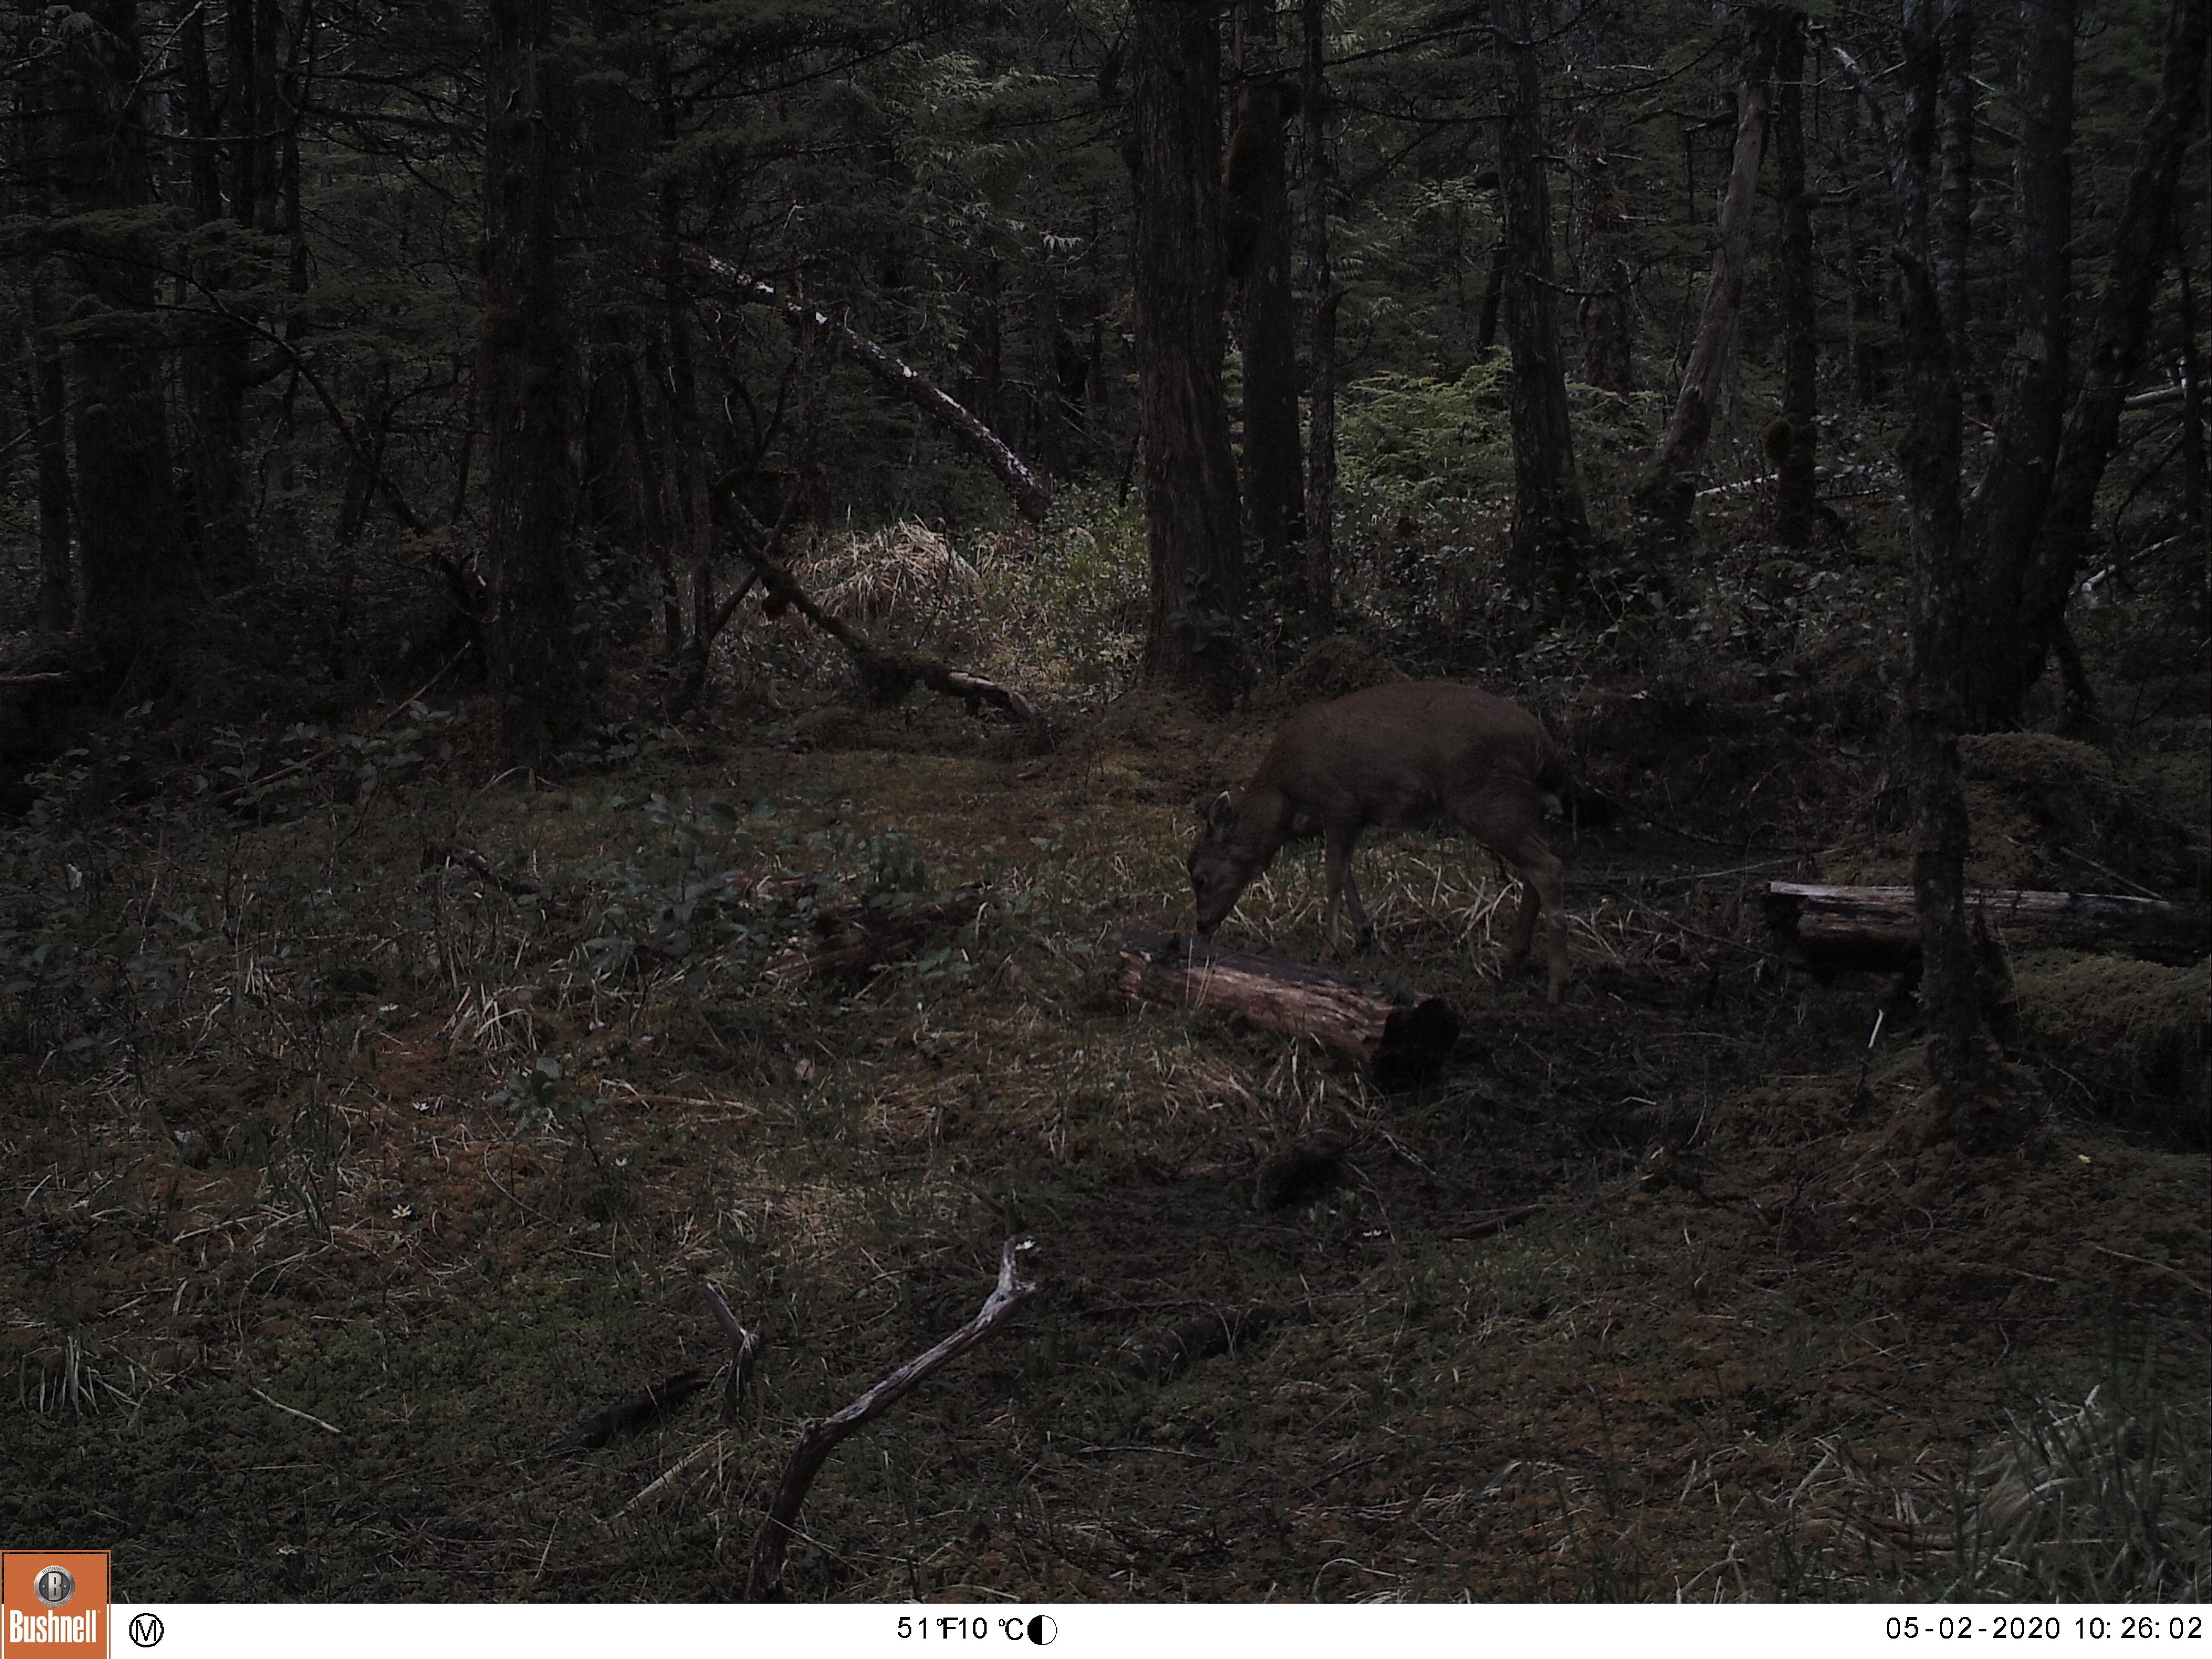
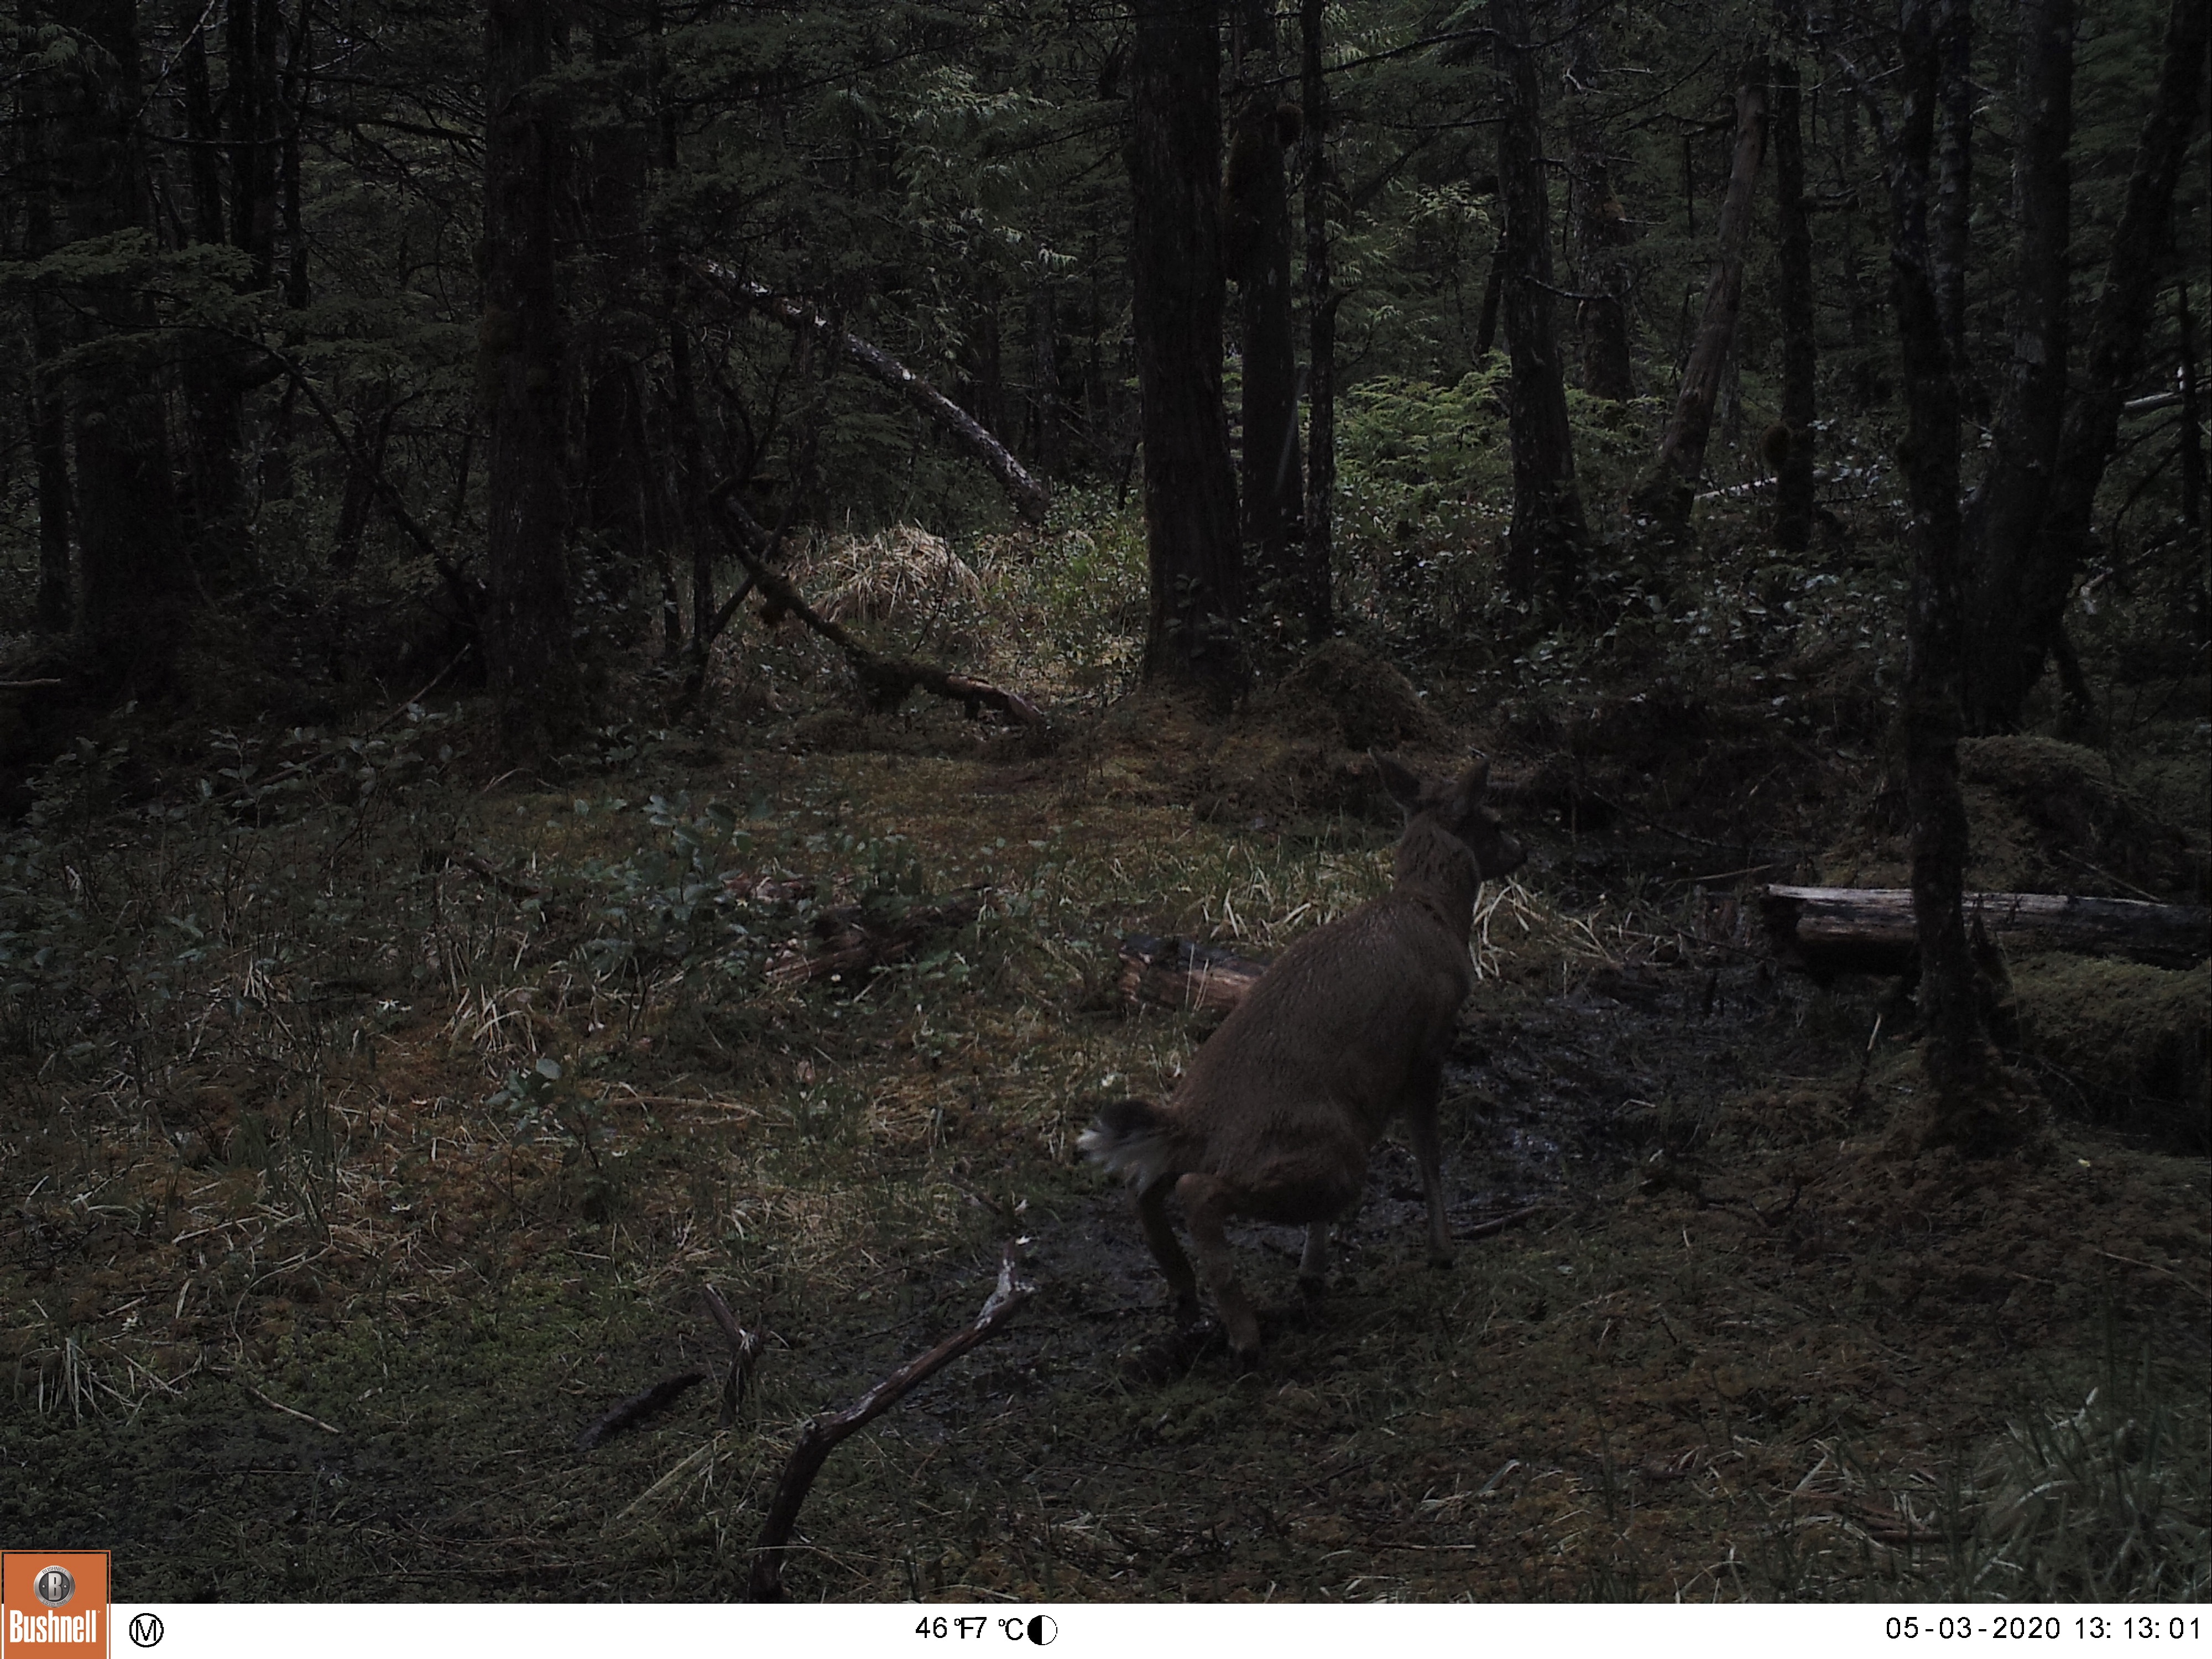
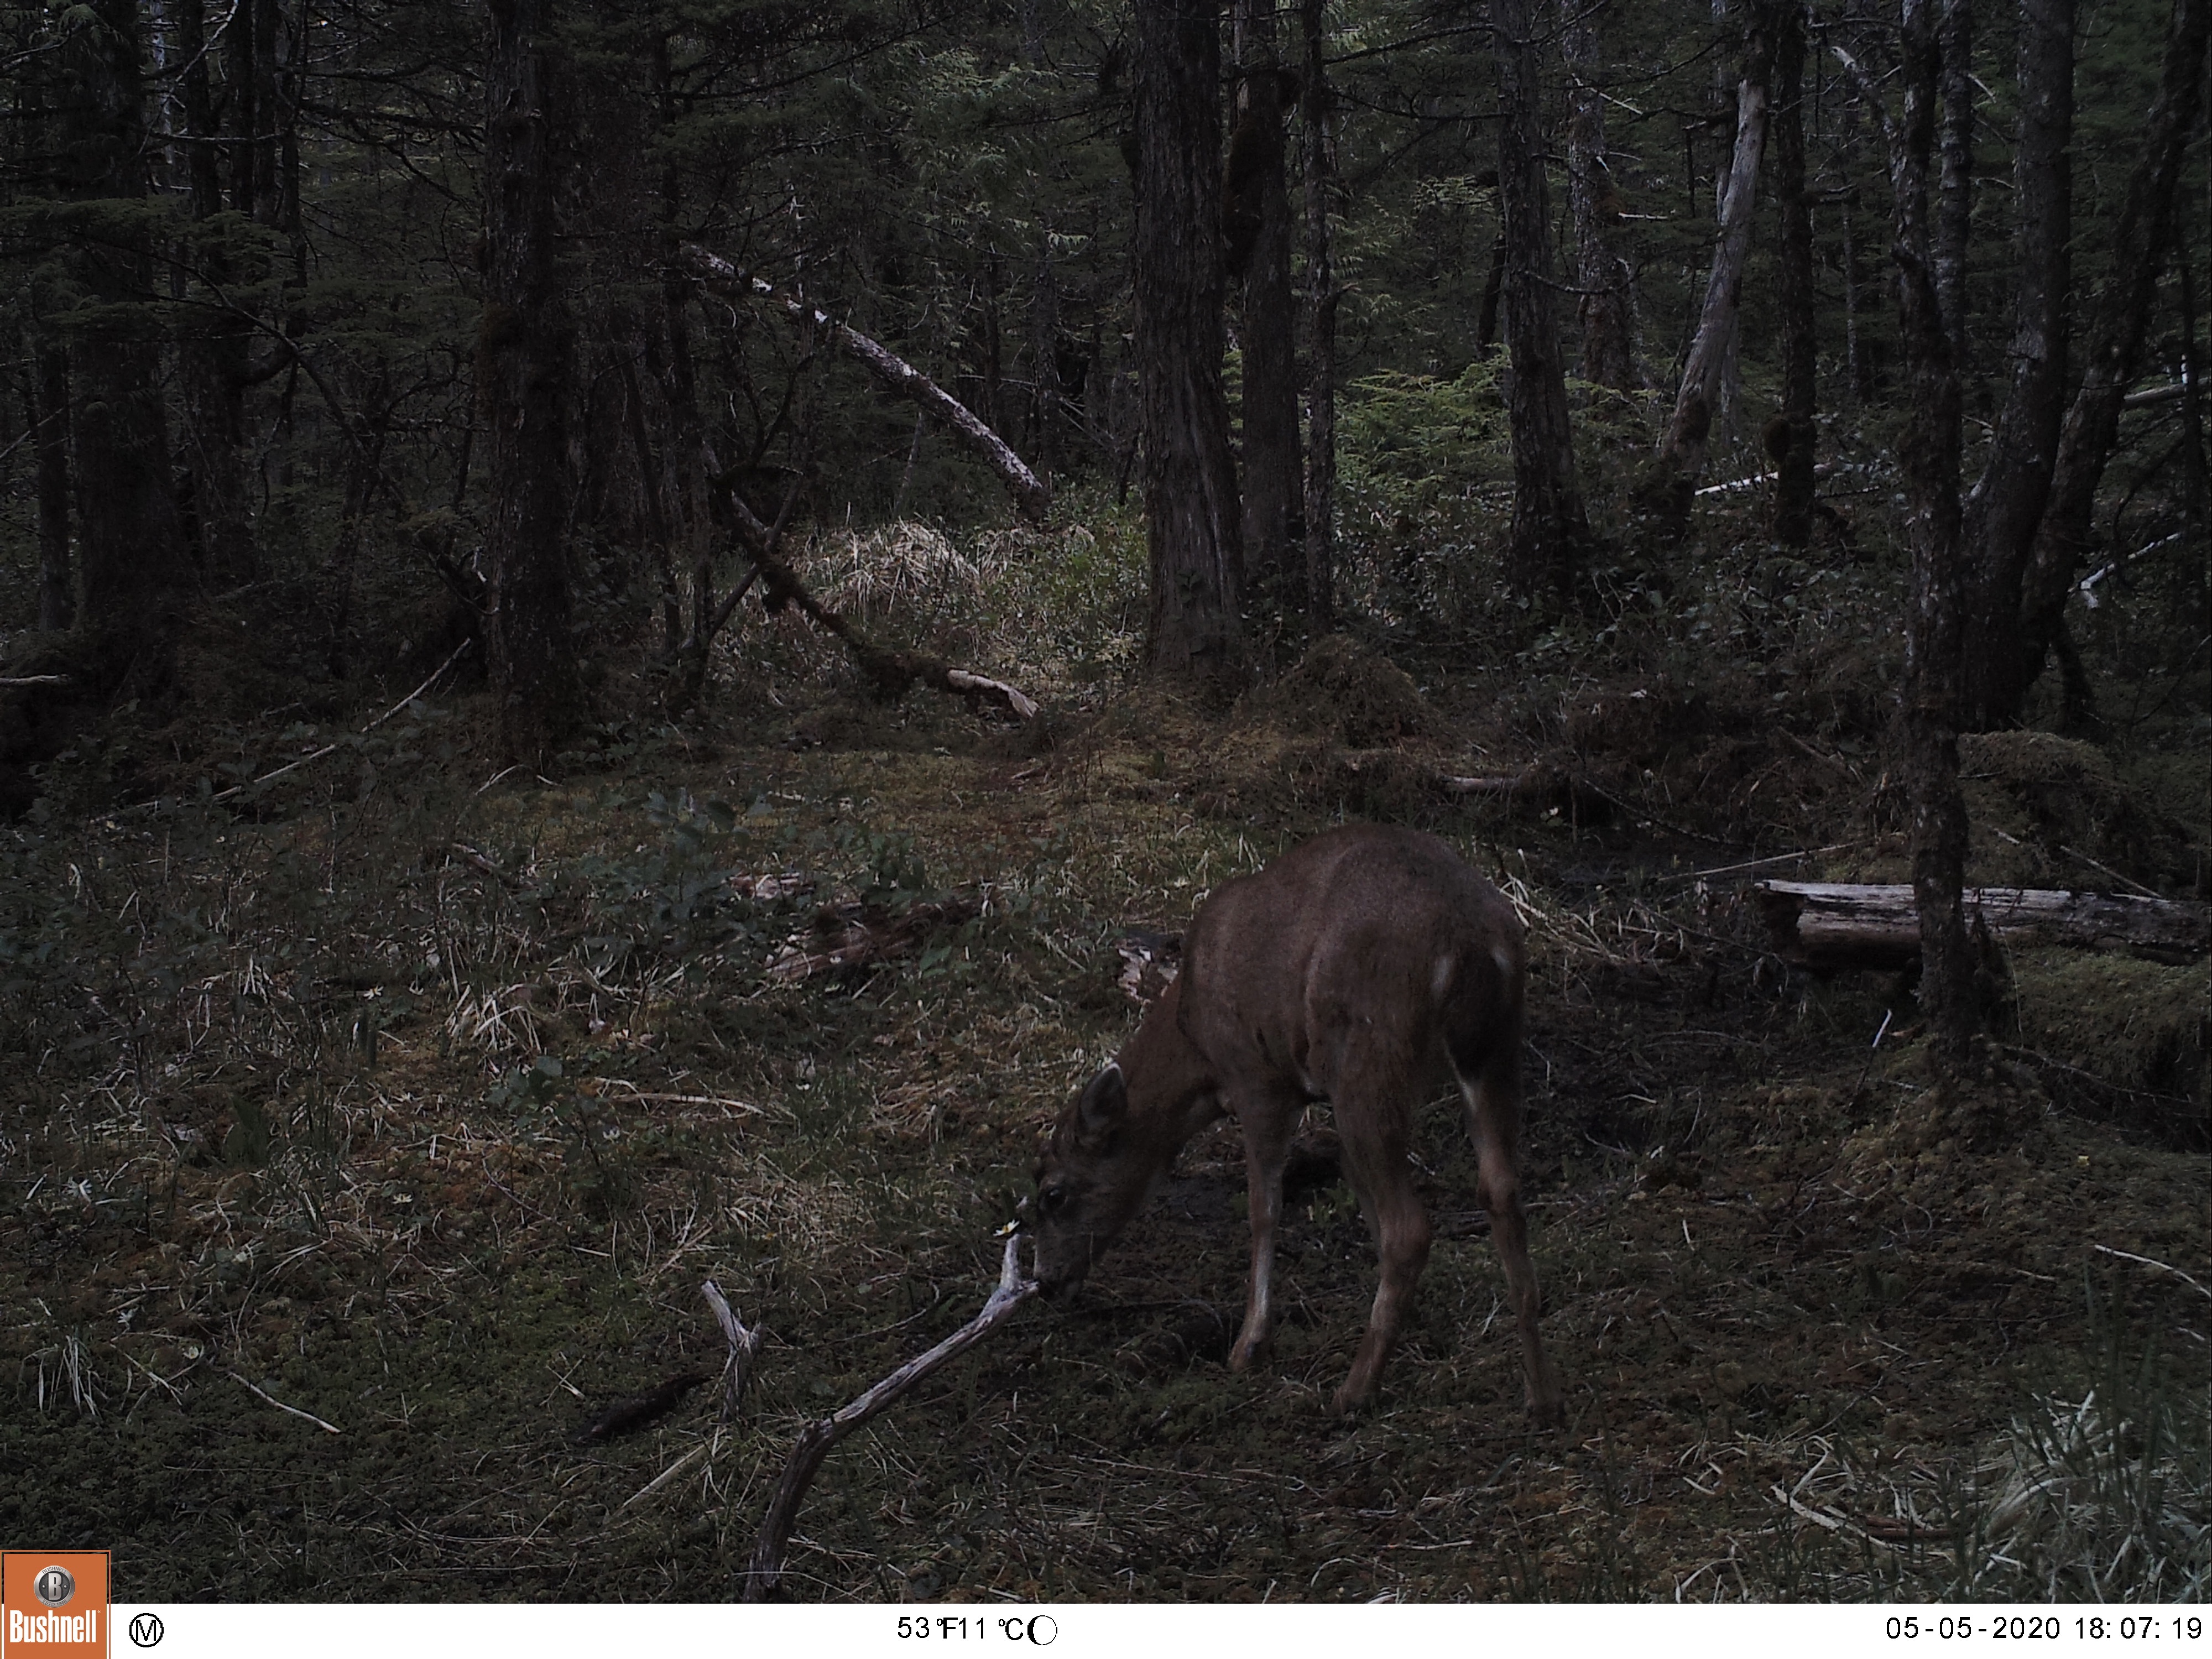
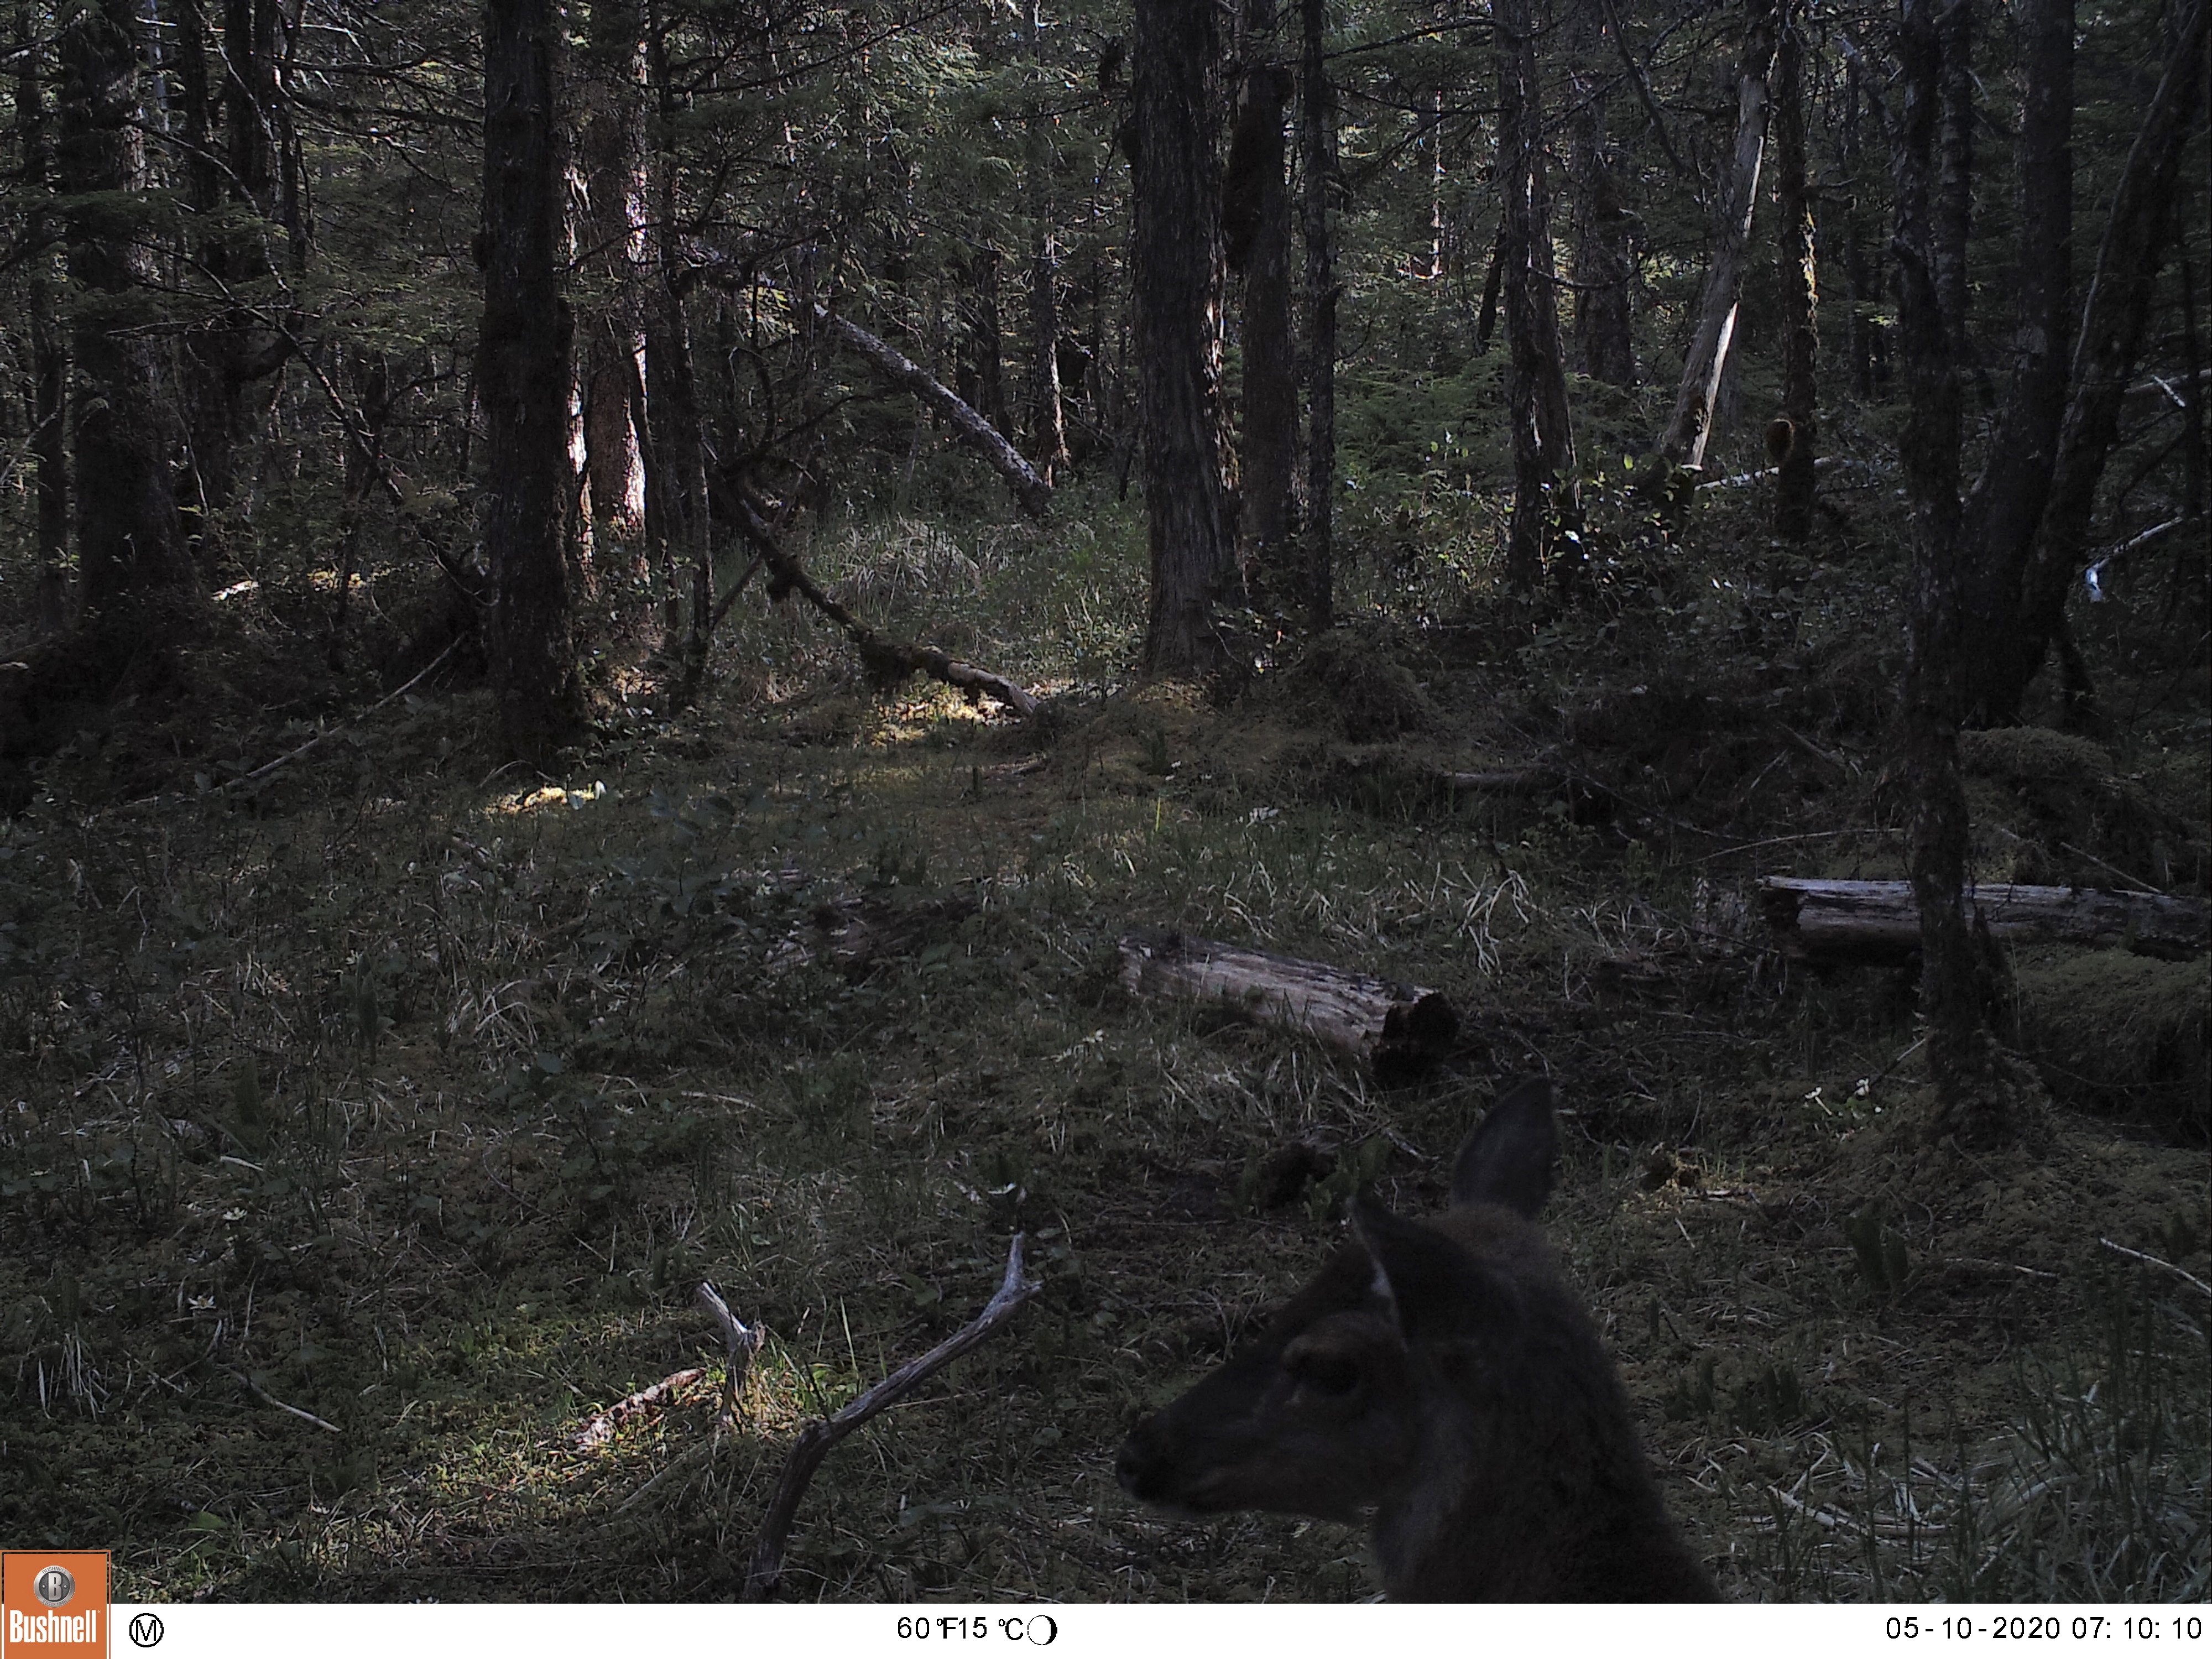
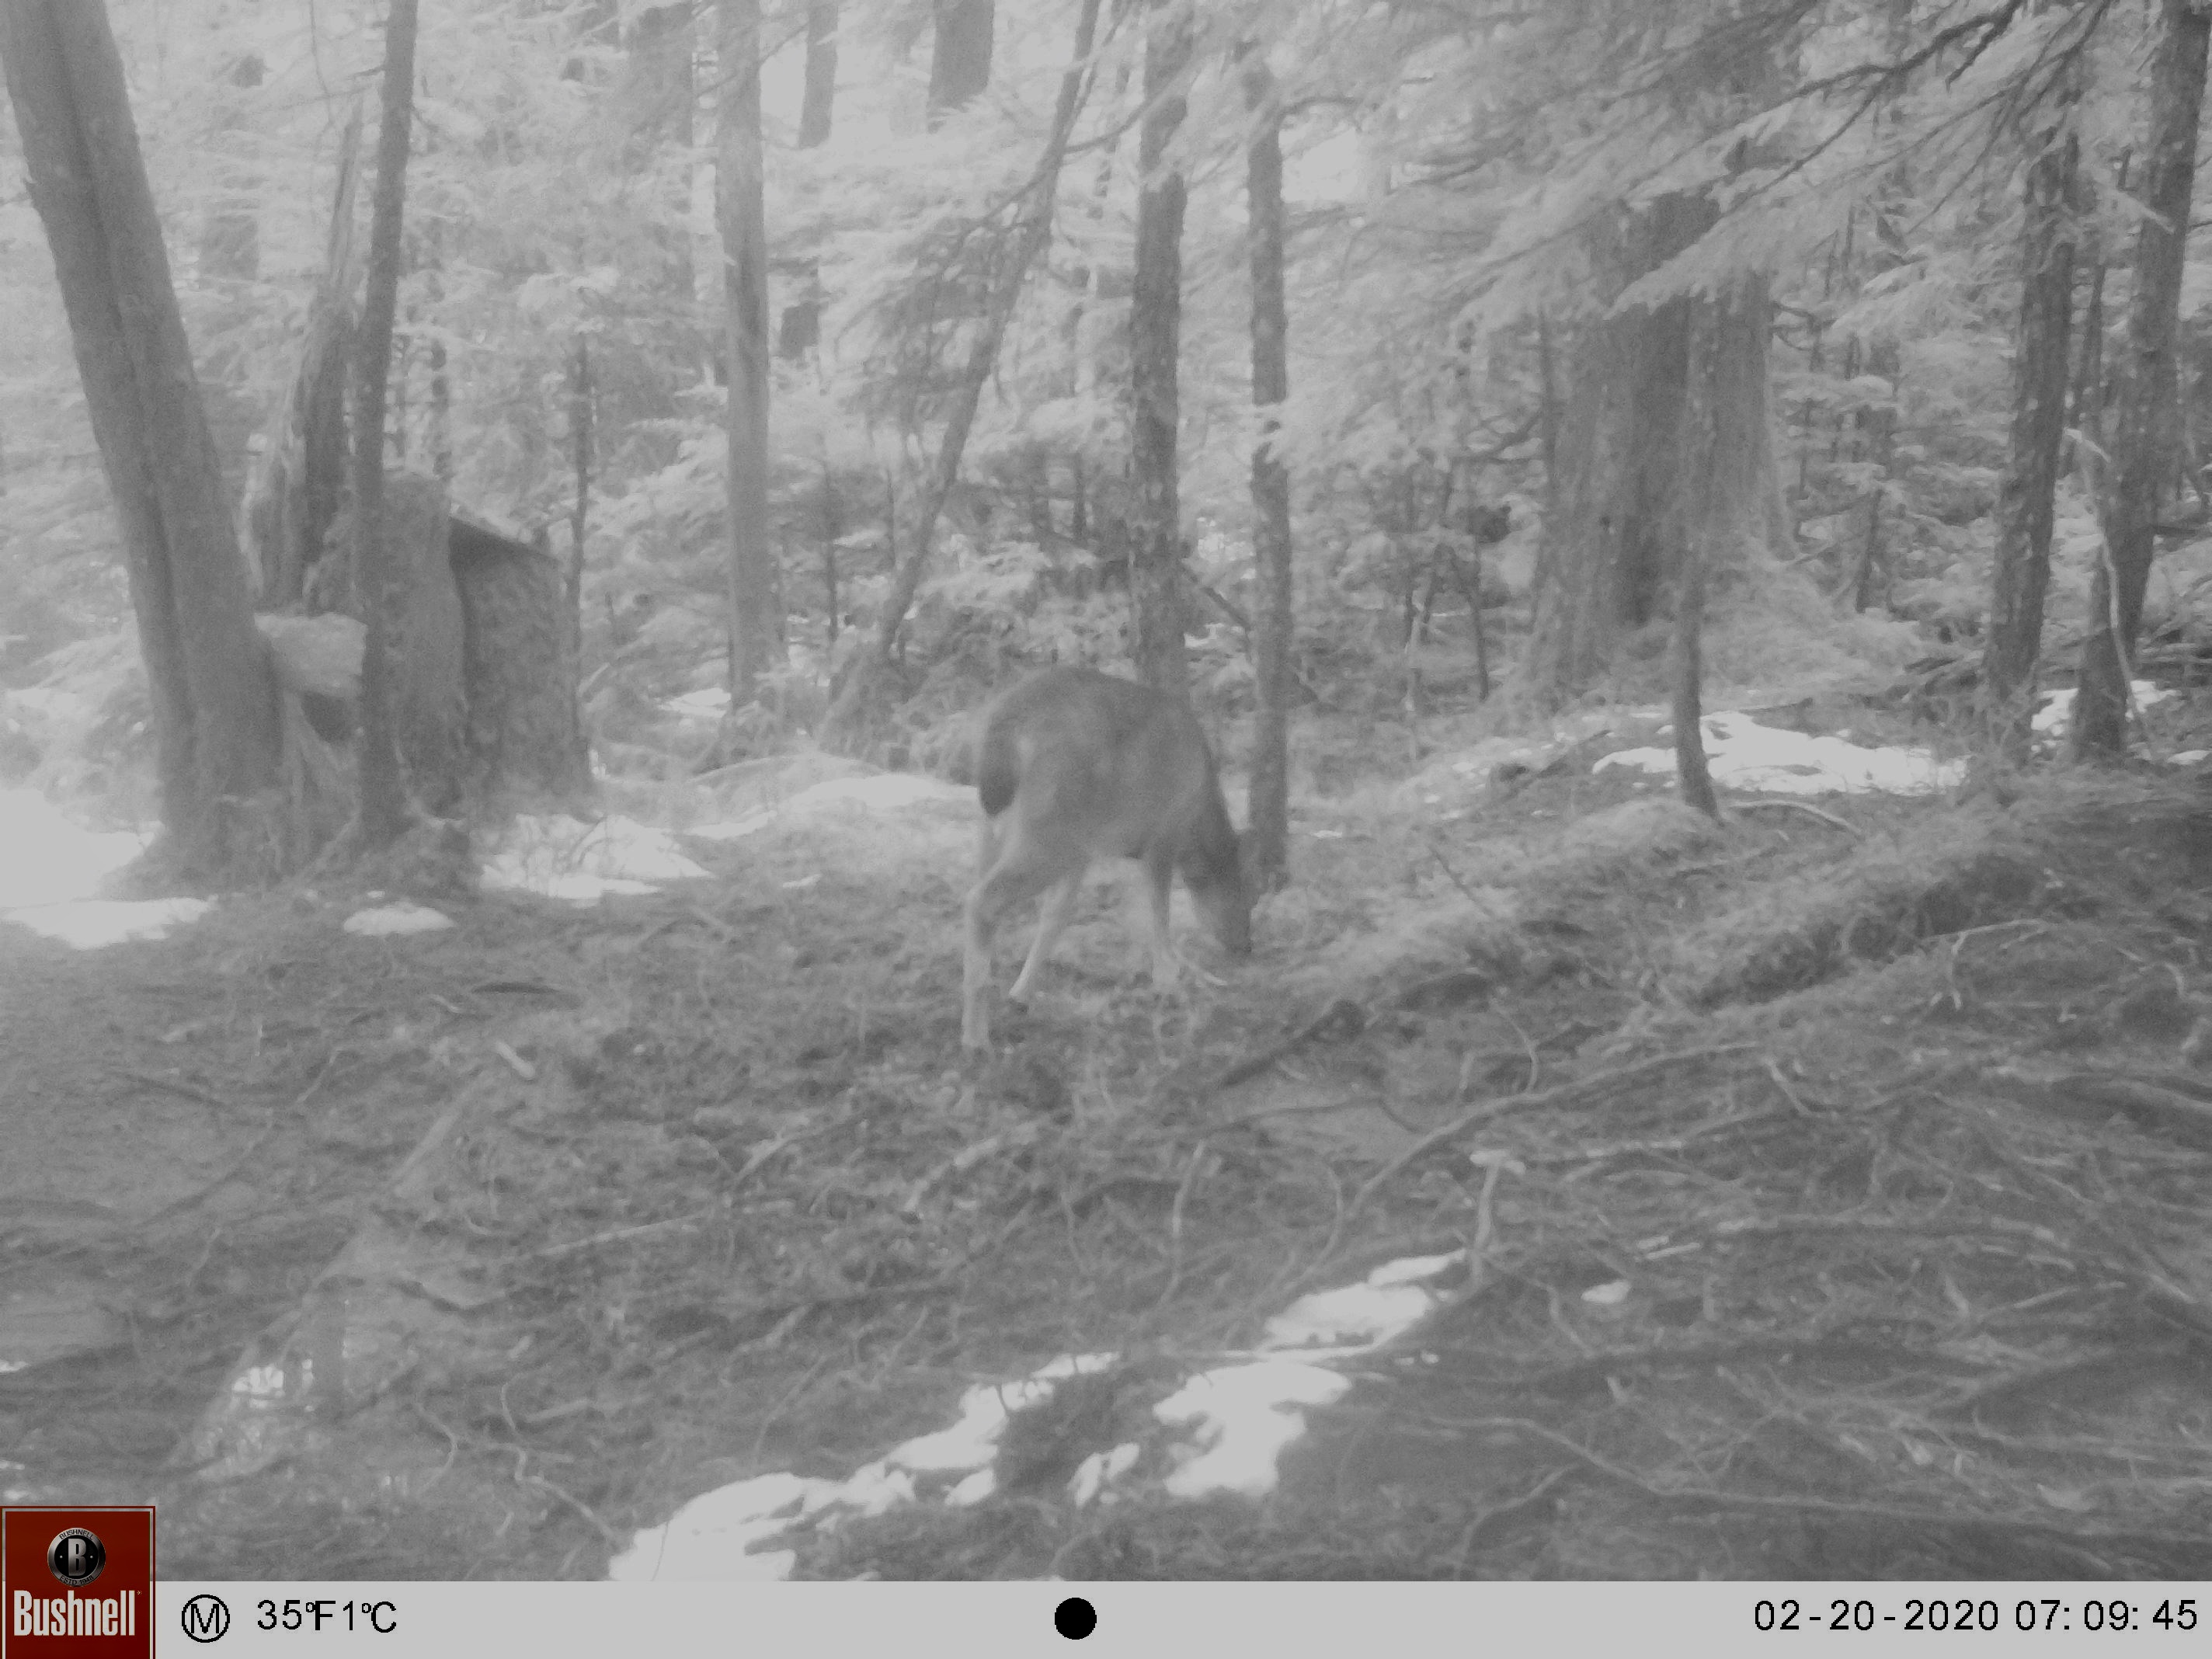
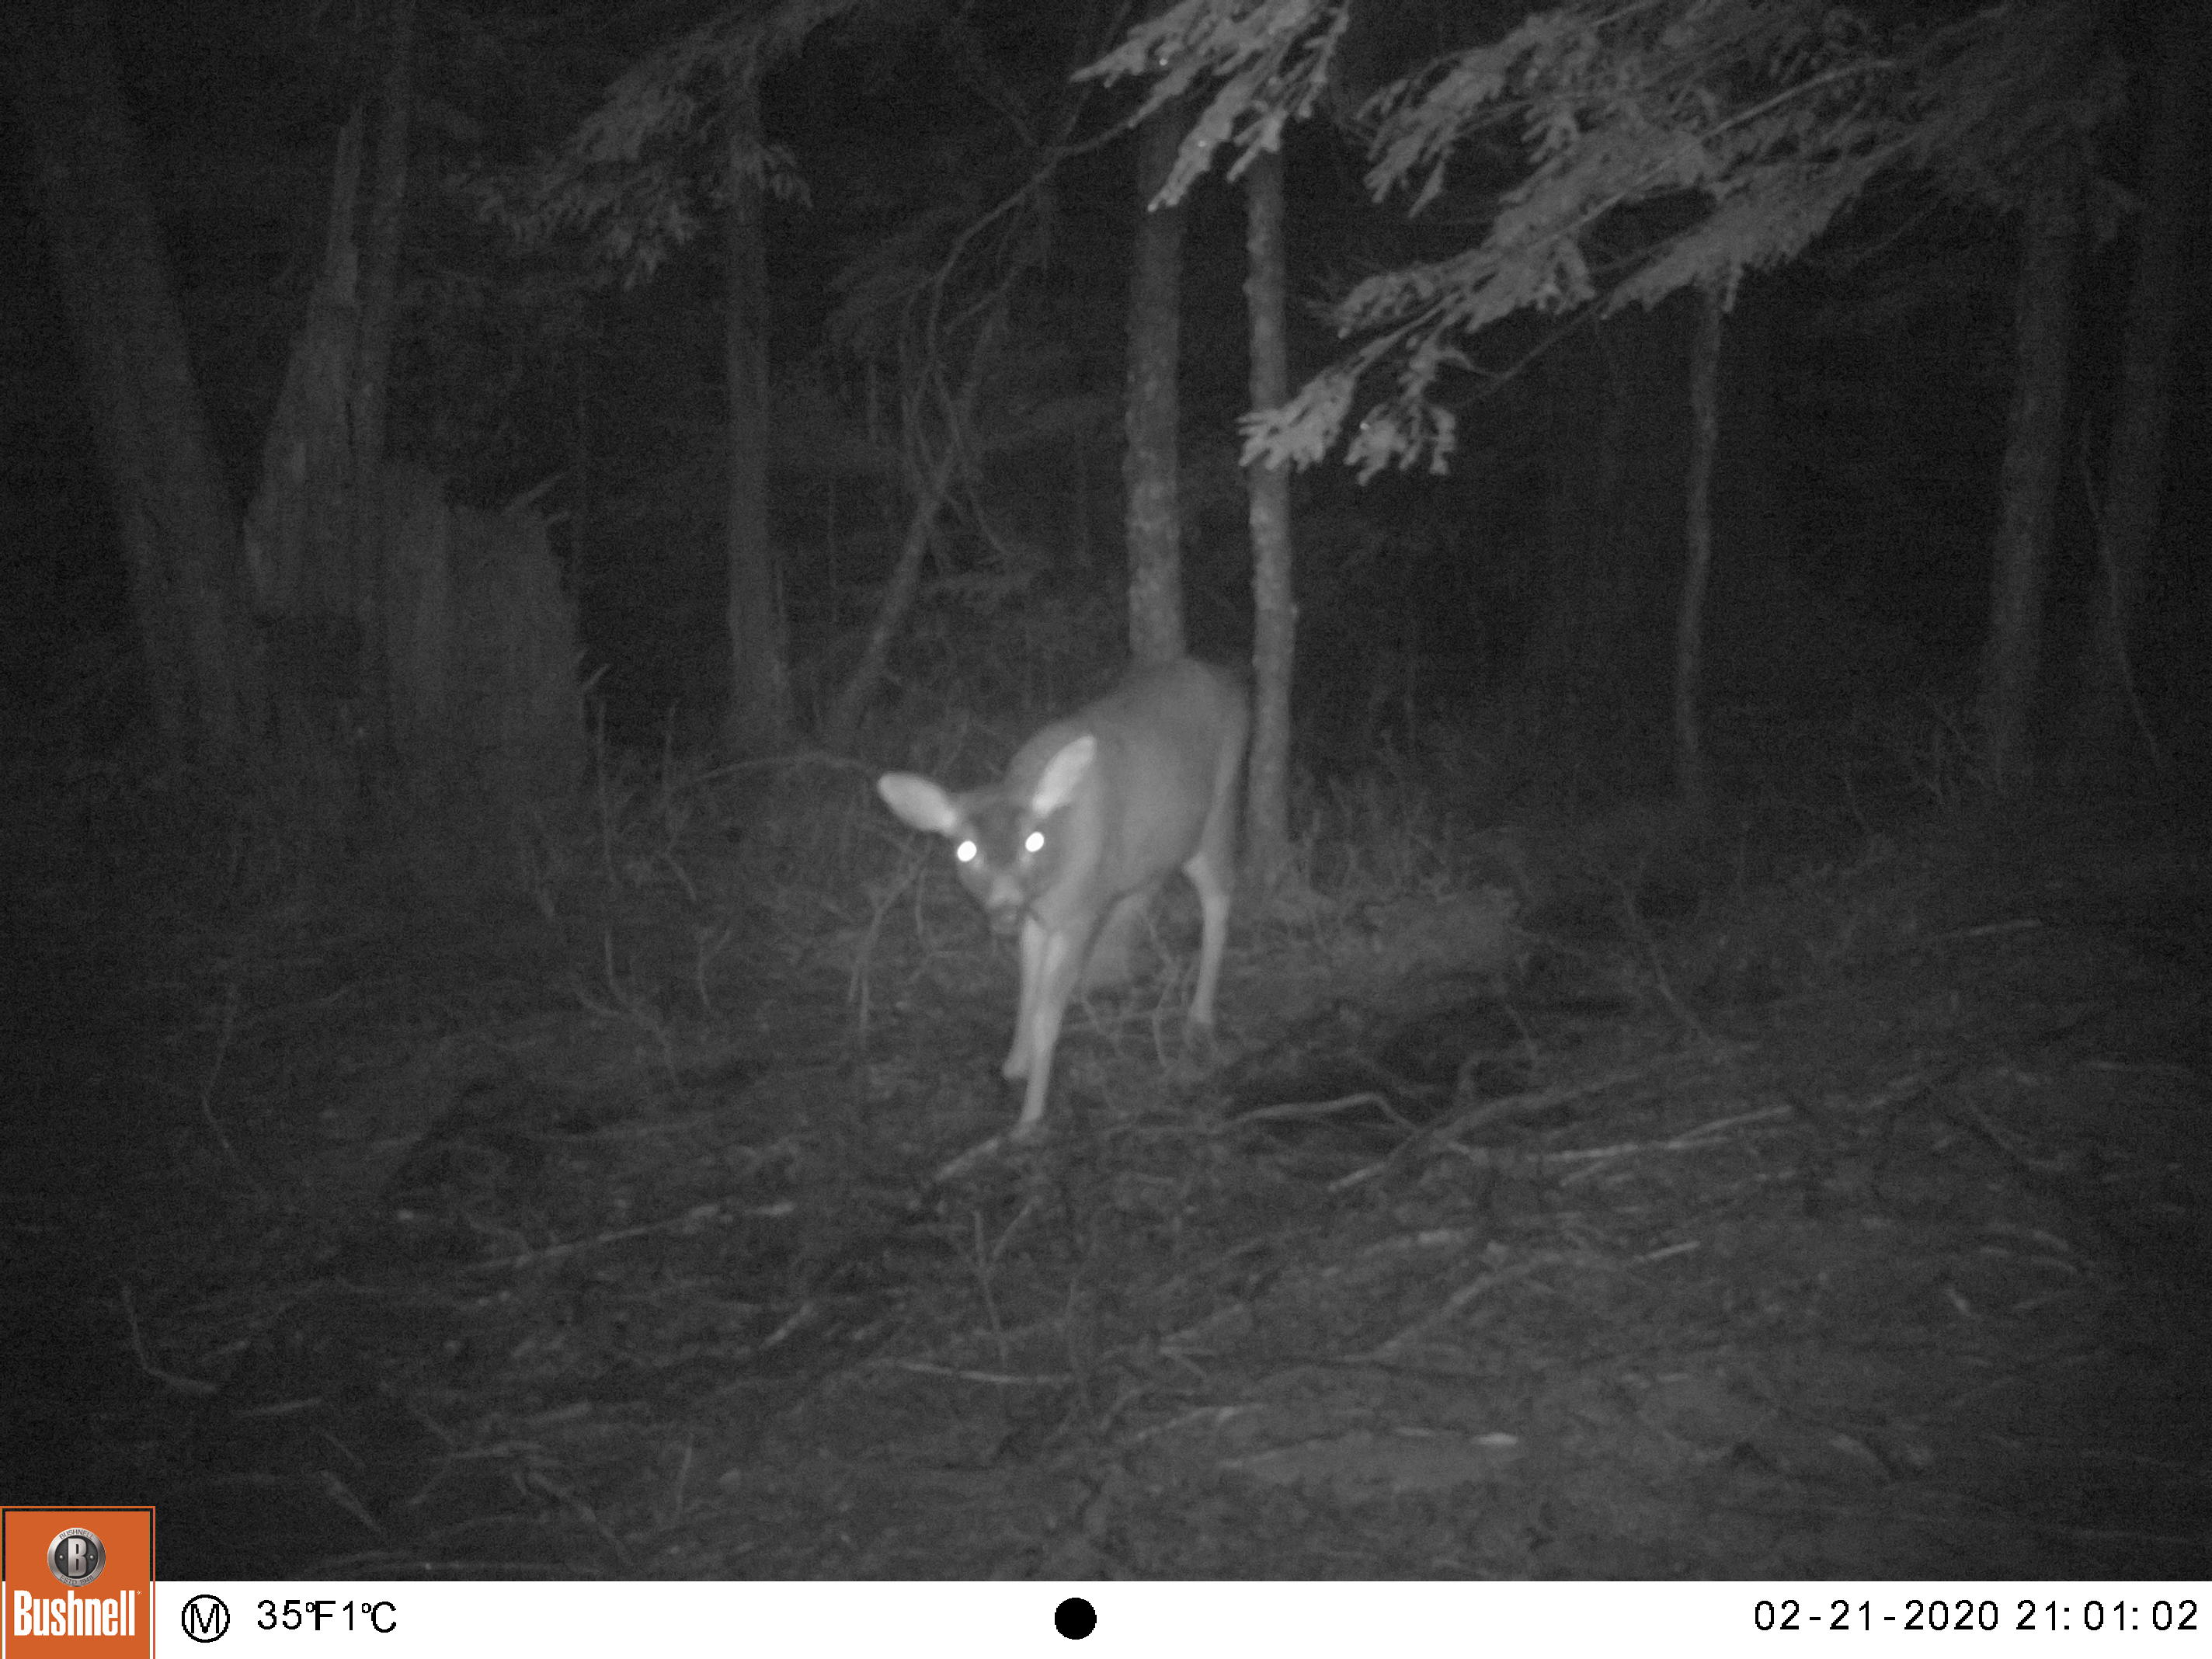
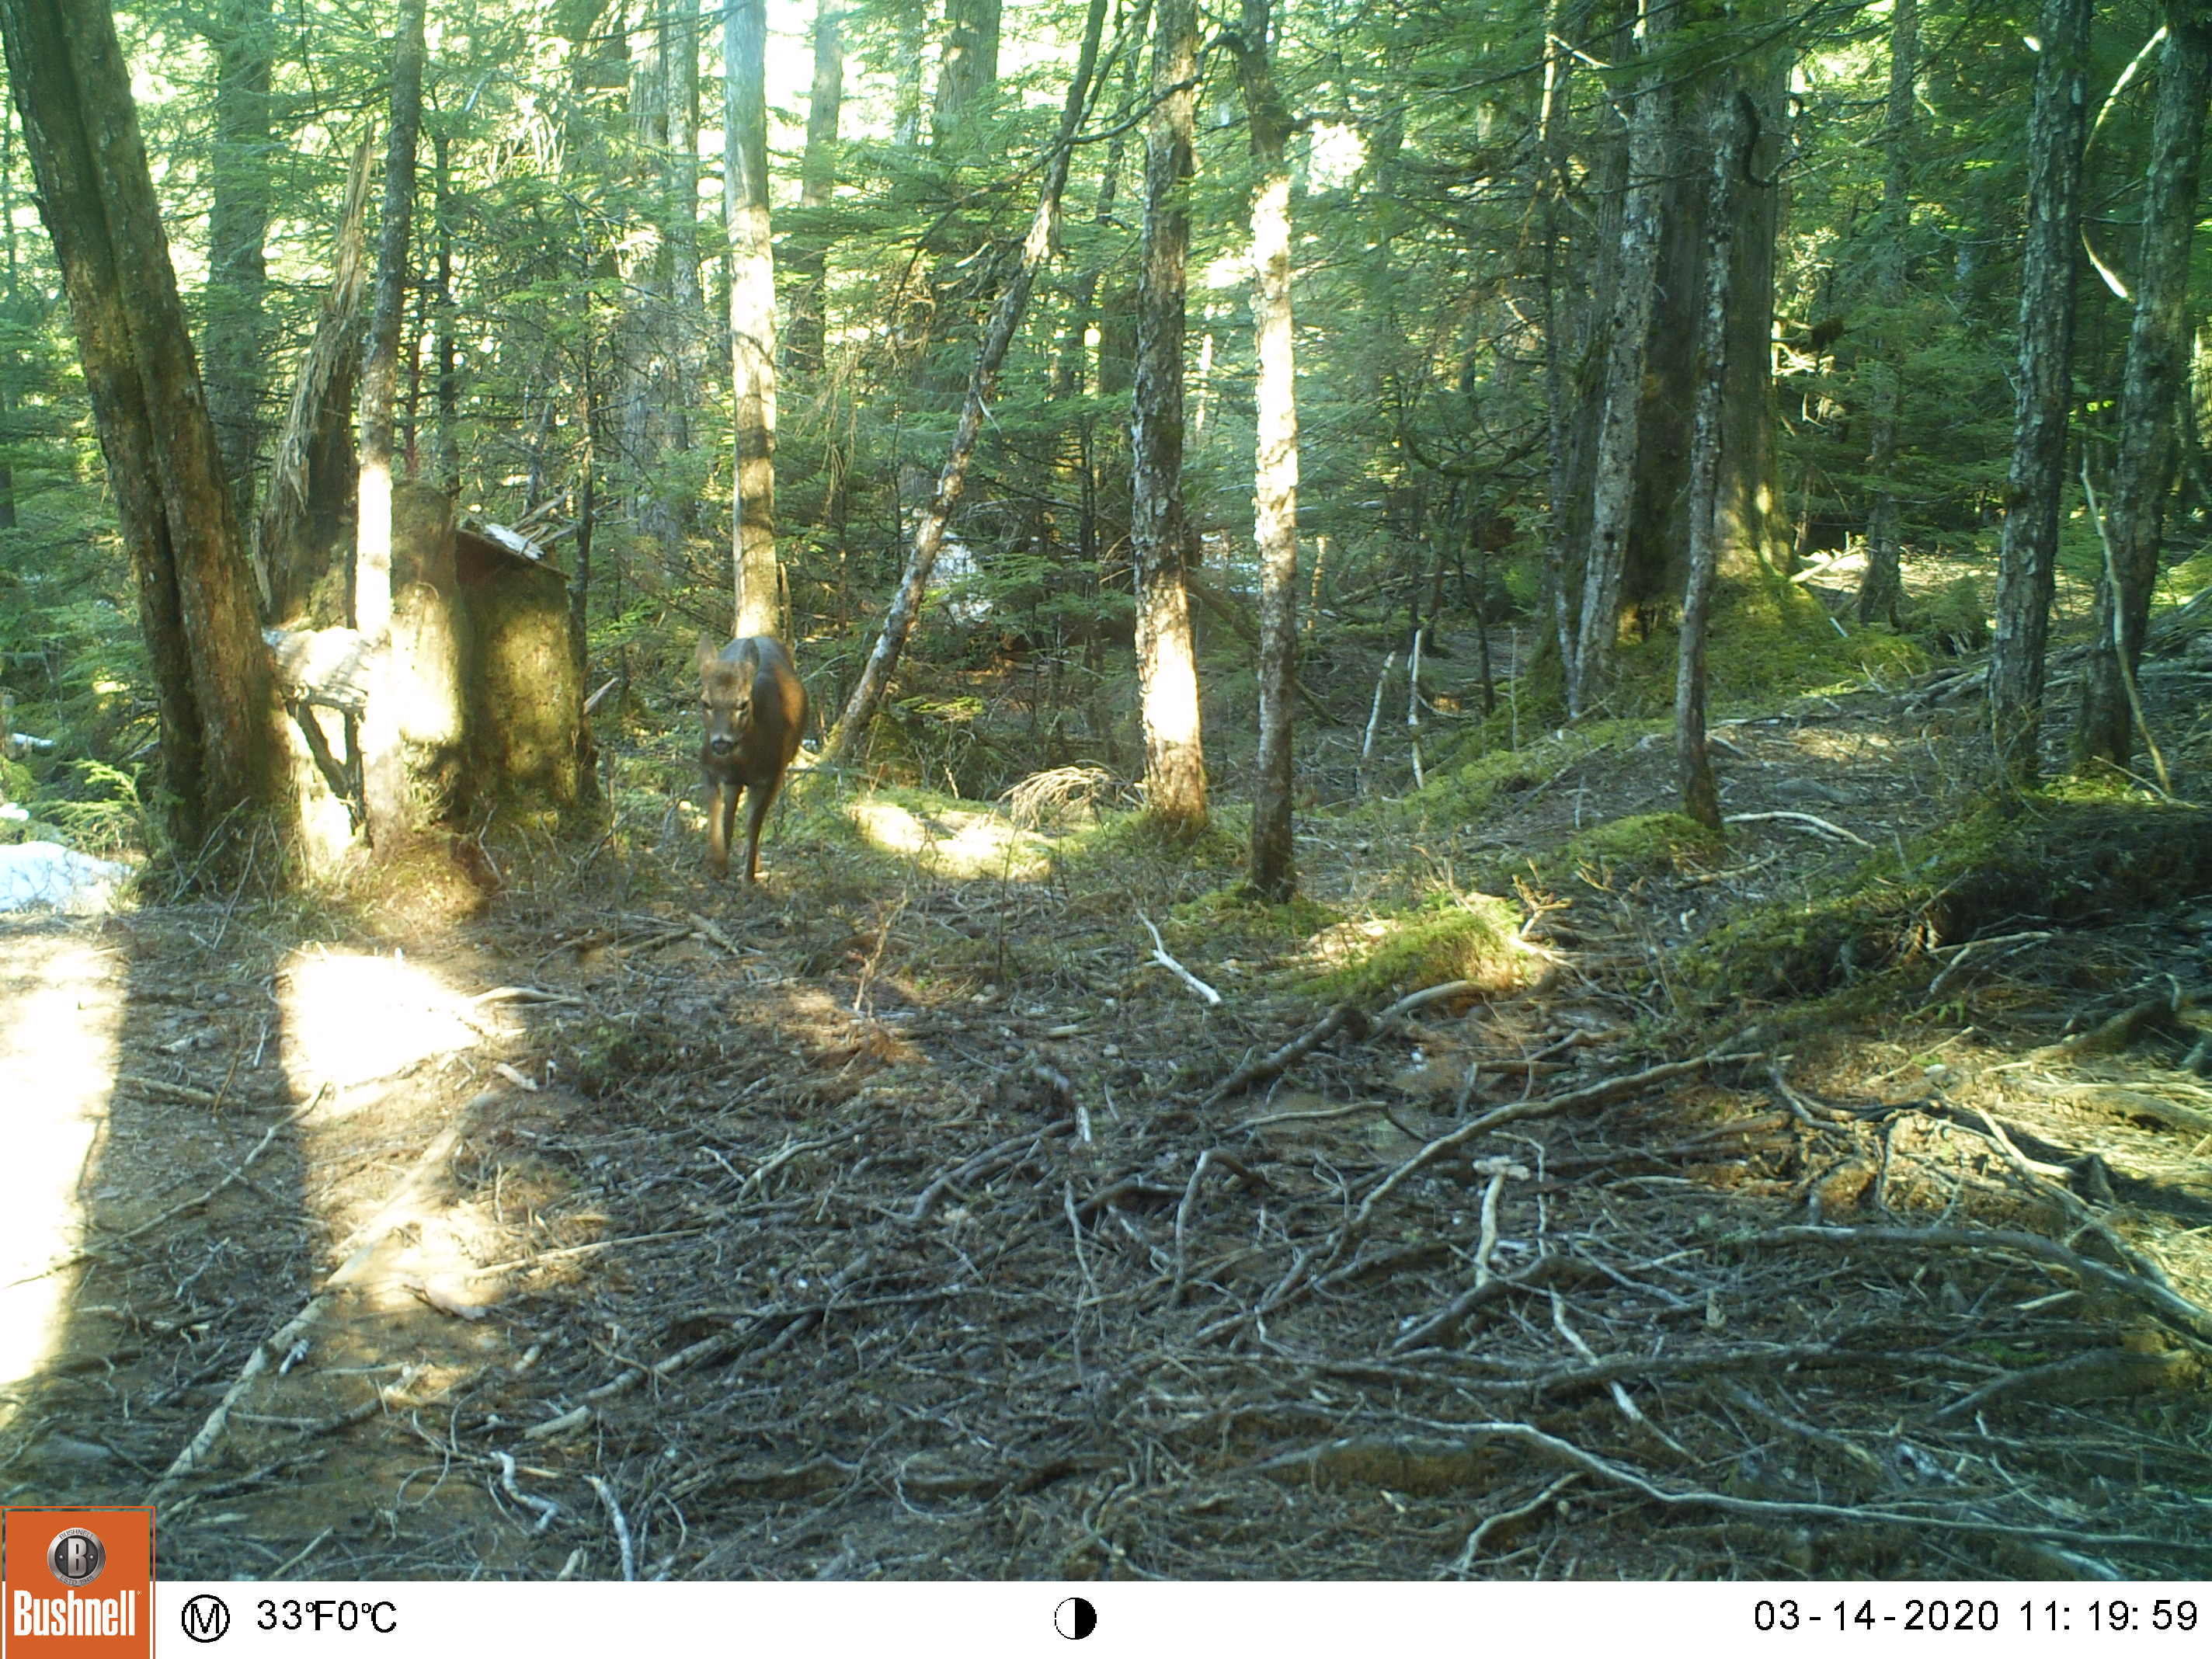
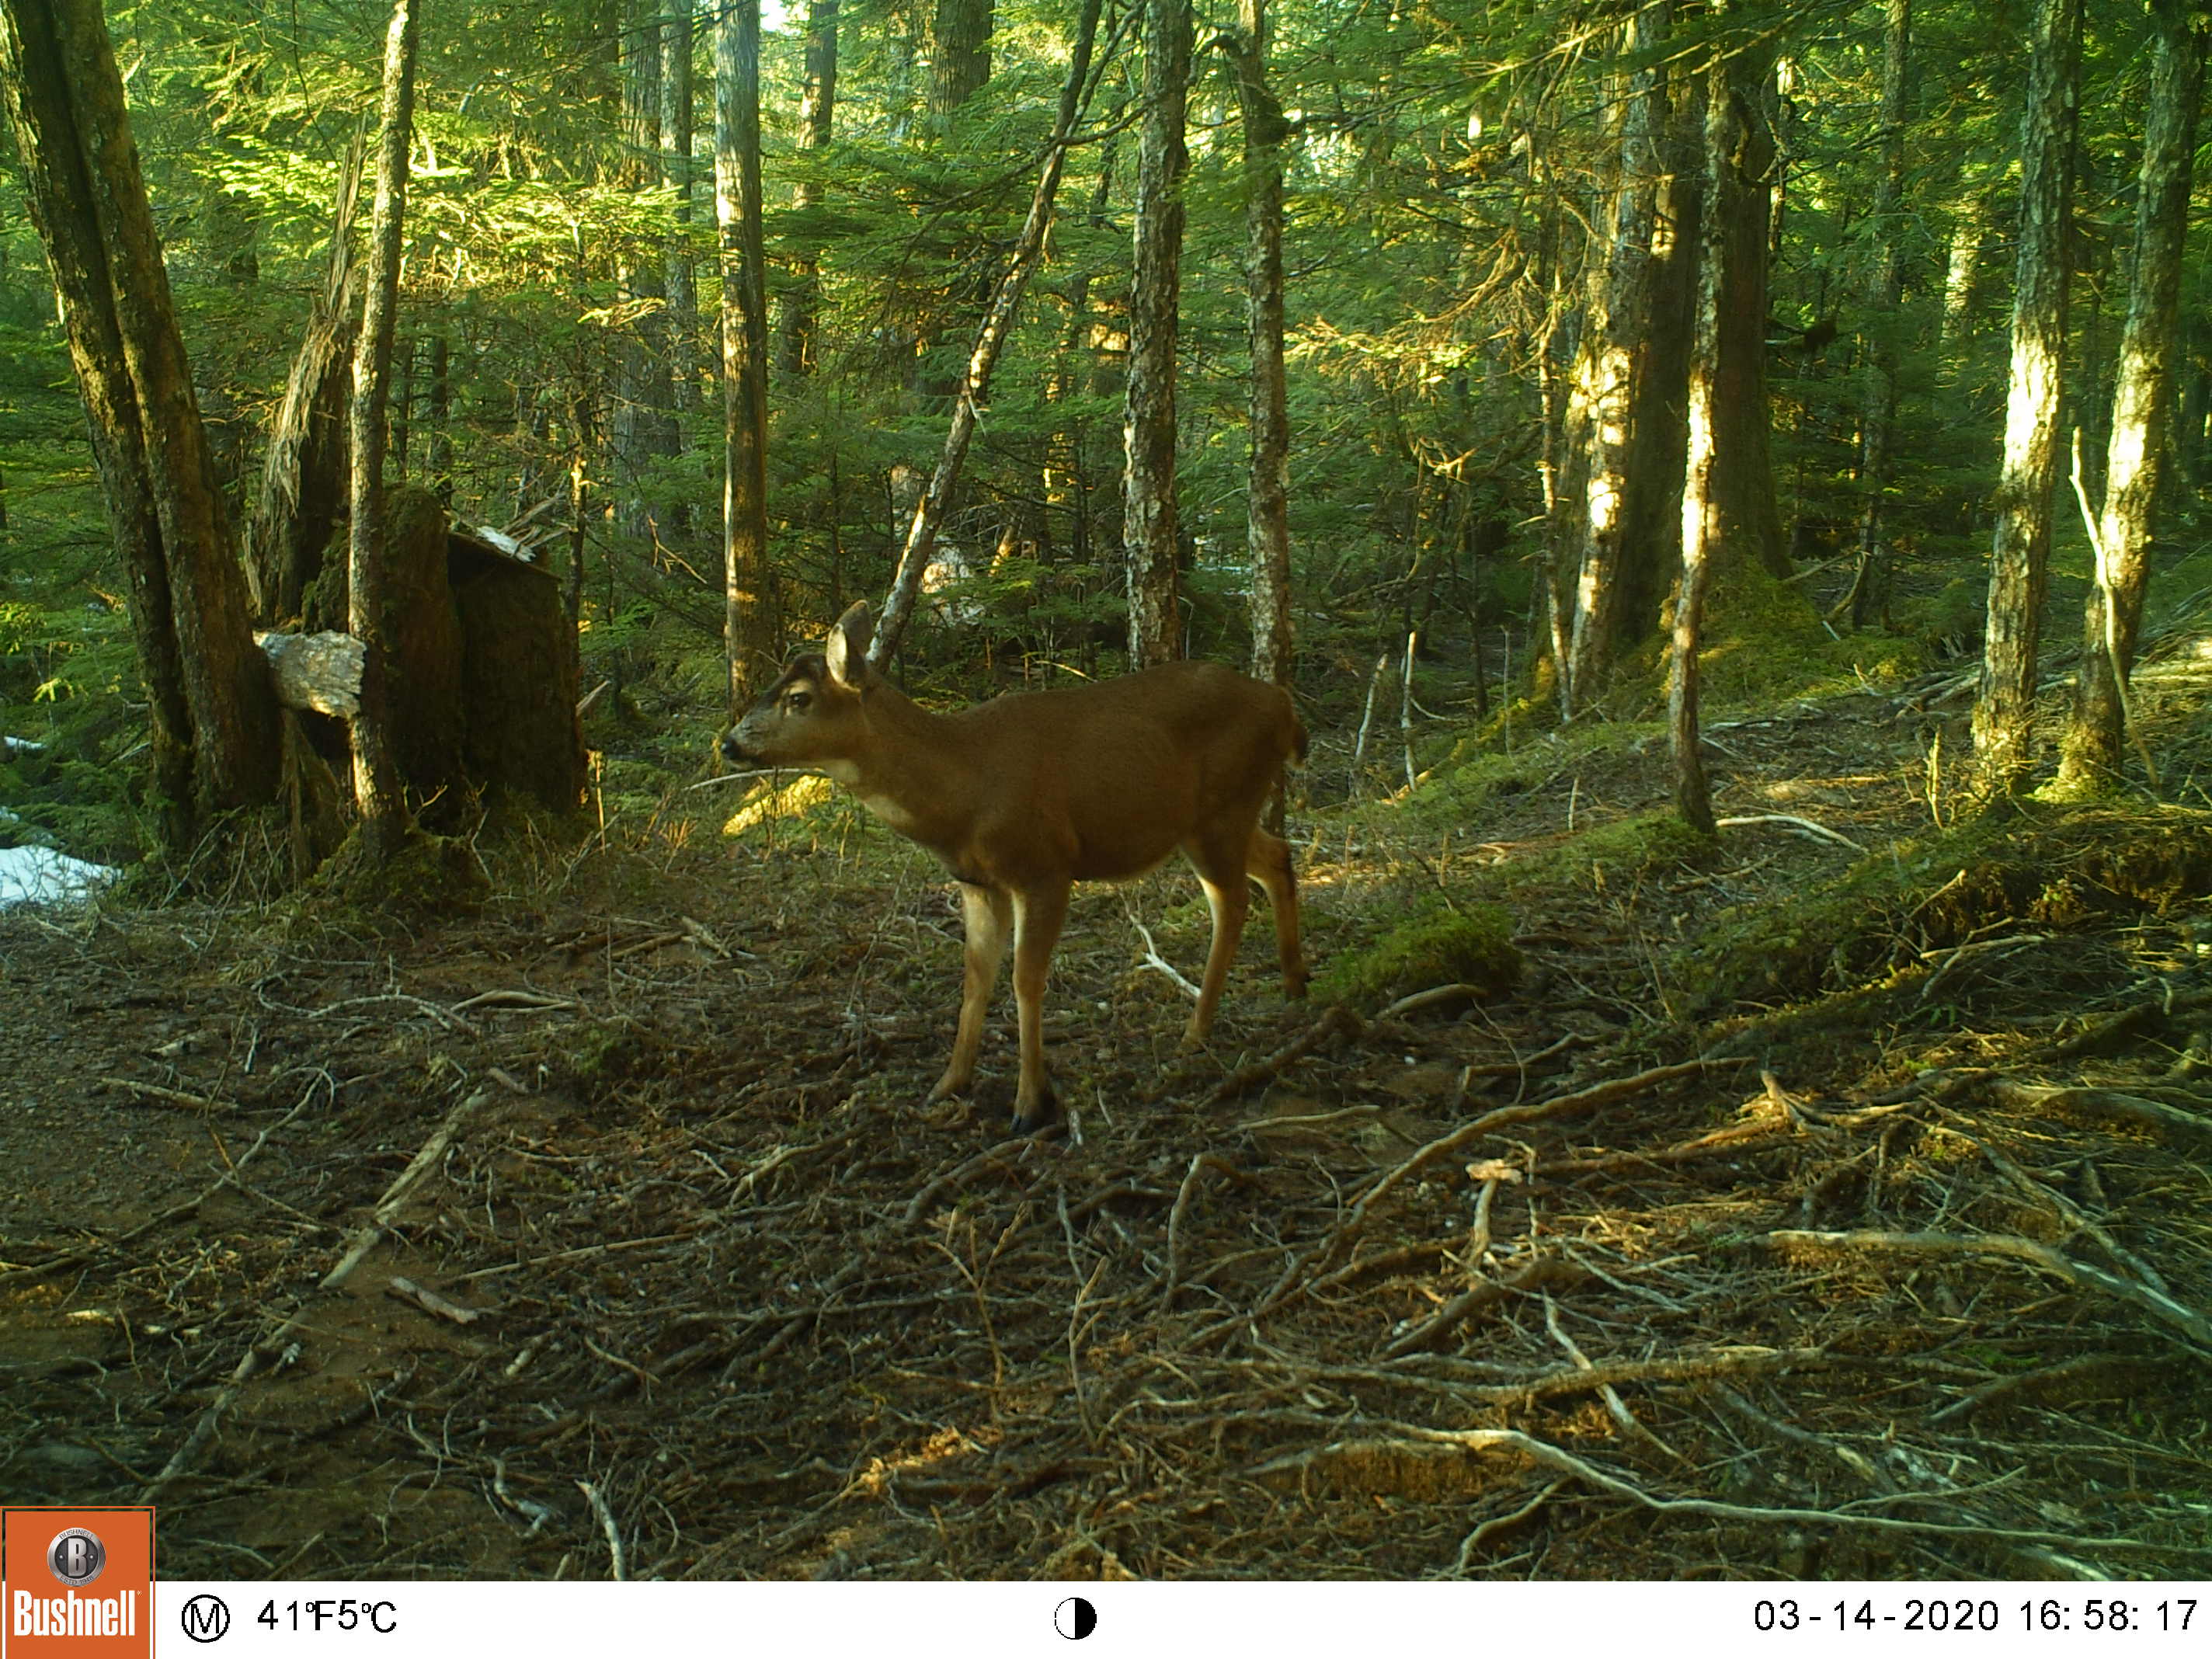
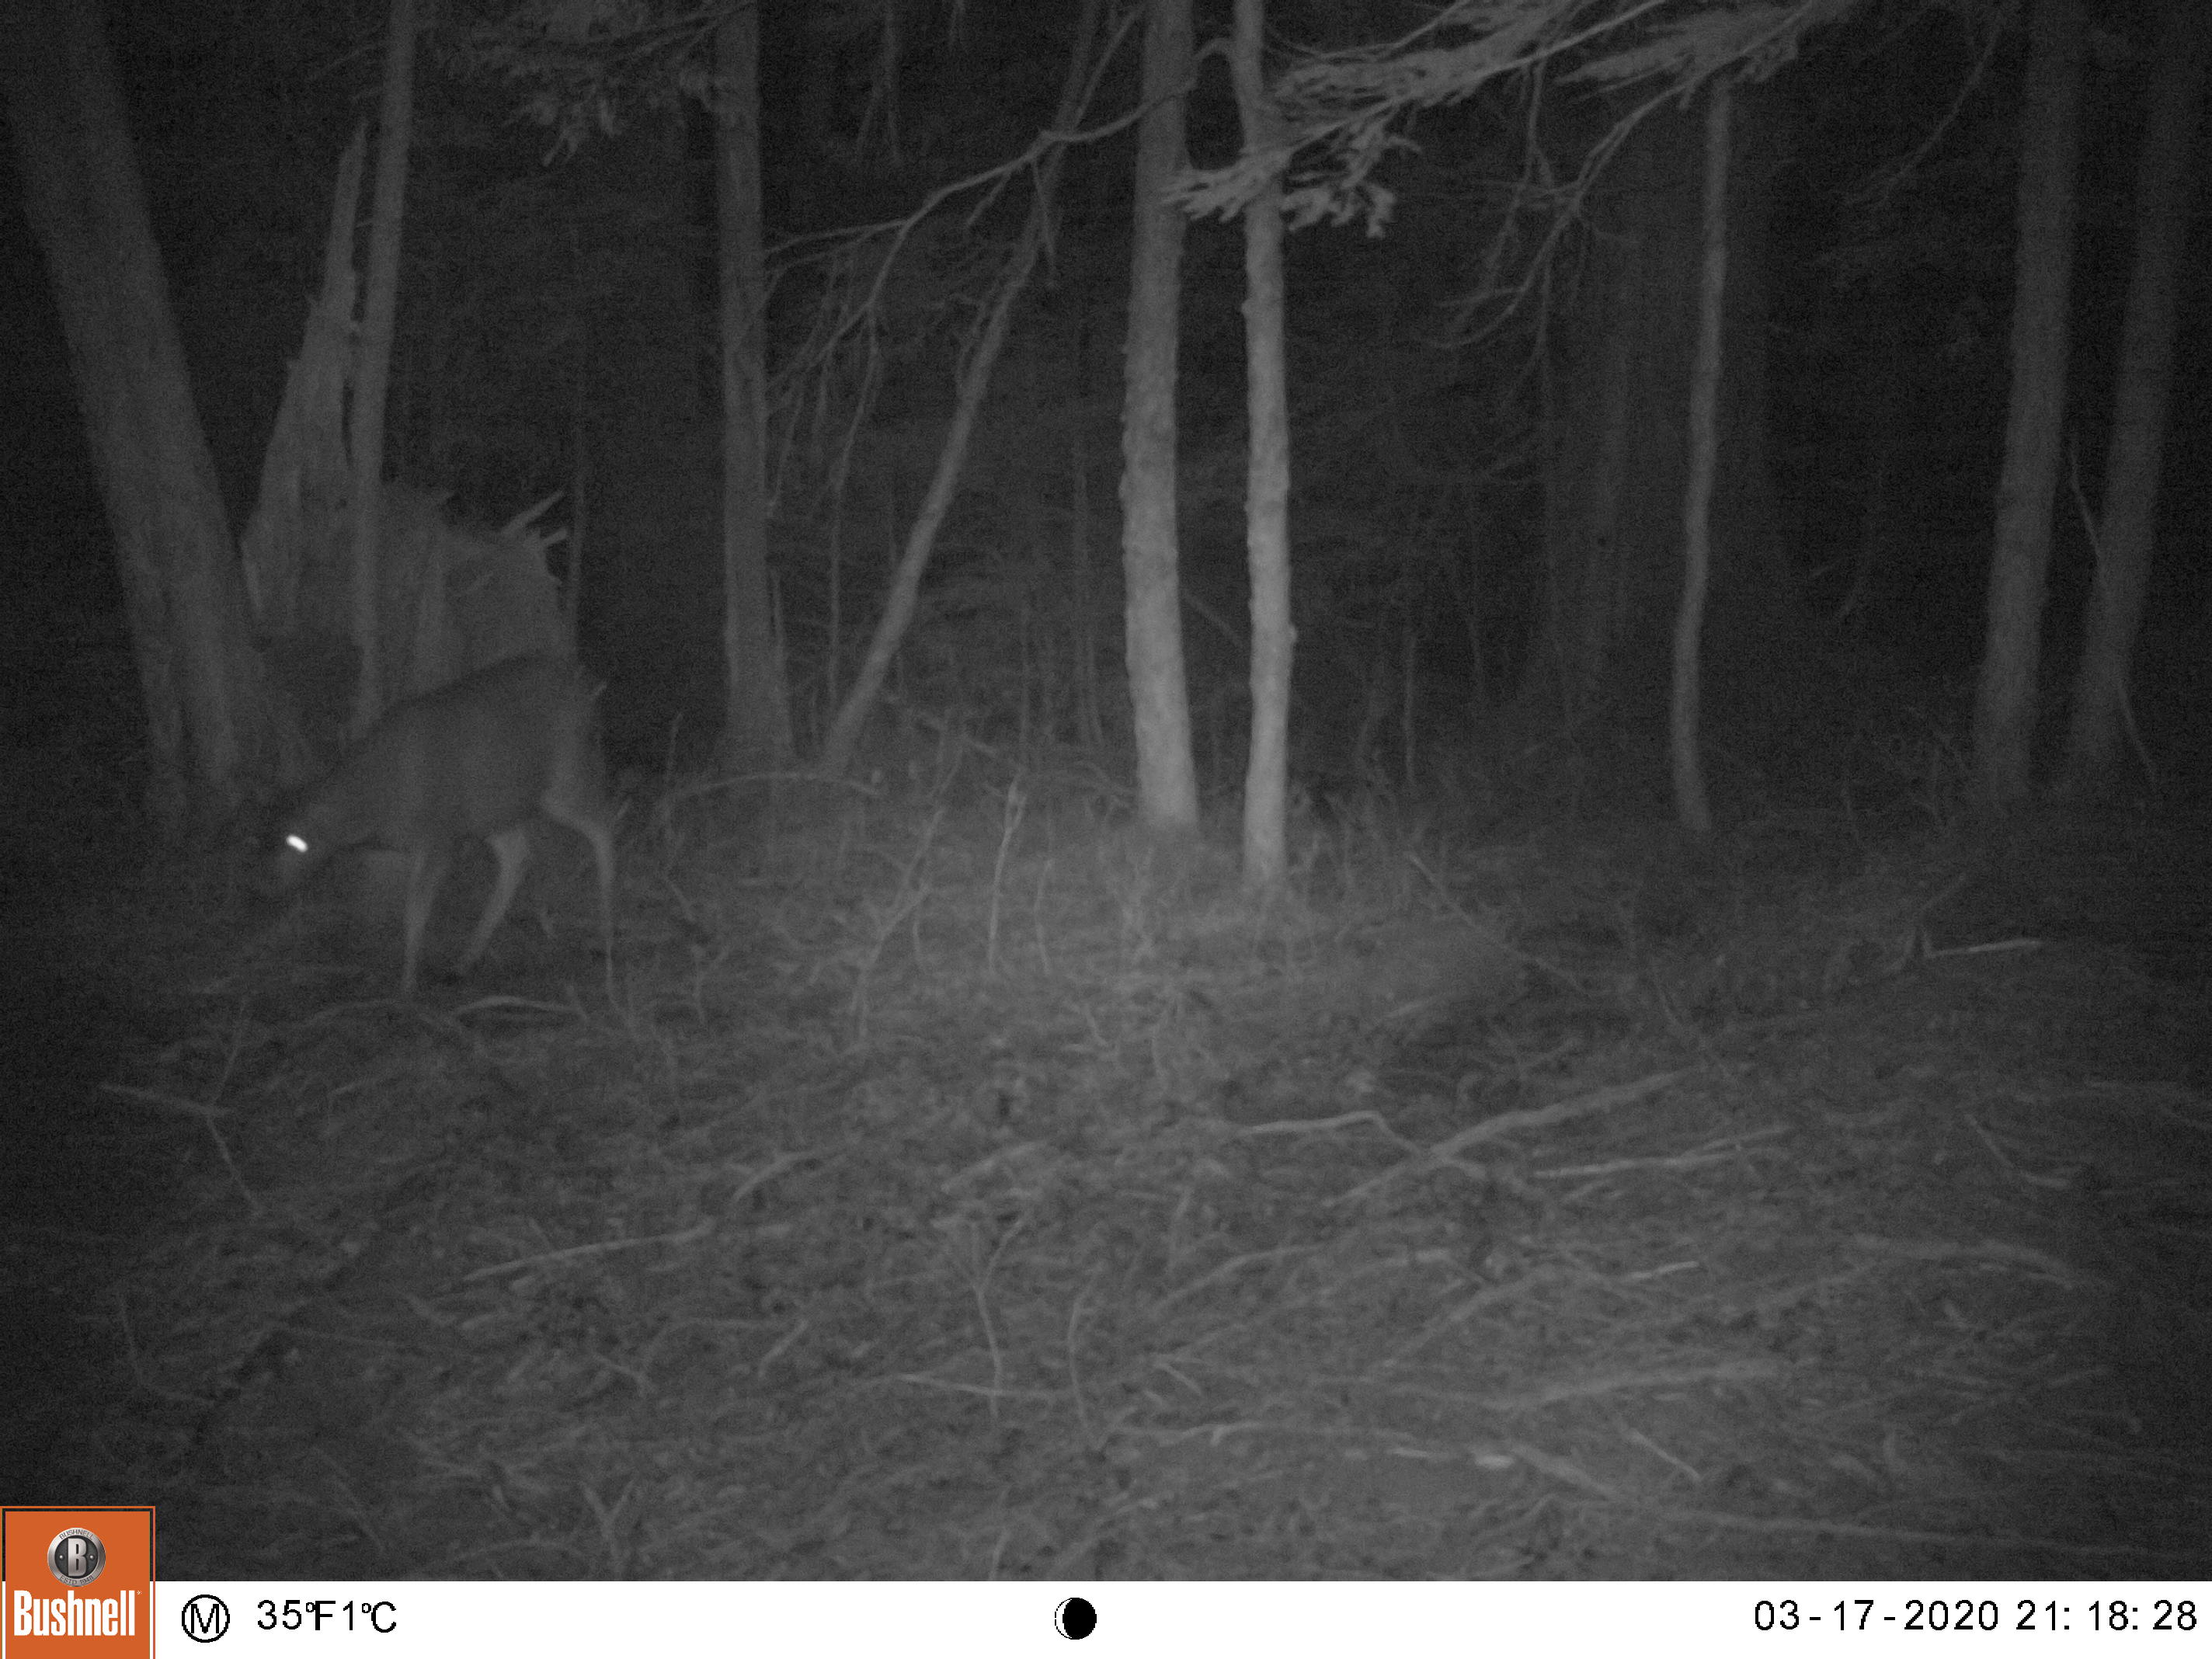
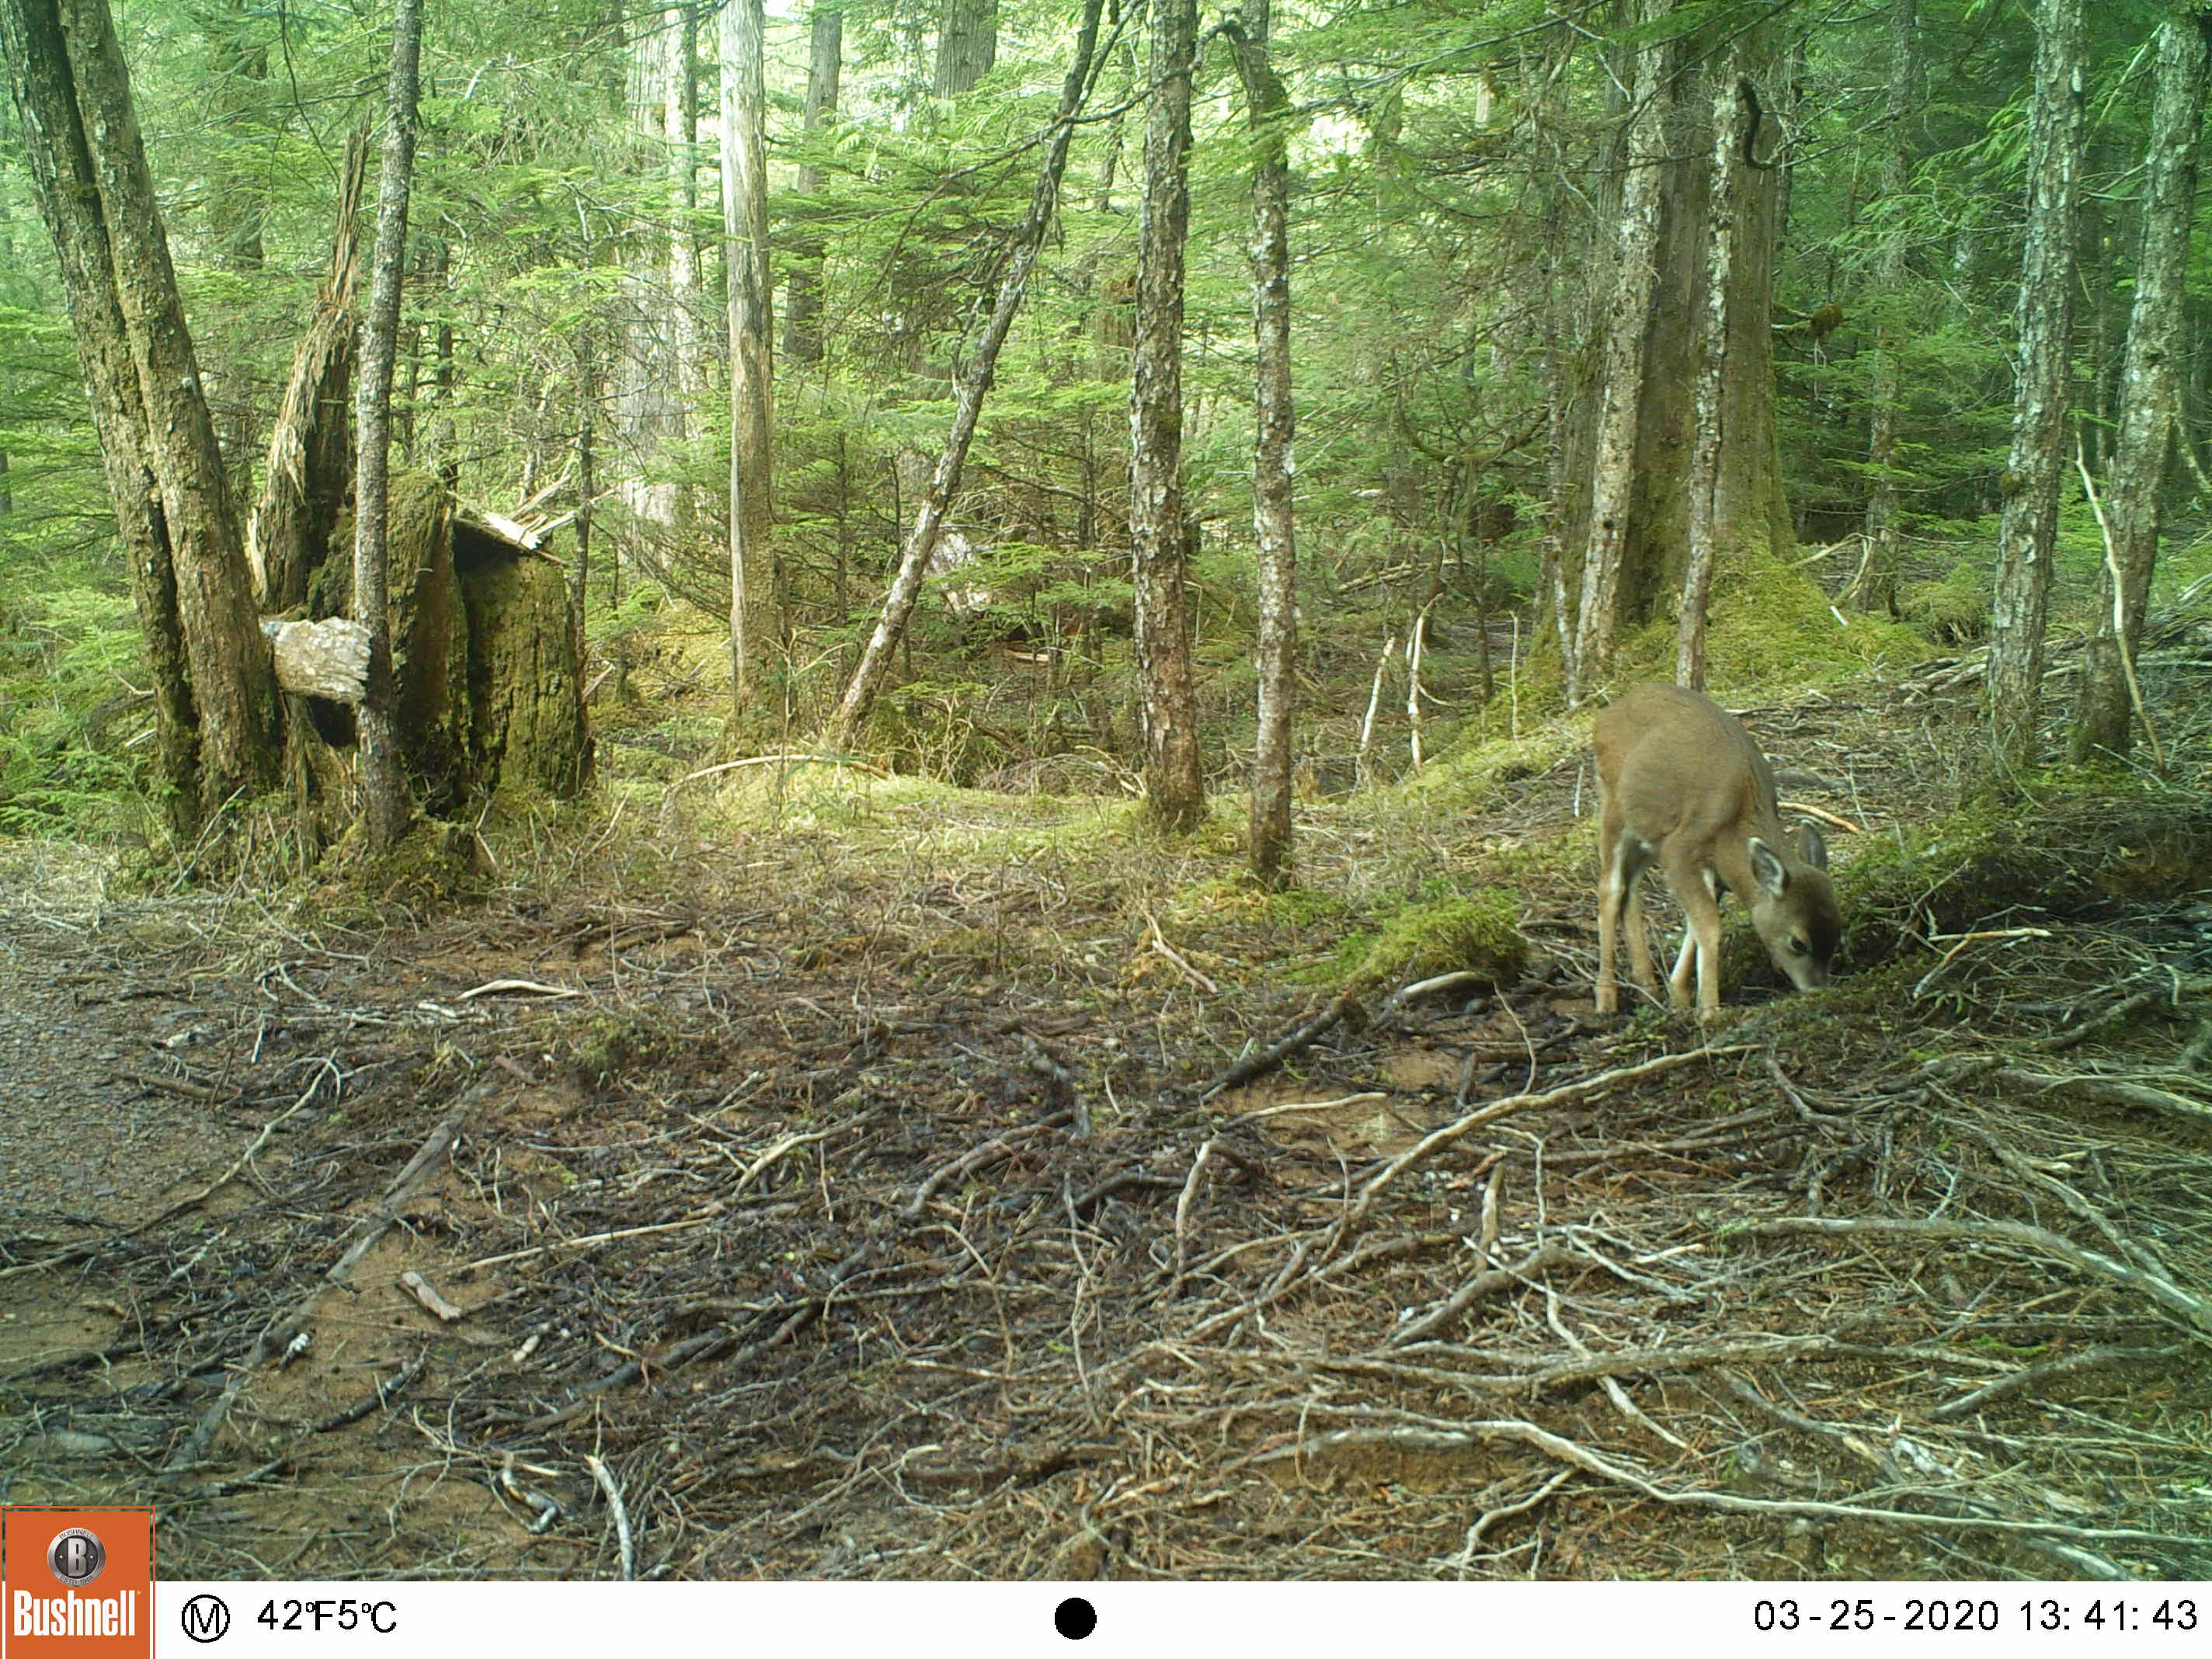
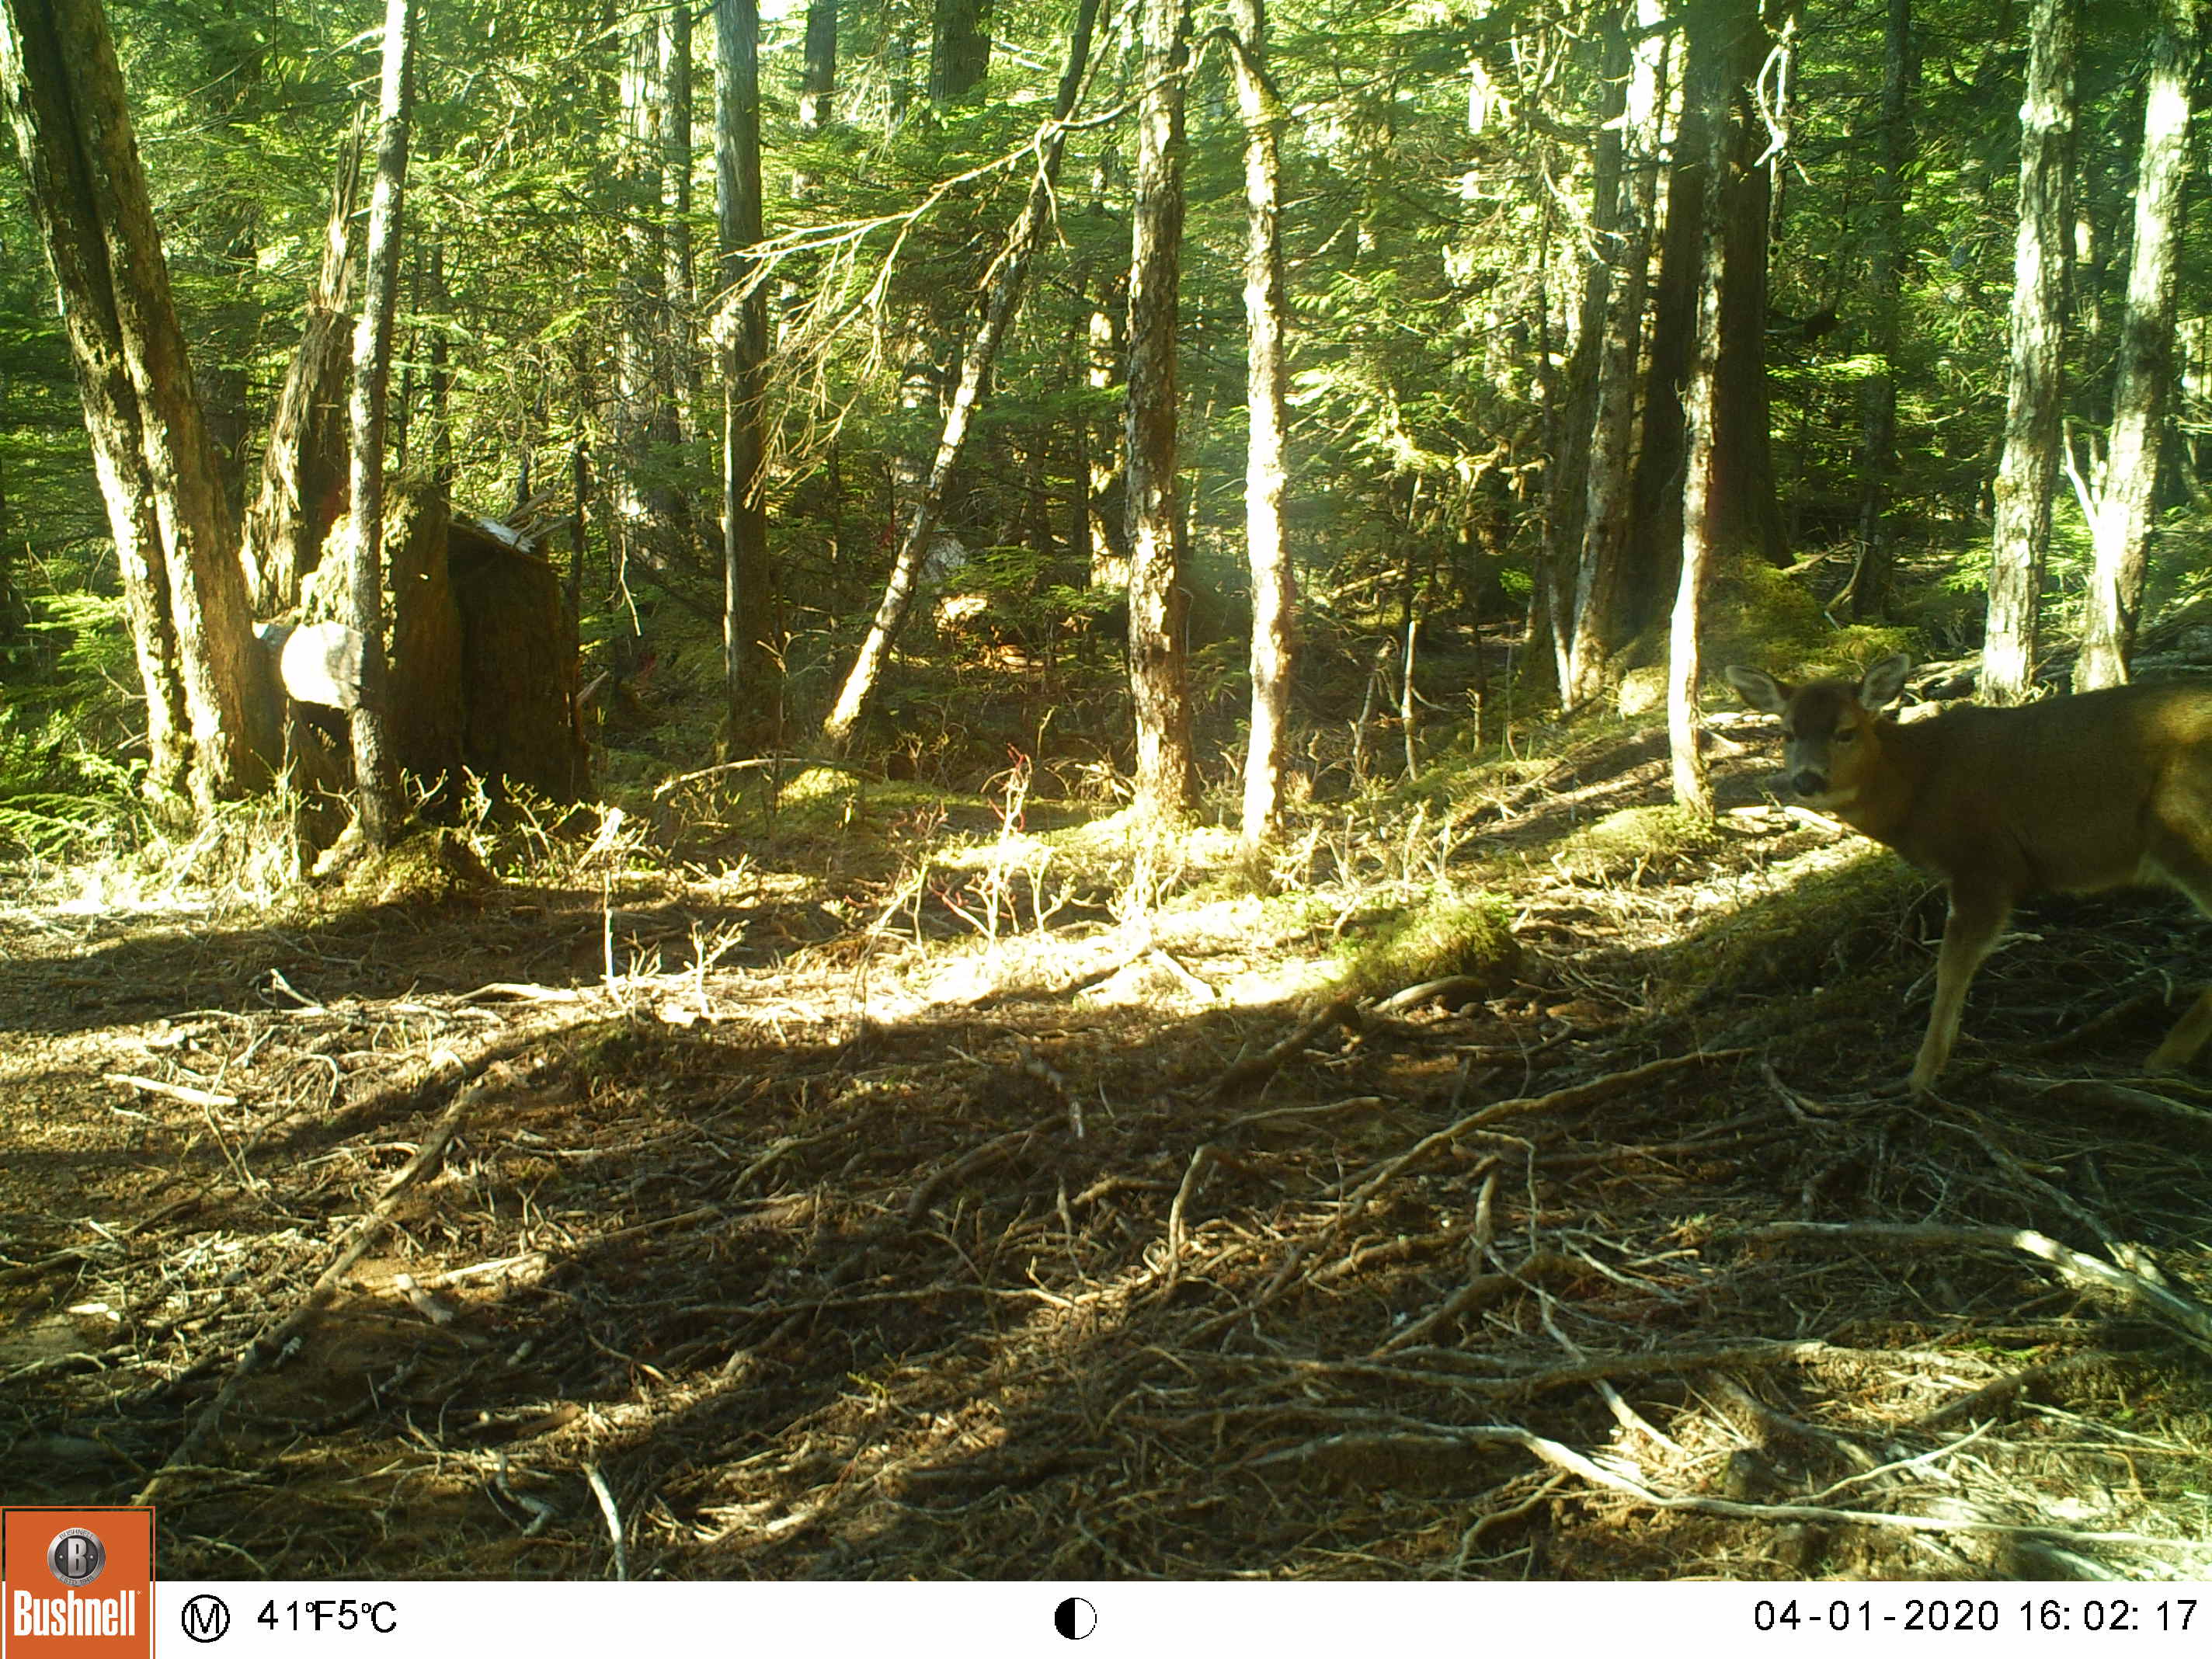
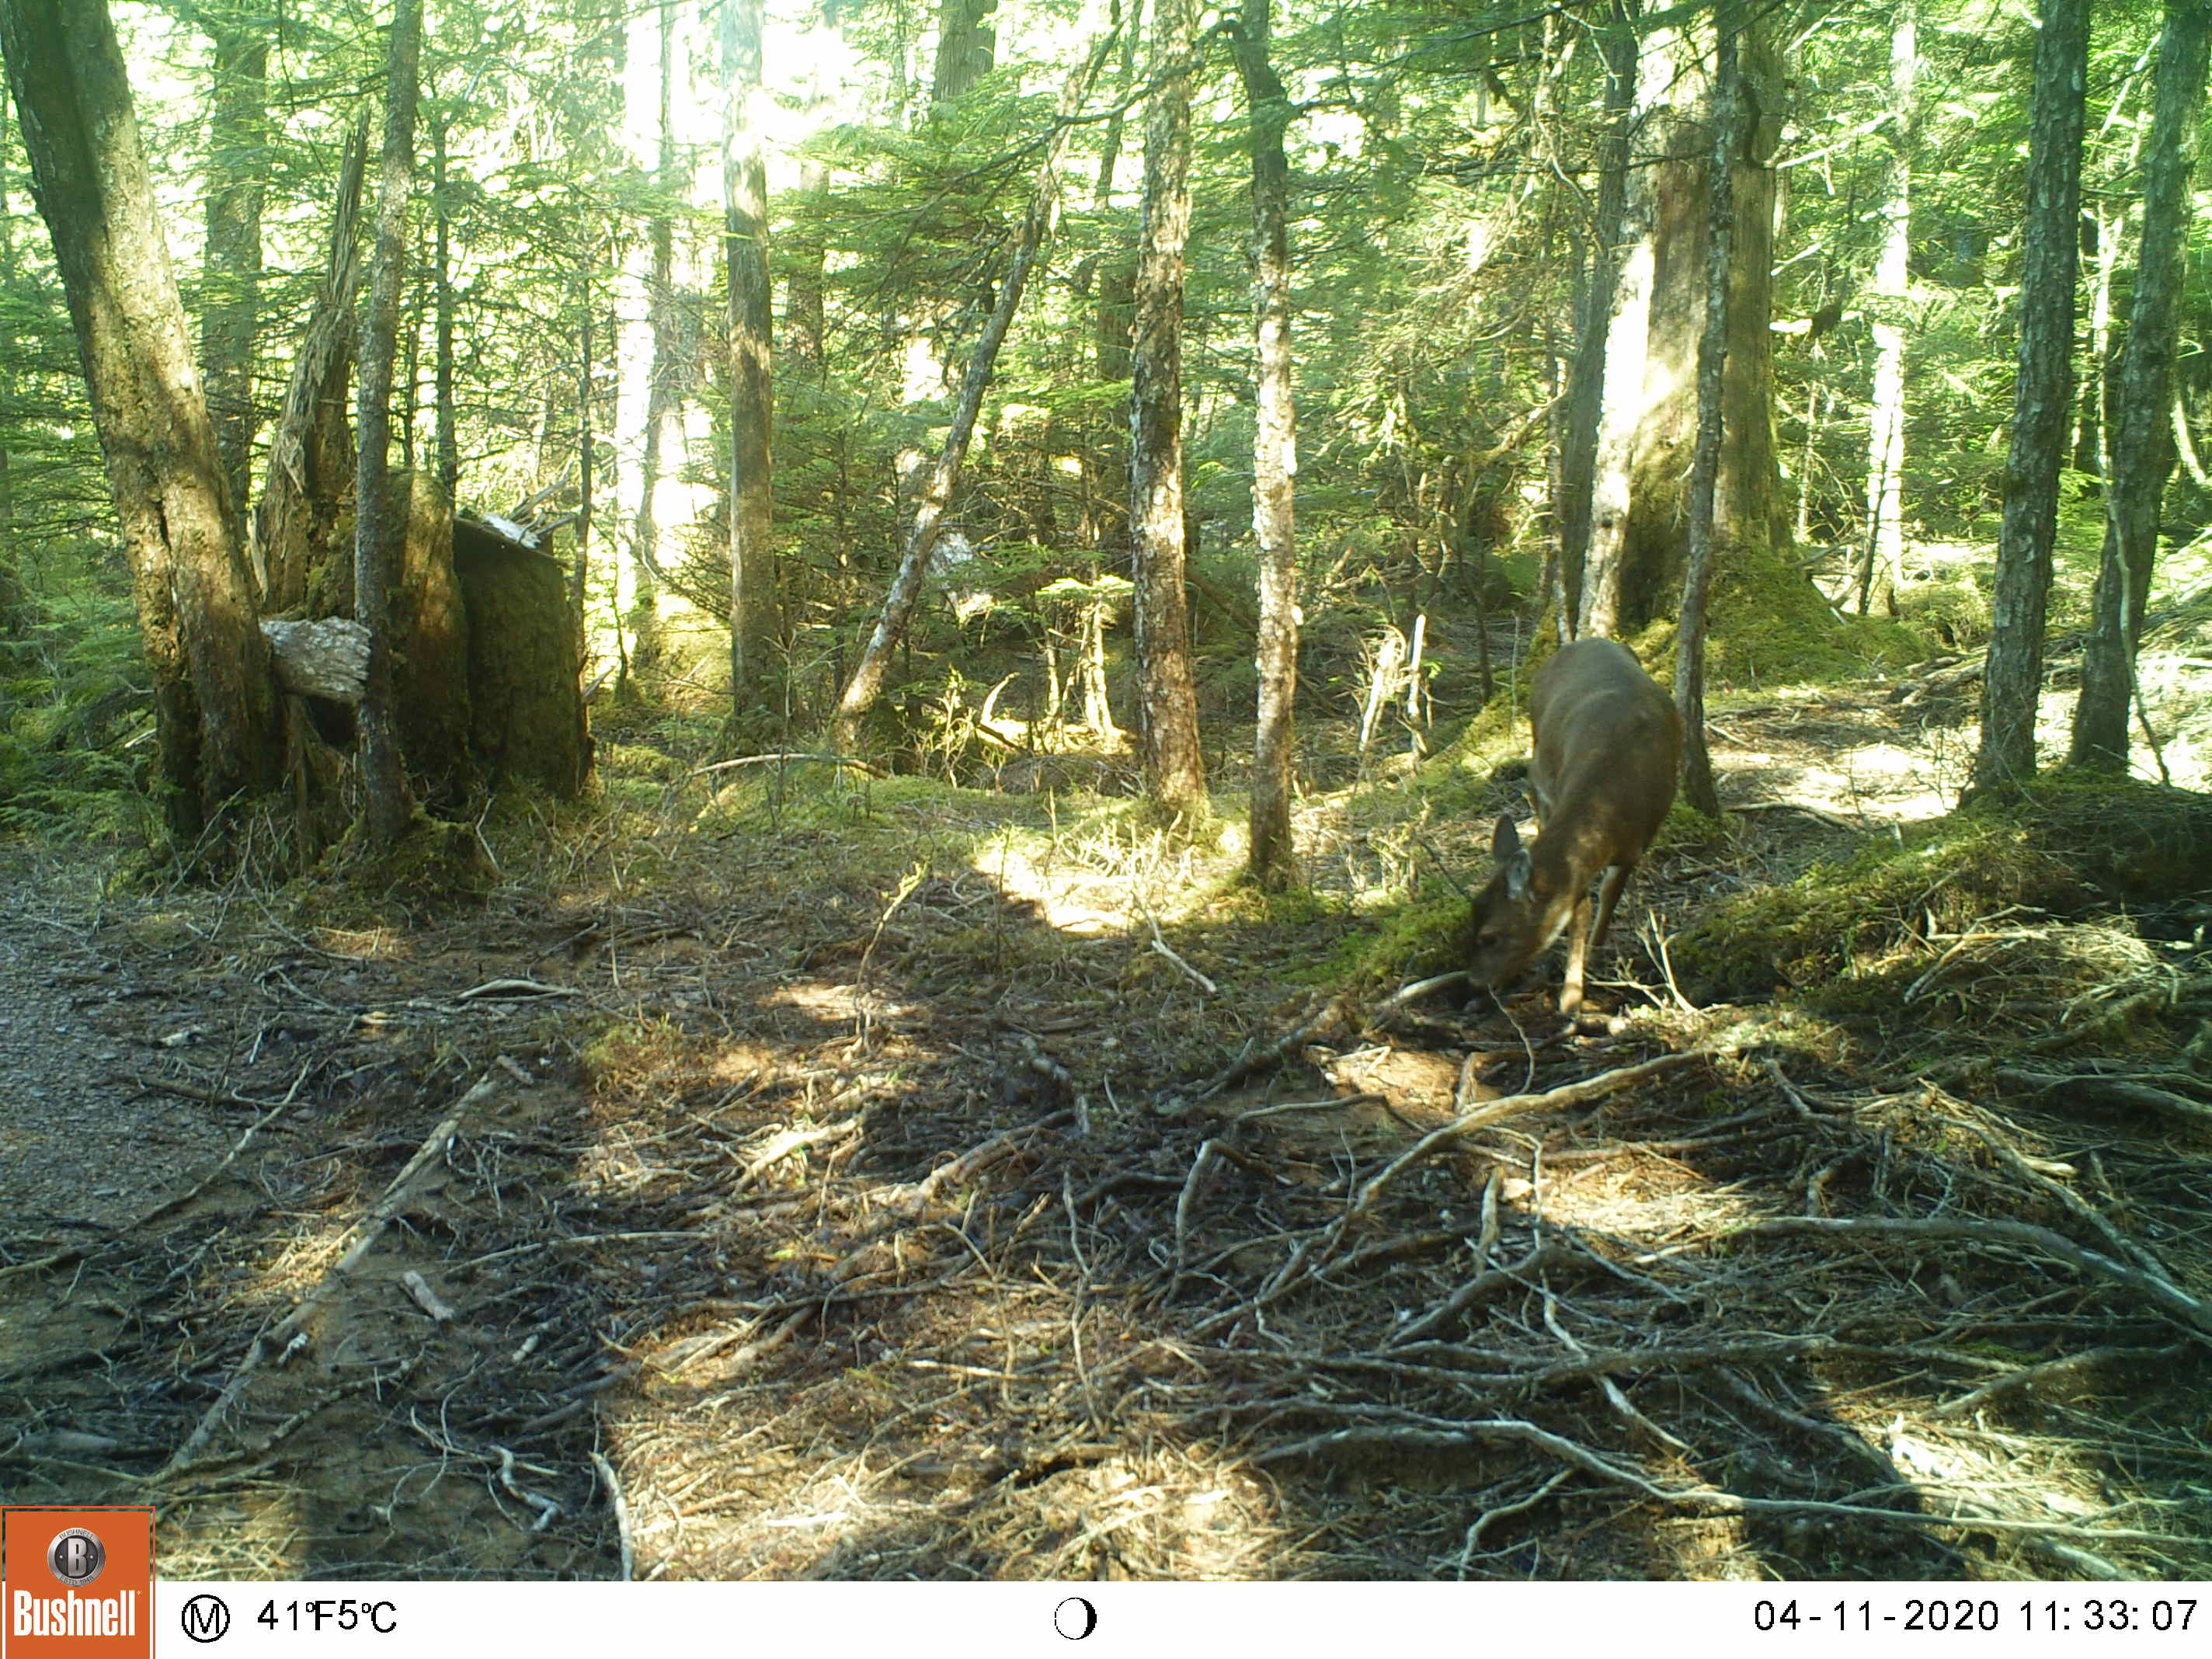
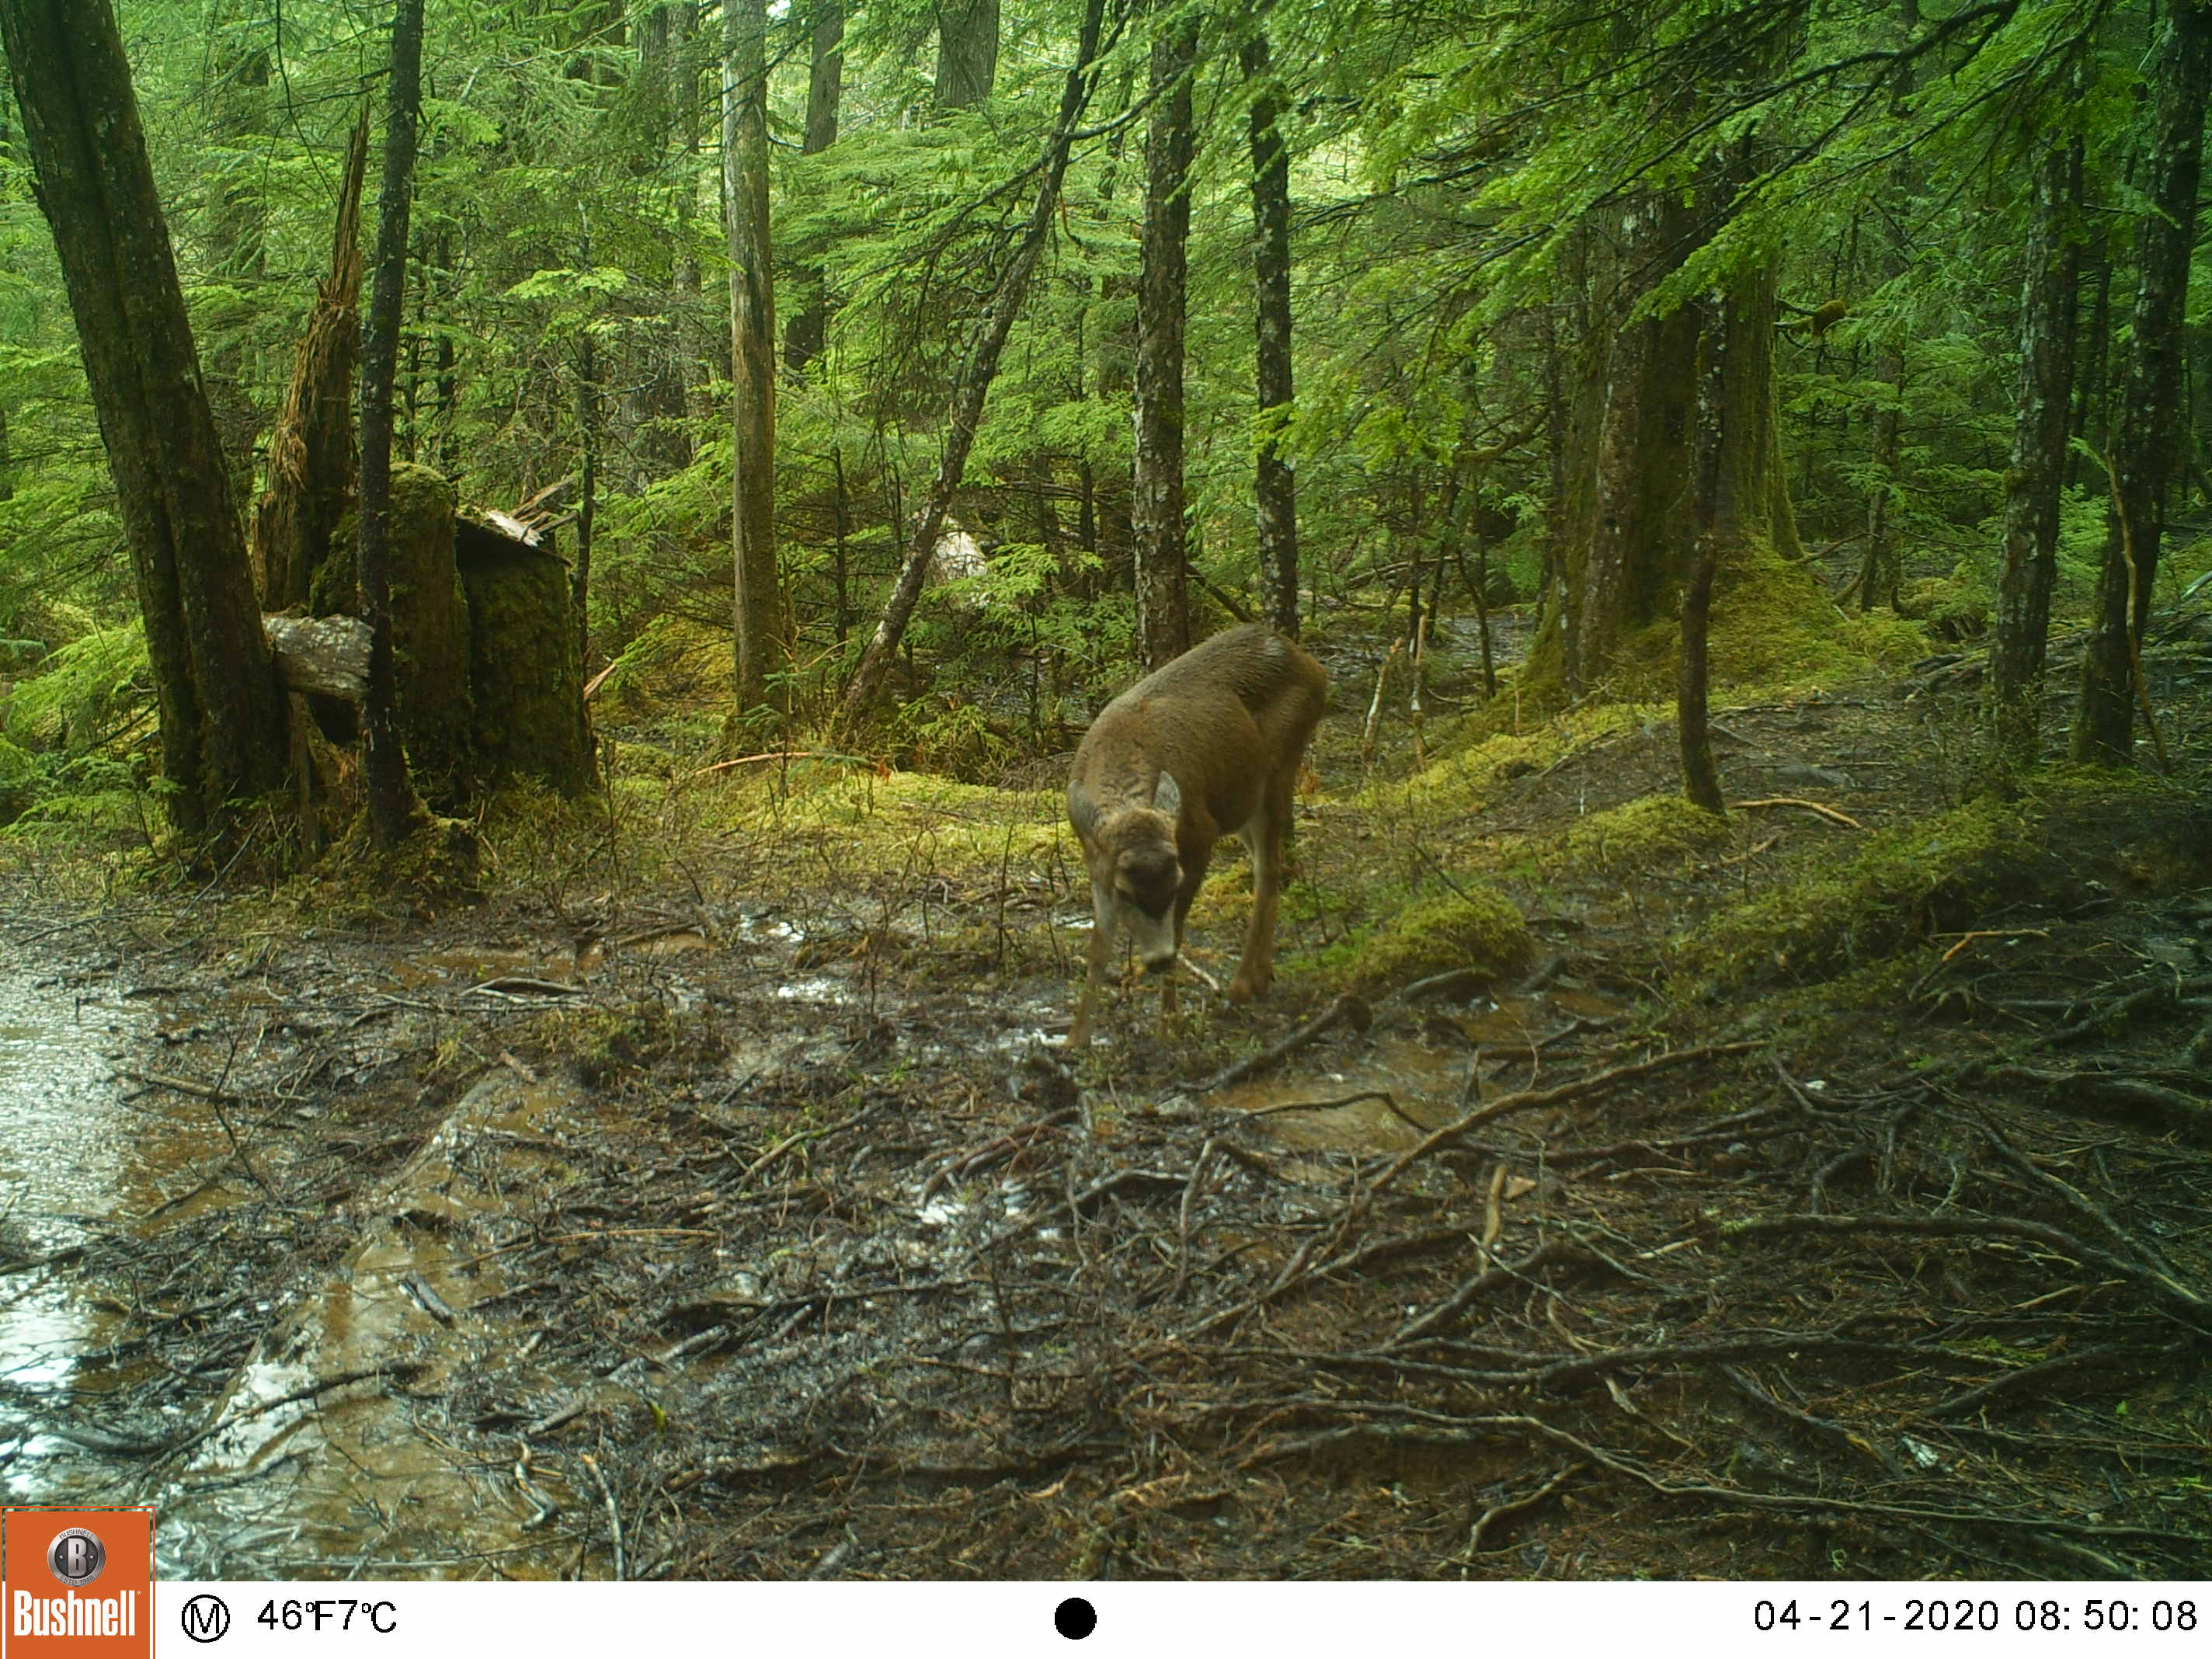
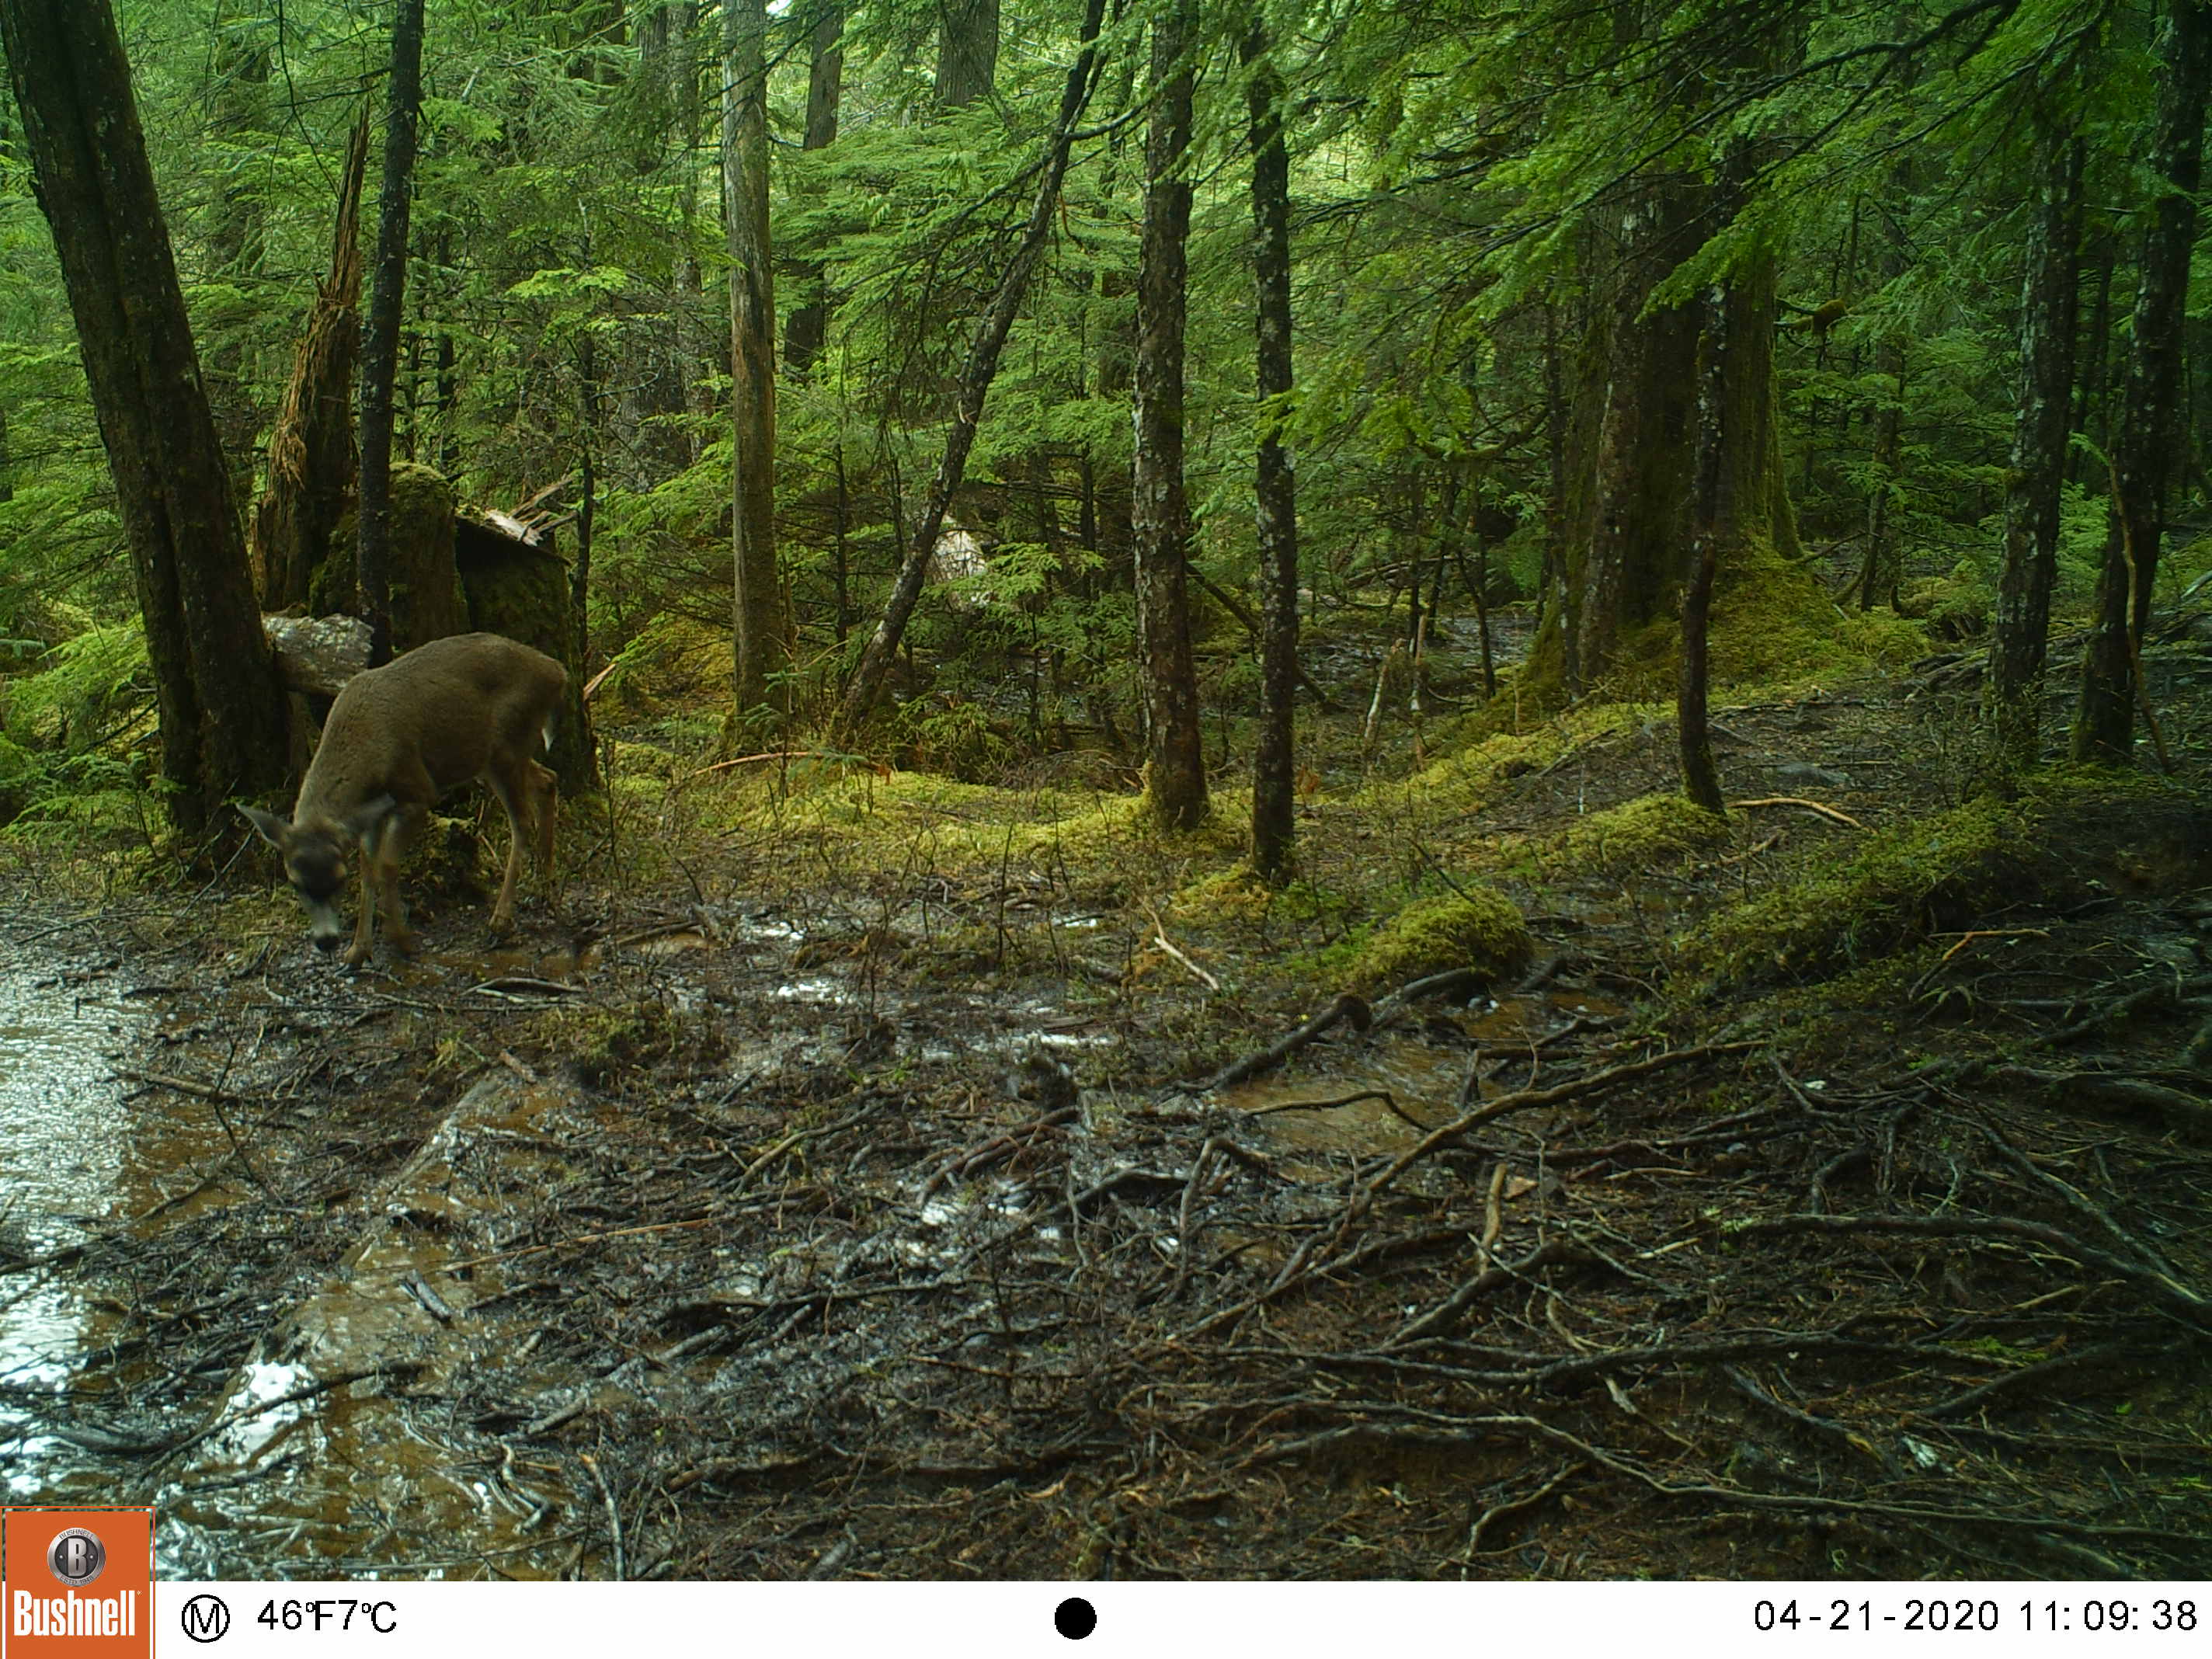
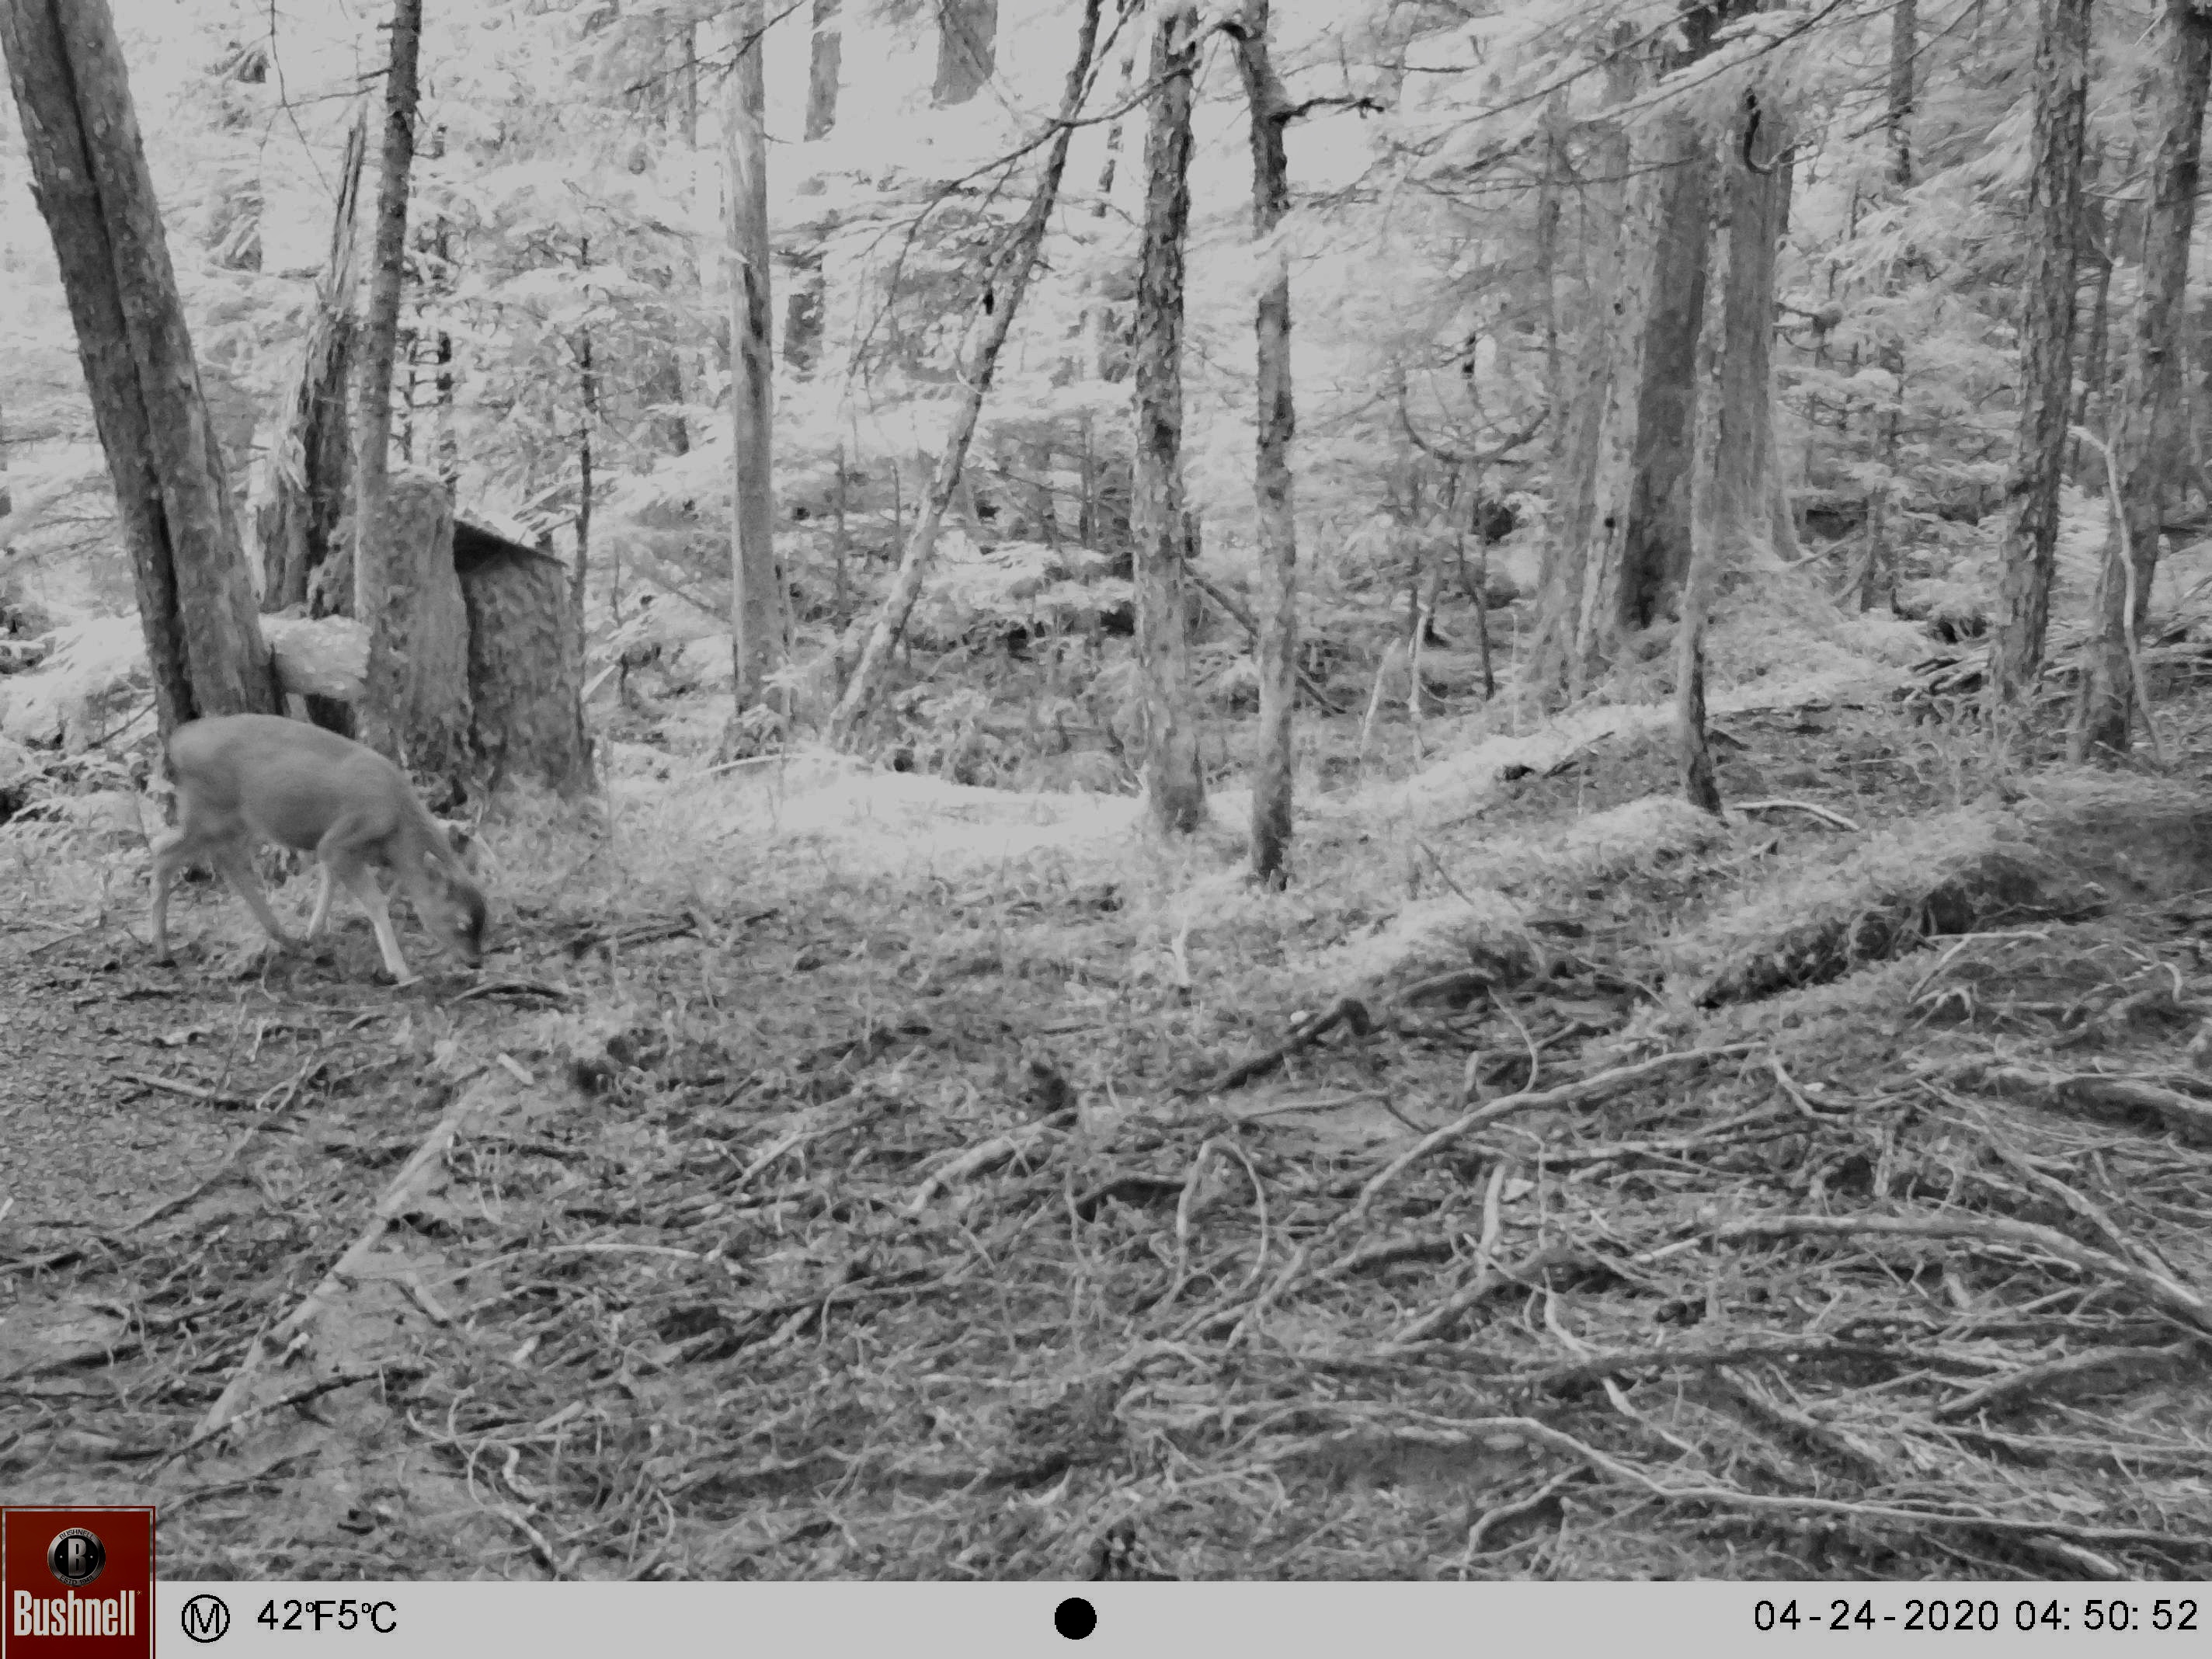
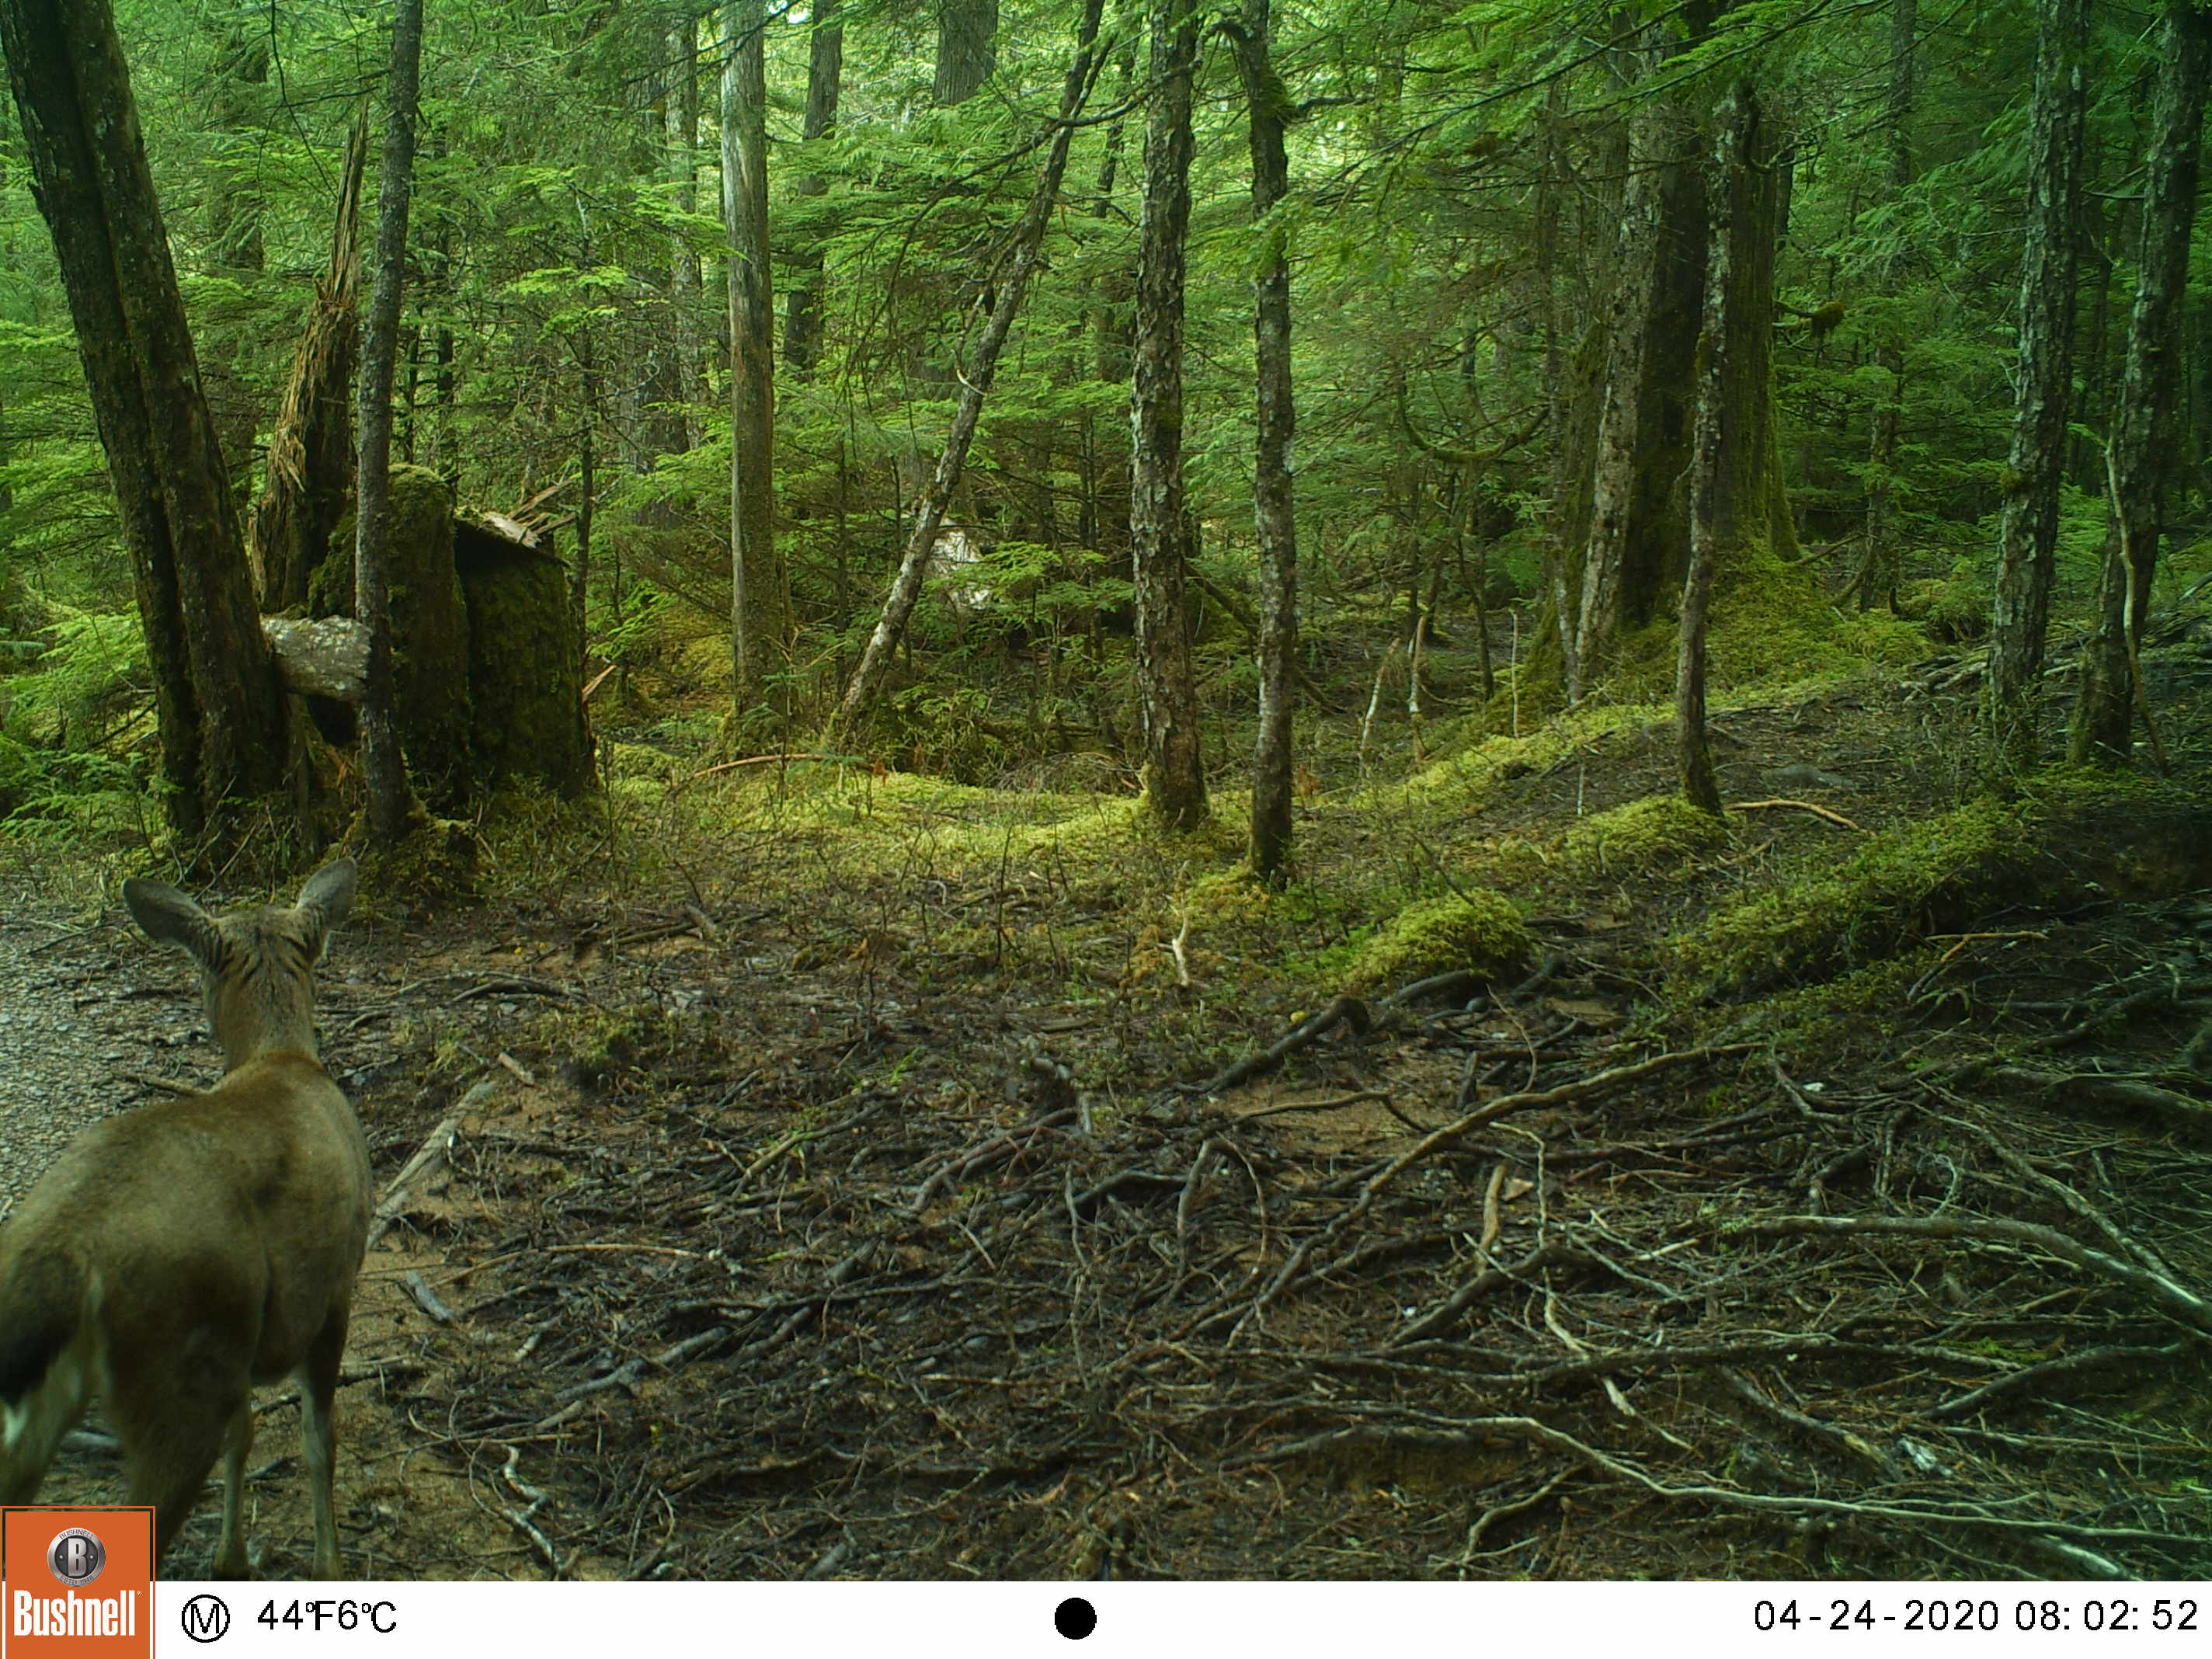
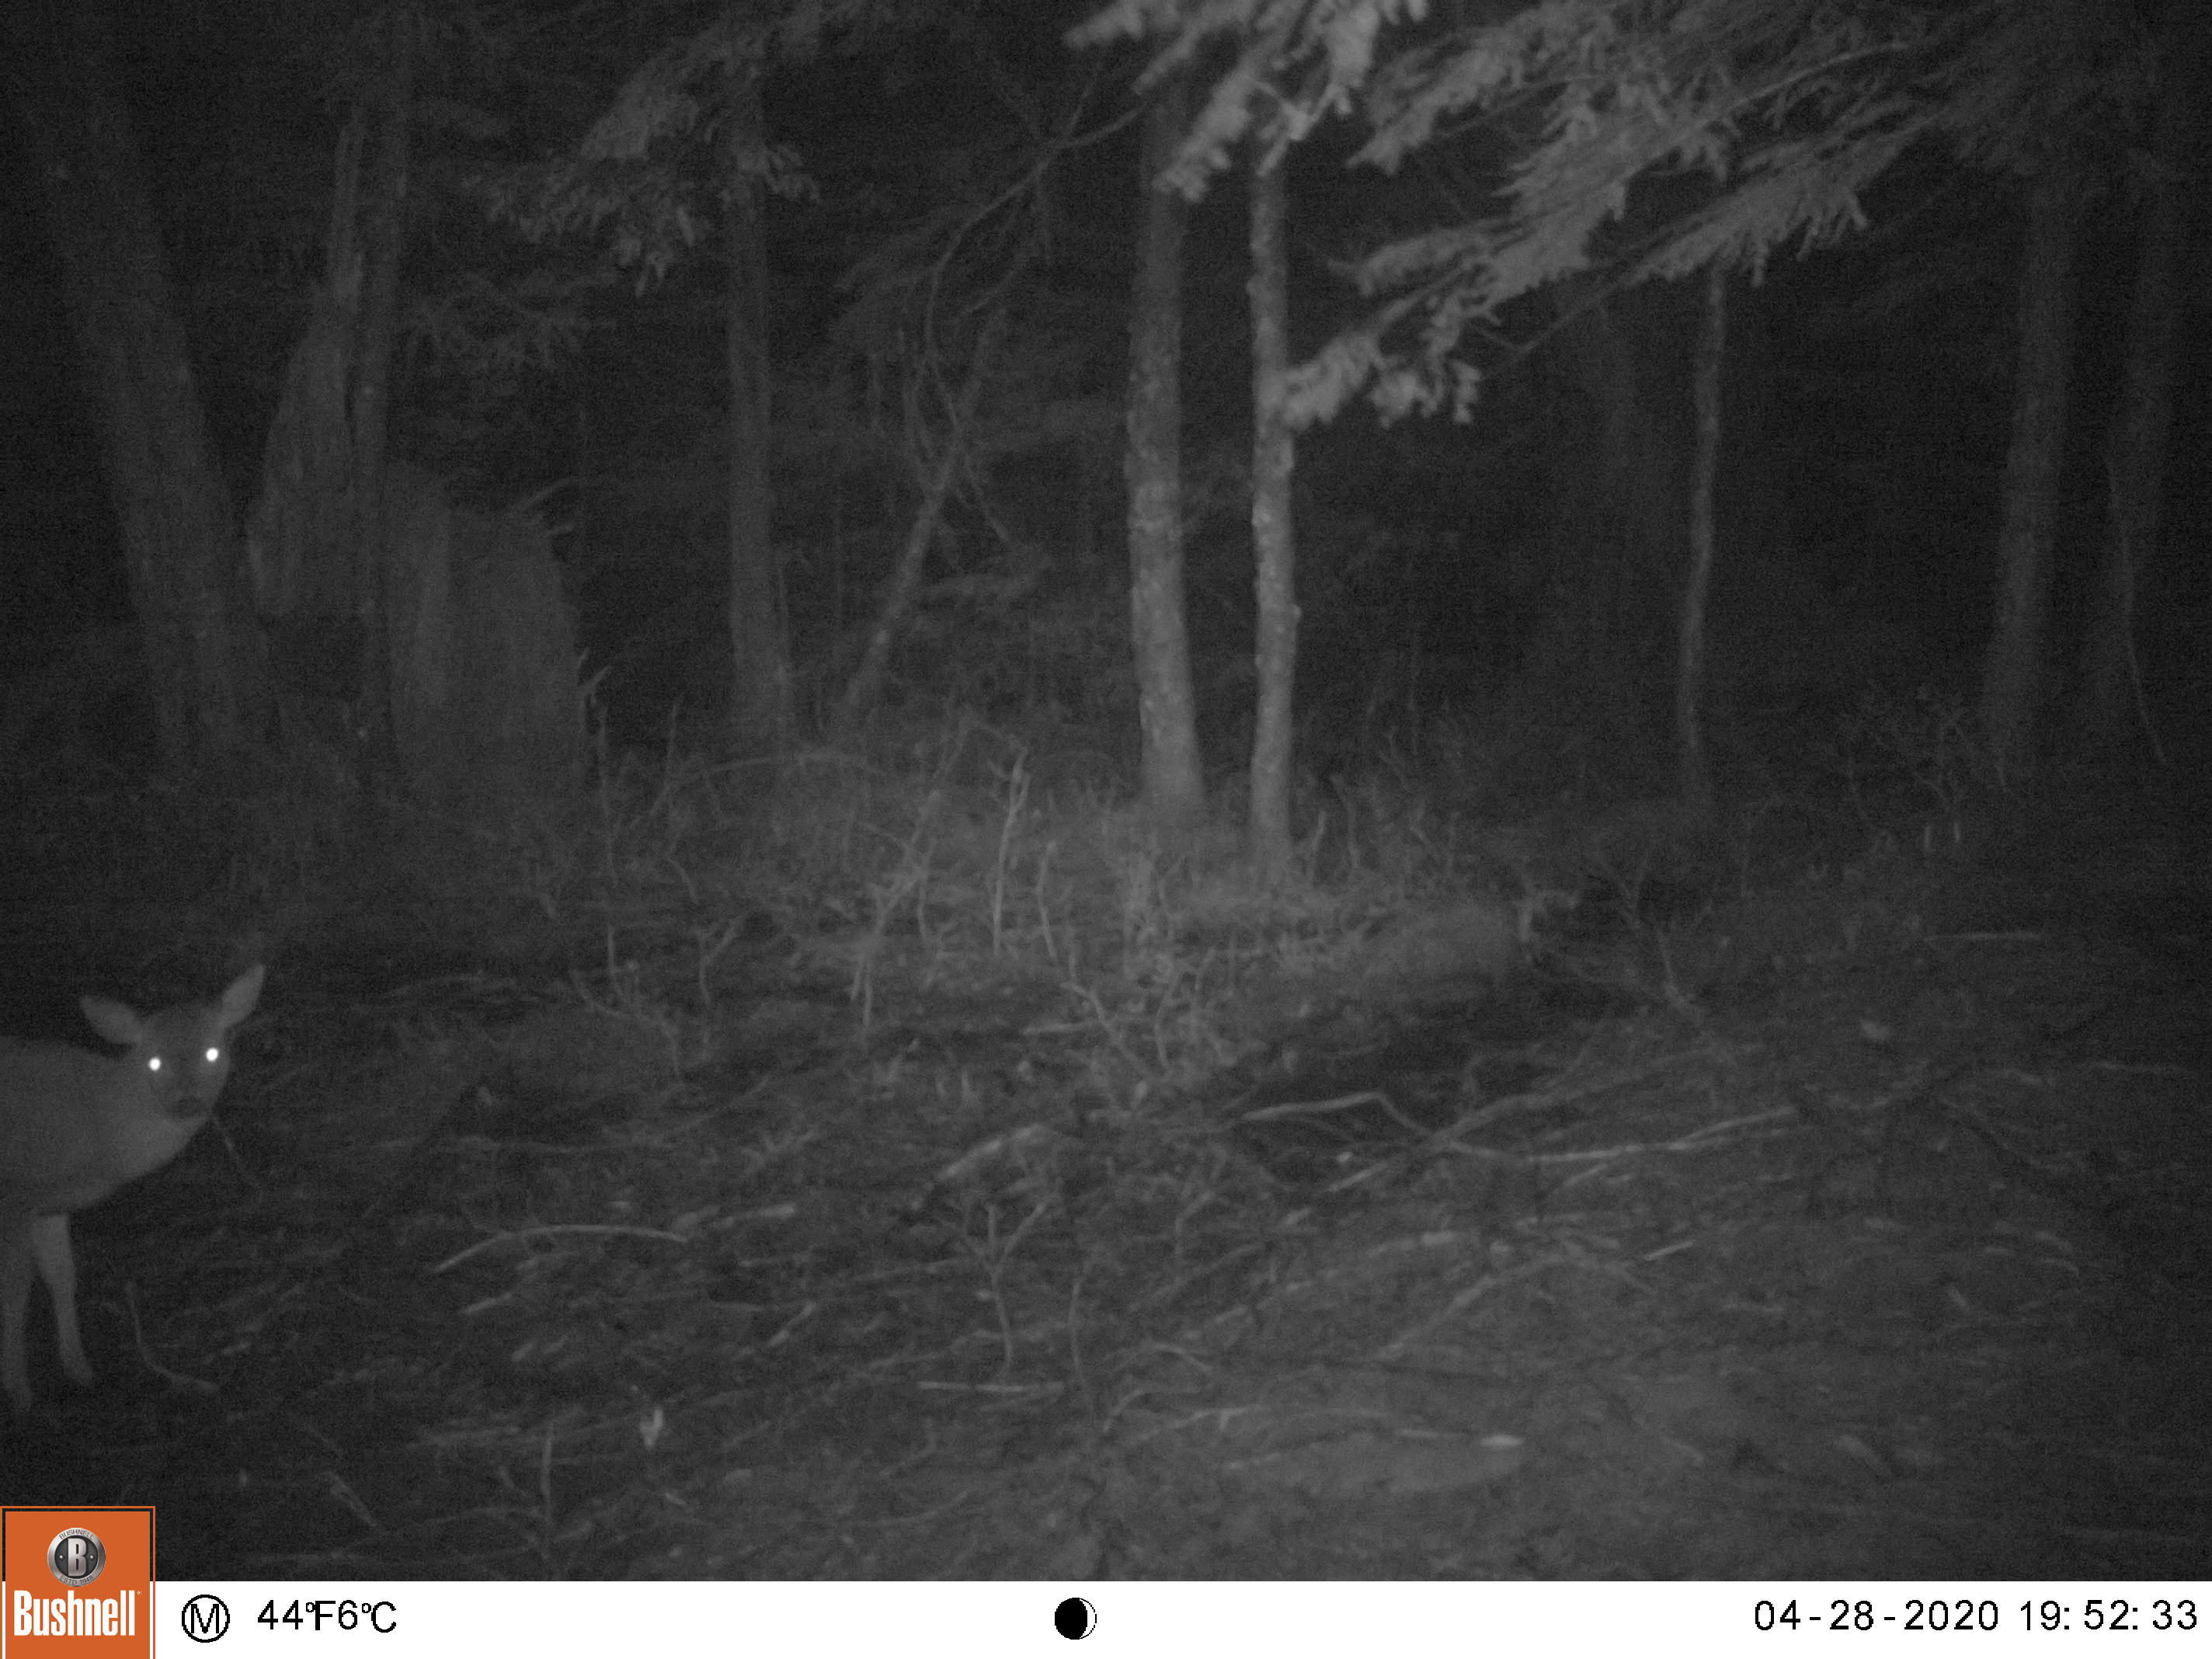
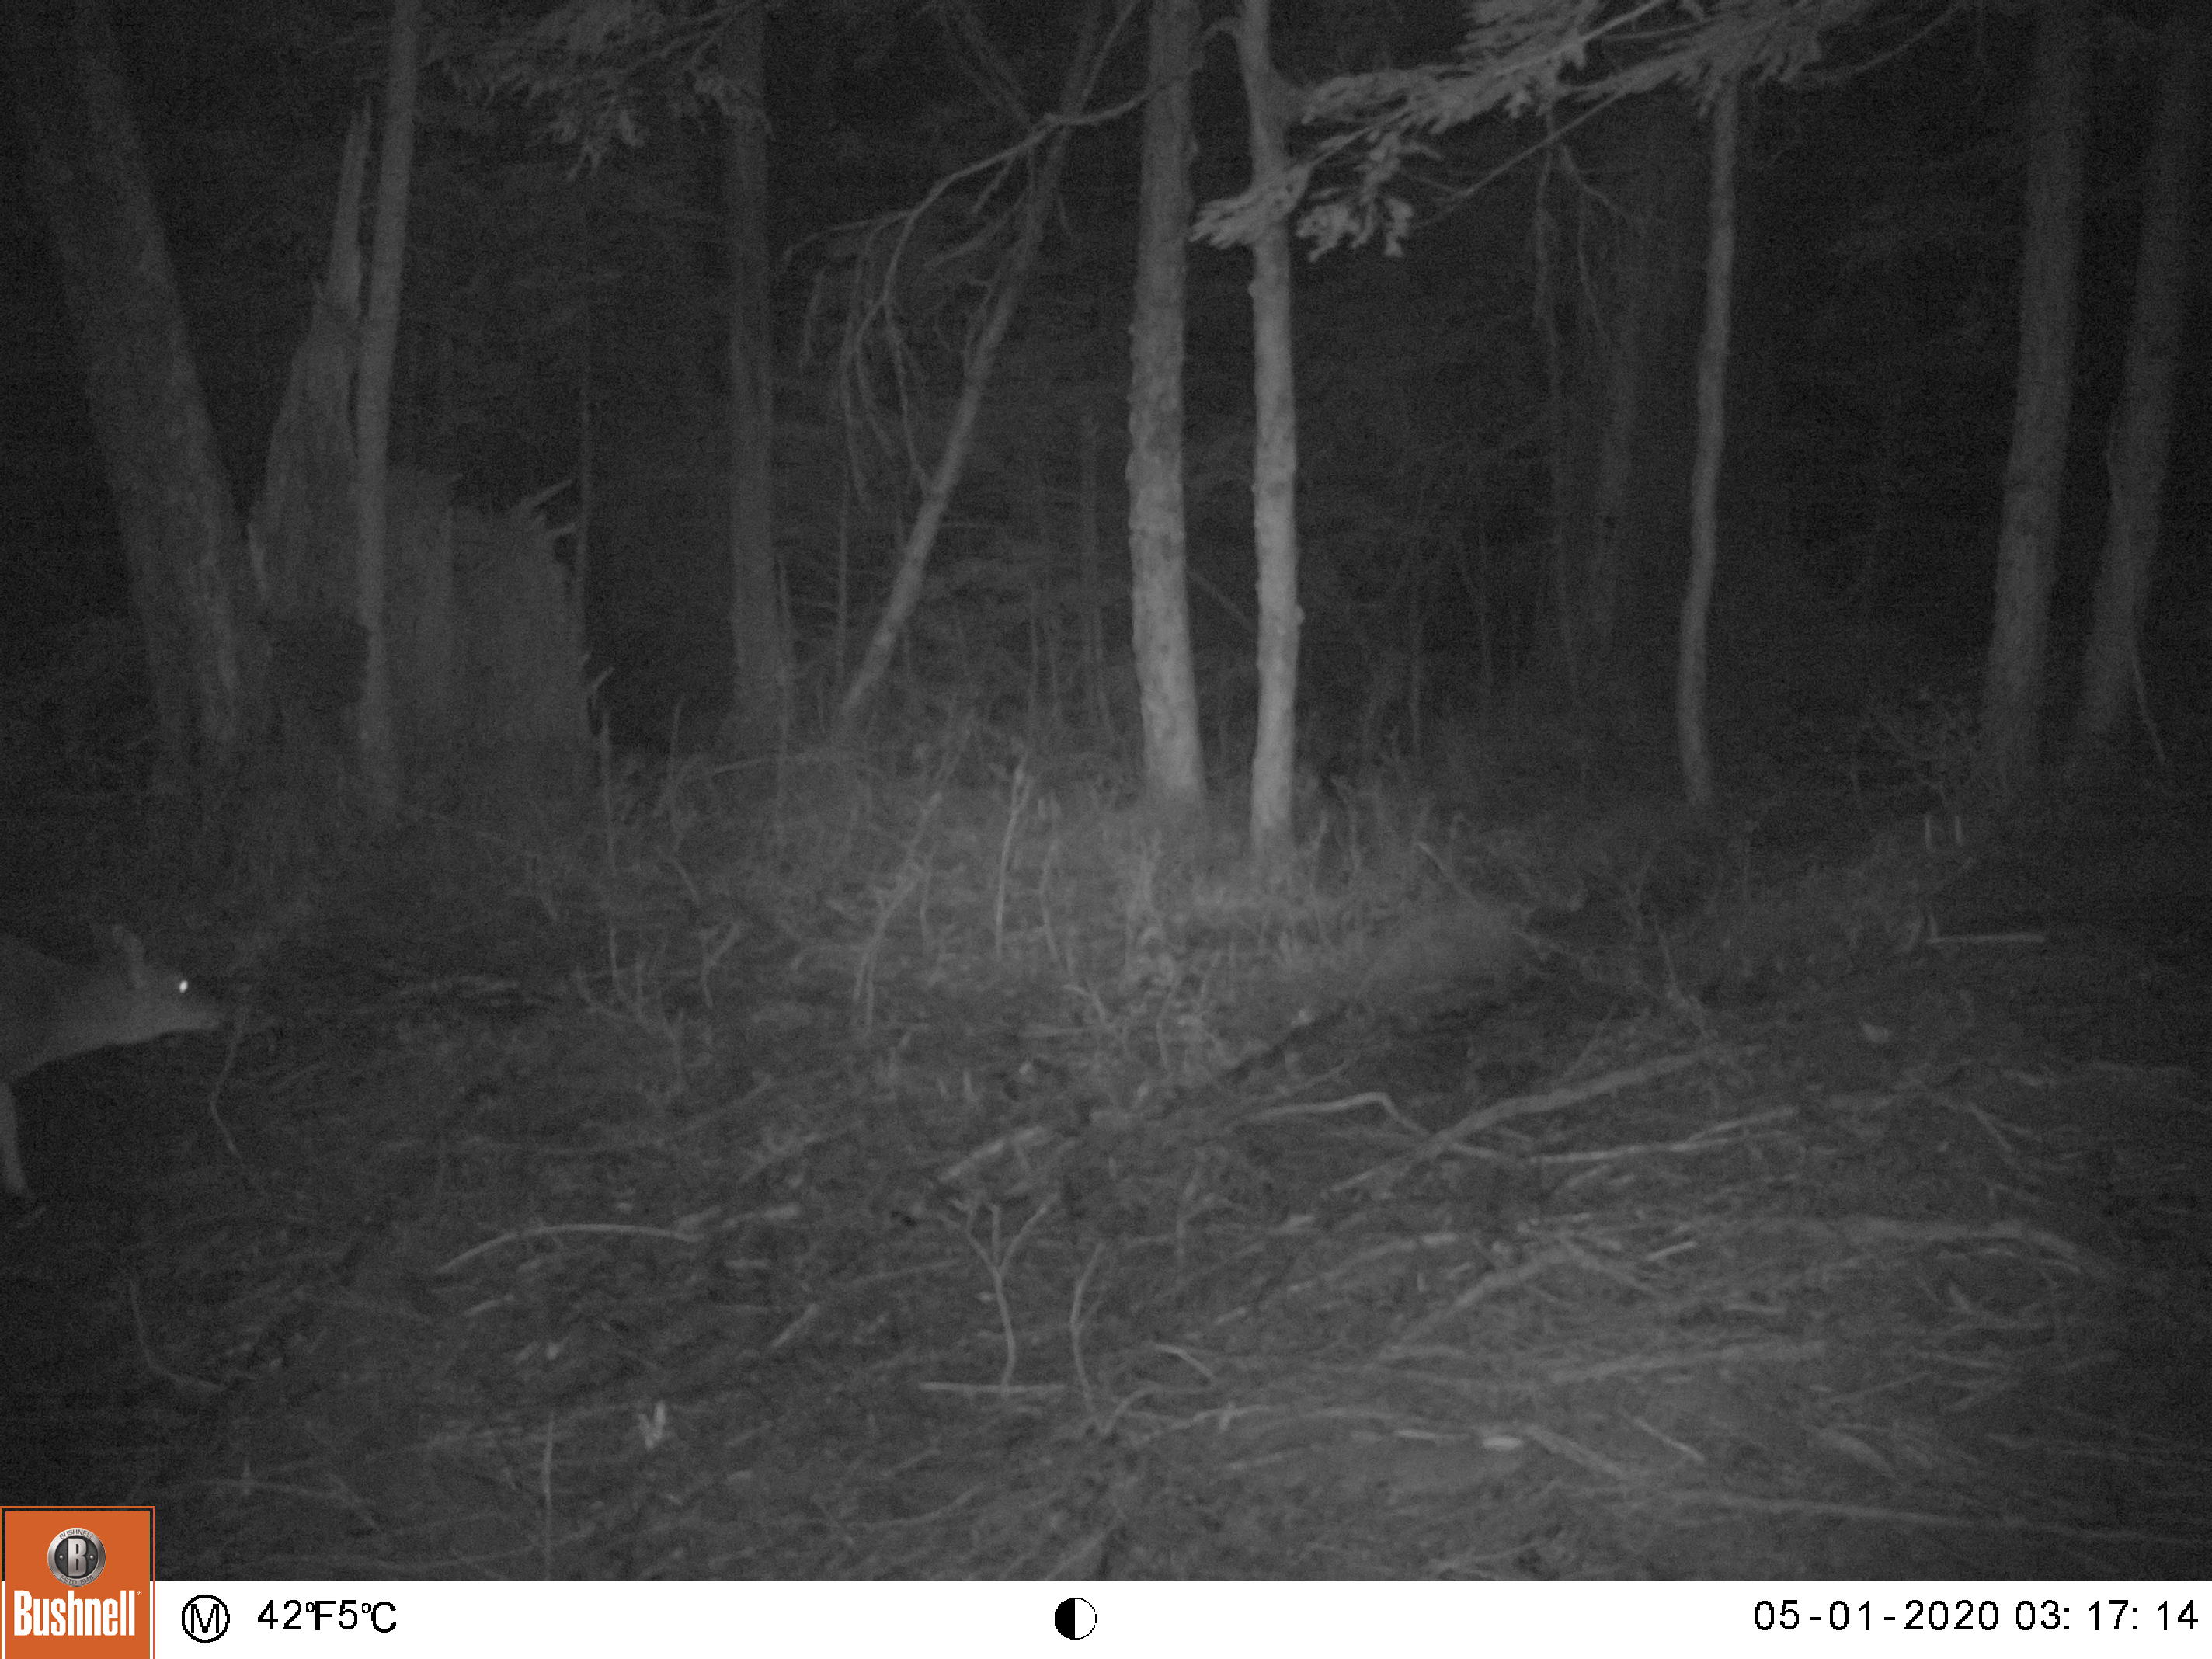
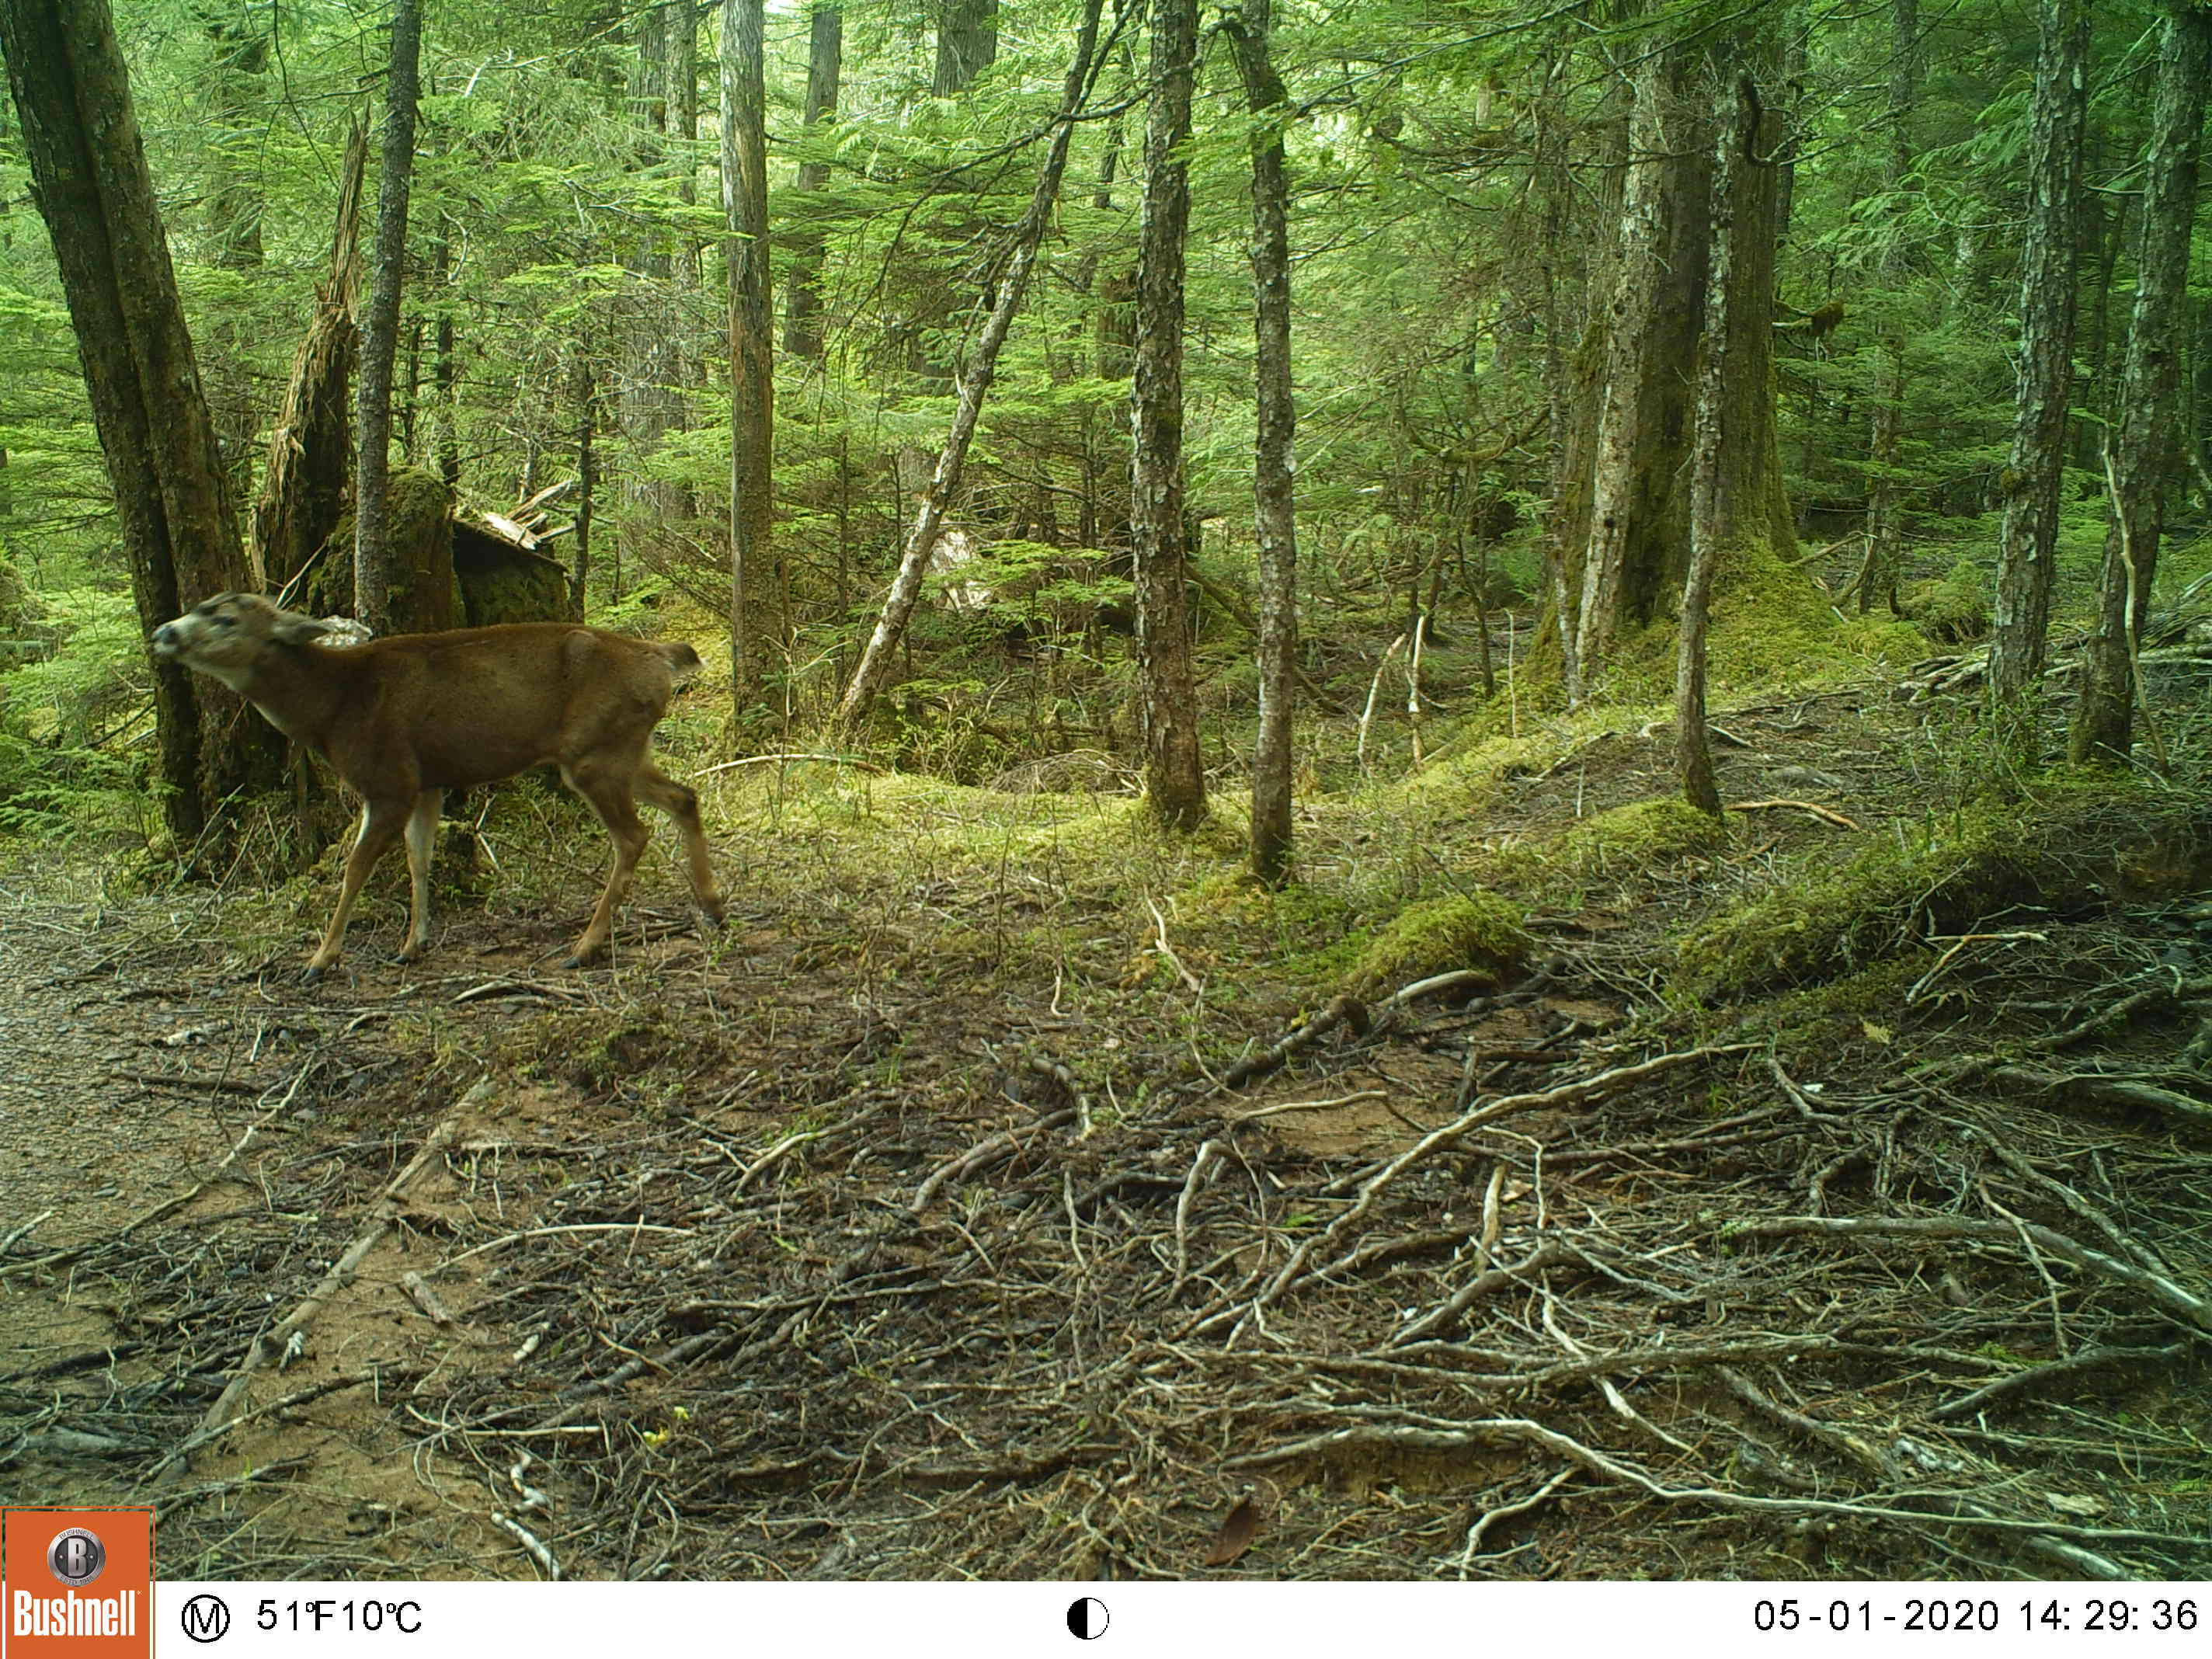
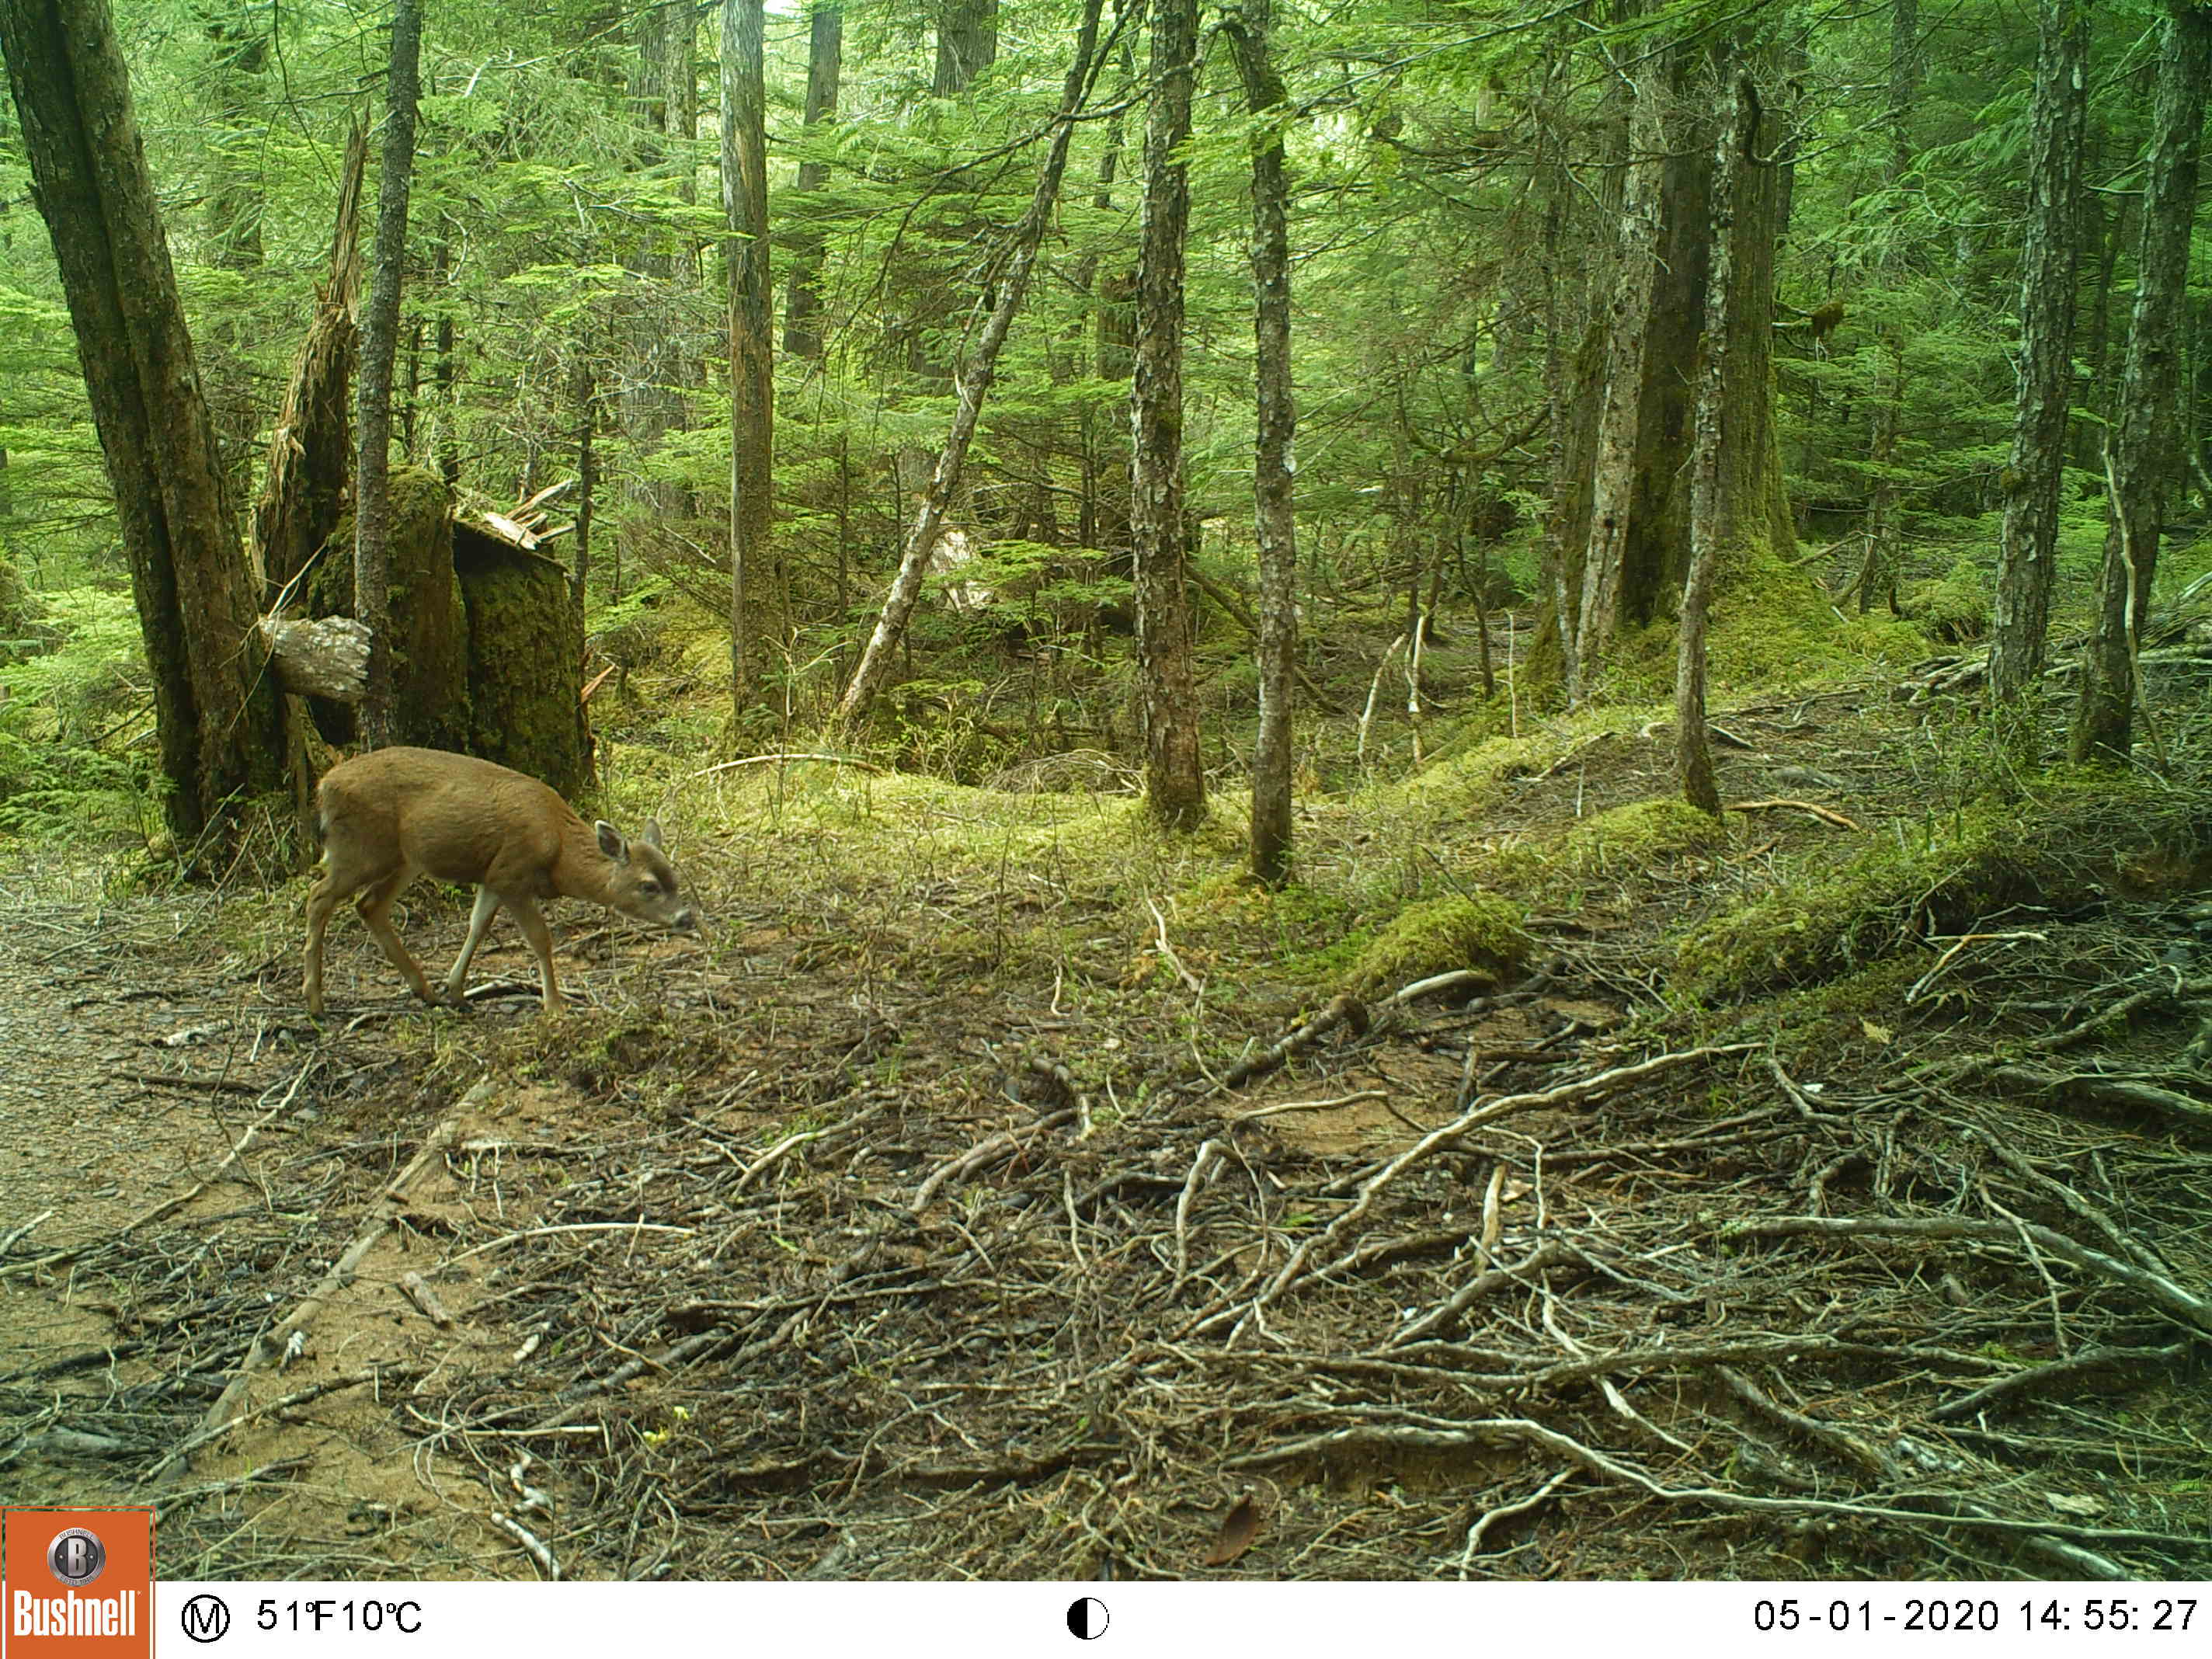
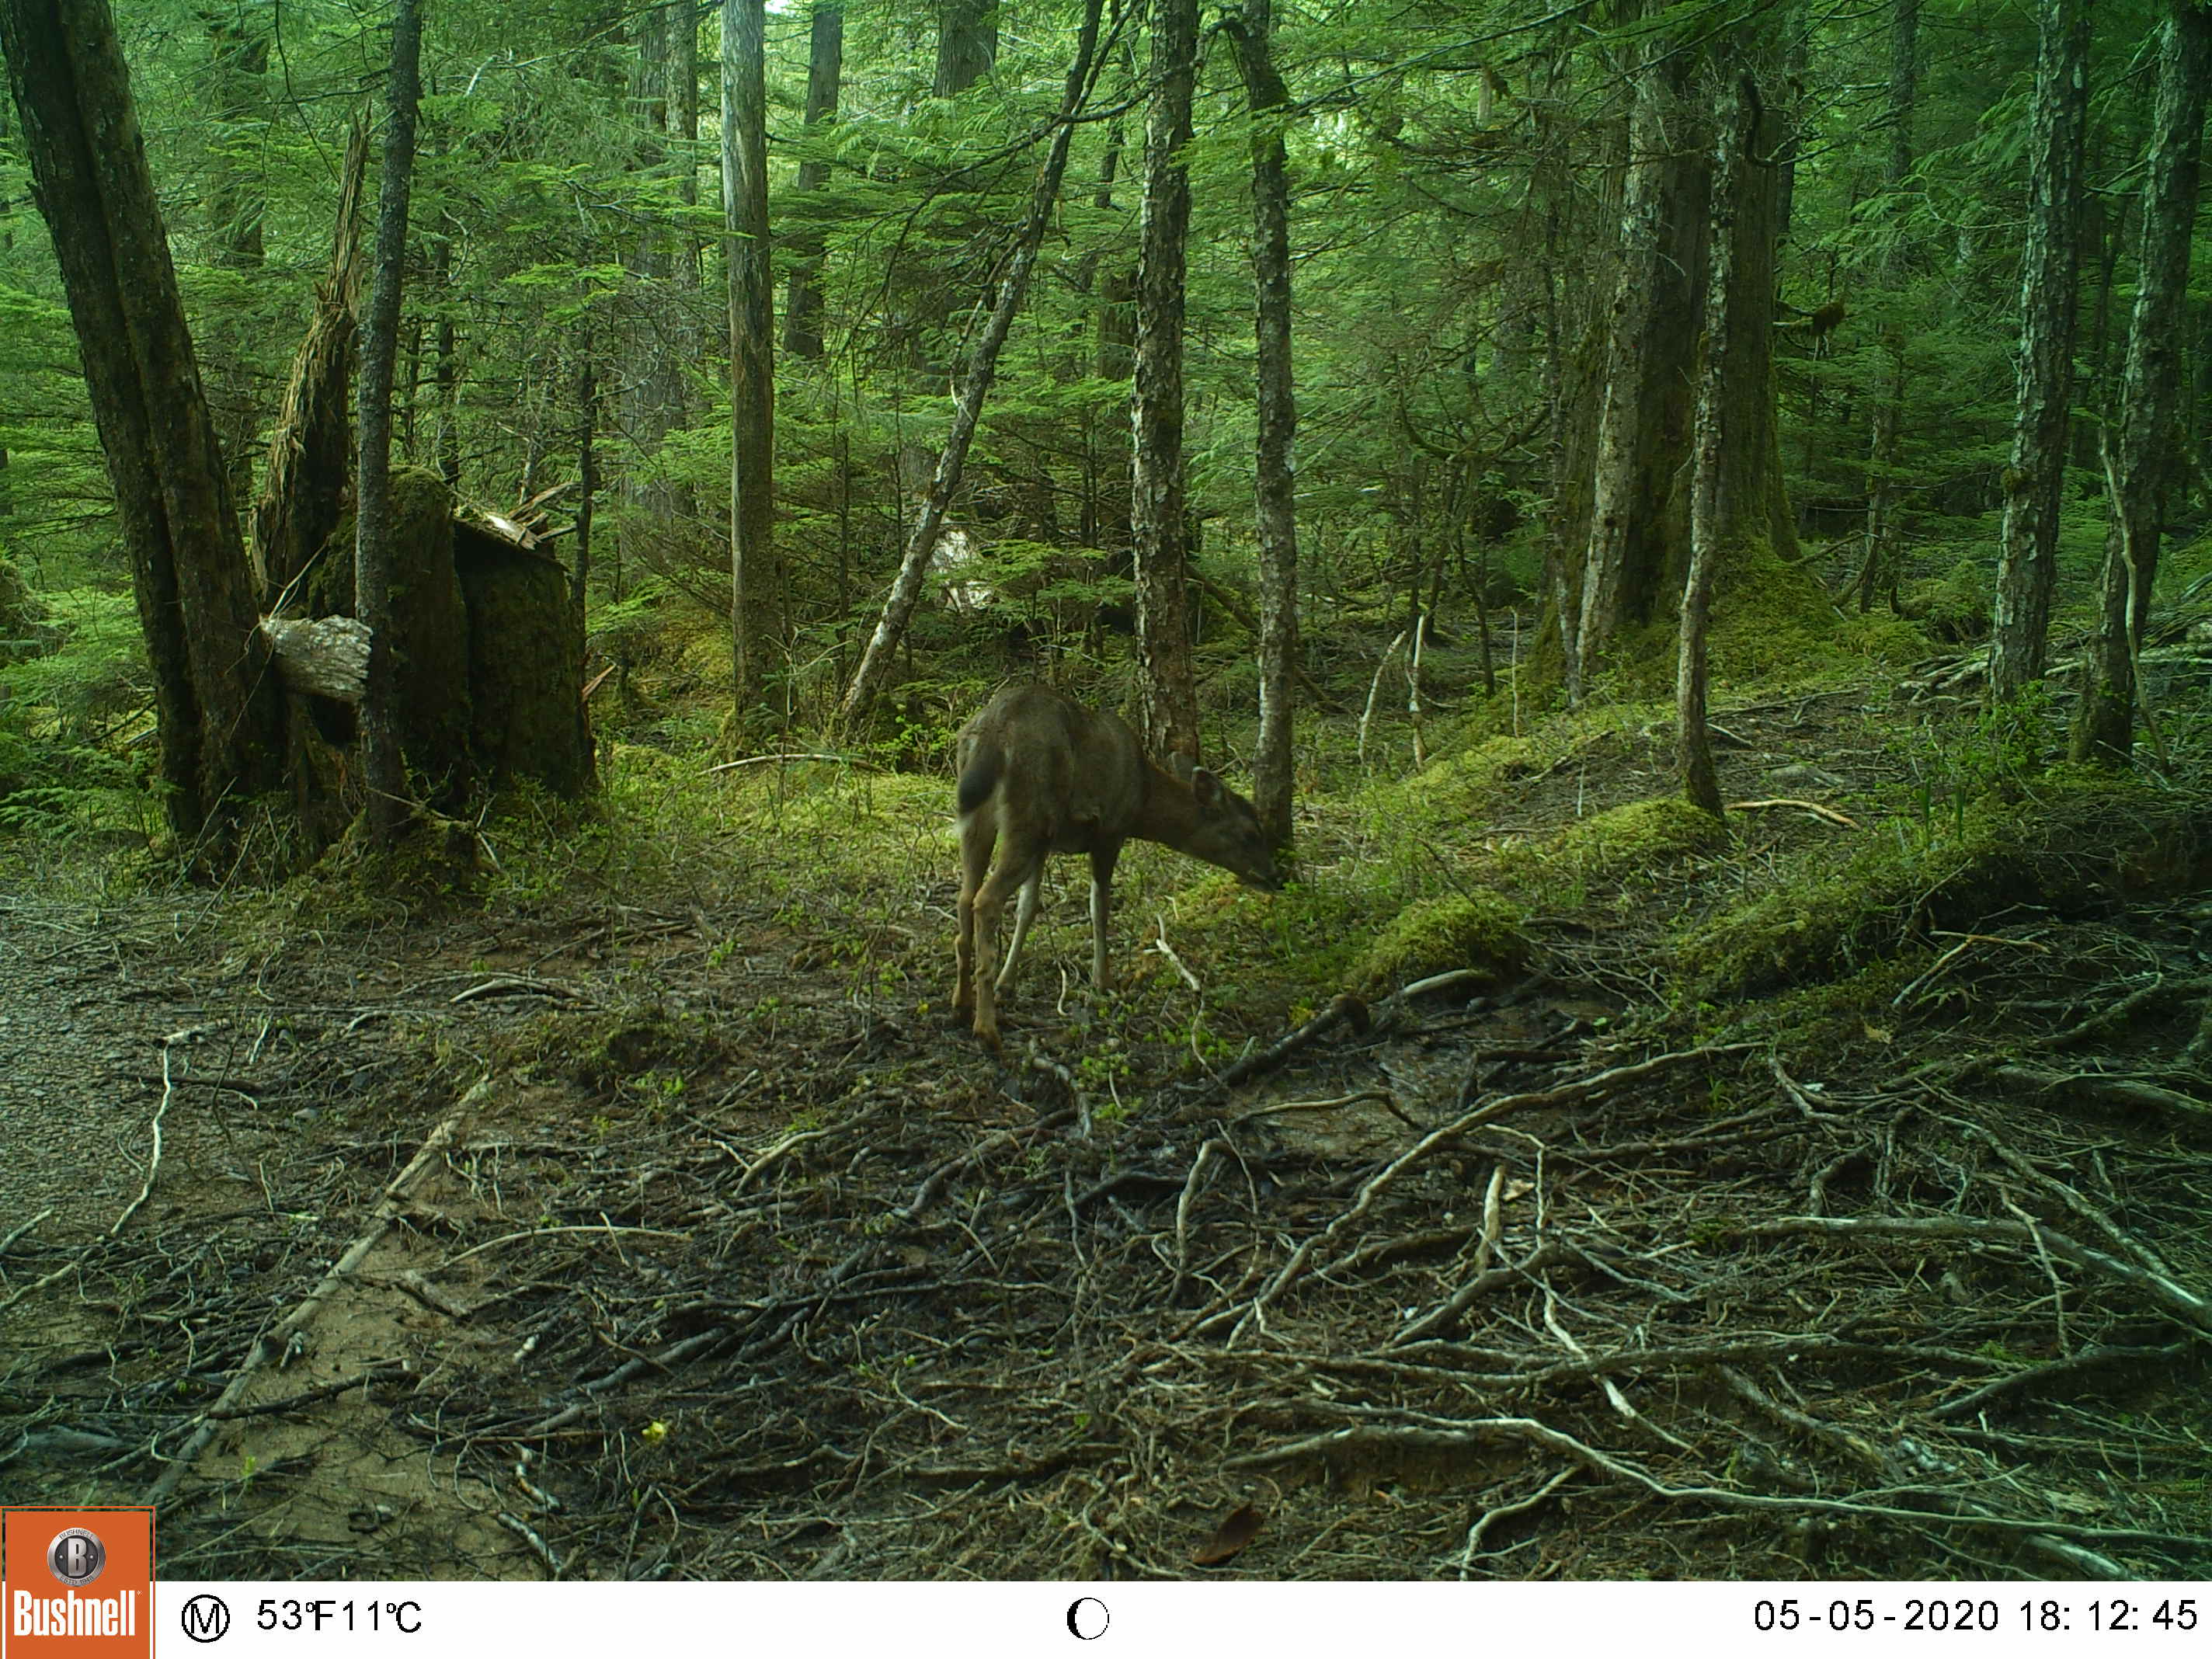
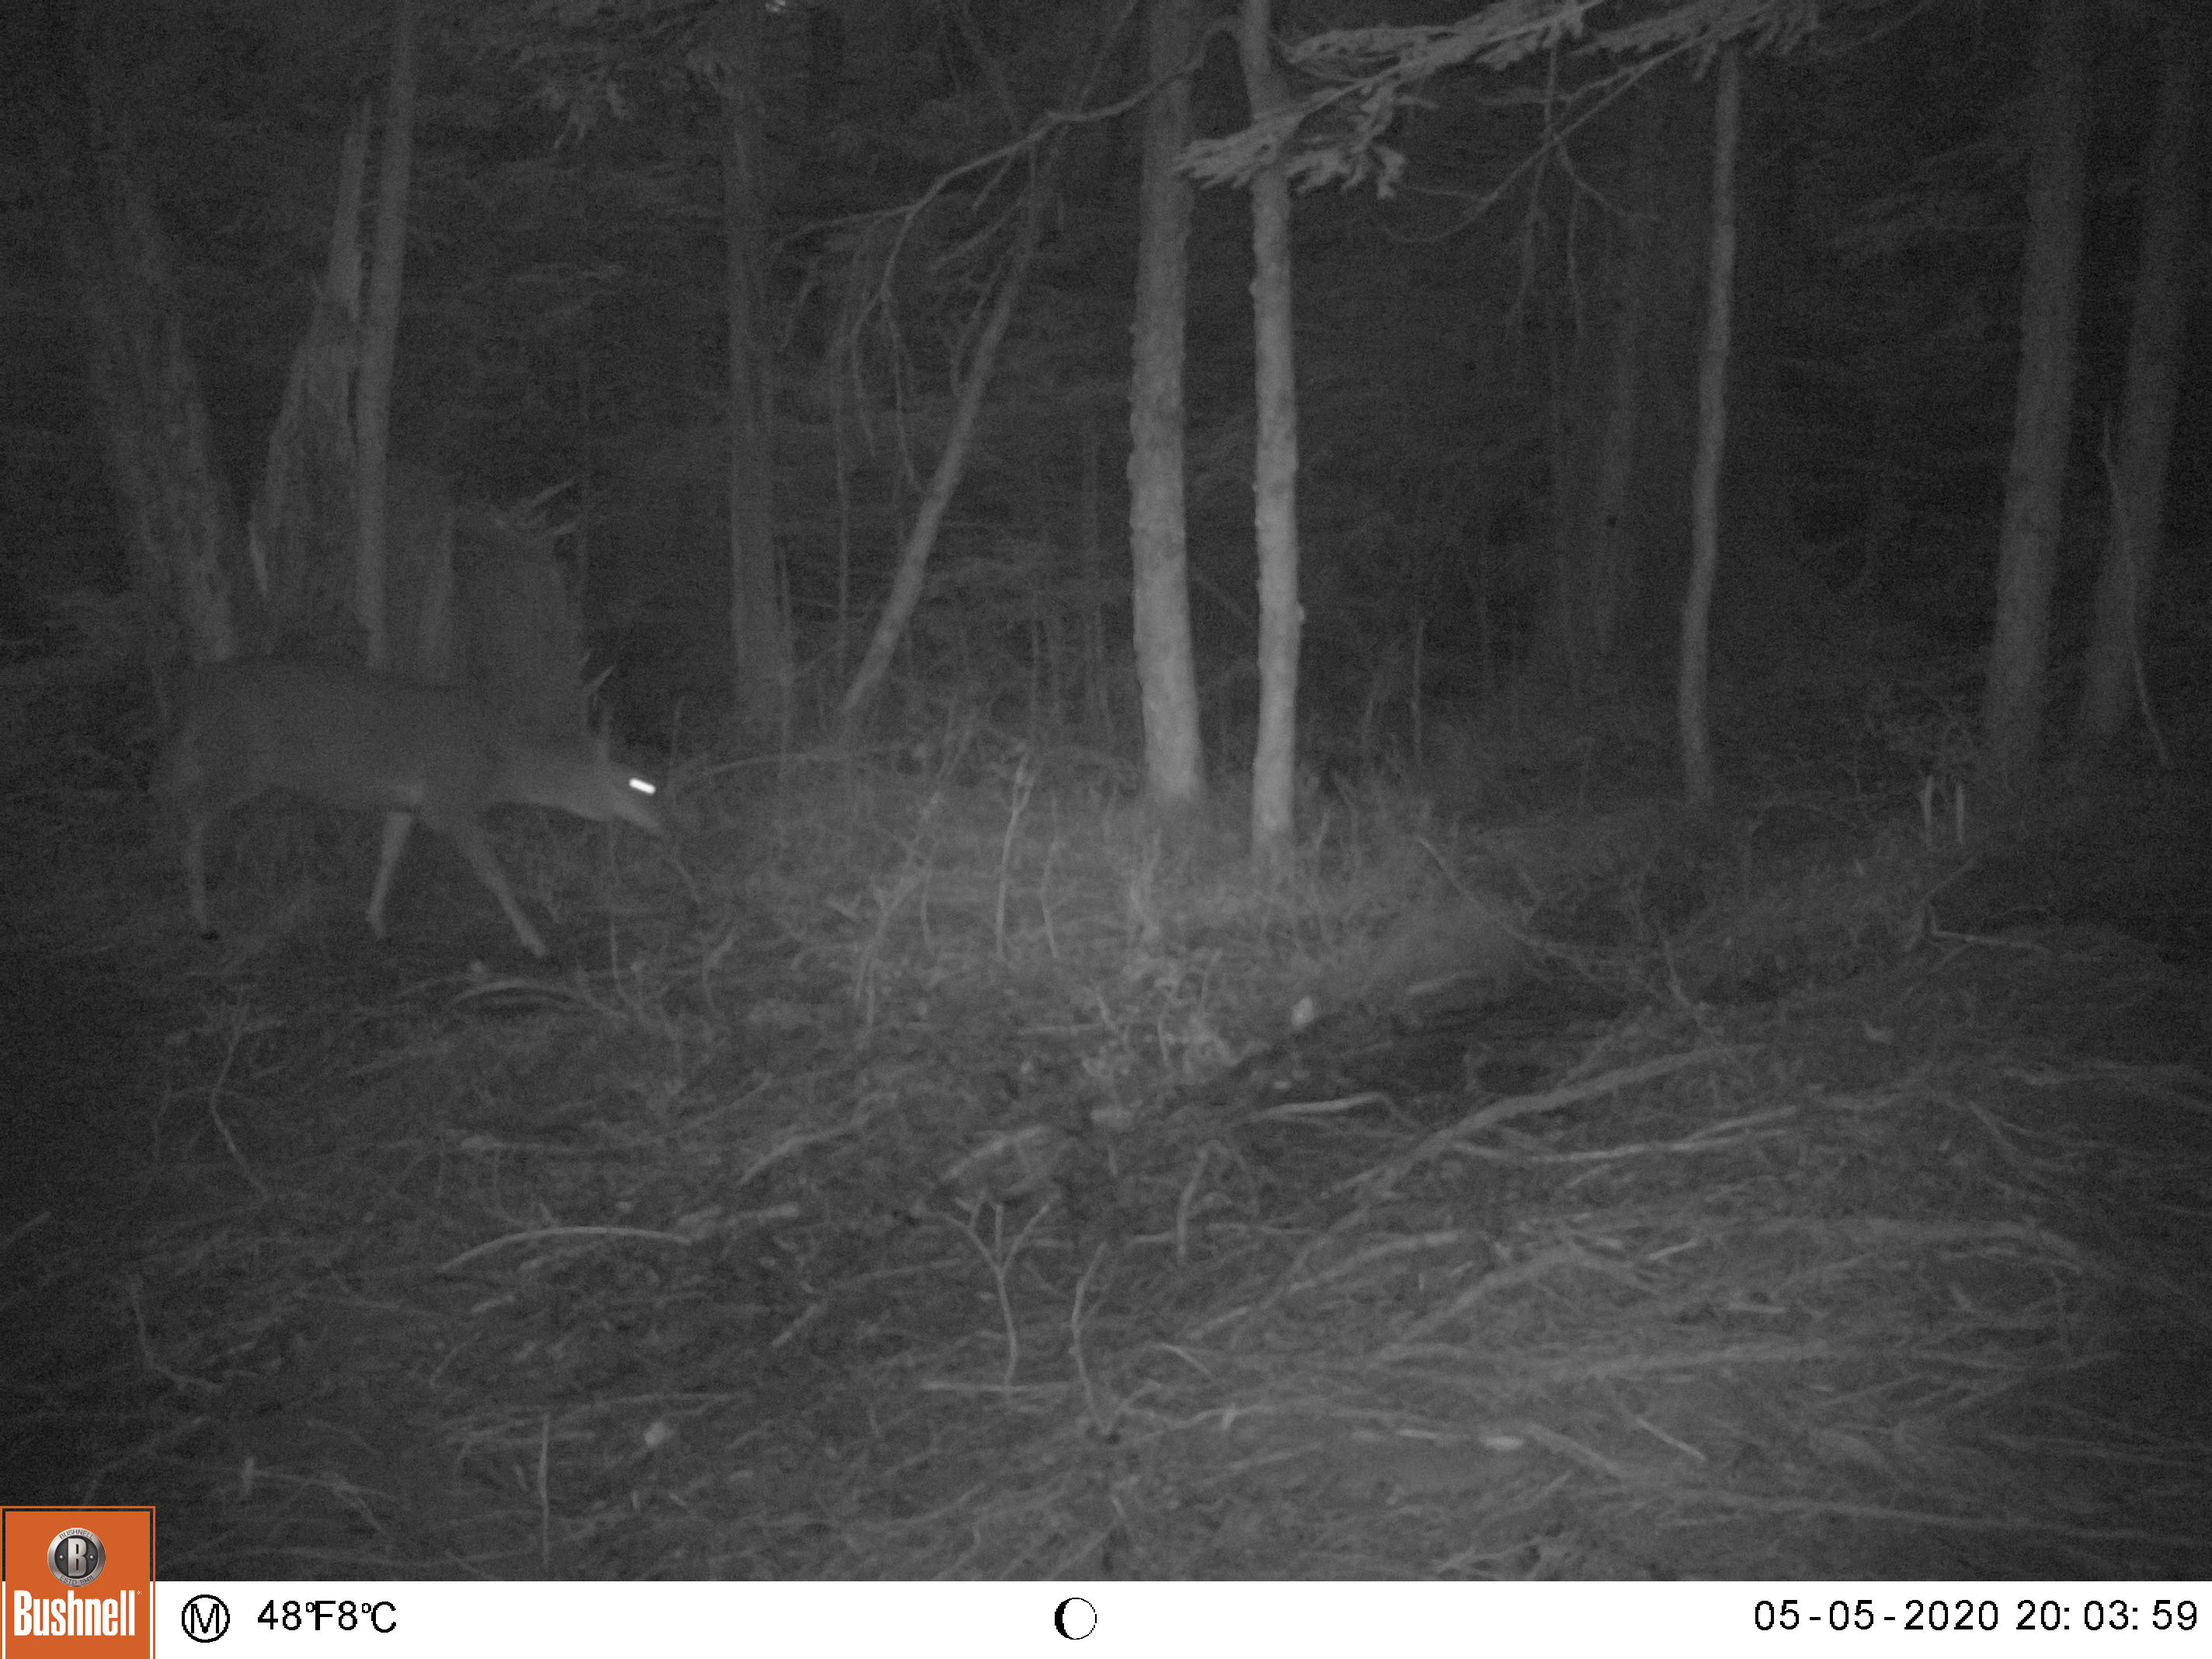
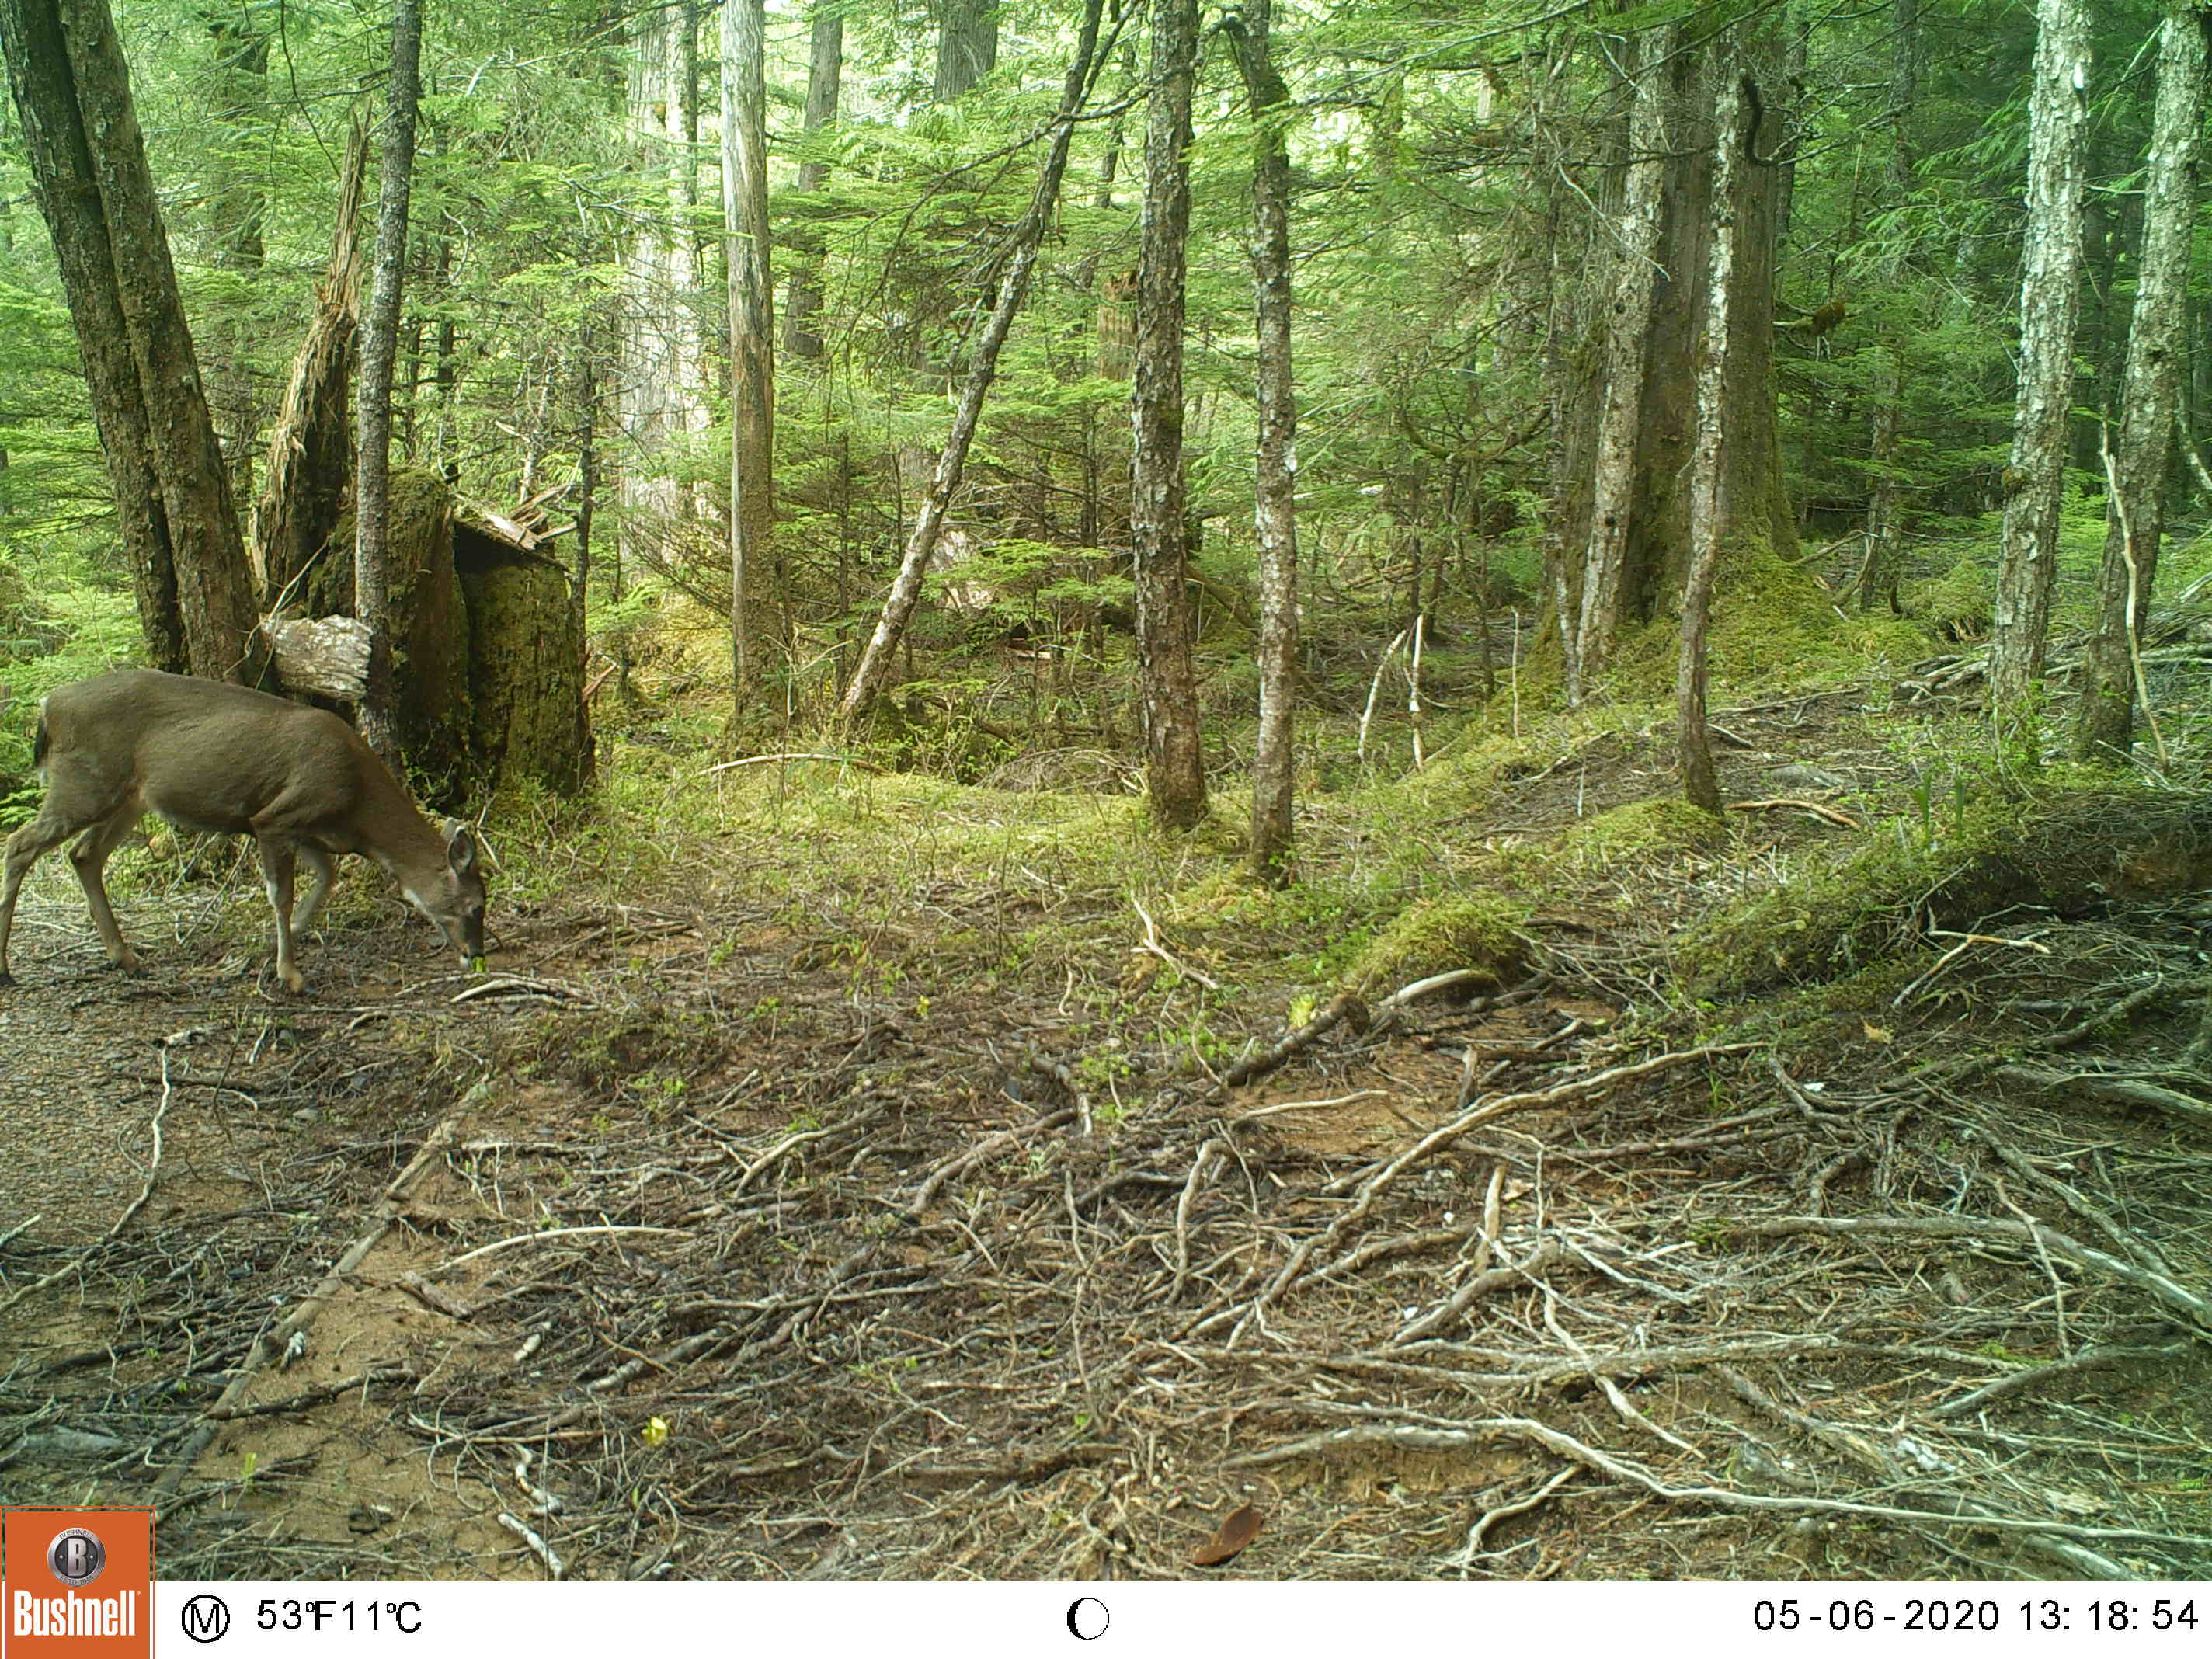
This is the last of the cameras I wasn’t able to check over the winter, and one of my best spots last year. When I checked it, I set the camera for video; can’t wait to see what I get!














This site is about running trail cameras in Southeast Alaska and other outdoor activities.
This is the last of the cameras I wasn’t able to check over the winter, and one of my best spots last year. When I checked it, I set the camera for video; can’t wait to see what I get!
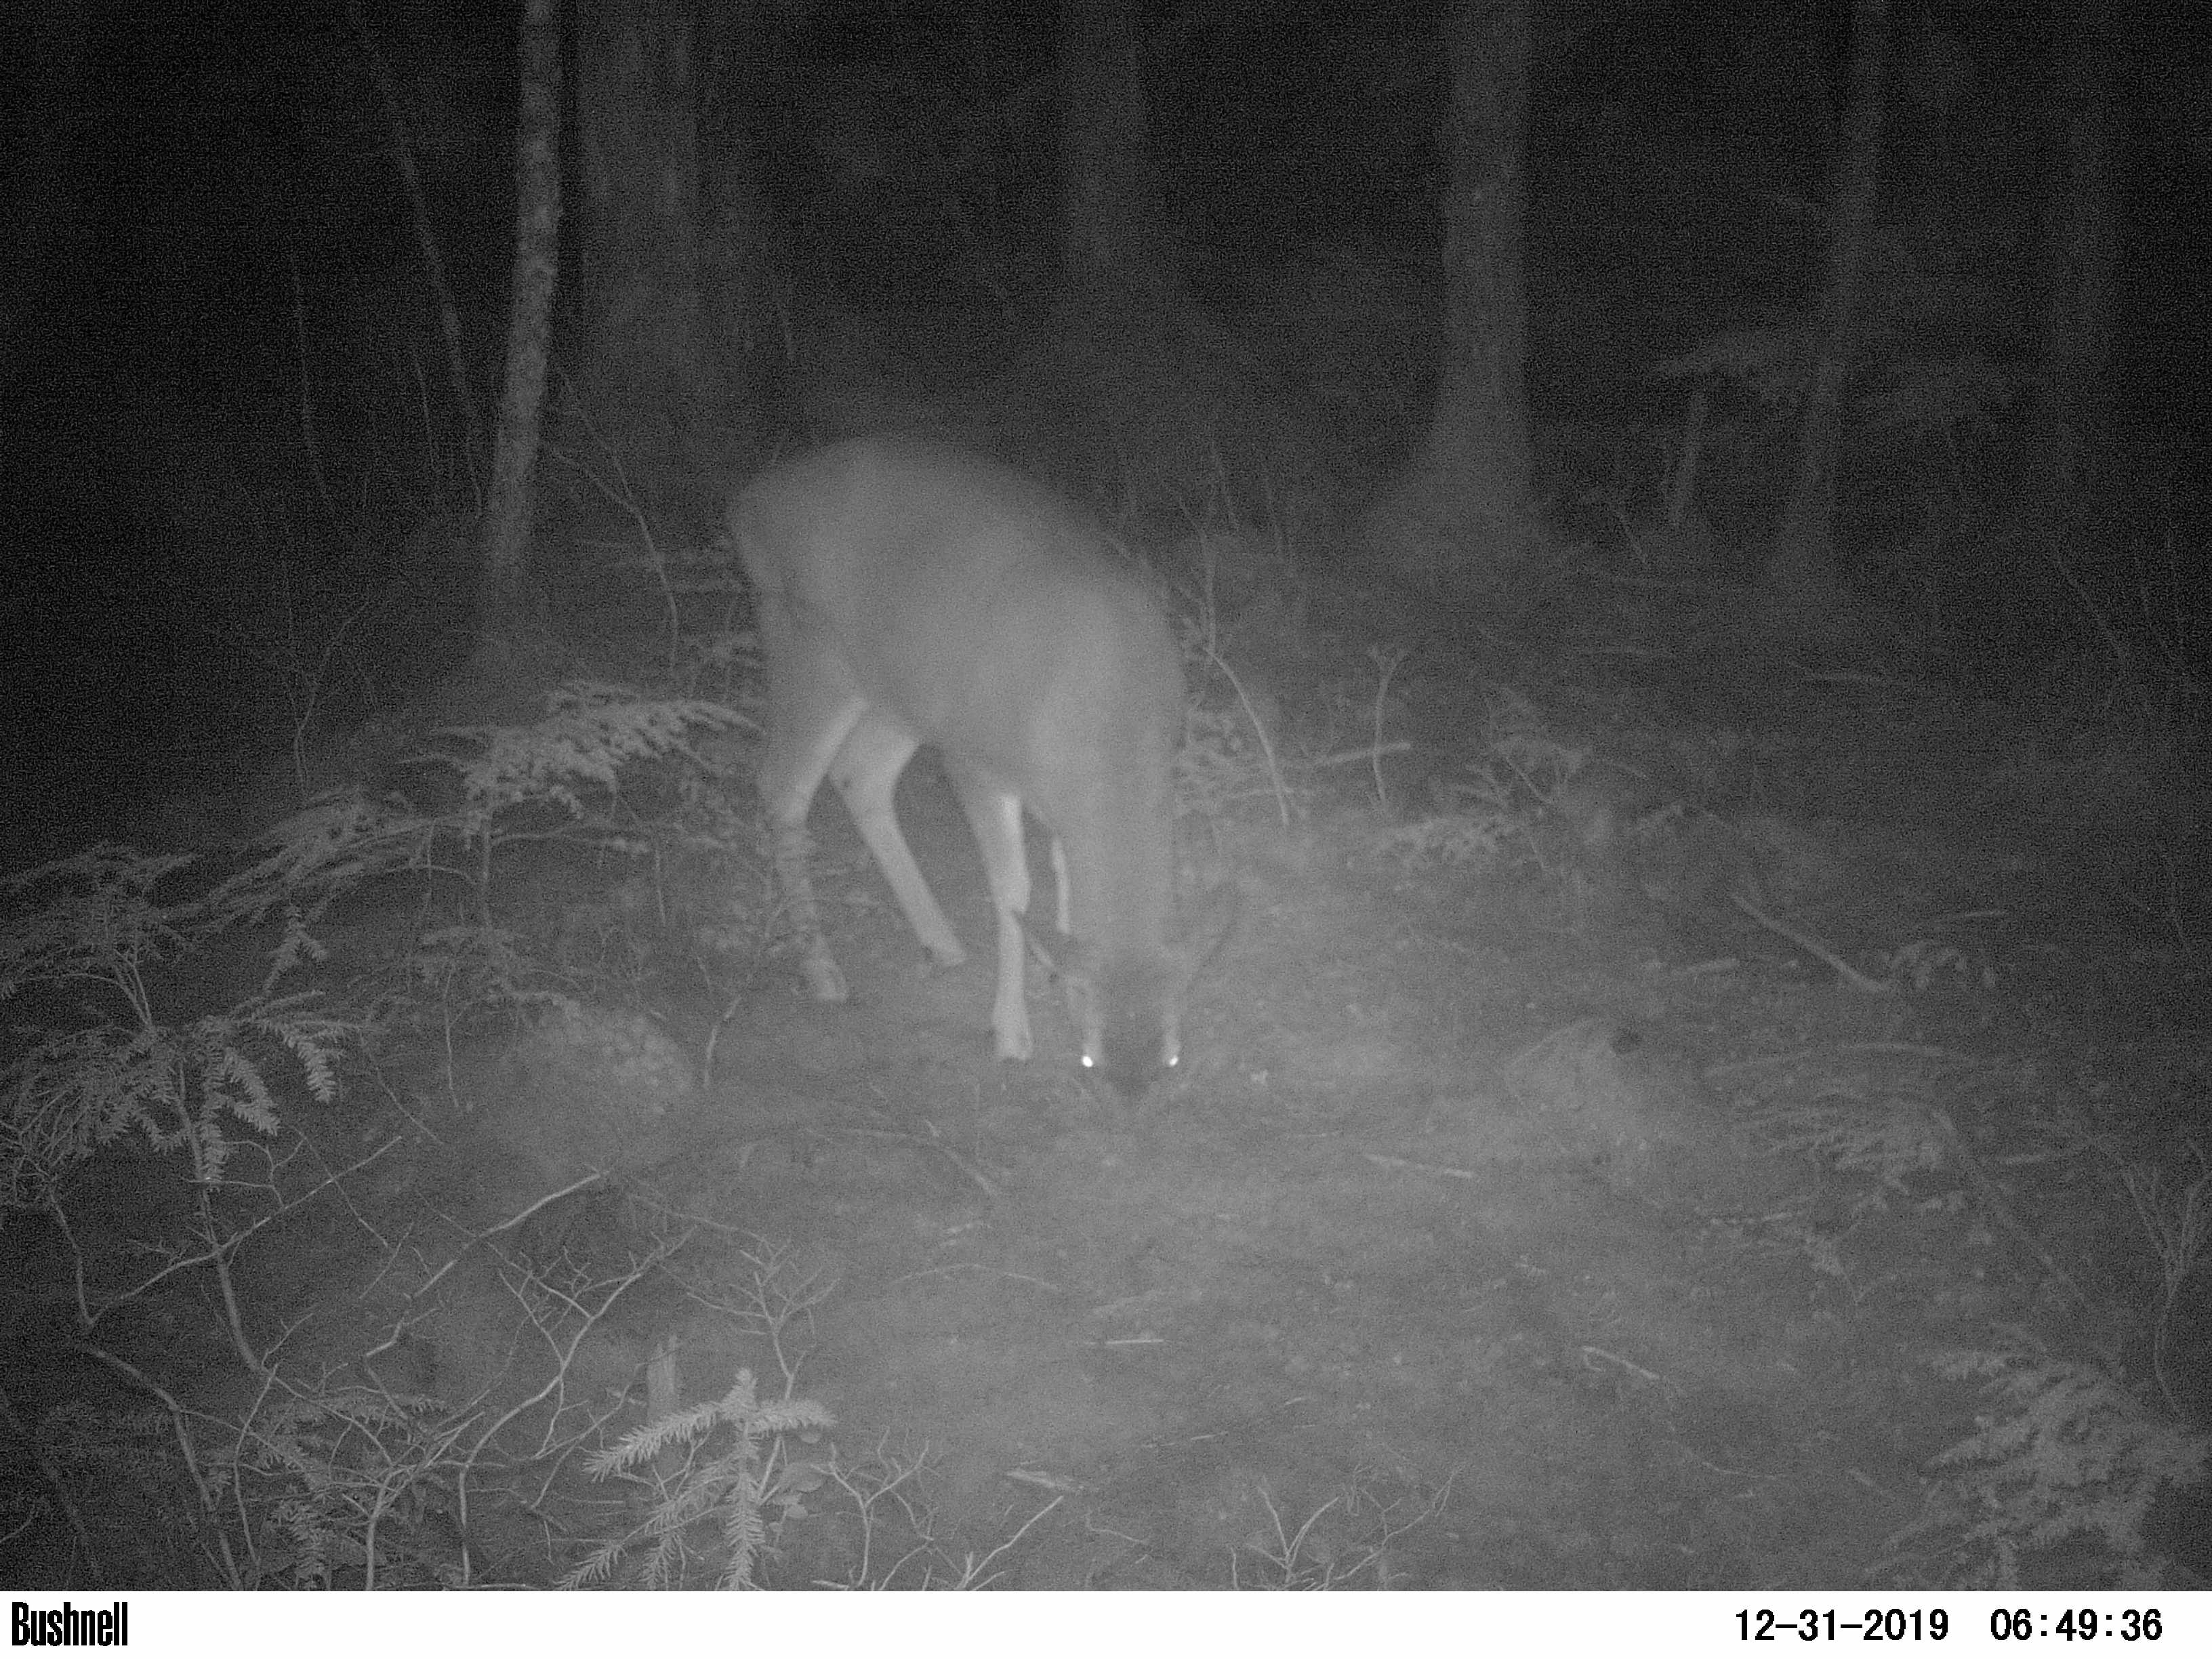


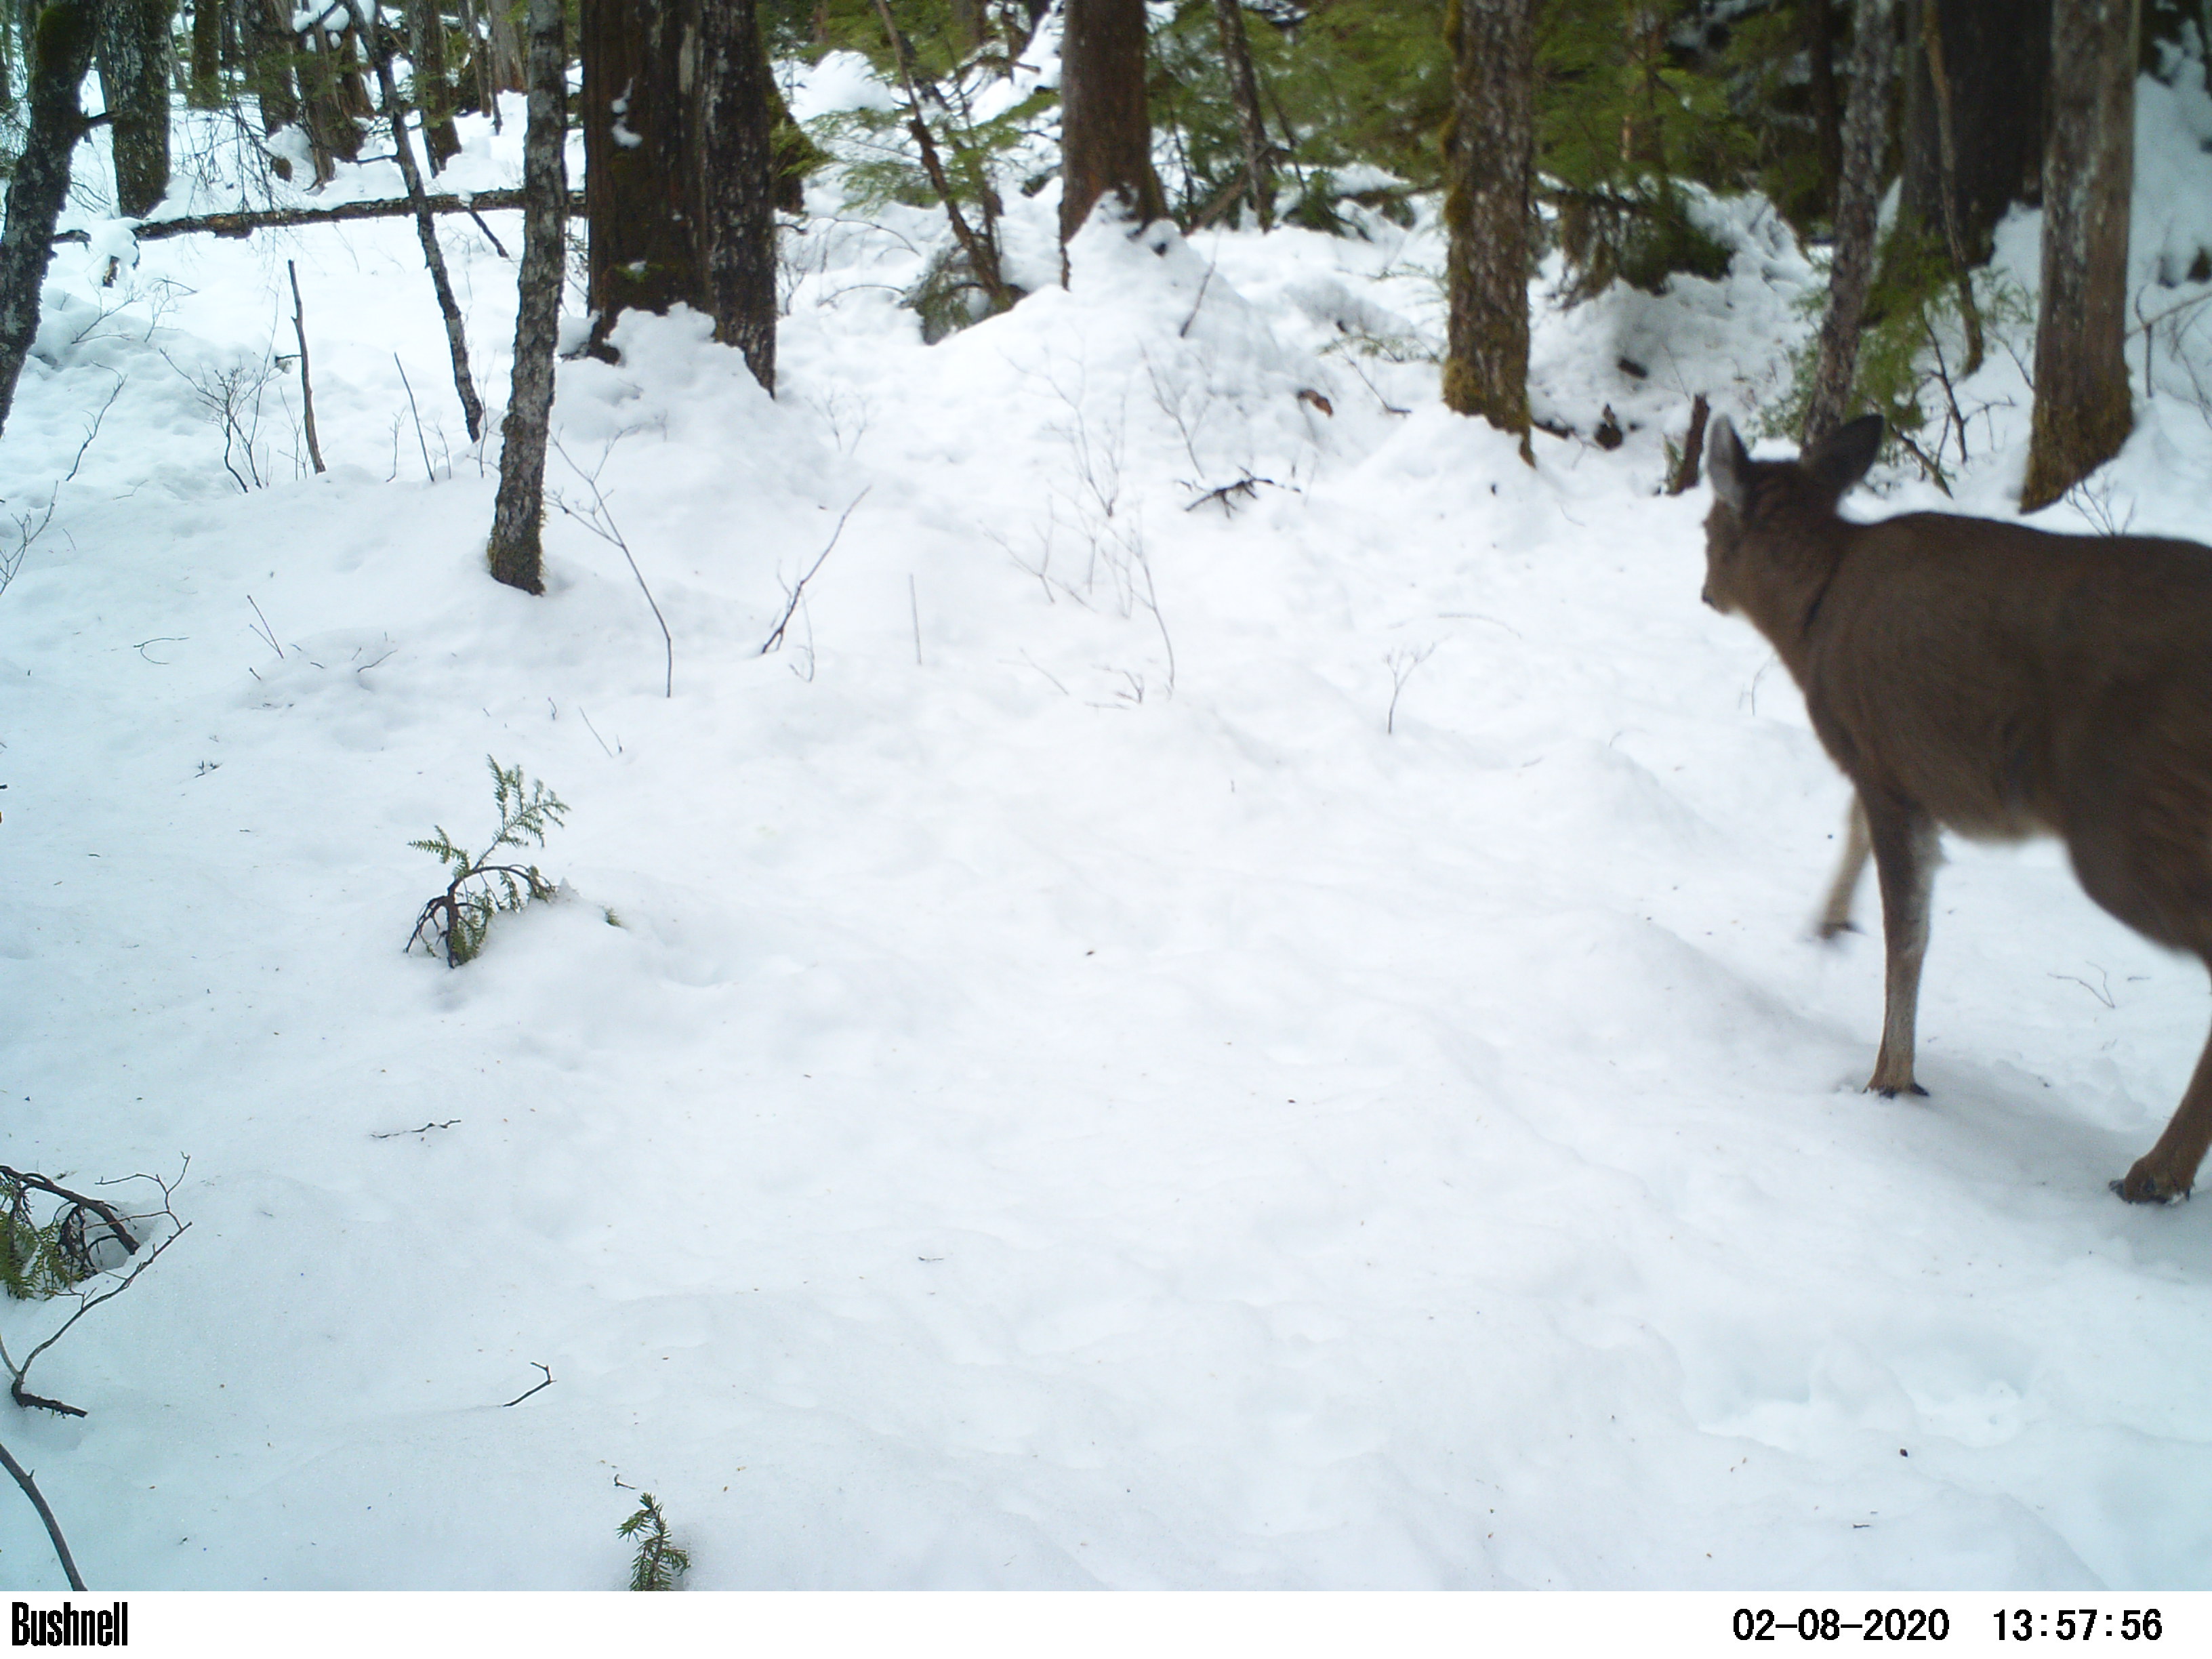


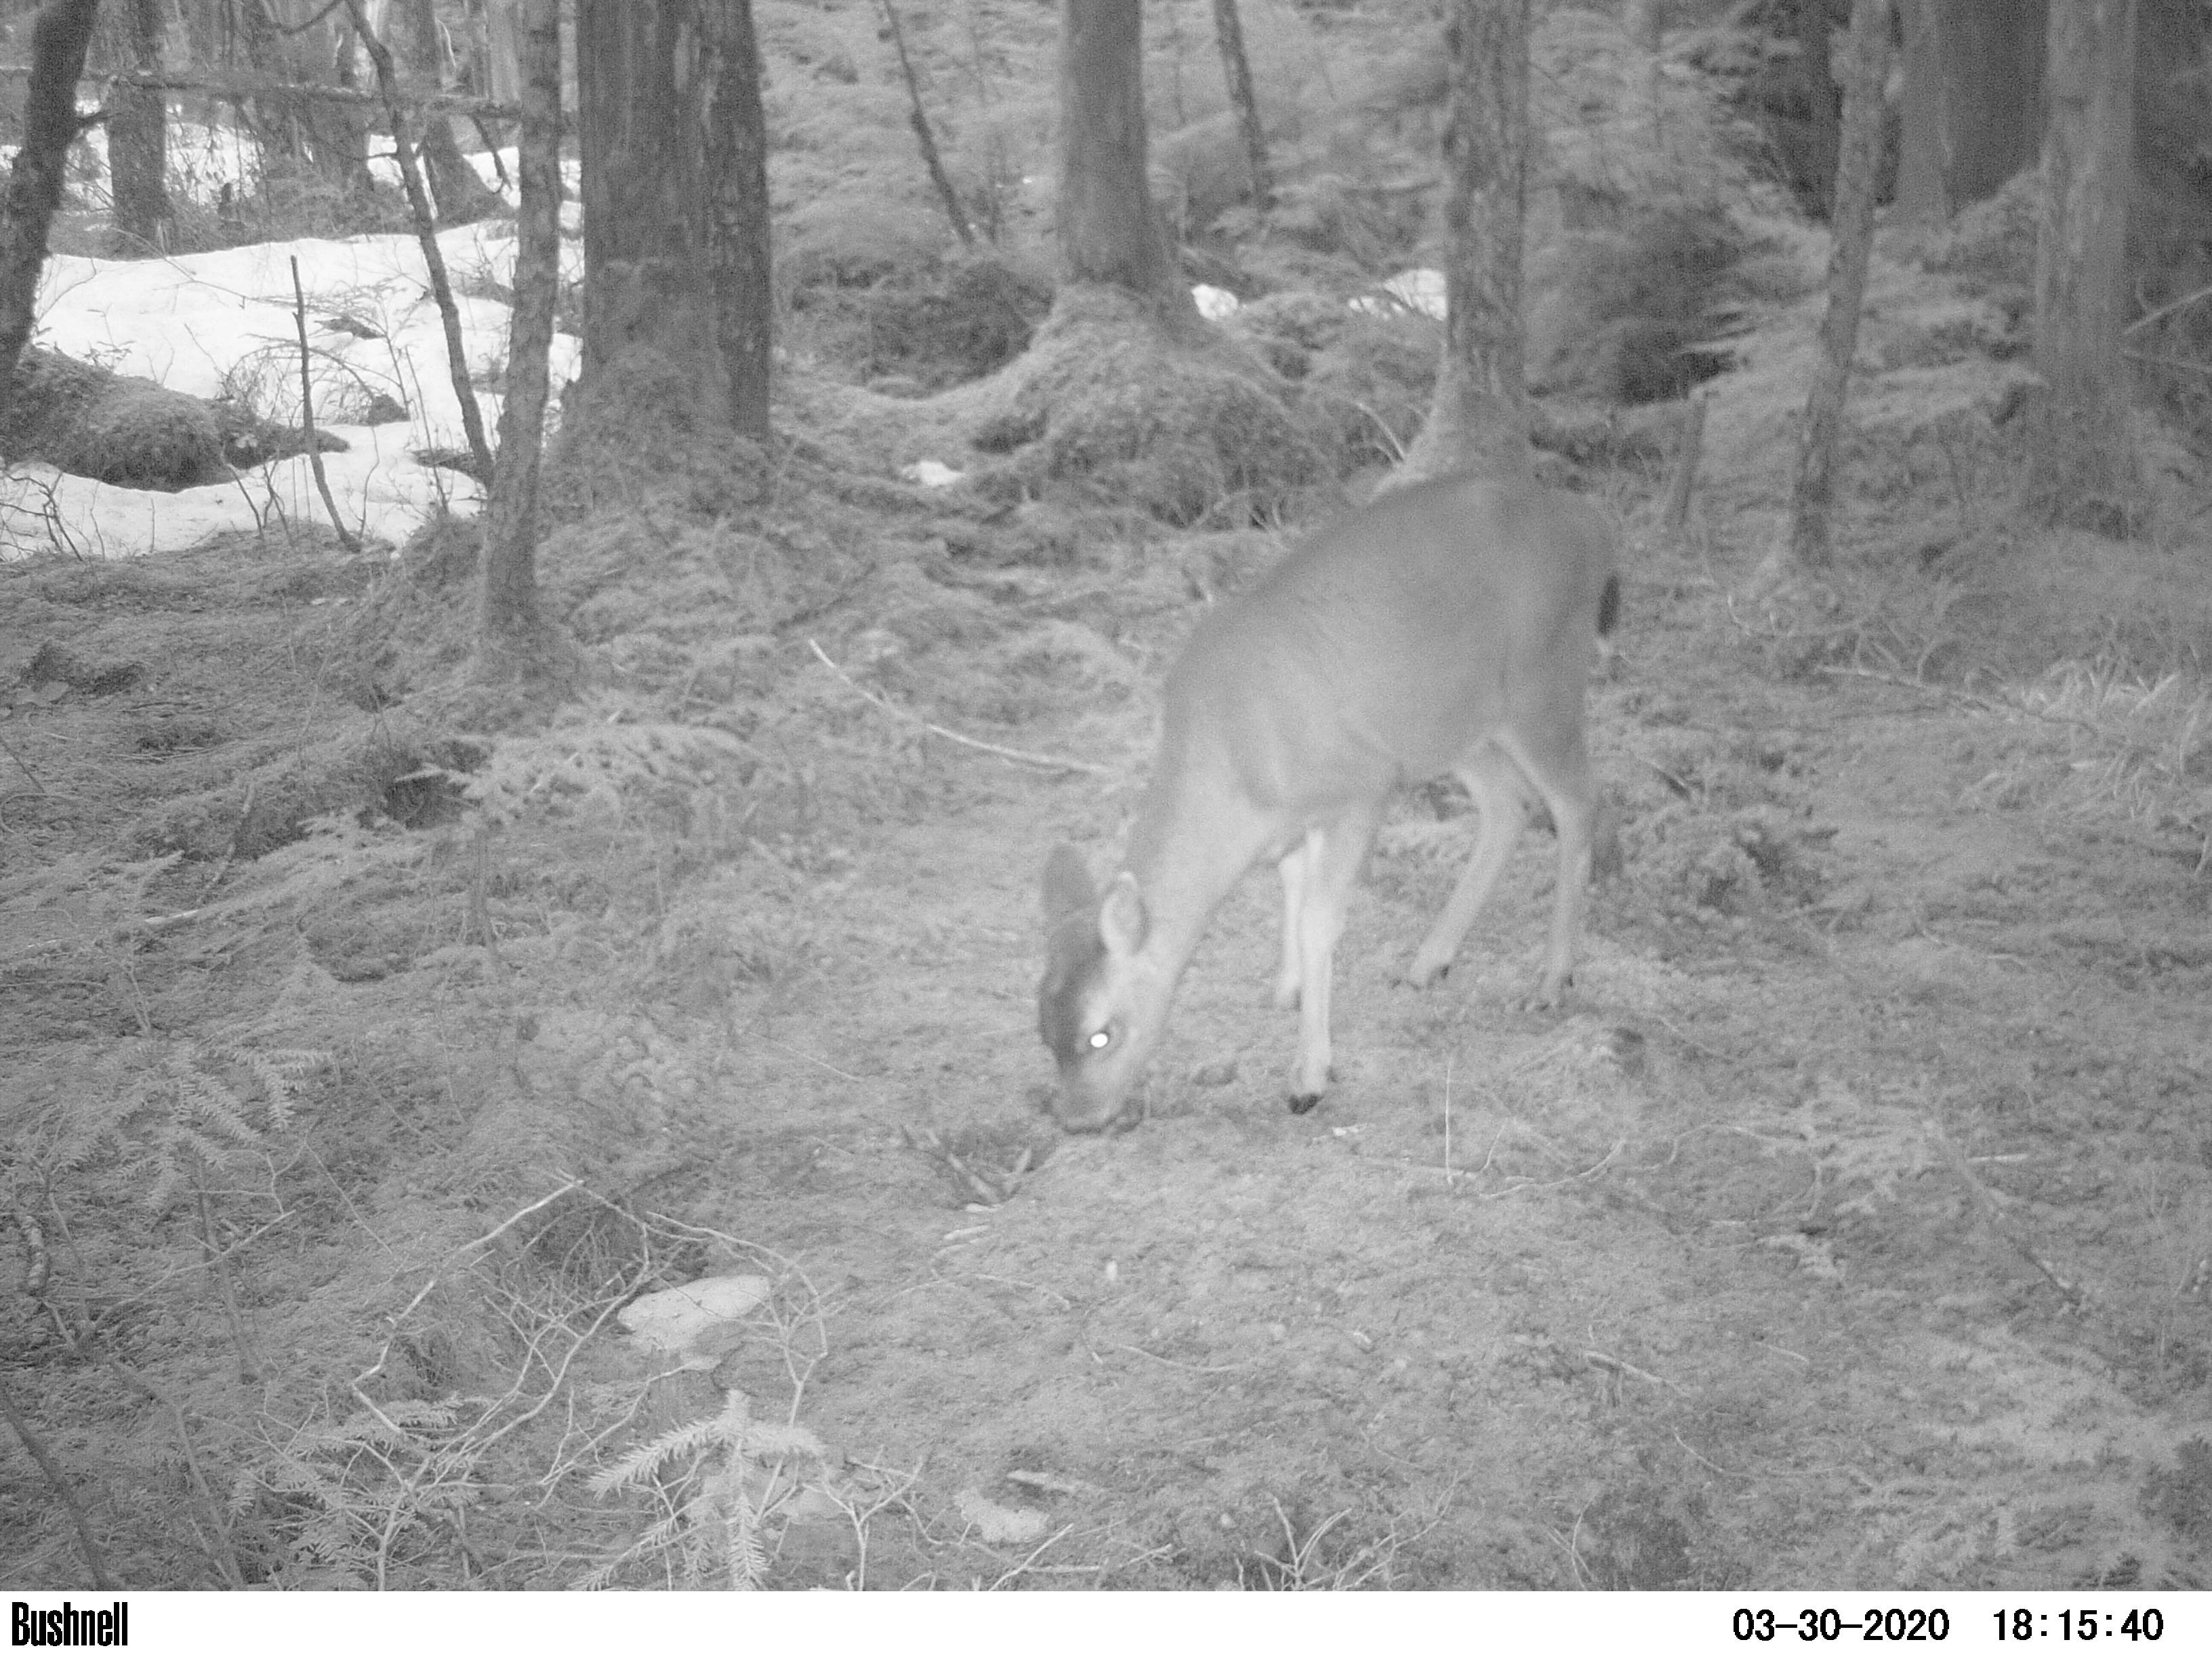
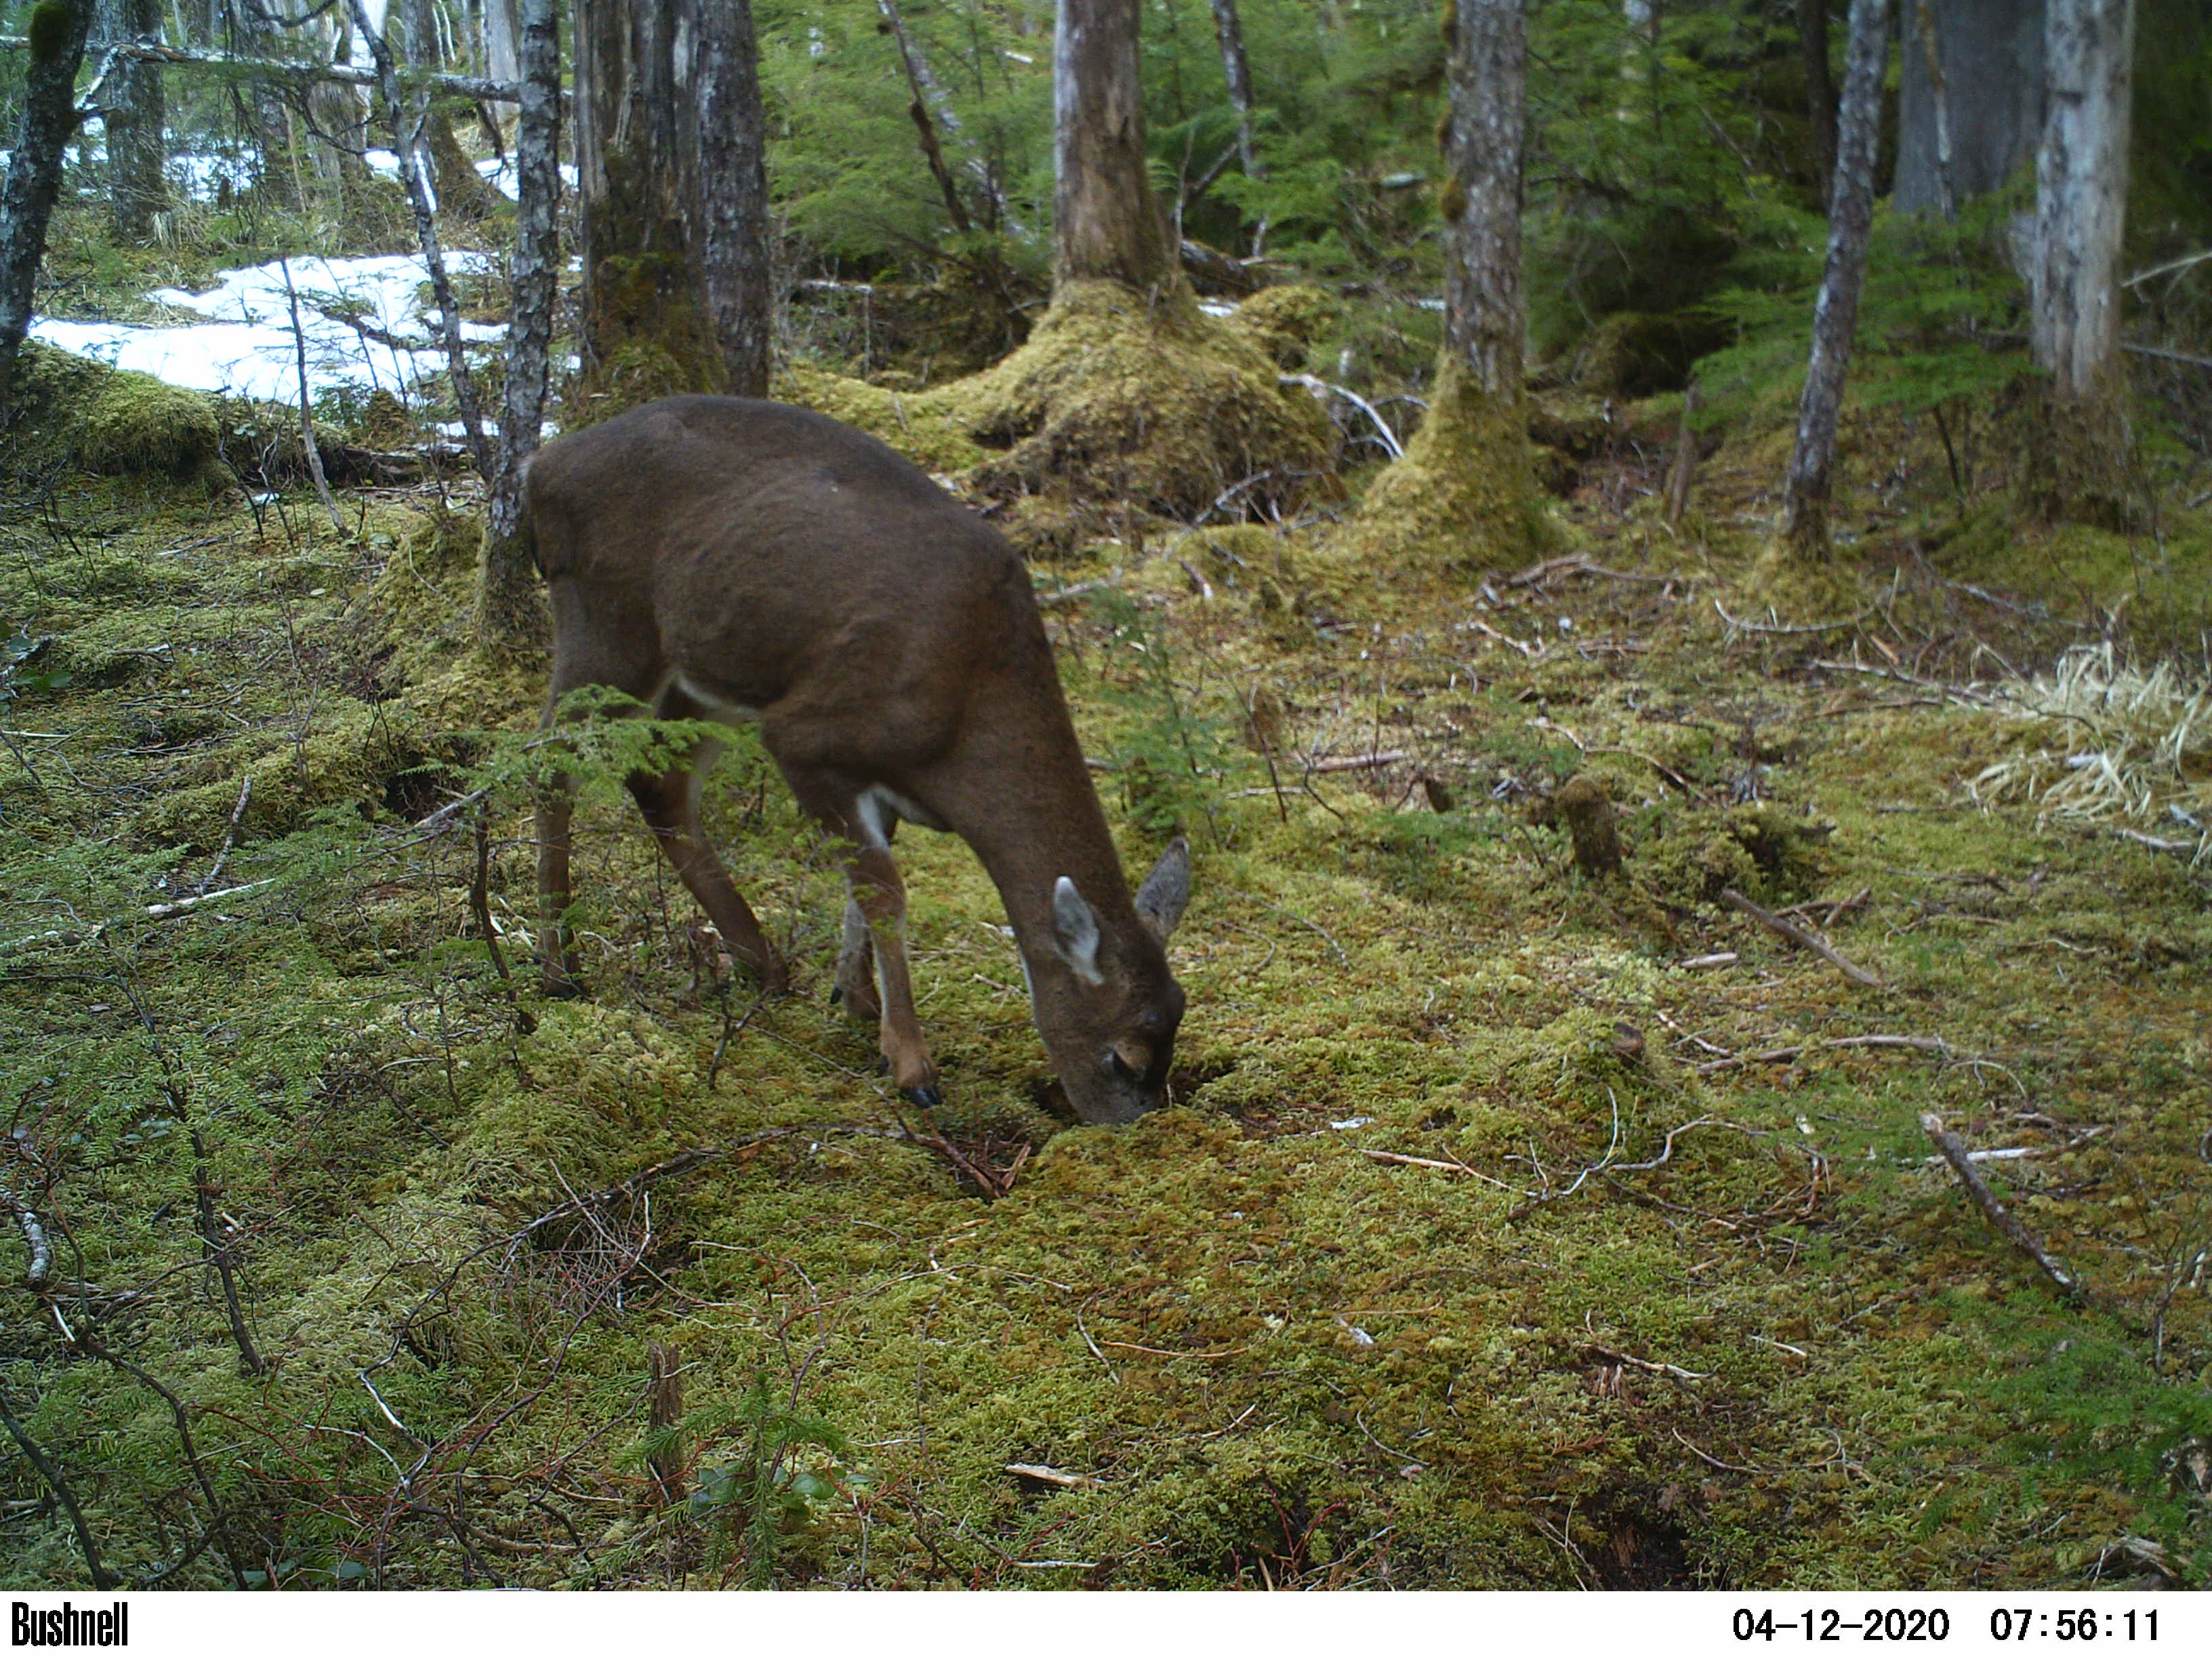
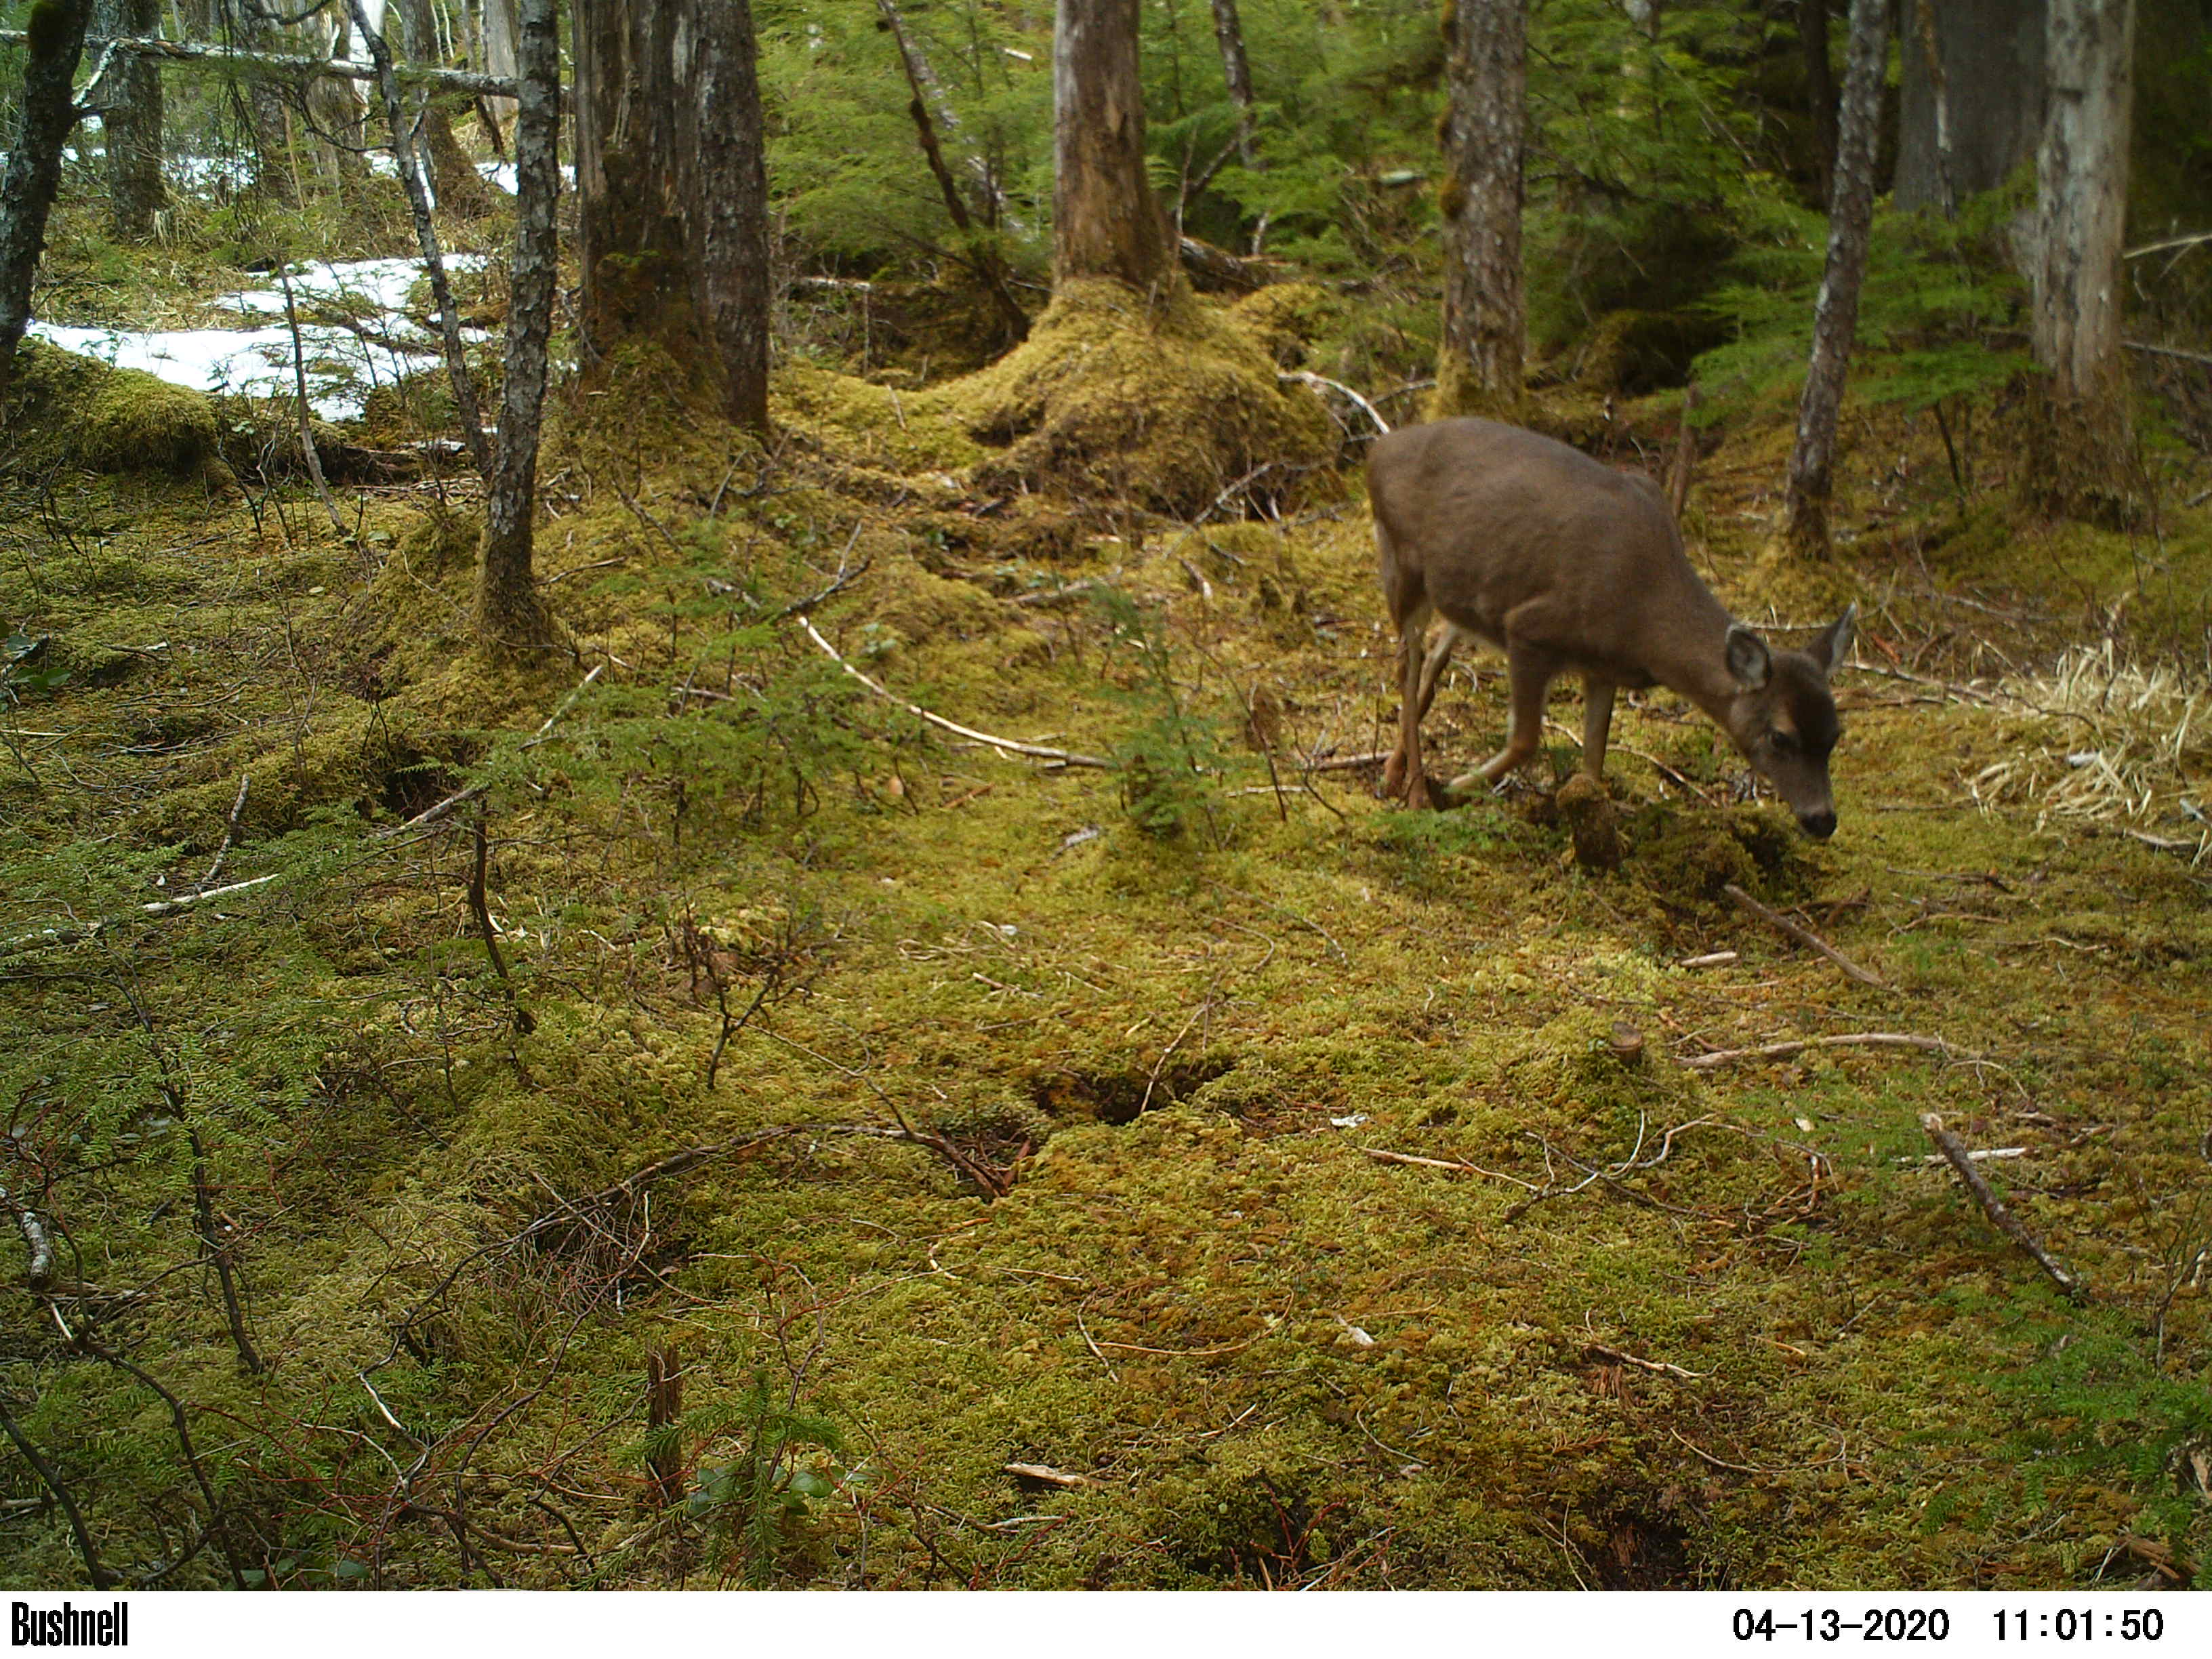
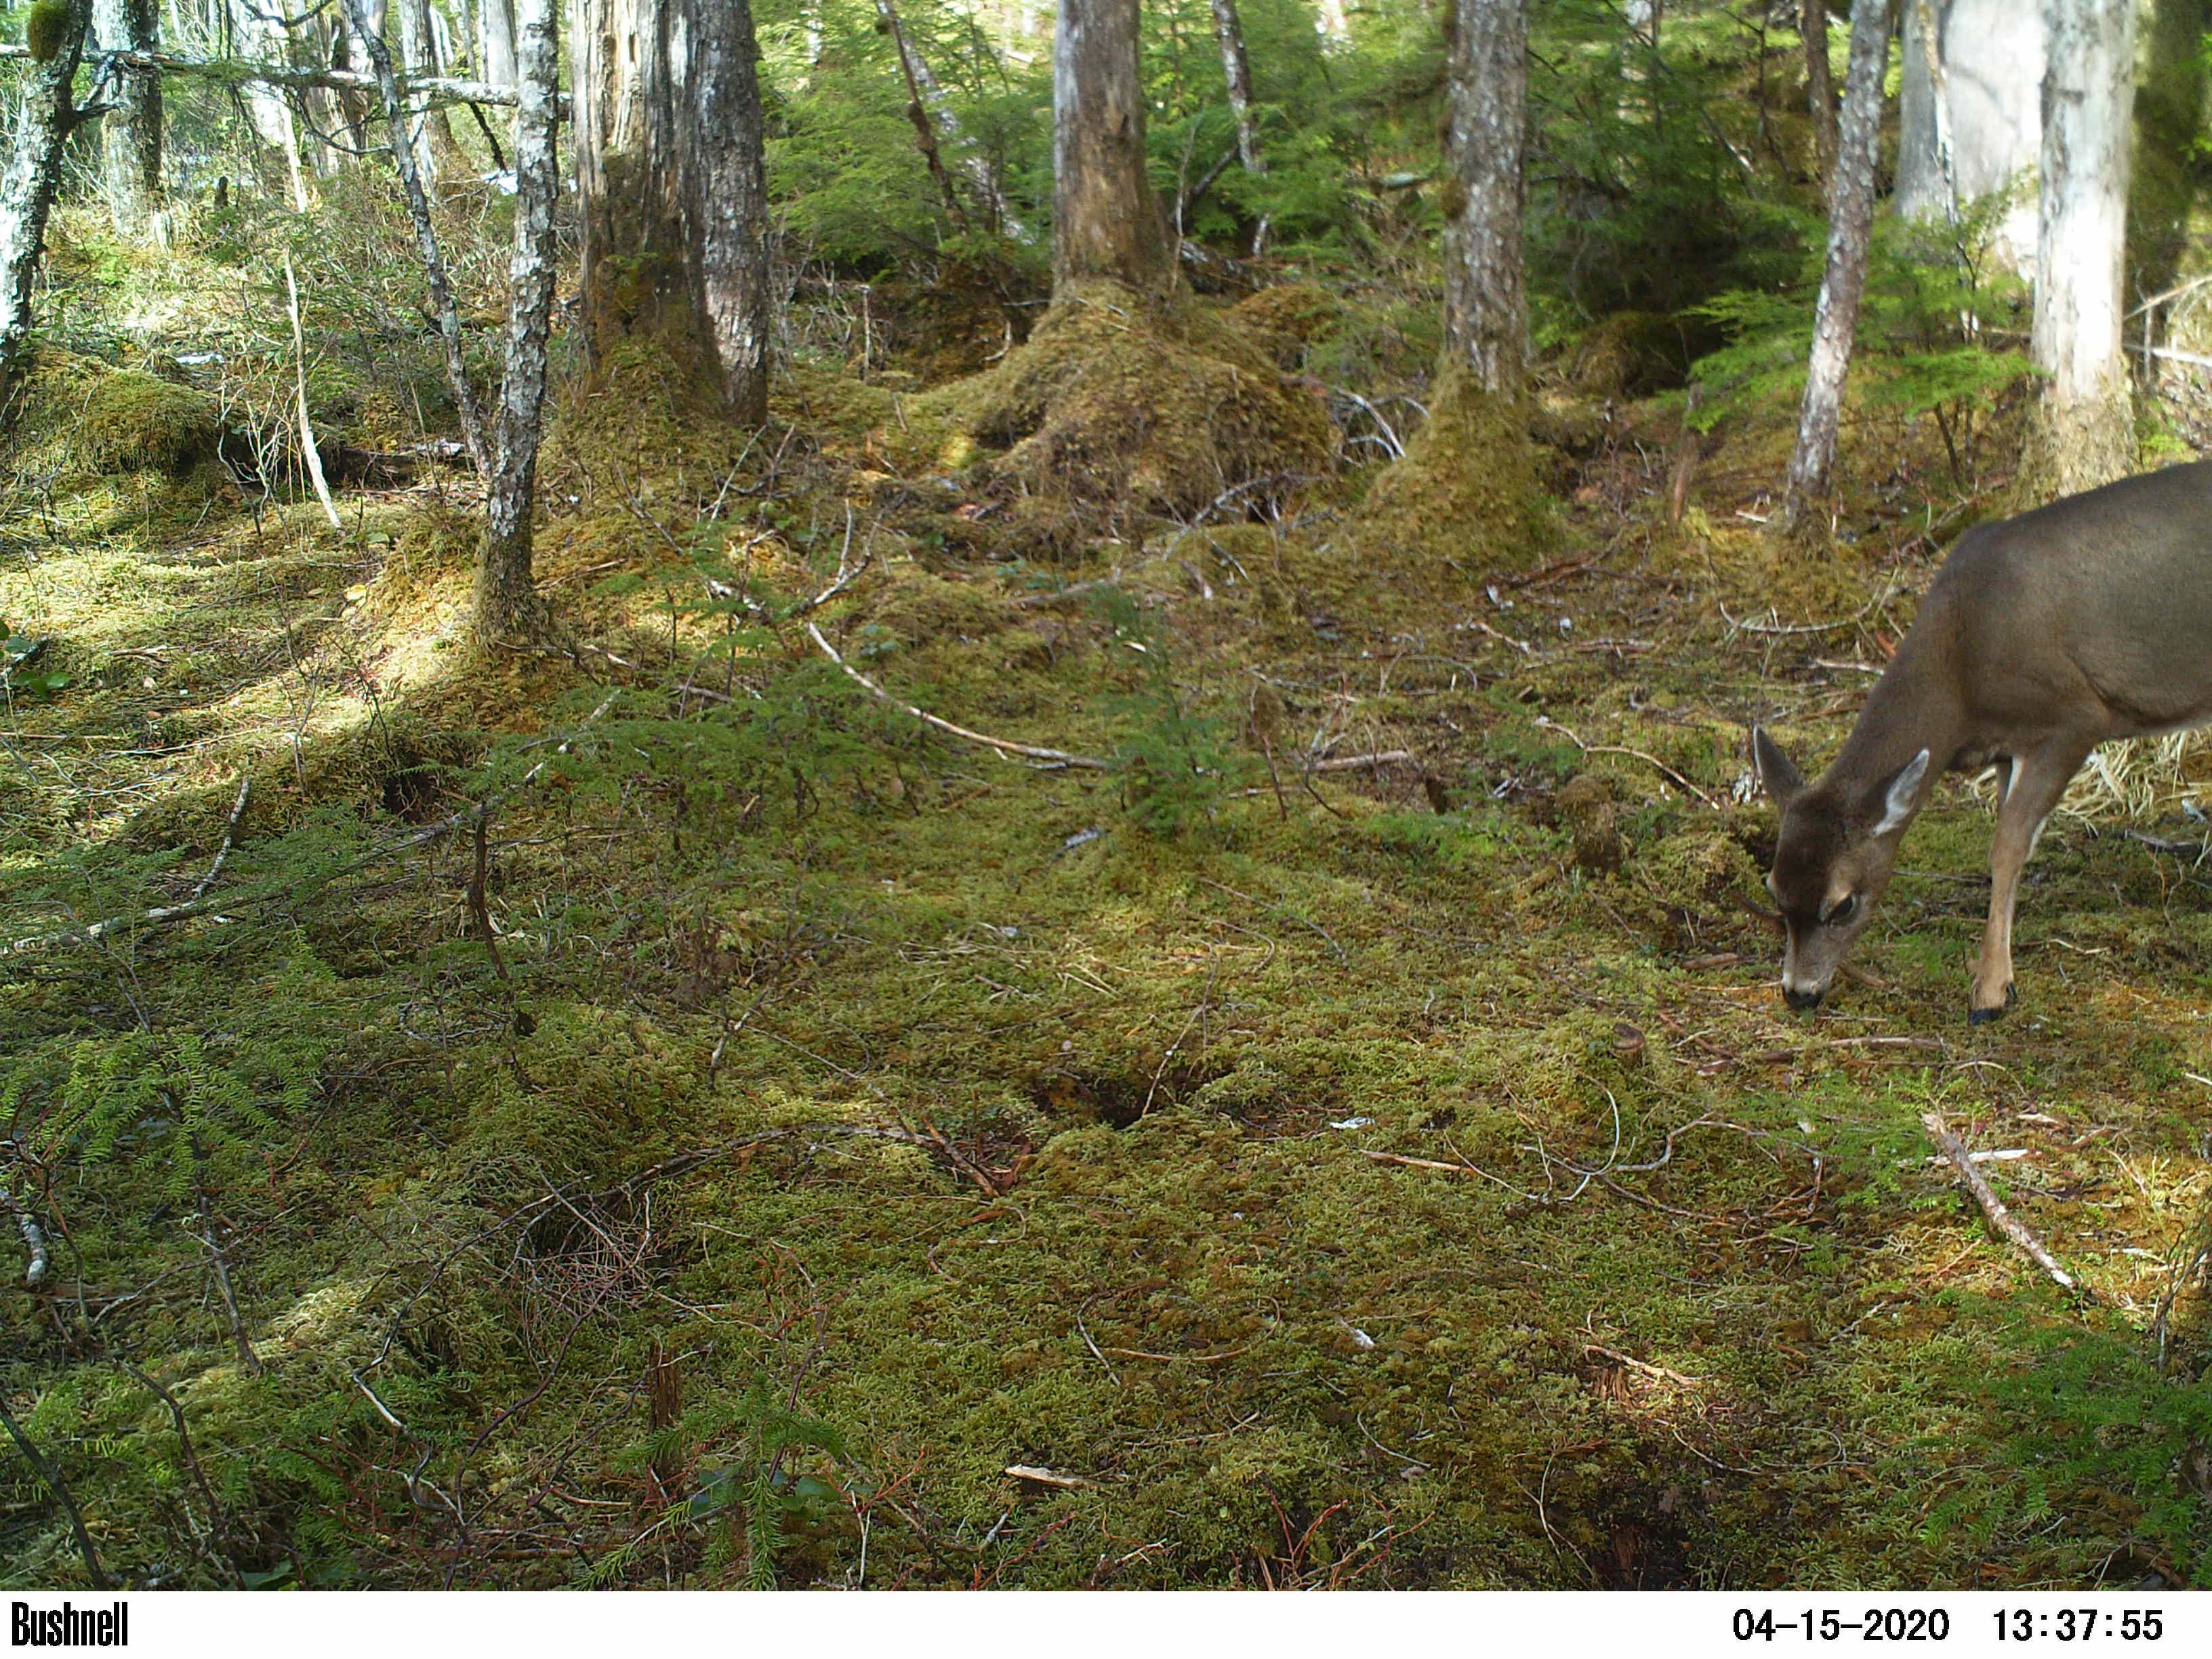
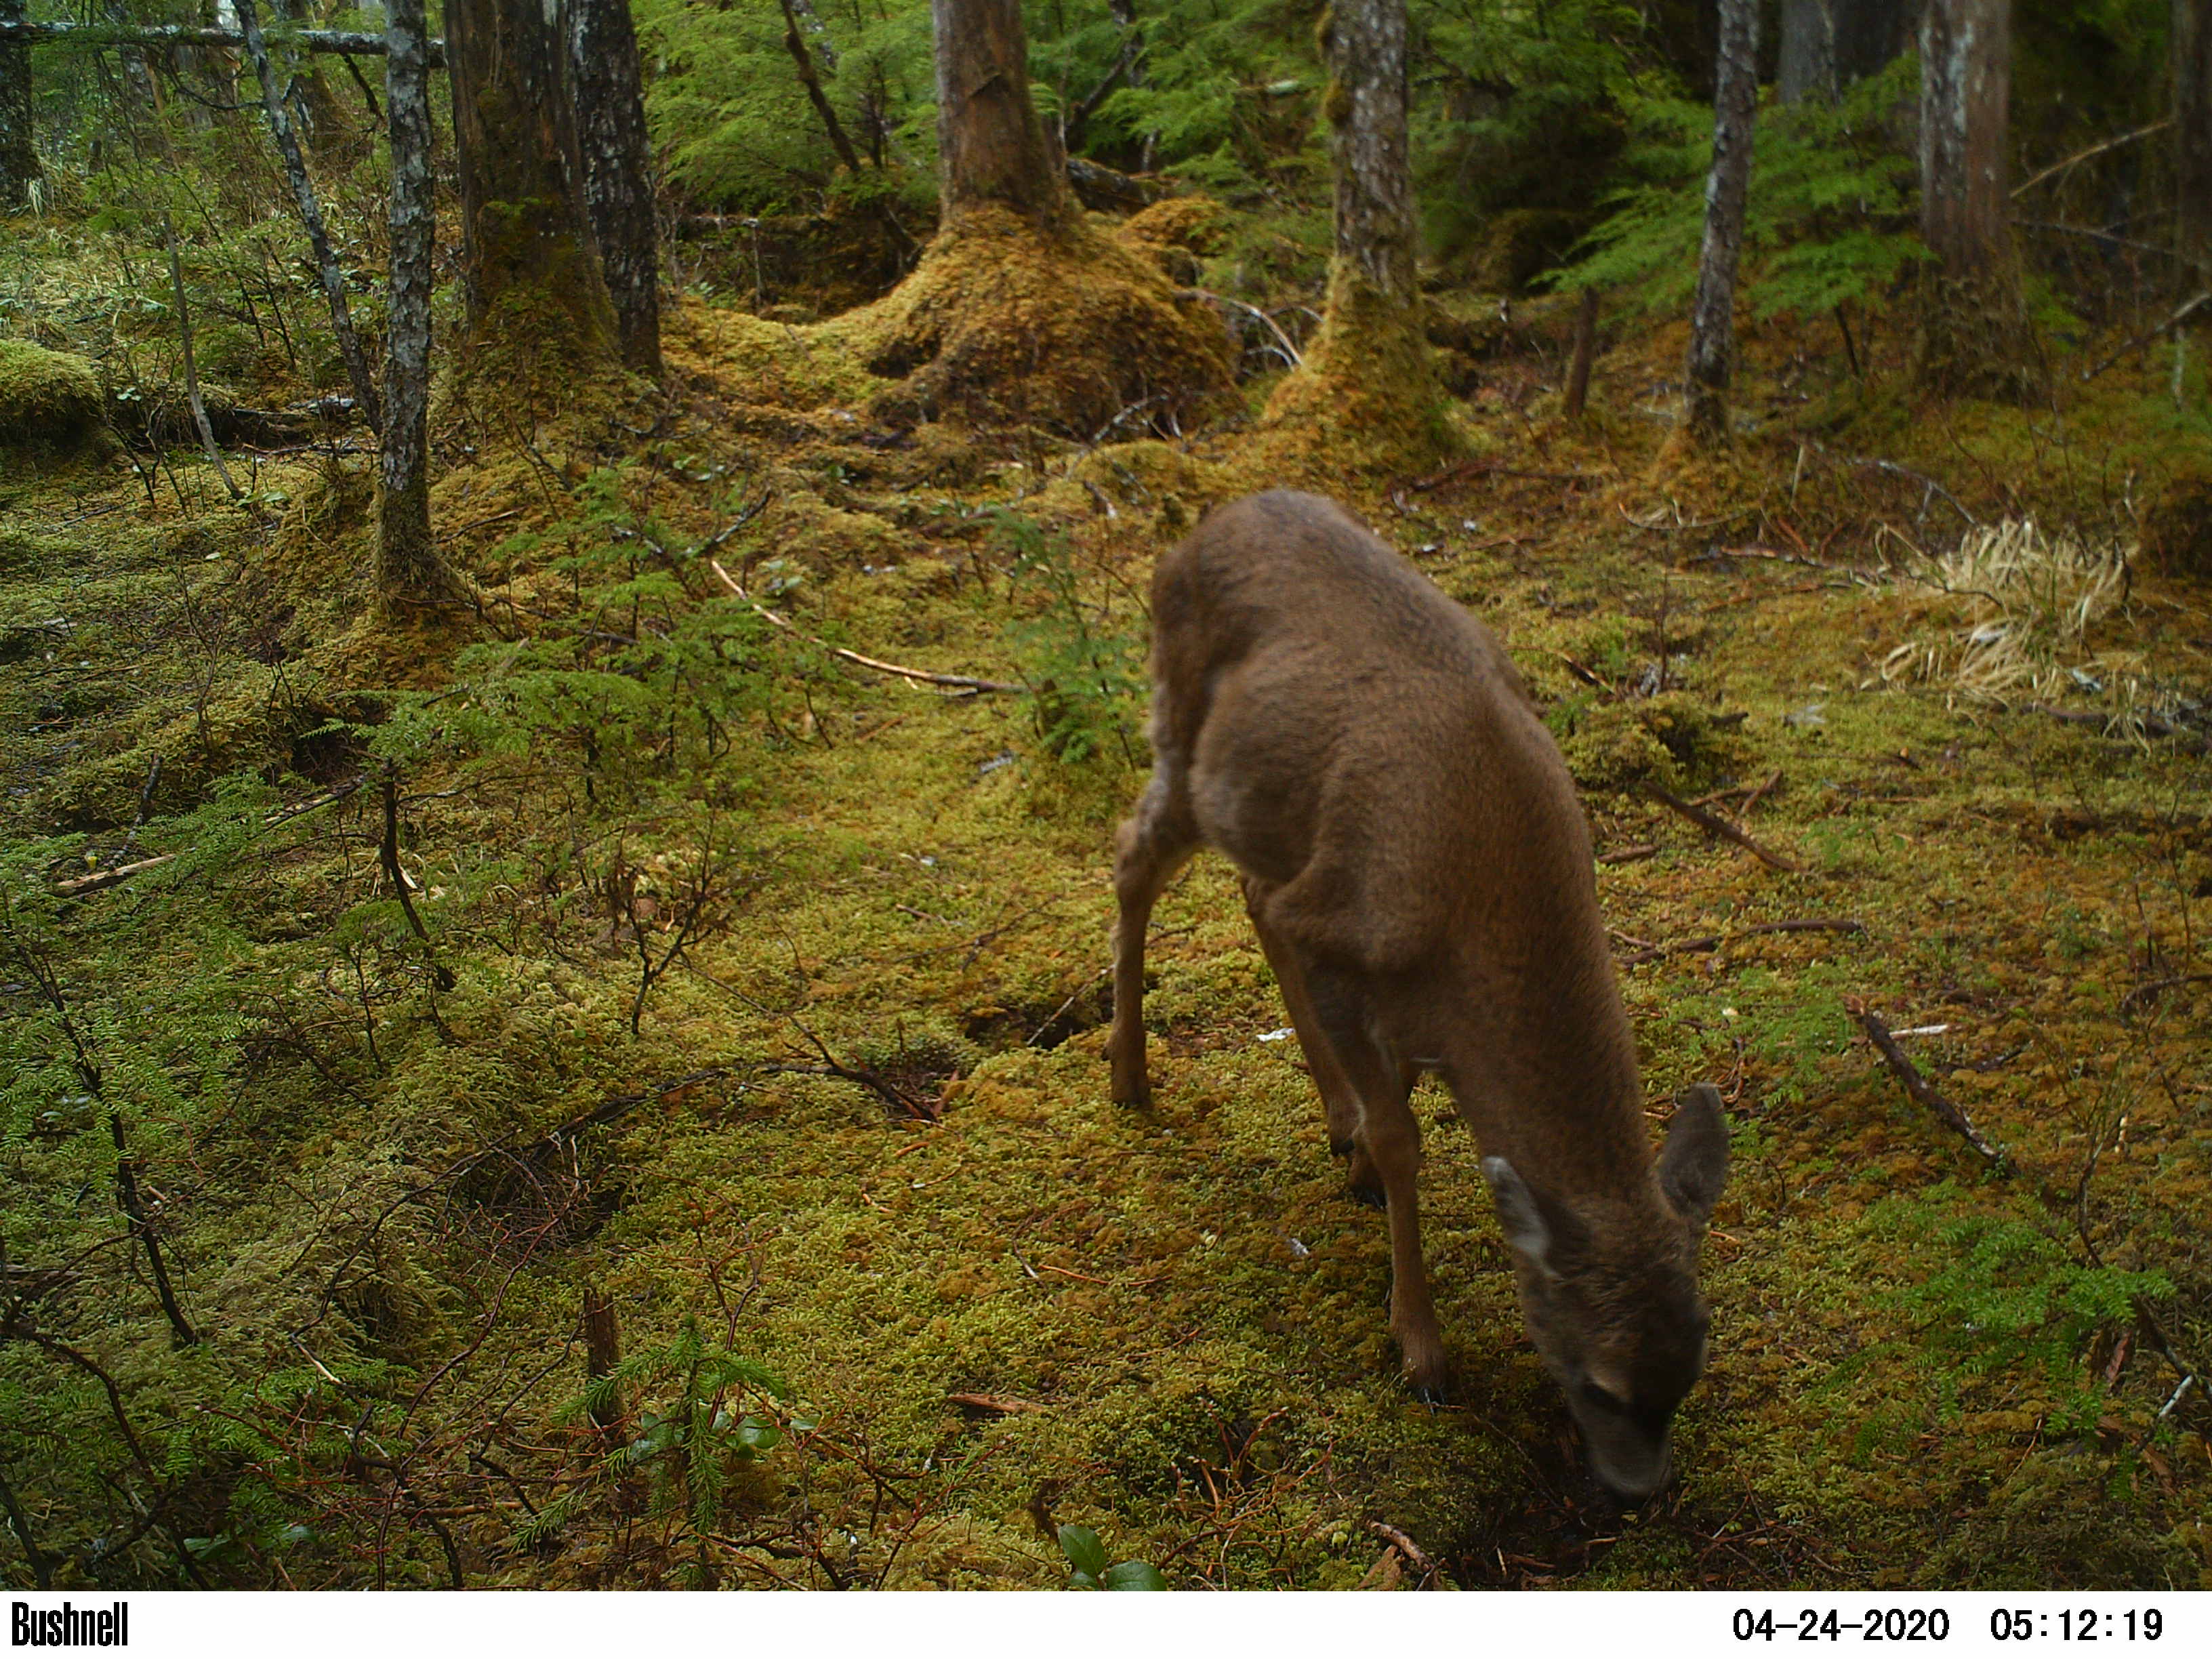
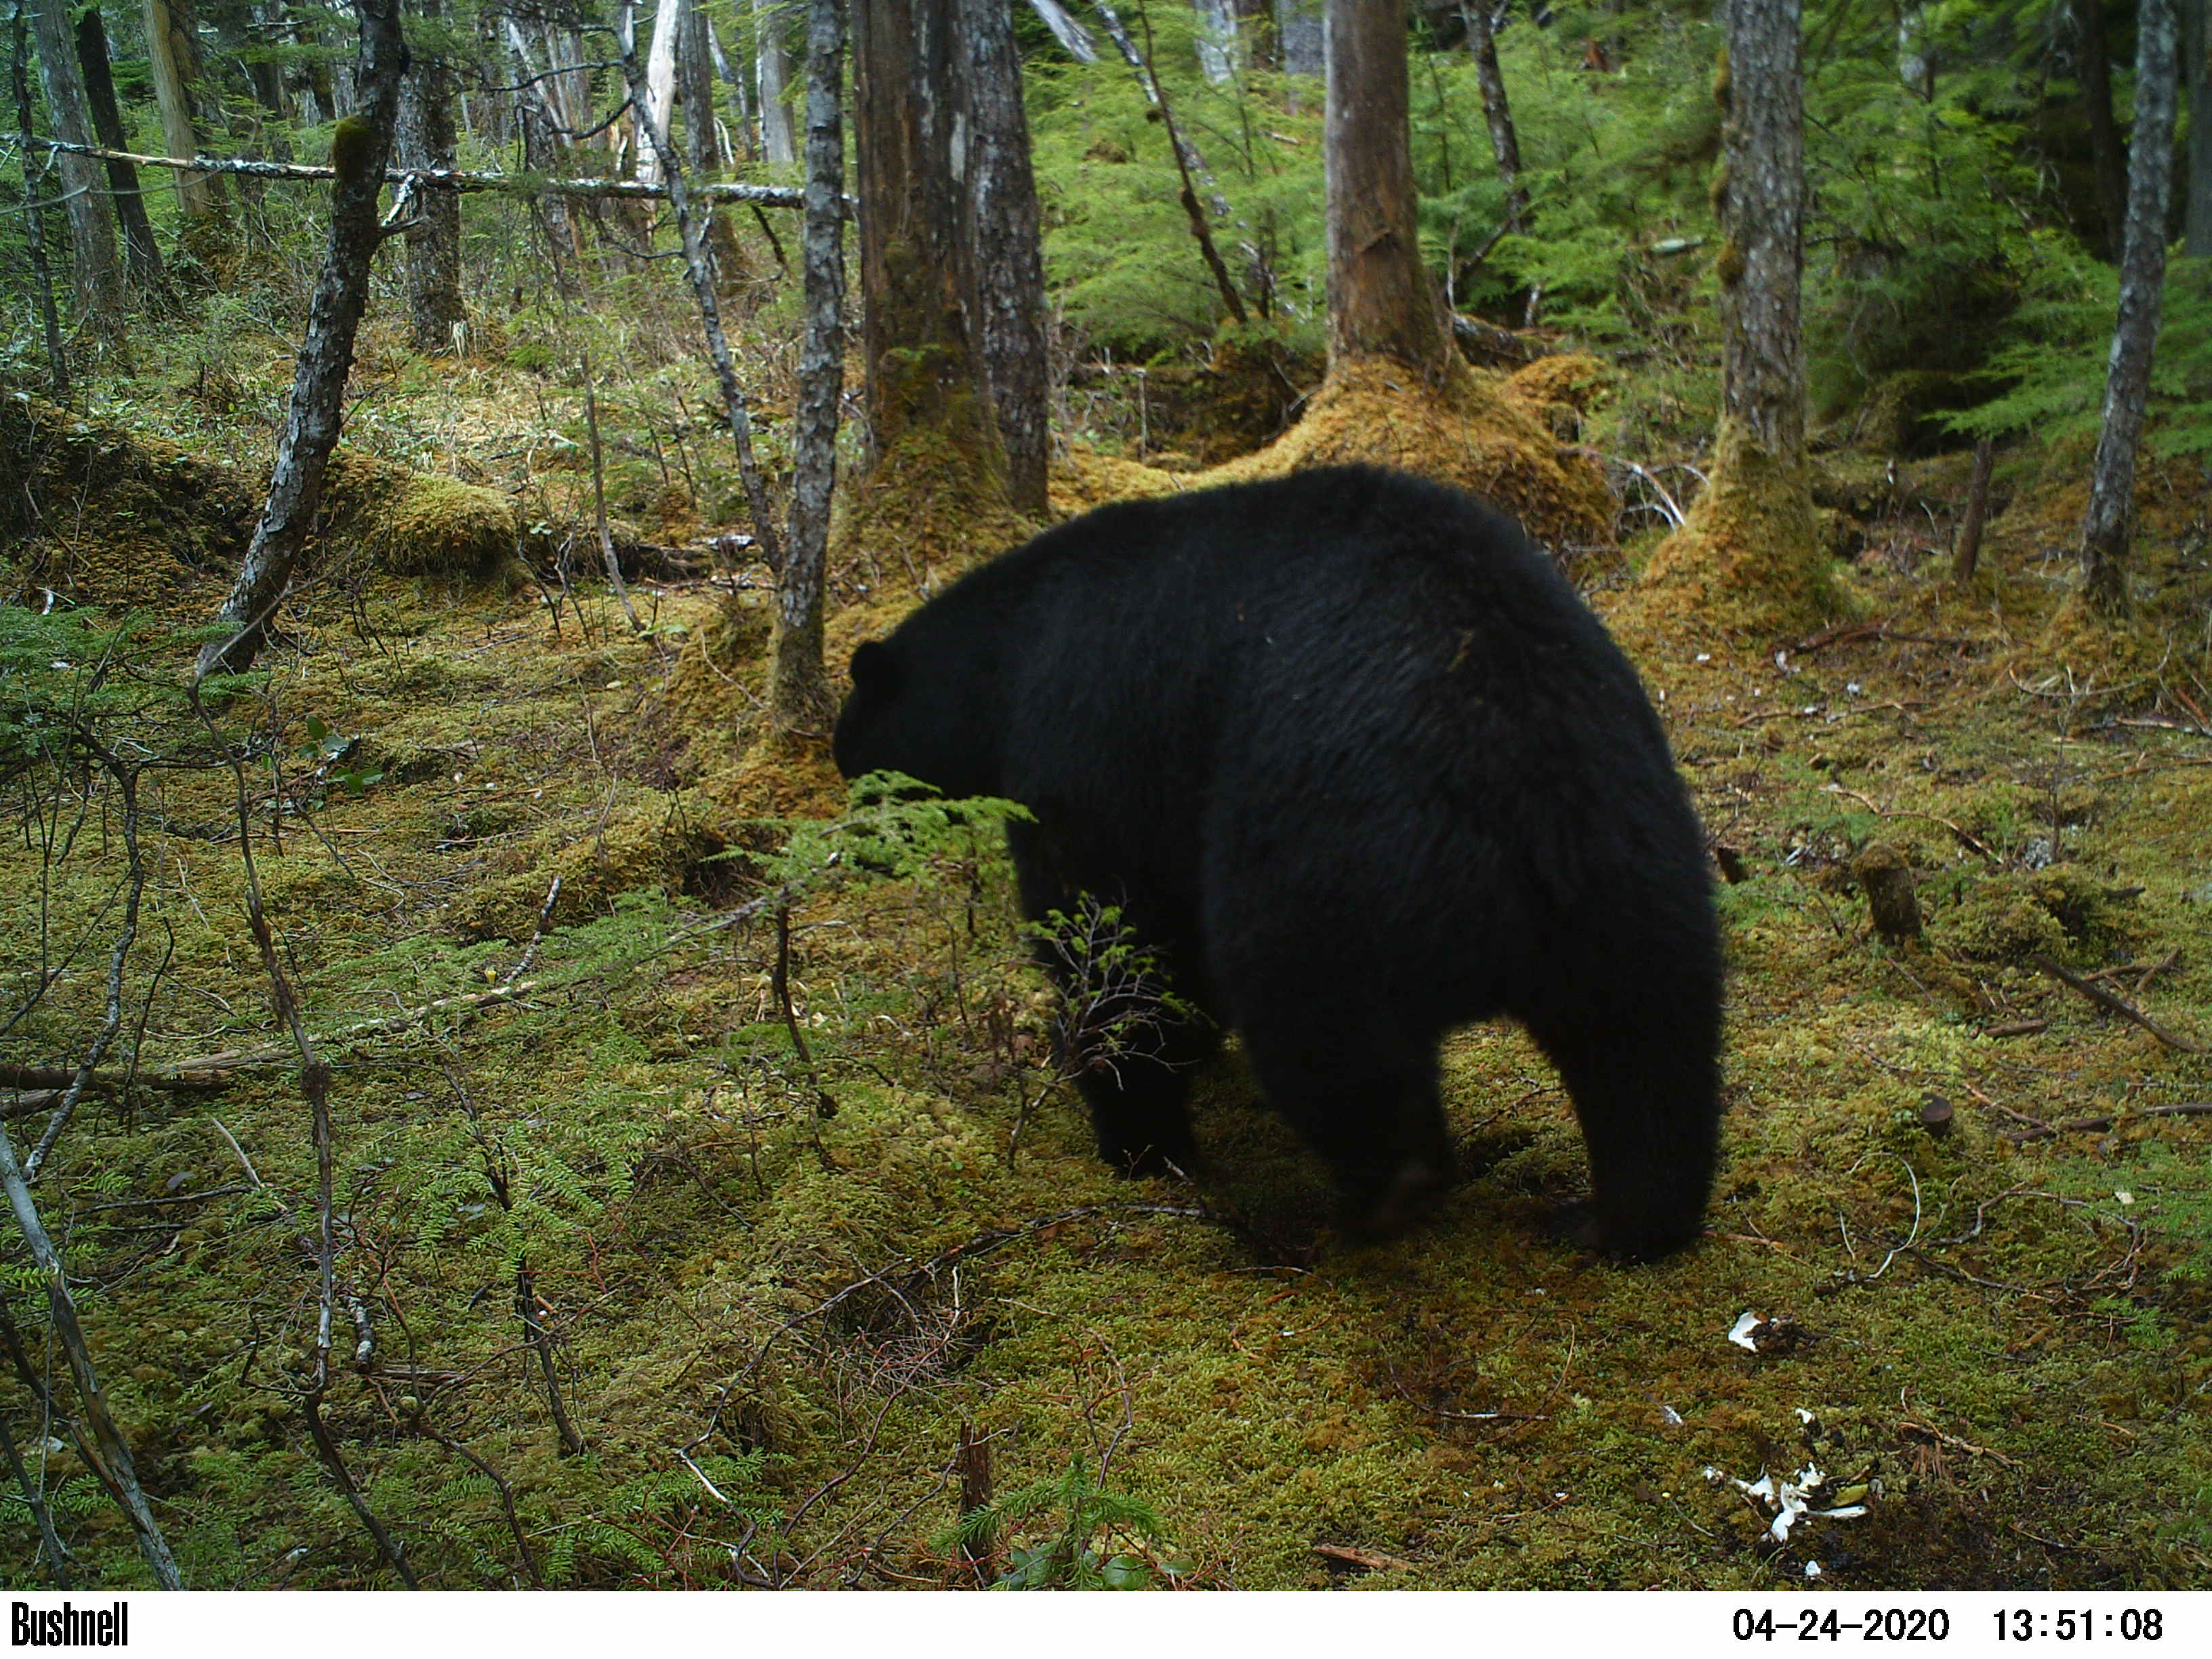


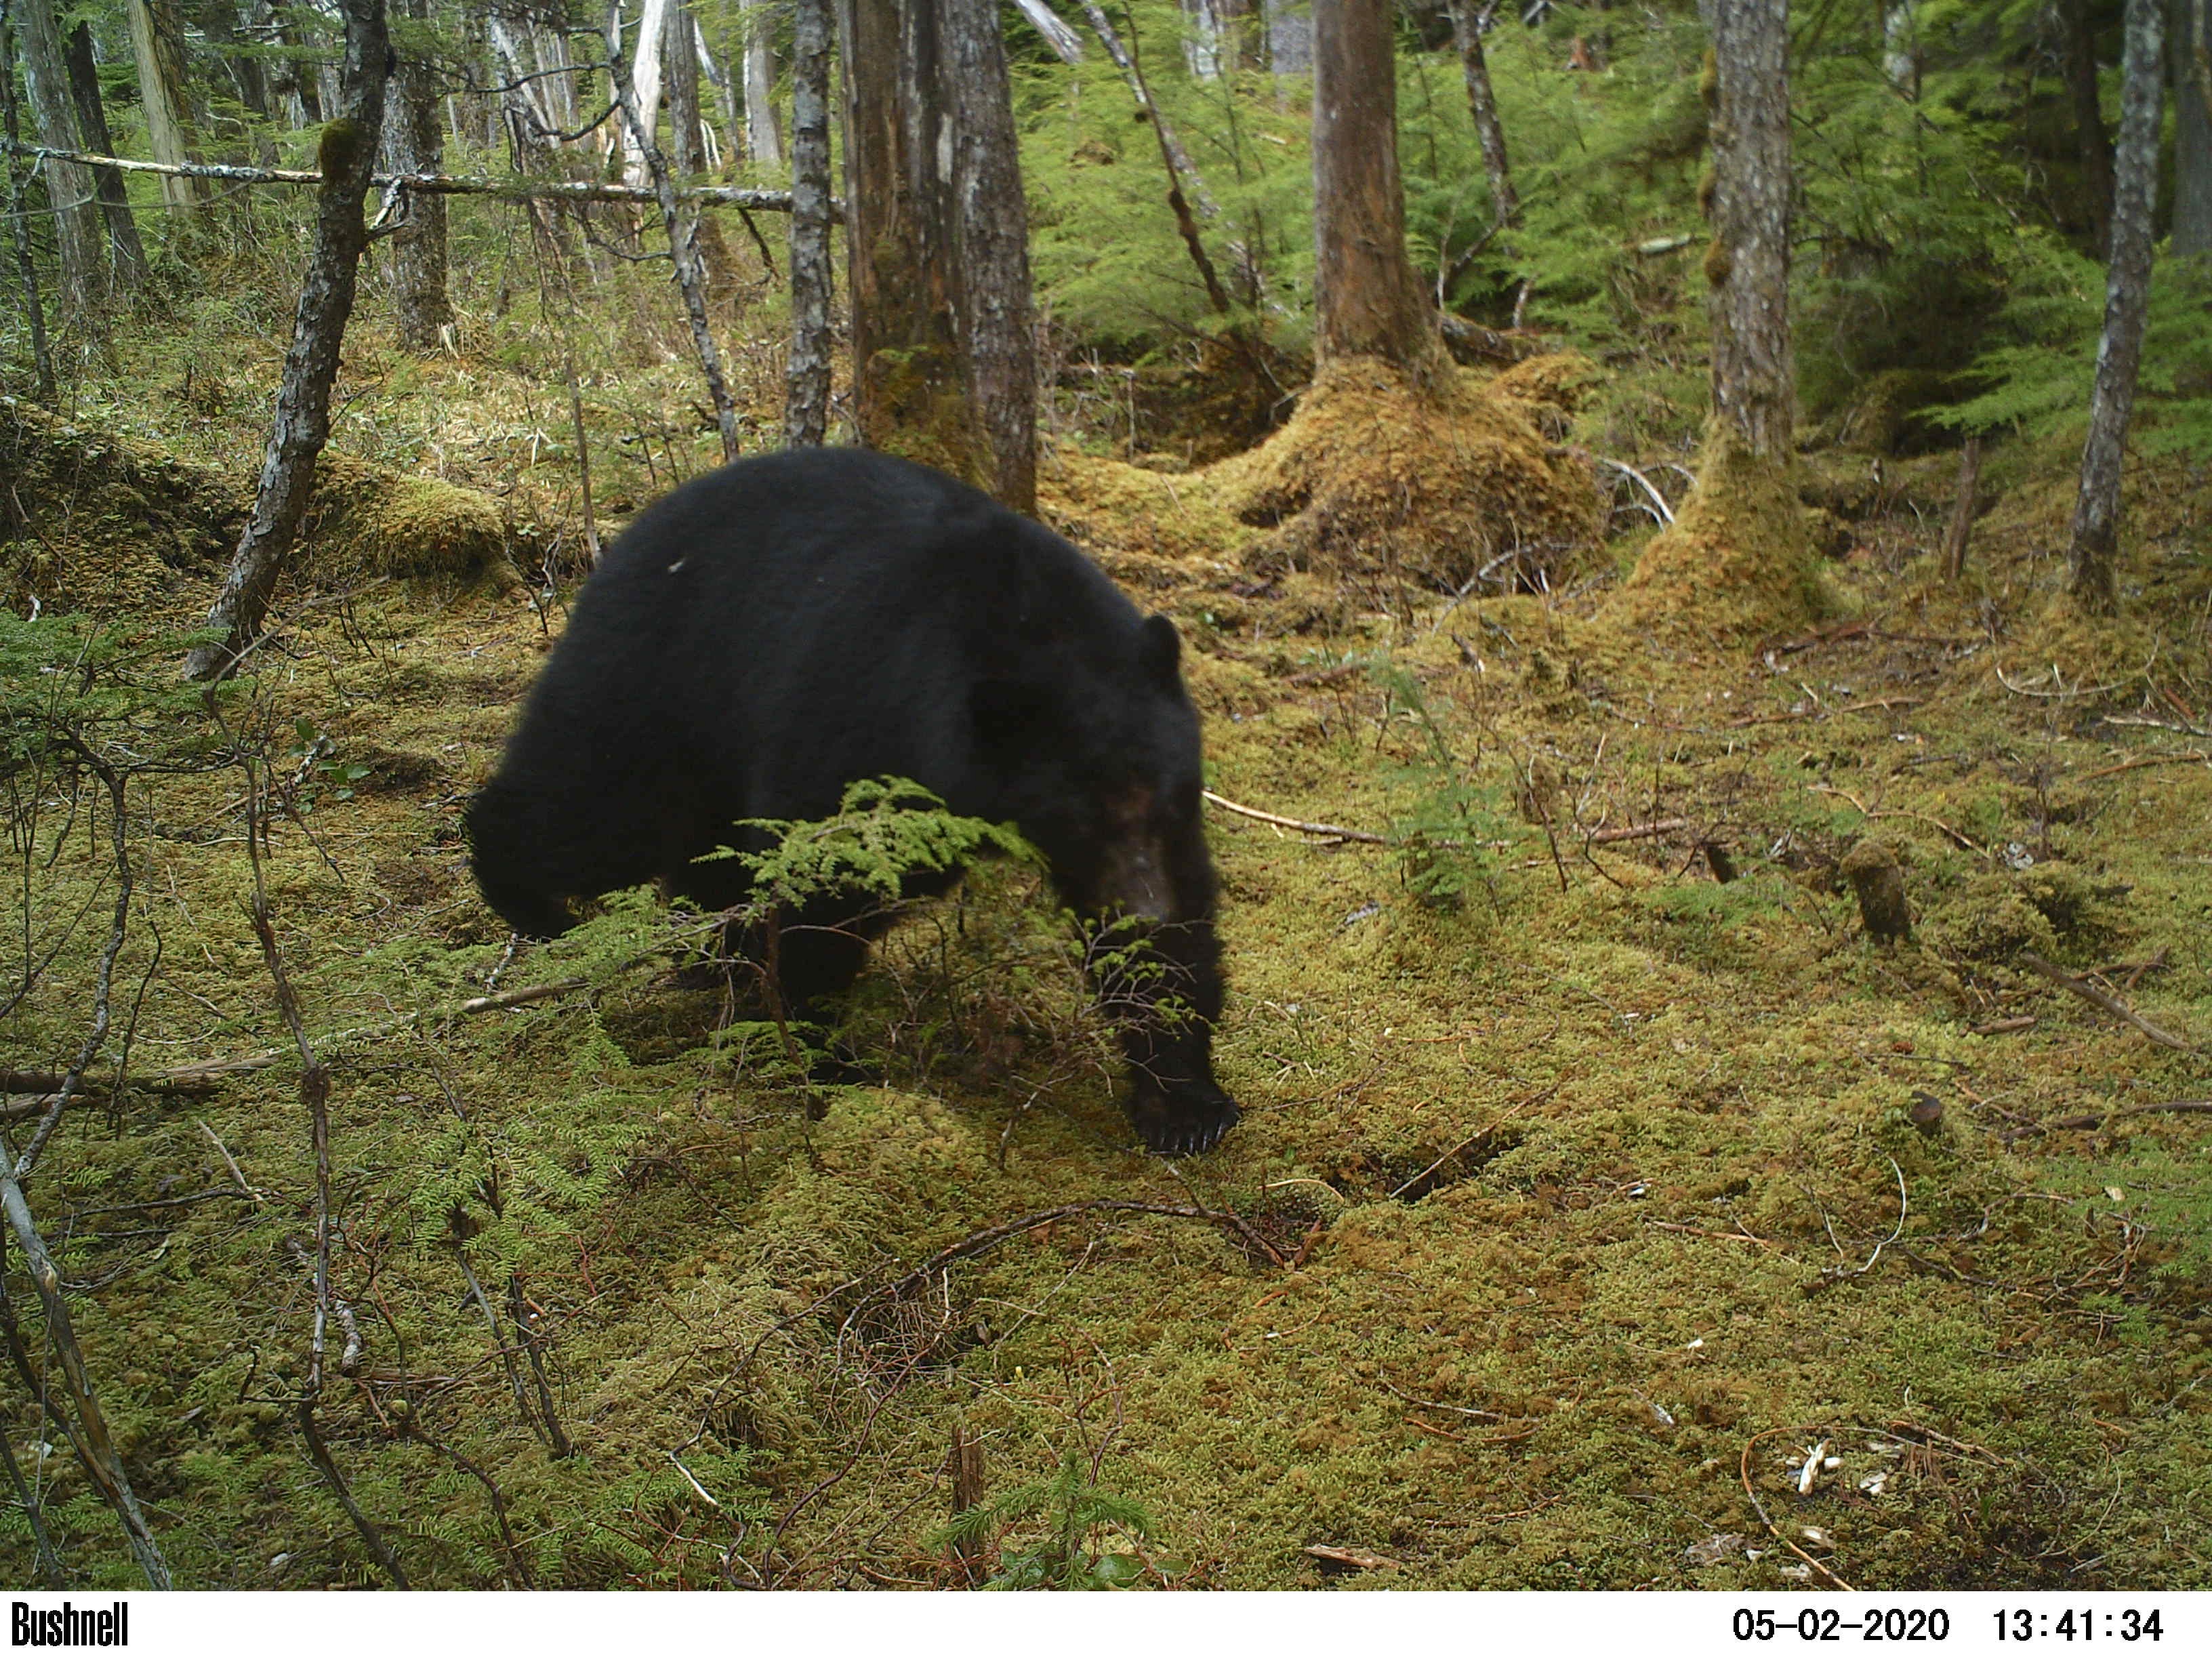
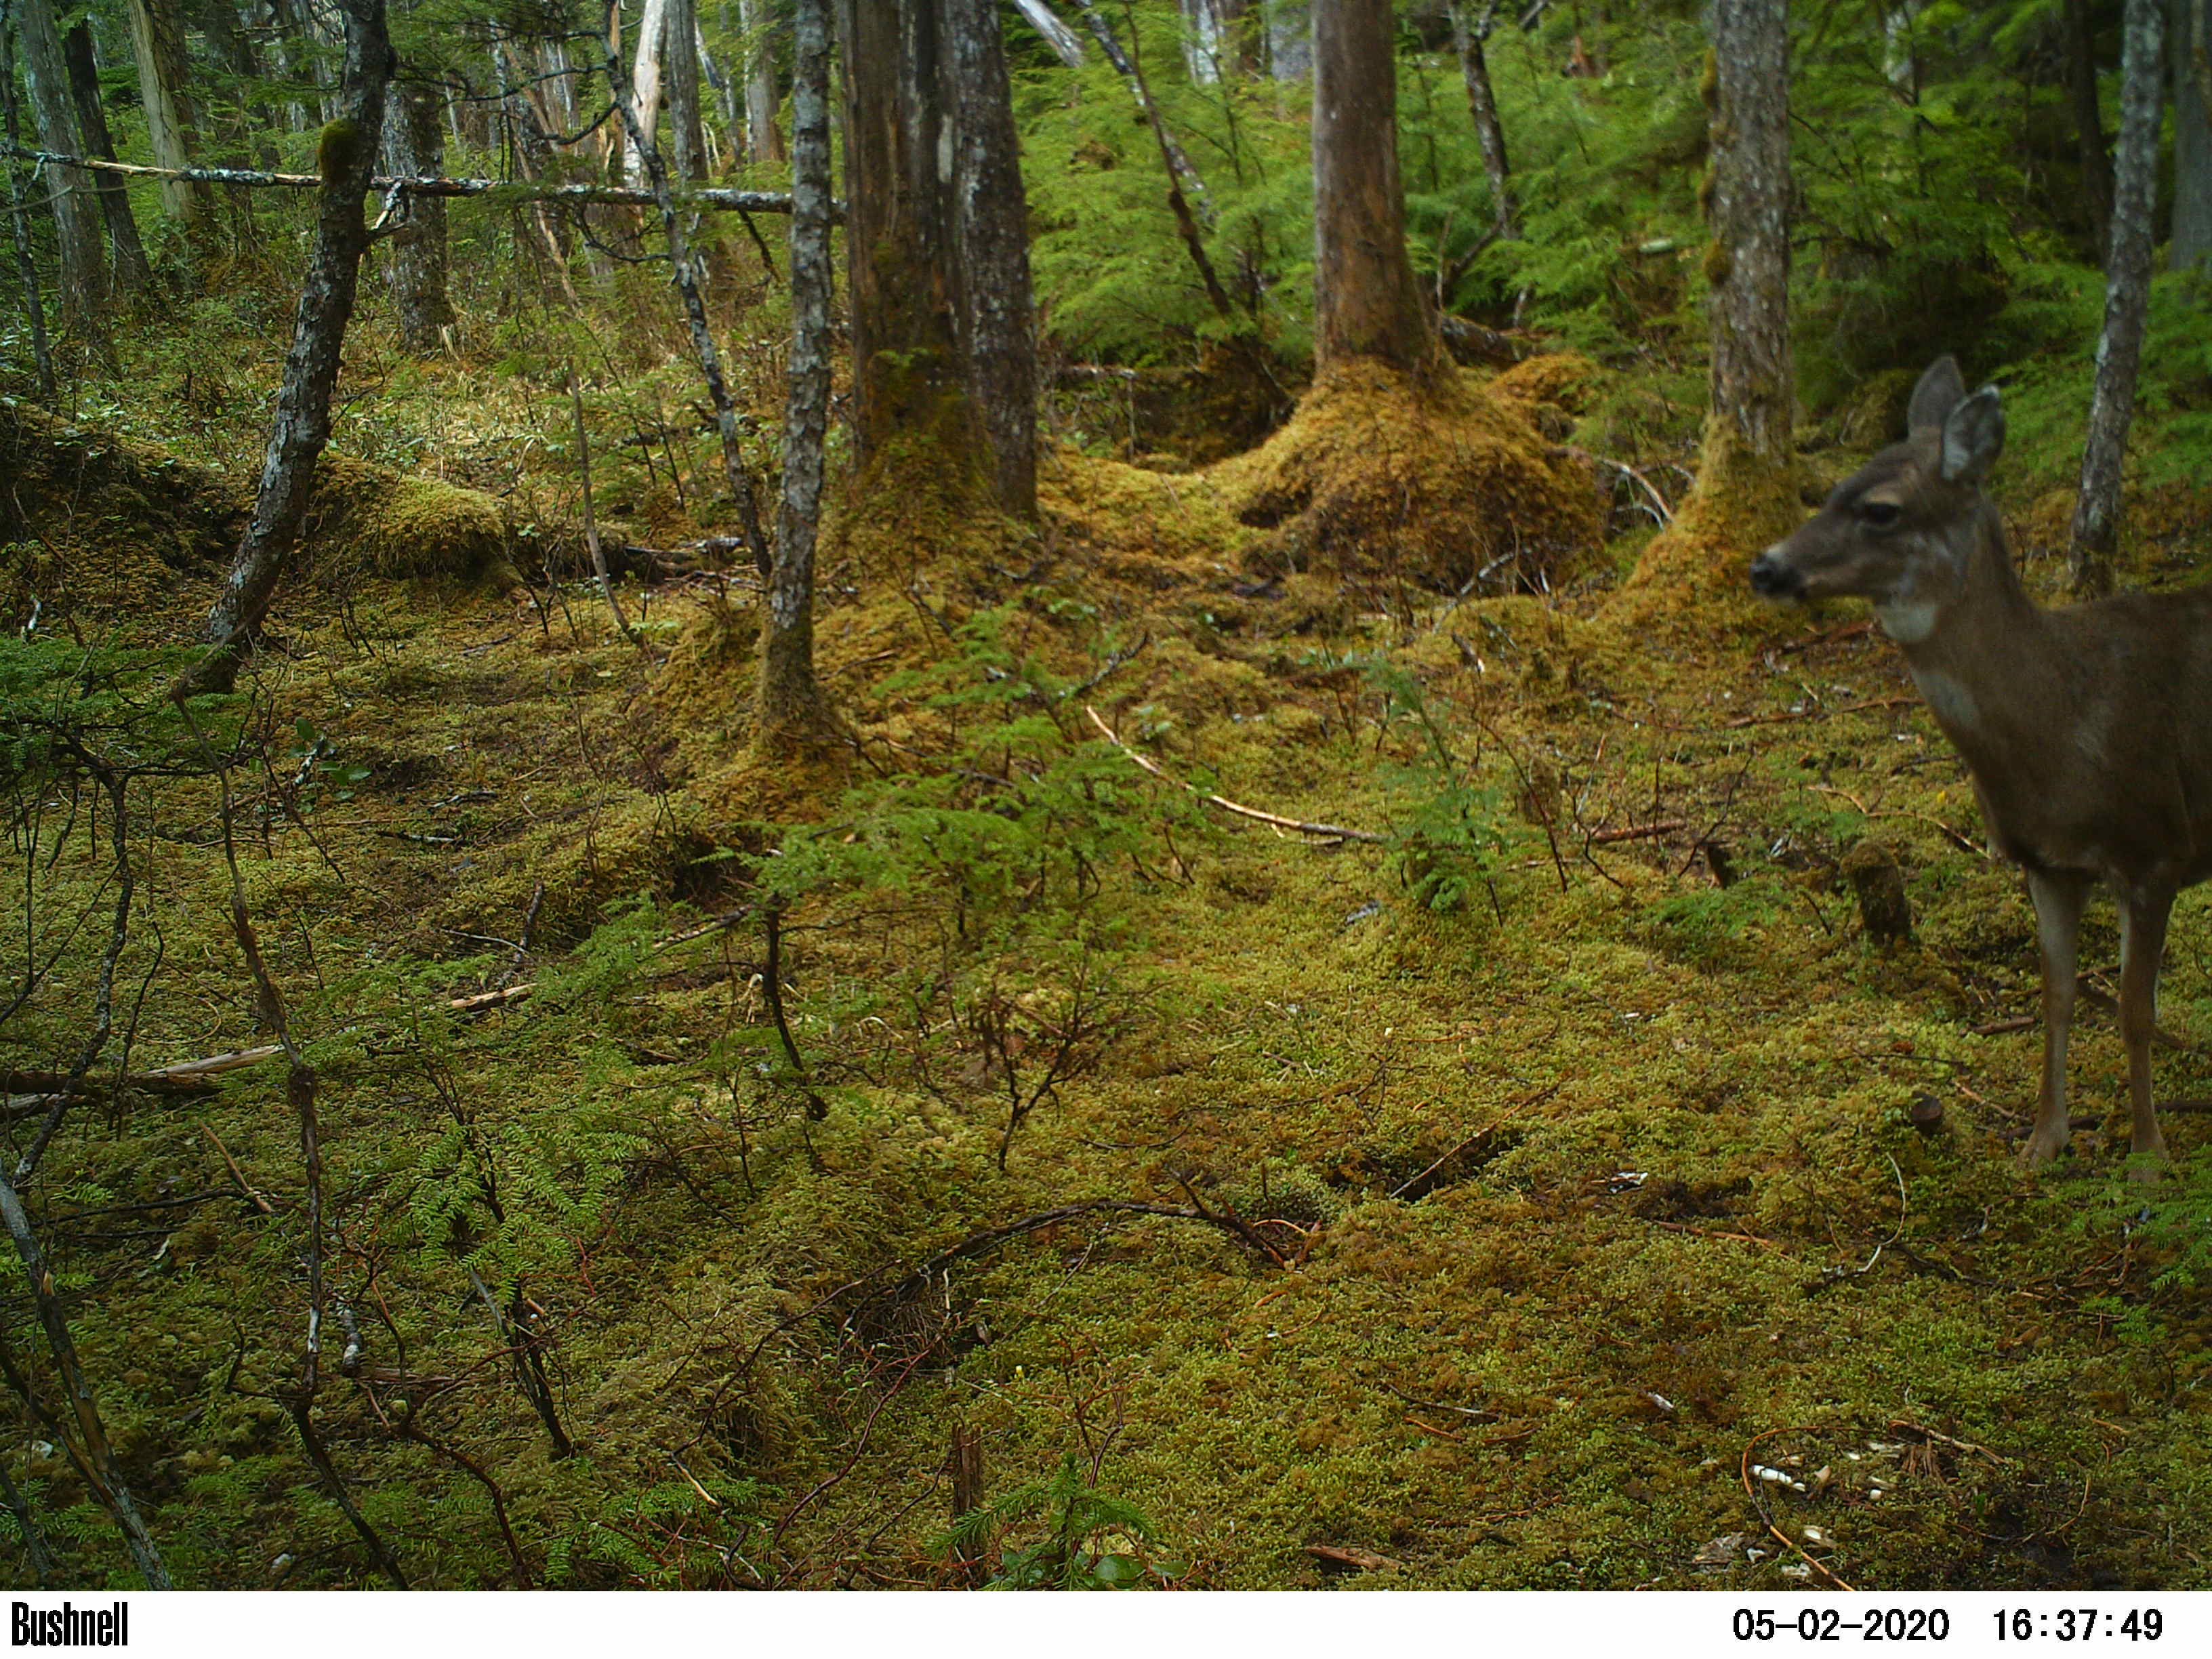
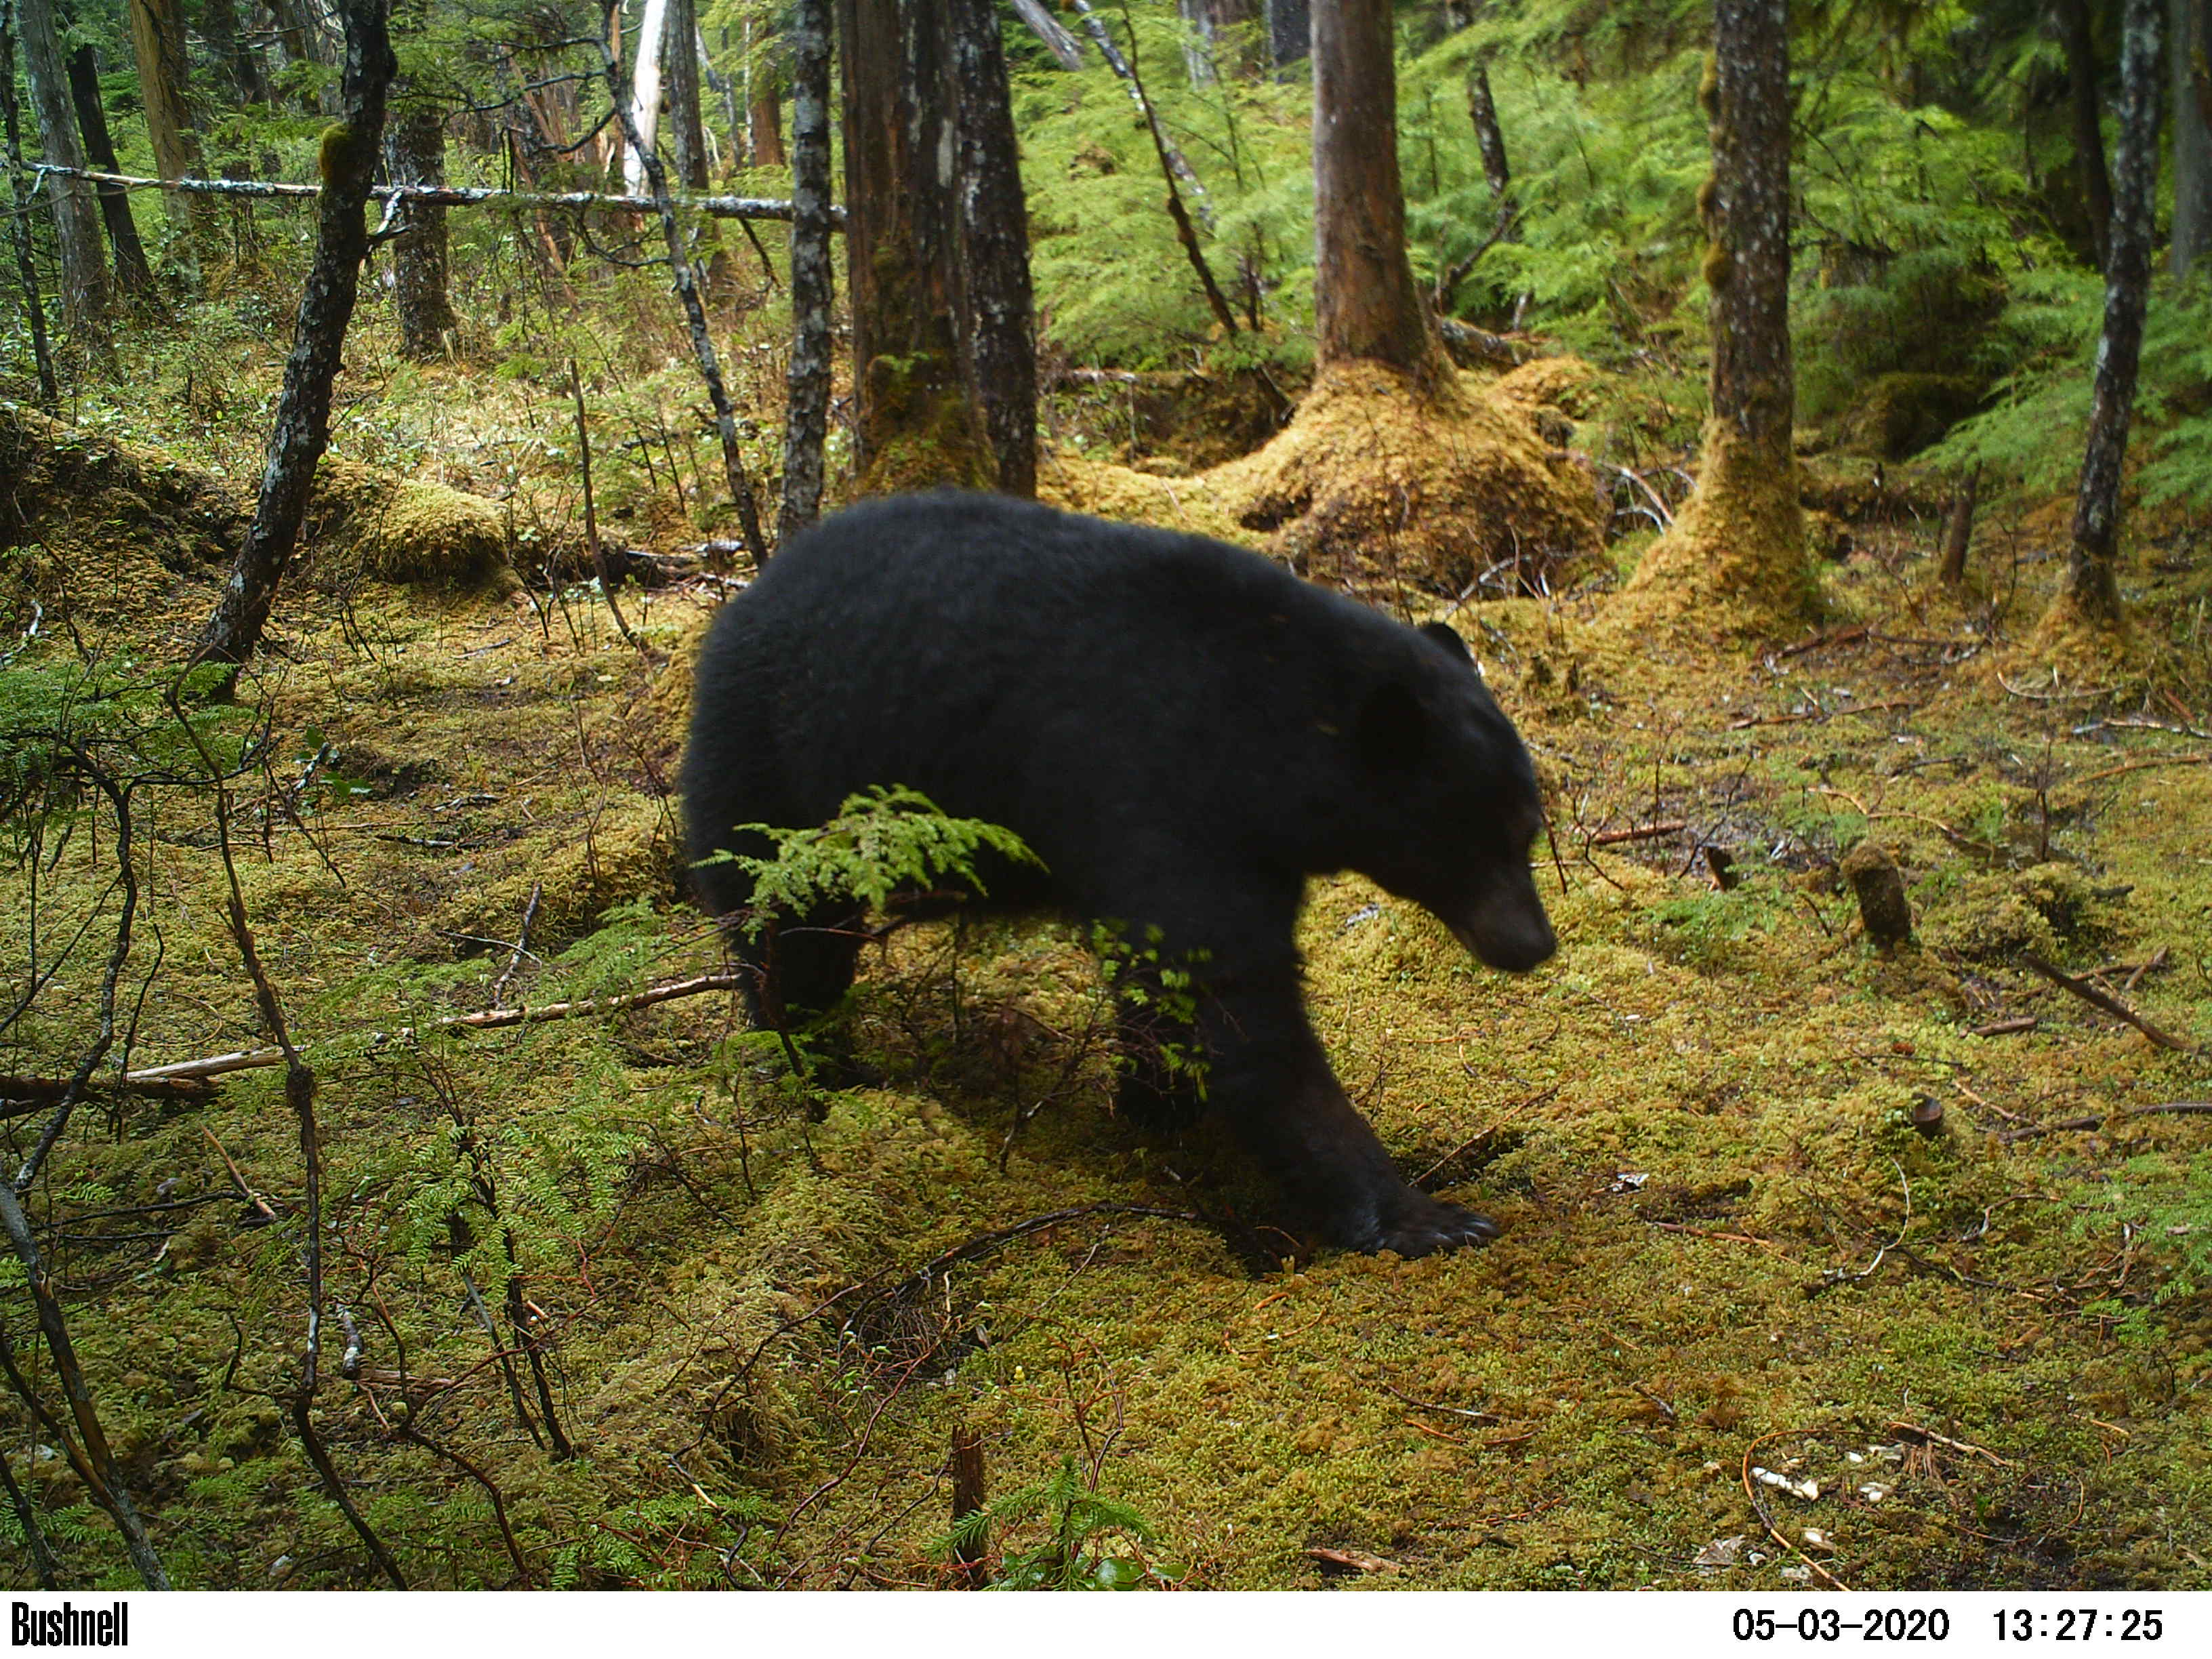
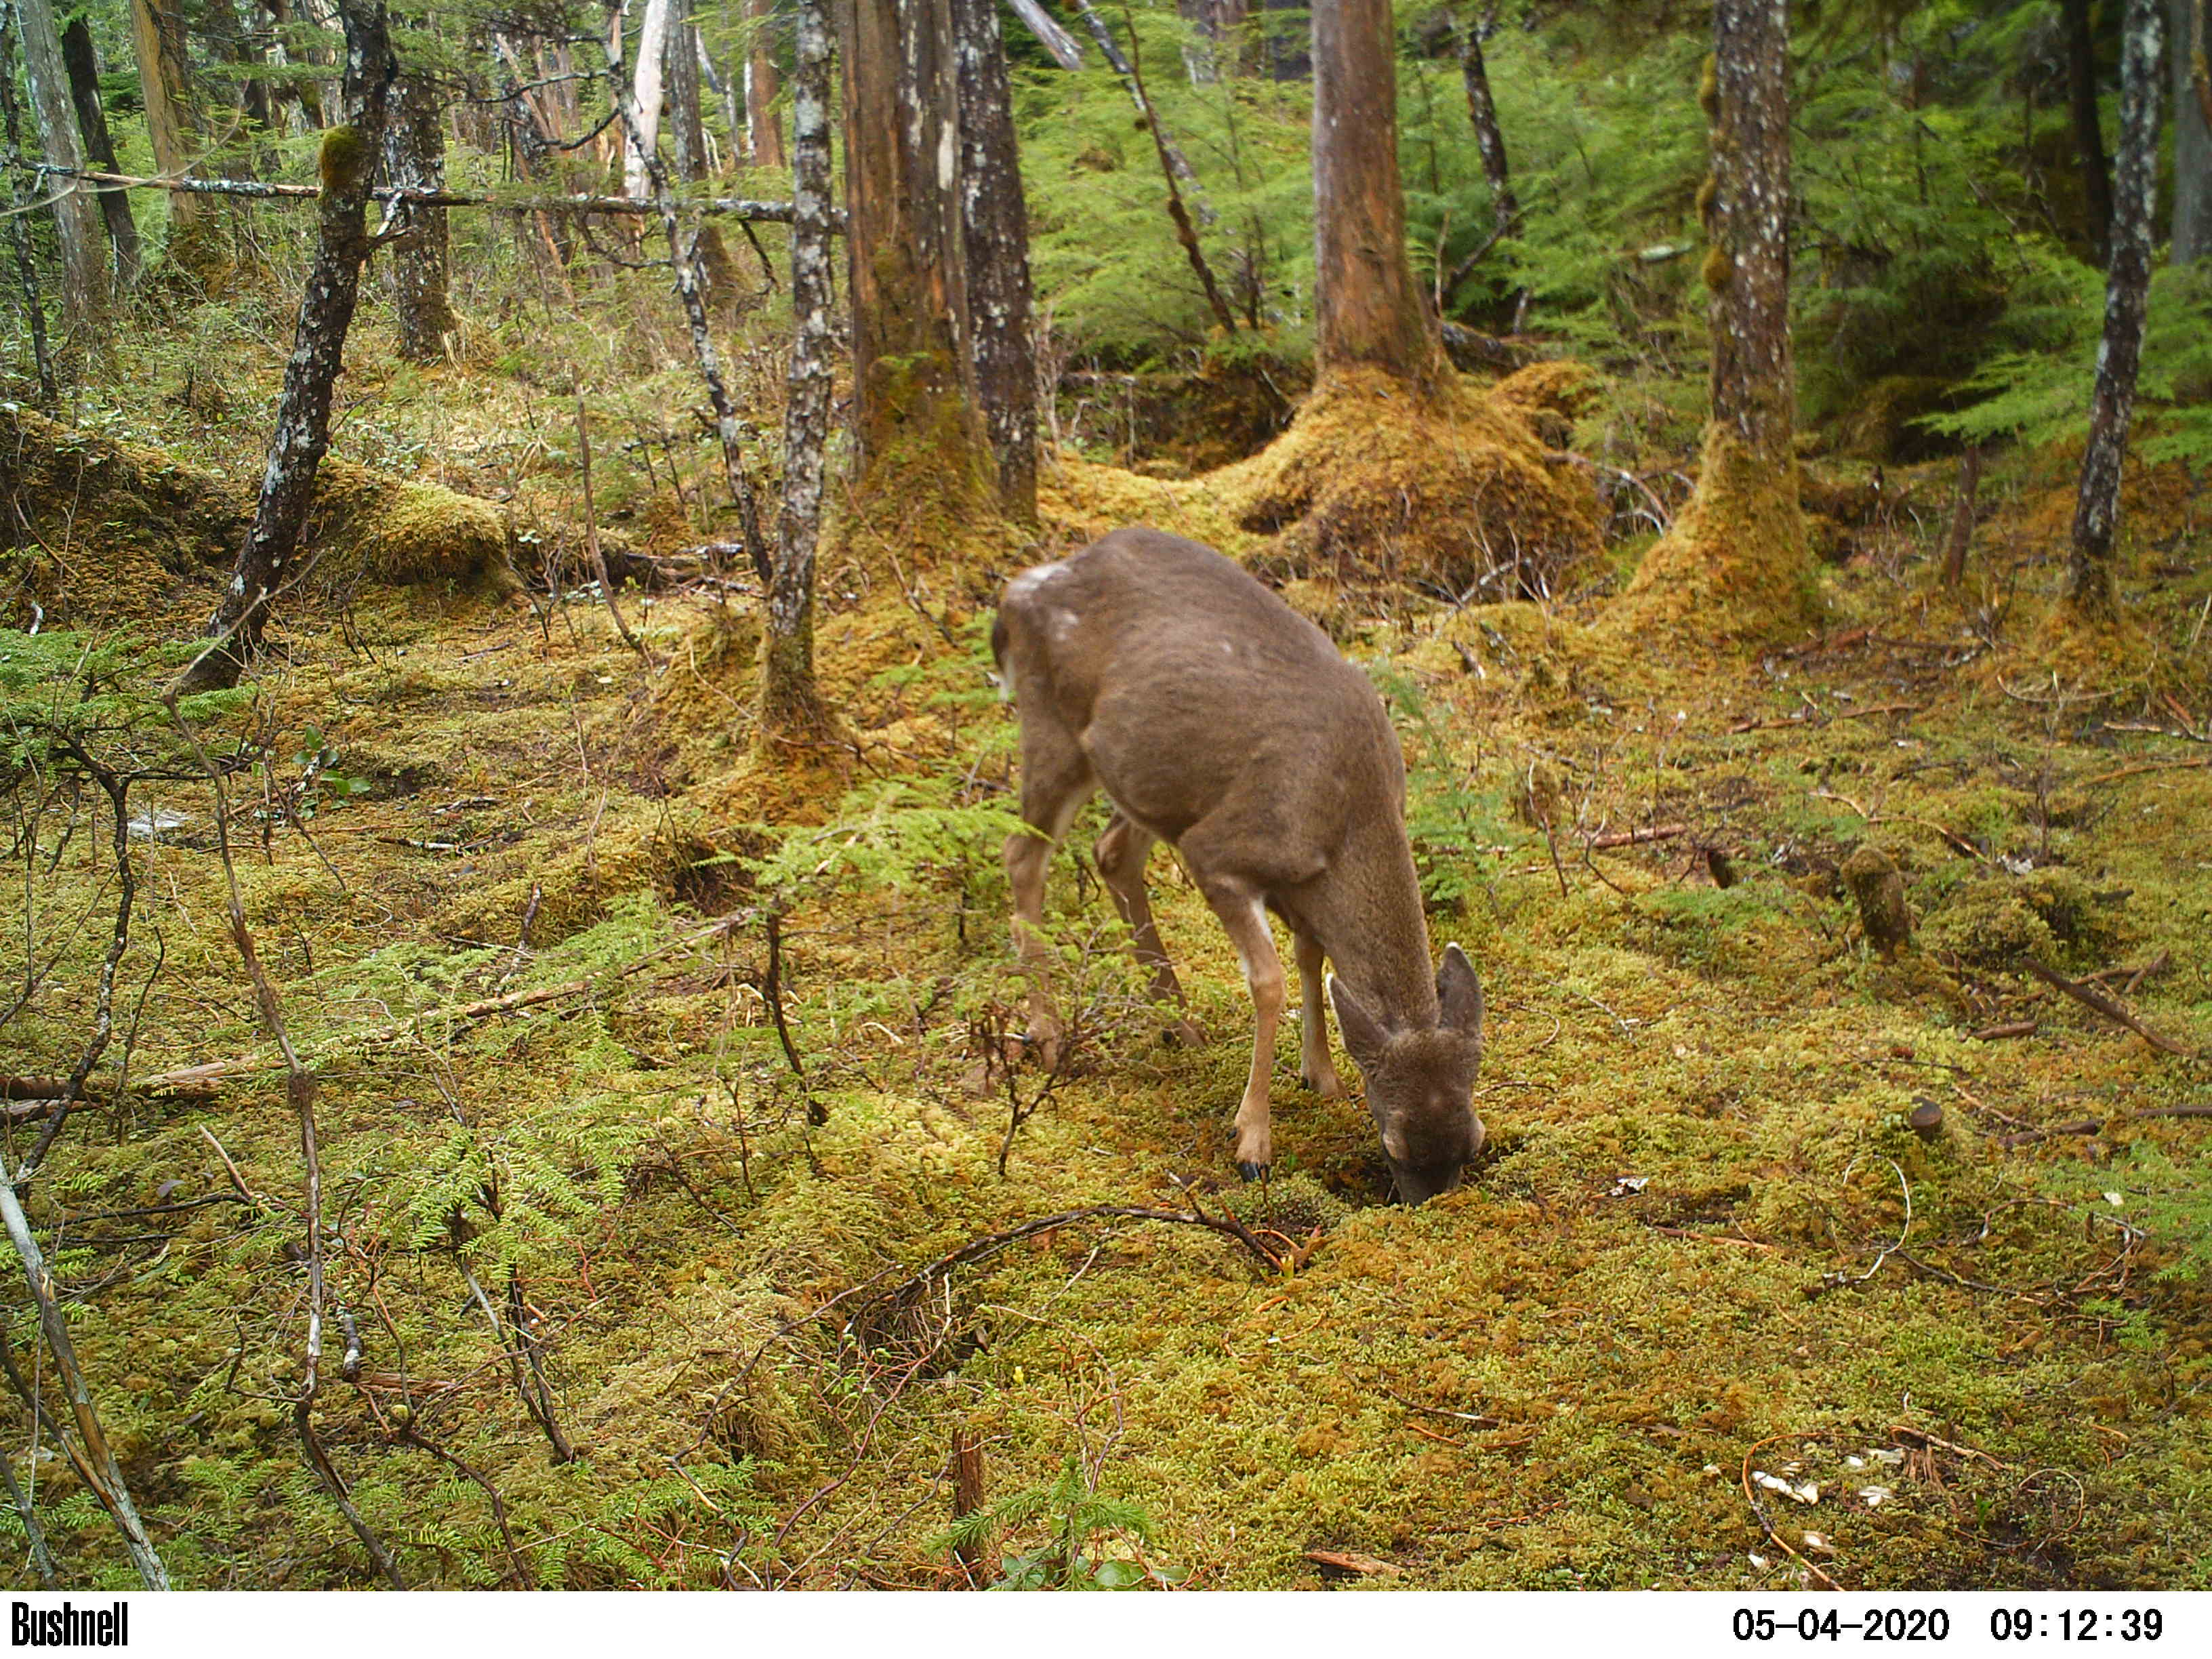
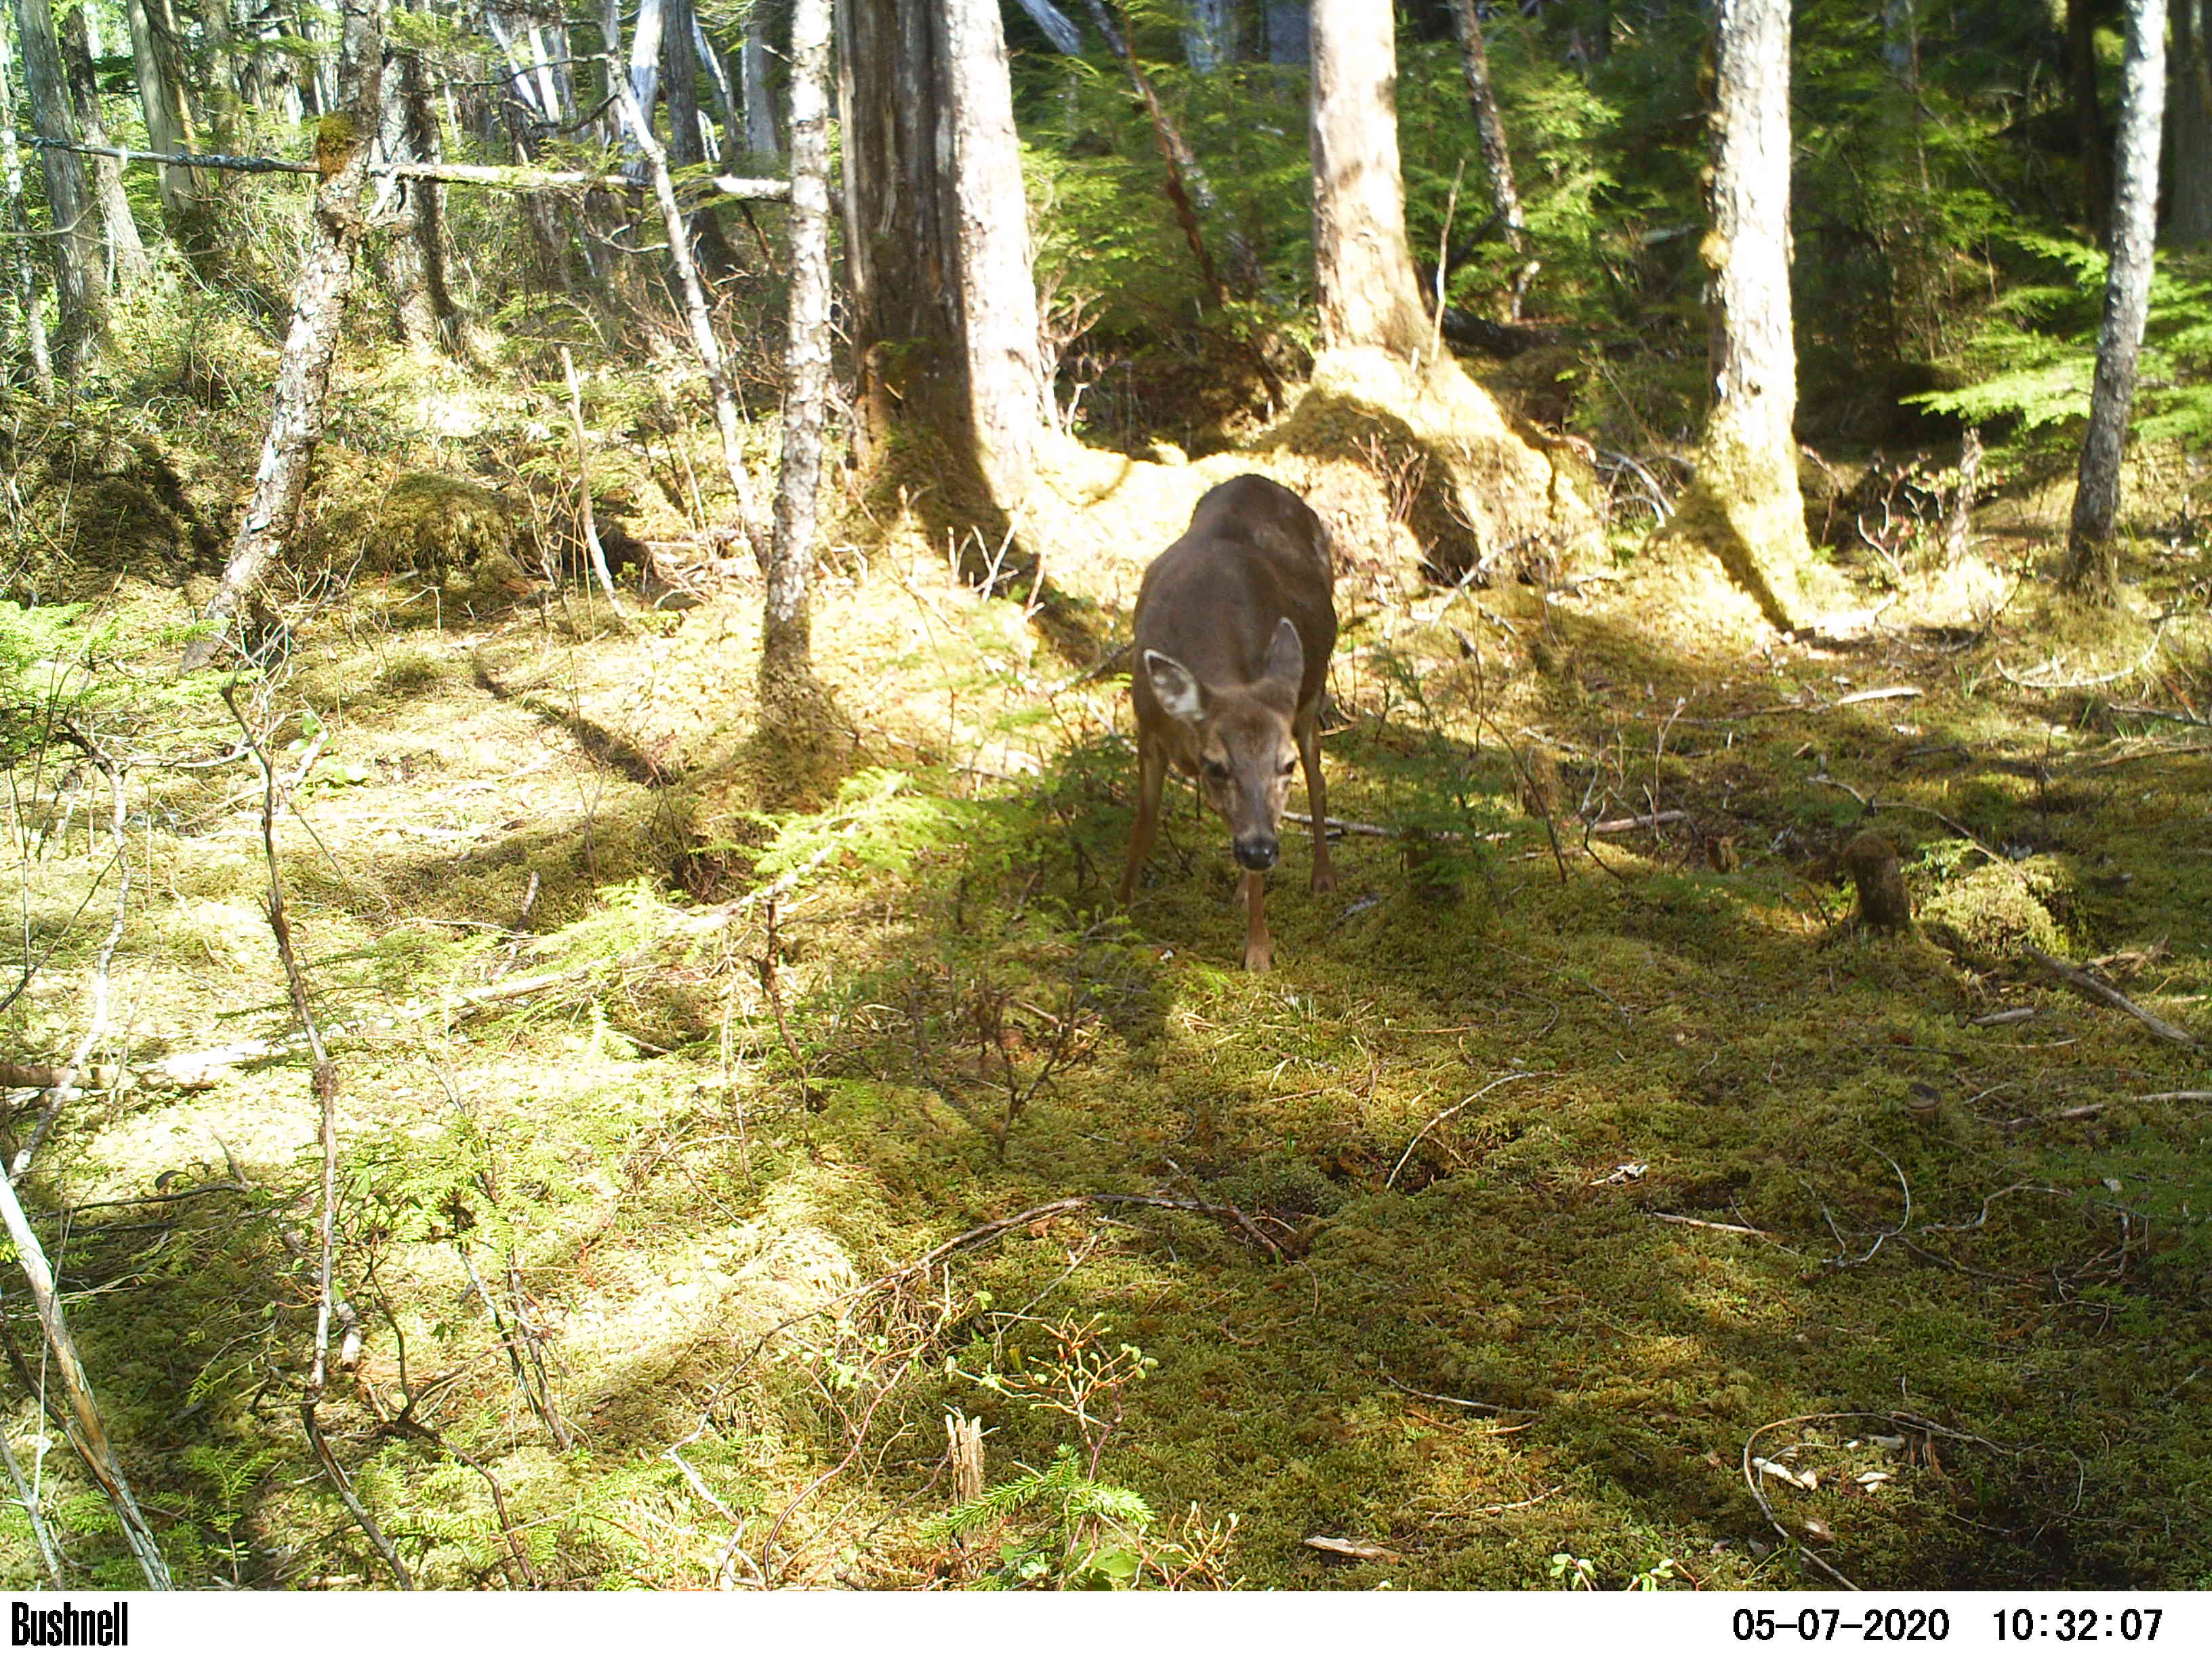


Next trip to this area I am going to set this camera for video.


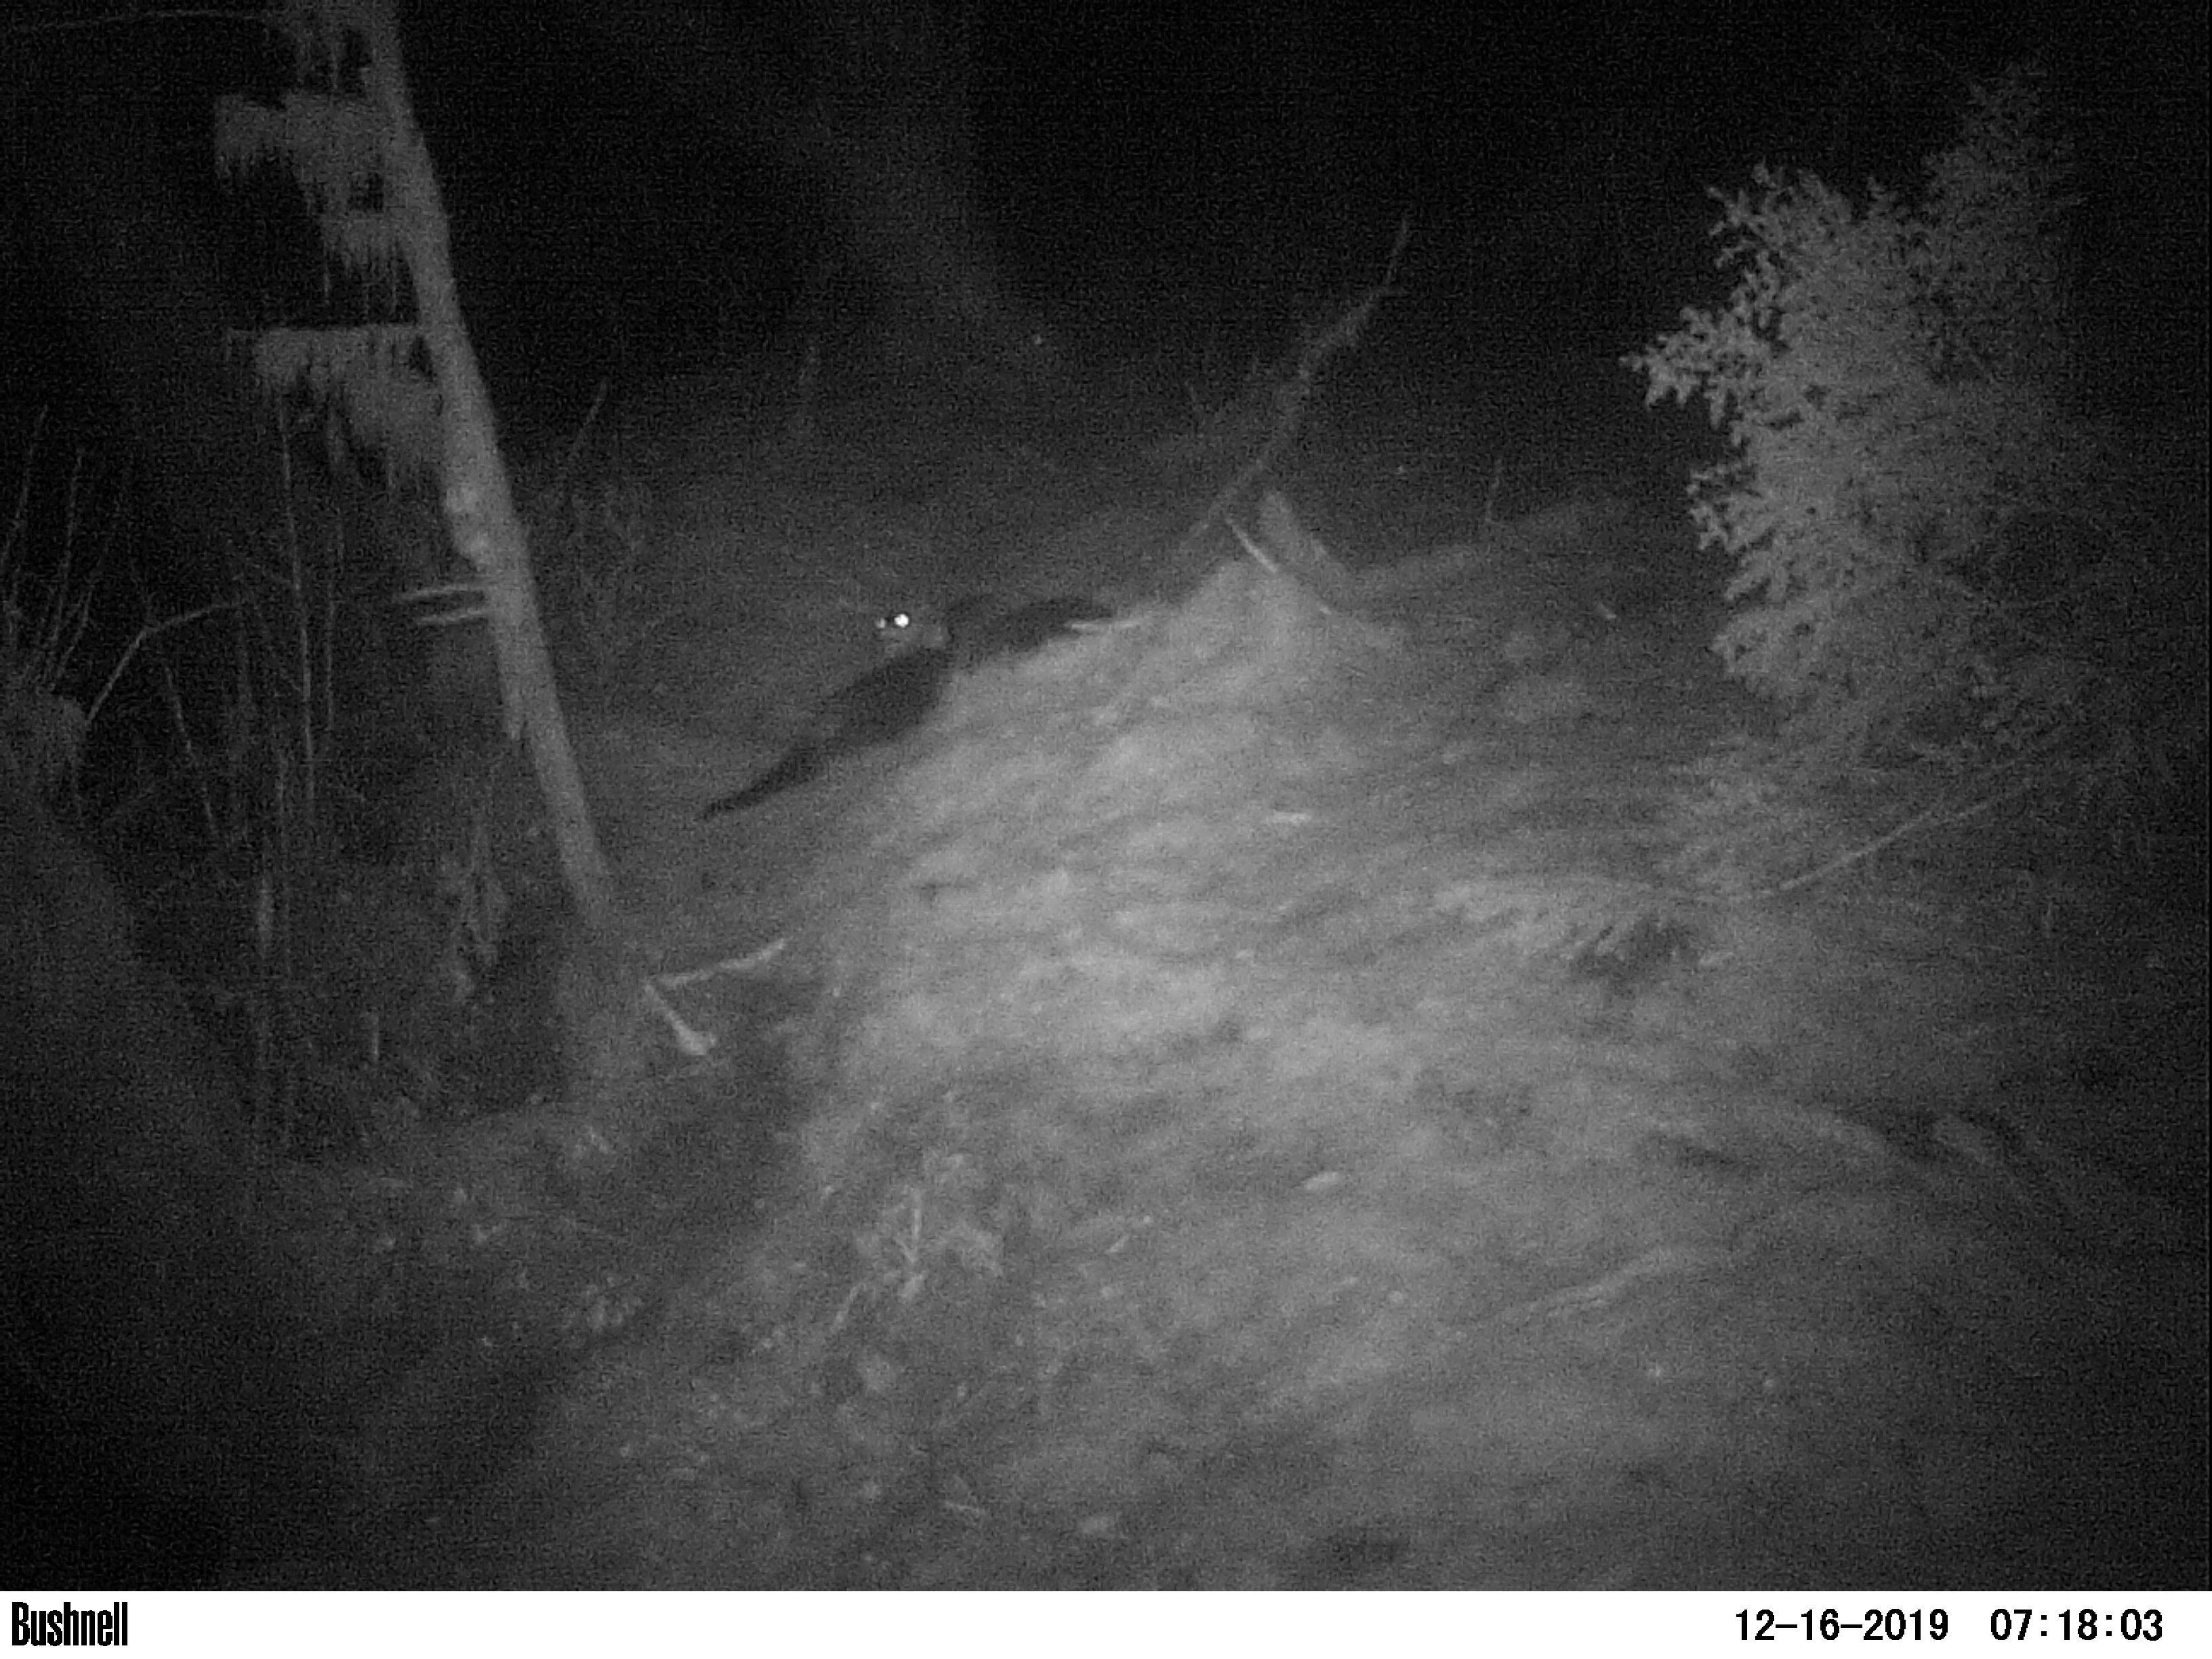


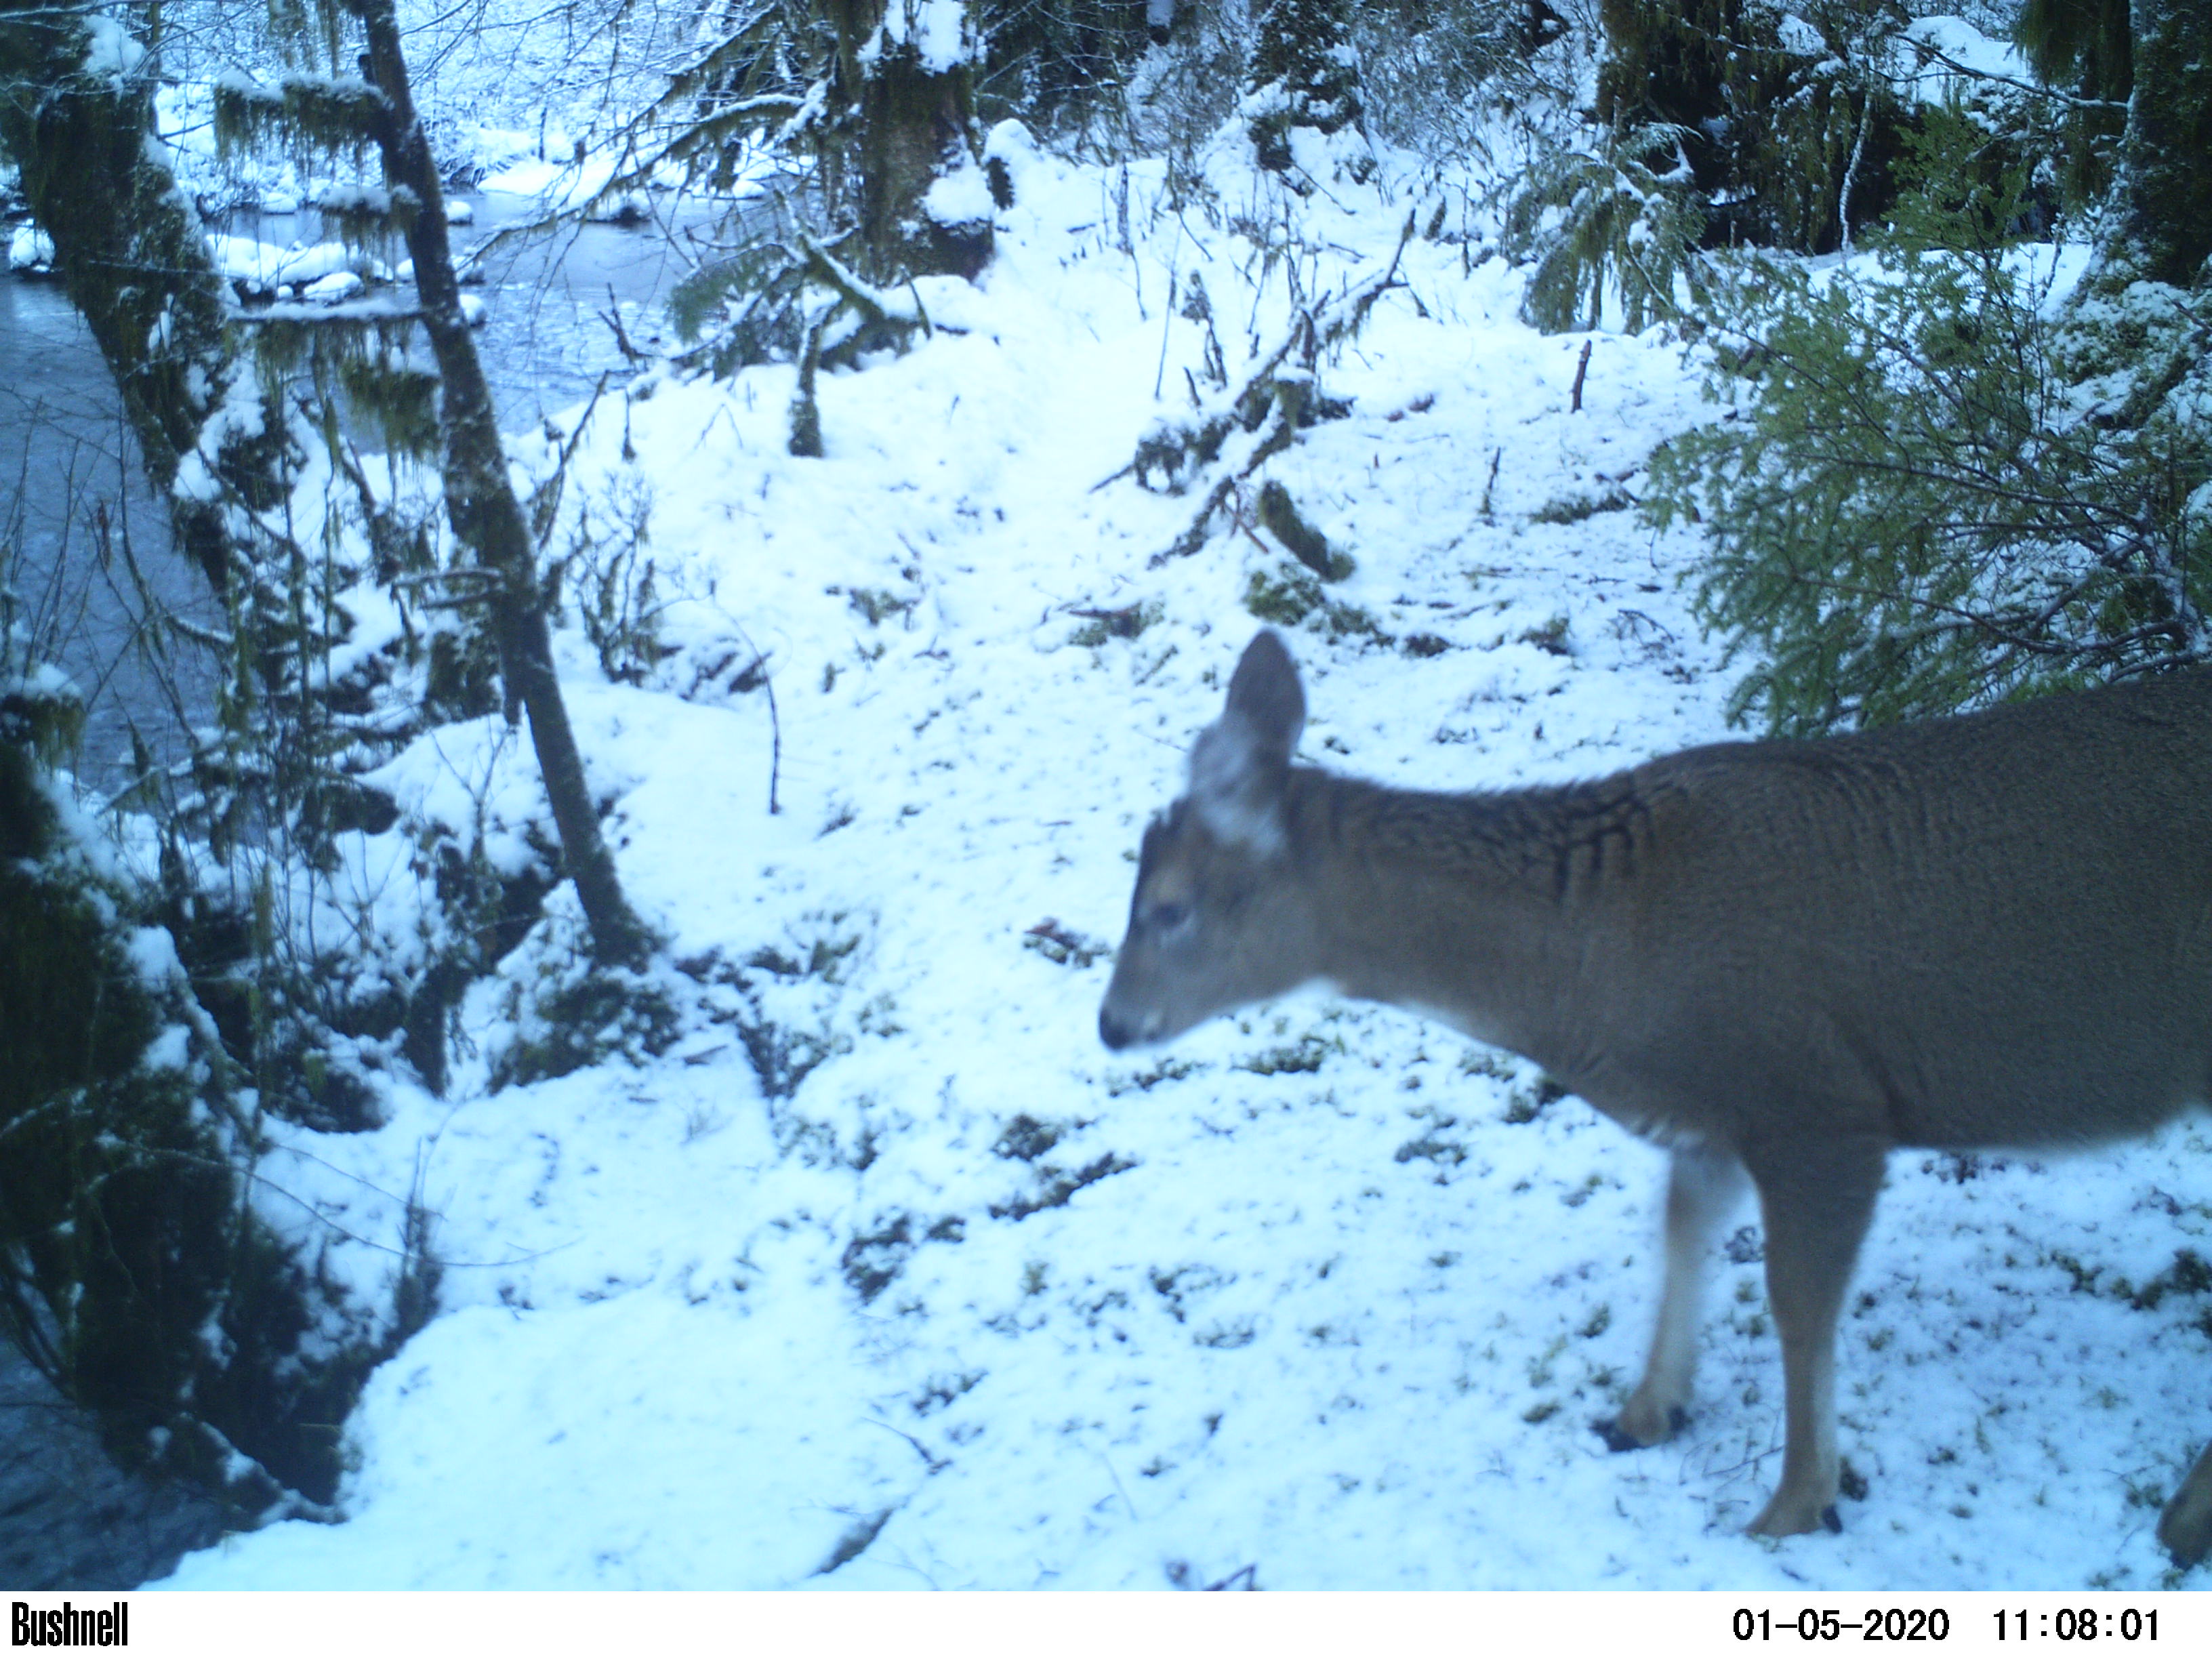





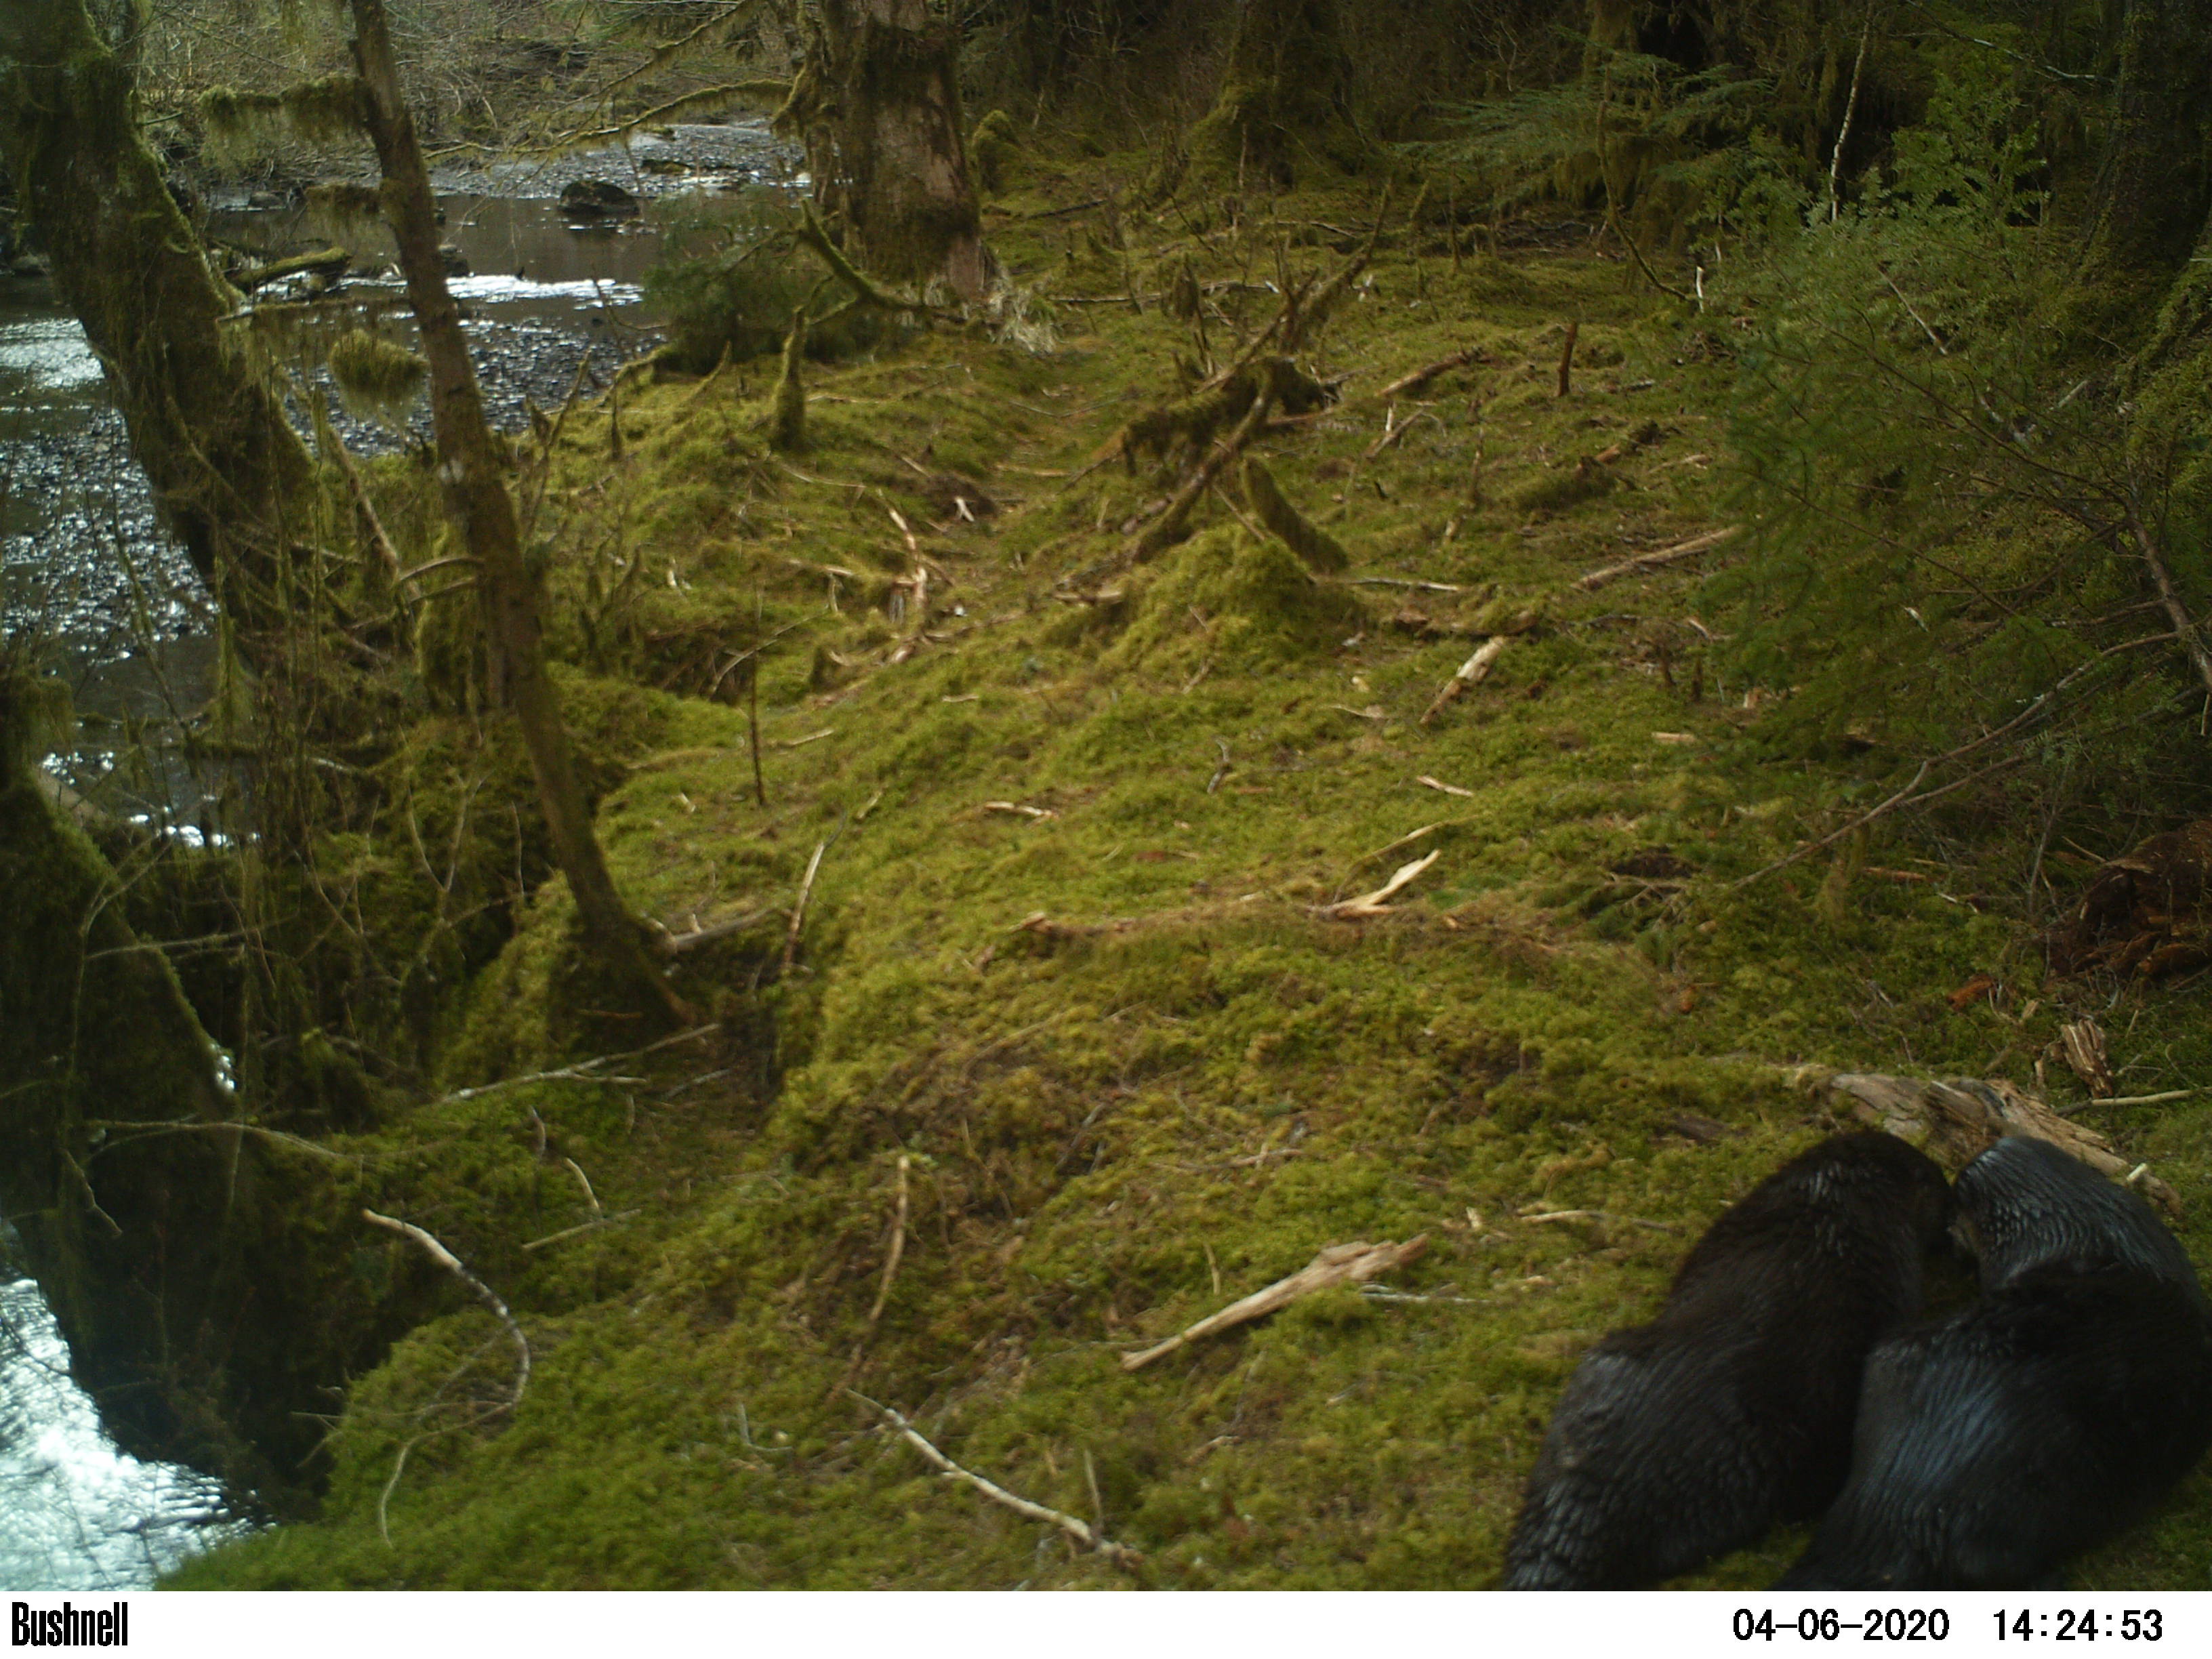
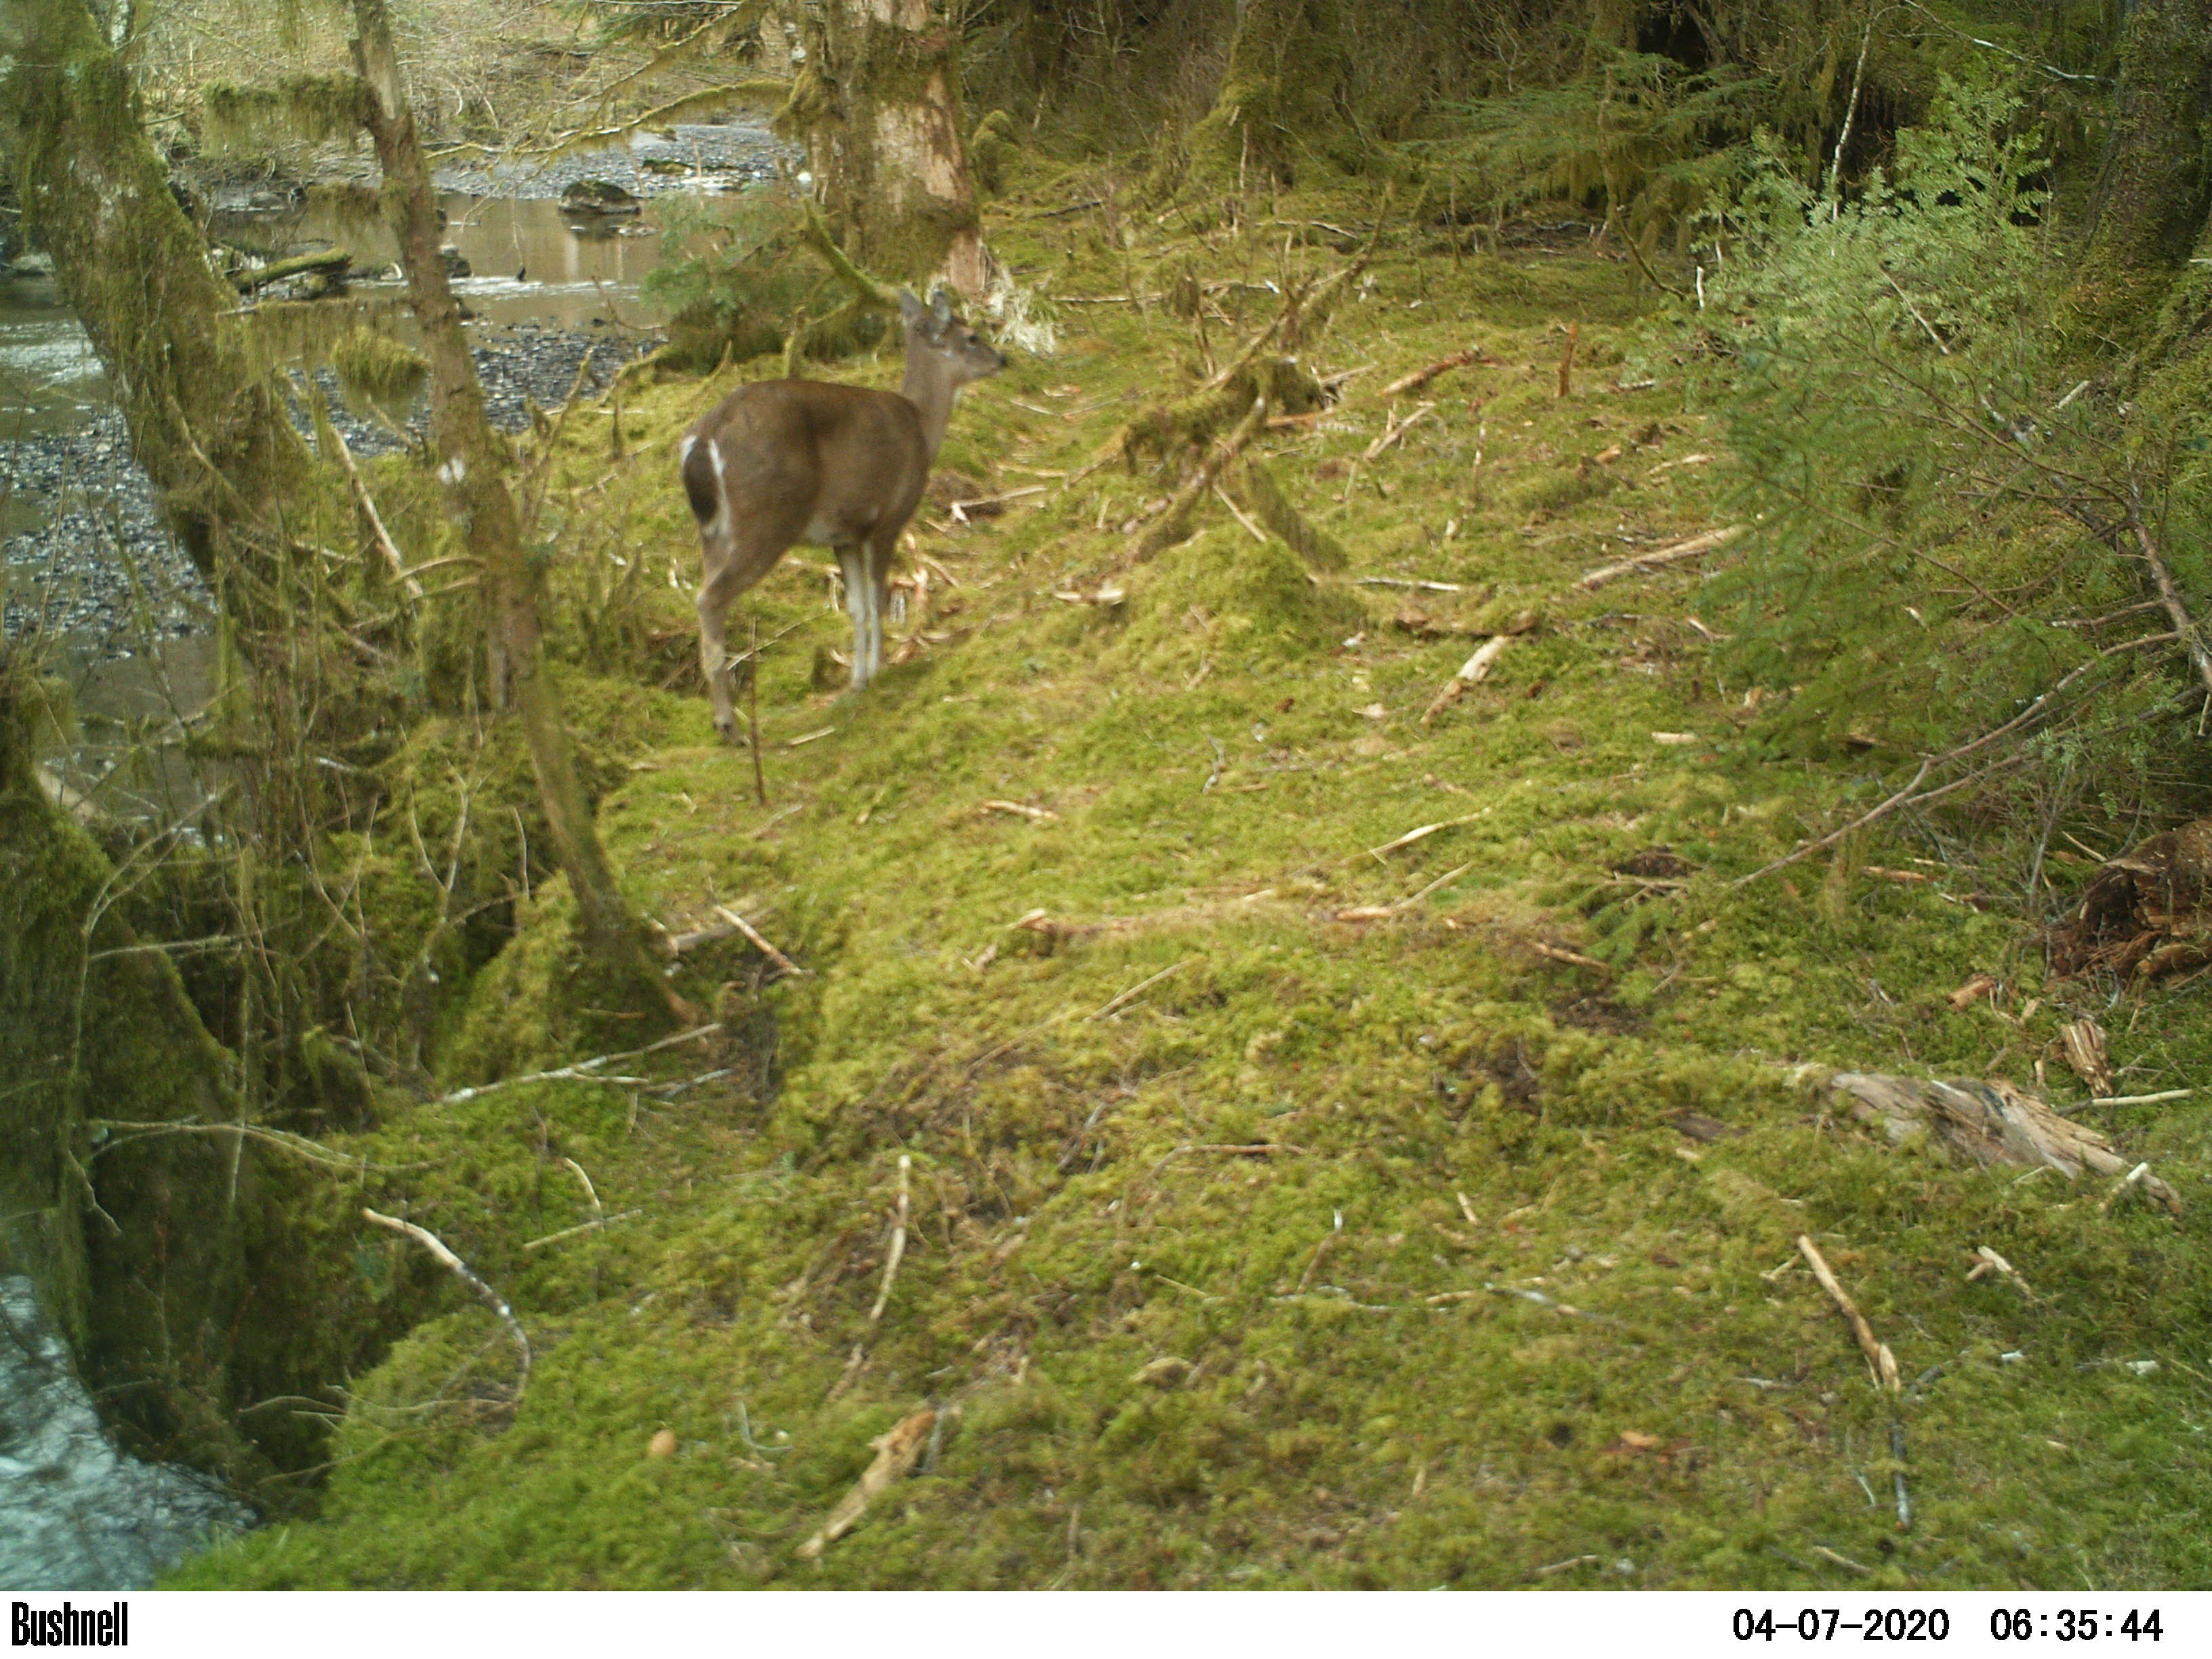

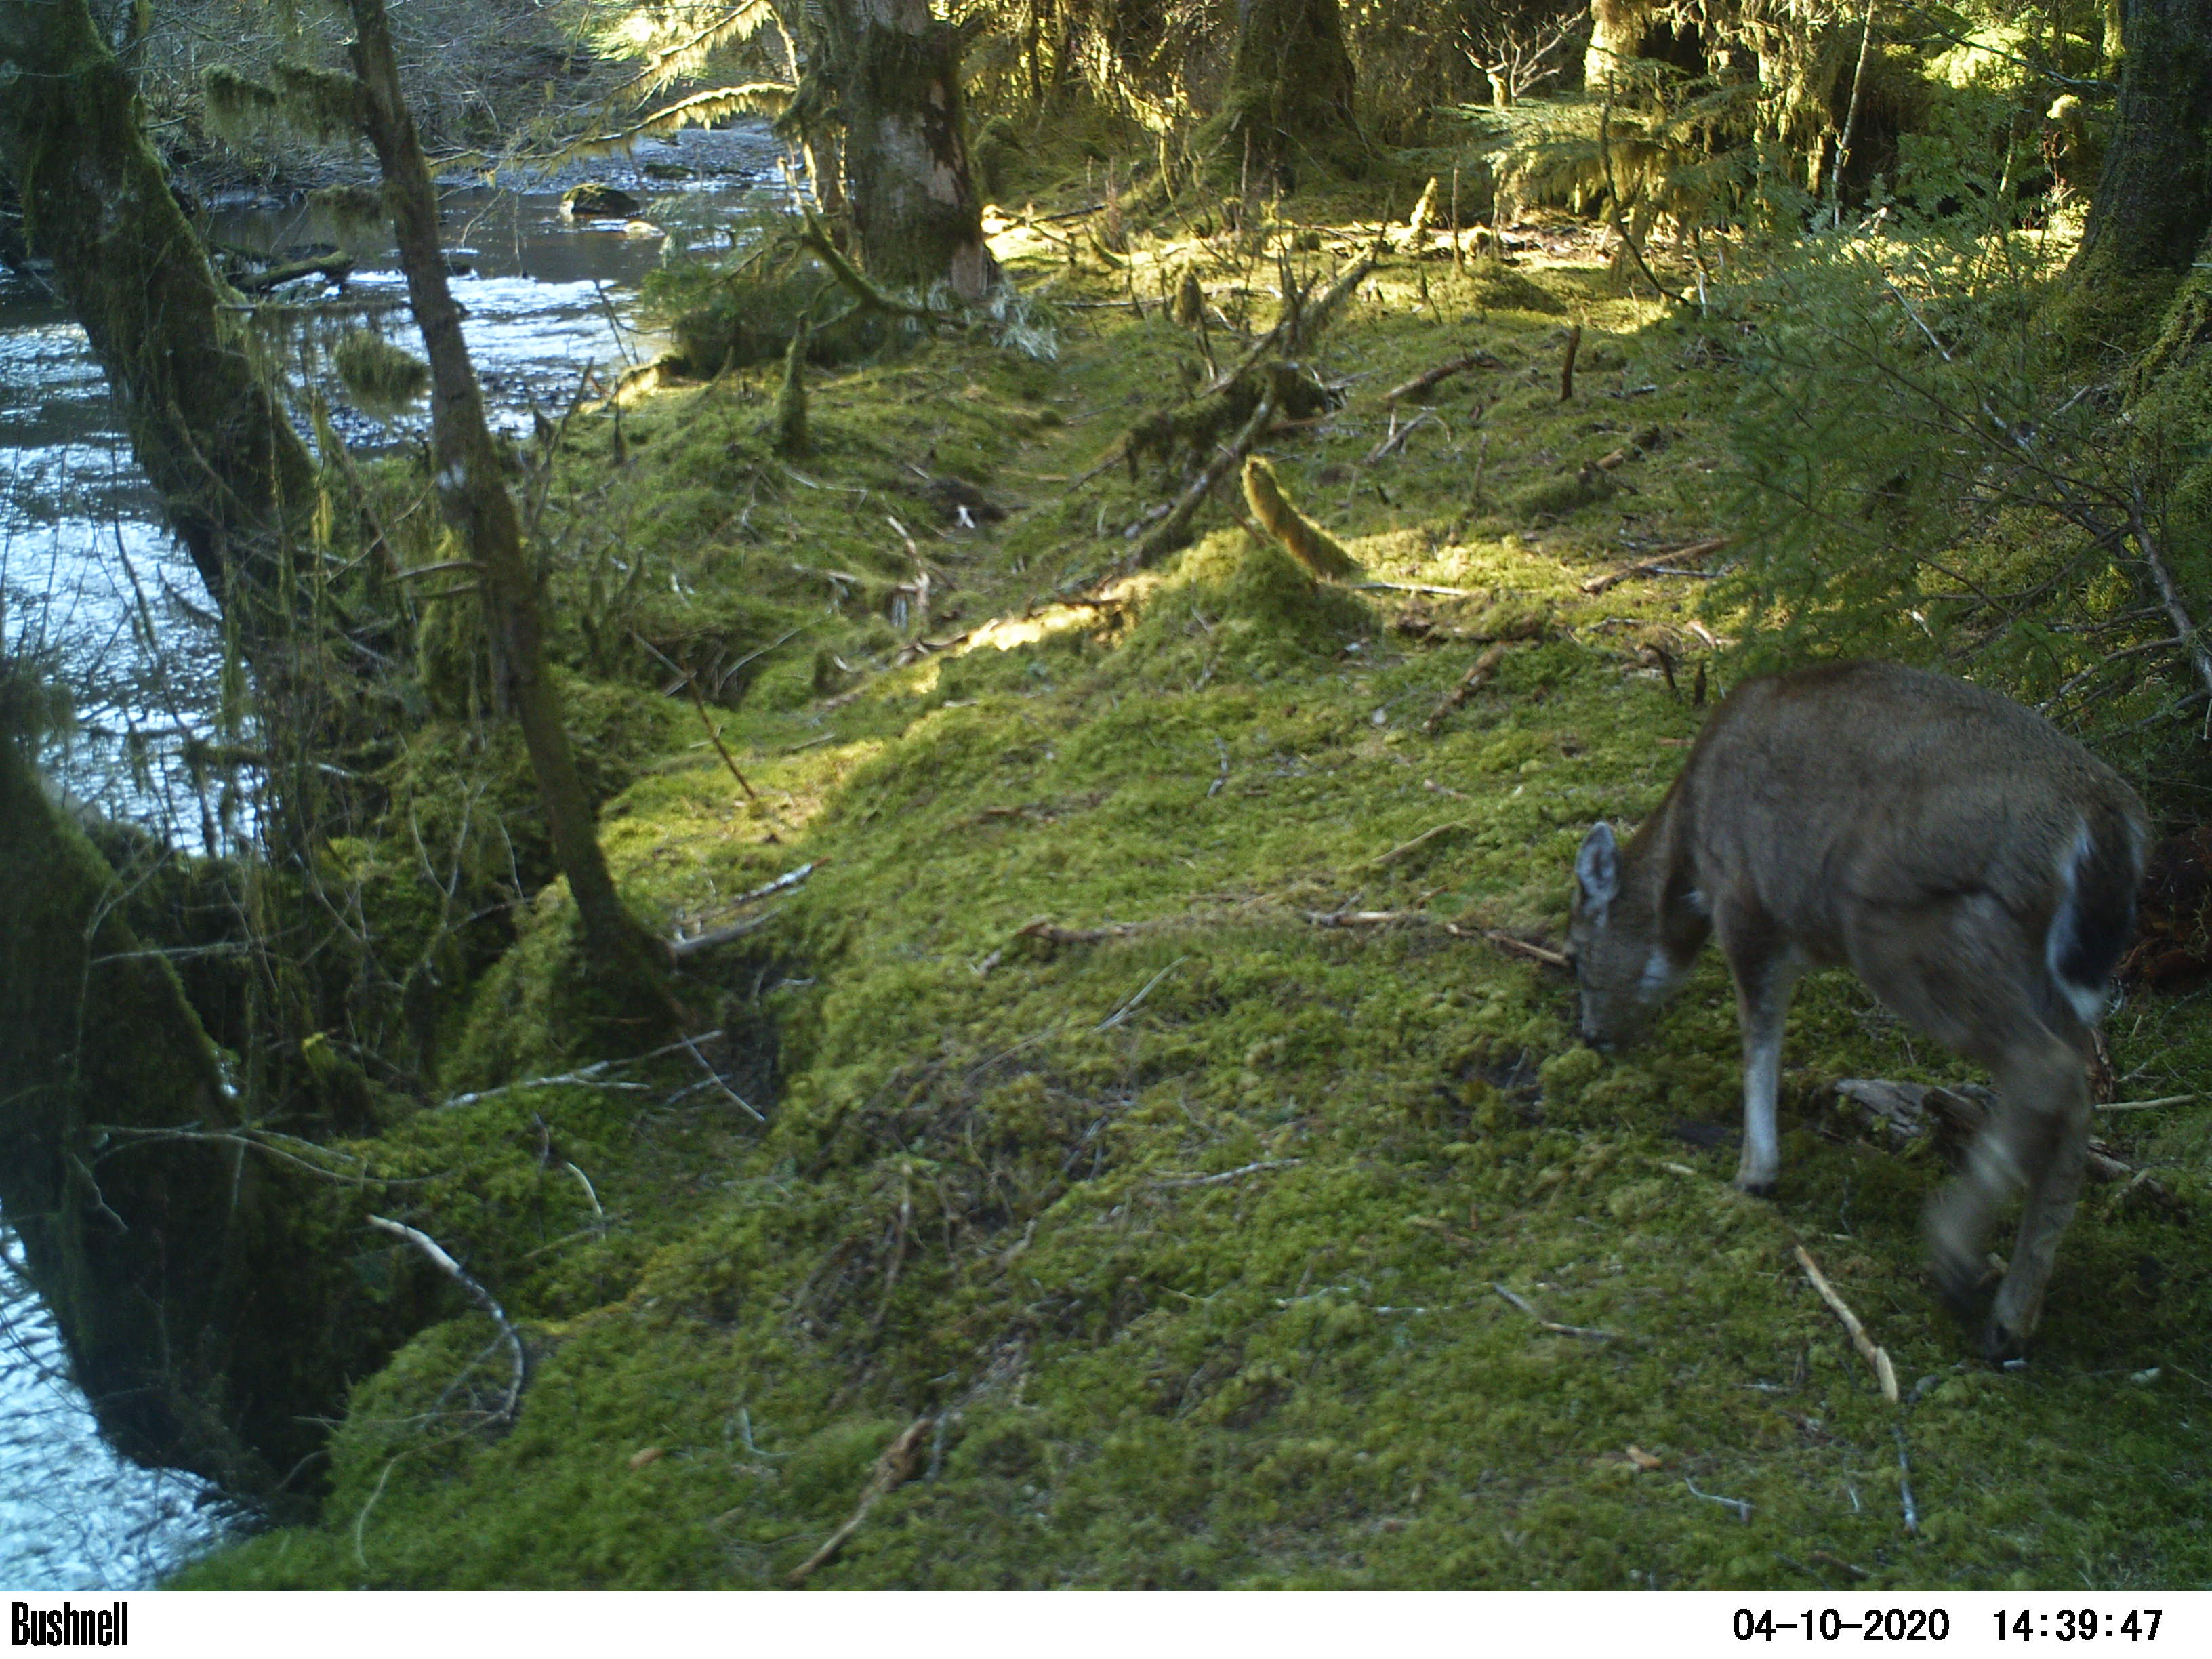
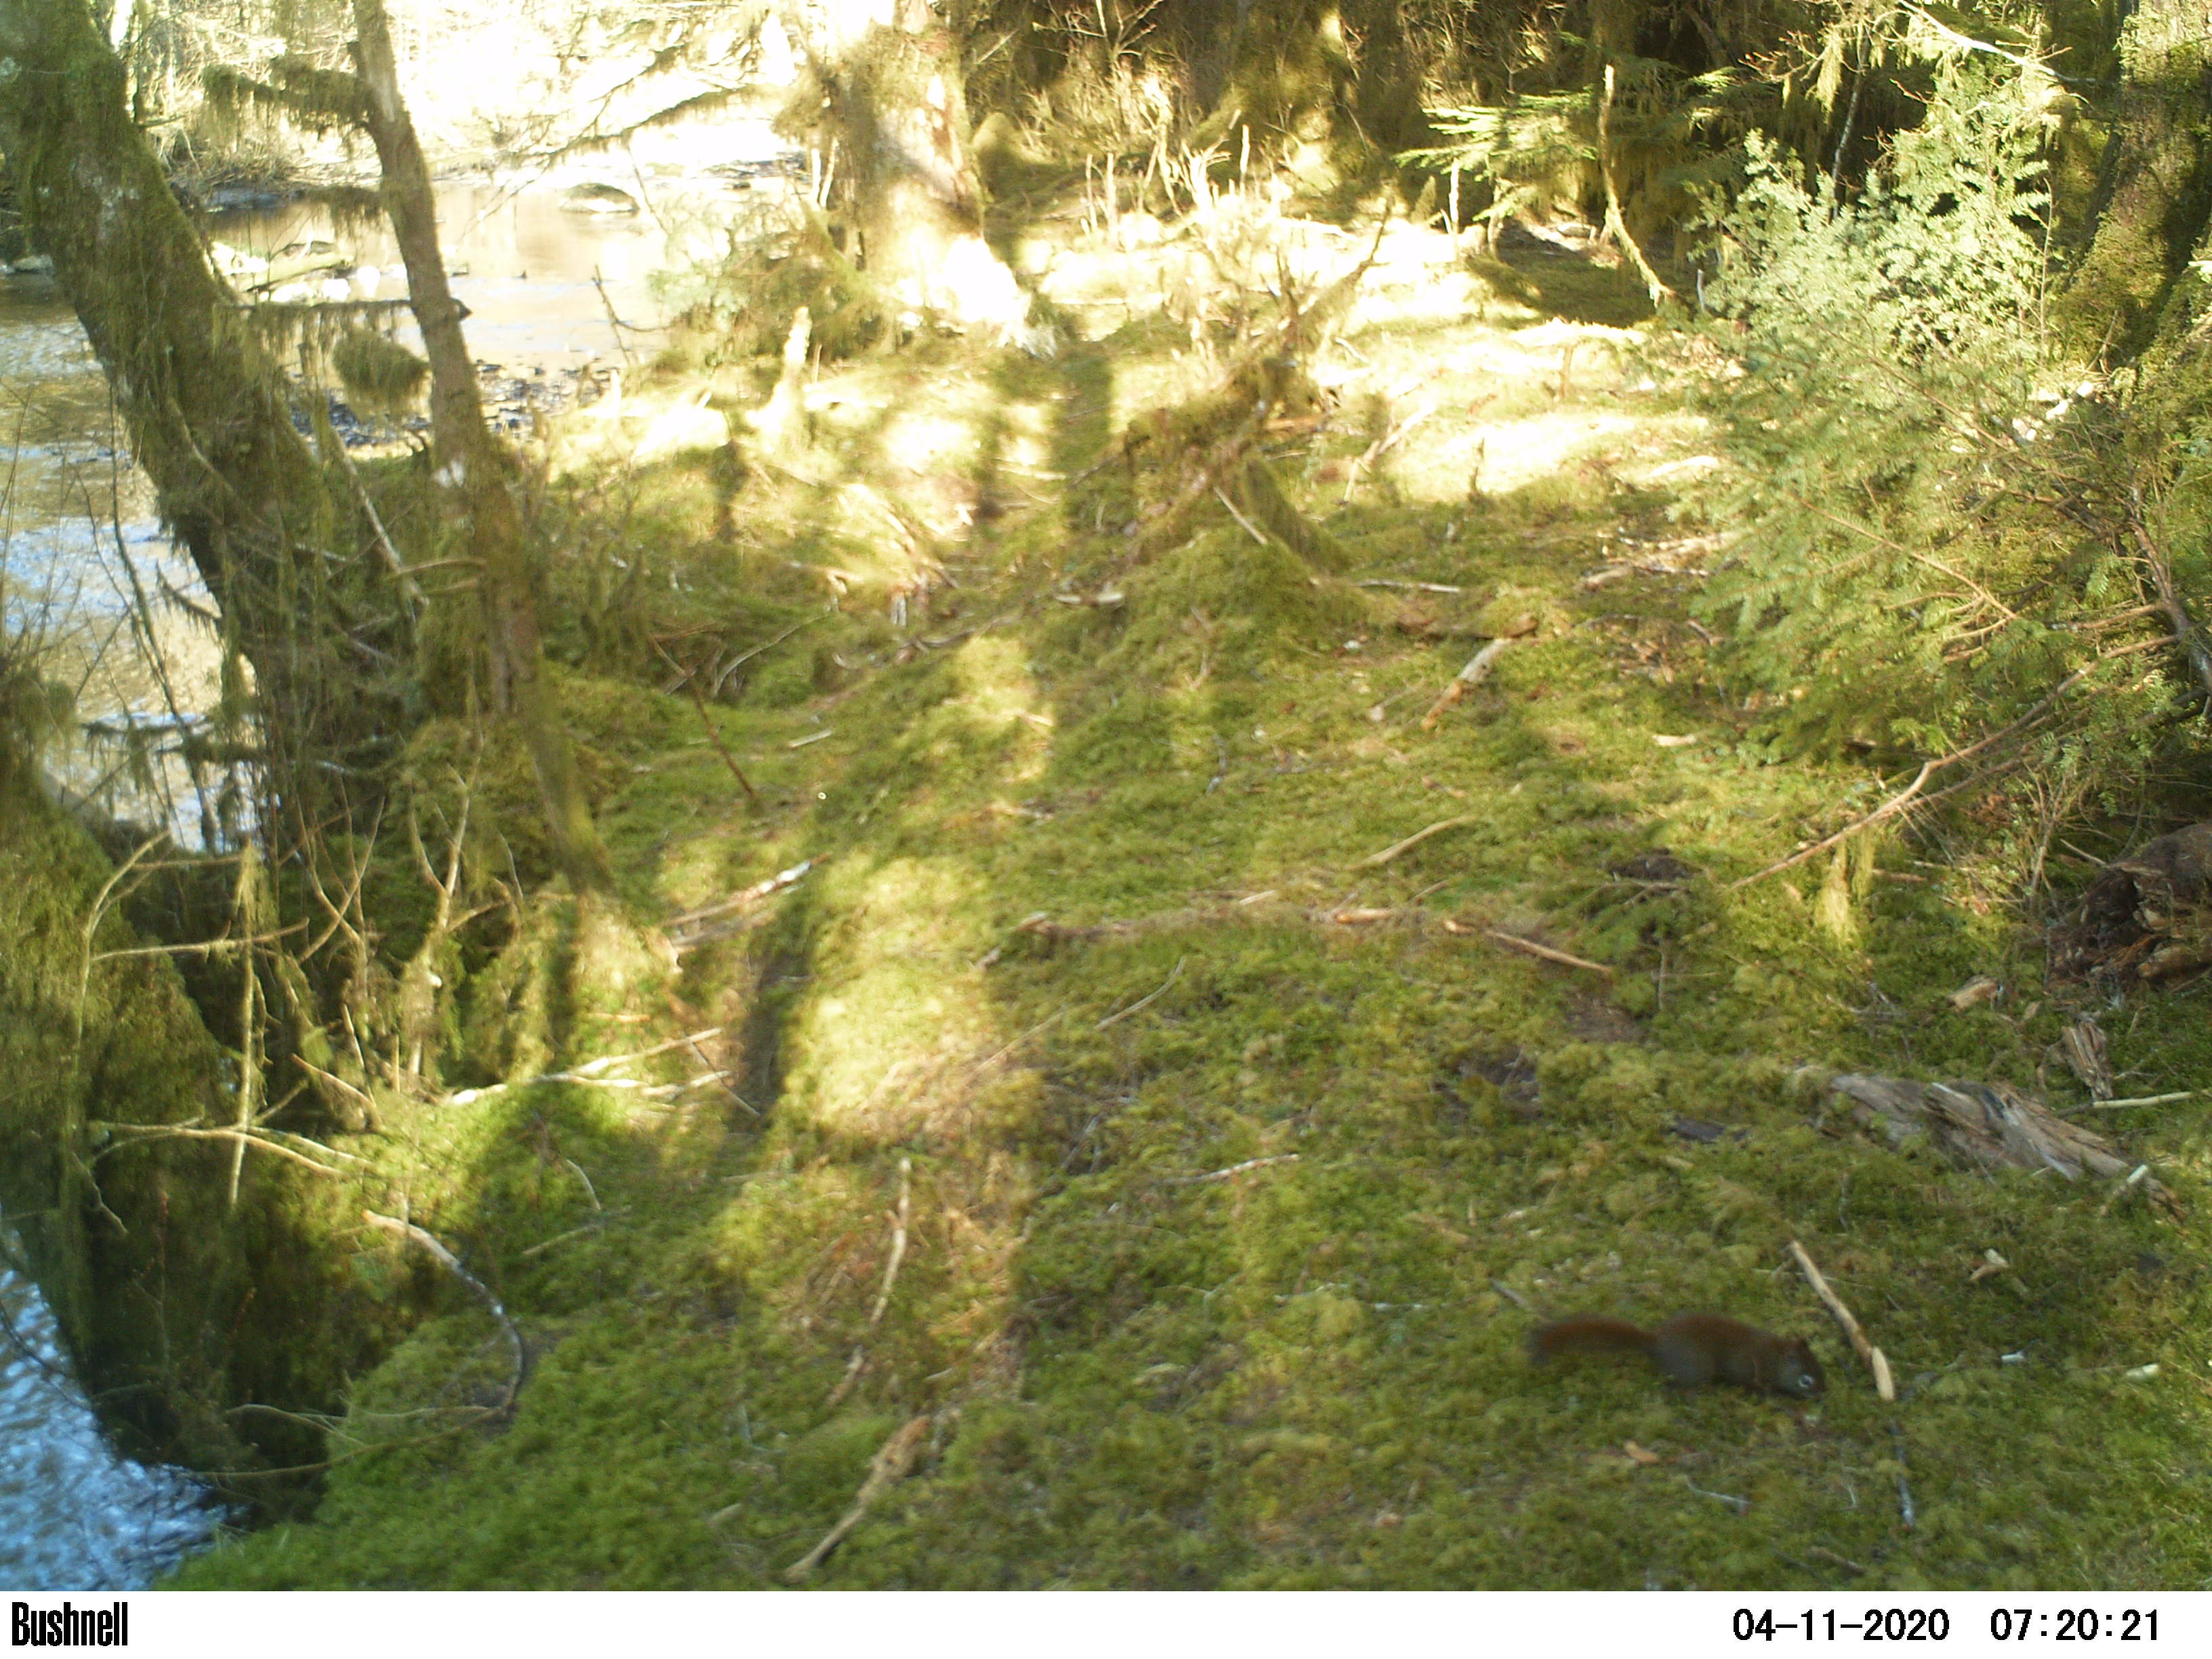


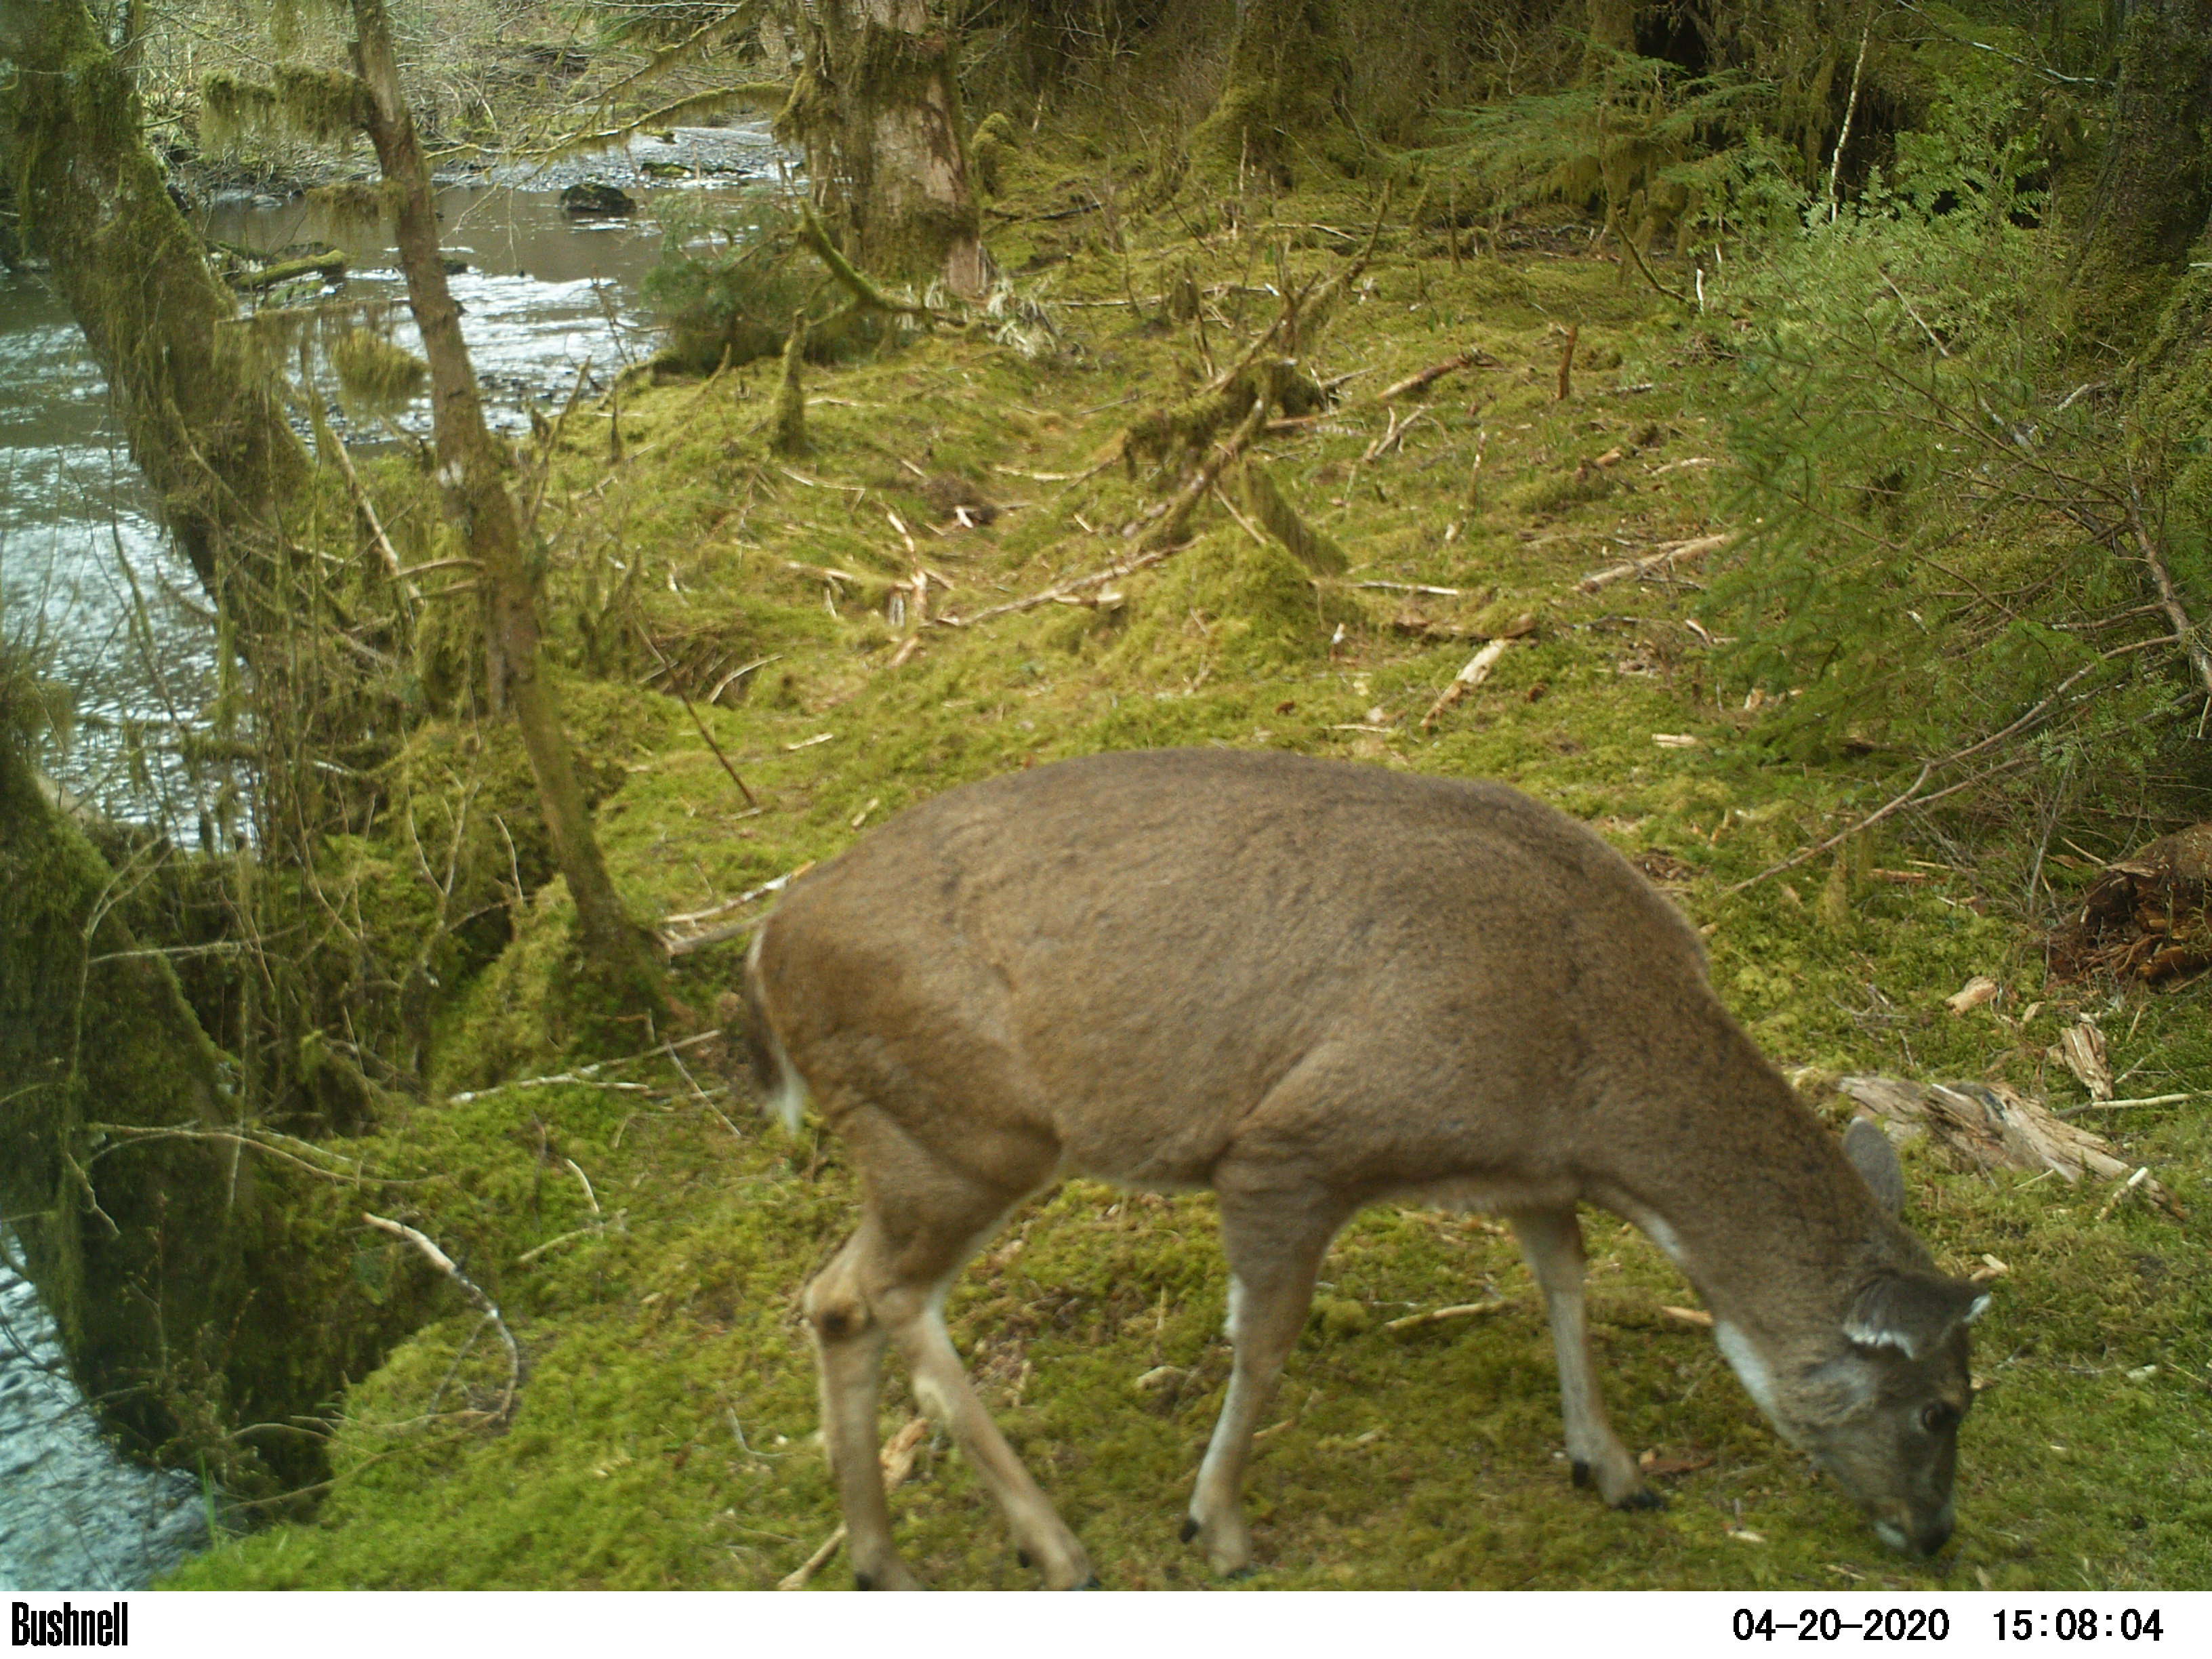

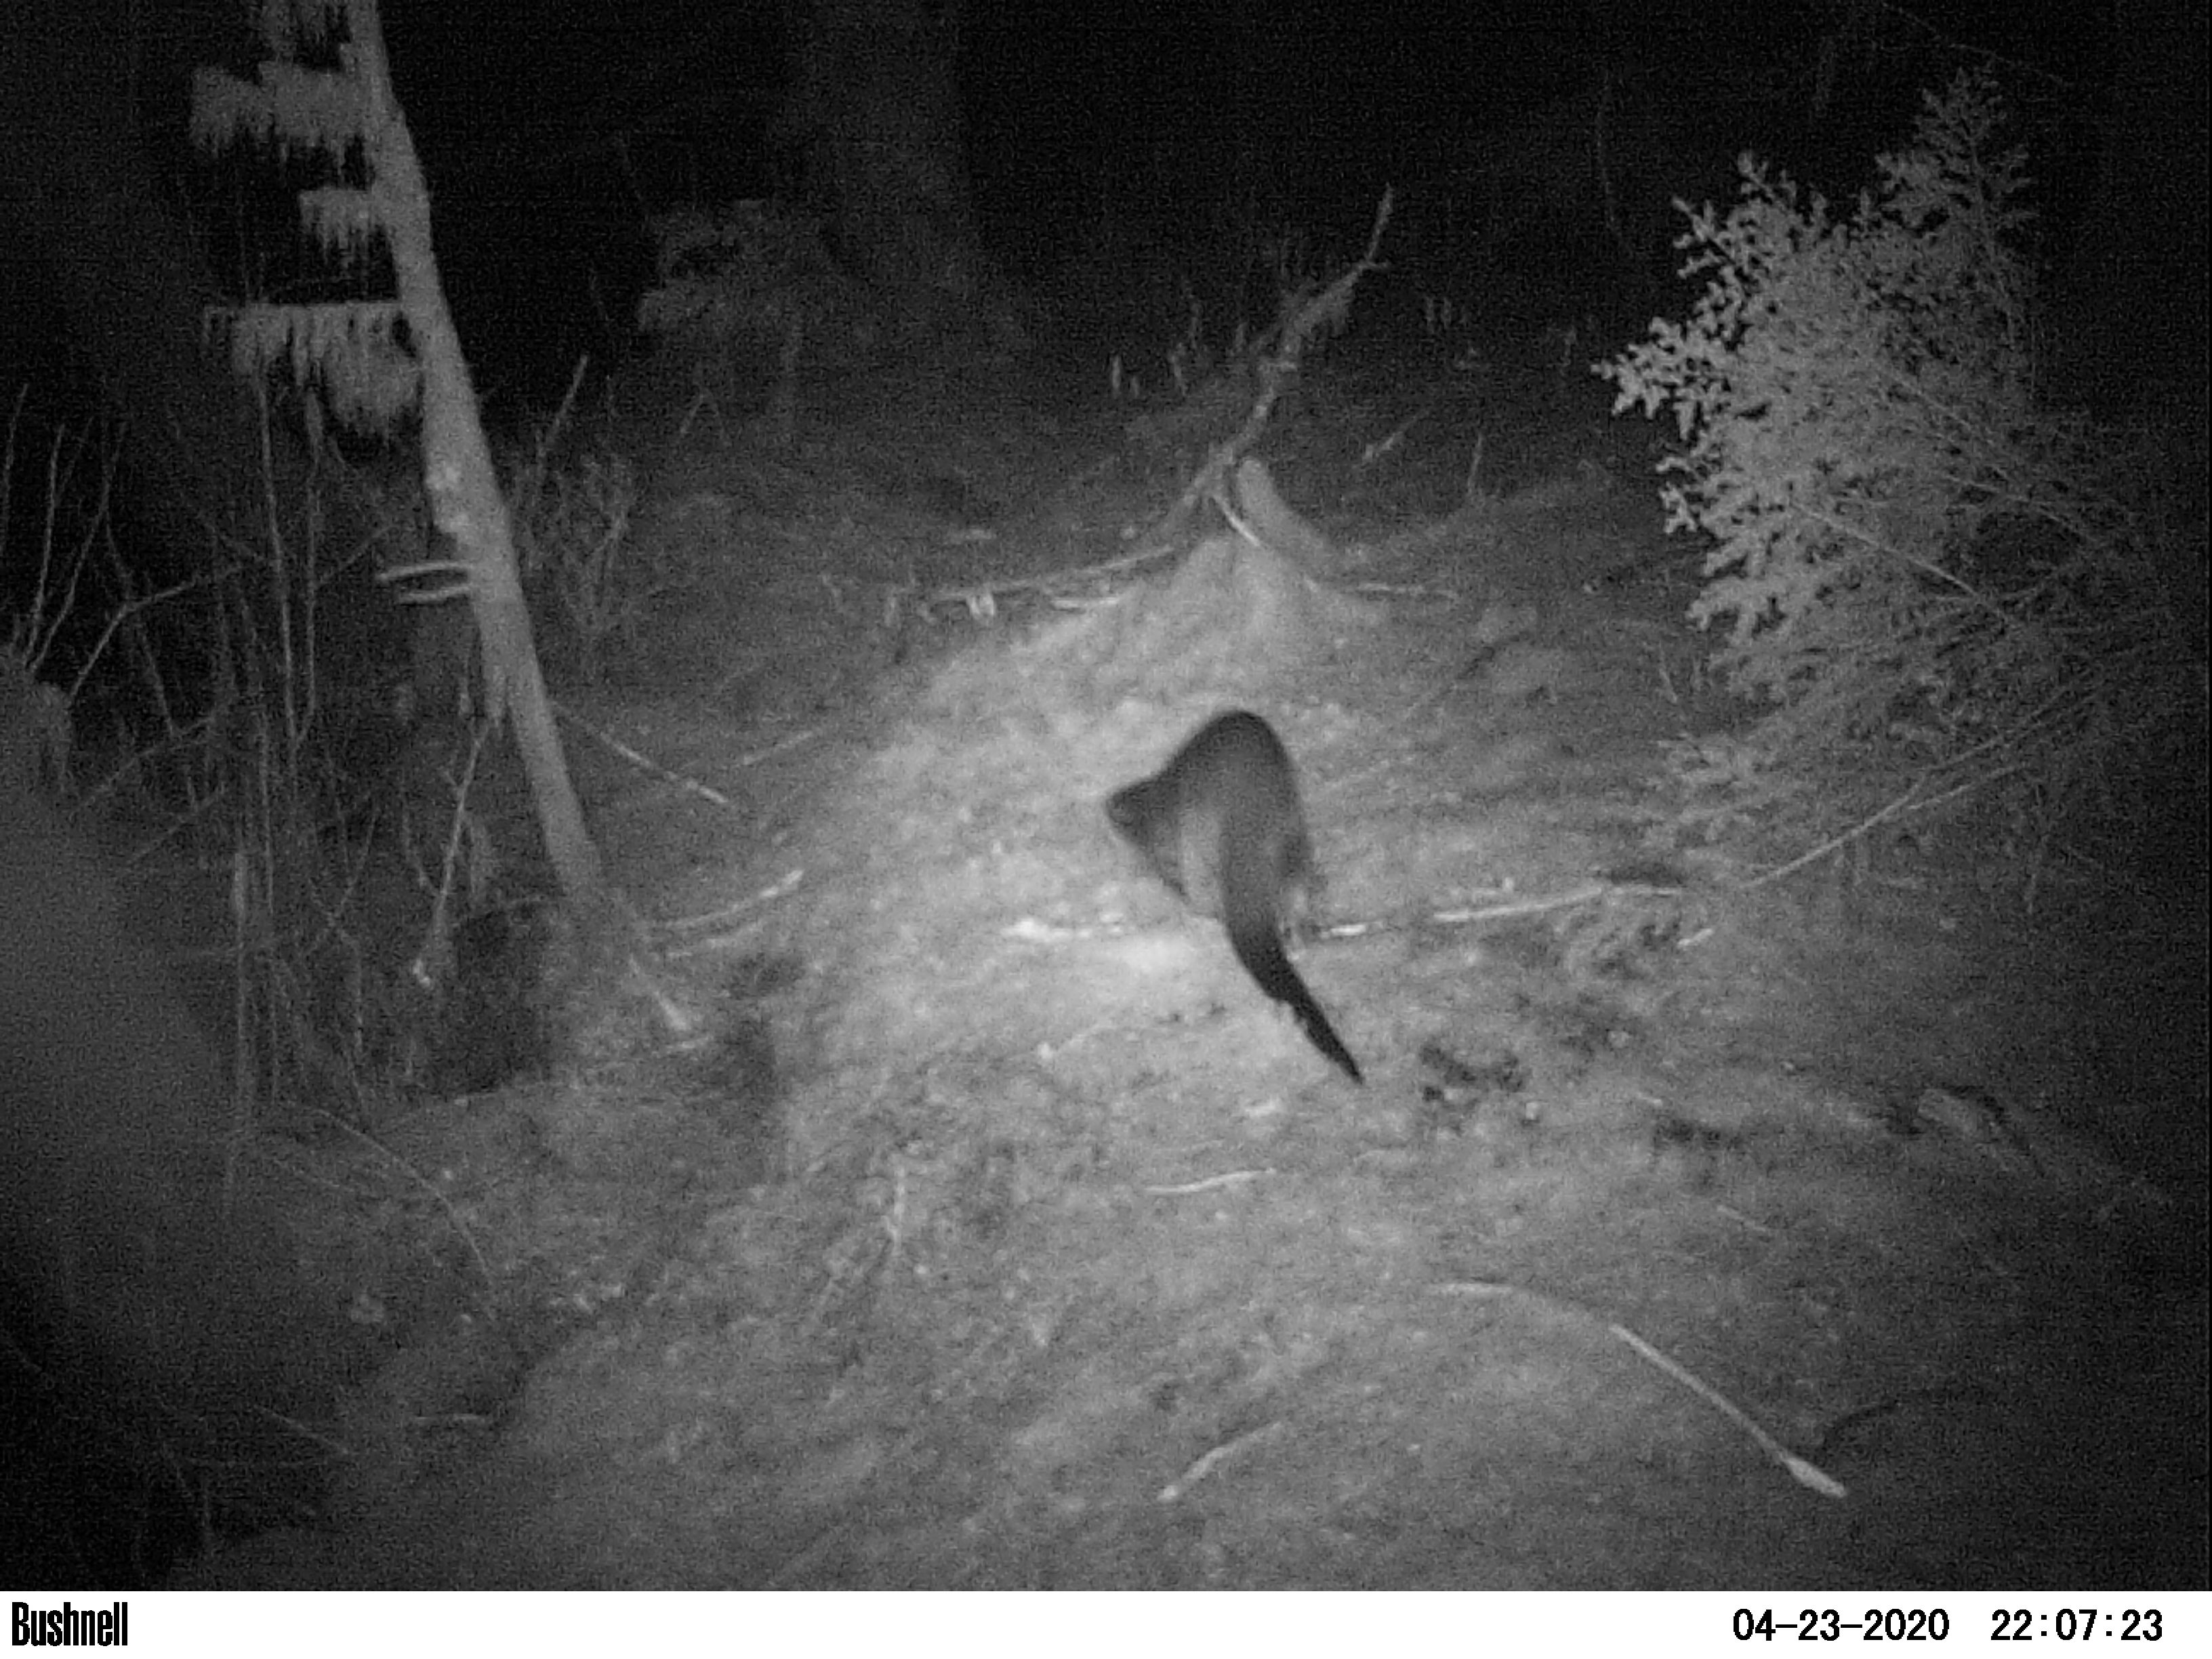
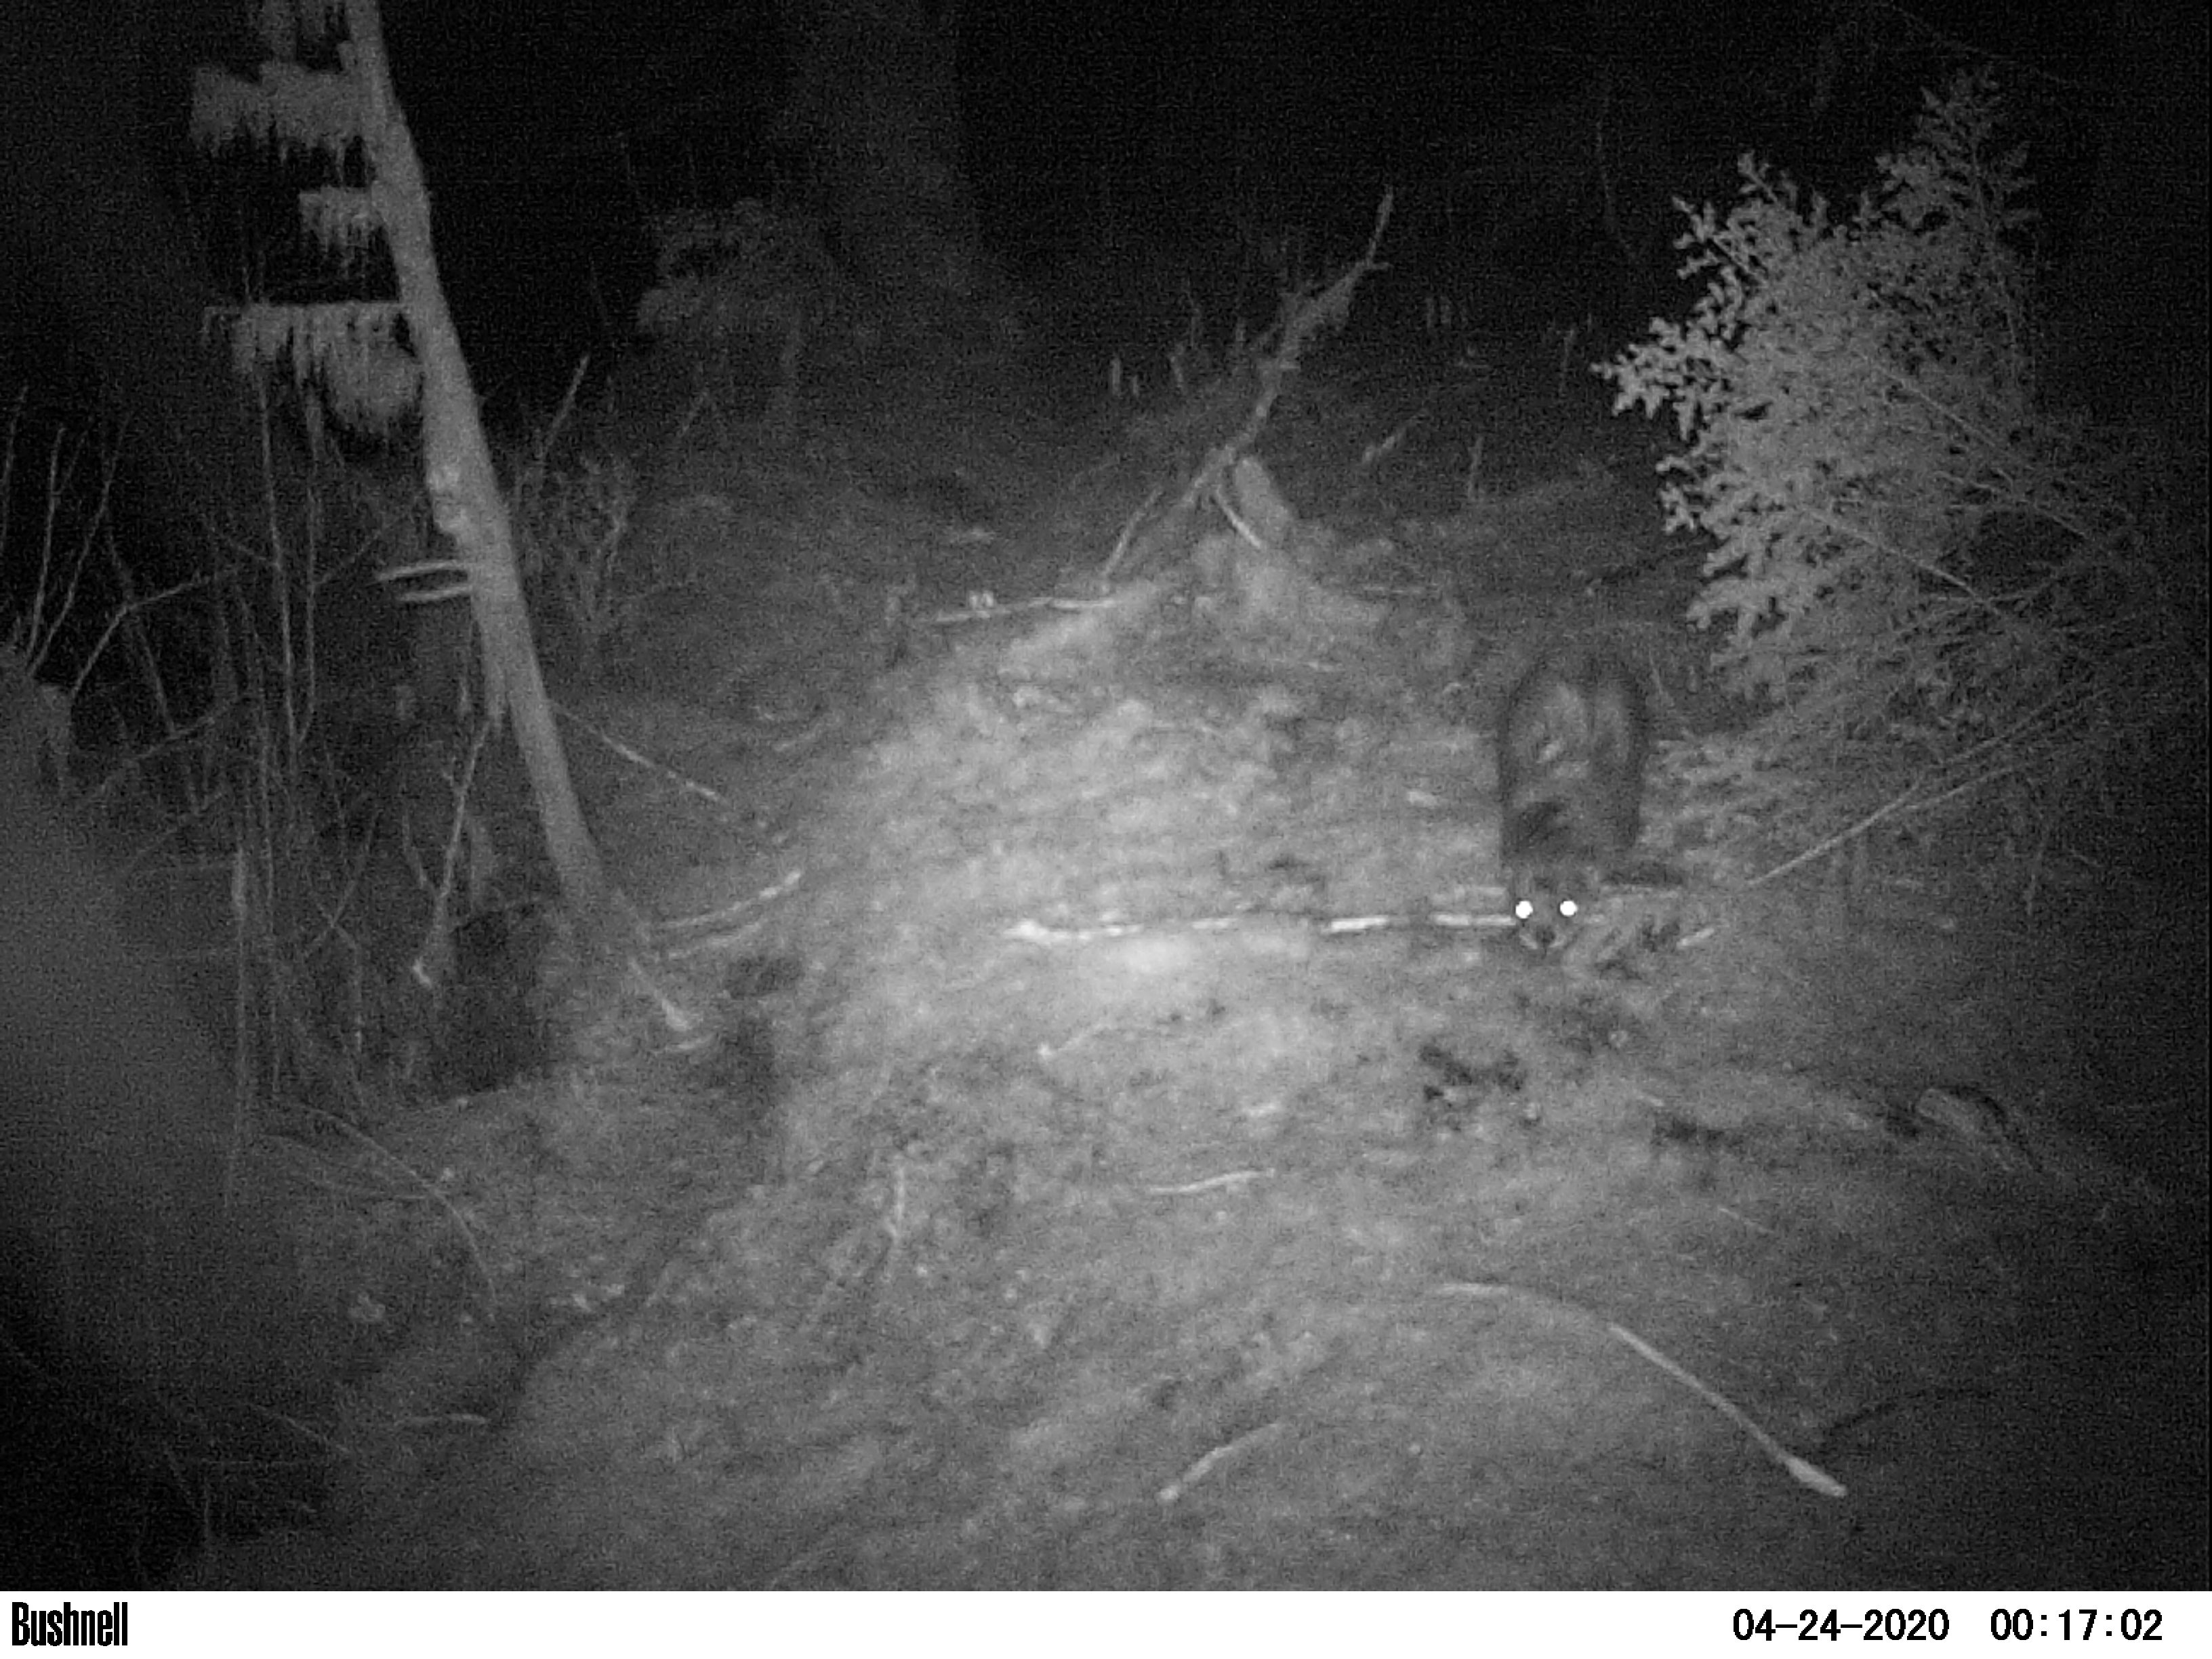
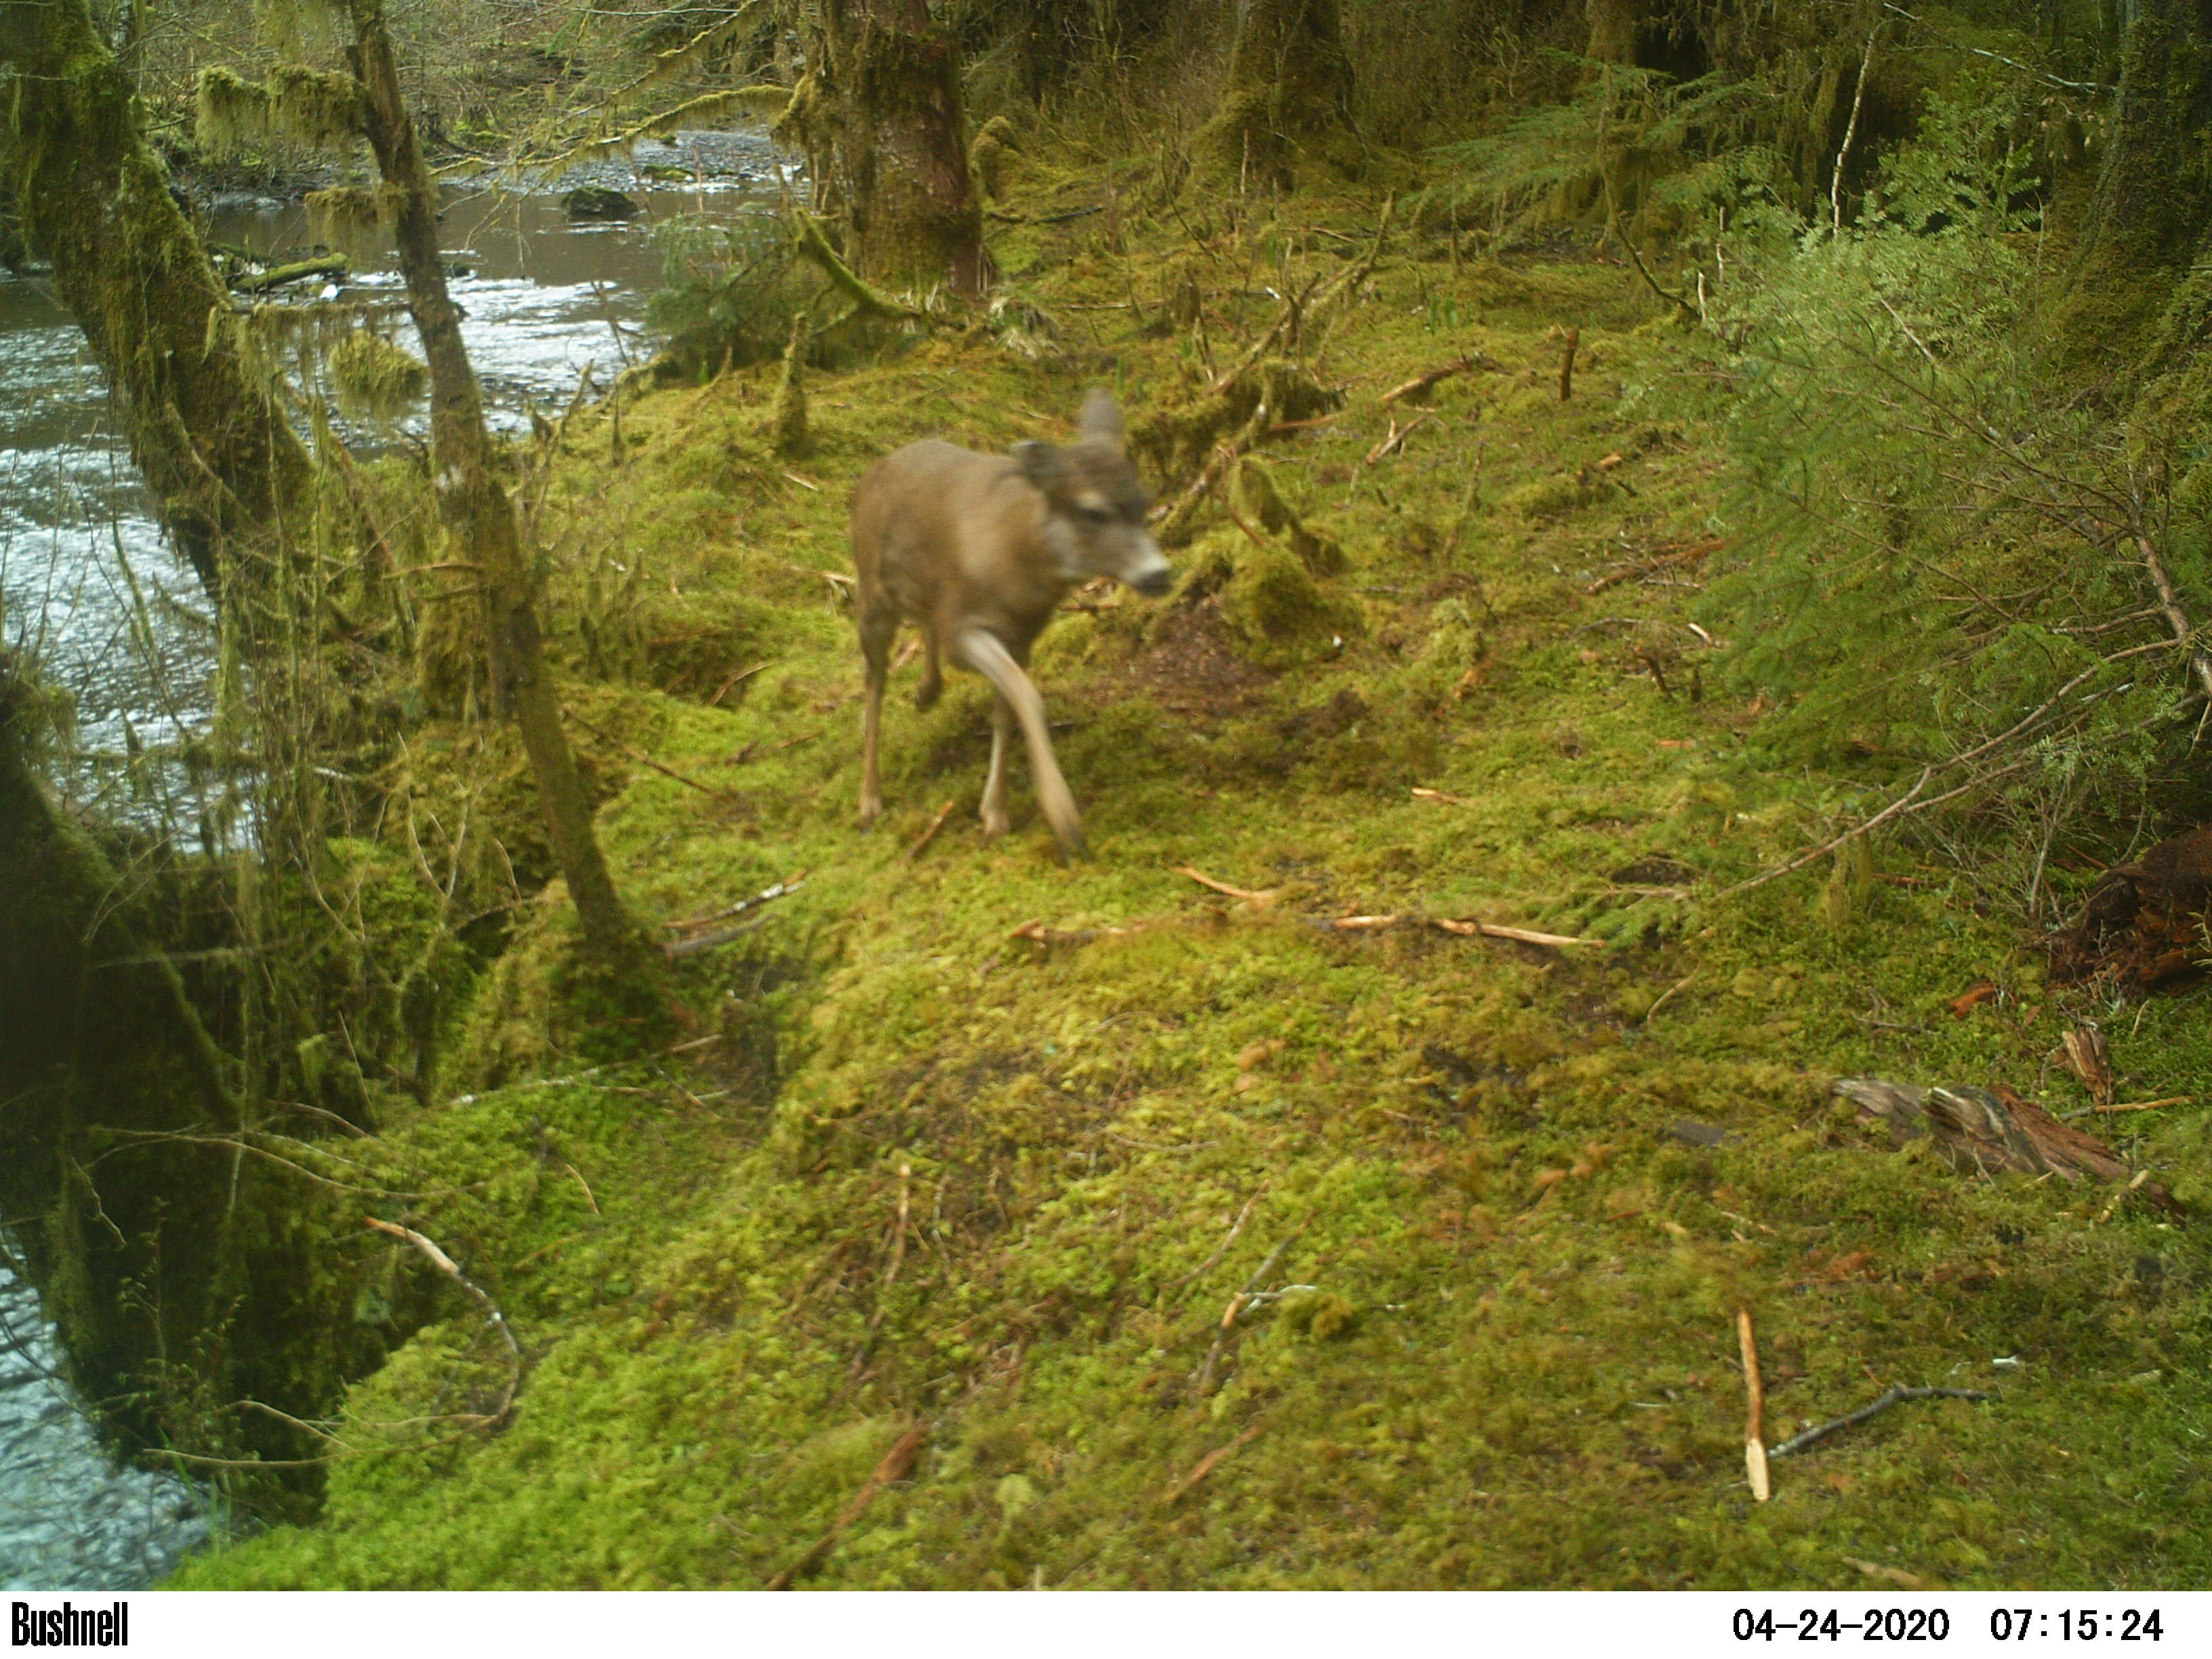


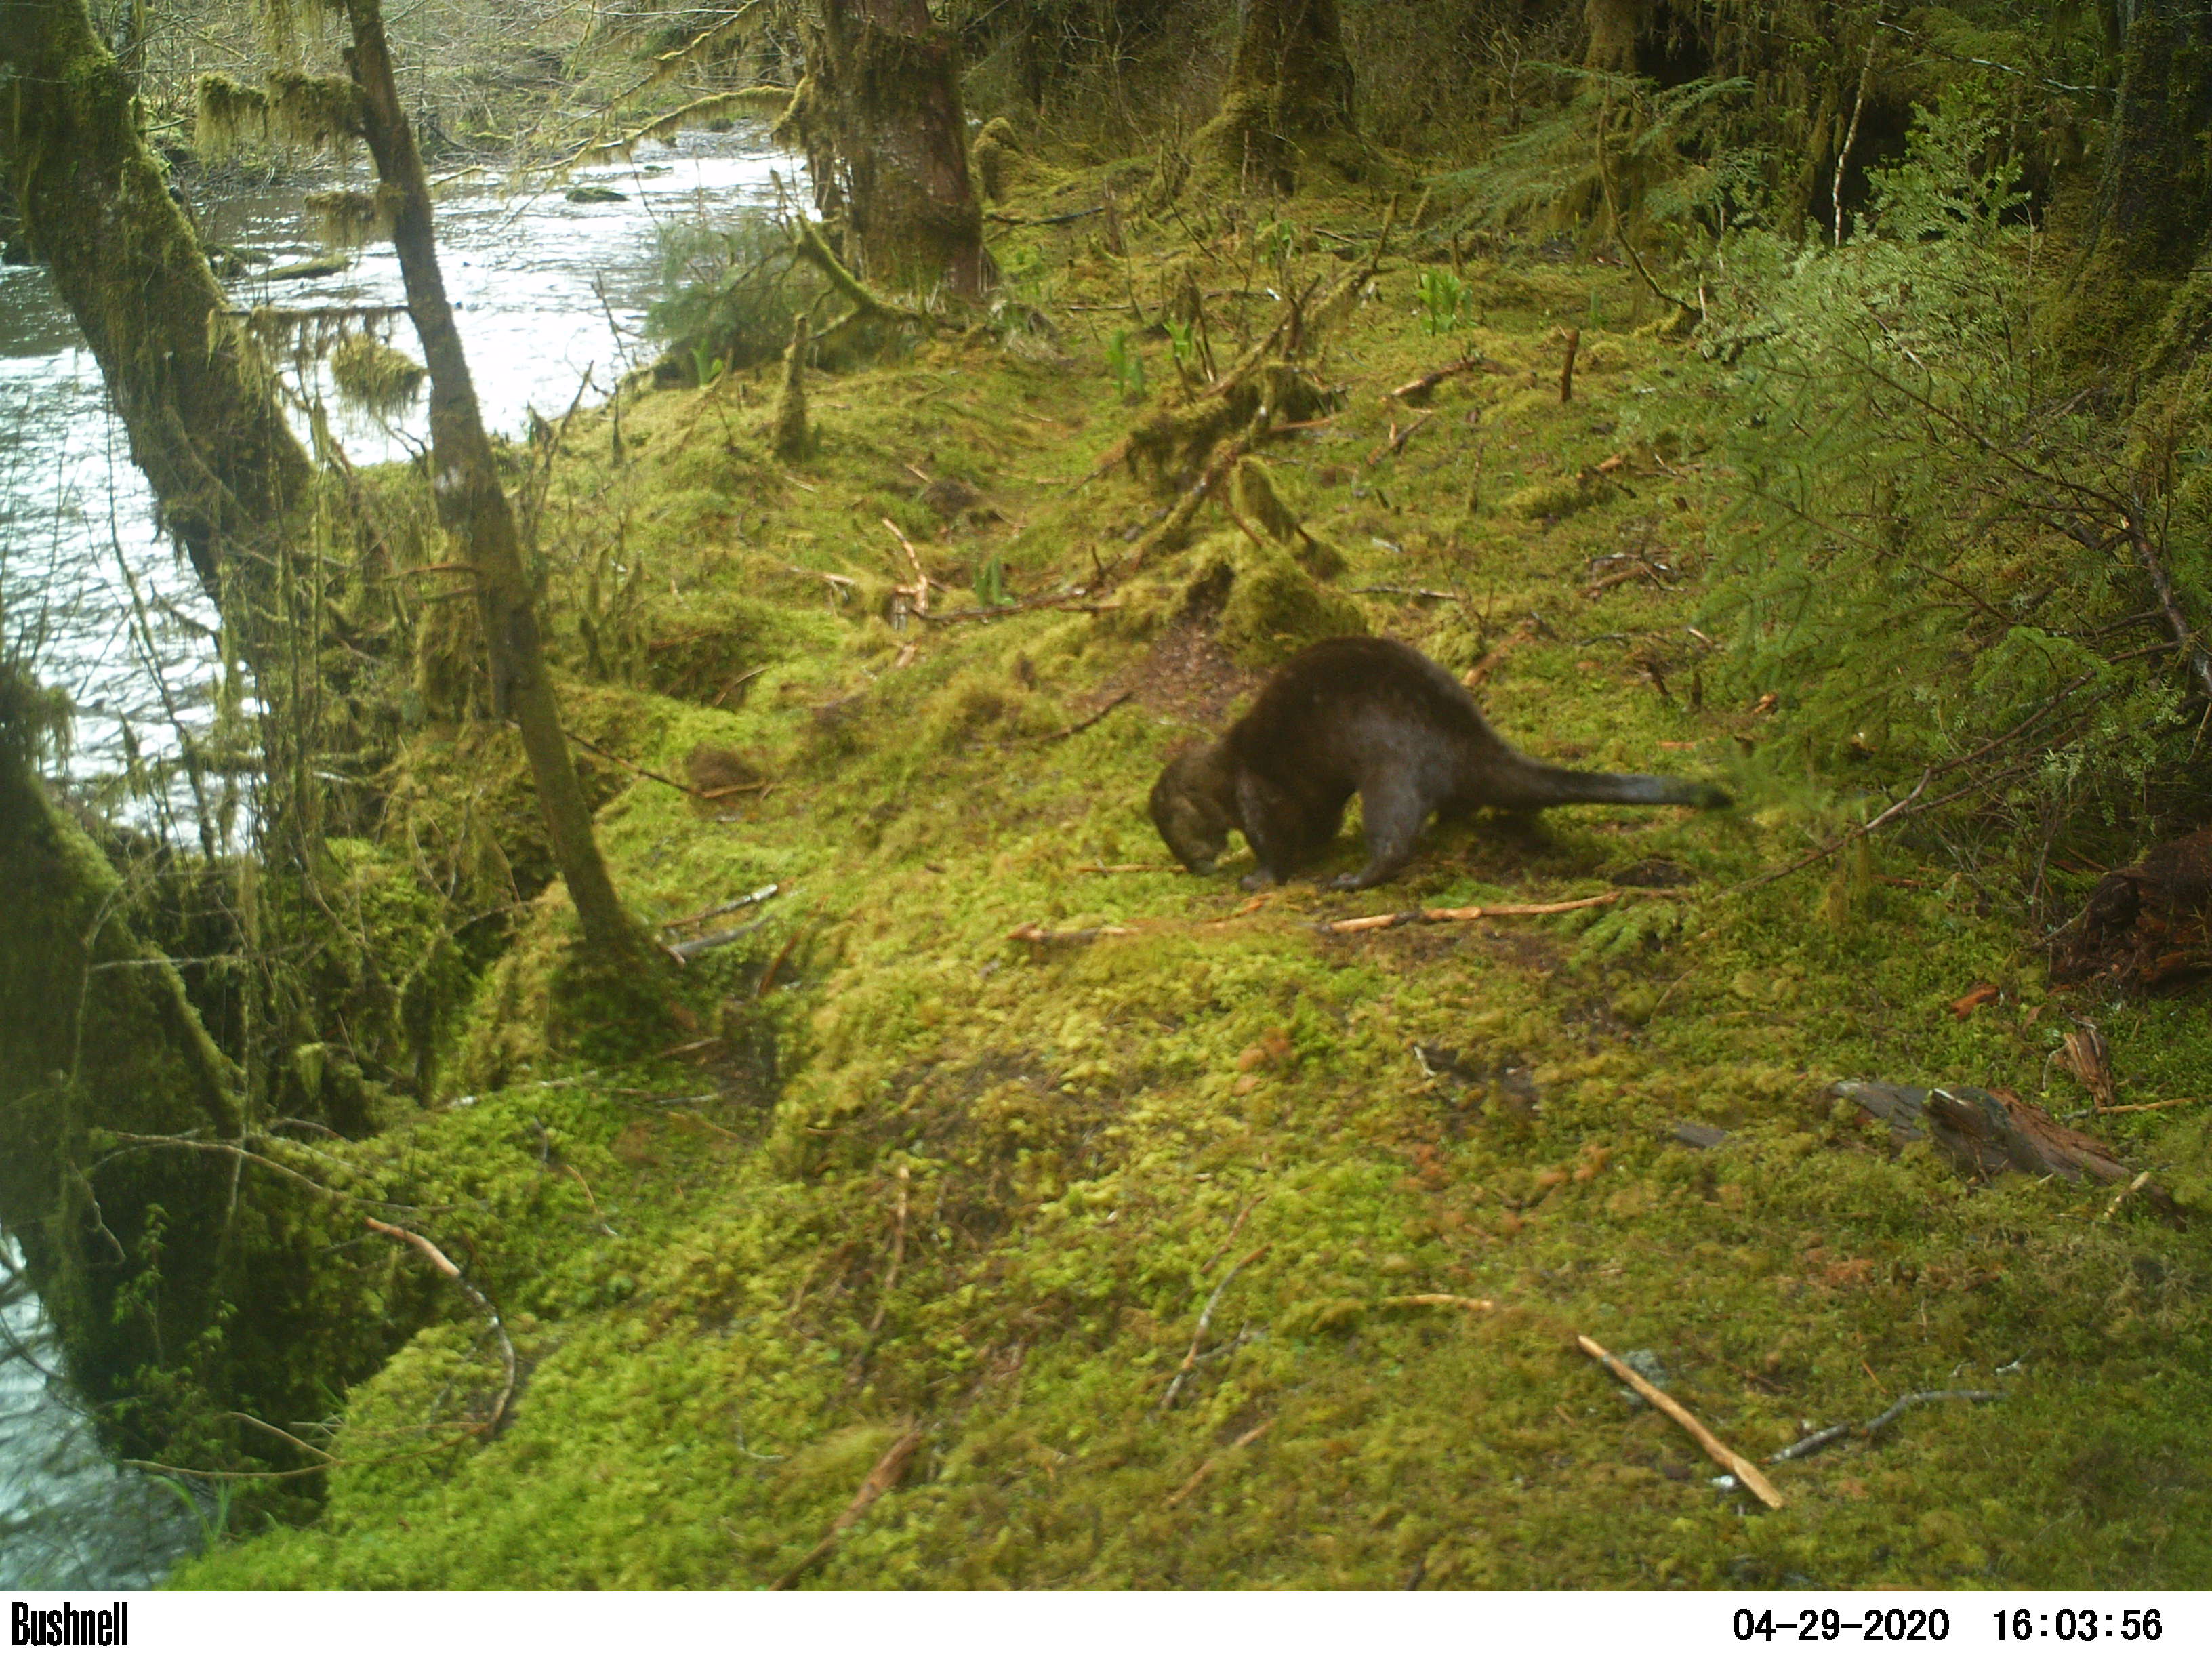


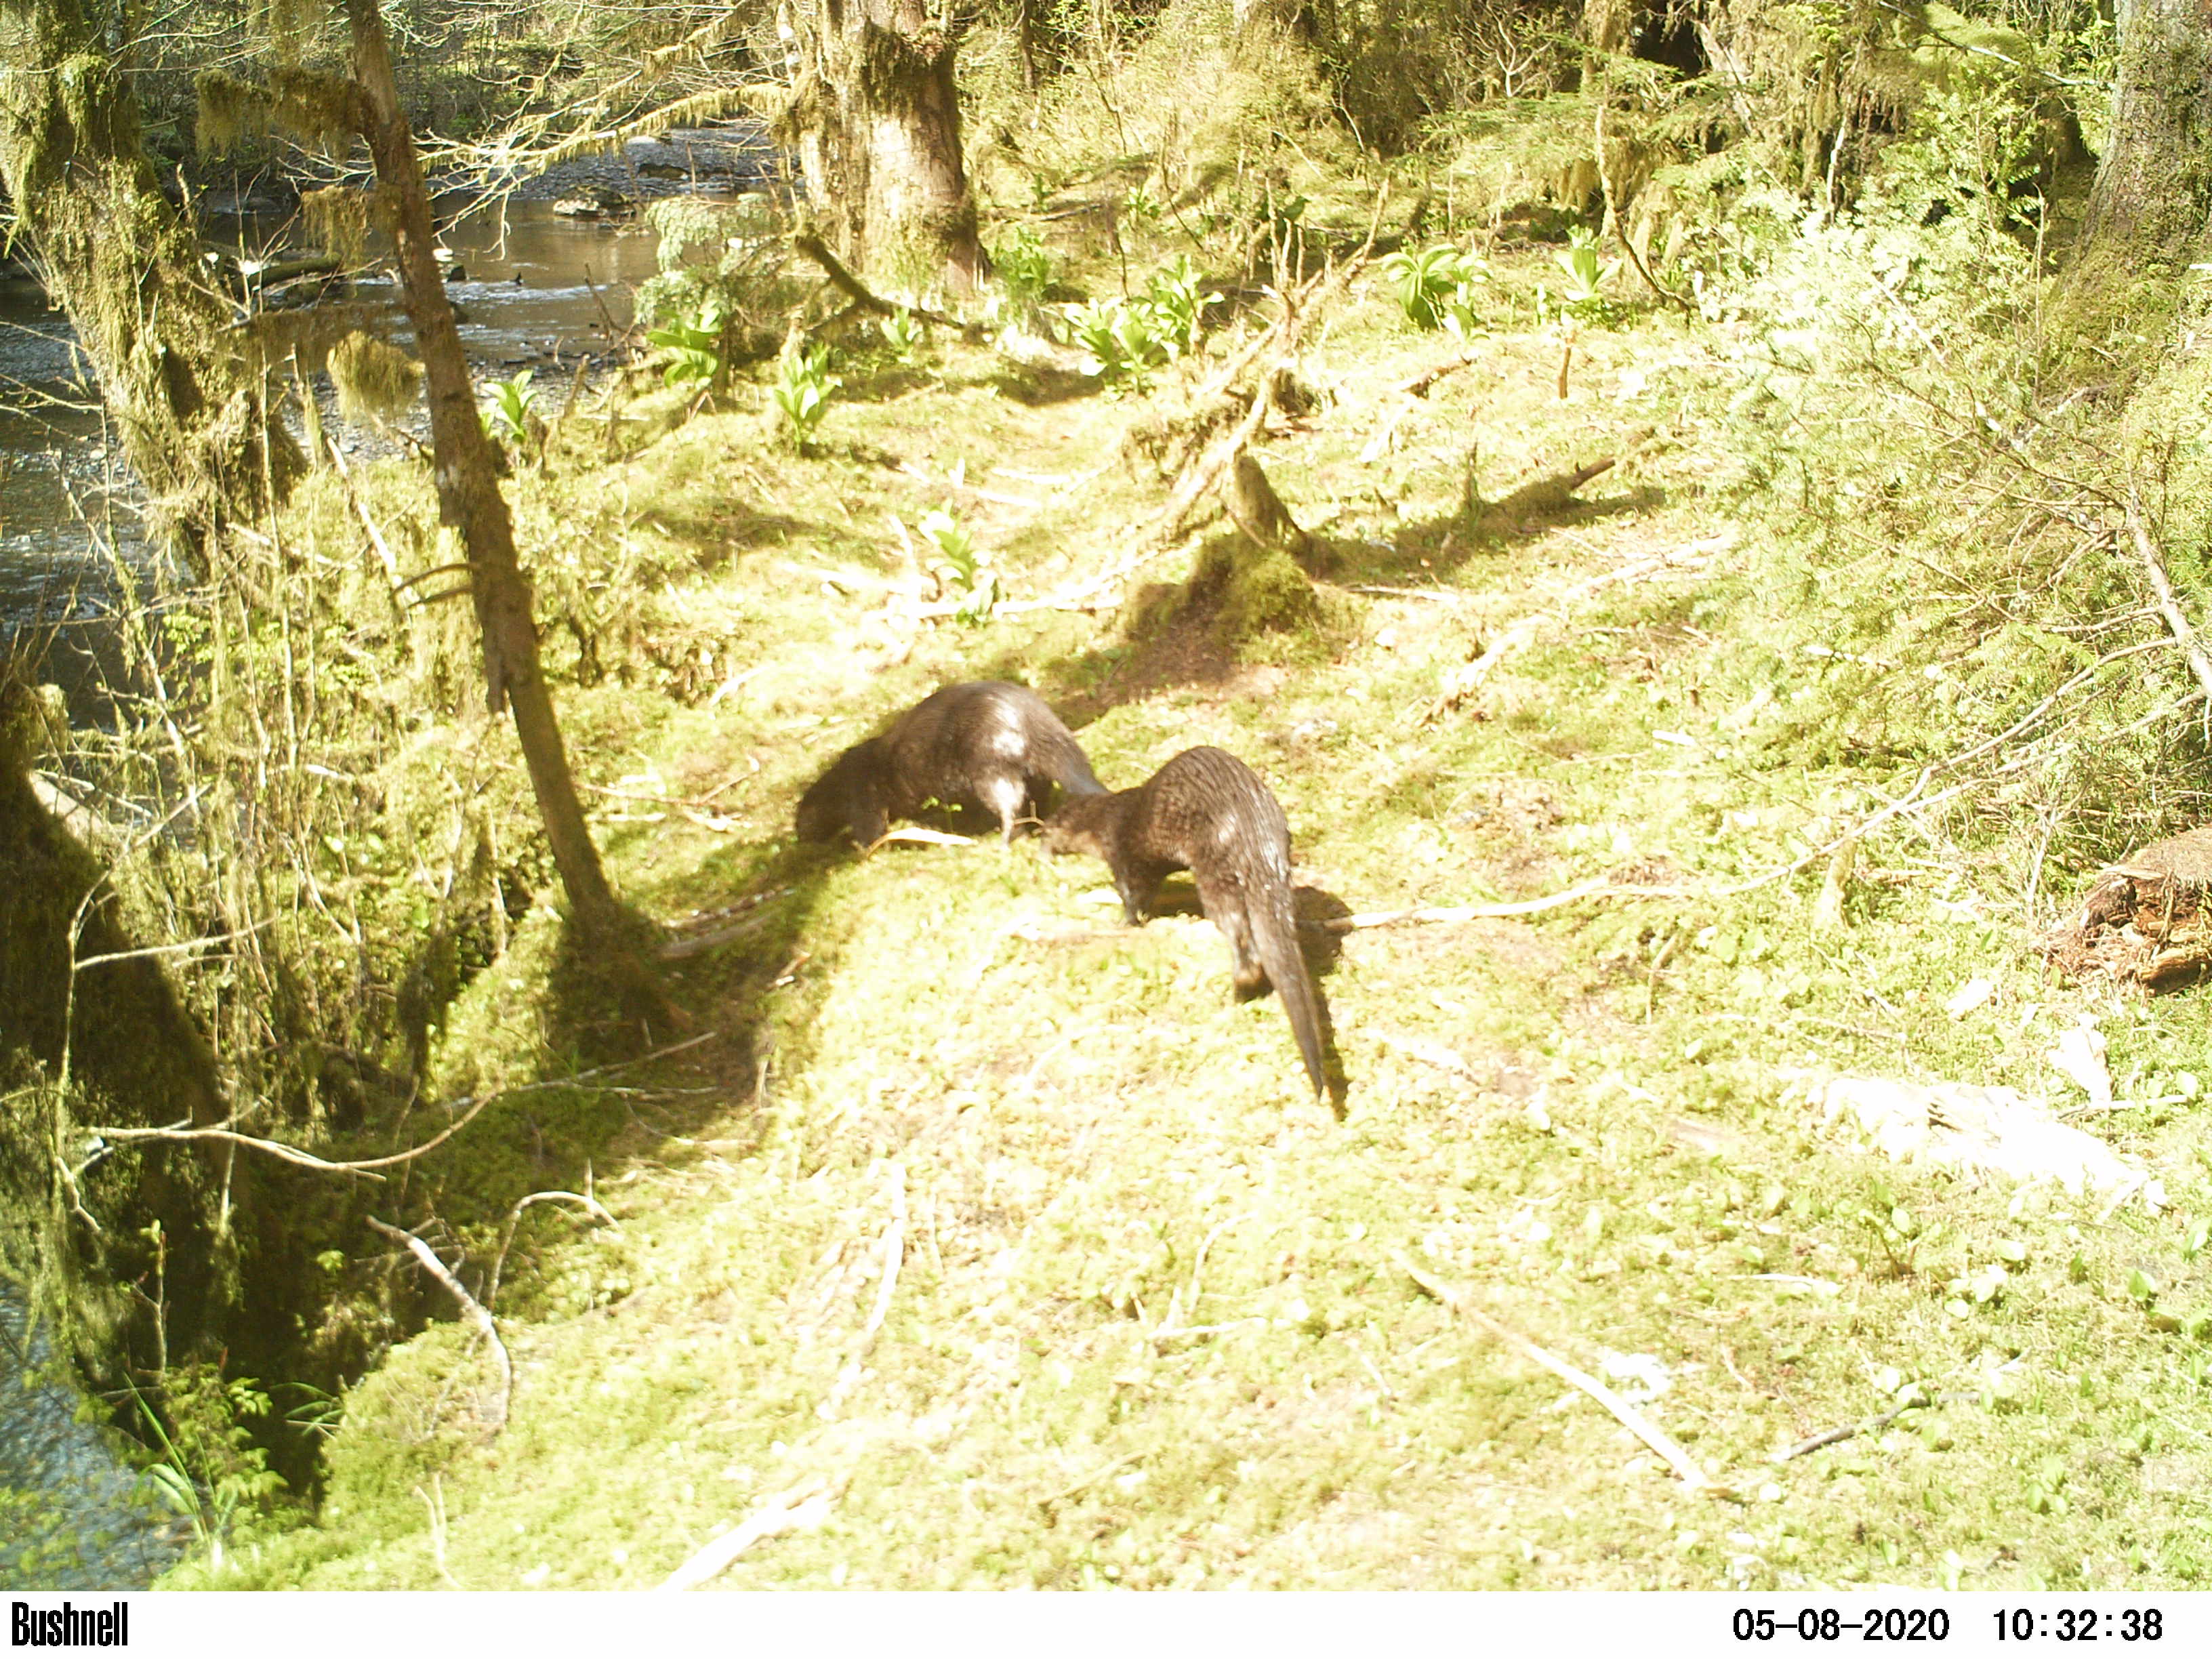
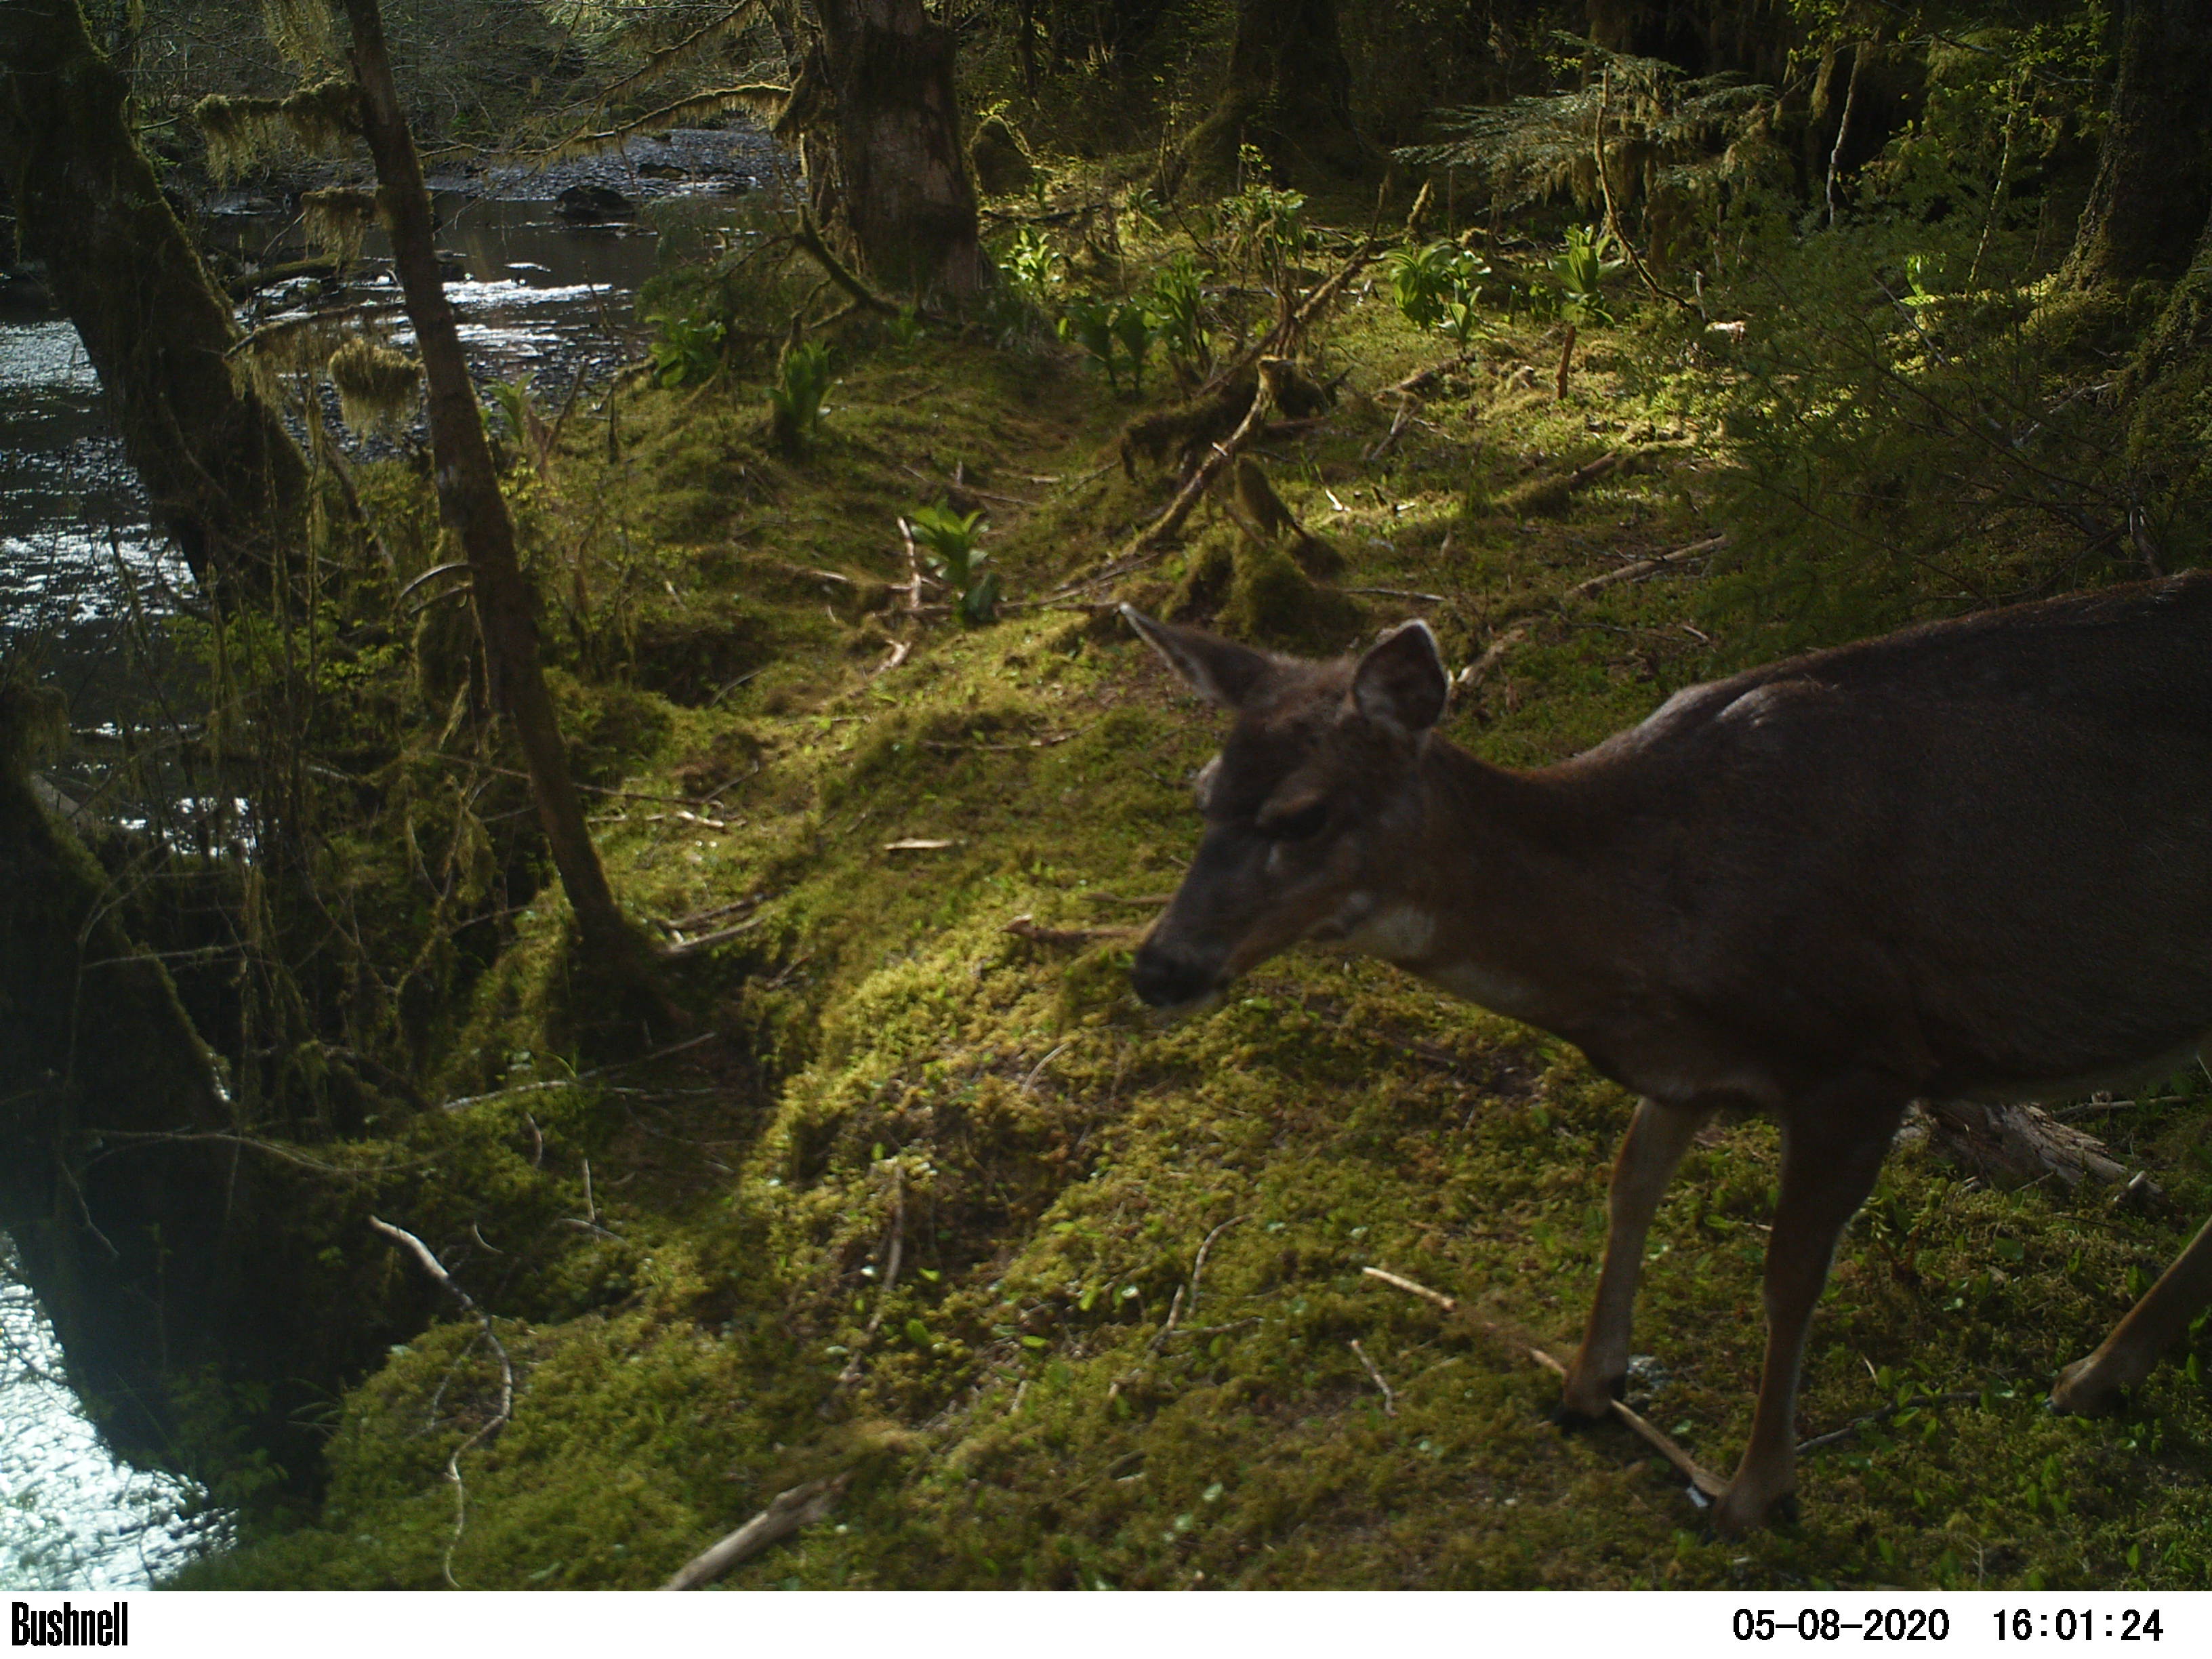

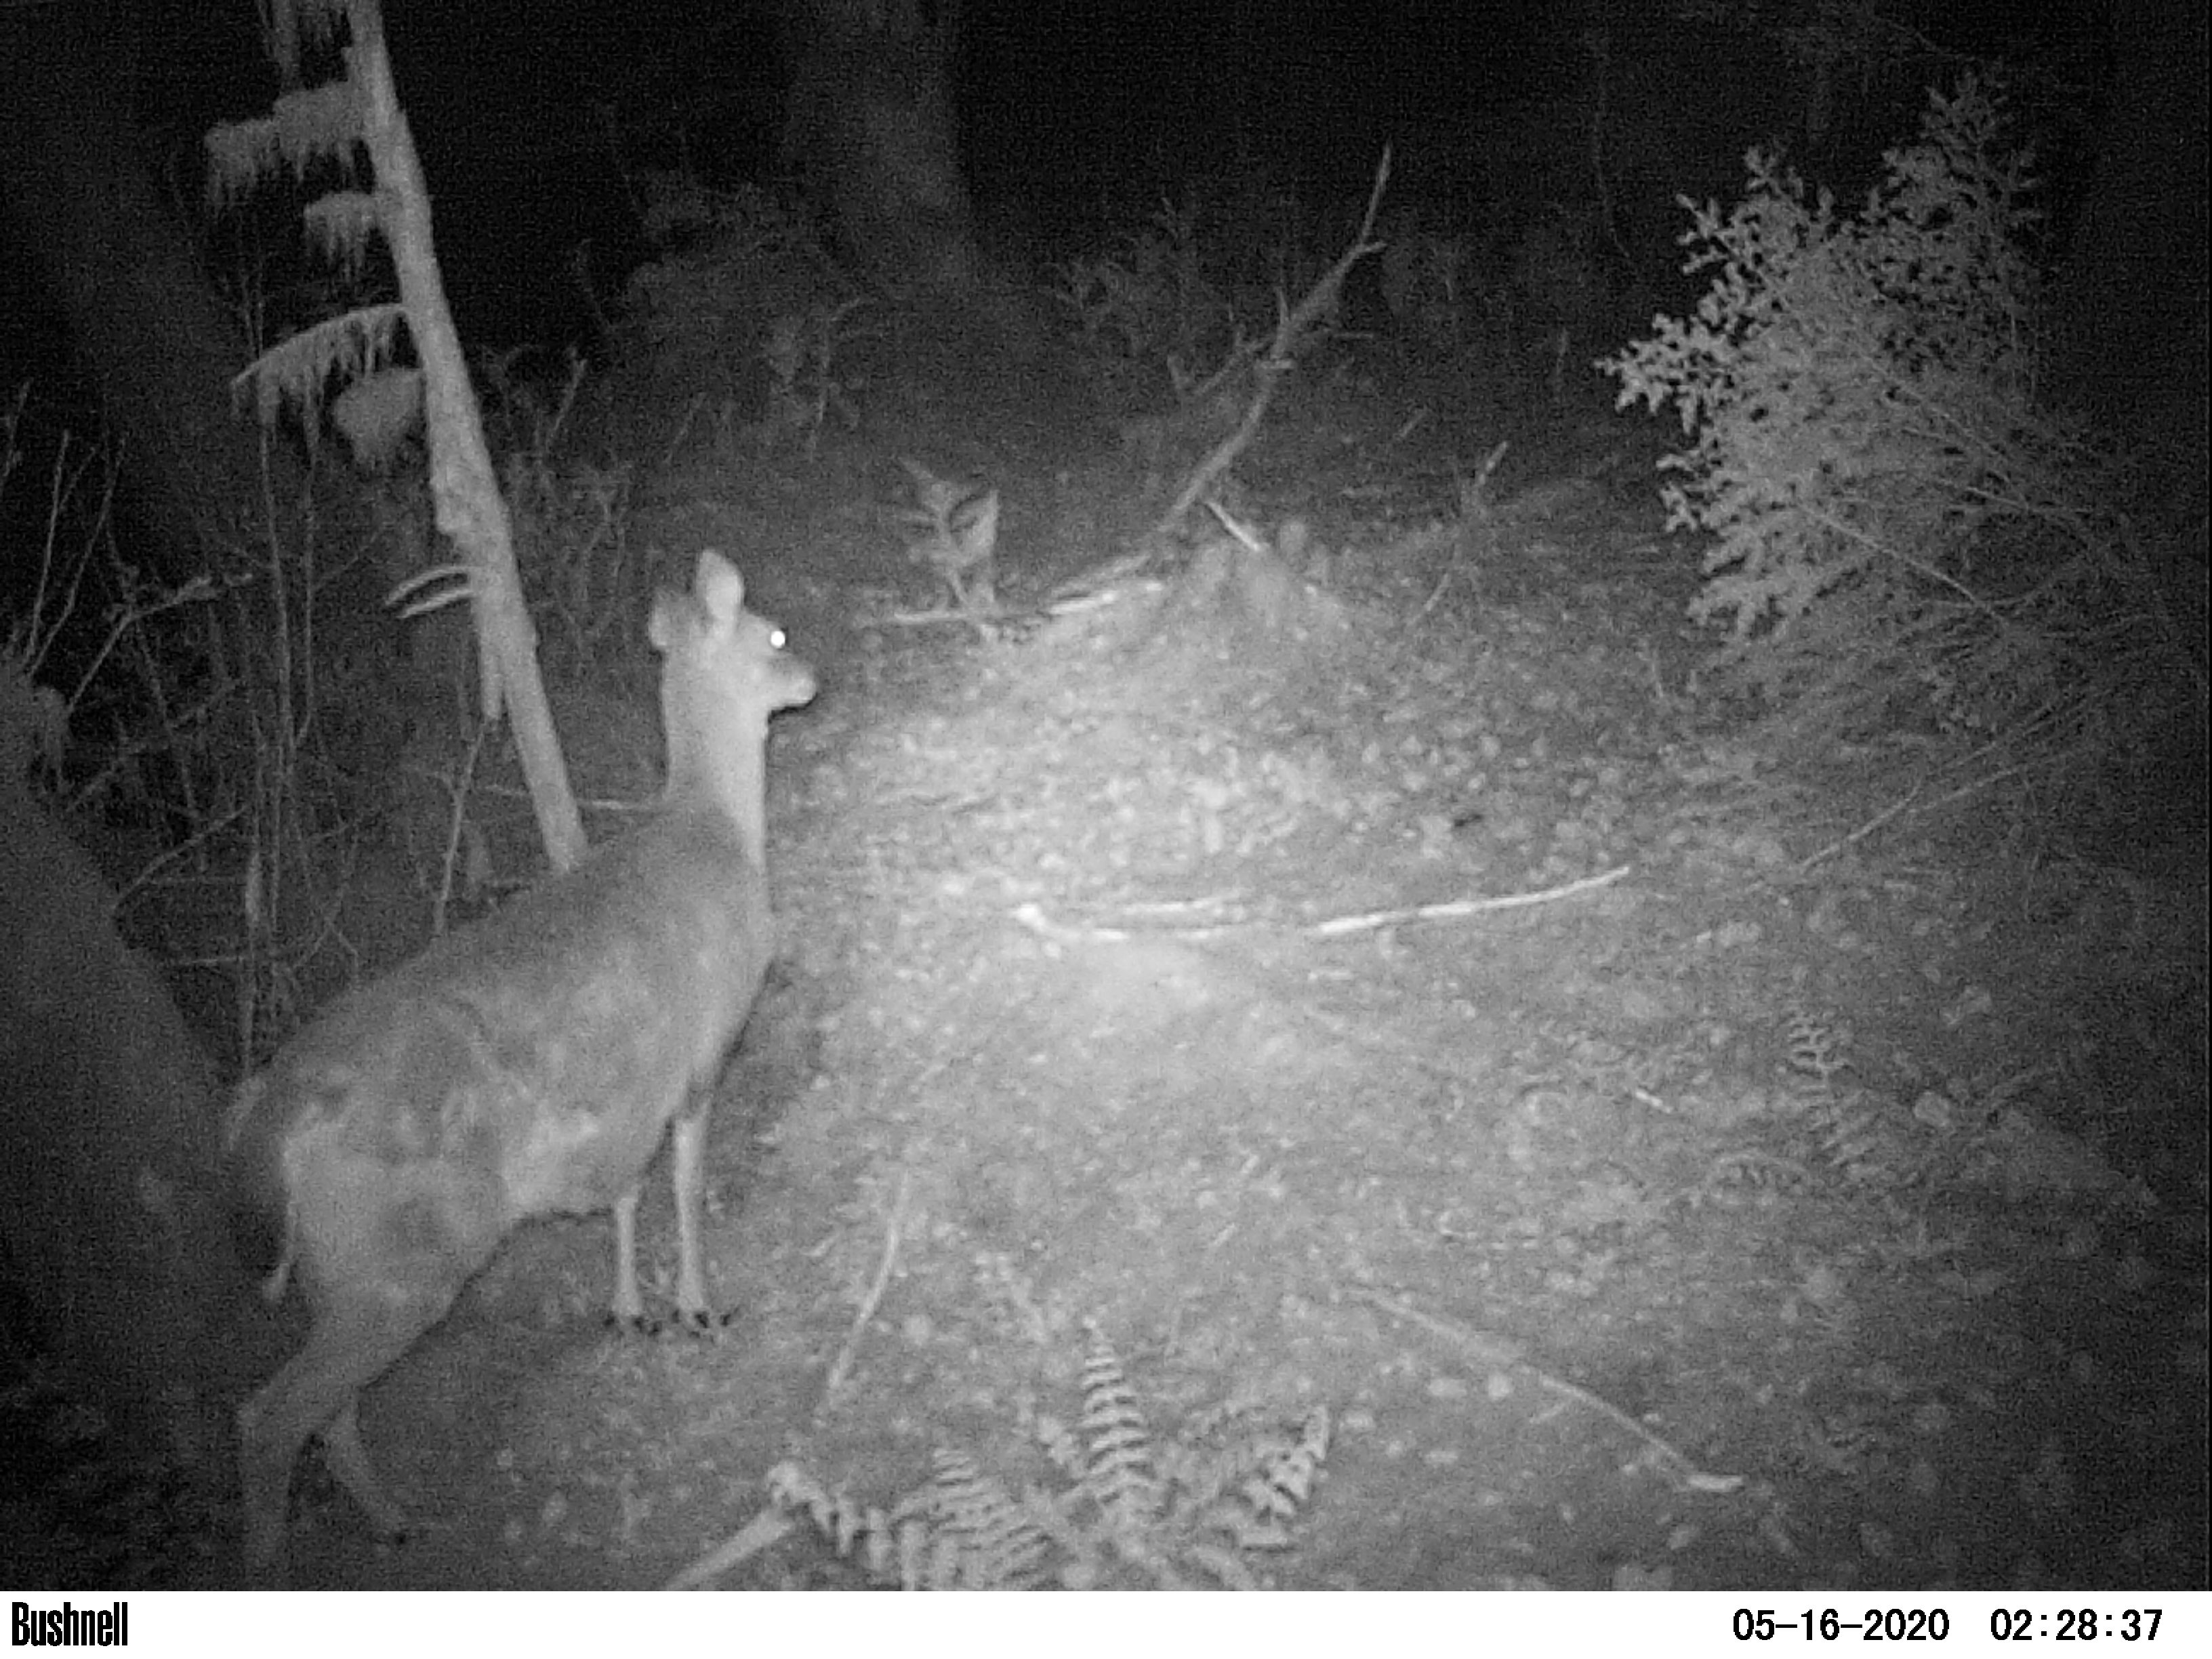

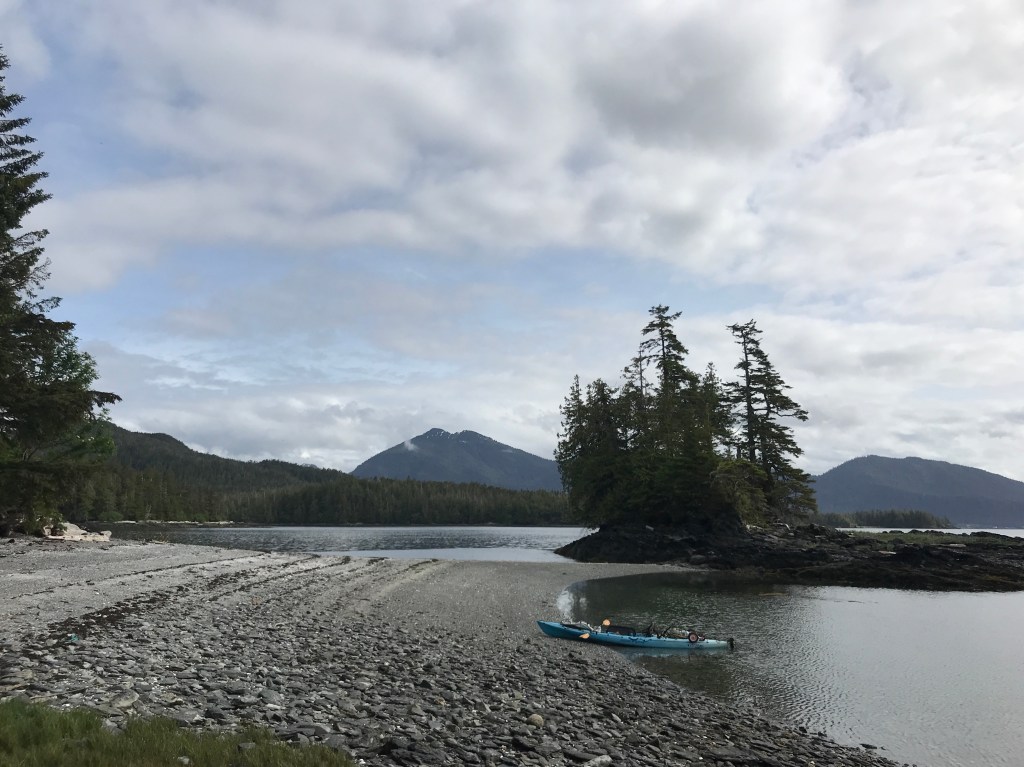
Decided to set some cameras in an area on Gravina Island that I haven’t been to since the deer population recovered after being decimated by wolves.
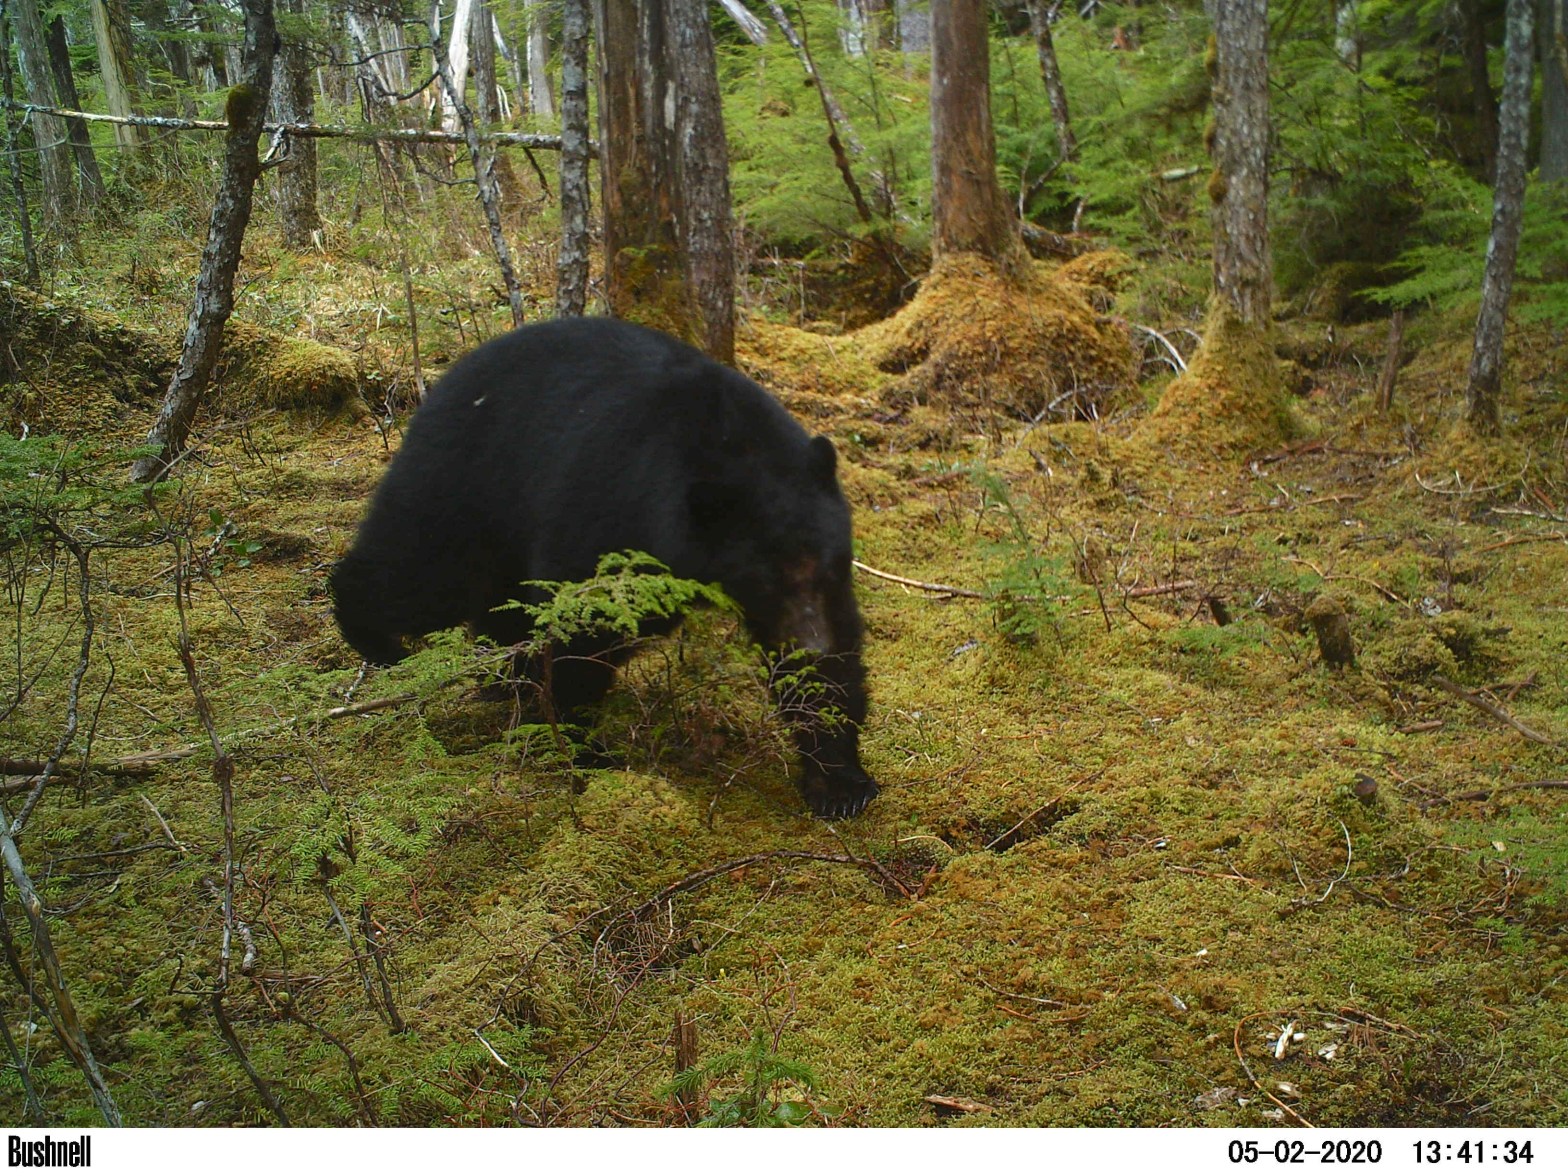
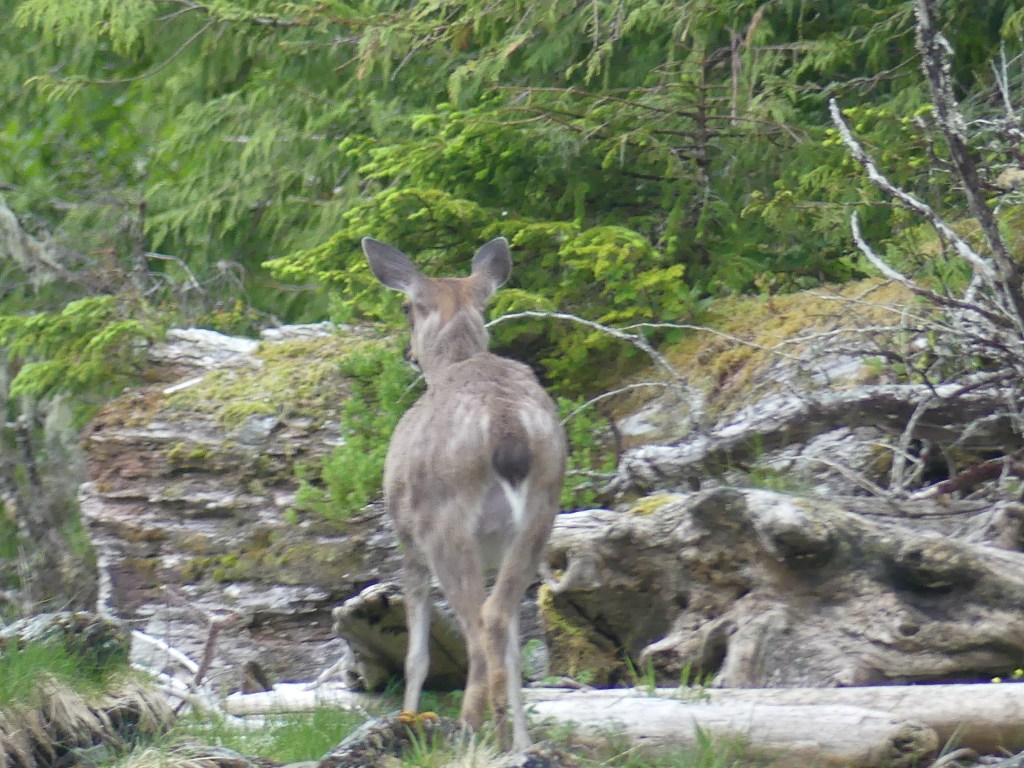
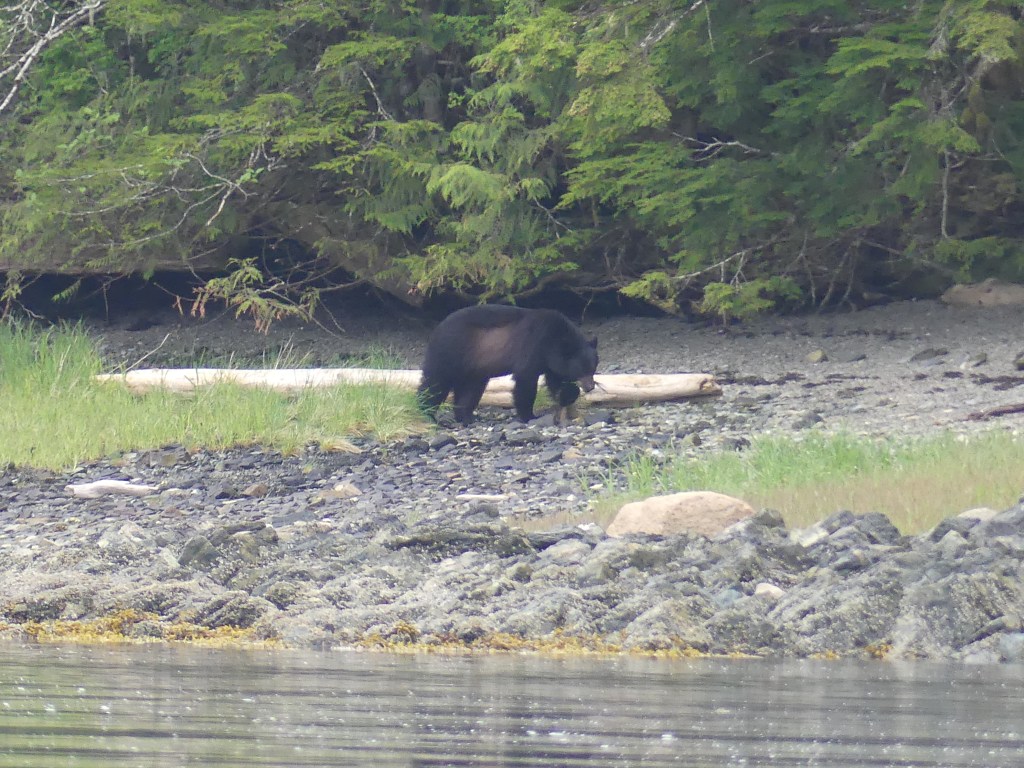
The first animal I came across on my trip was a doe that was far more concerned with a bear than a guy in a kayak. The doe ran into the woods as the bear got closer, but the bear was too busy eating grass and didn’t notice she was there; the bear didn’t notice me until I drifted in pretty close.



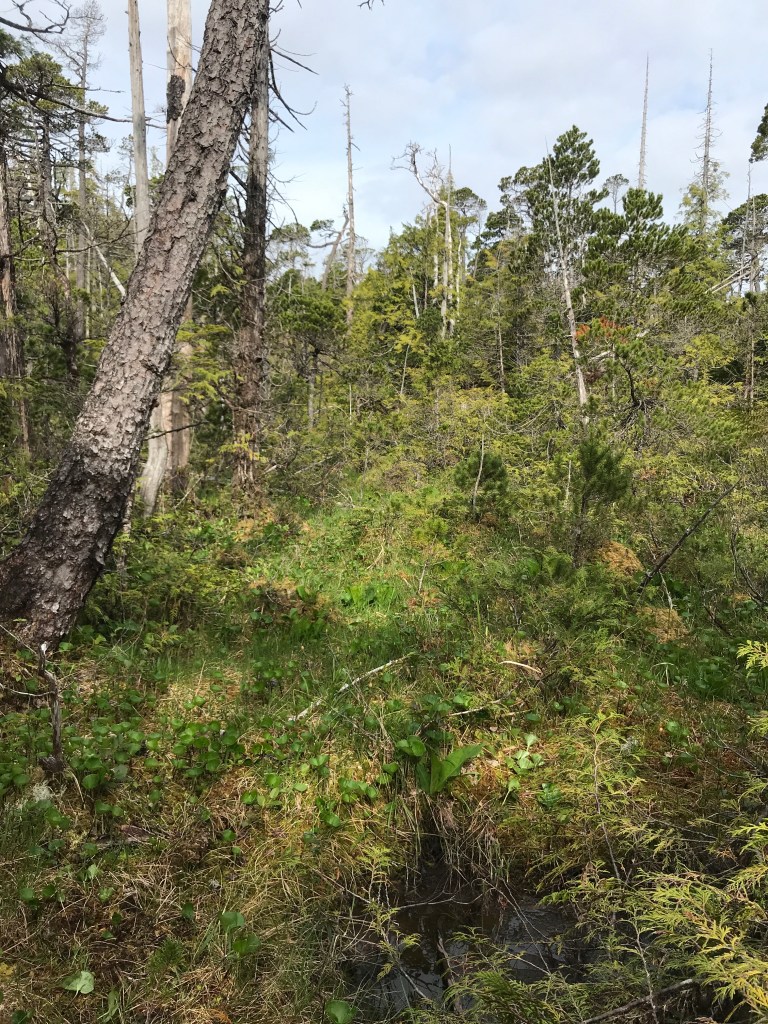
Set the first of the four cameras at this intersection of two trails. It is more out in the open than my usual camera locations, but it should do well until mid or late August, when the seasonal plants turn brown.



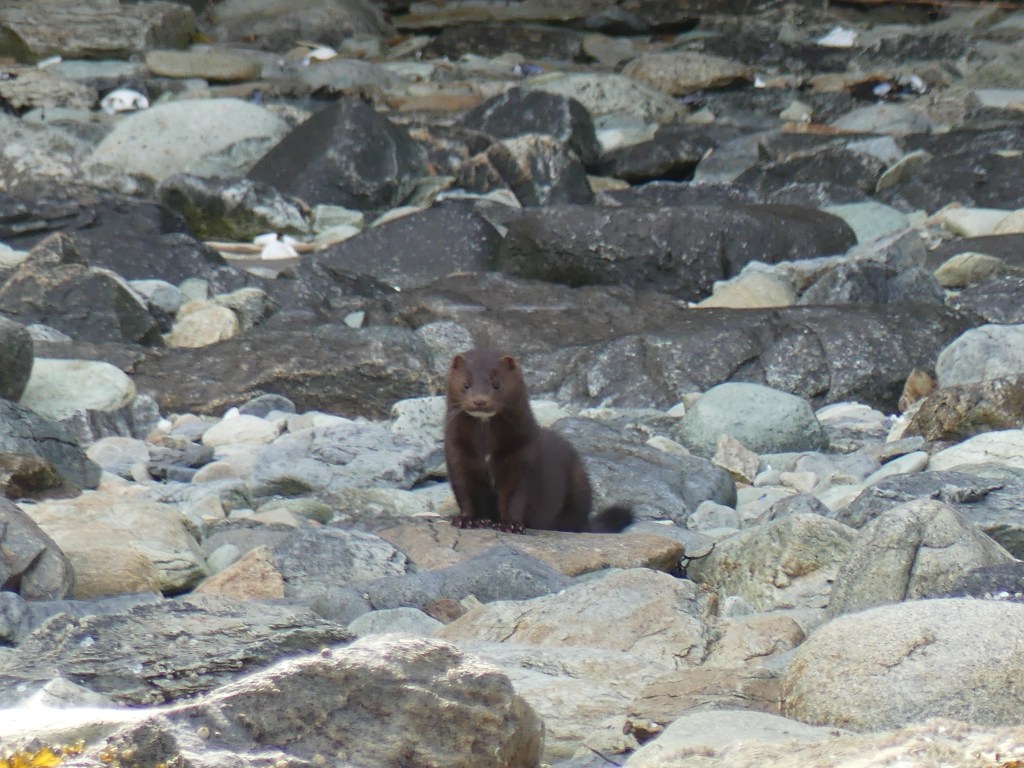

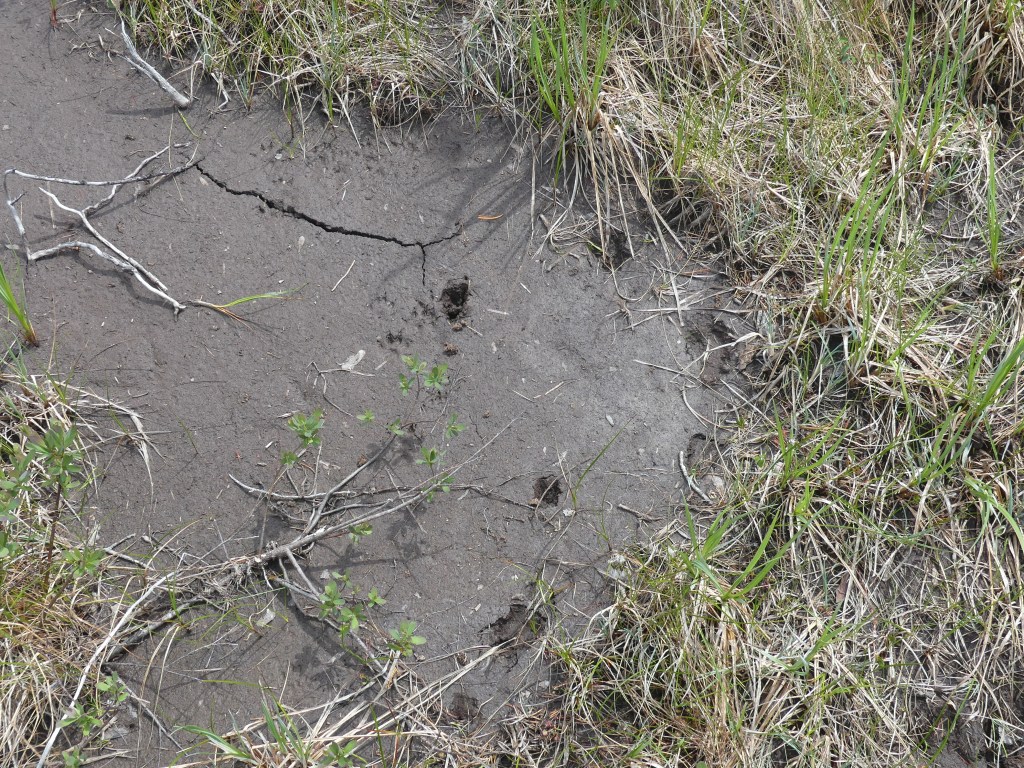

Set the second camera here. This spot should do well year round. Several trails meet here, and it is surrounded by thick forest; plus it appears to be a popular place for deer to bed down.
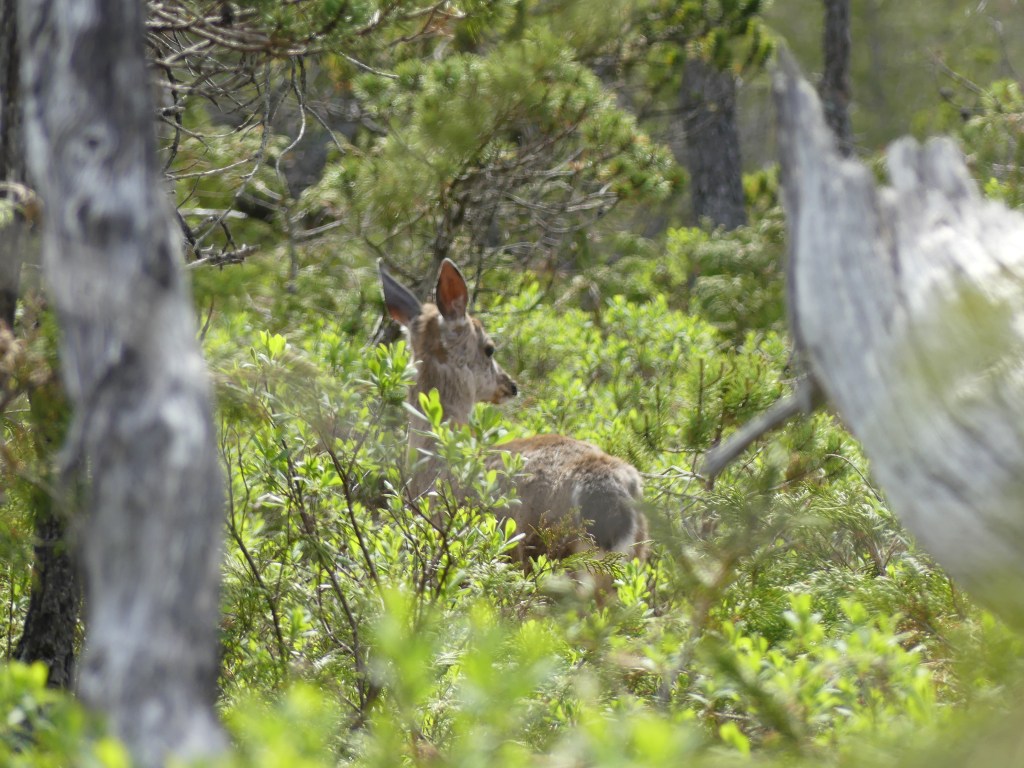


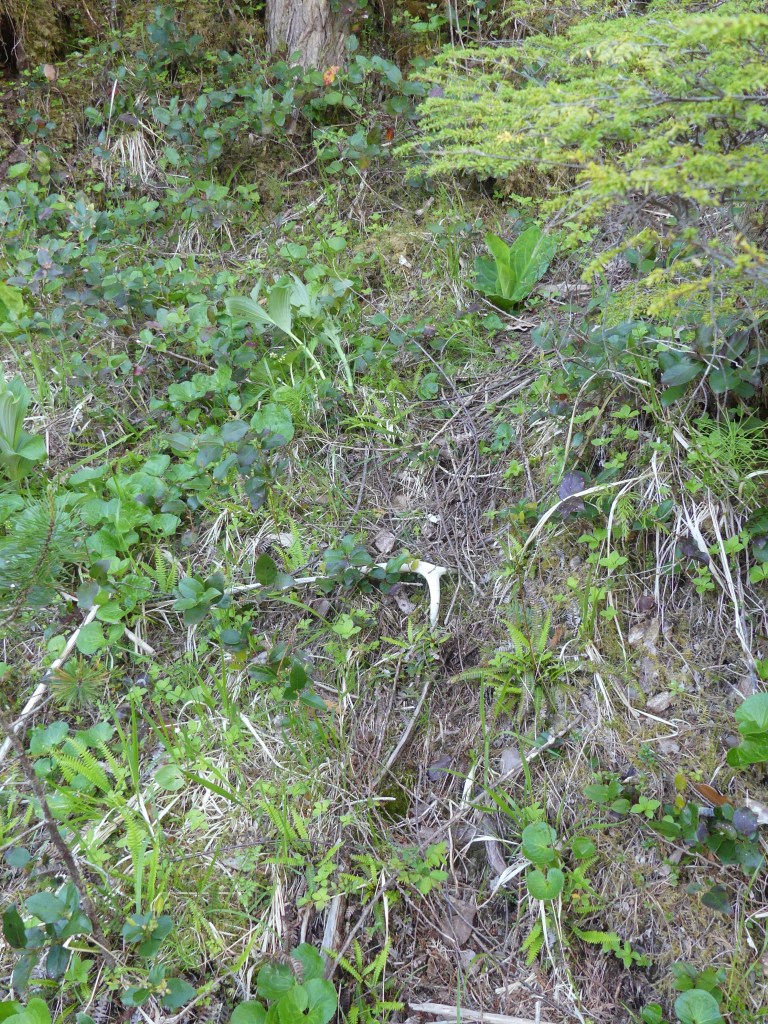
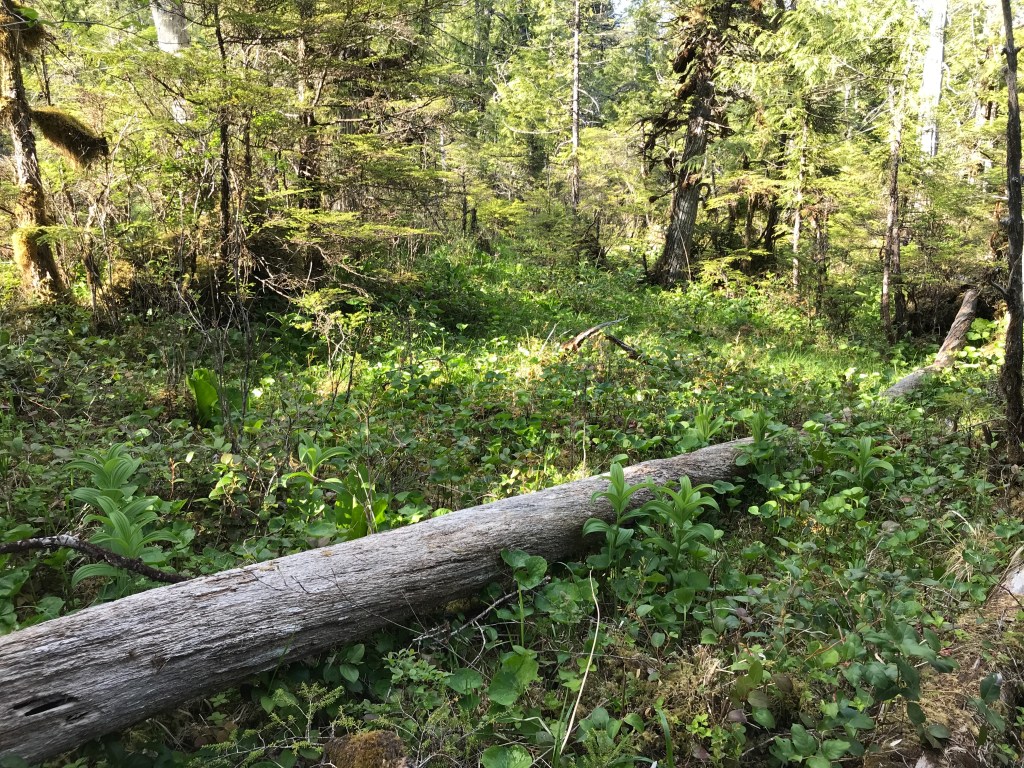
Set the third camera here. Two main trails meet here, and there are a lot of plants that both deer and bear like. We’ll see if the animals that move through, if not feeding, will stop and sniff the log to see who else has passed by. This should result in more pictures that are clear and not blurry.
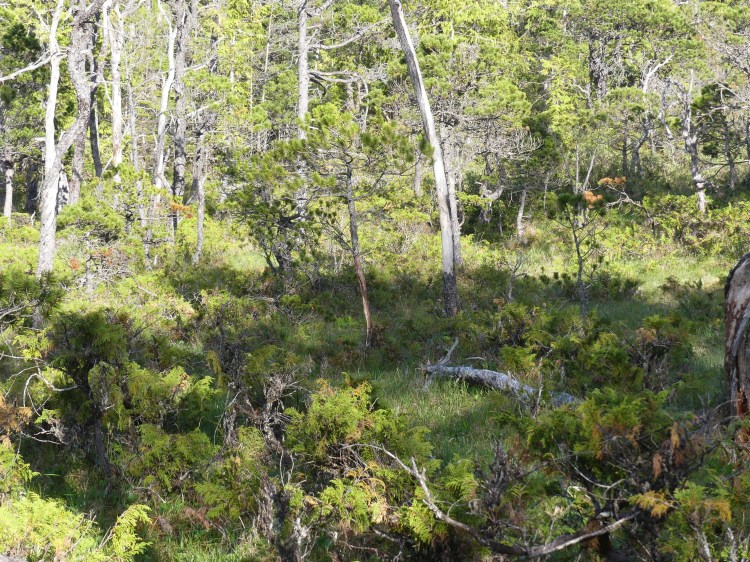

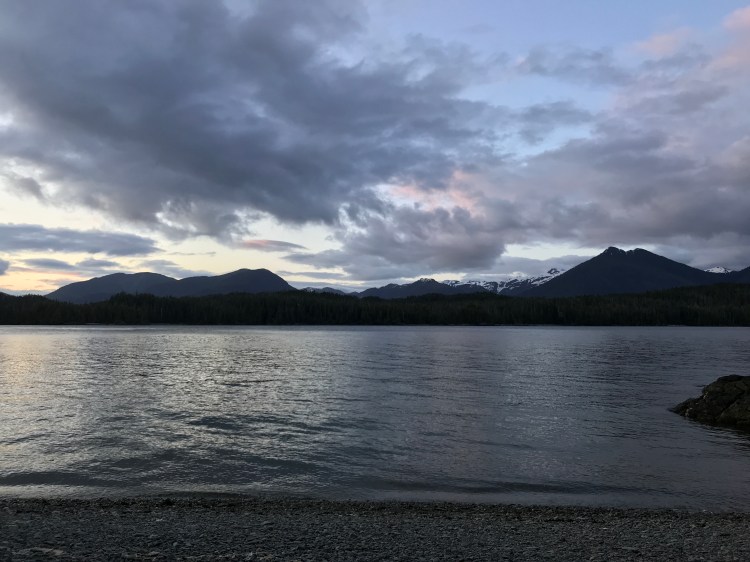

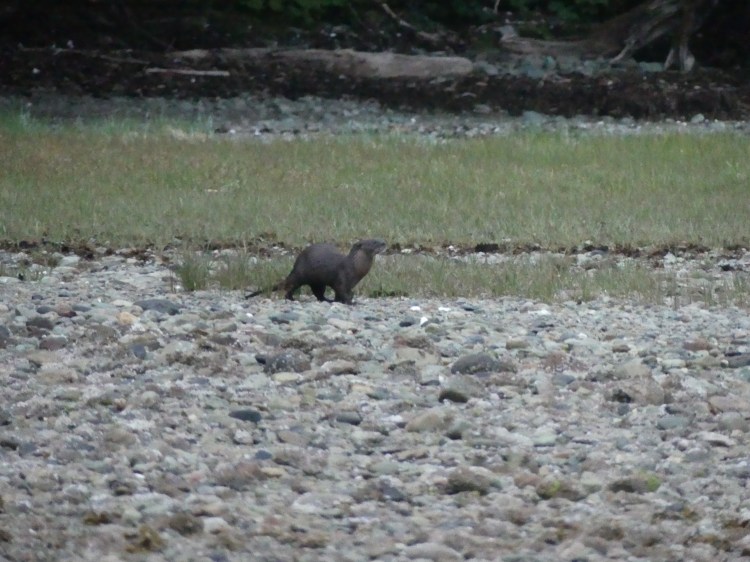


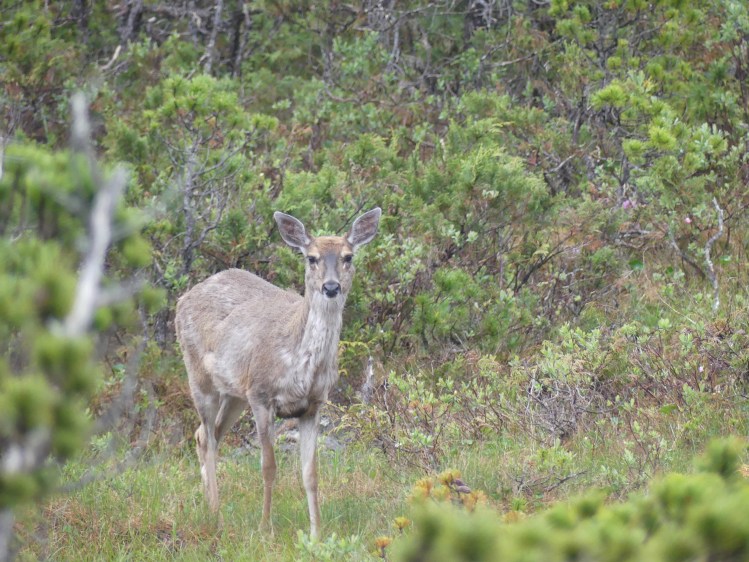
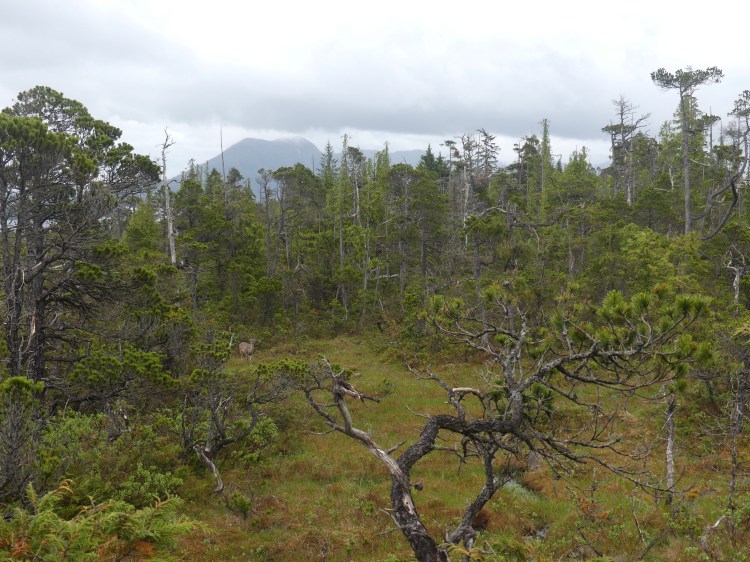
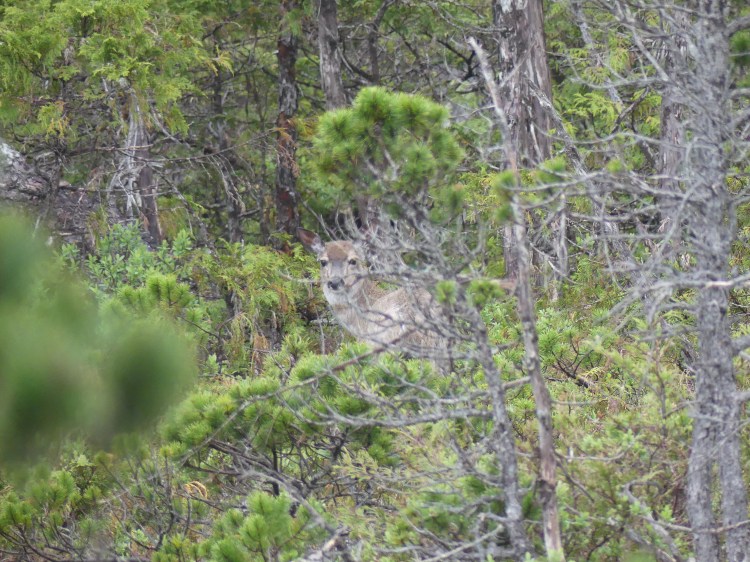


Set my last camera here. This is another intersection; in this case, it is where a trail entering or leaving a muskeg meets a trail in the brush that runs parallel to the muskeg.



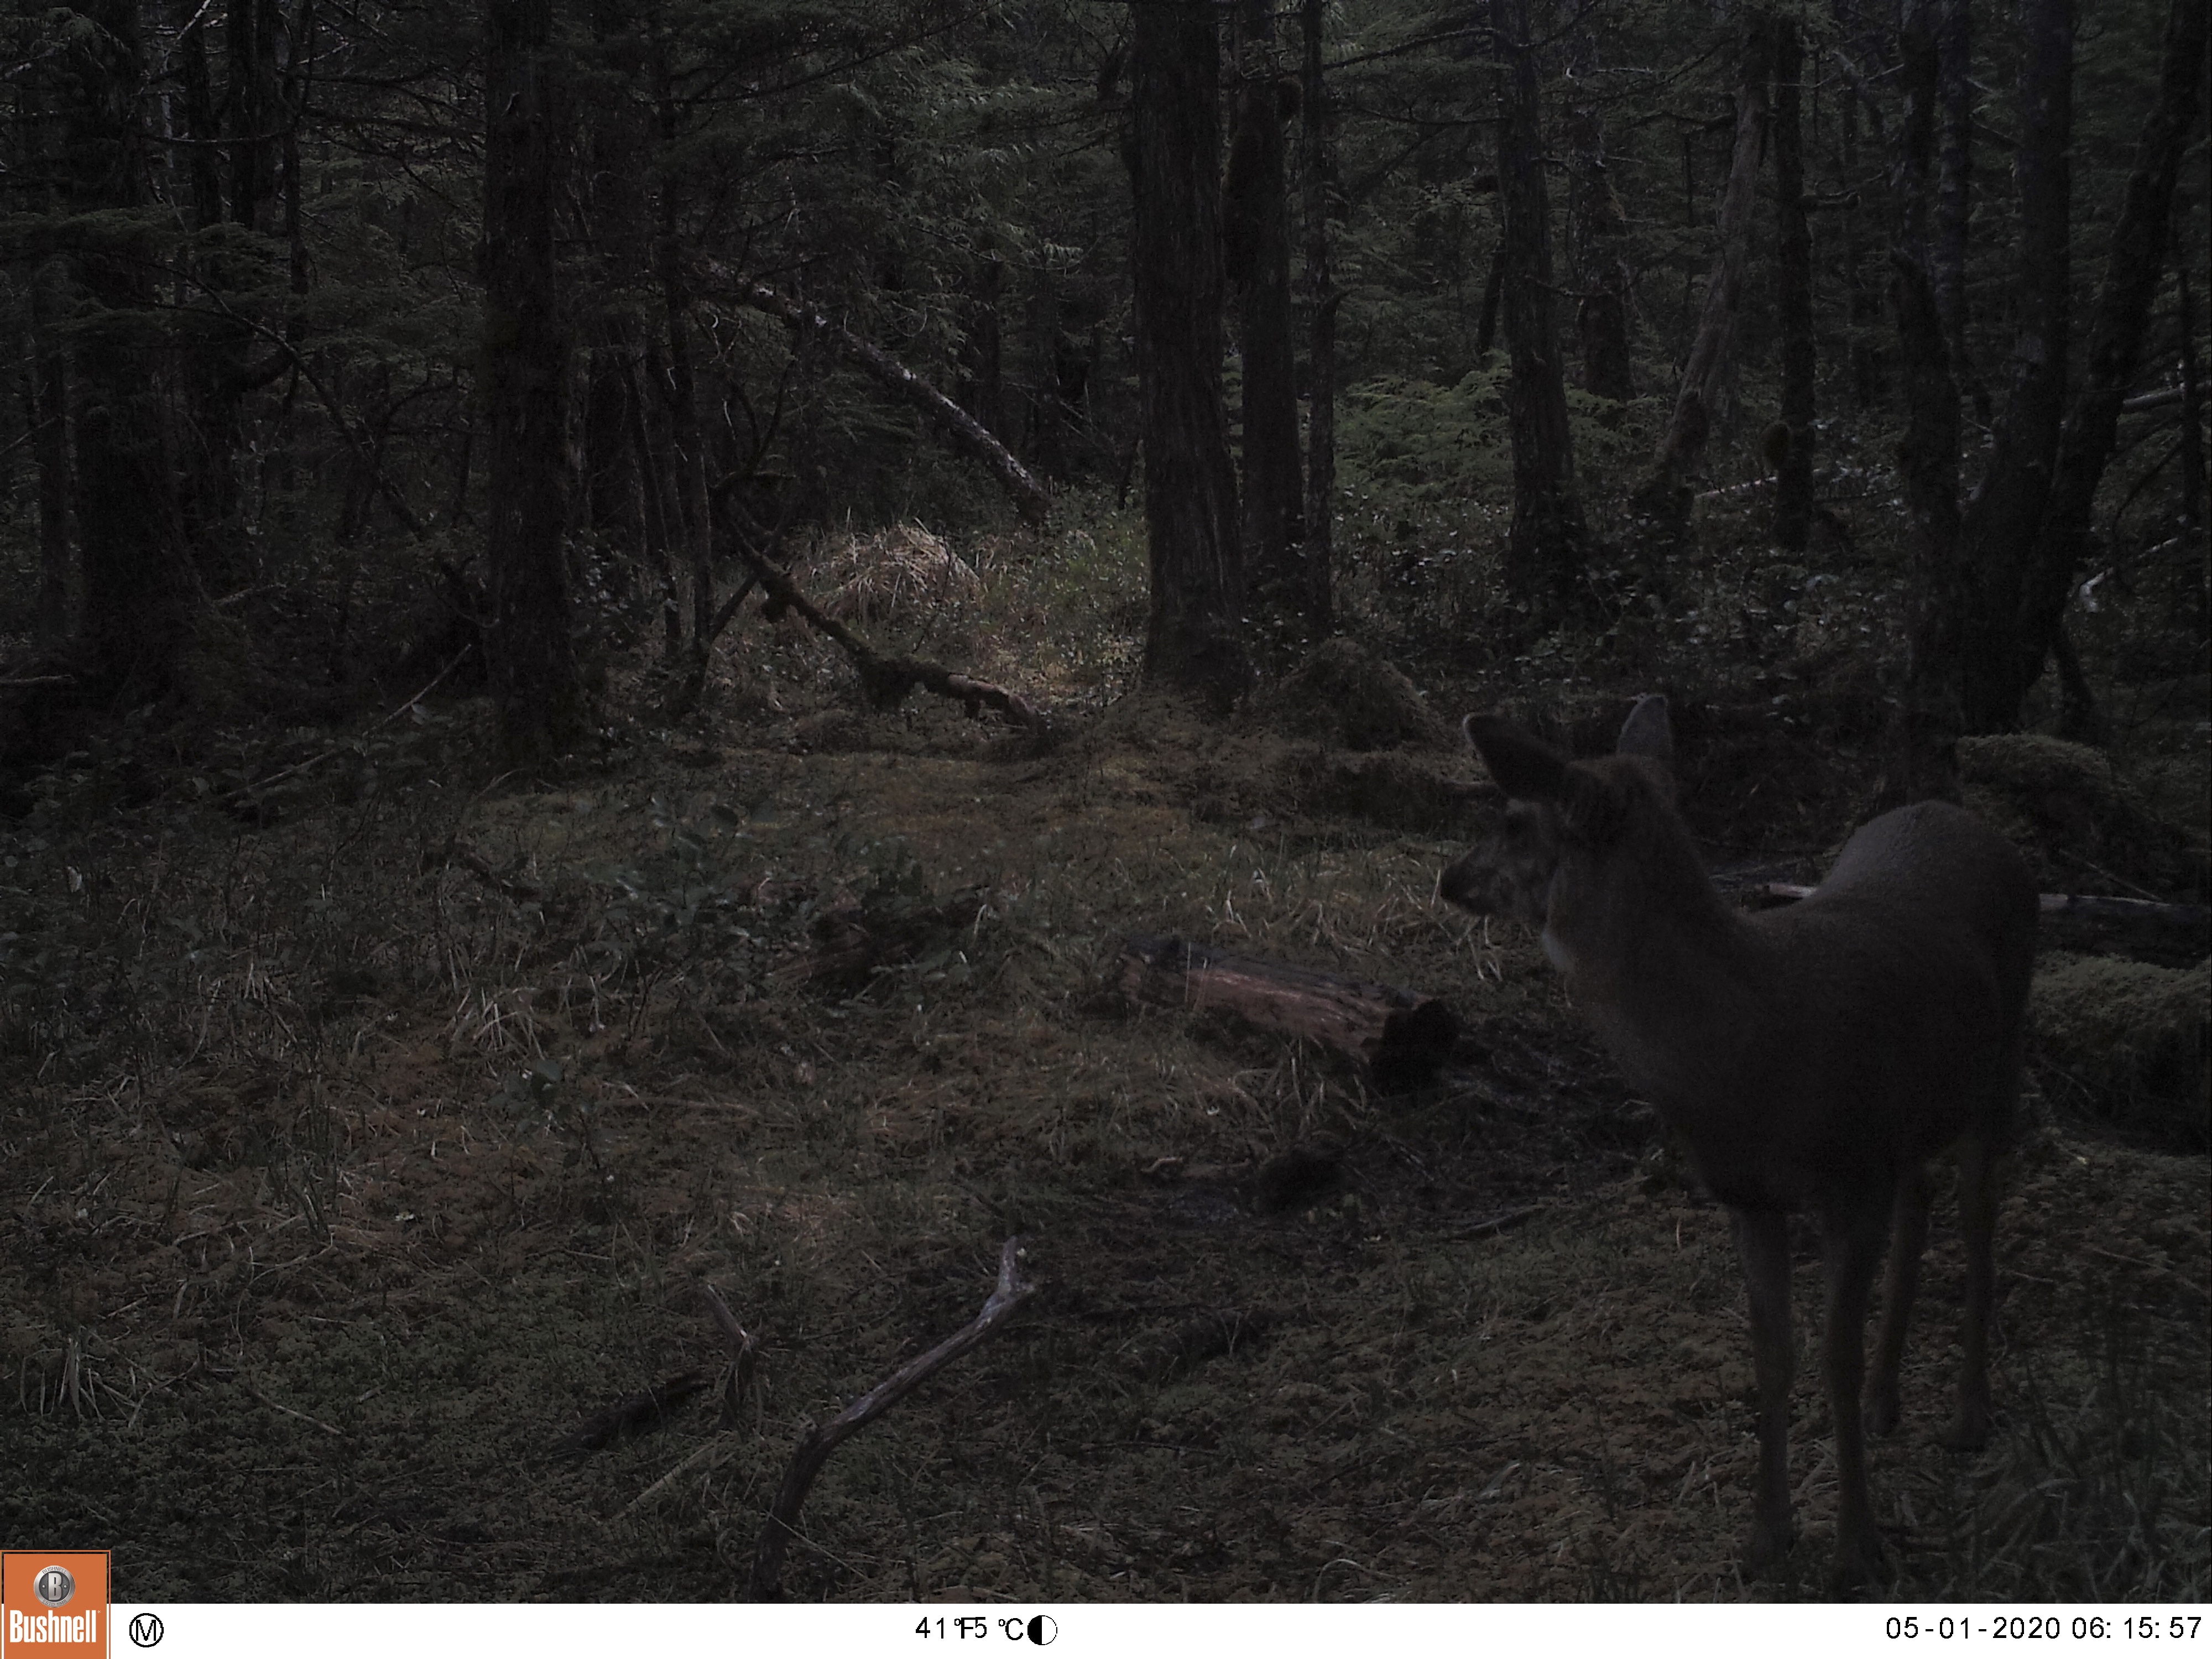
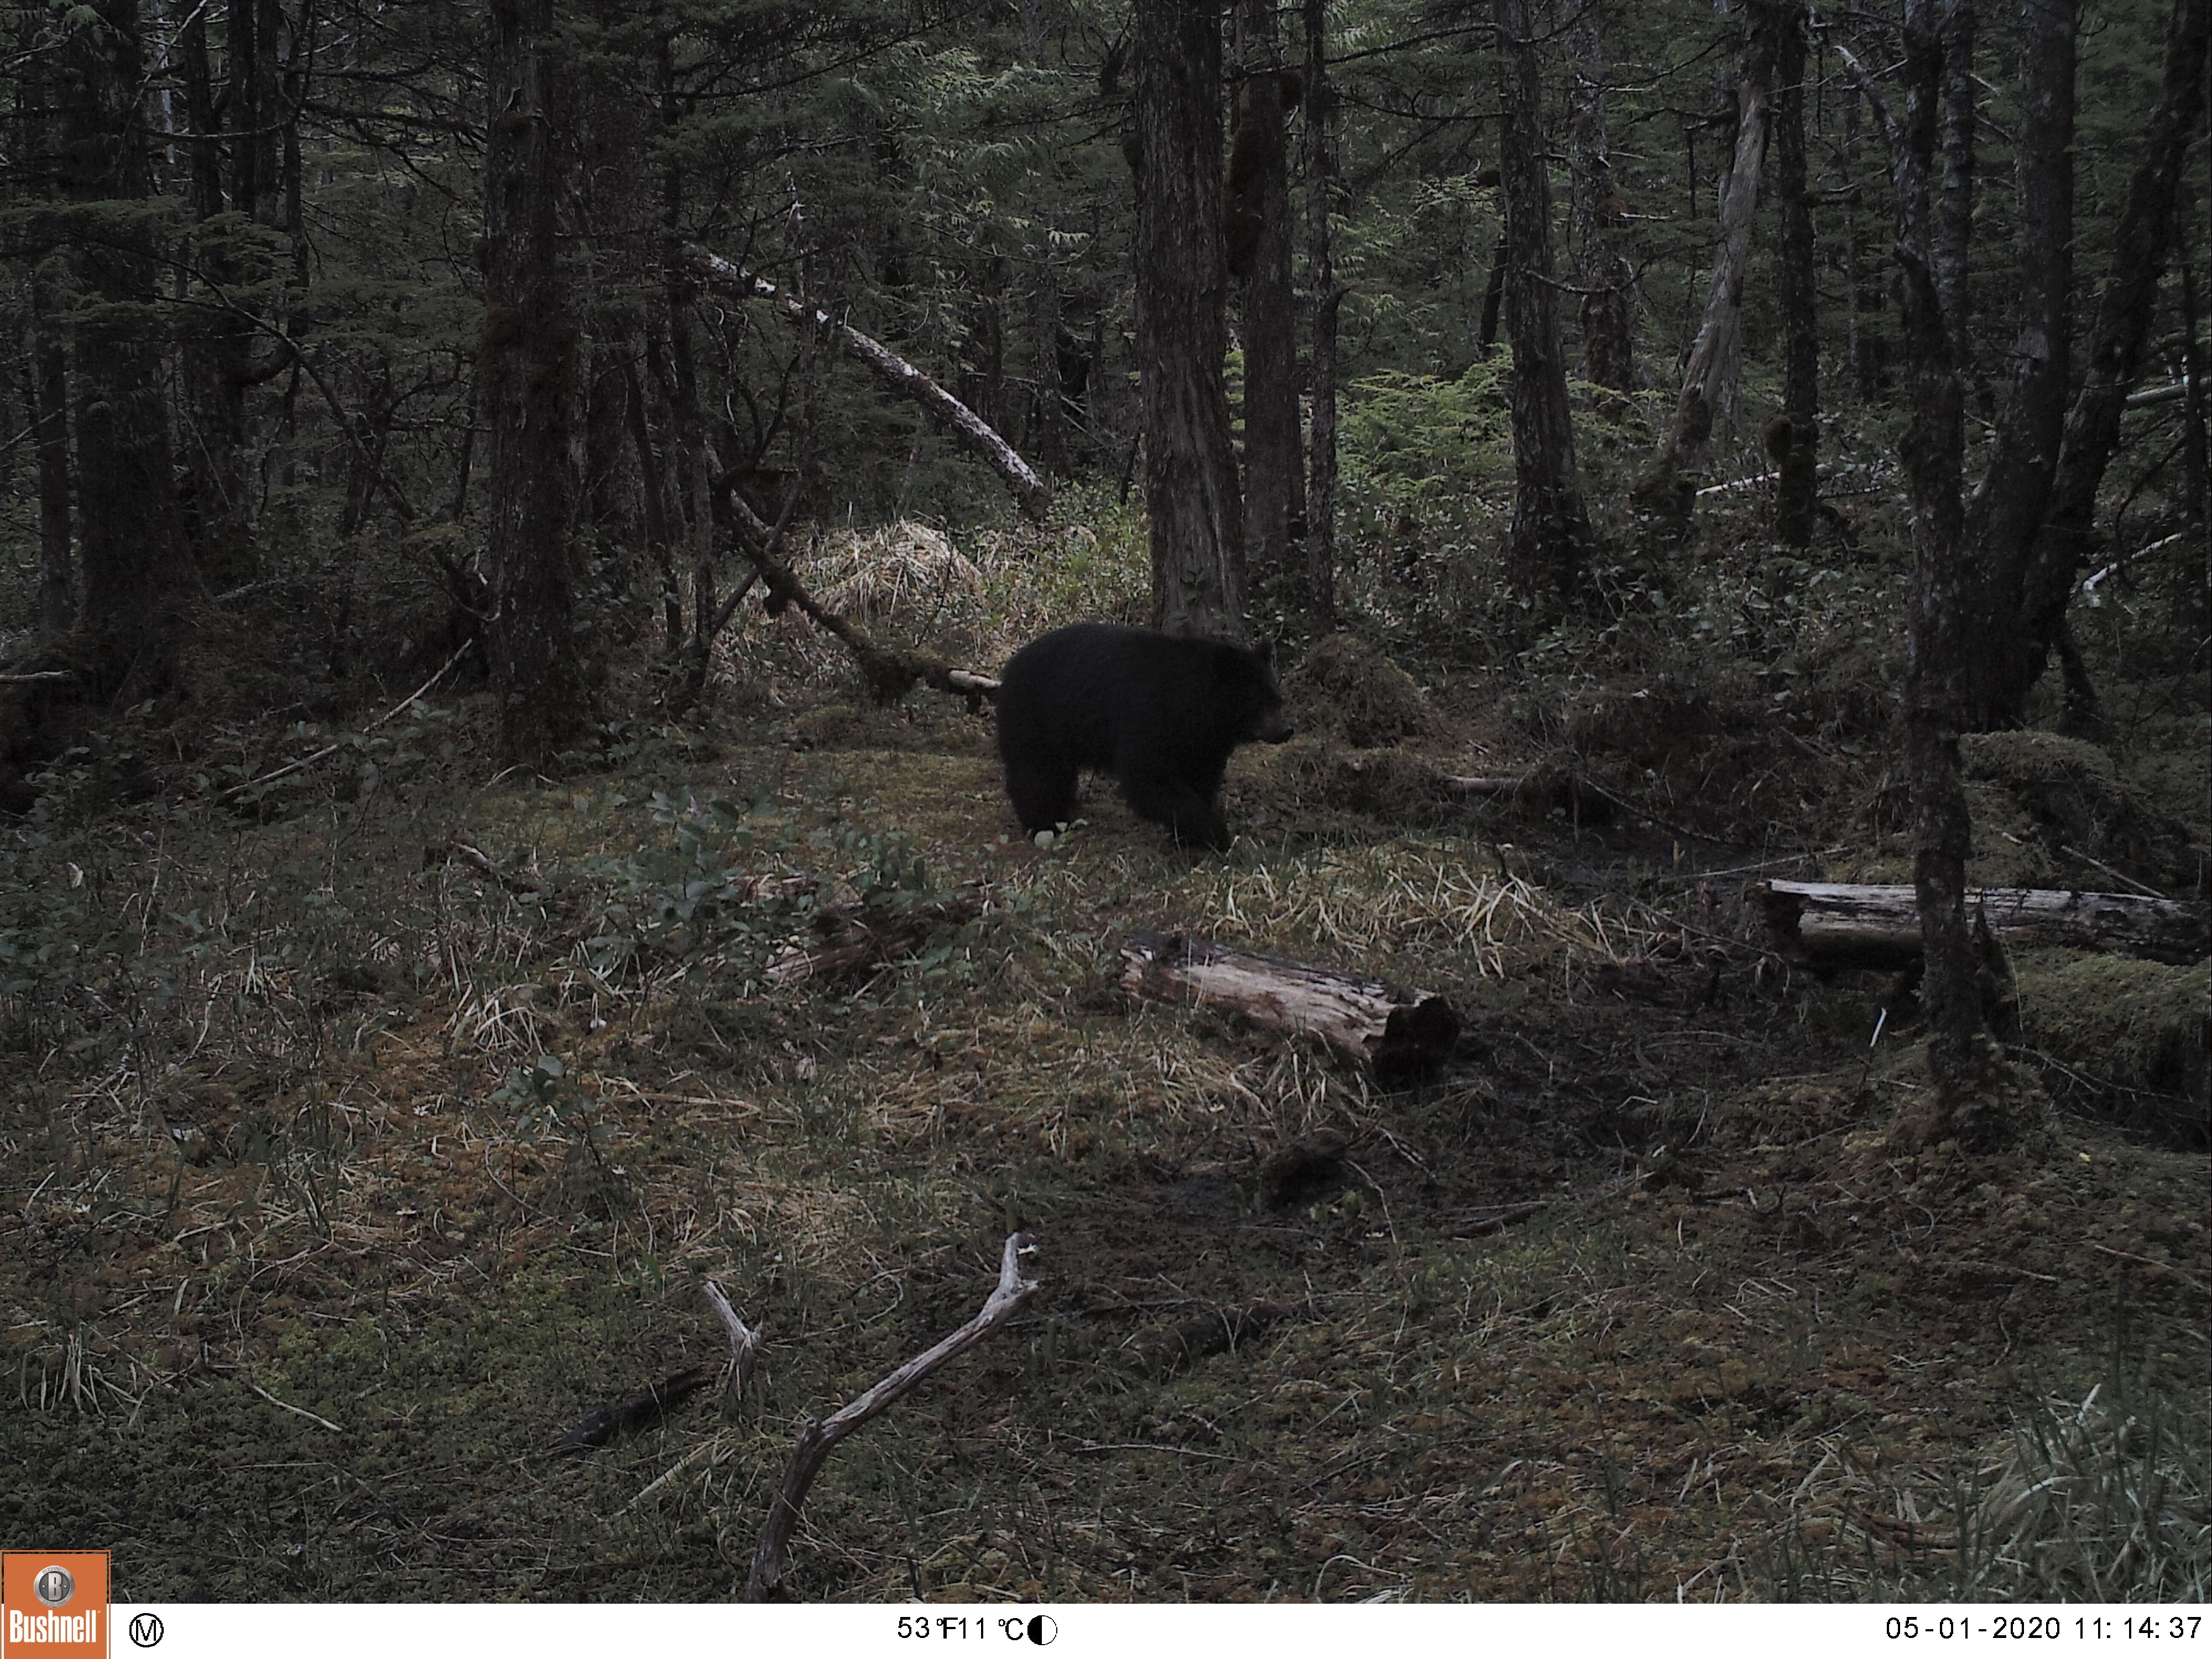
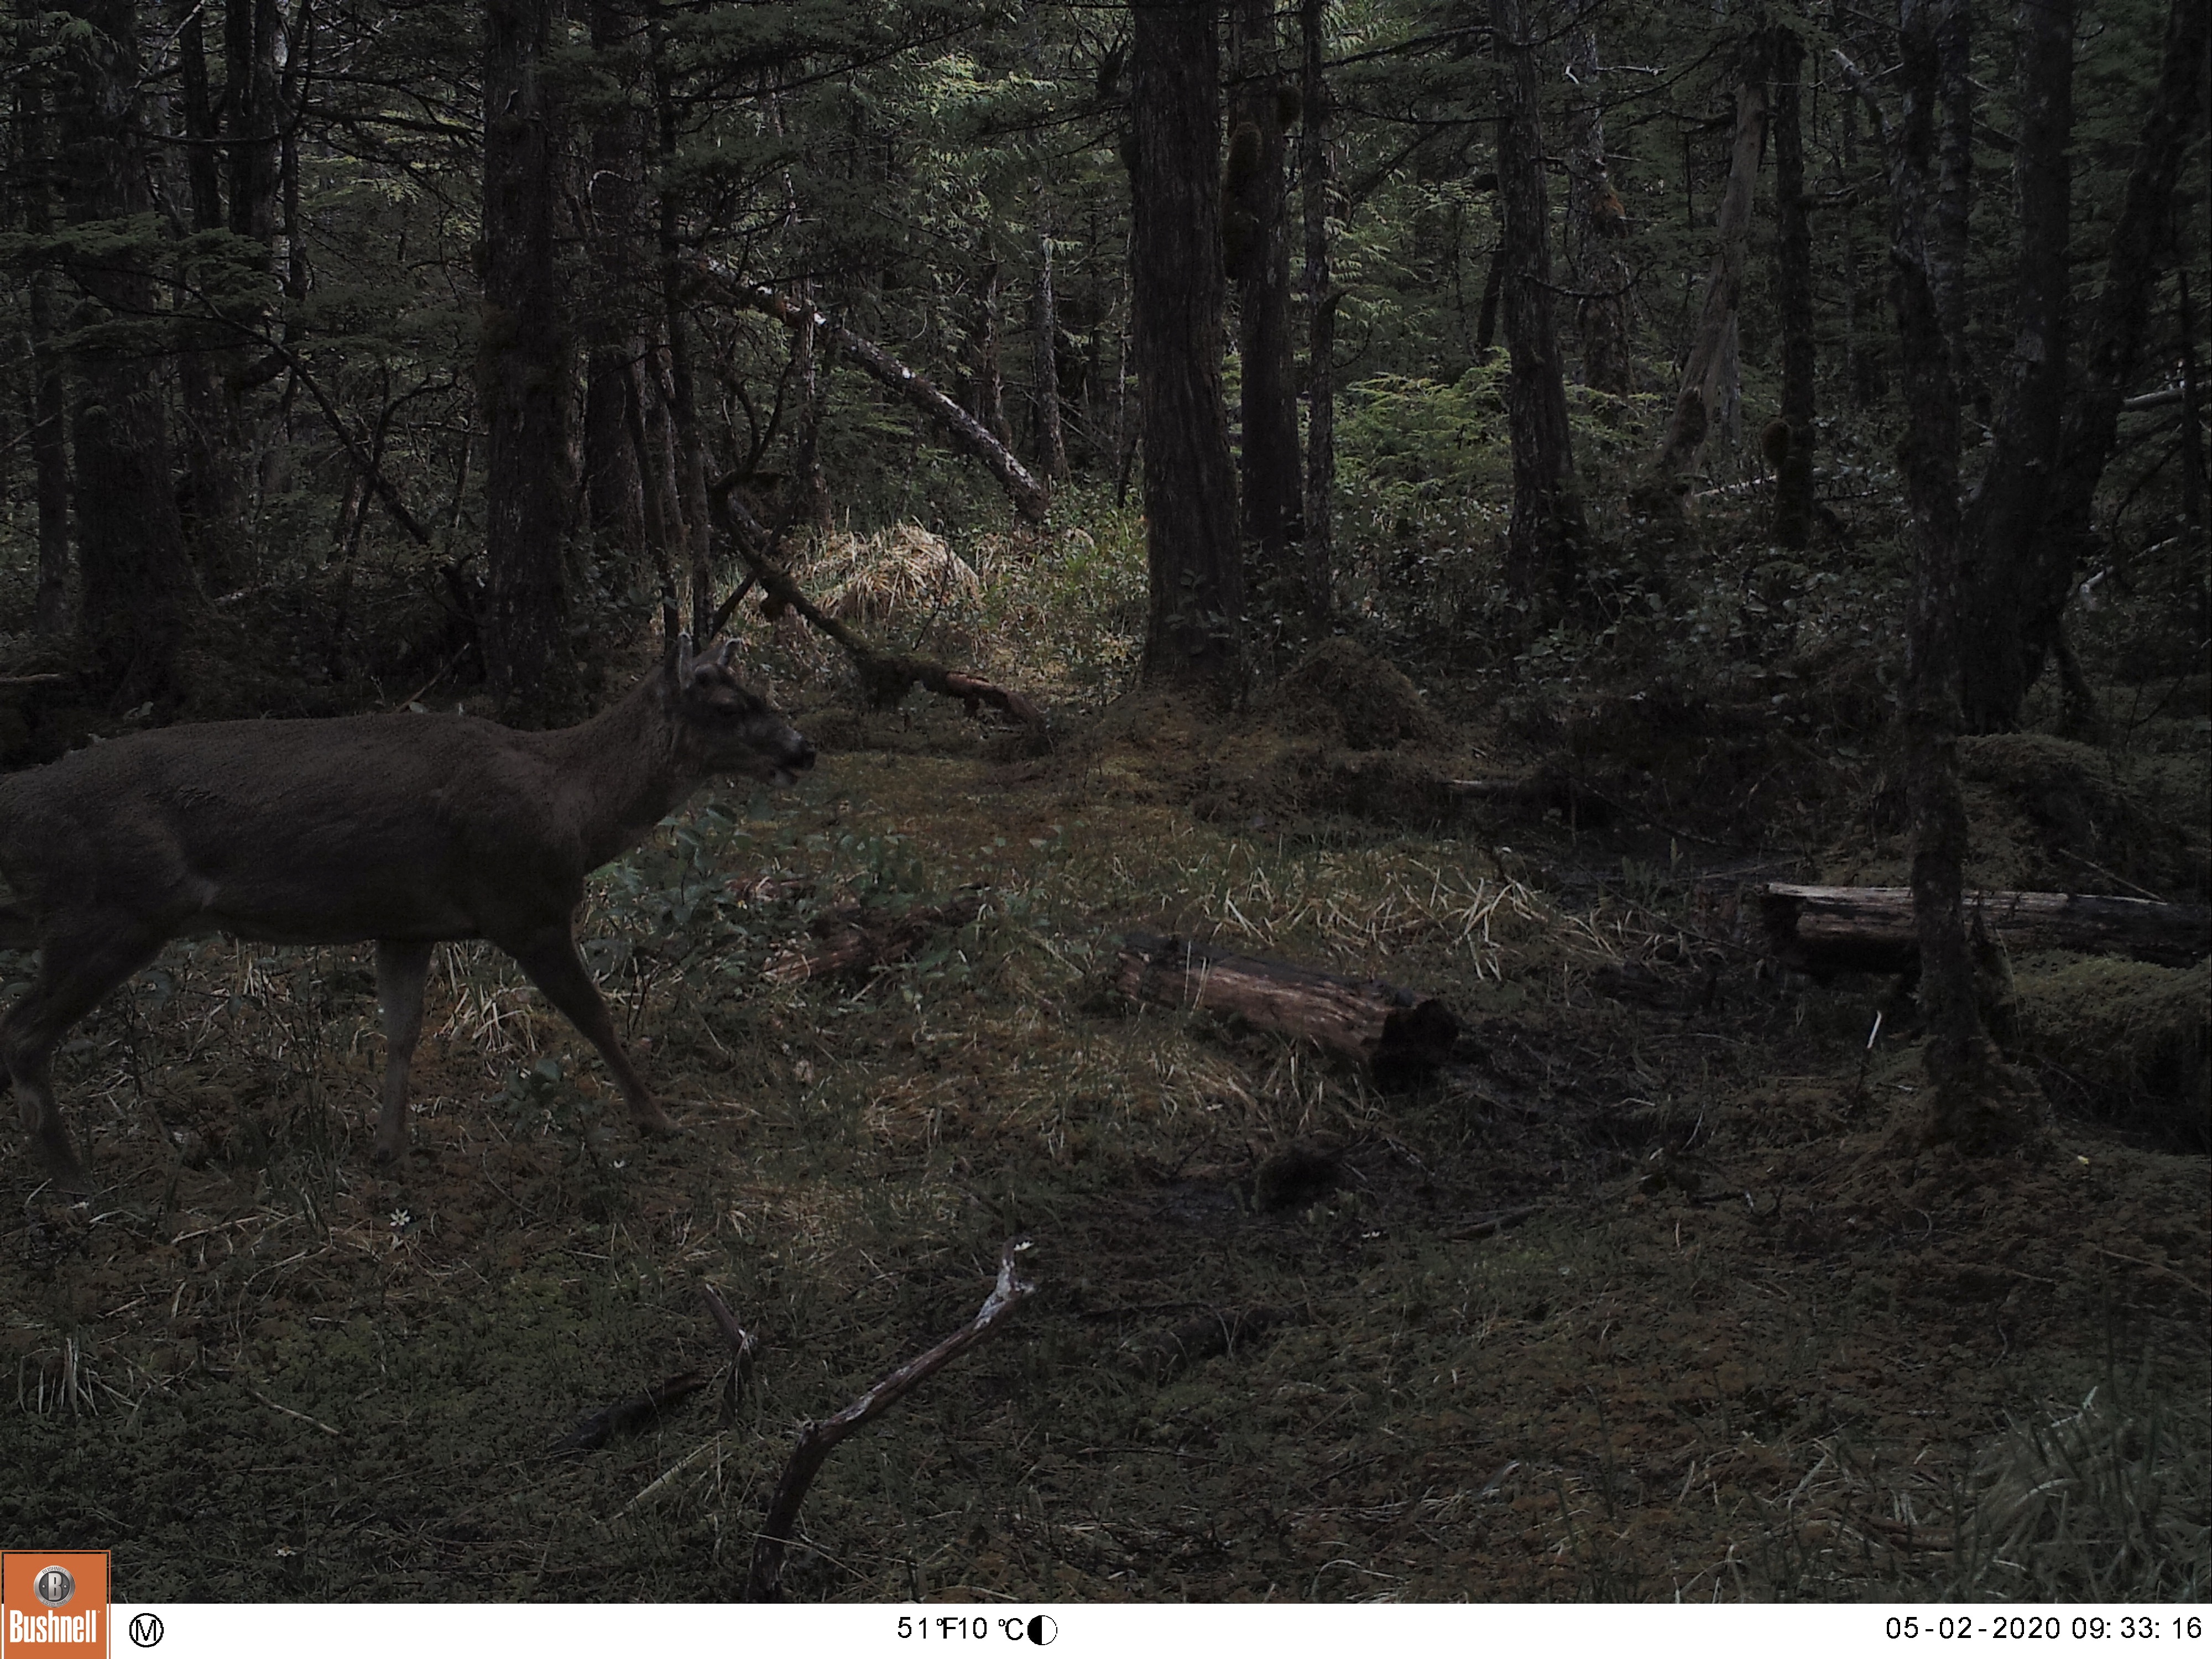
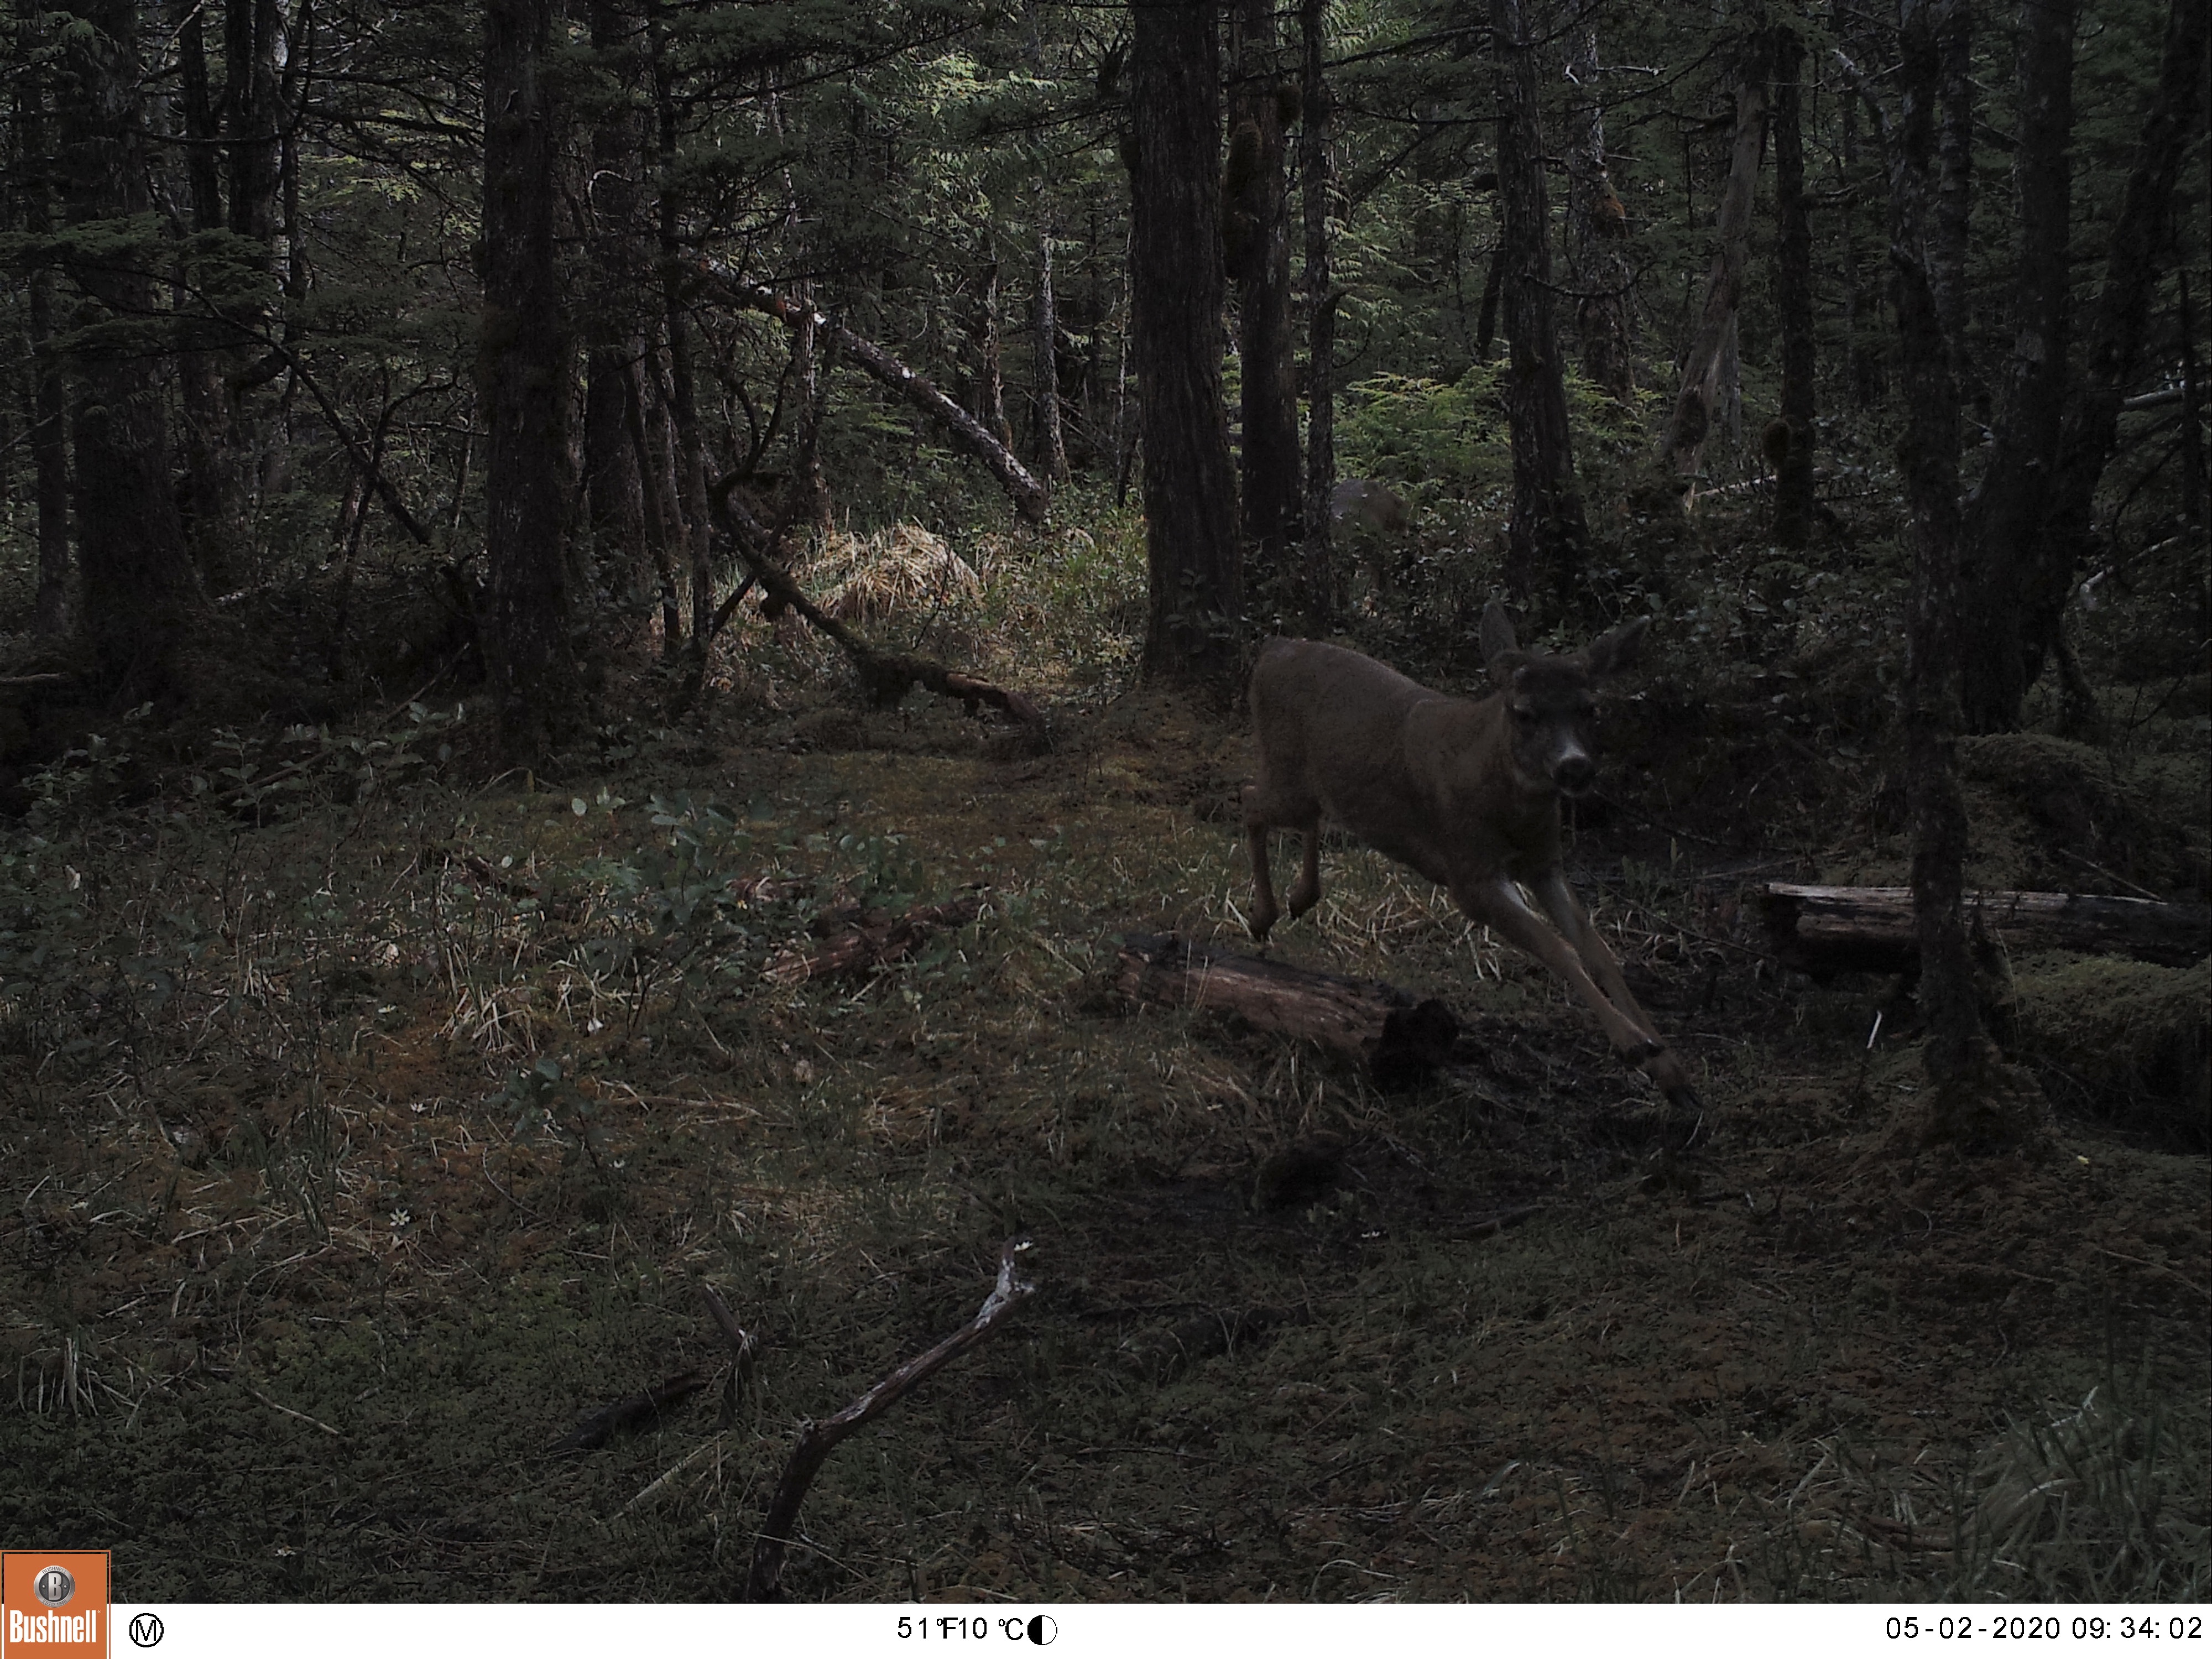
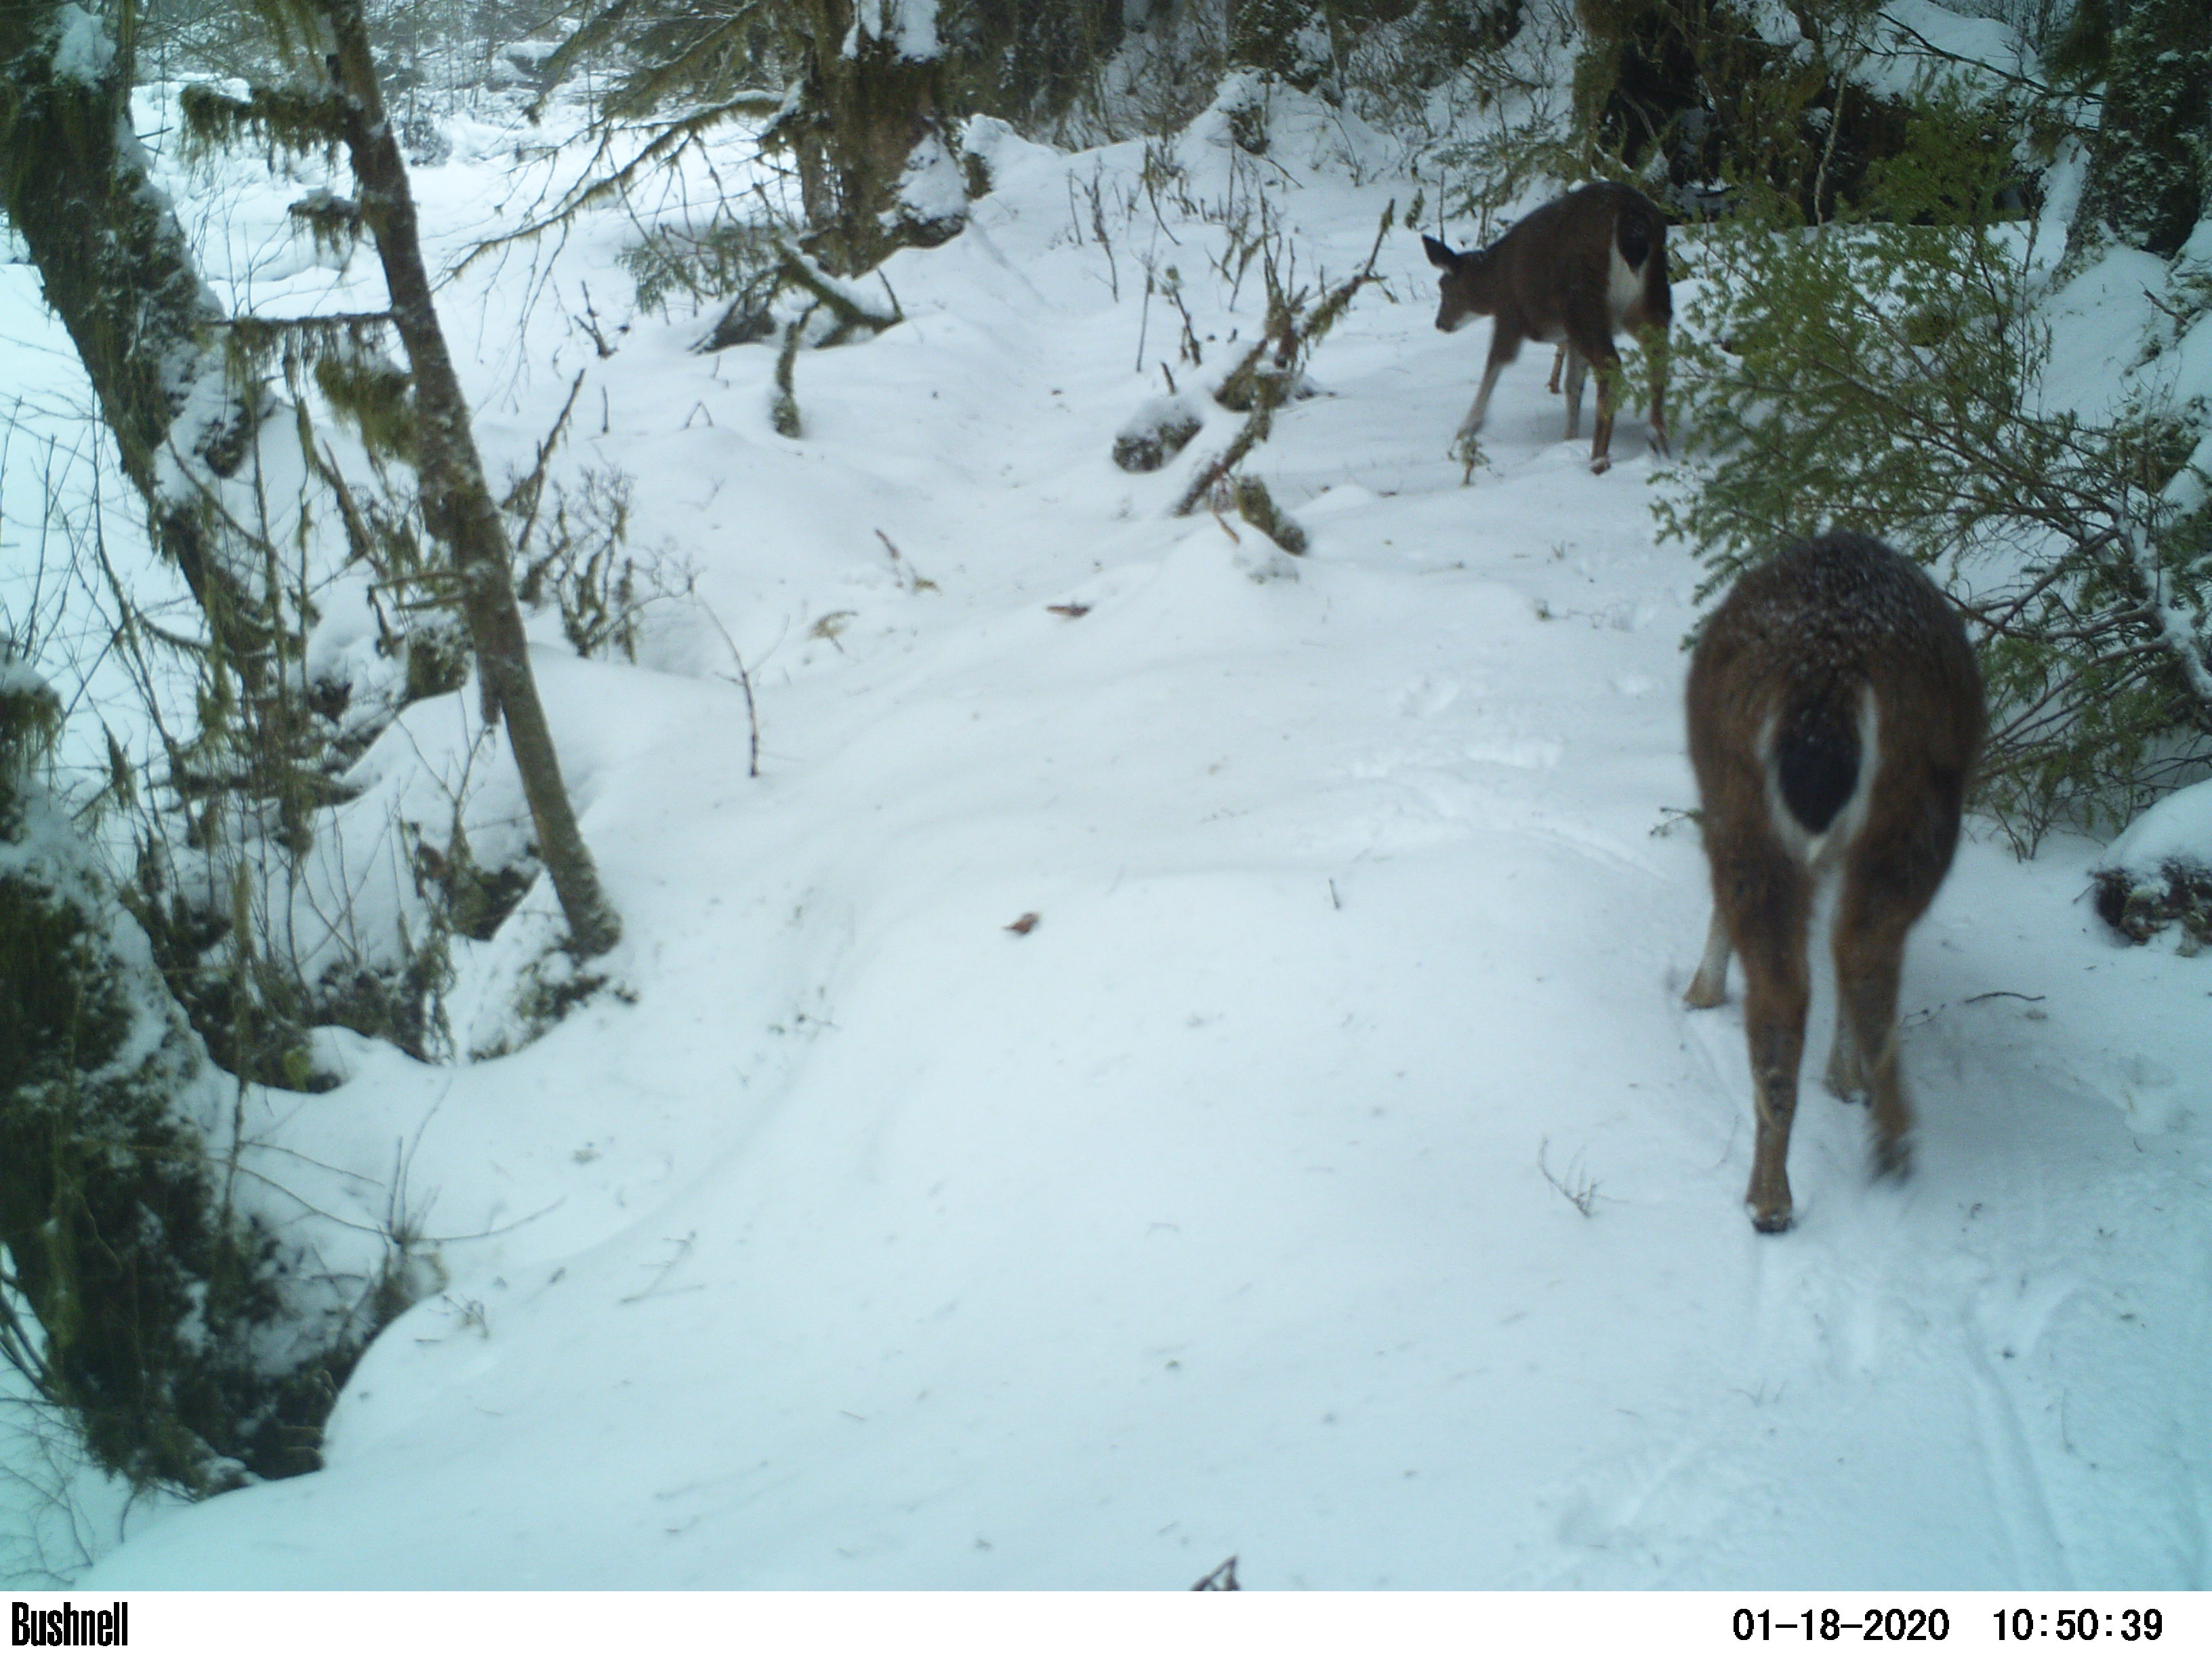
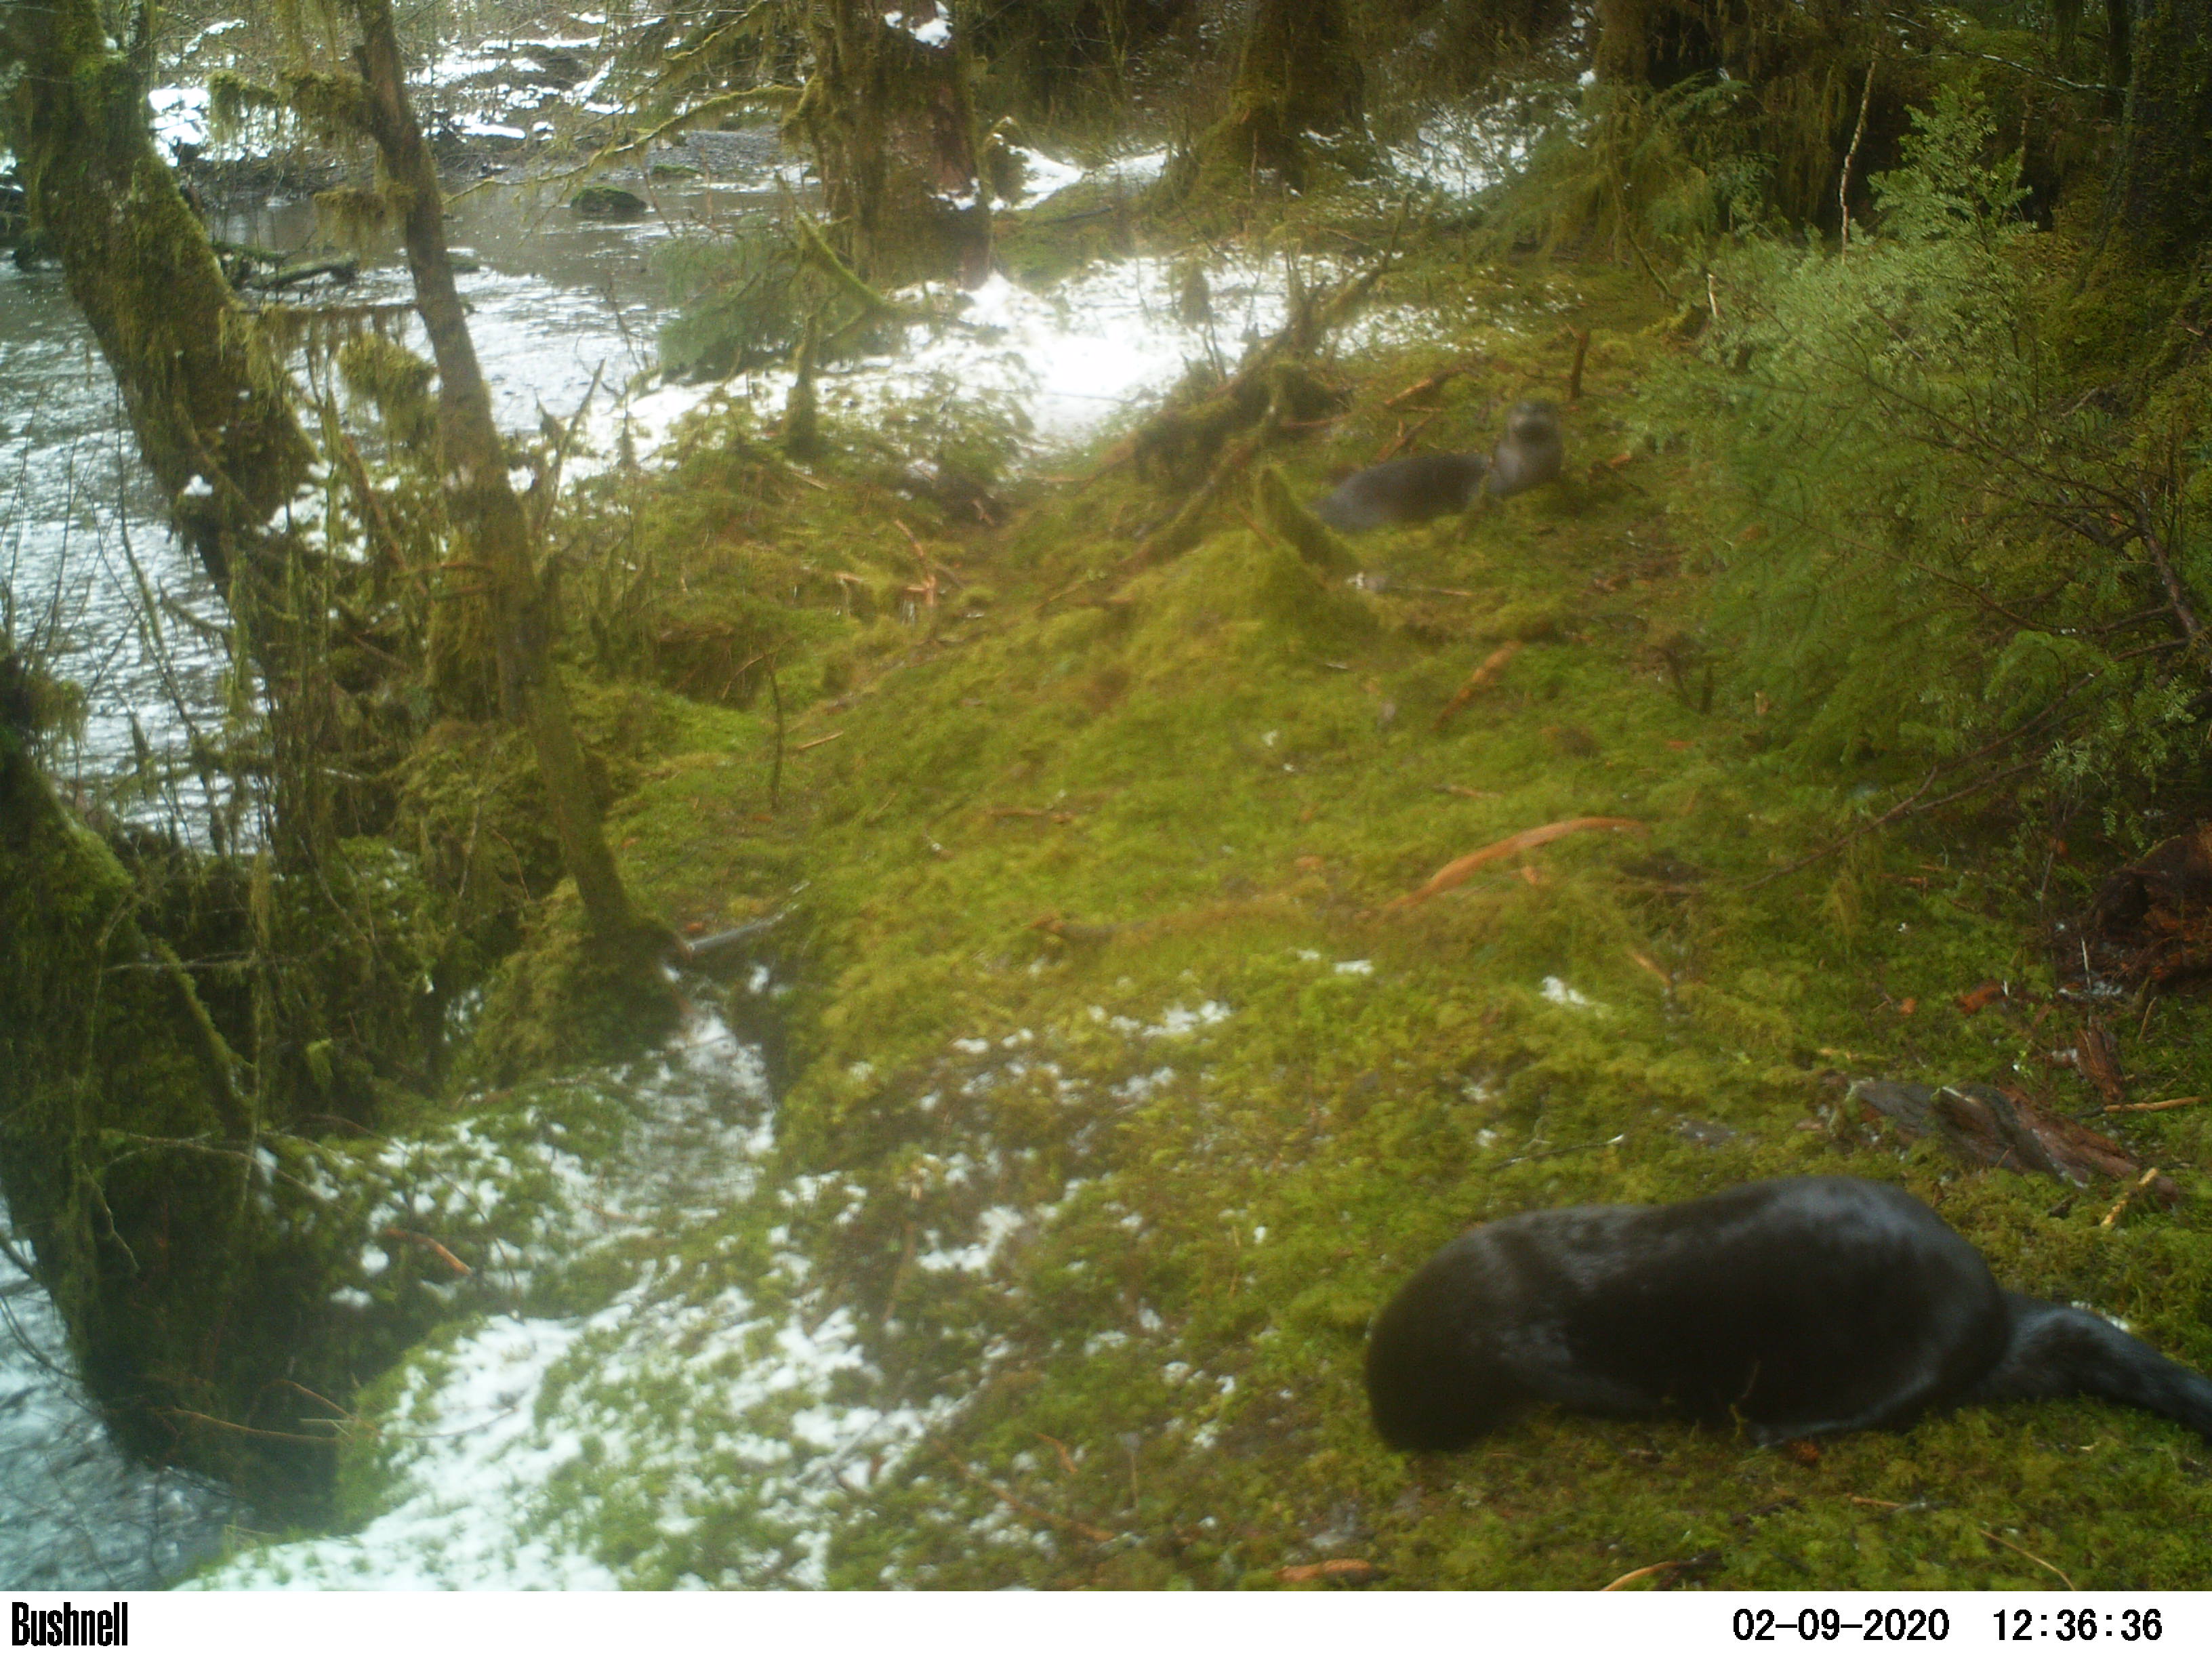
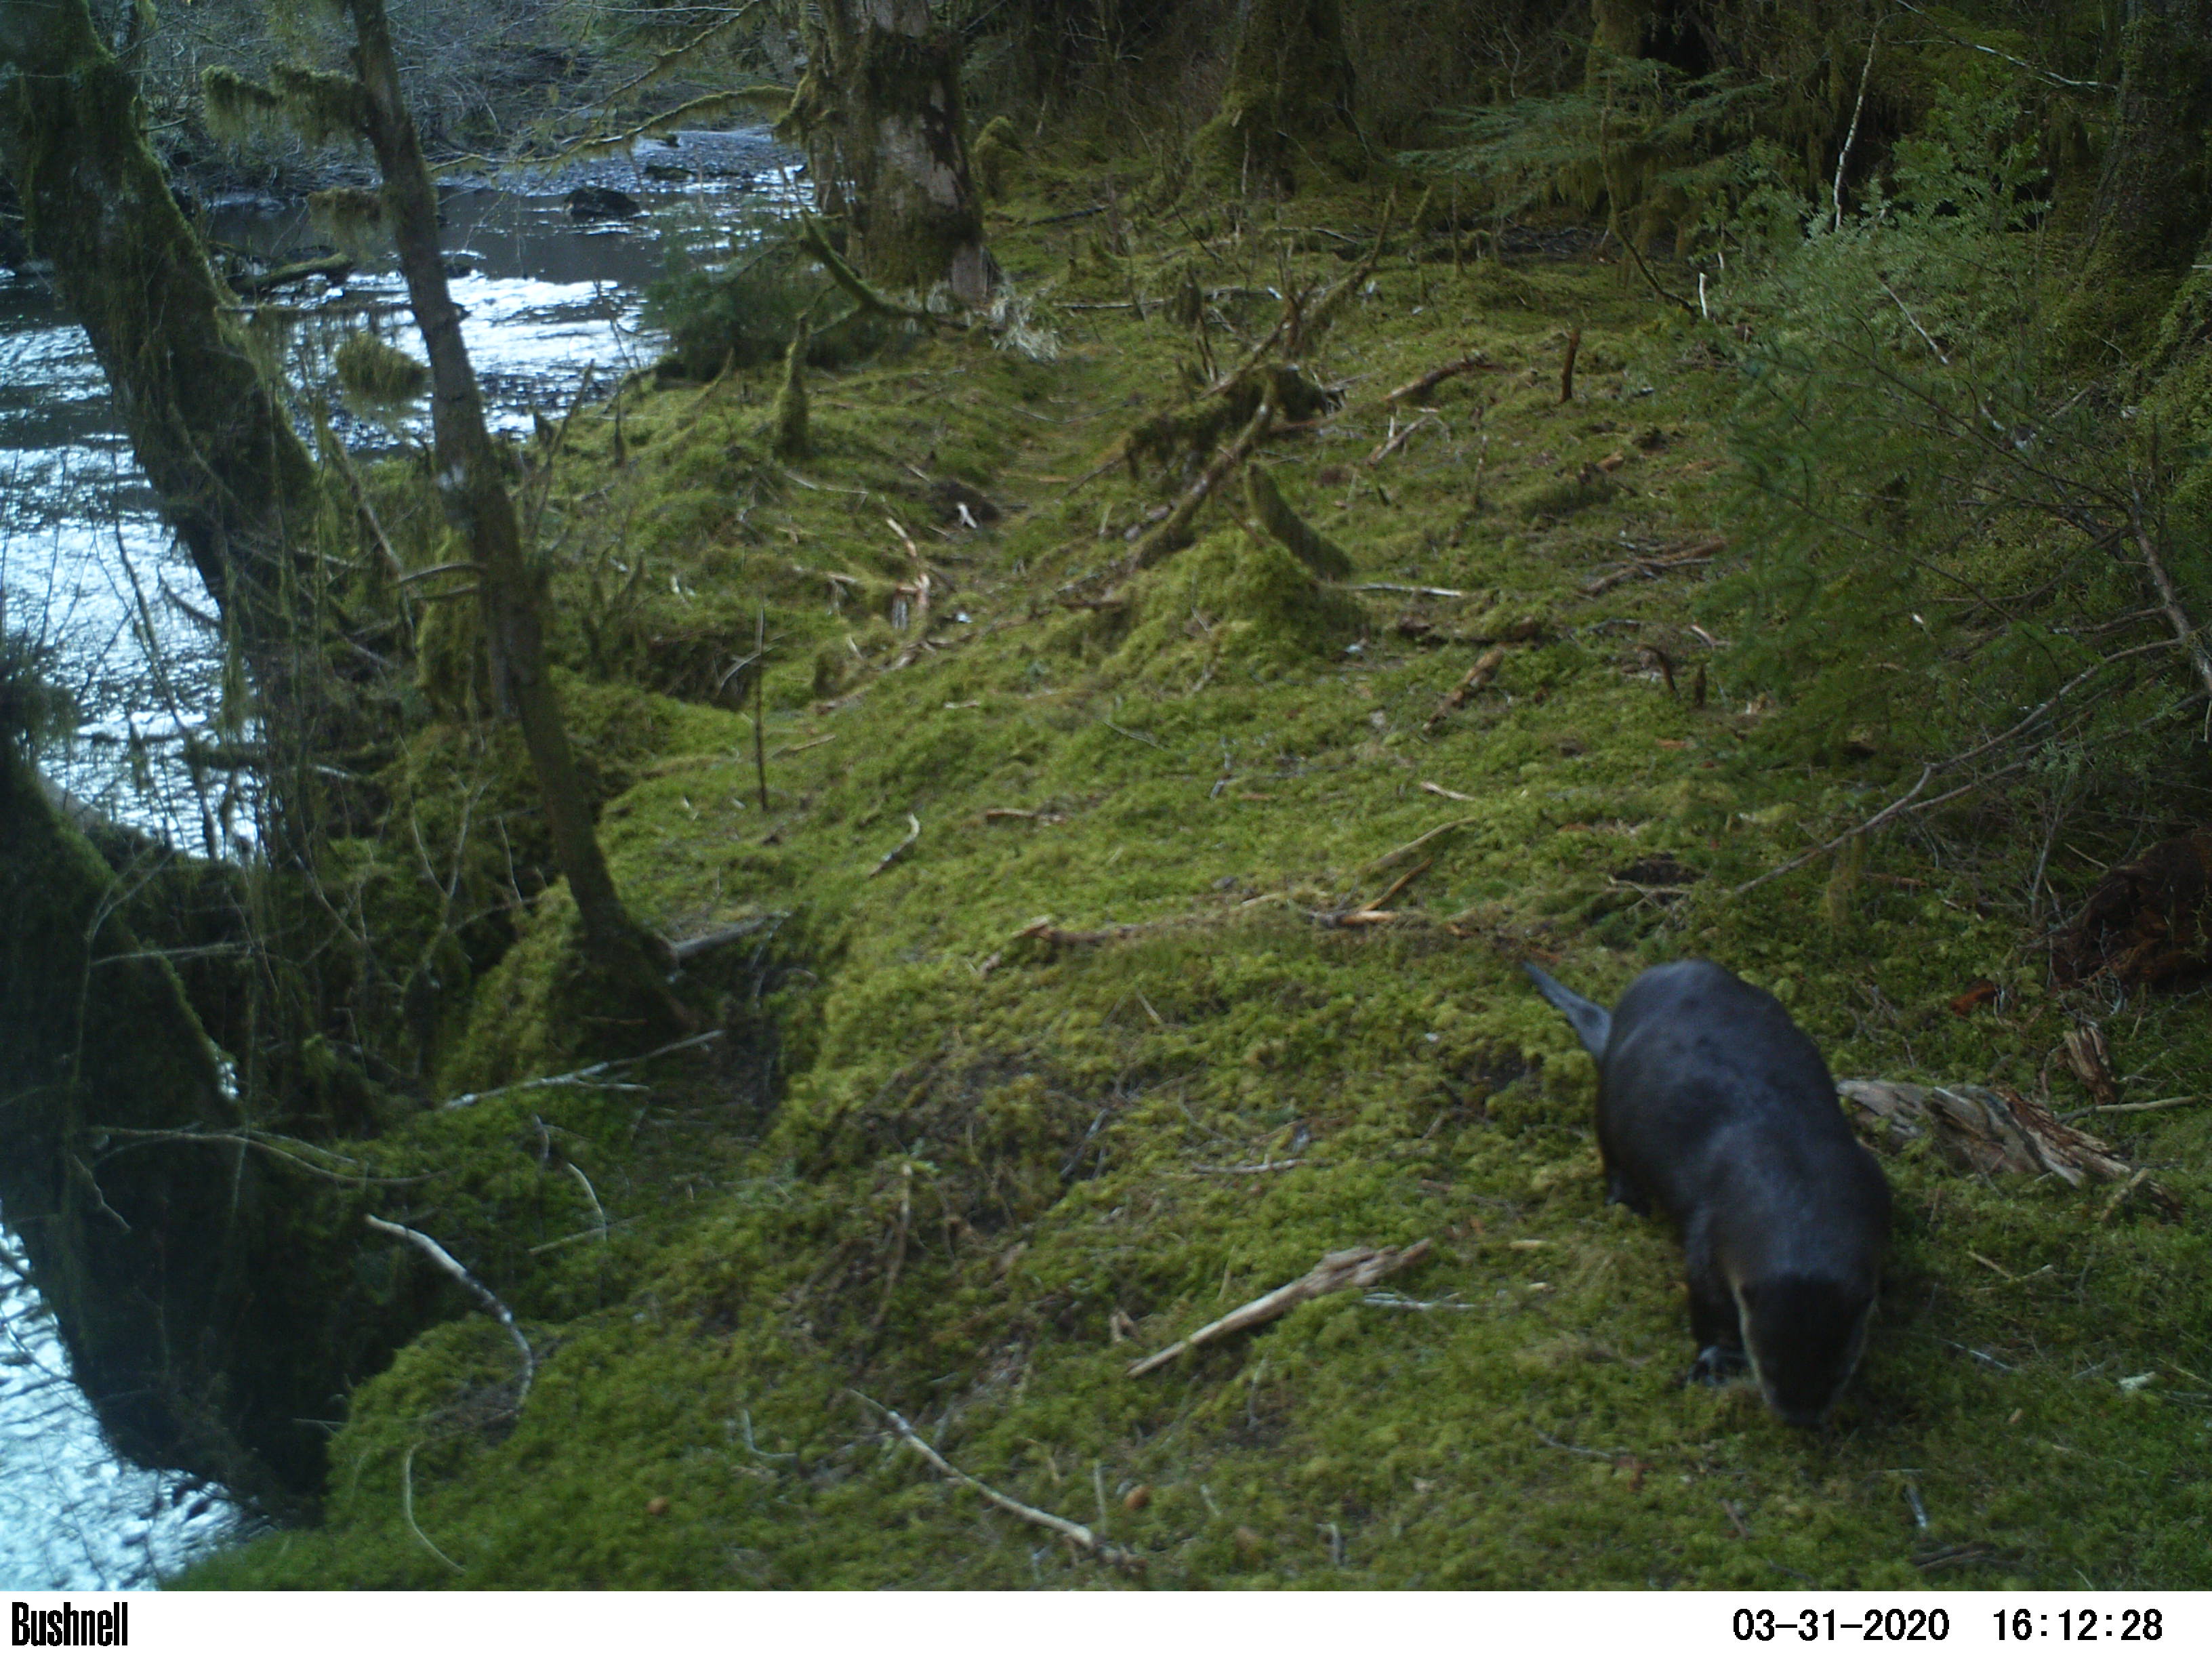
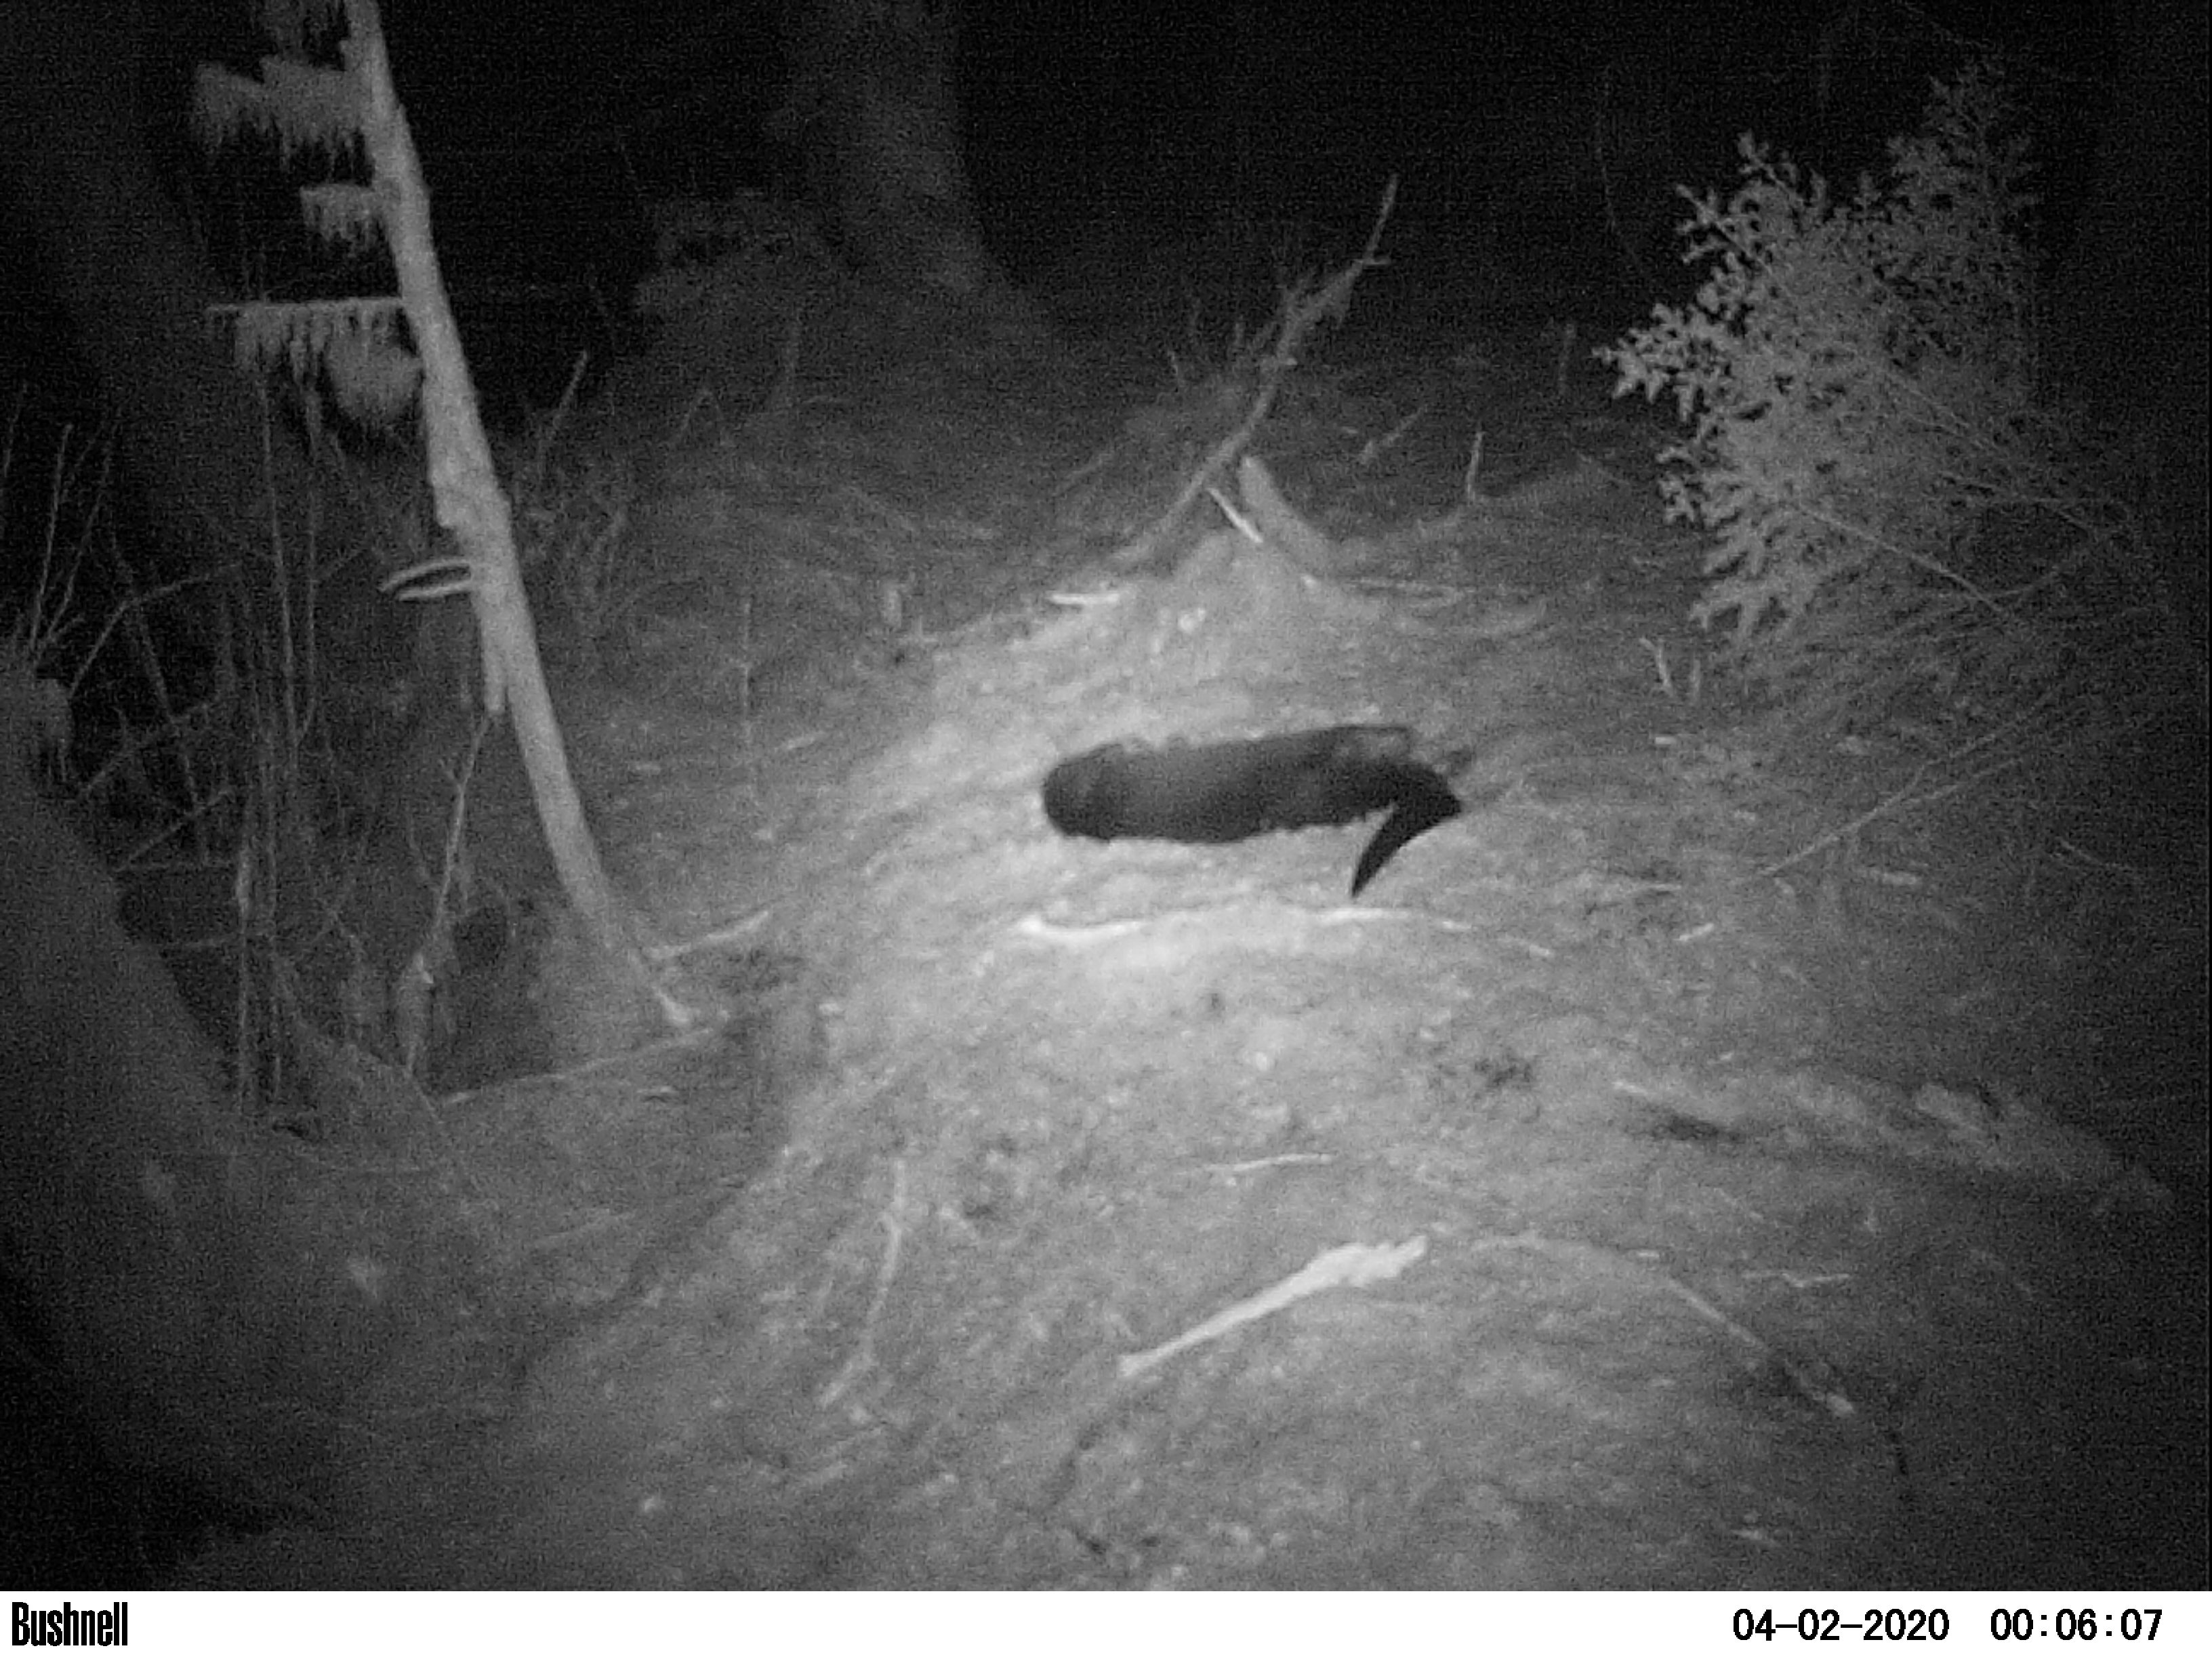
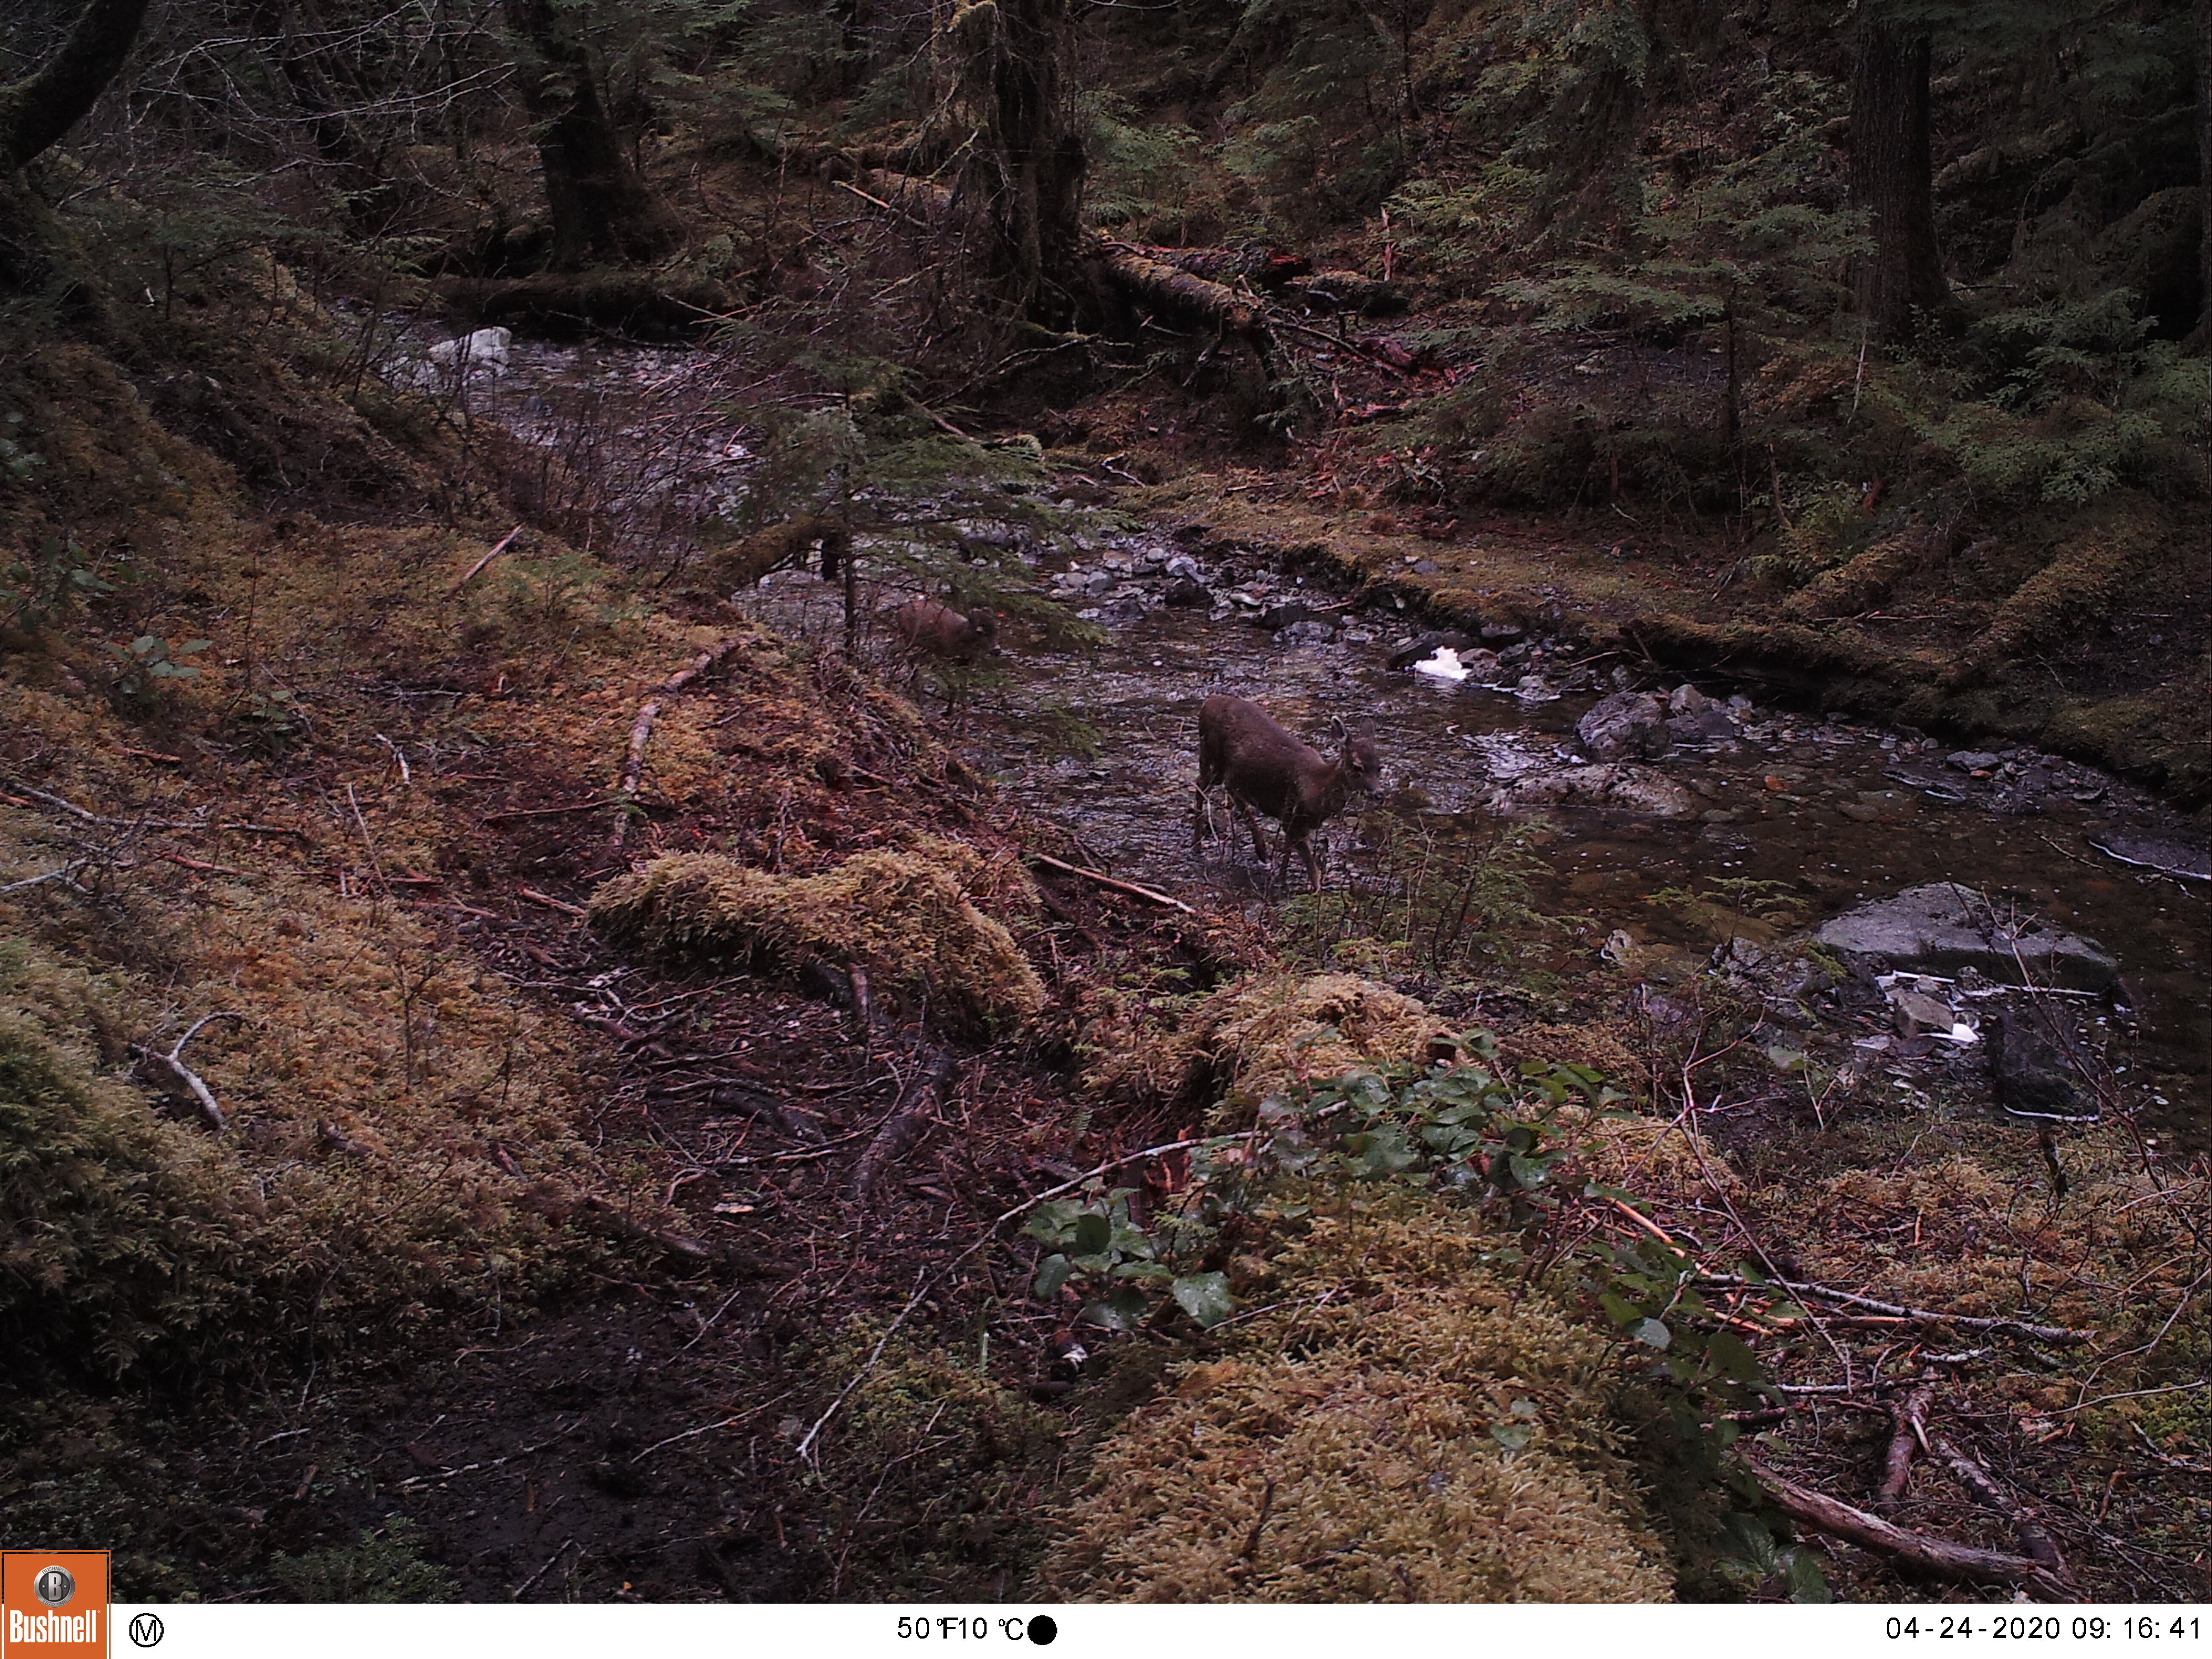
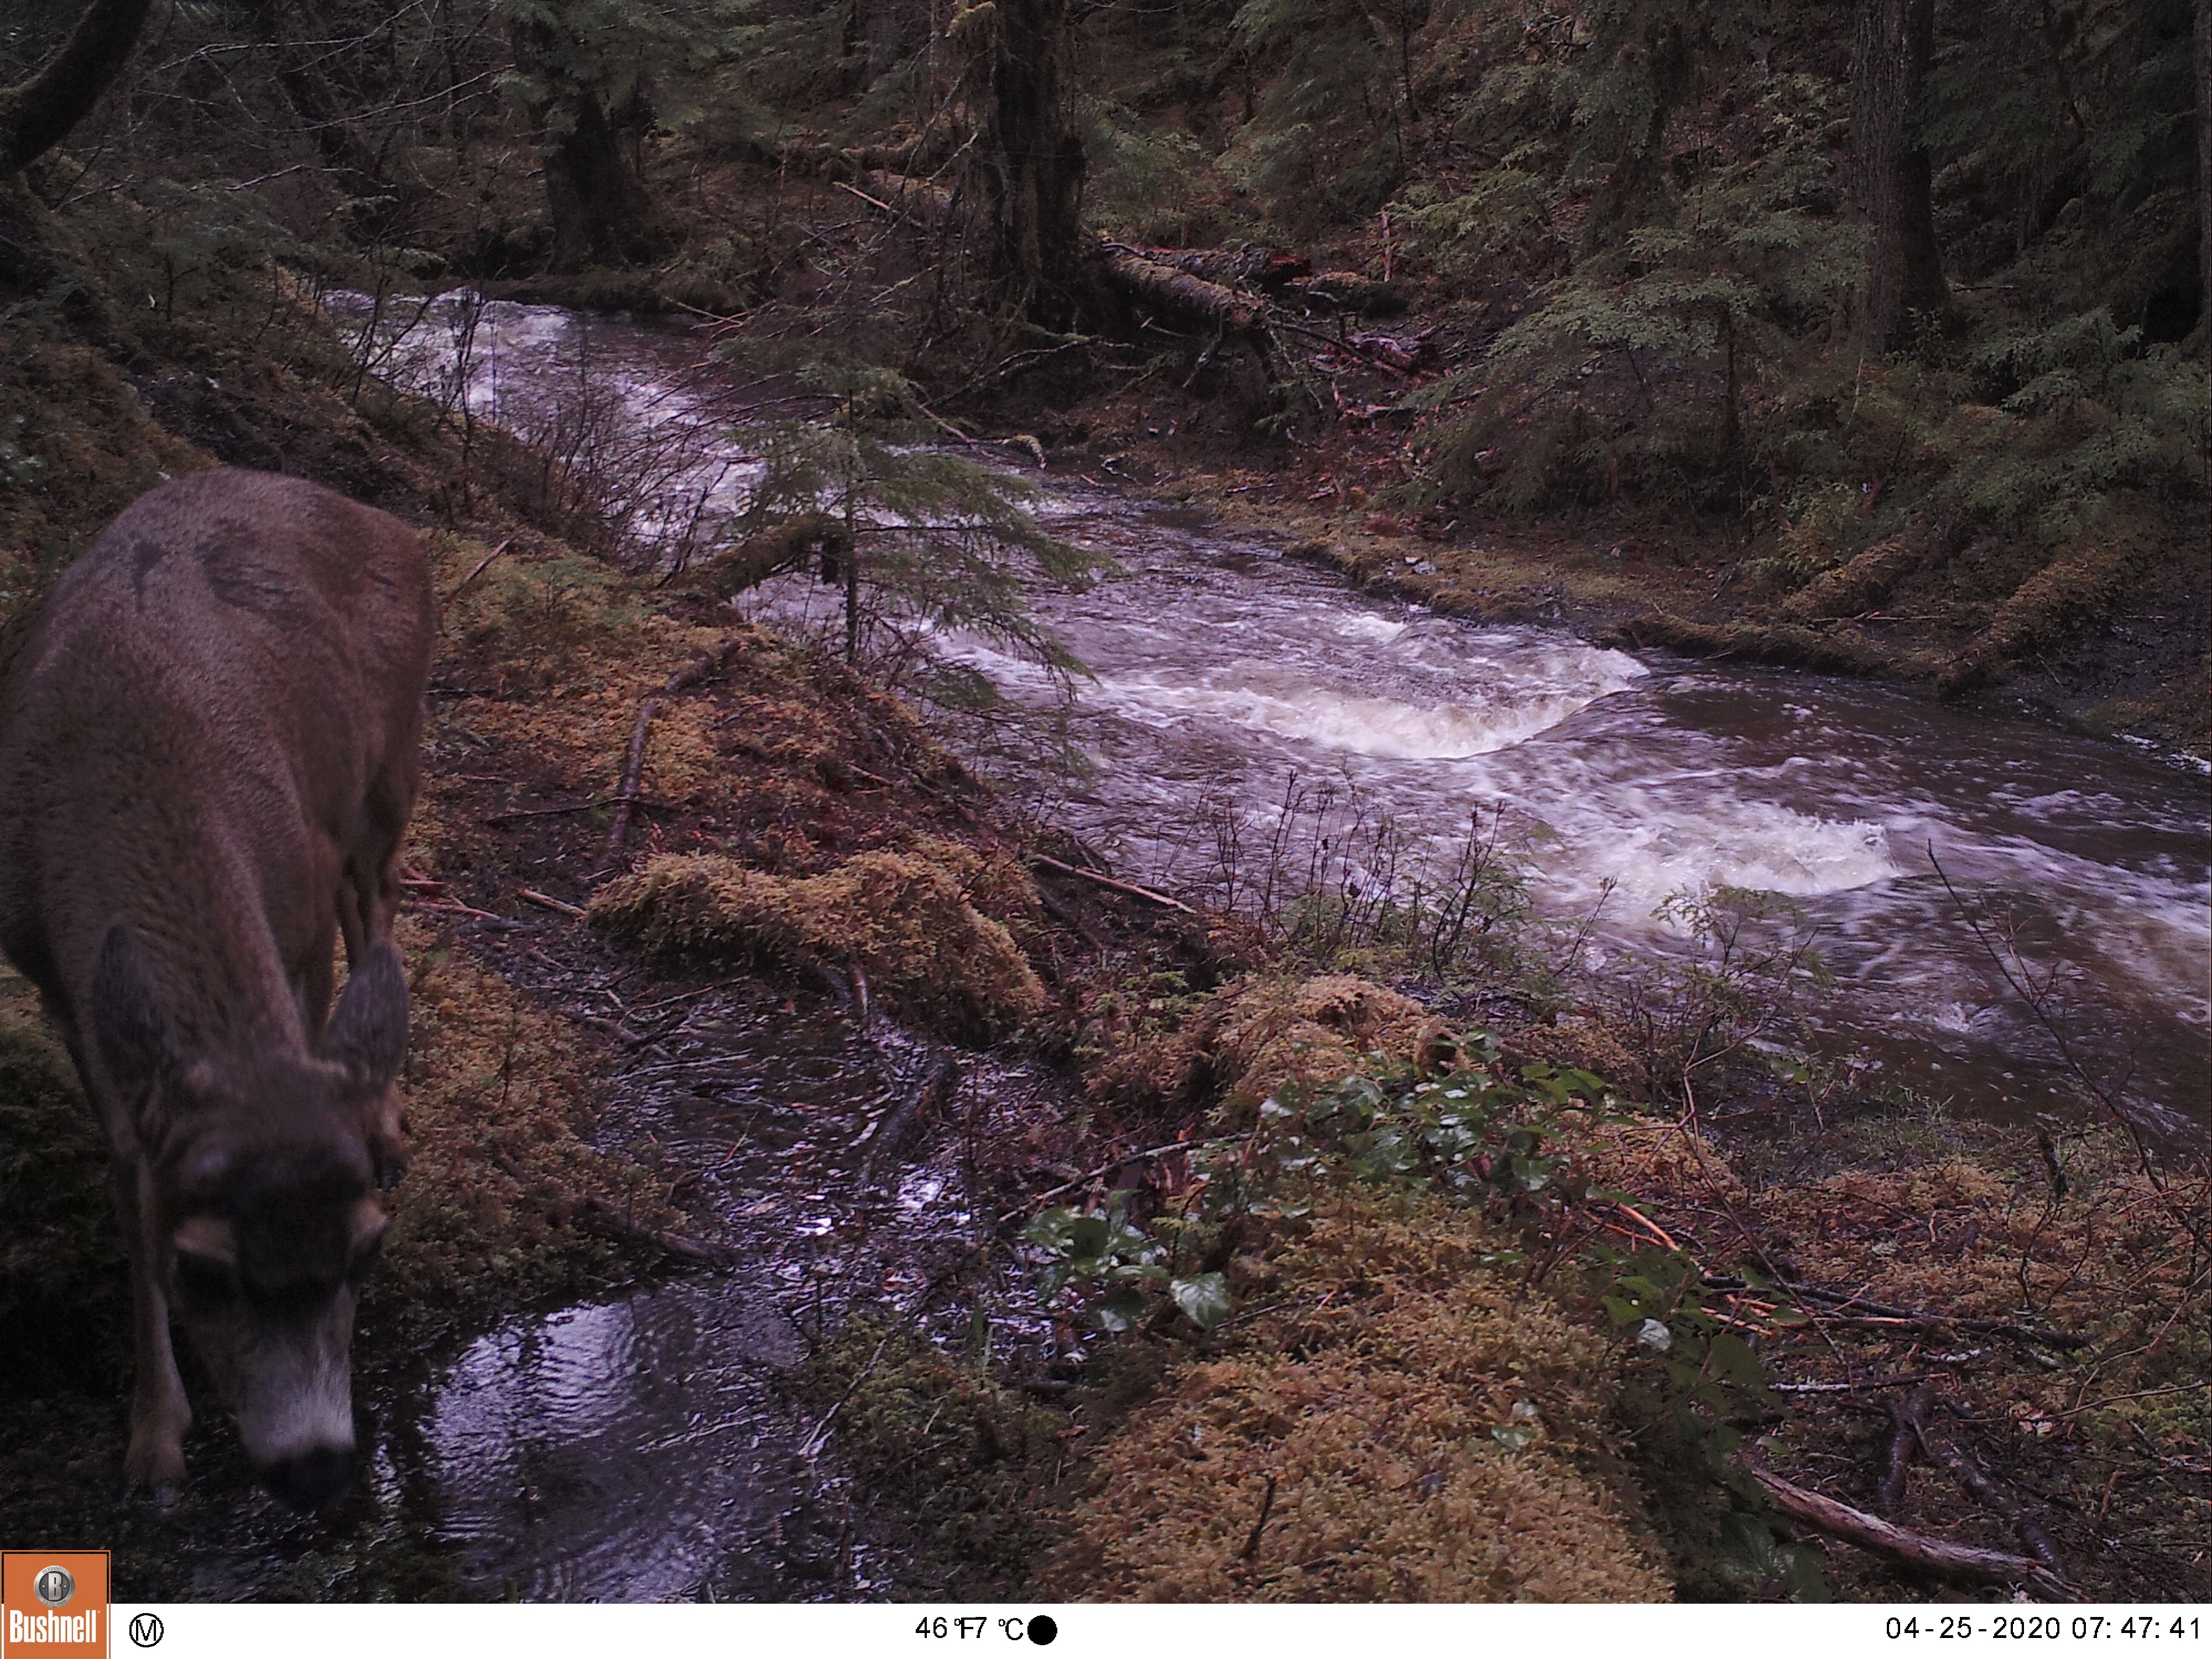
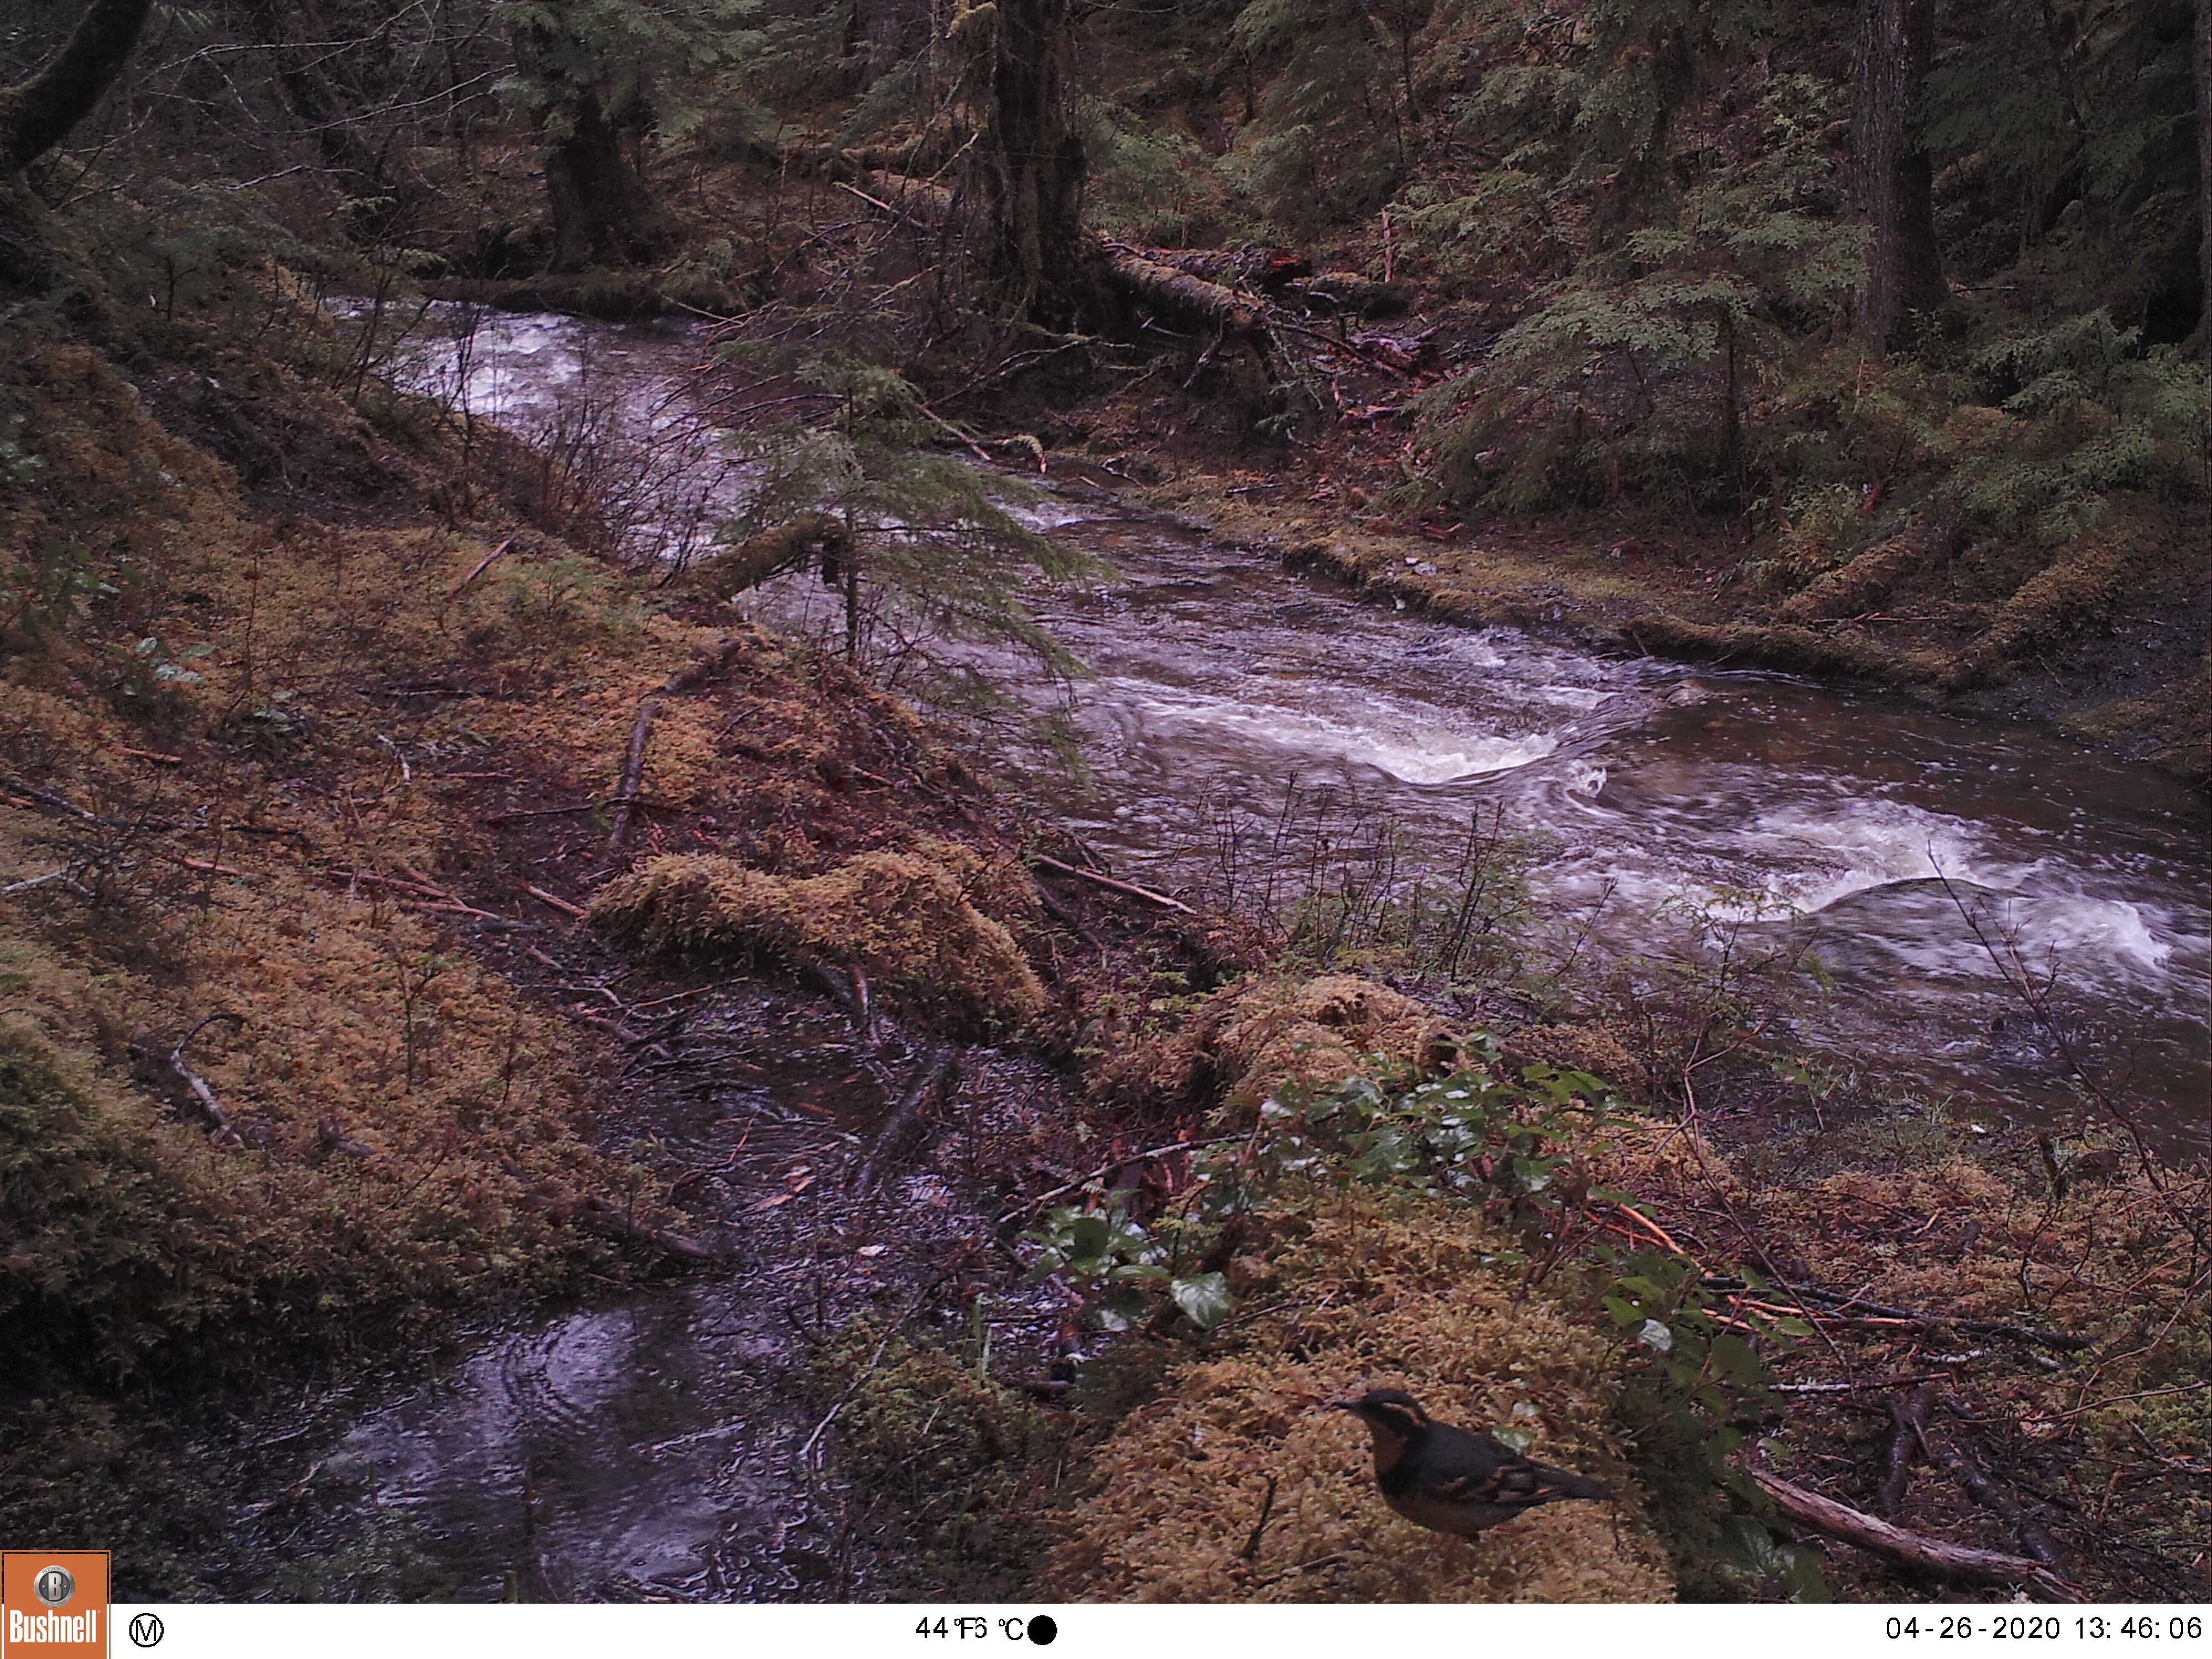
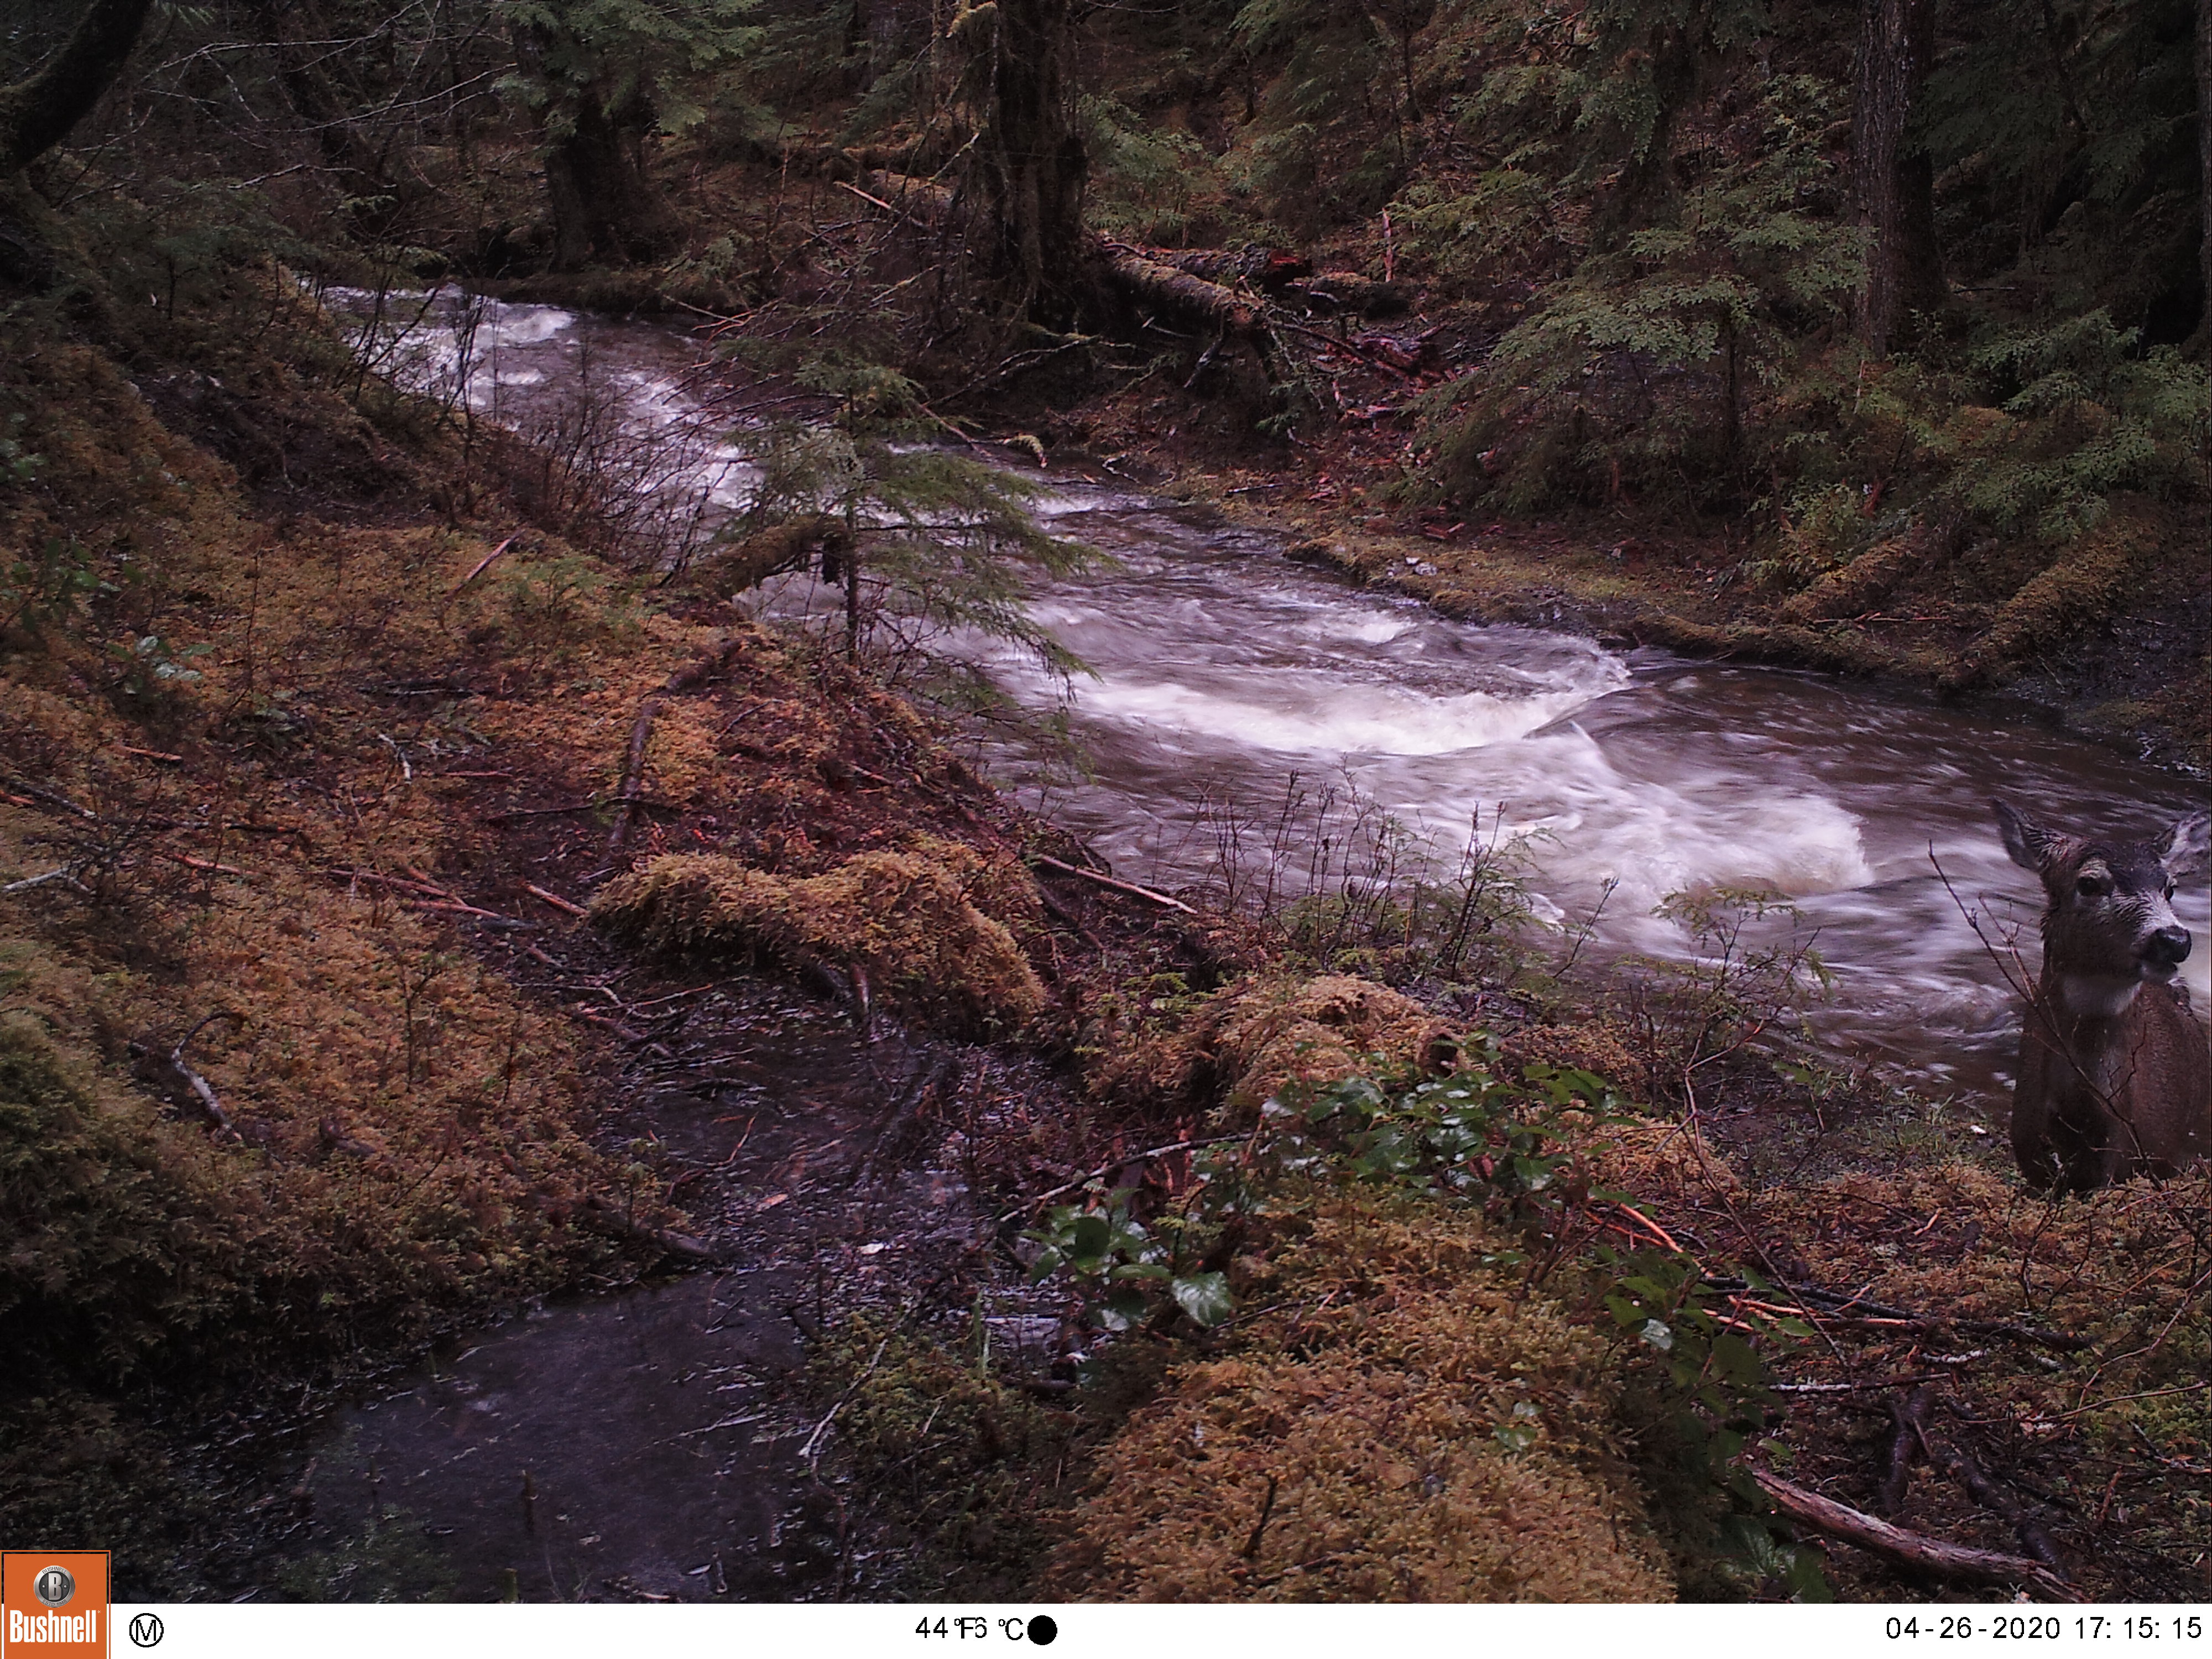
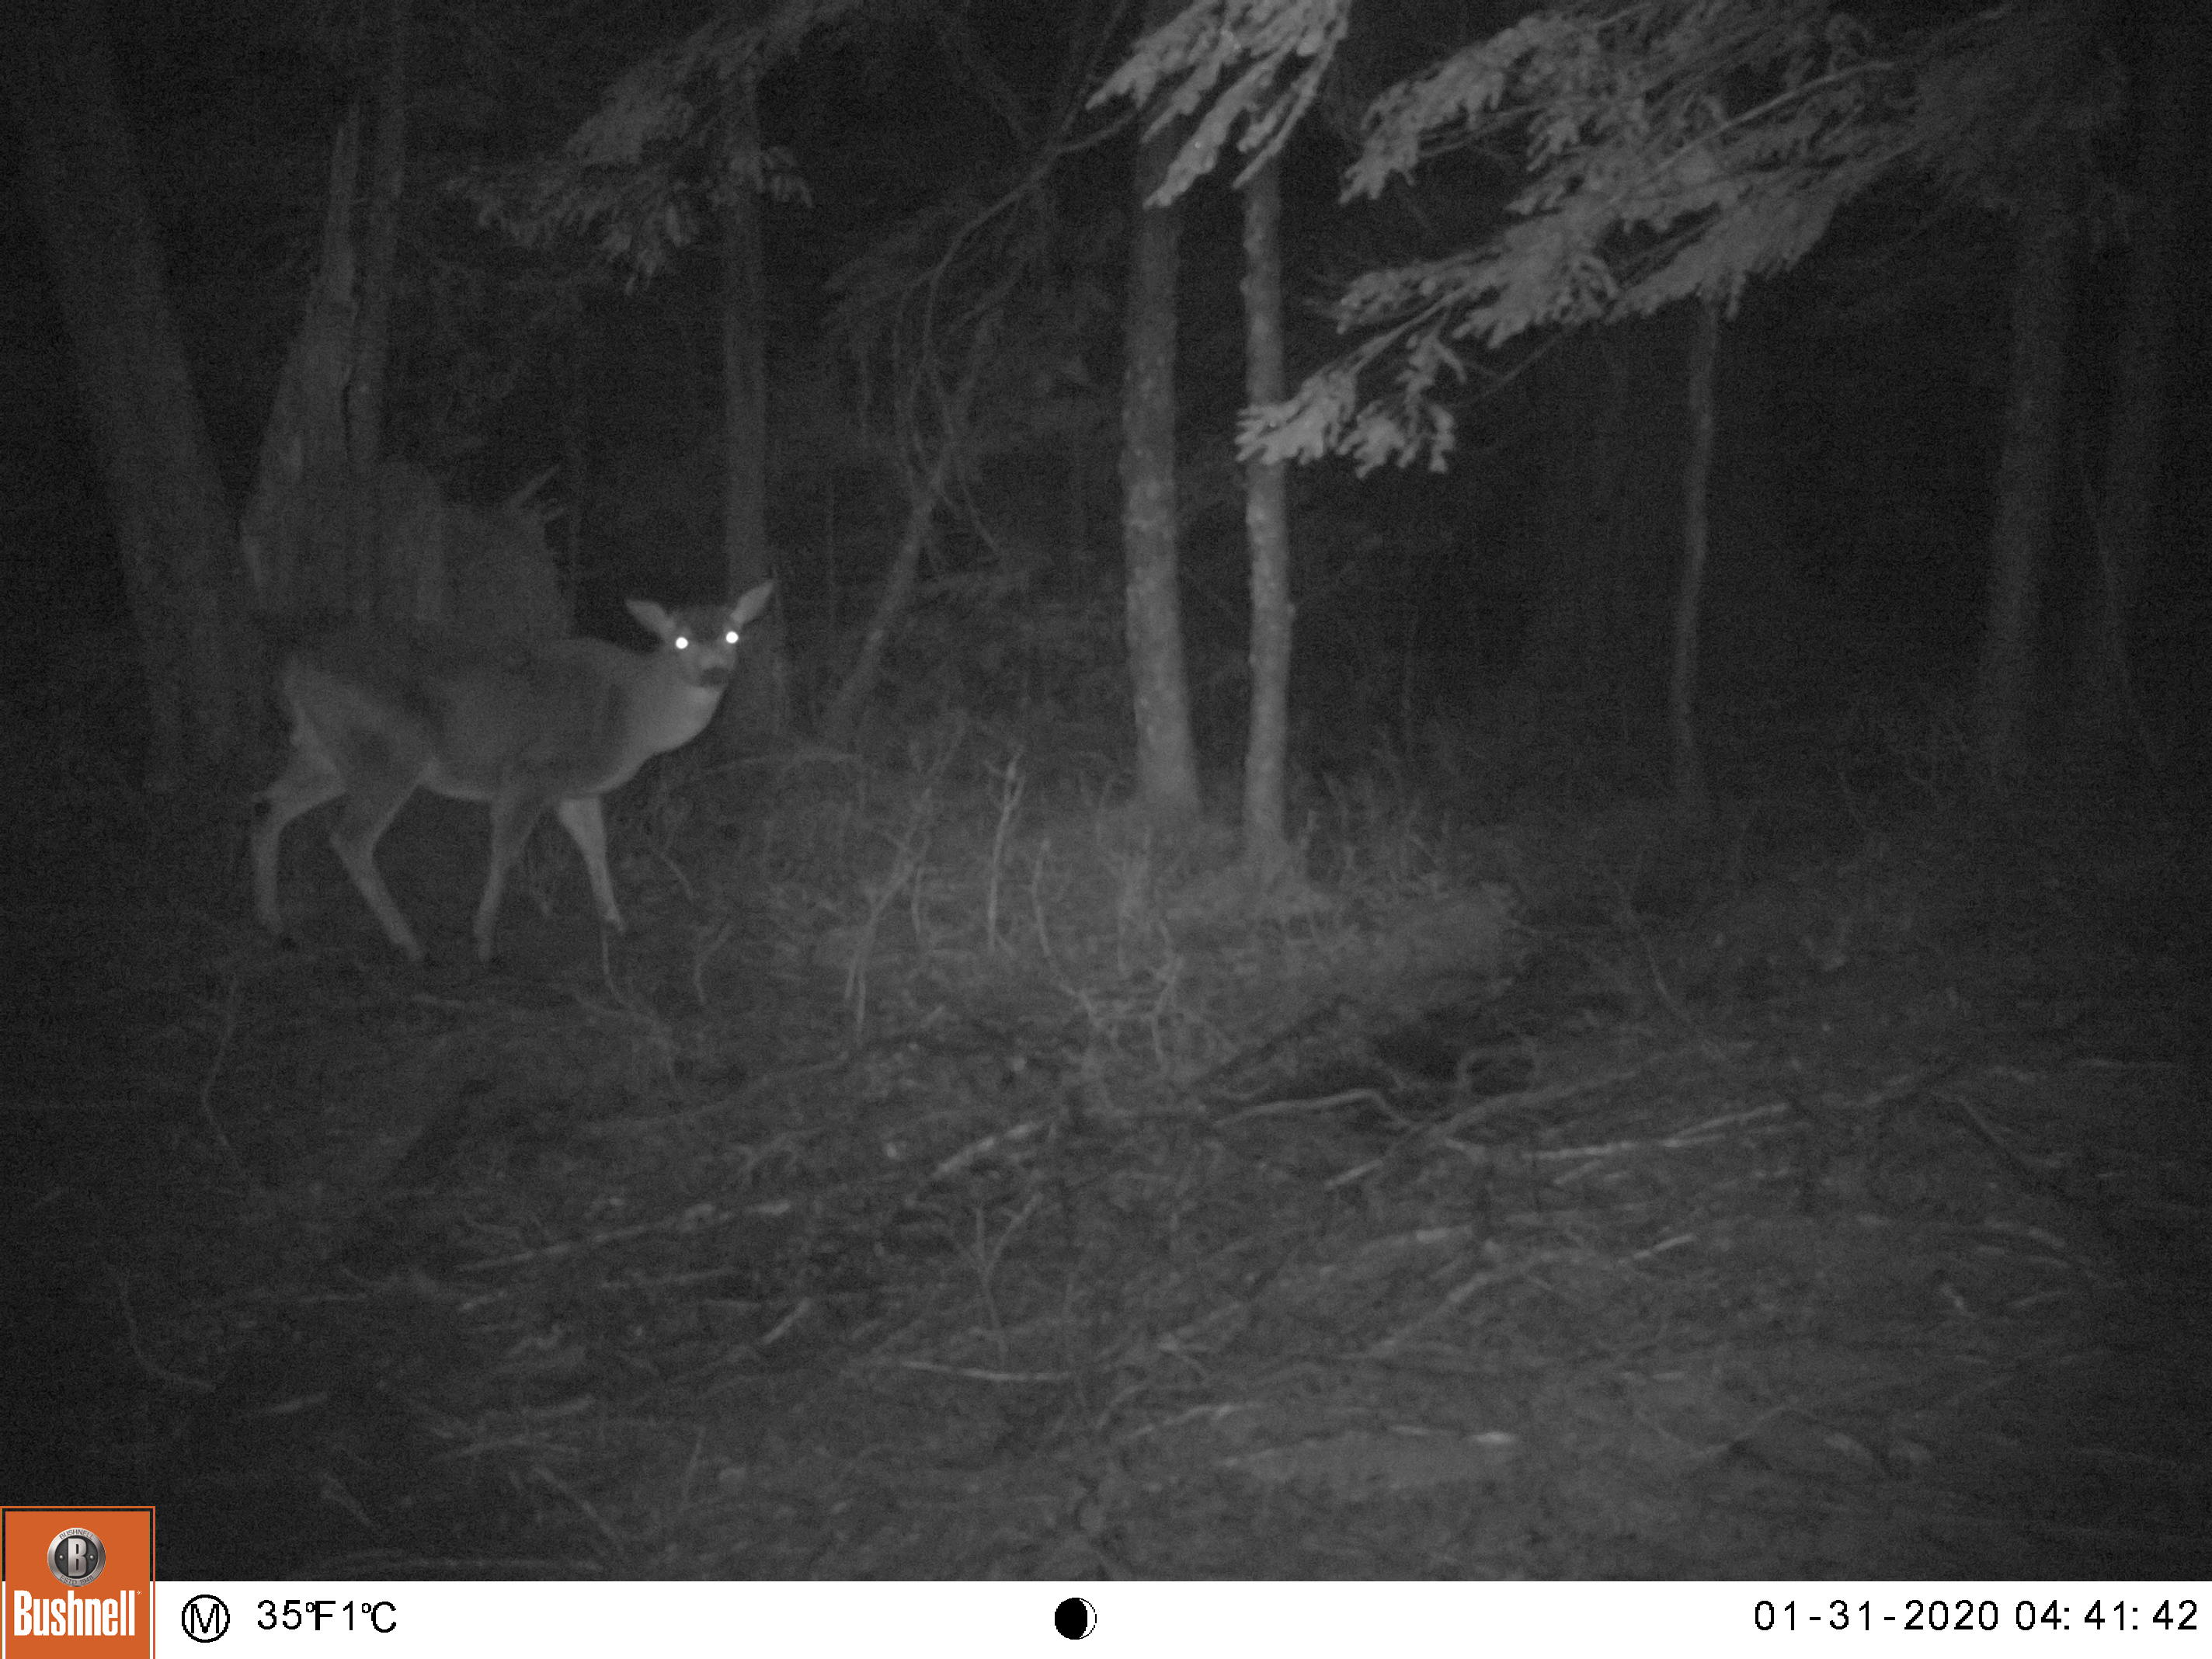
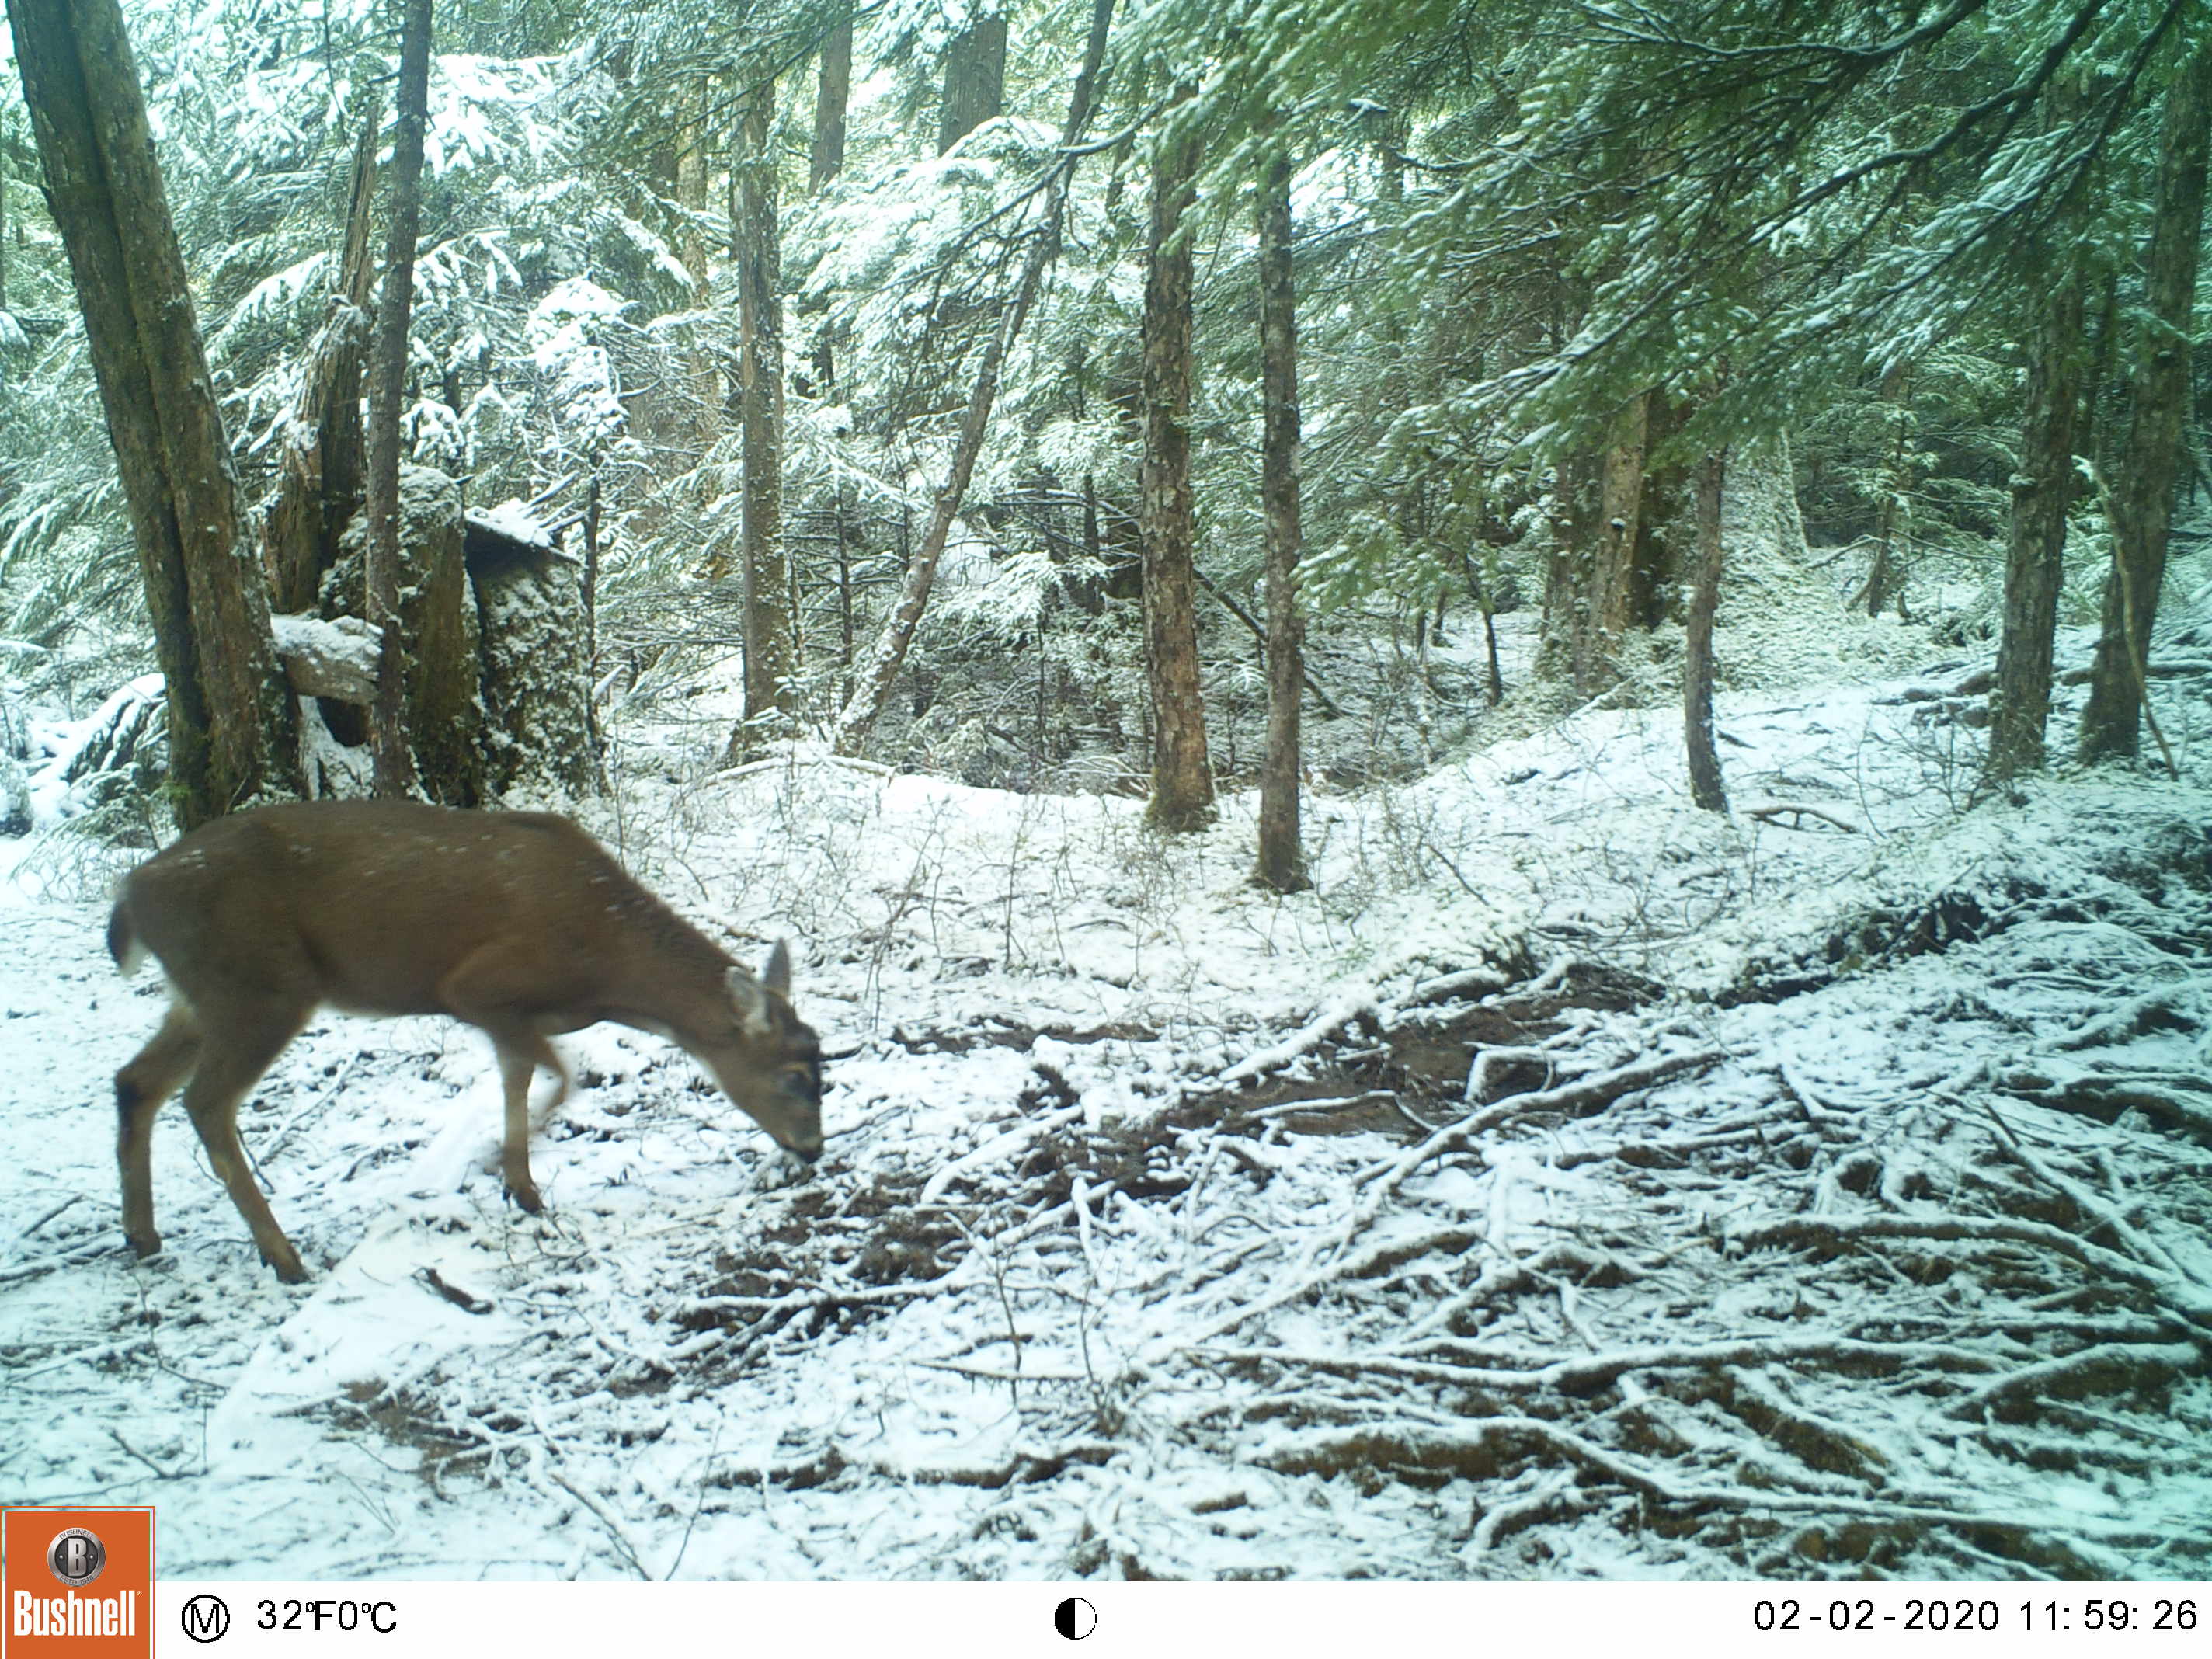
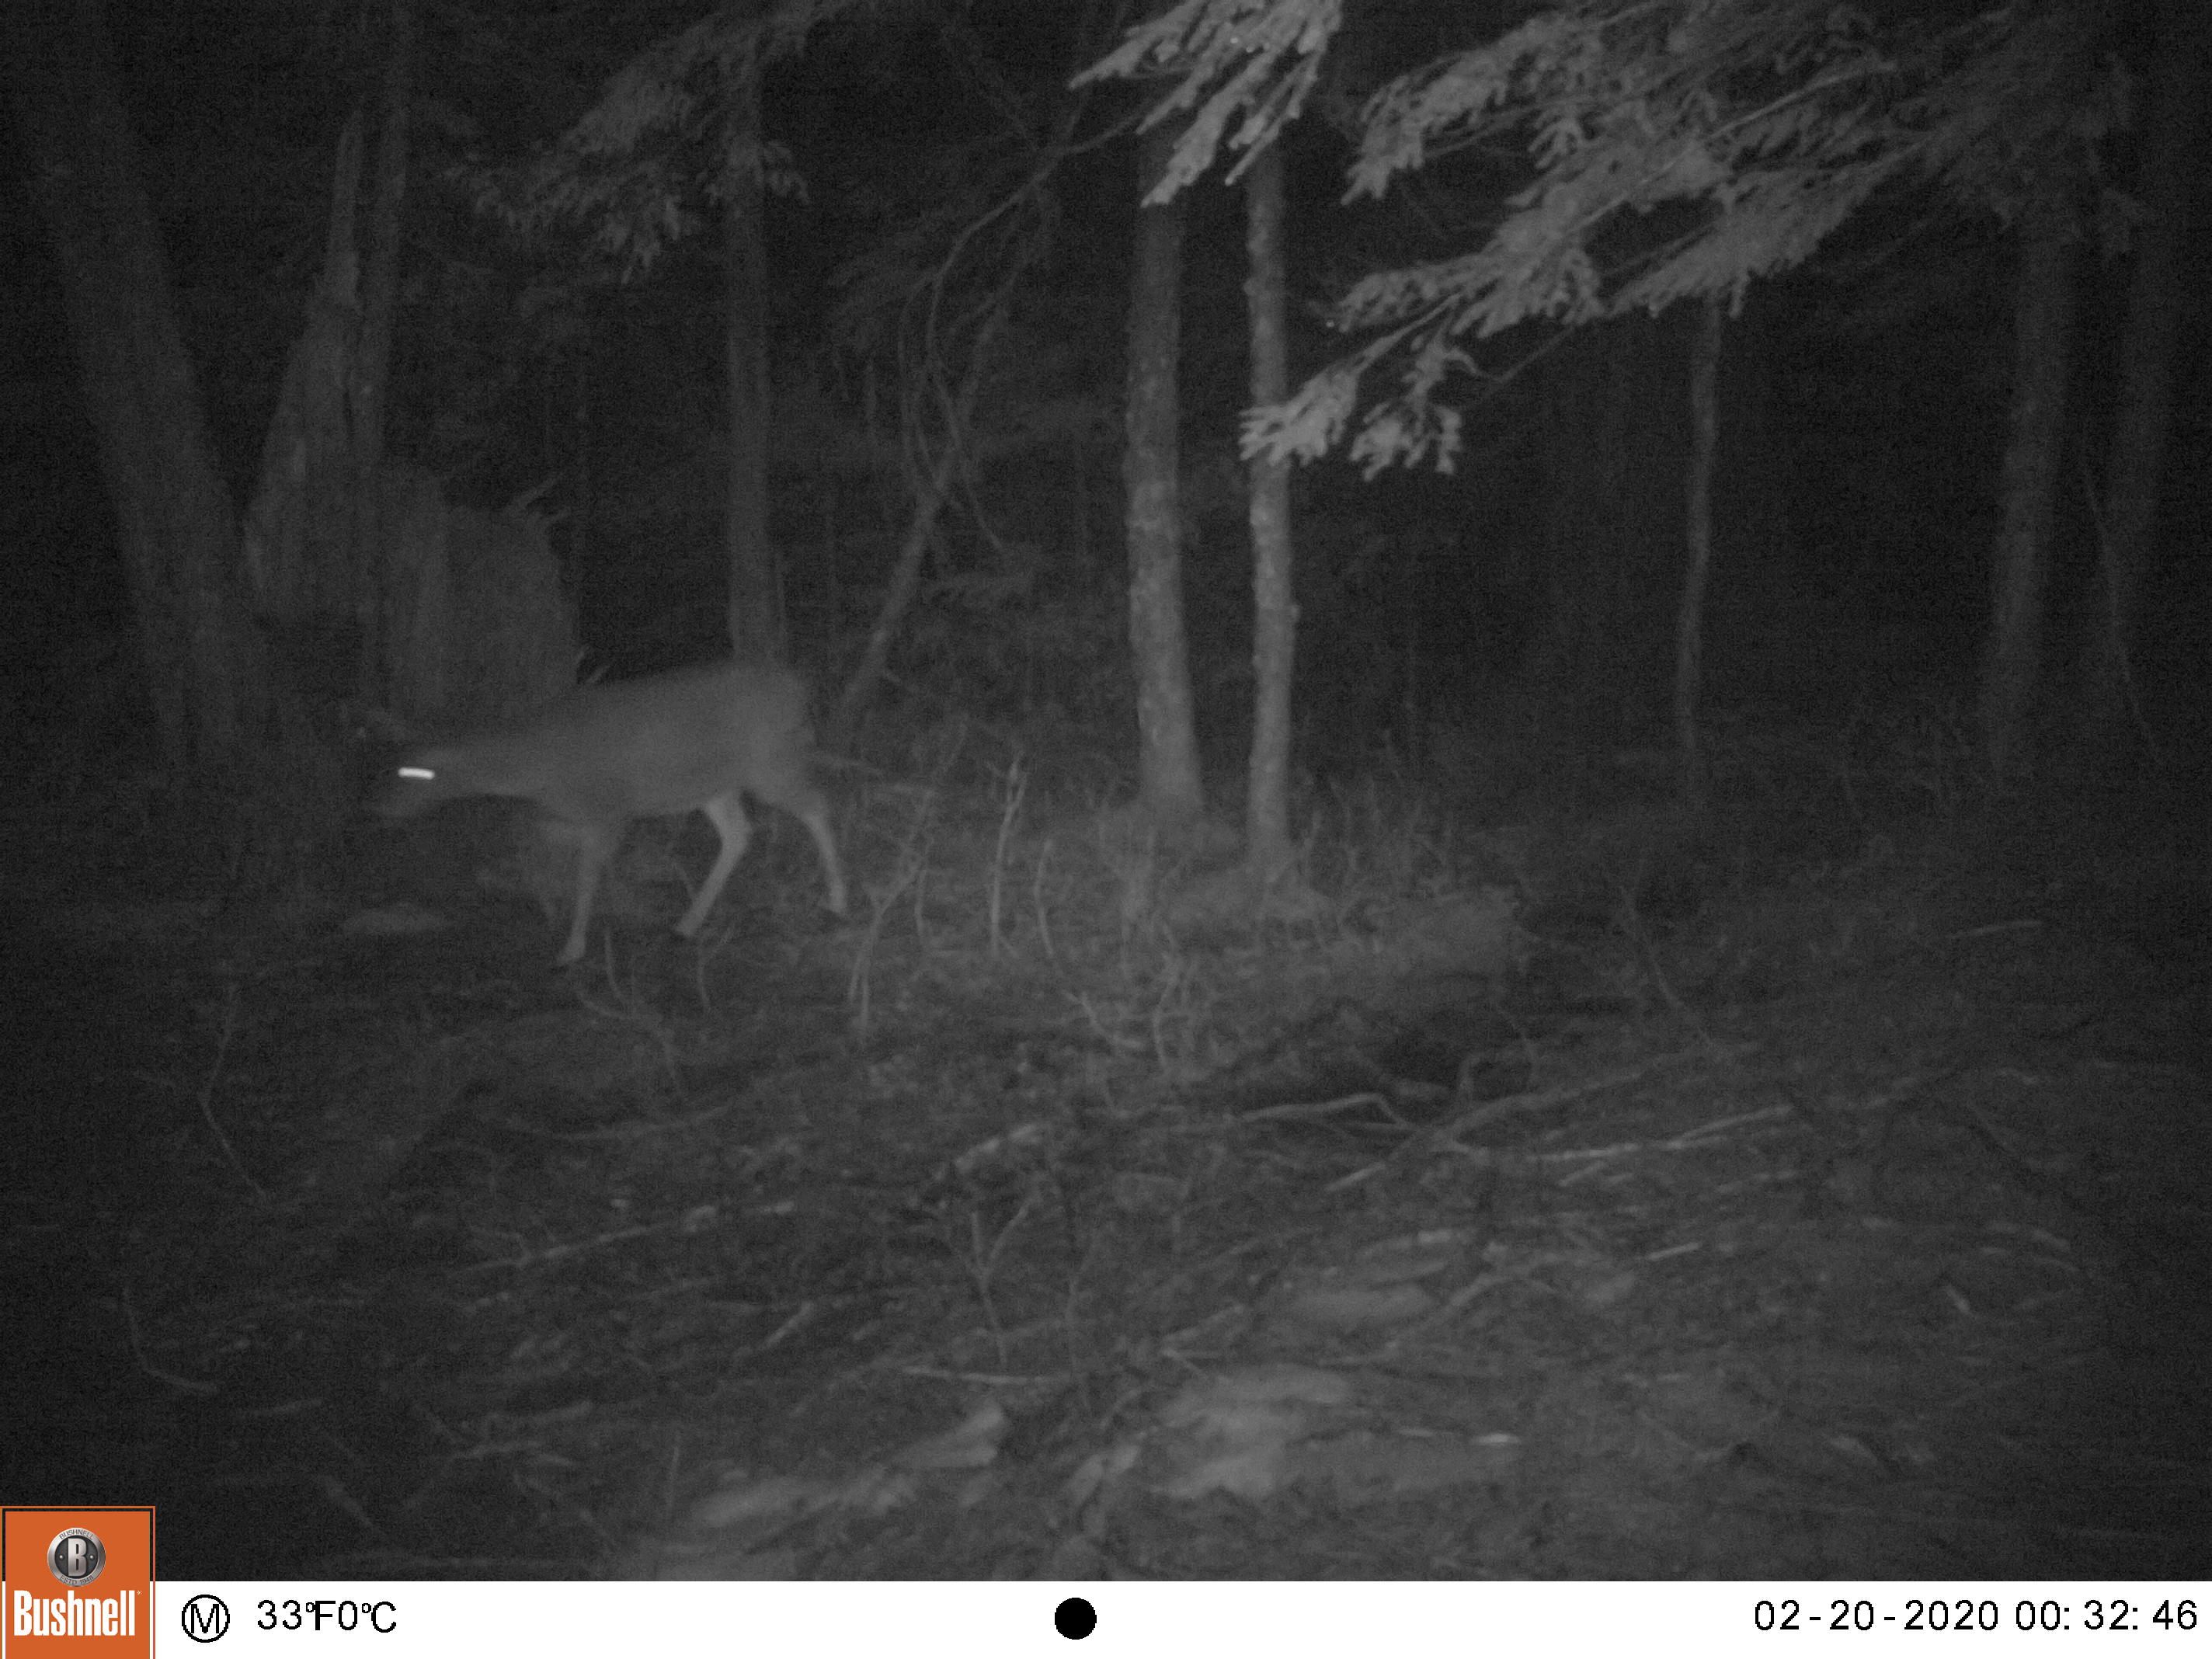
When I originally set this camera, I thought it would be a good place for black bear, especially when the salmon are spawning. It worked out okay for bear, but it’s been great for deer!


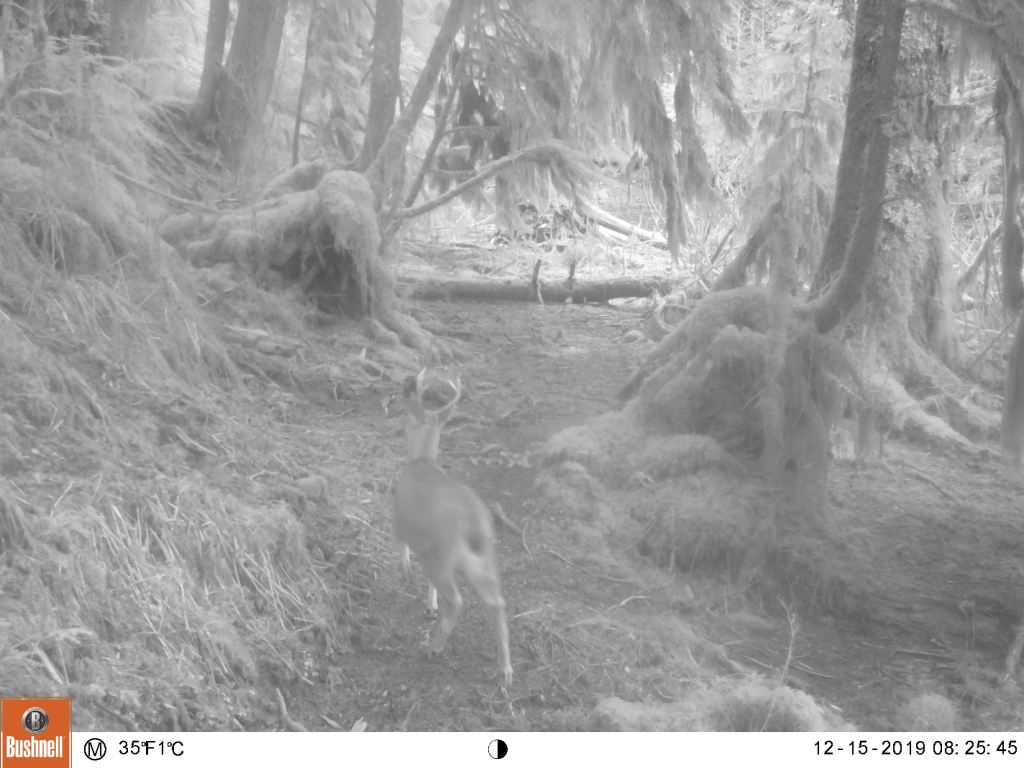
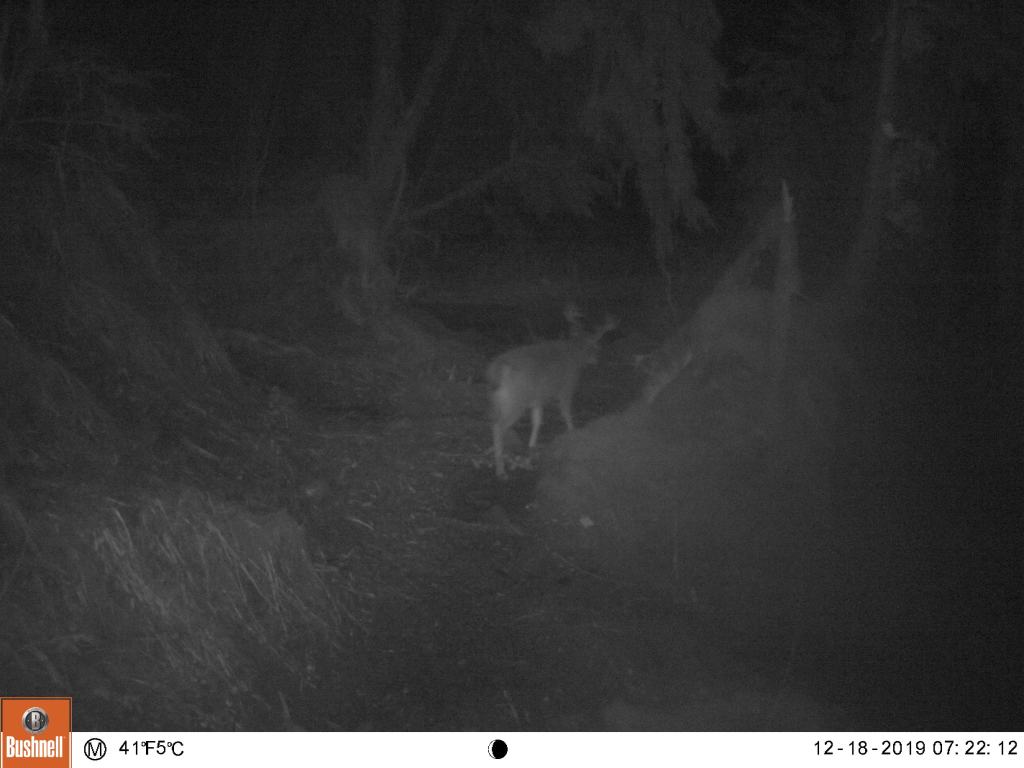
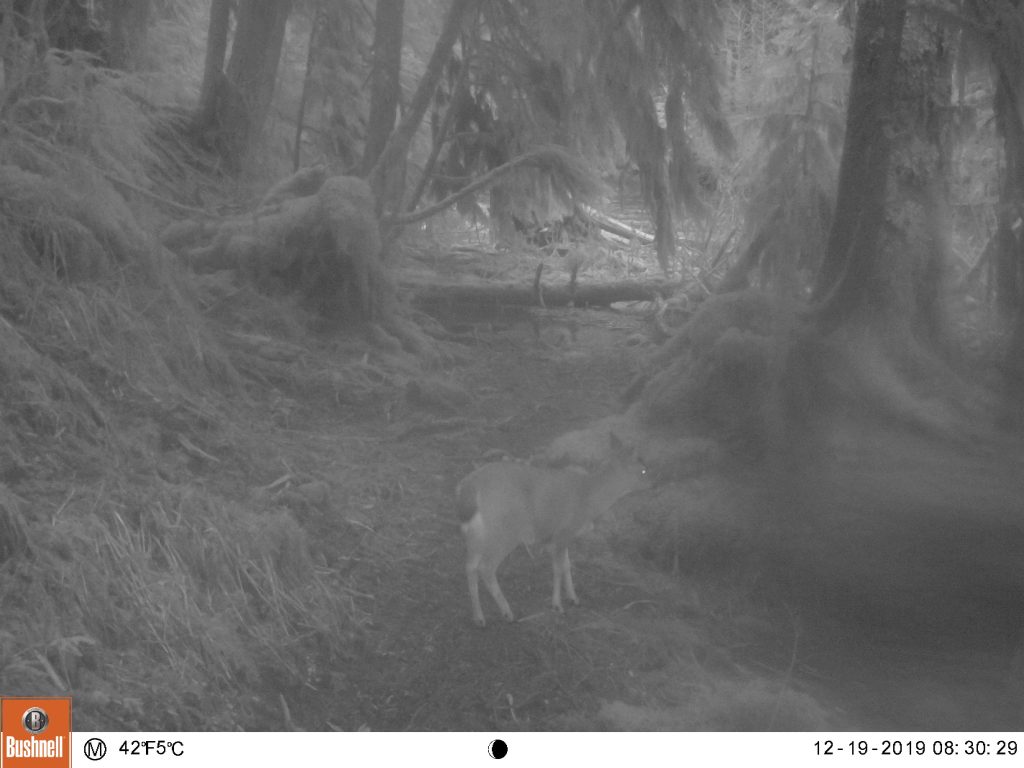


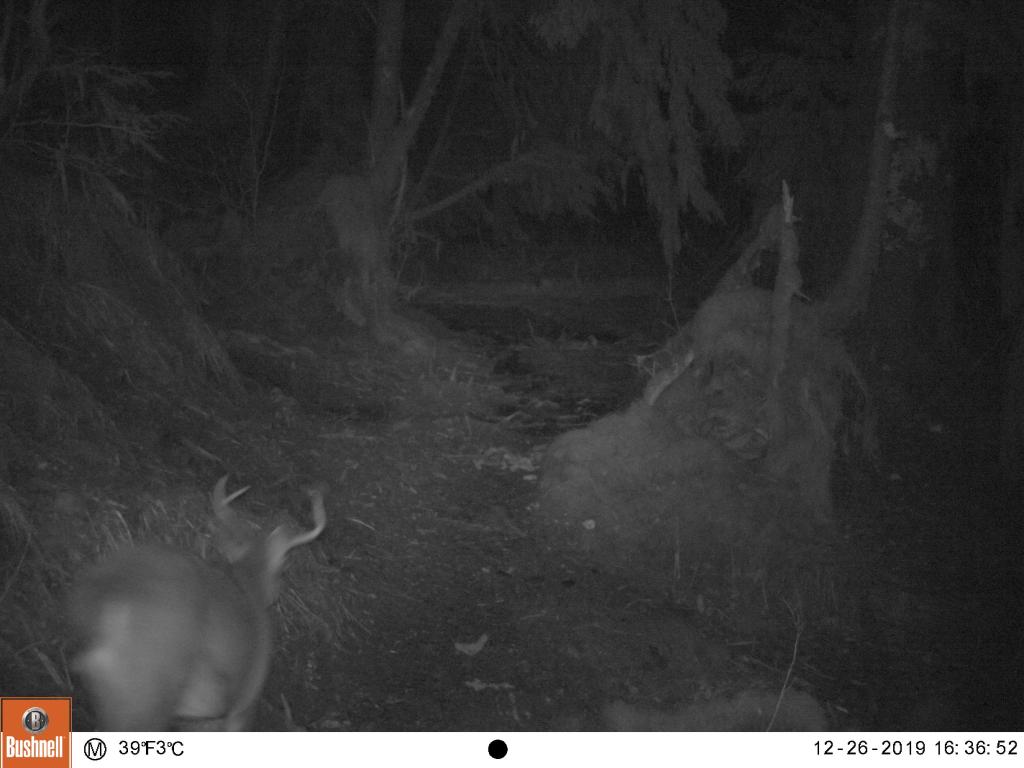


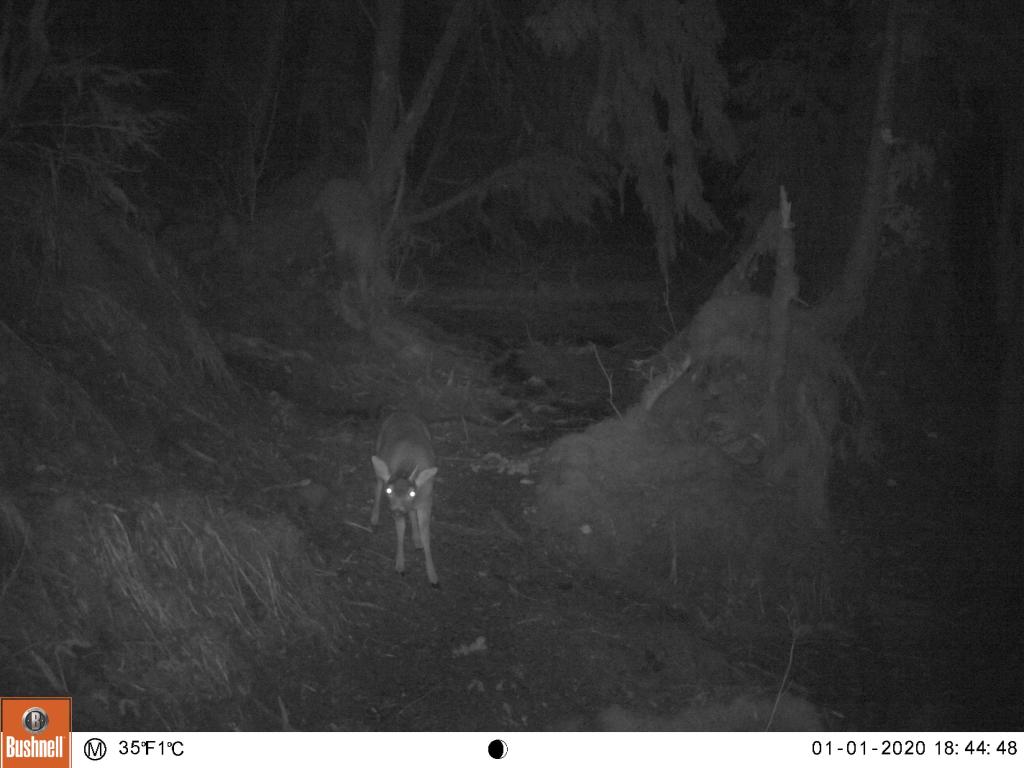
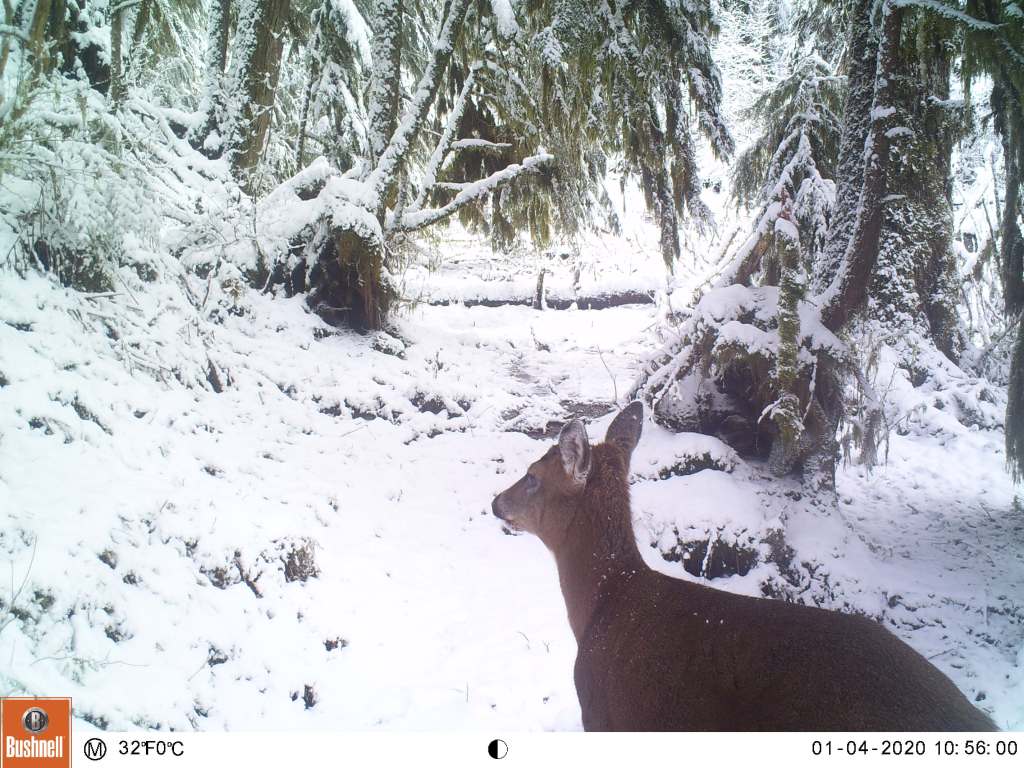


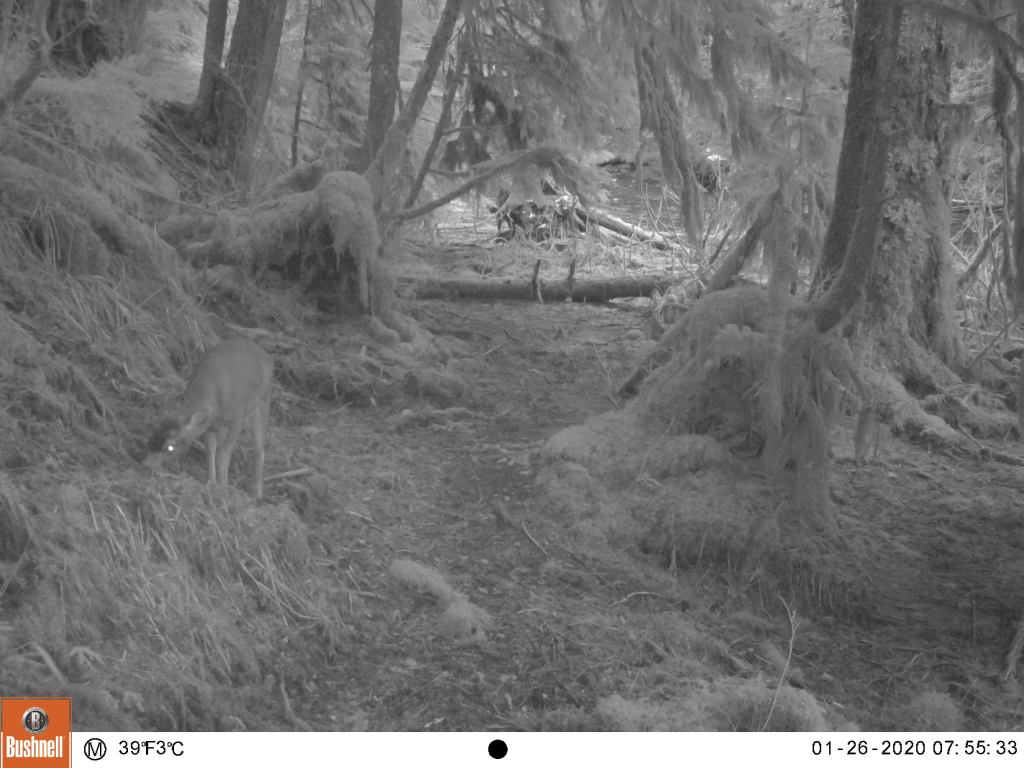


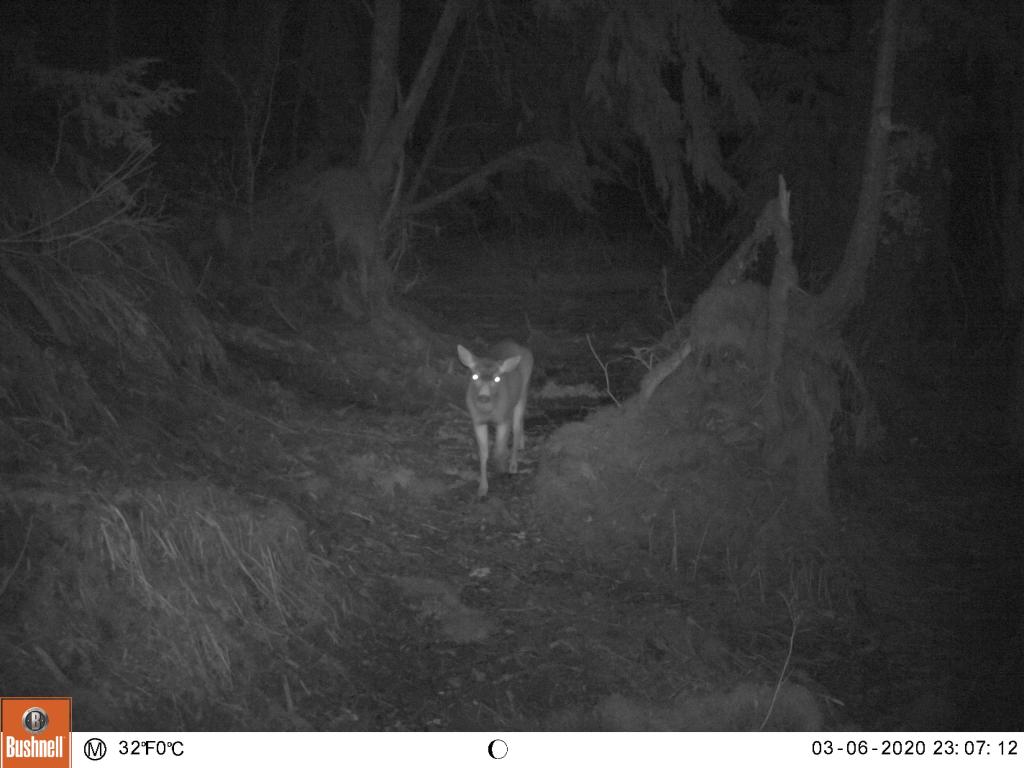
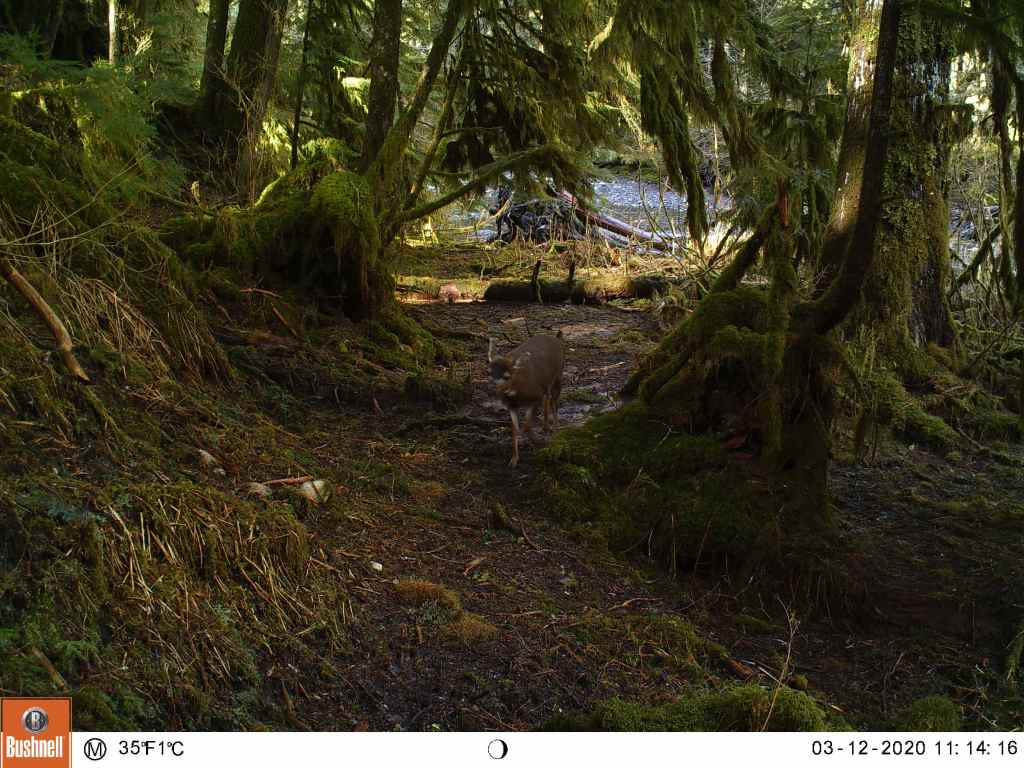

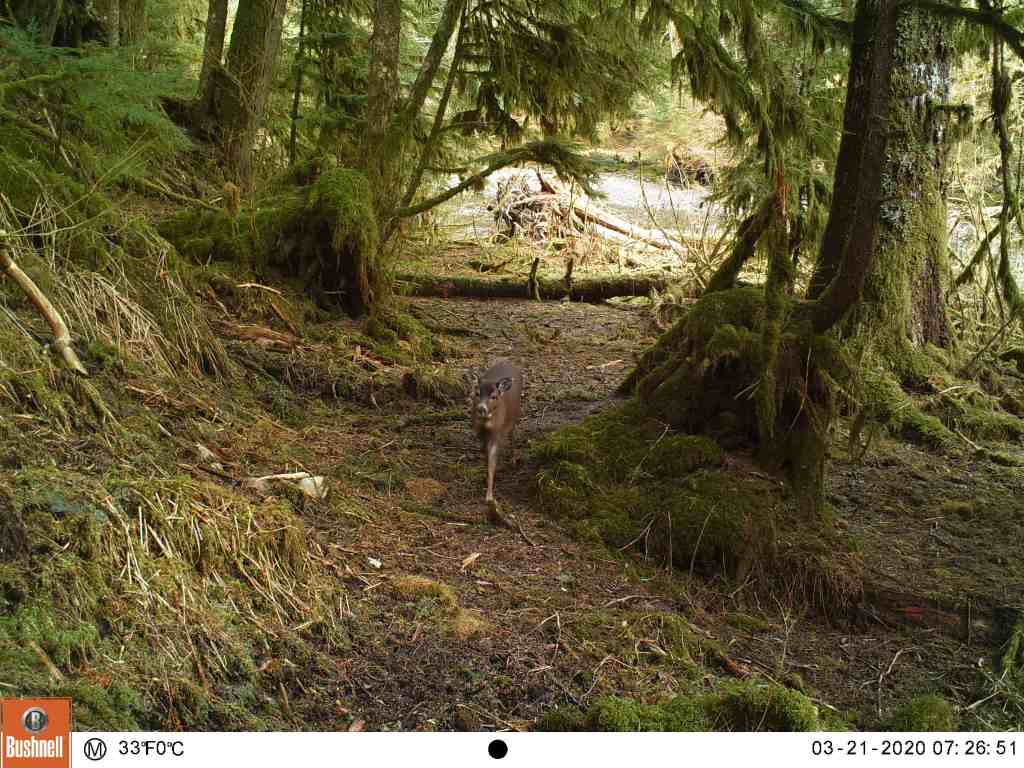


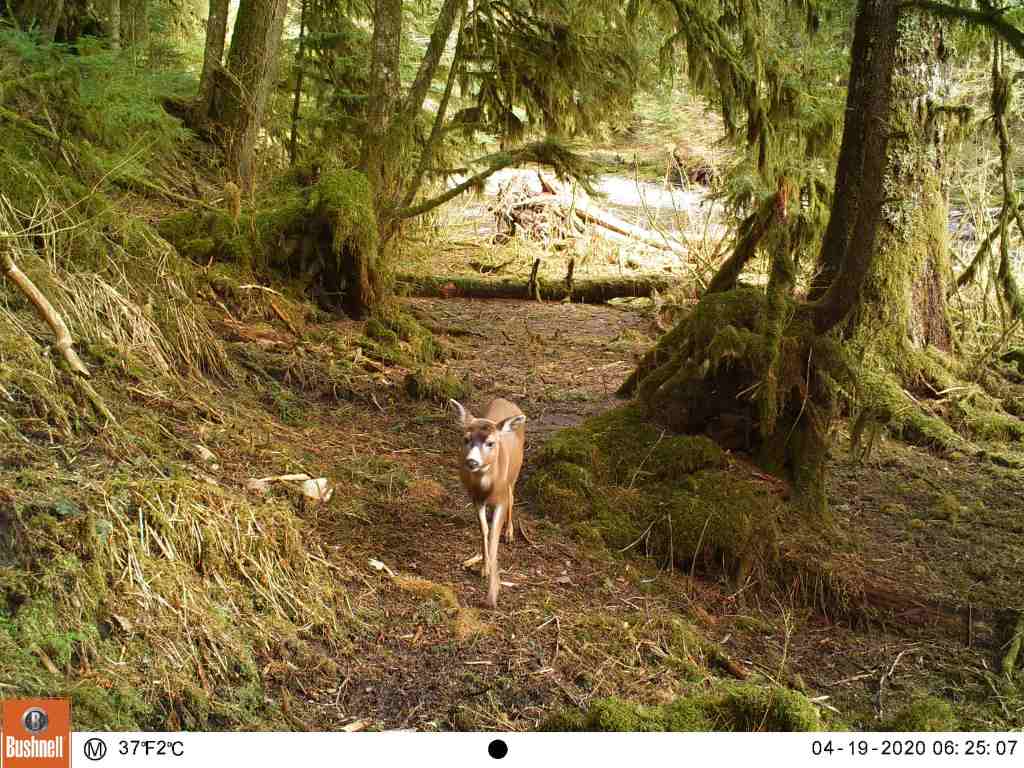
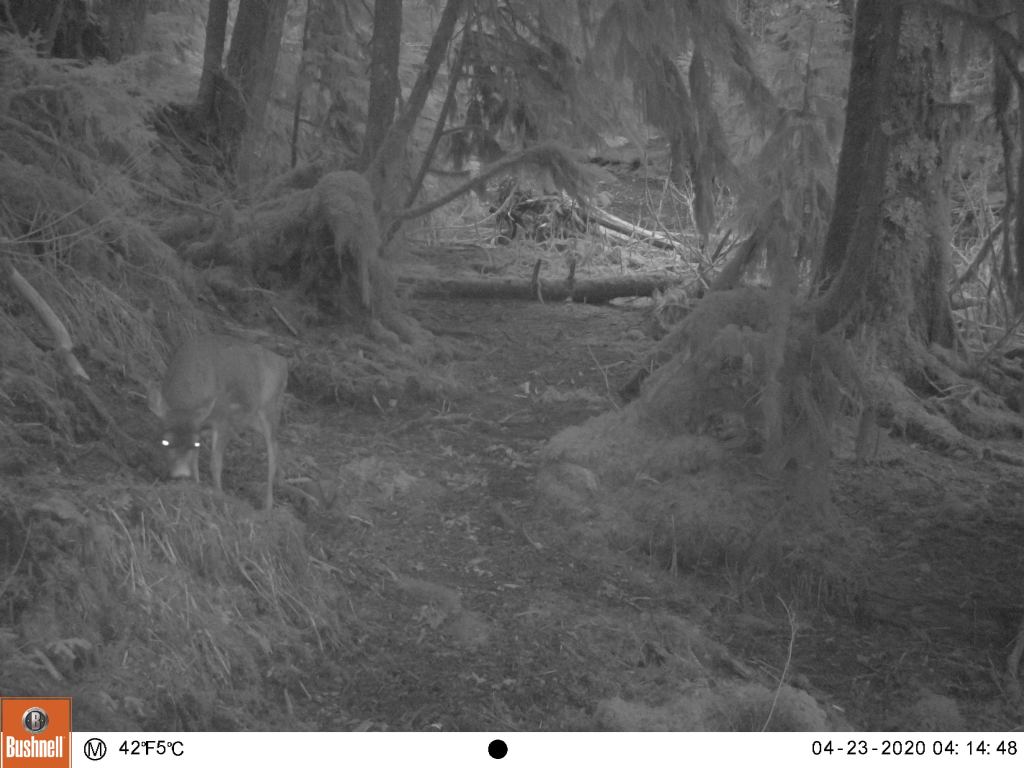


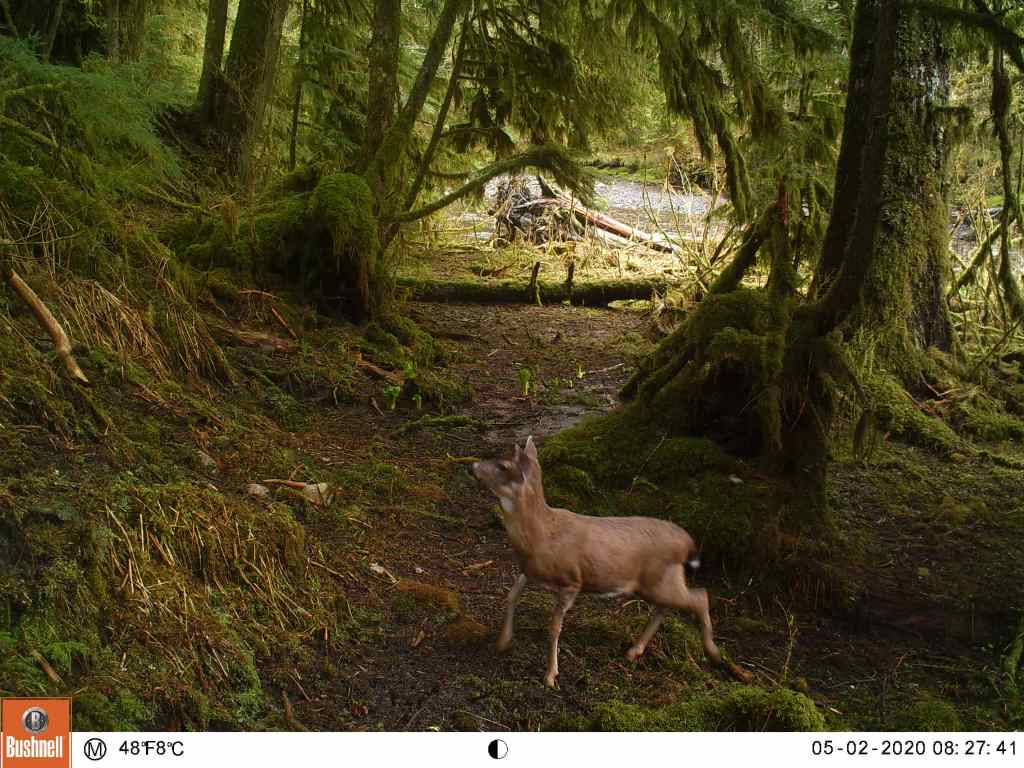
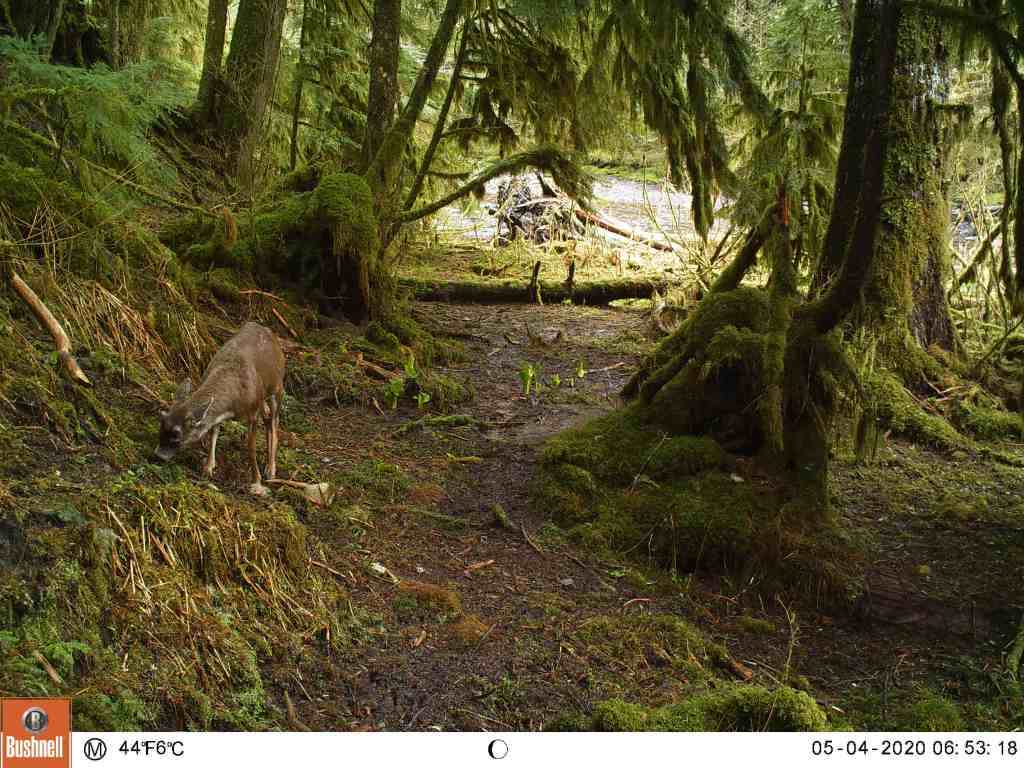
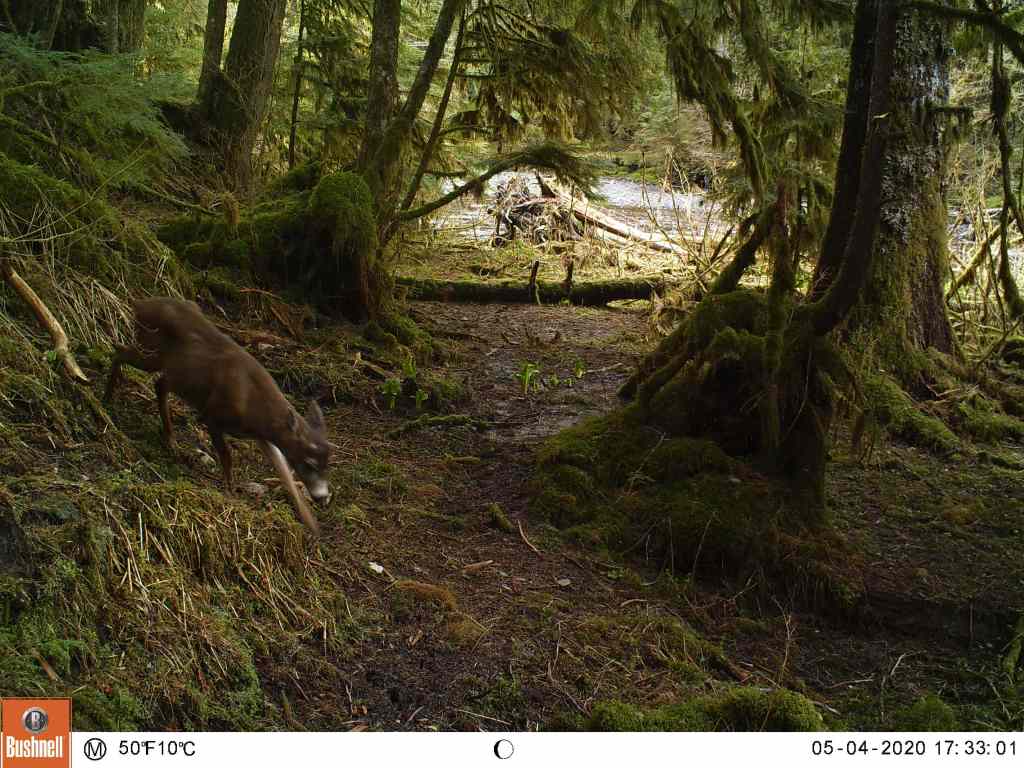

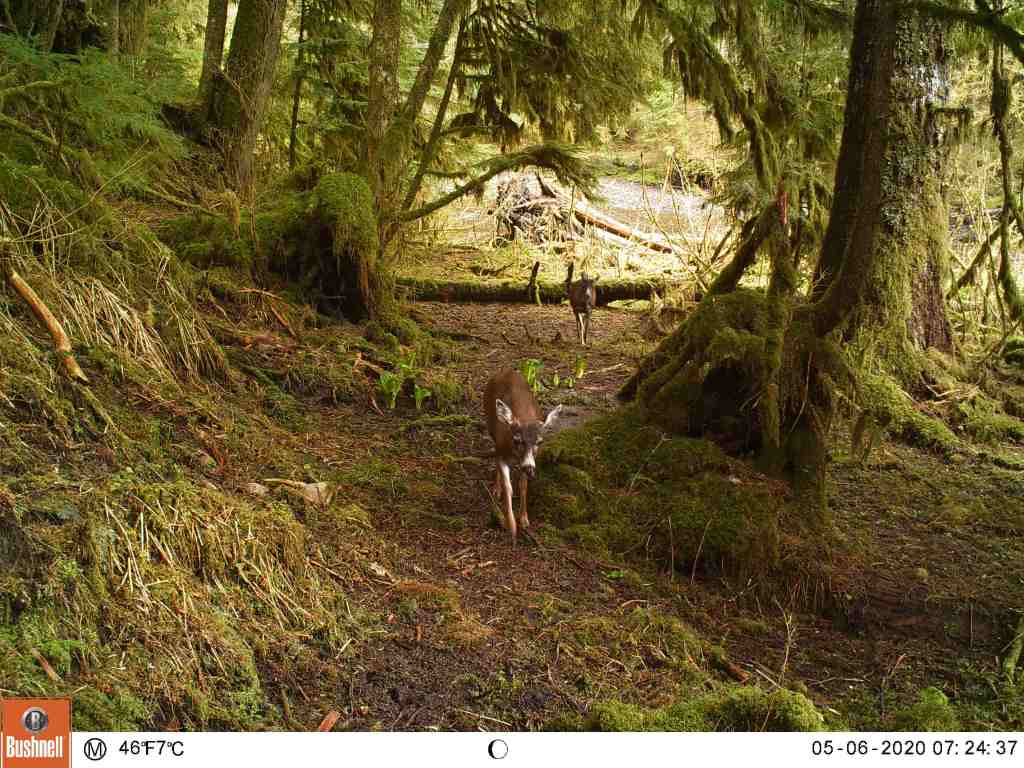
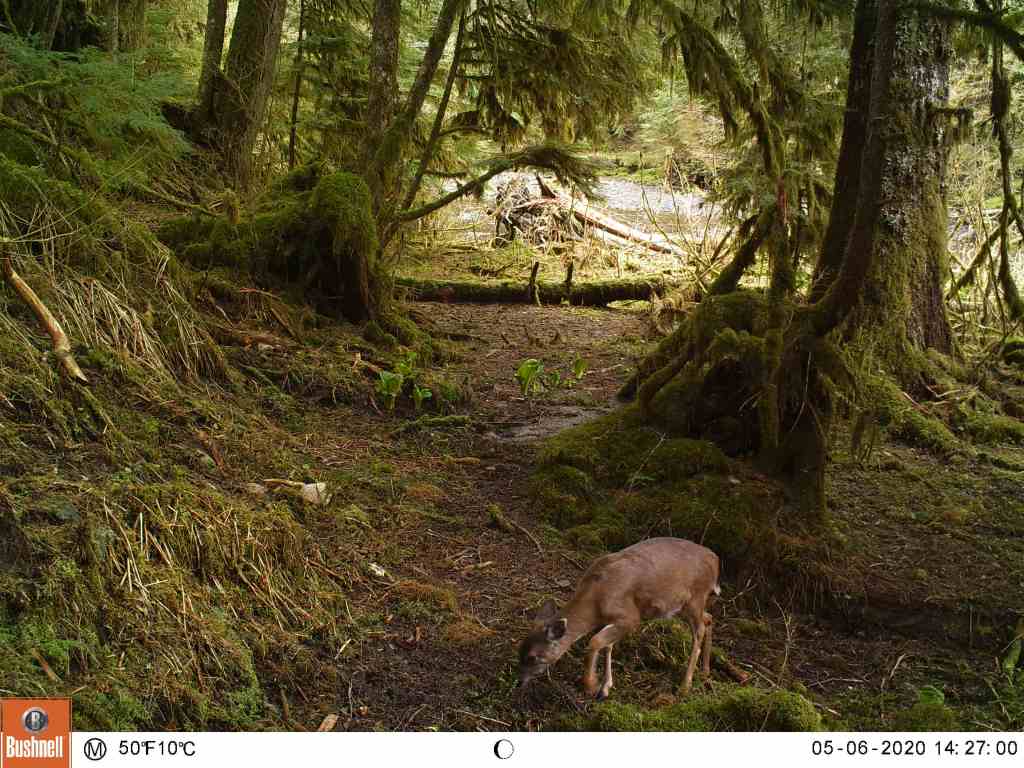
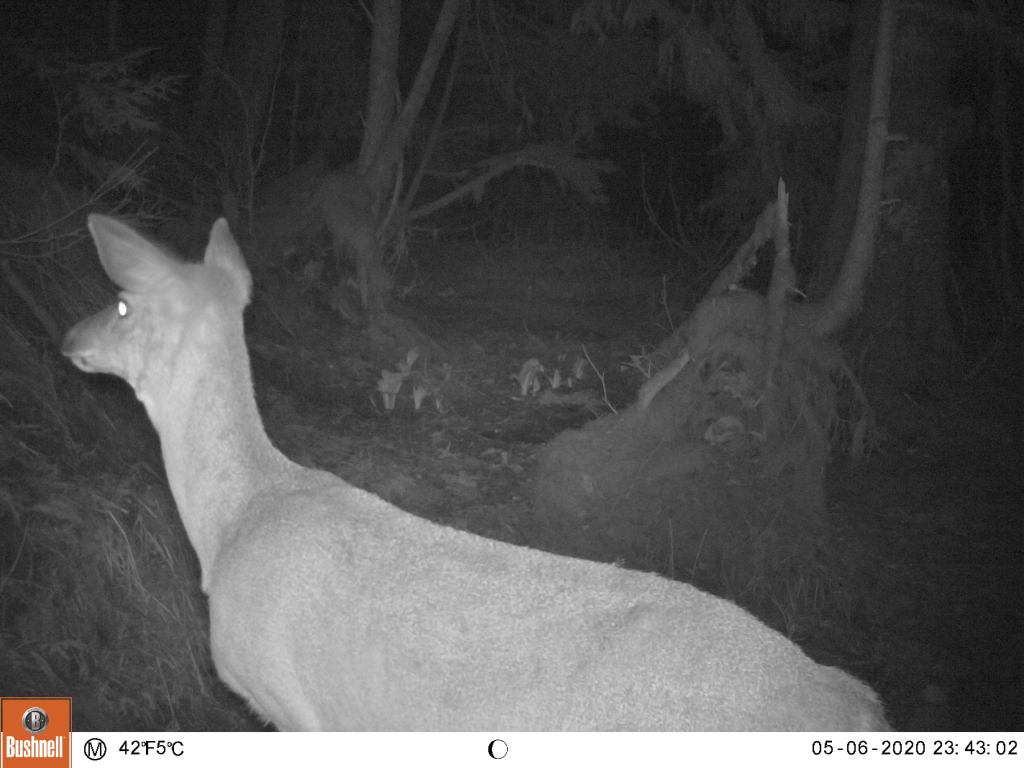
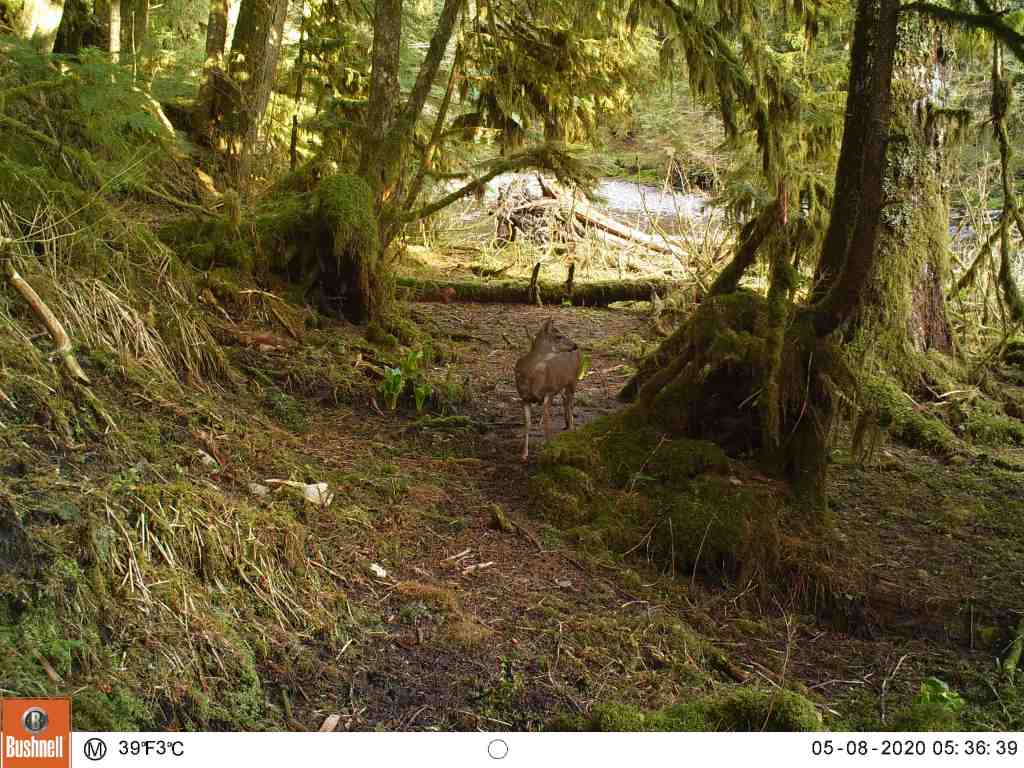
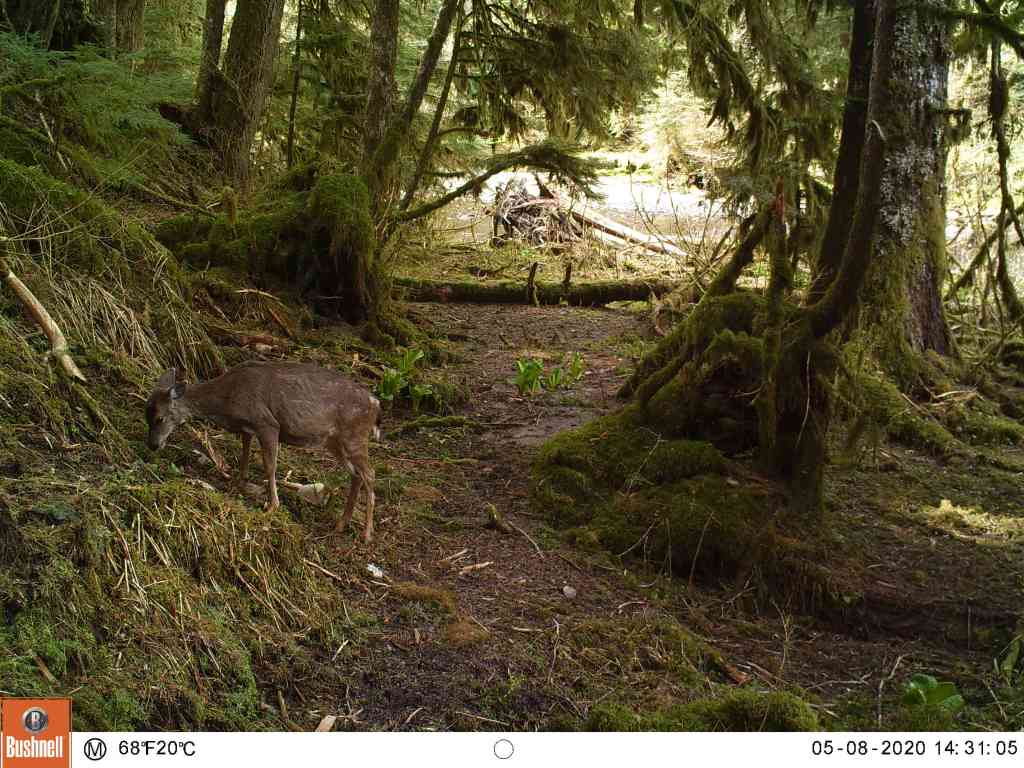
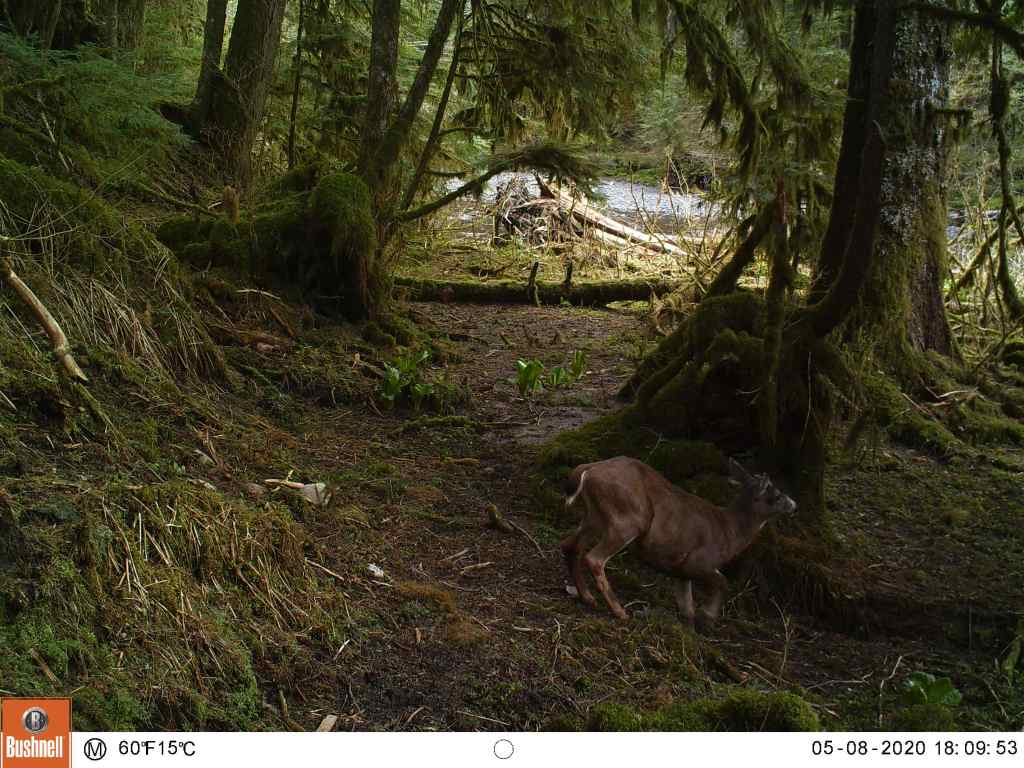

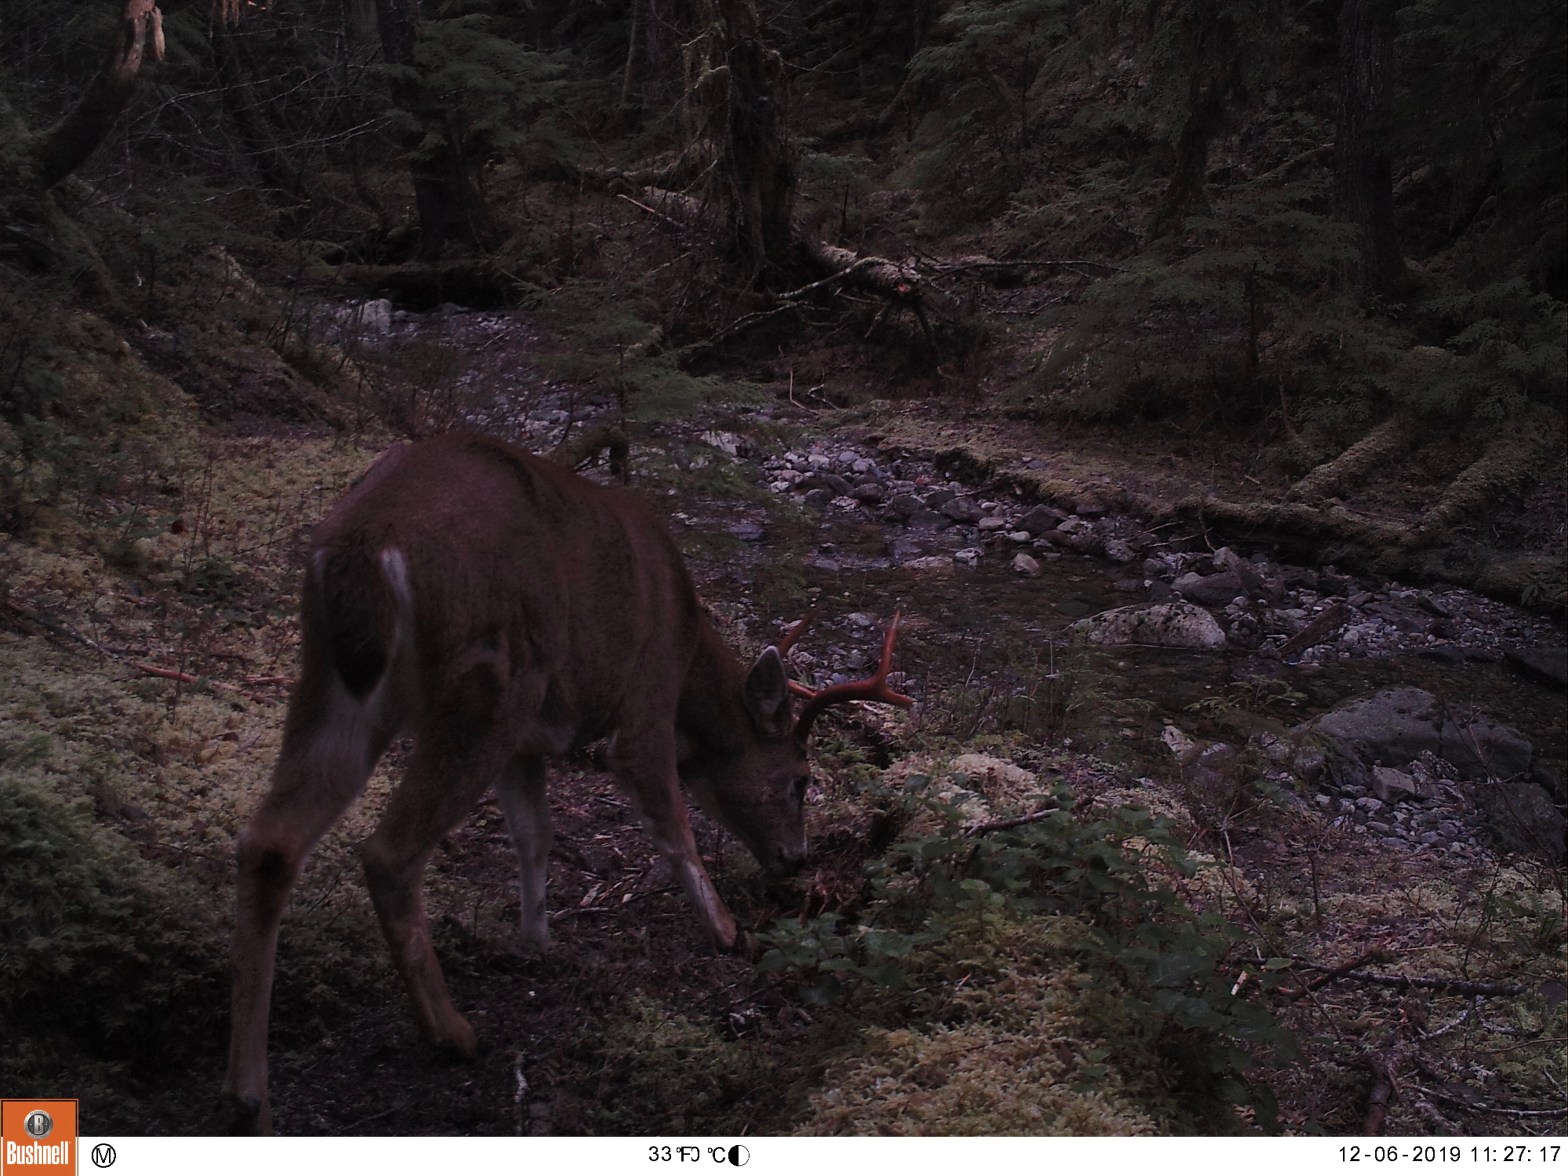
This spot is a classic funnel. It is formed by gentler slopes on both sides of the creek in an otherwise steep ravine. Multiple trails converge at the creek here, where there is a short stretch of calmer rapids and the banks are low and easy to negotiate.
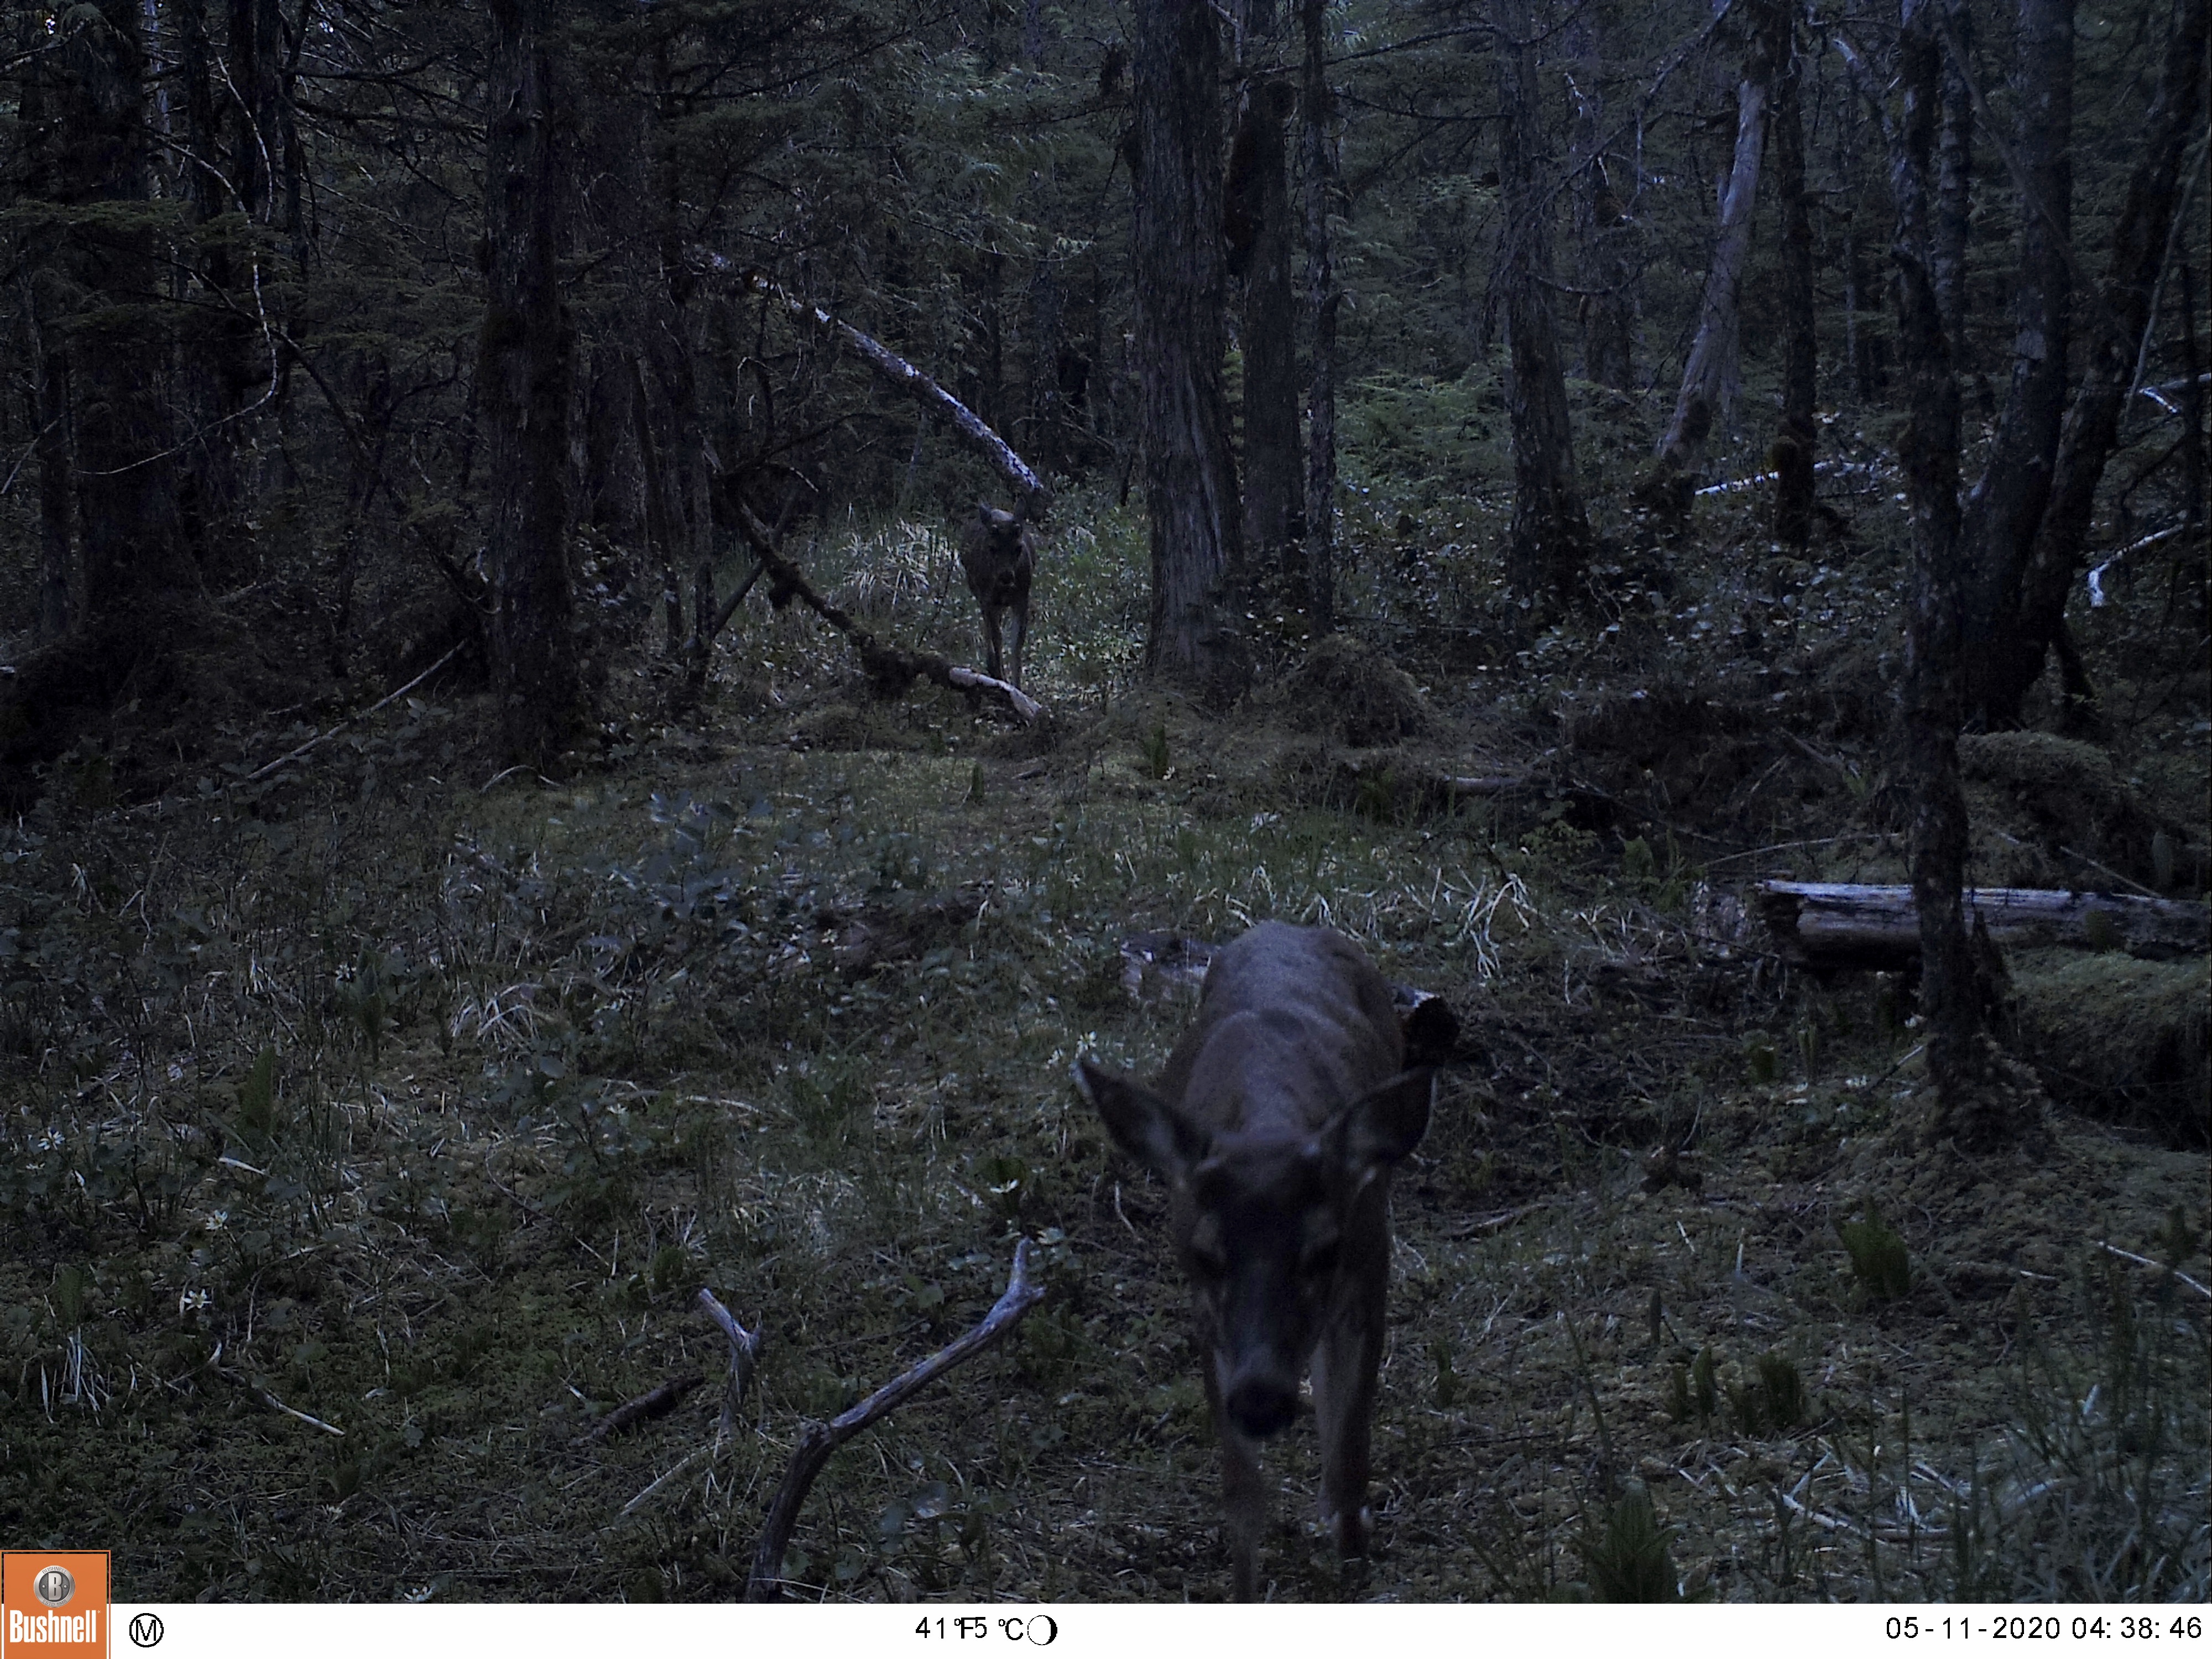
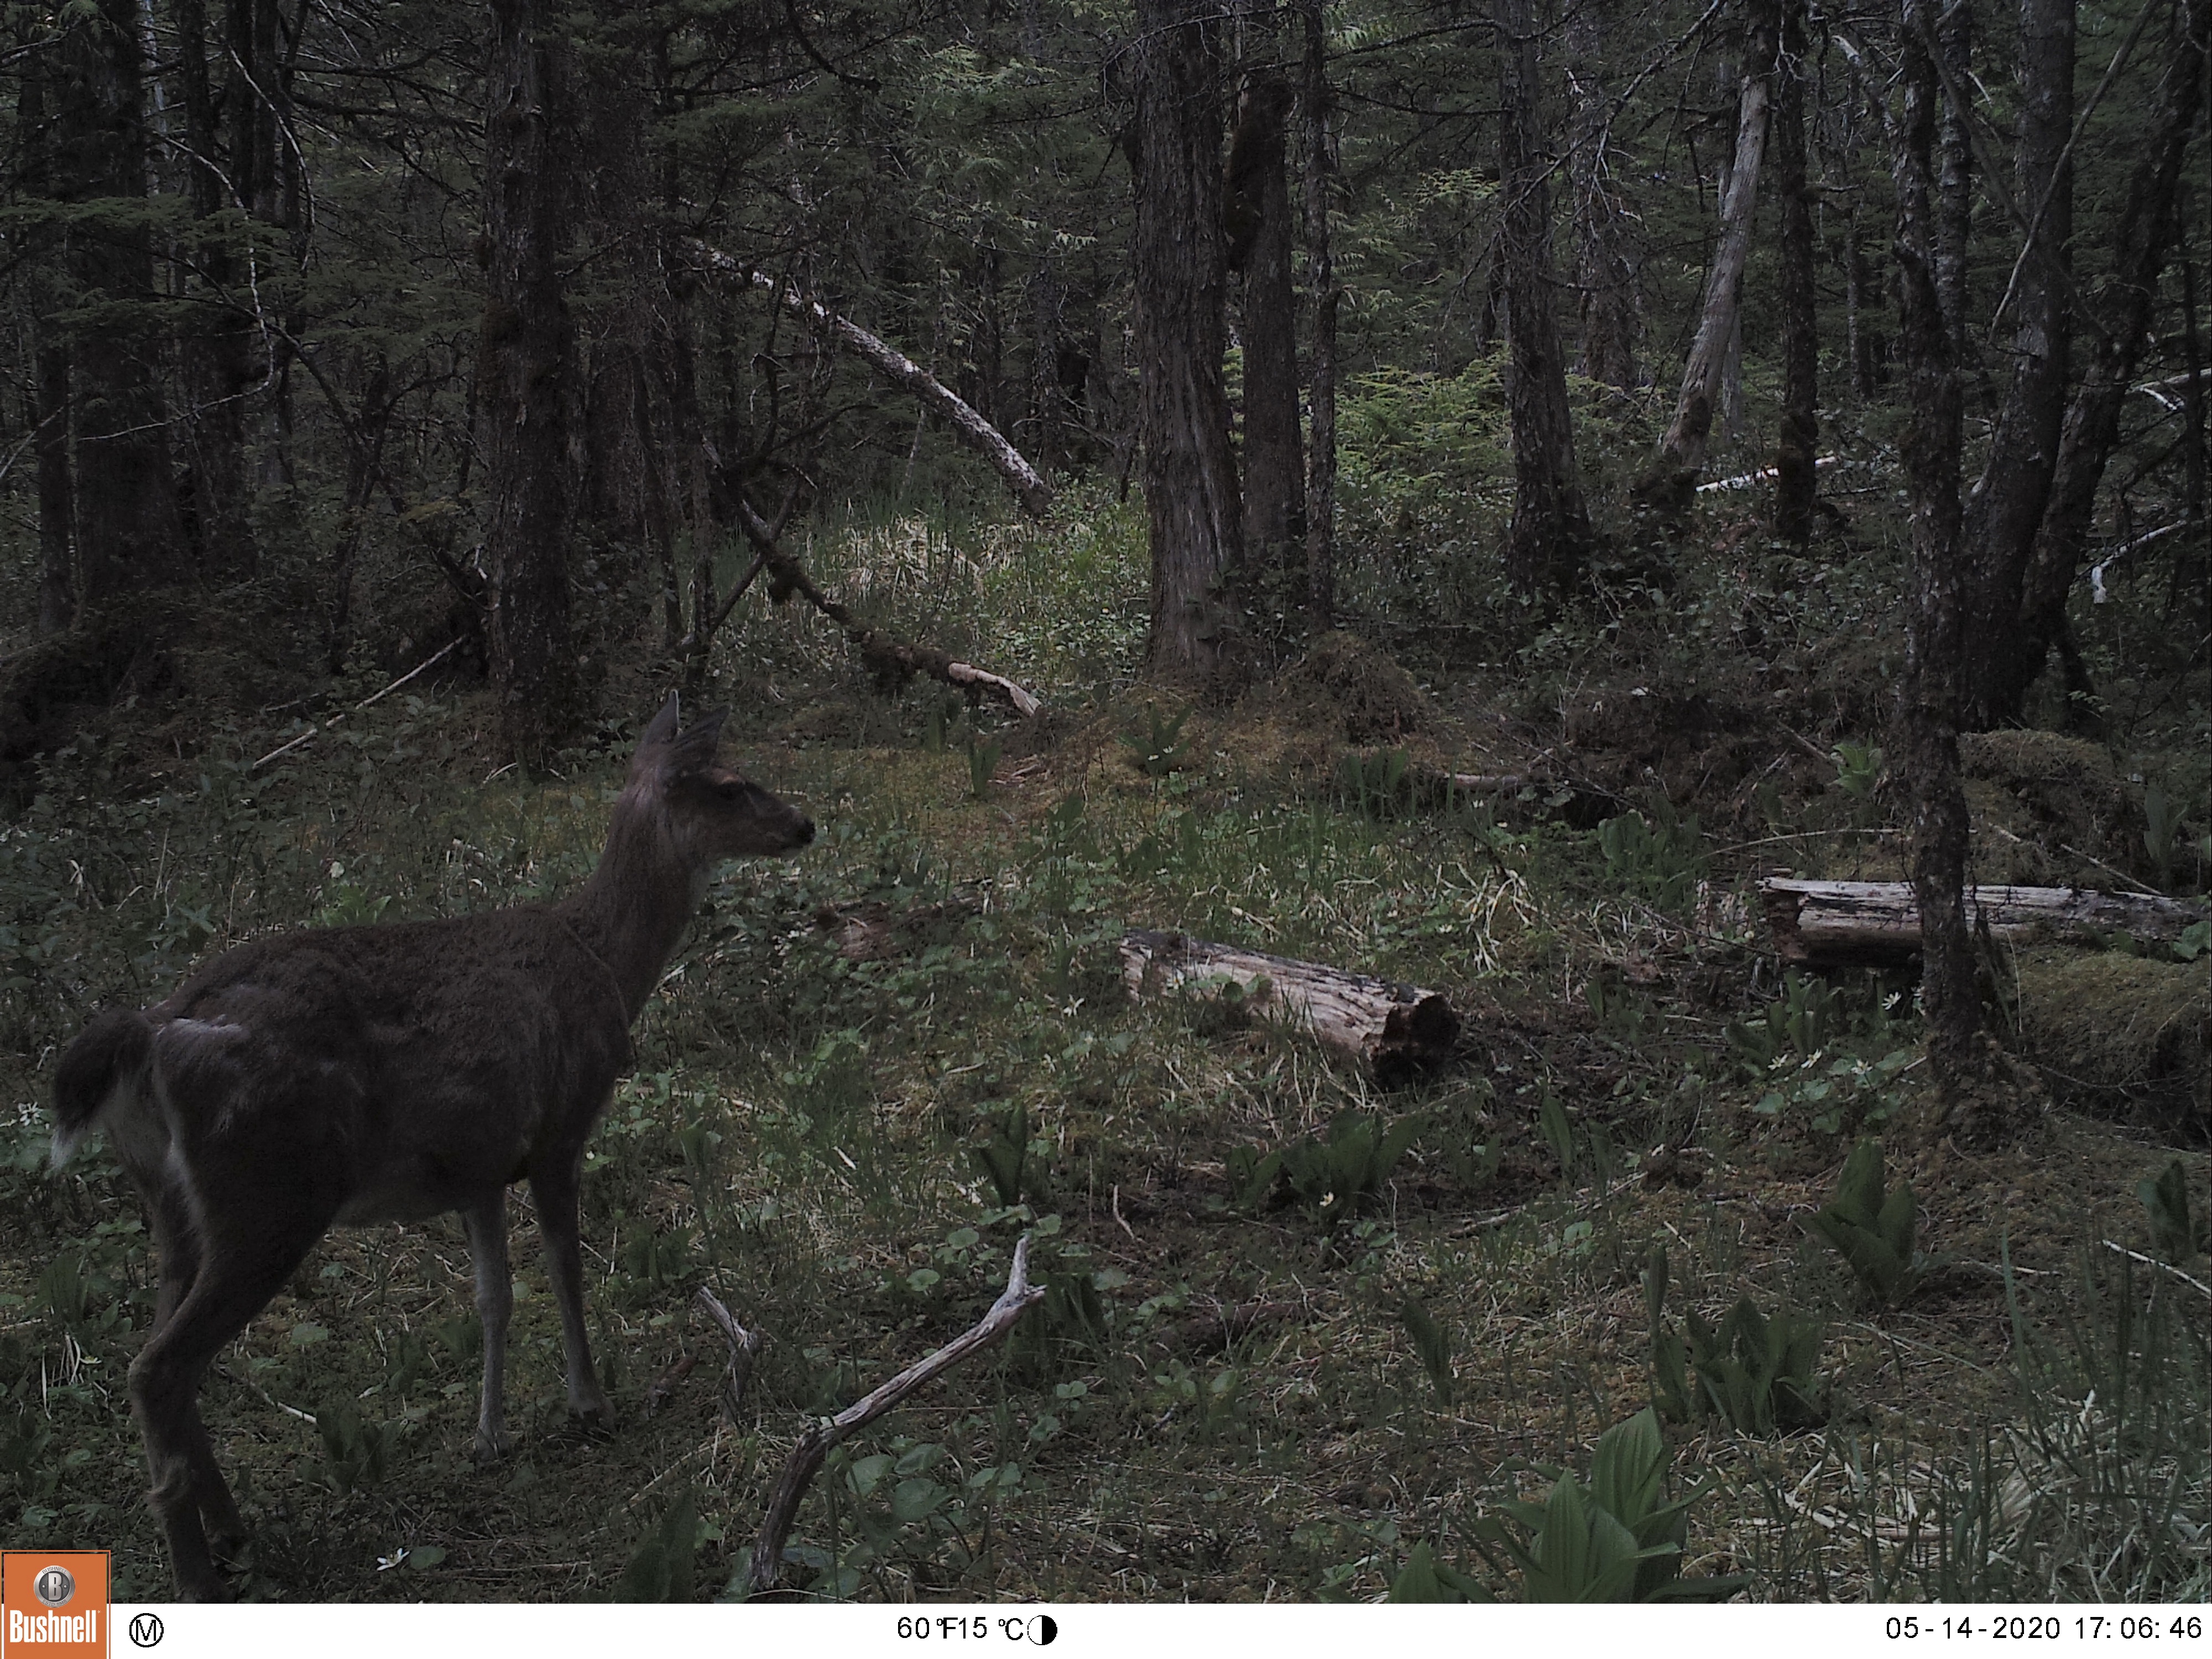
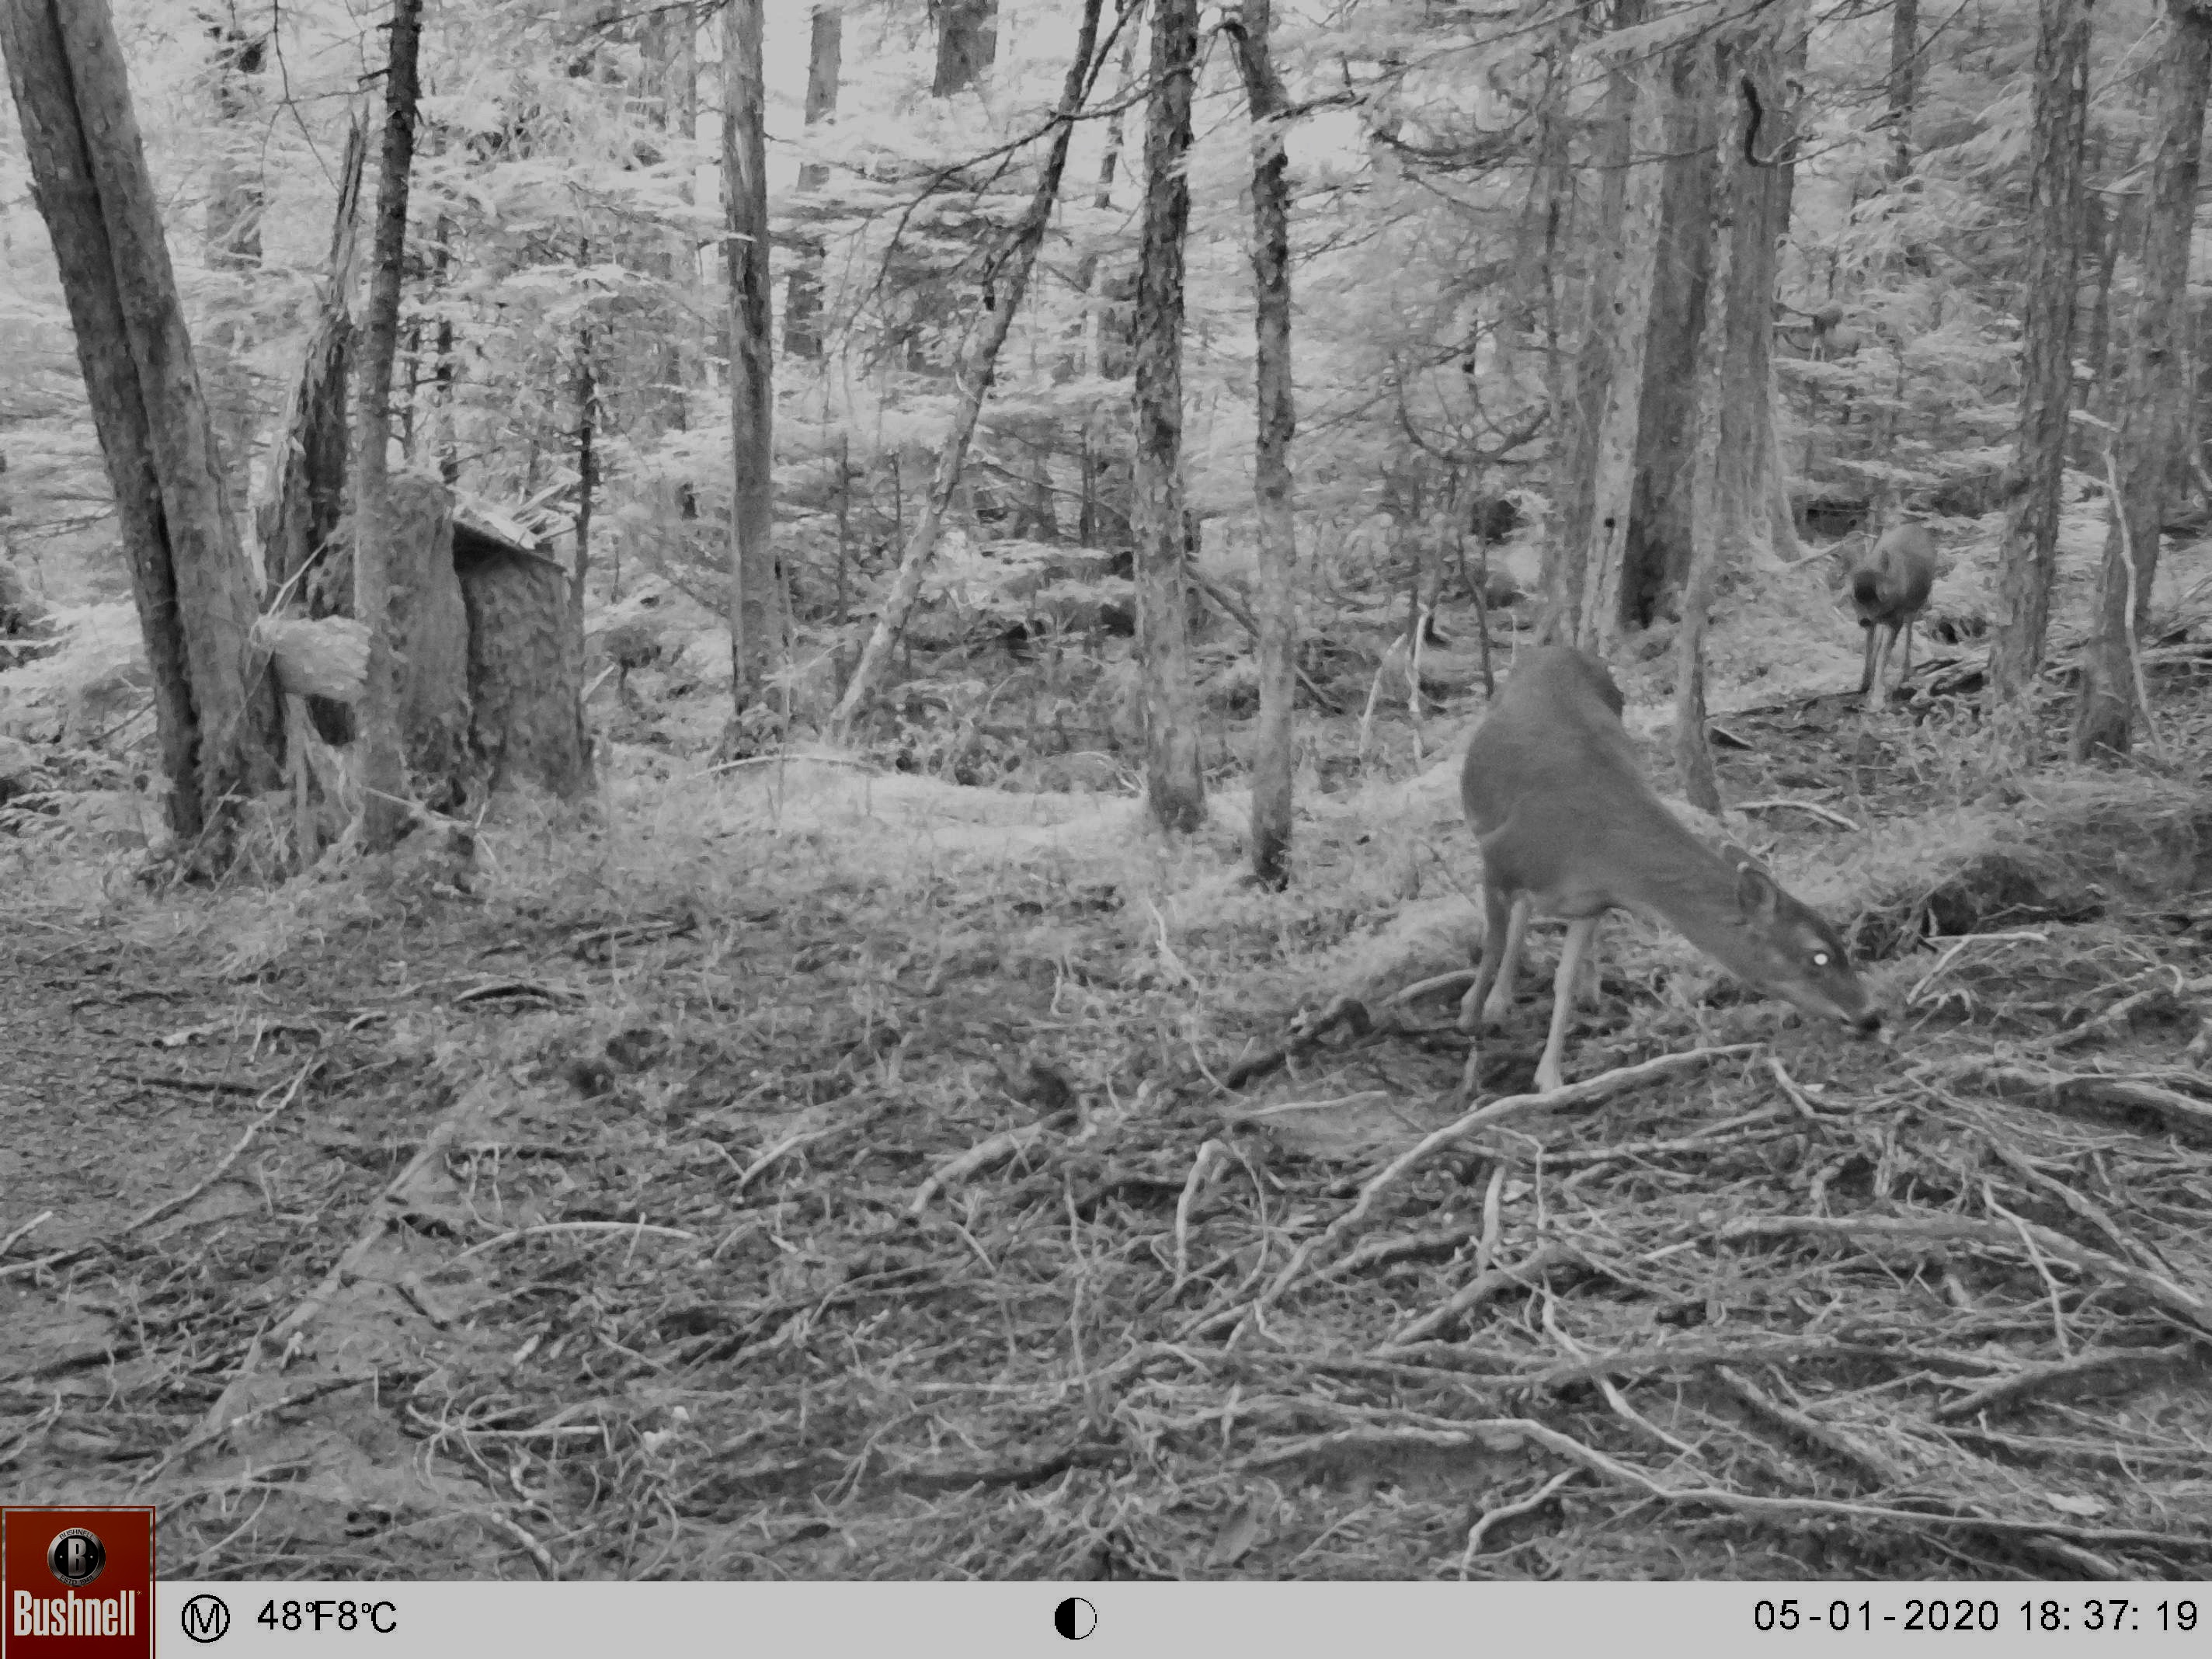
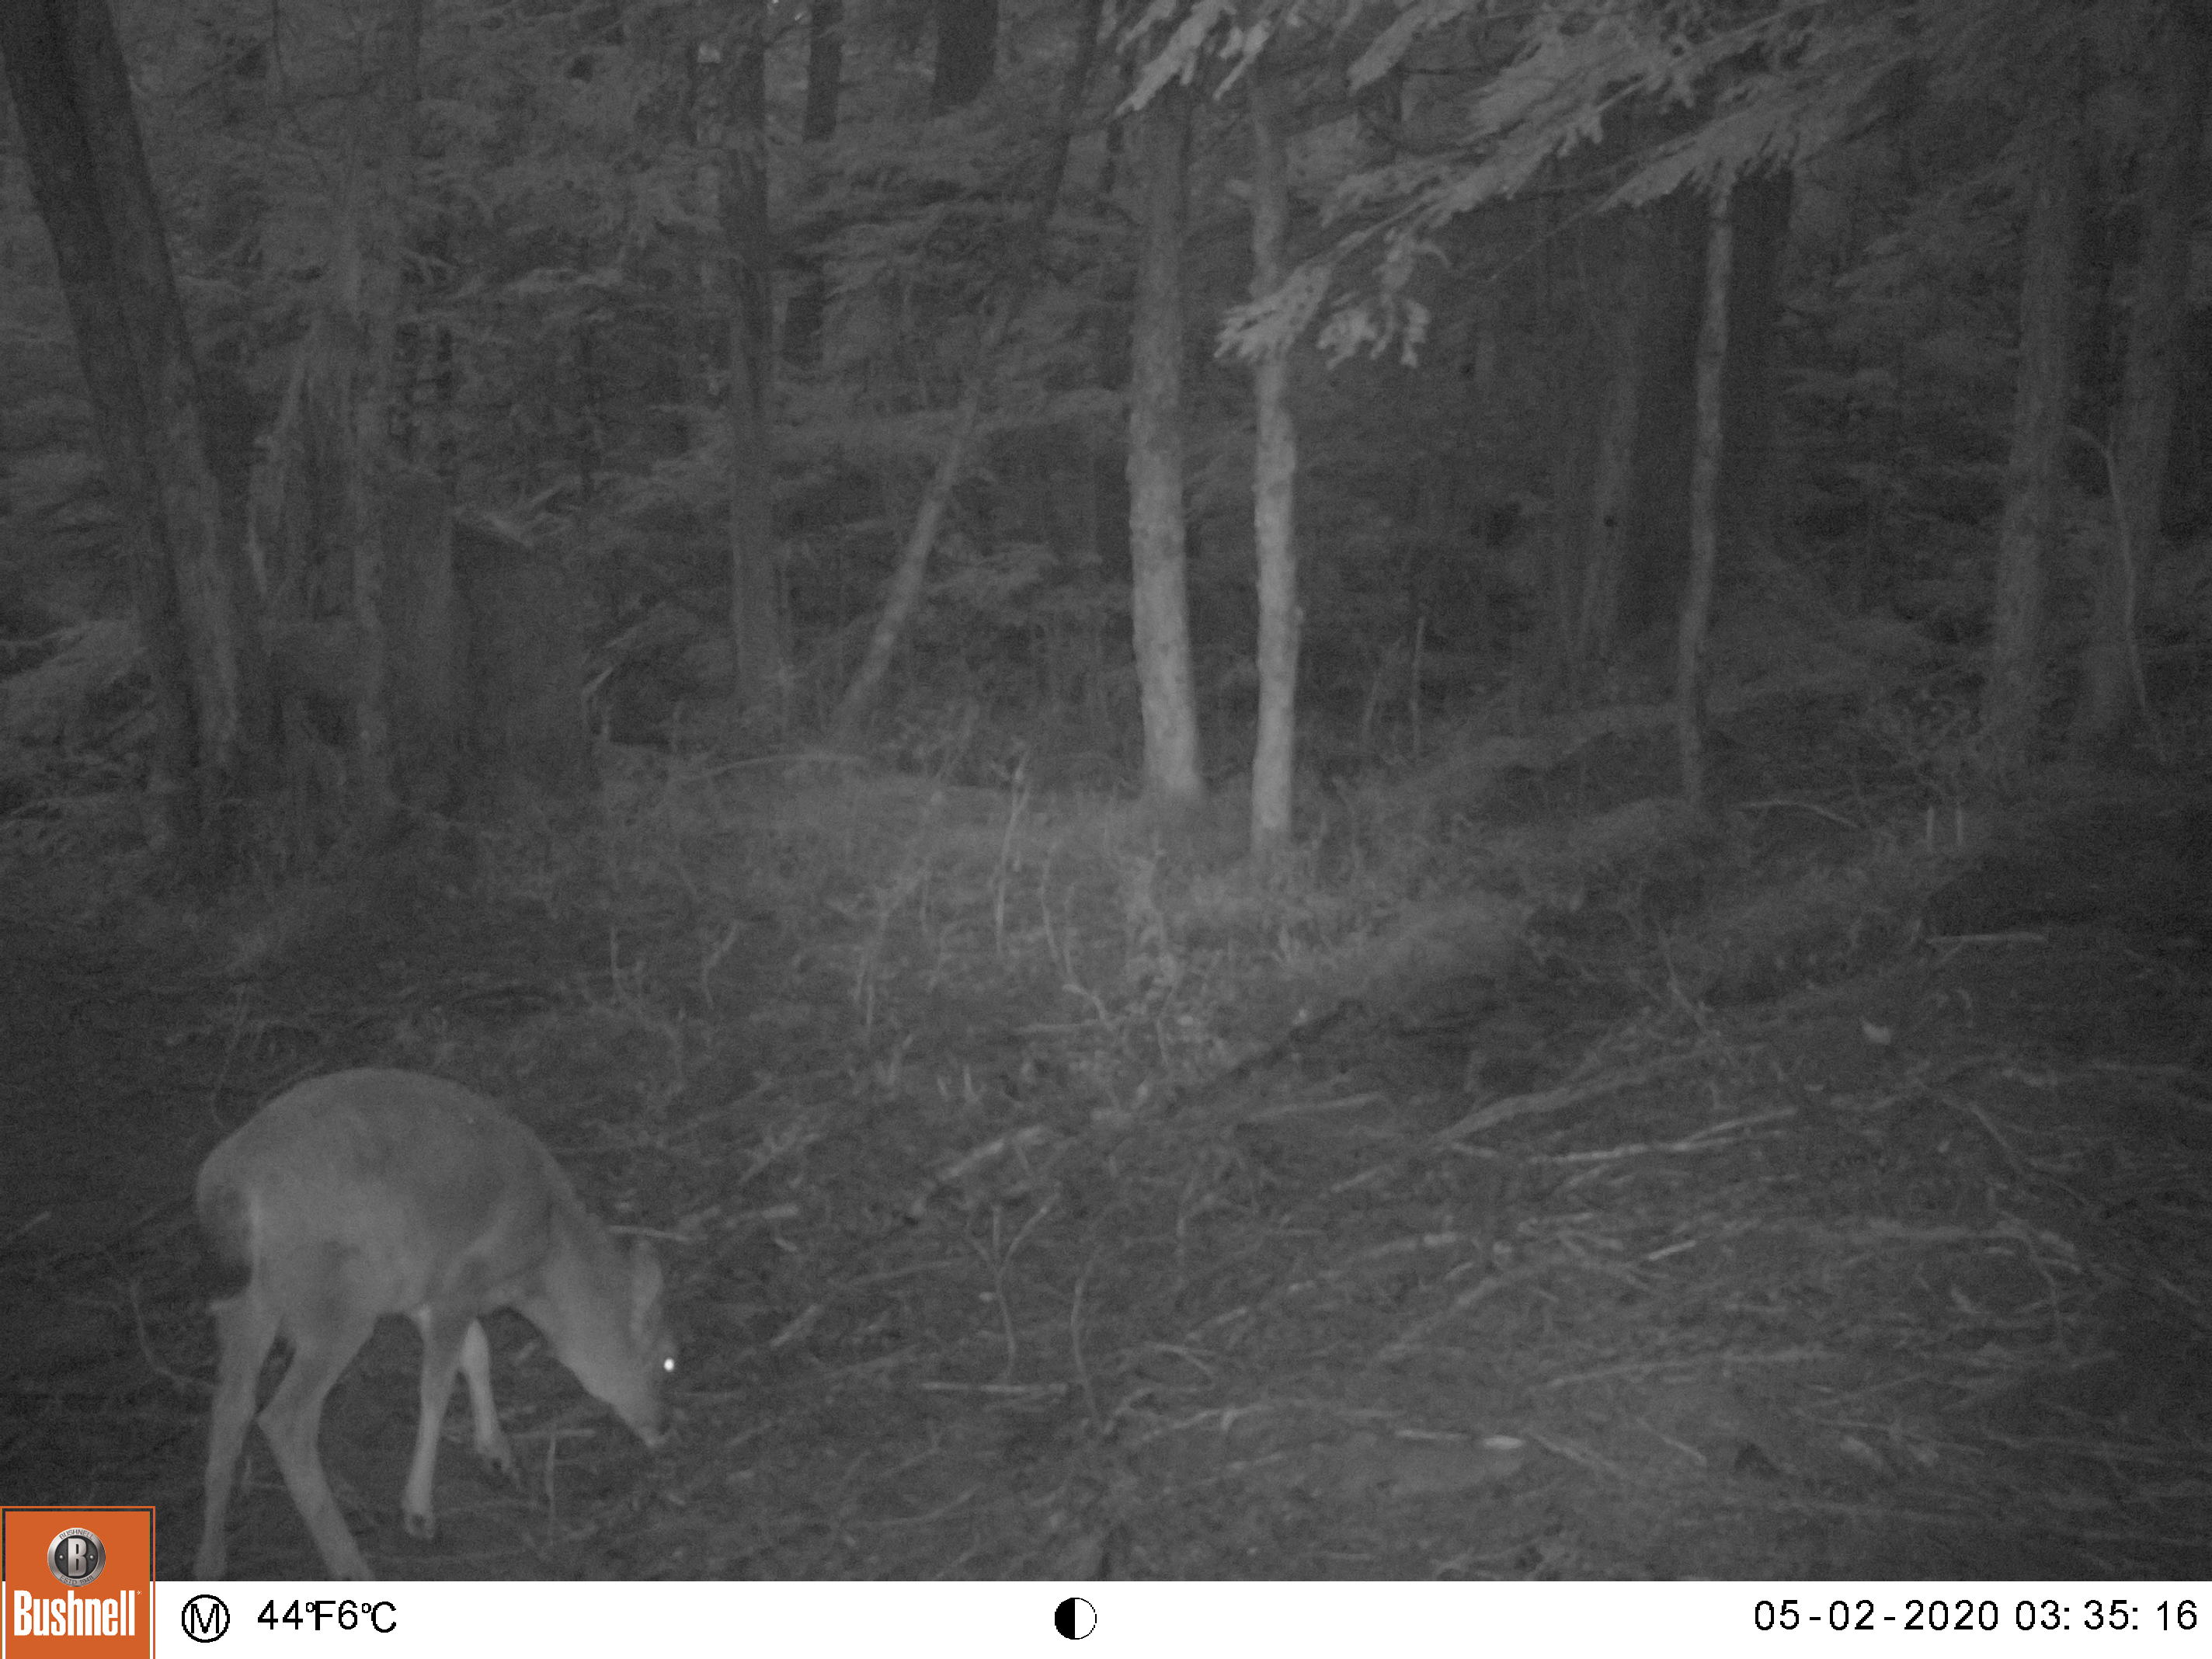
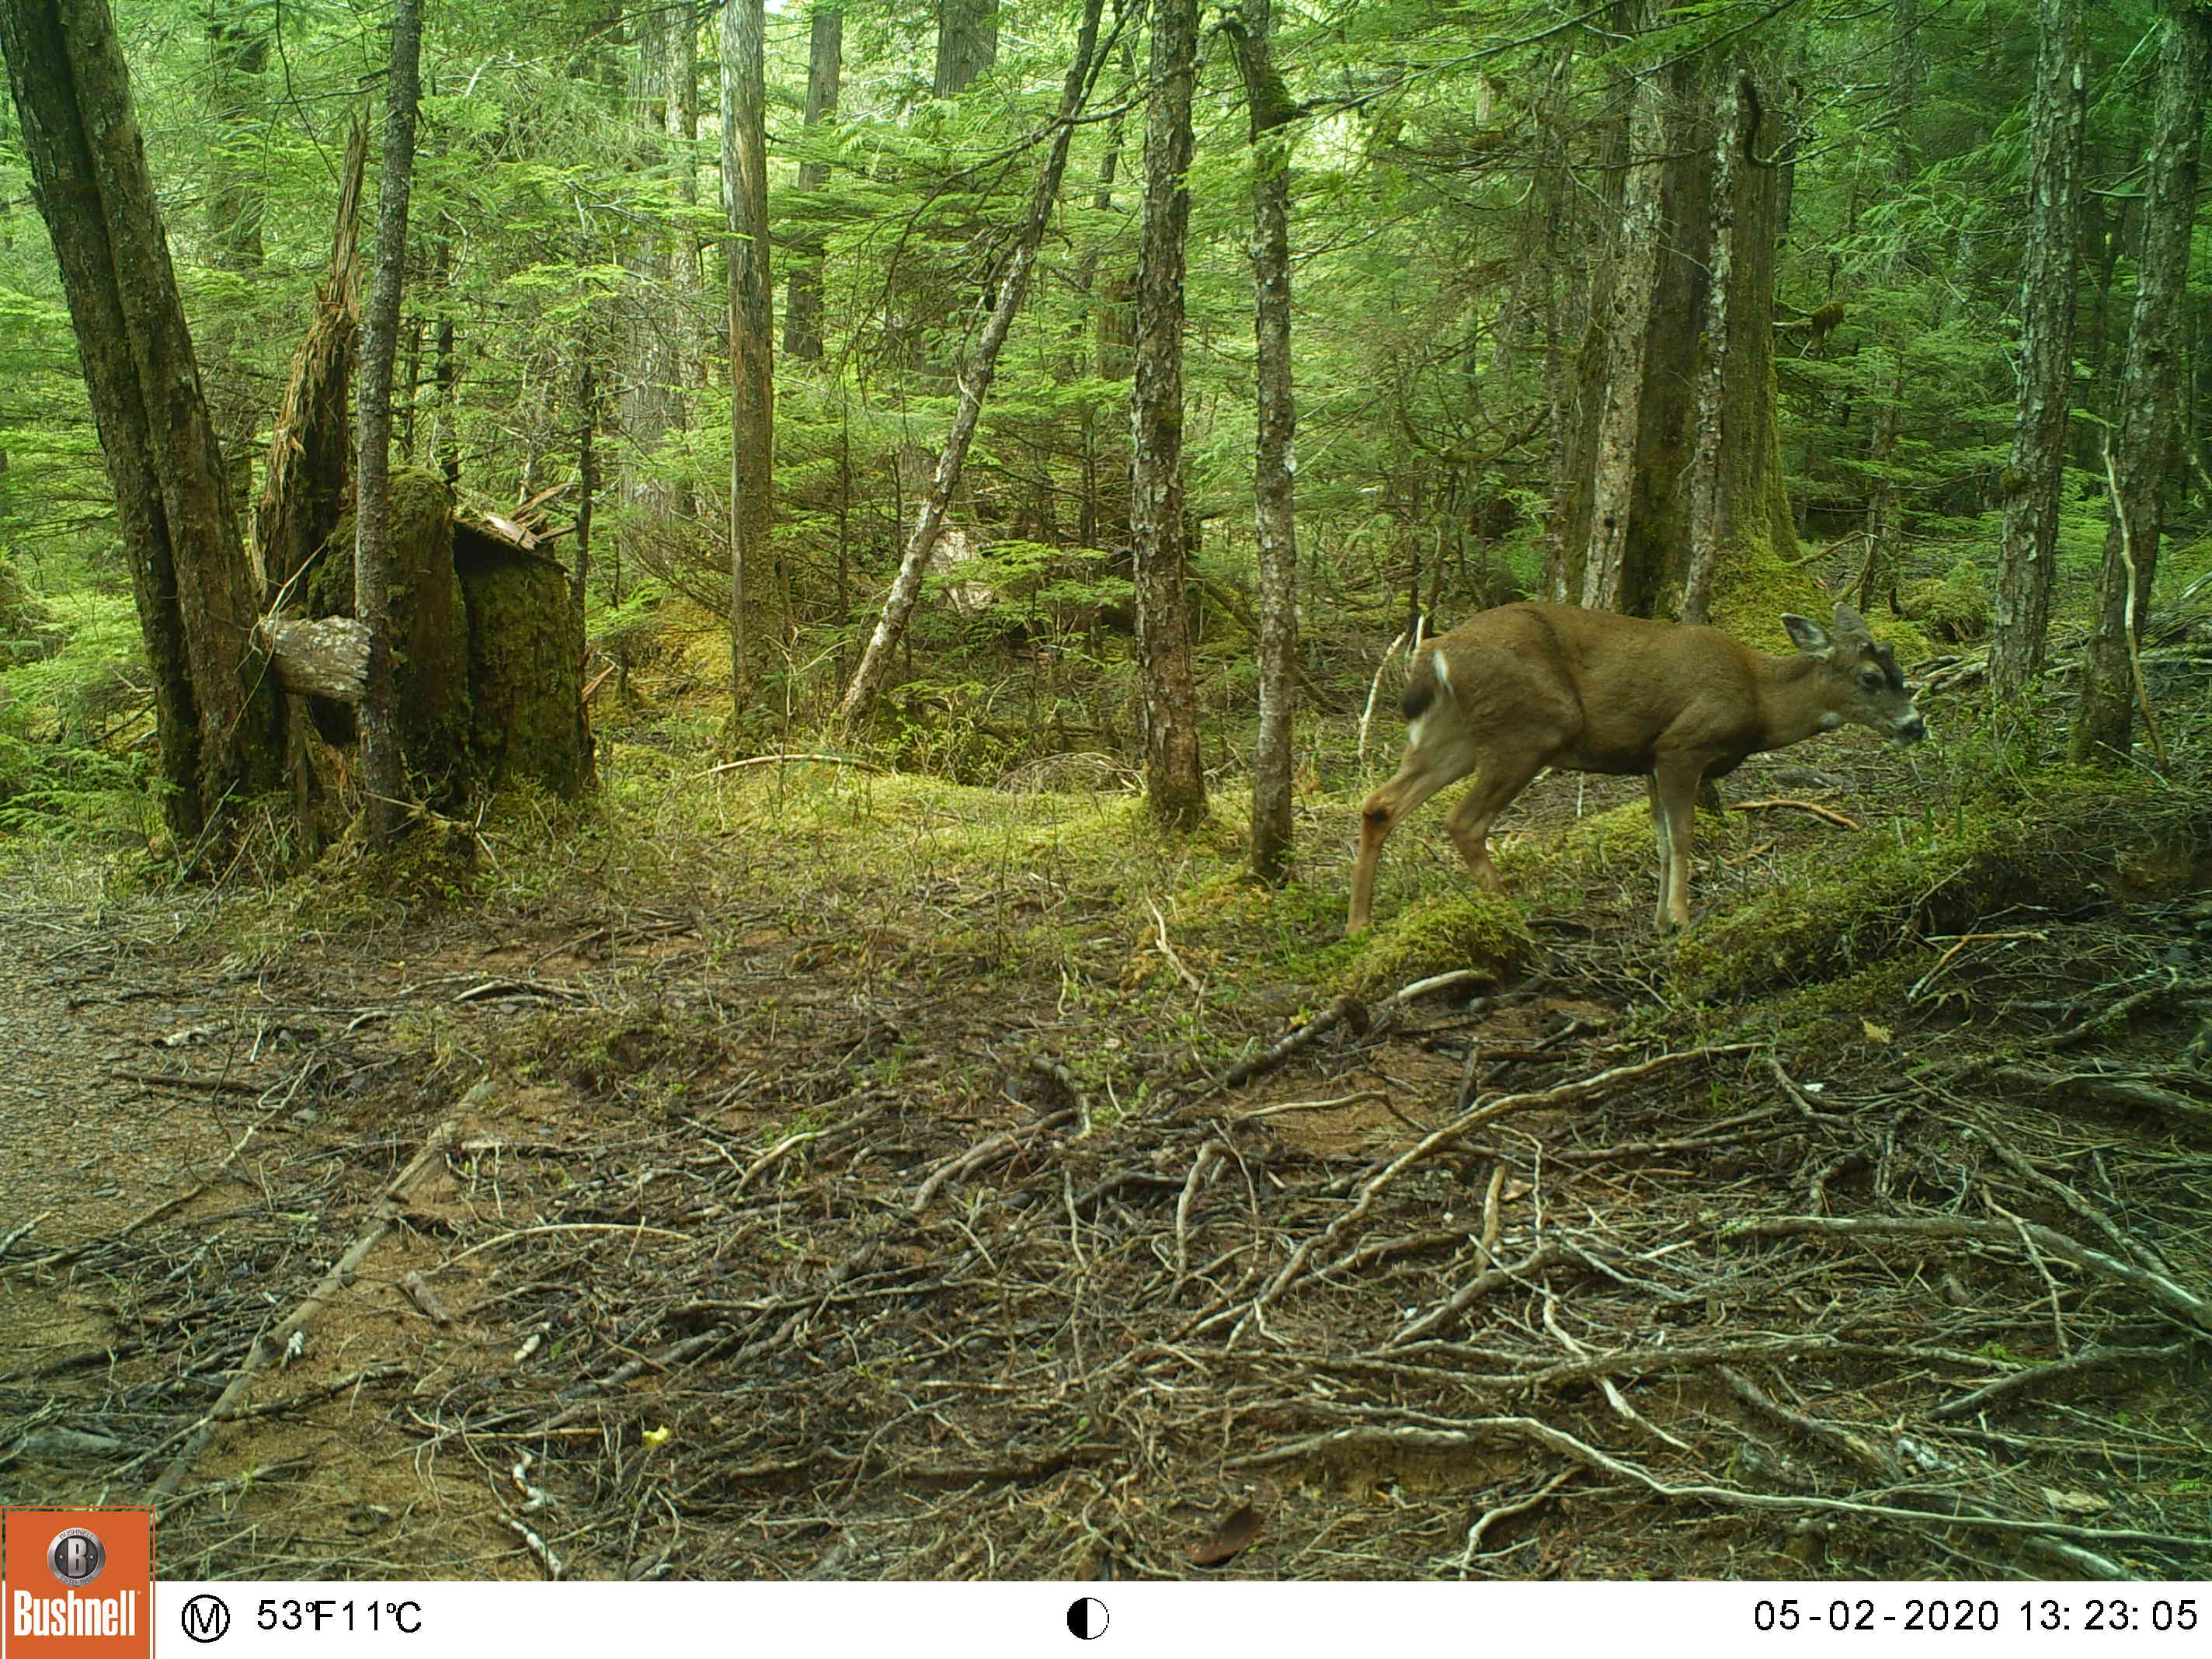
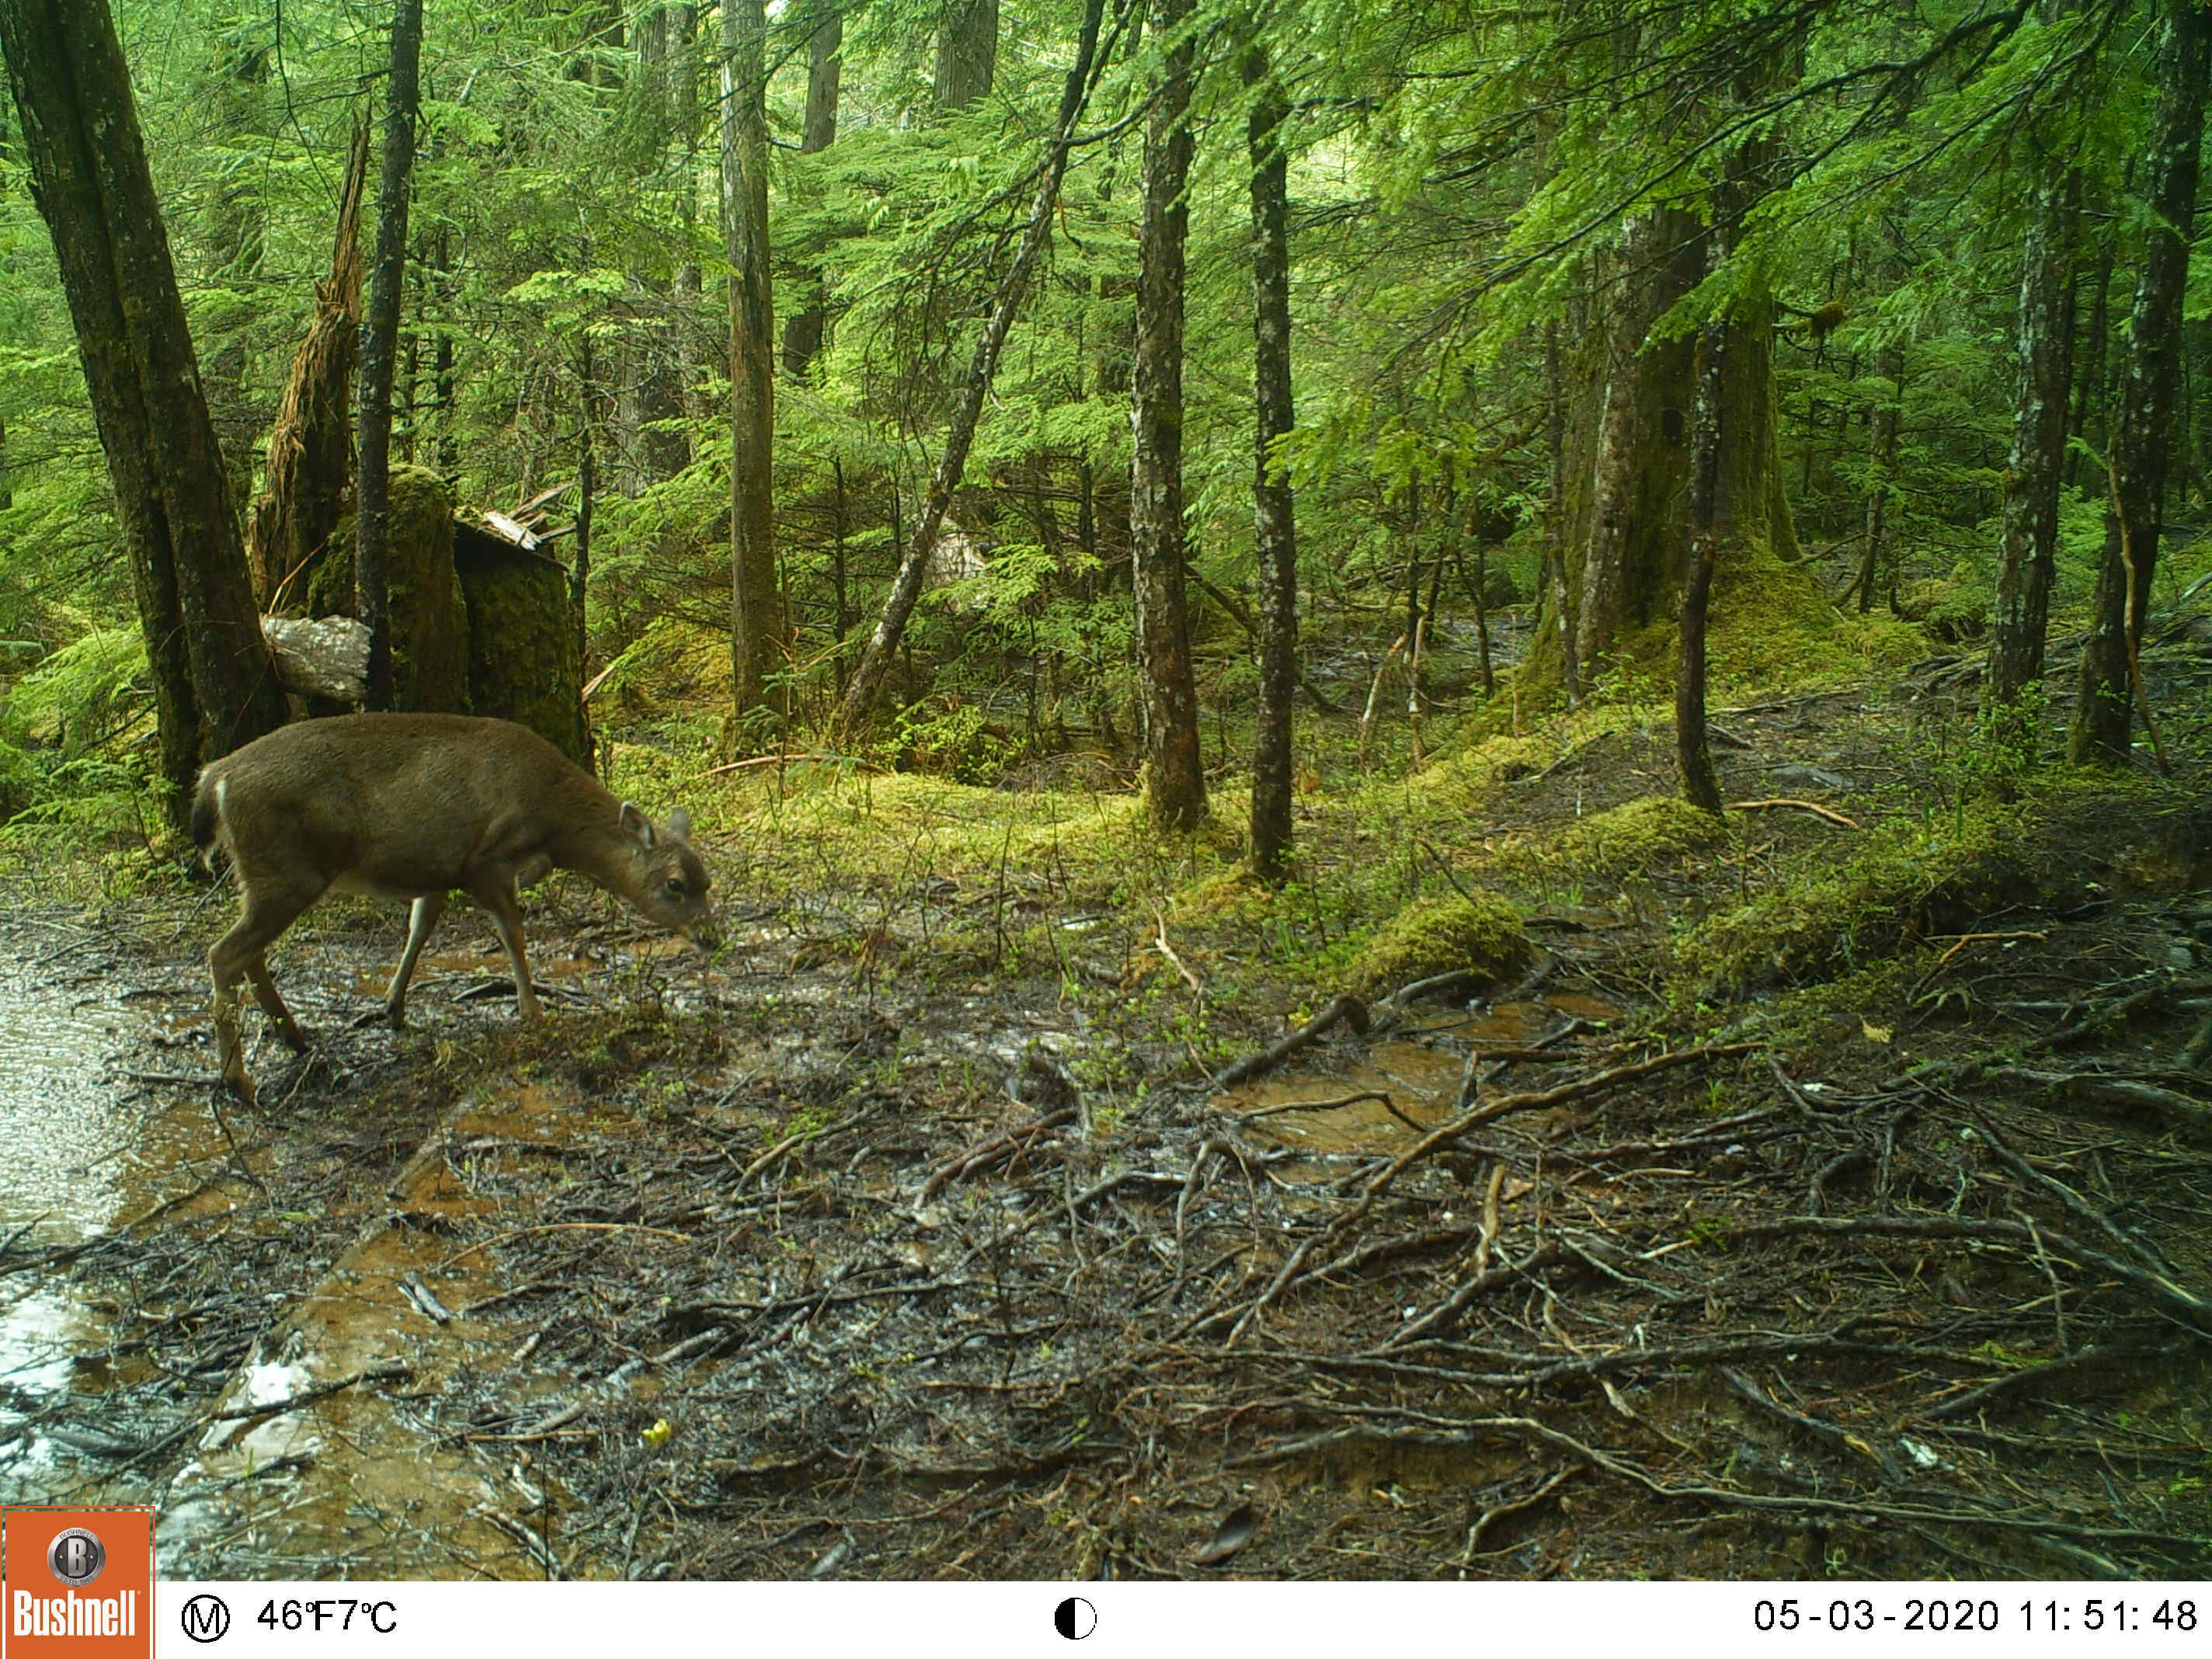
These pictures are the highlights from the first time I checked this camera. When I checked the card I thought the camera had malfunctioned because it recorded over 1,700 images, but very few were false triggers.
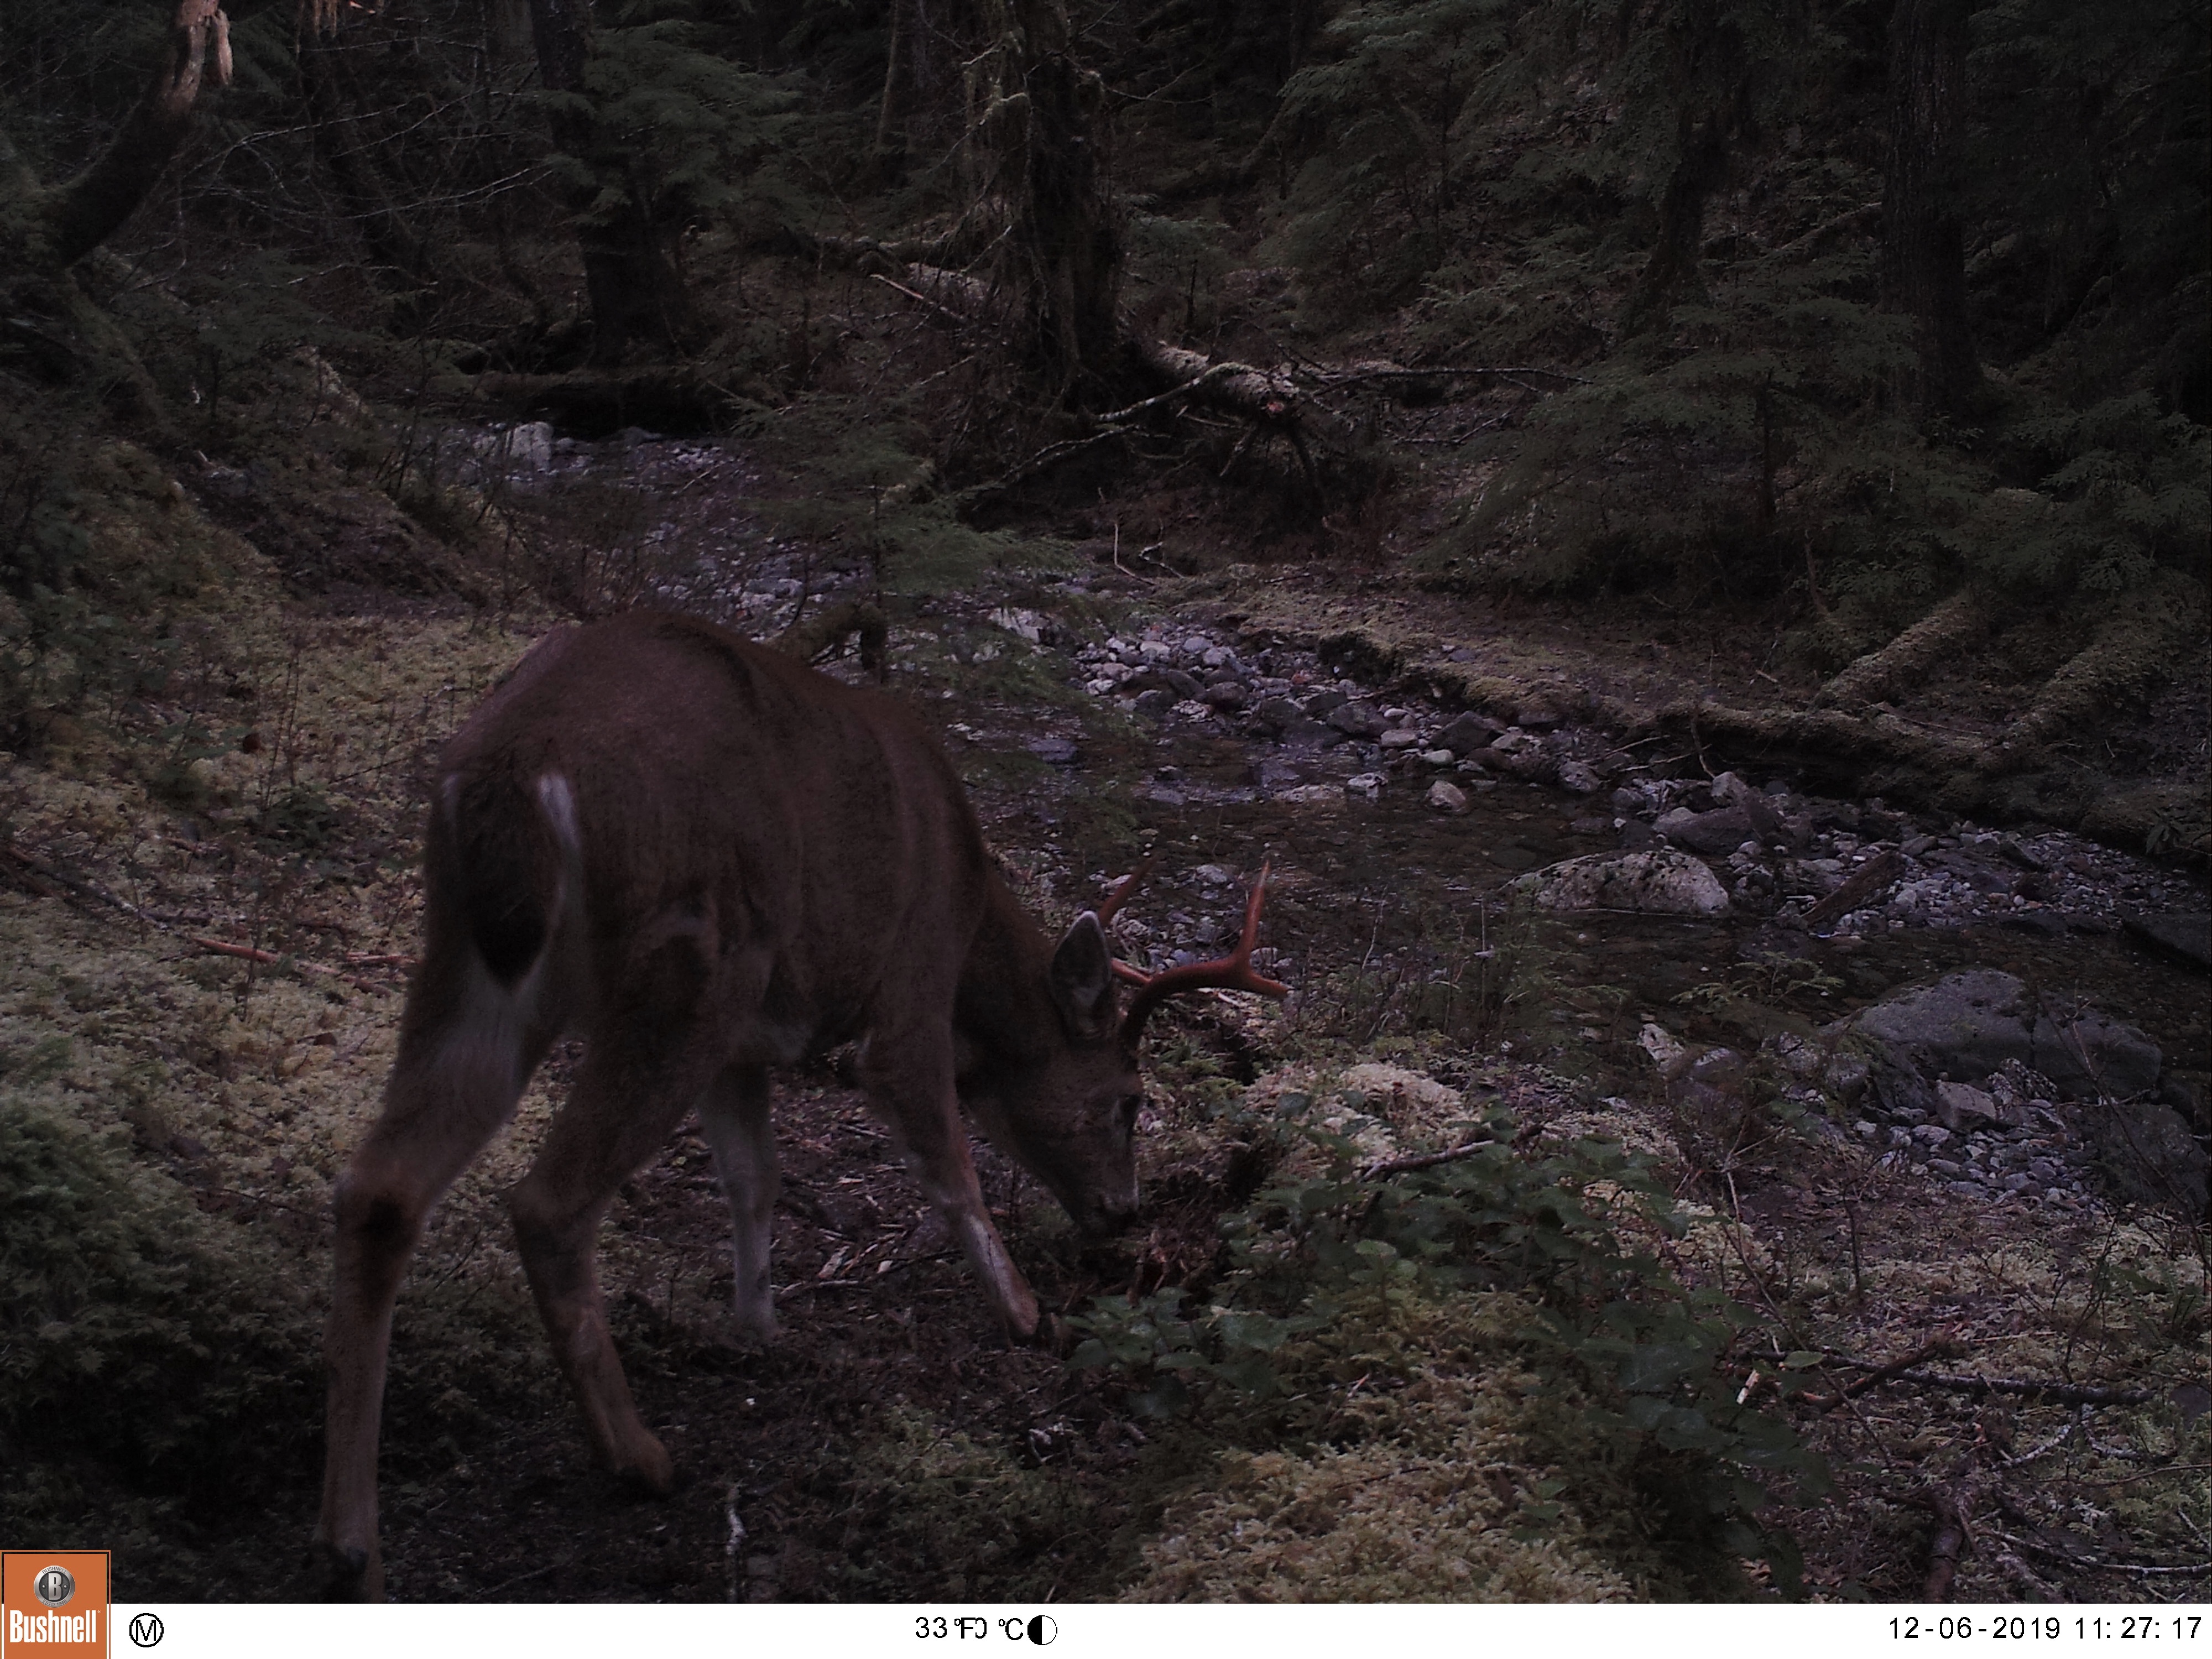
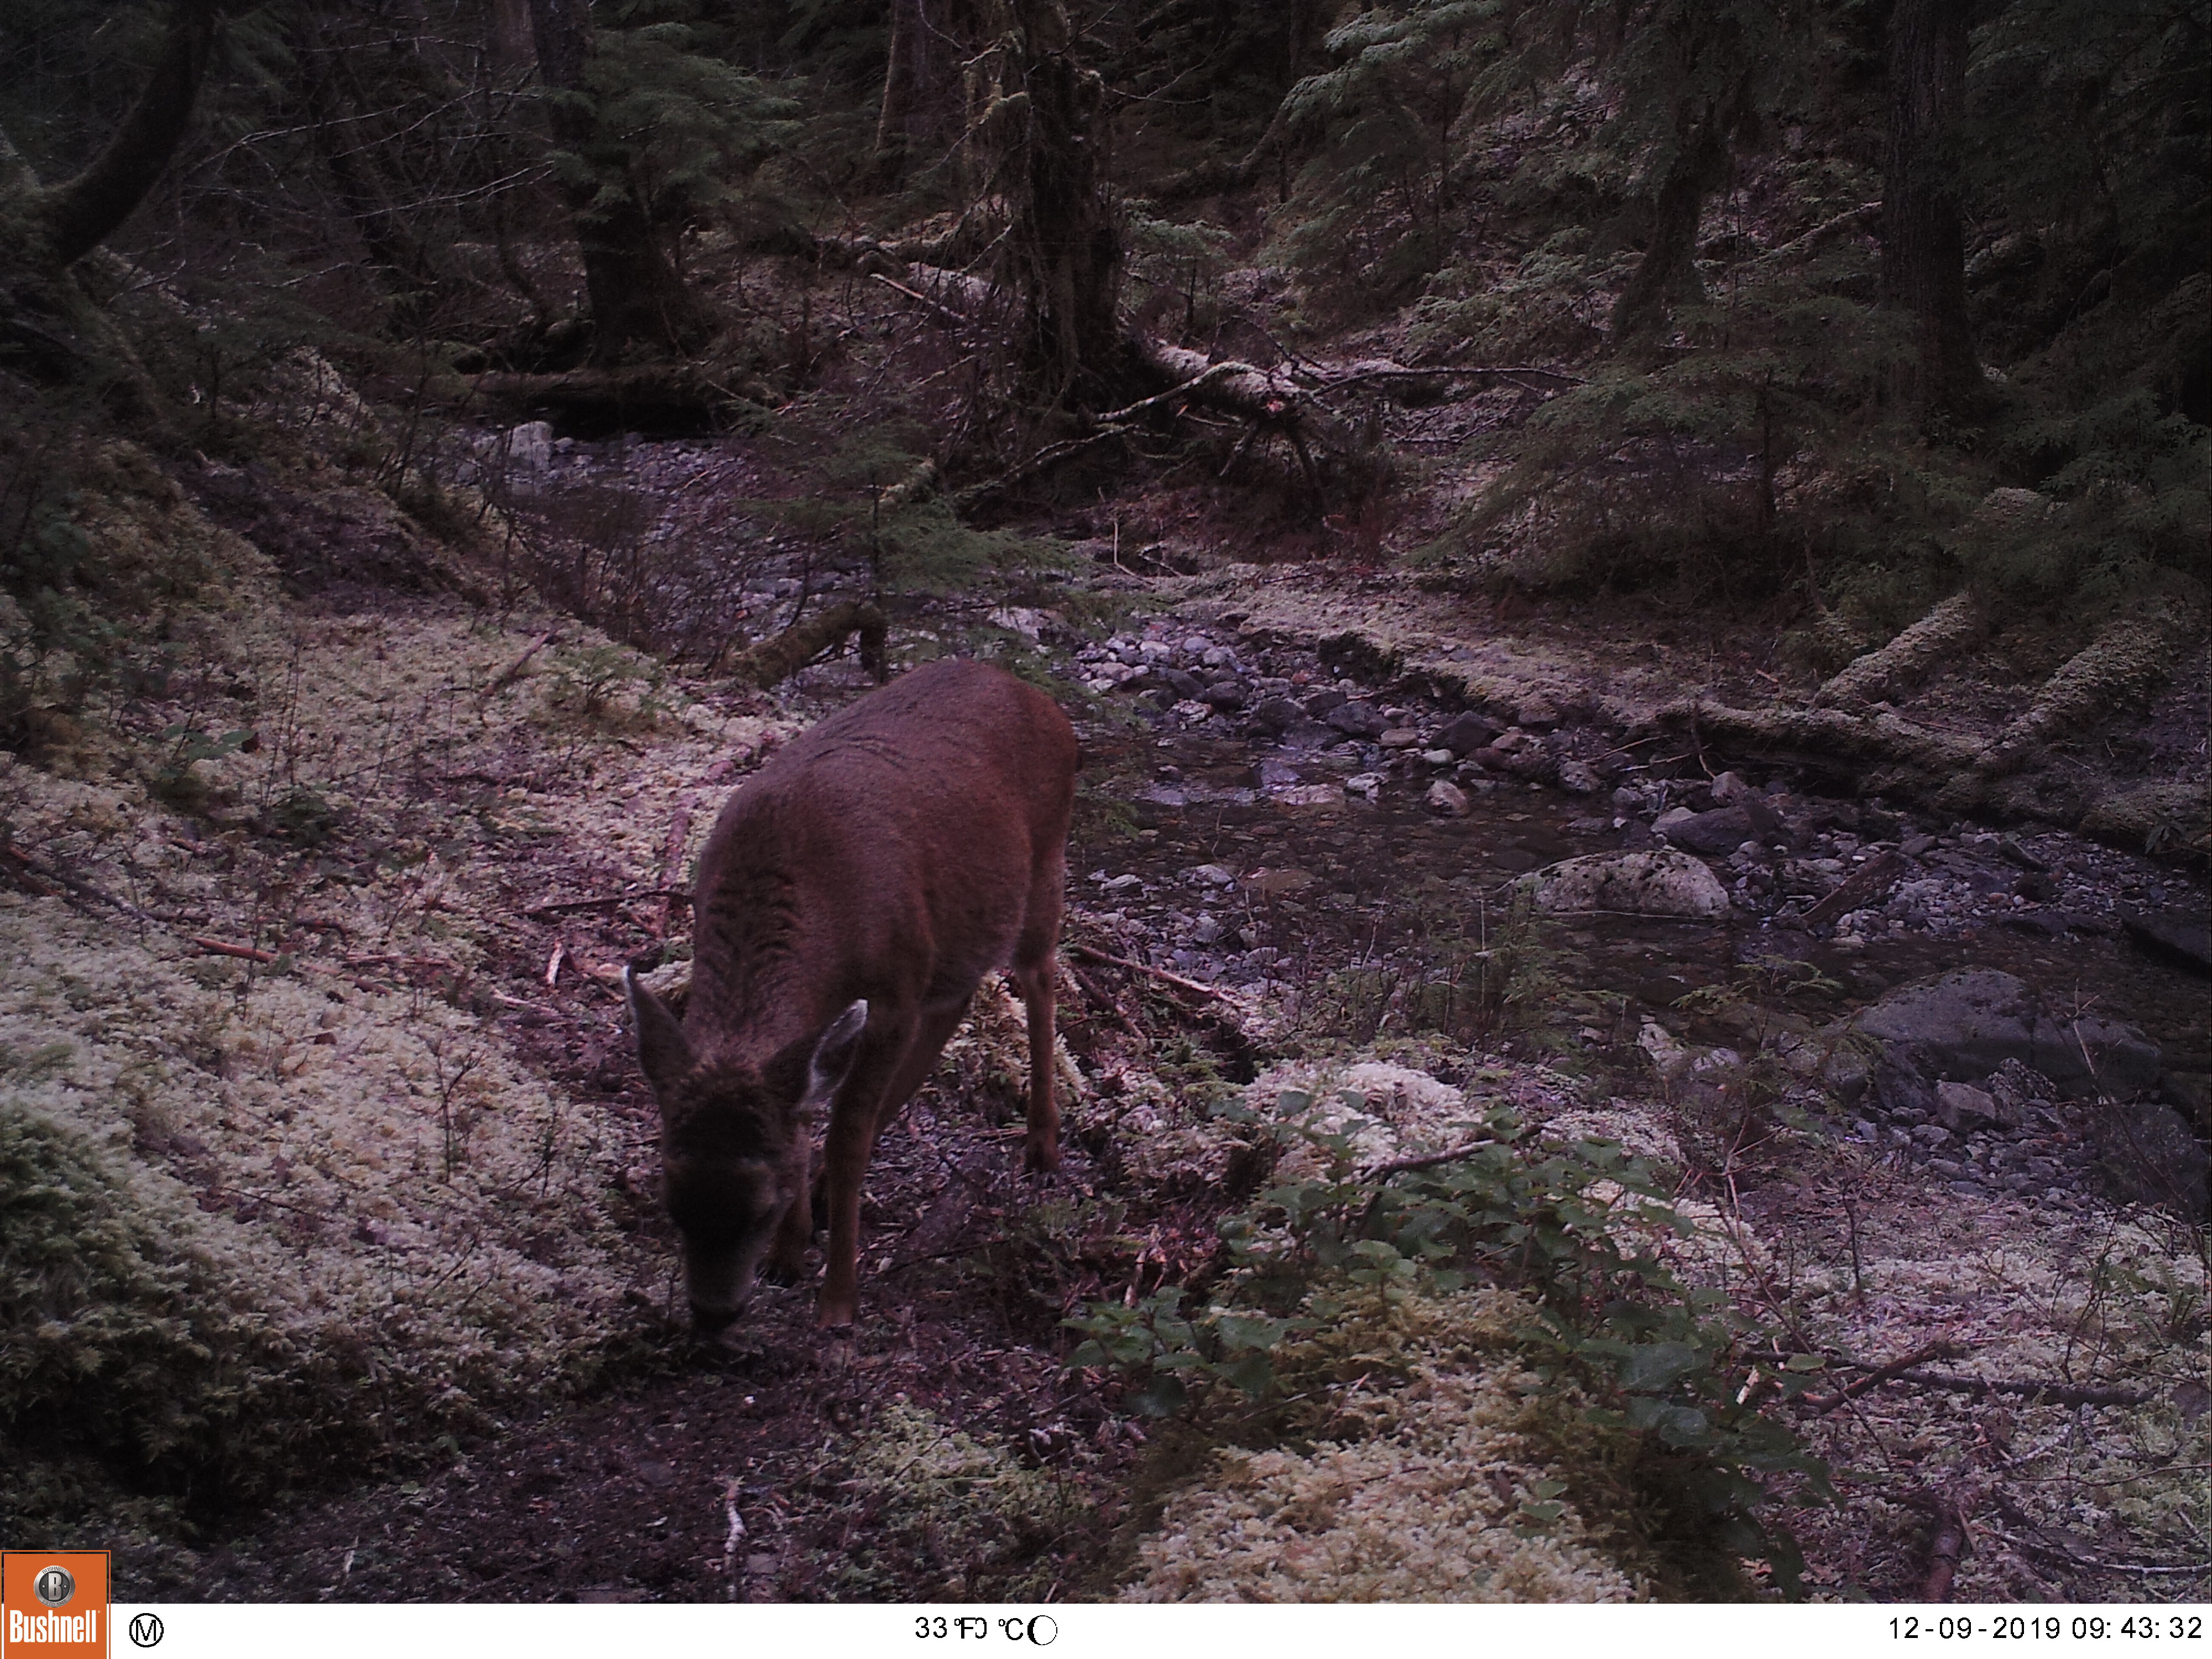

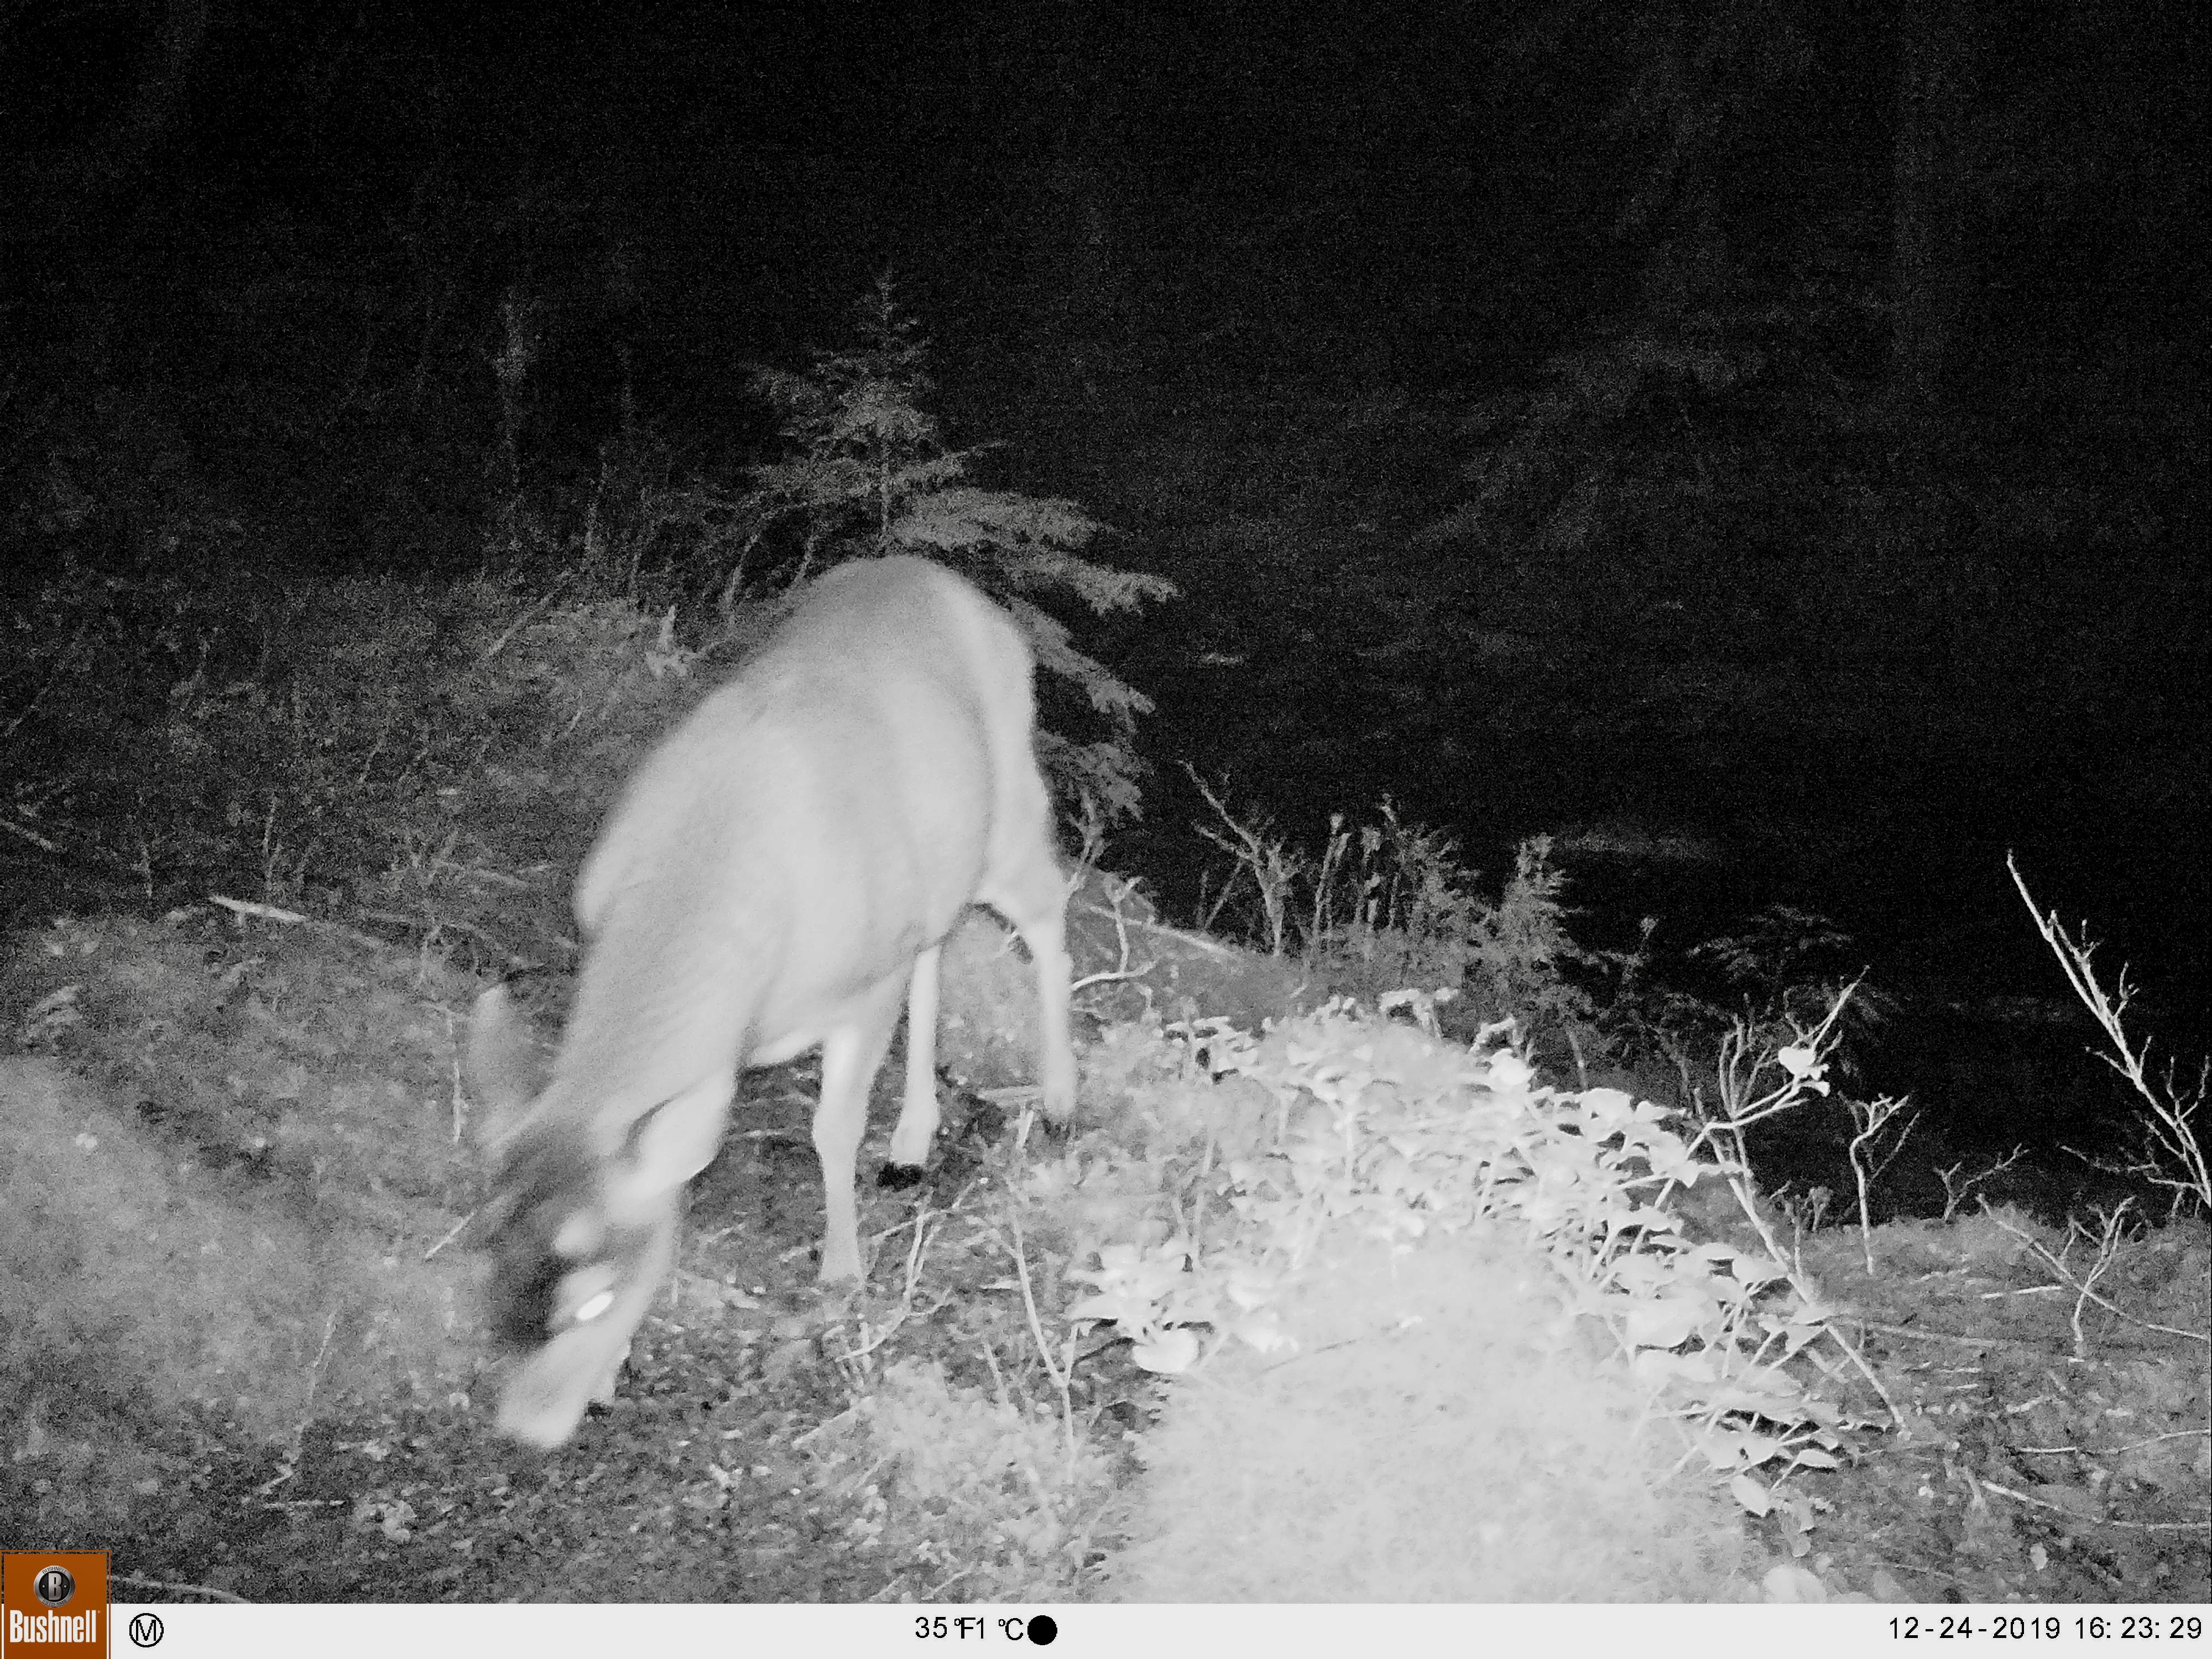
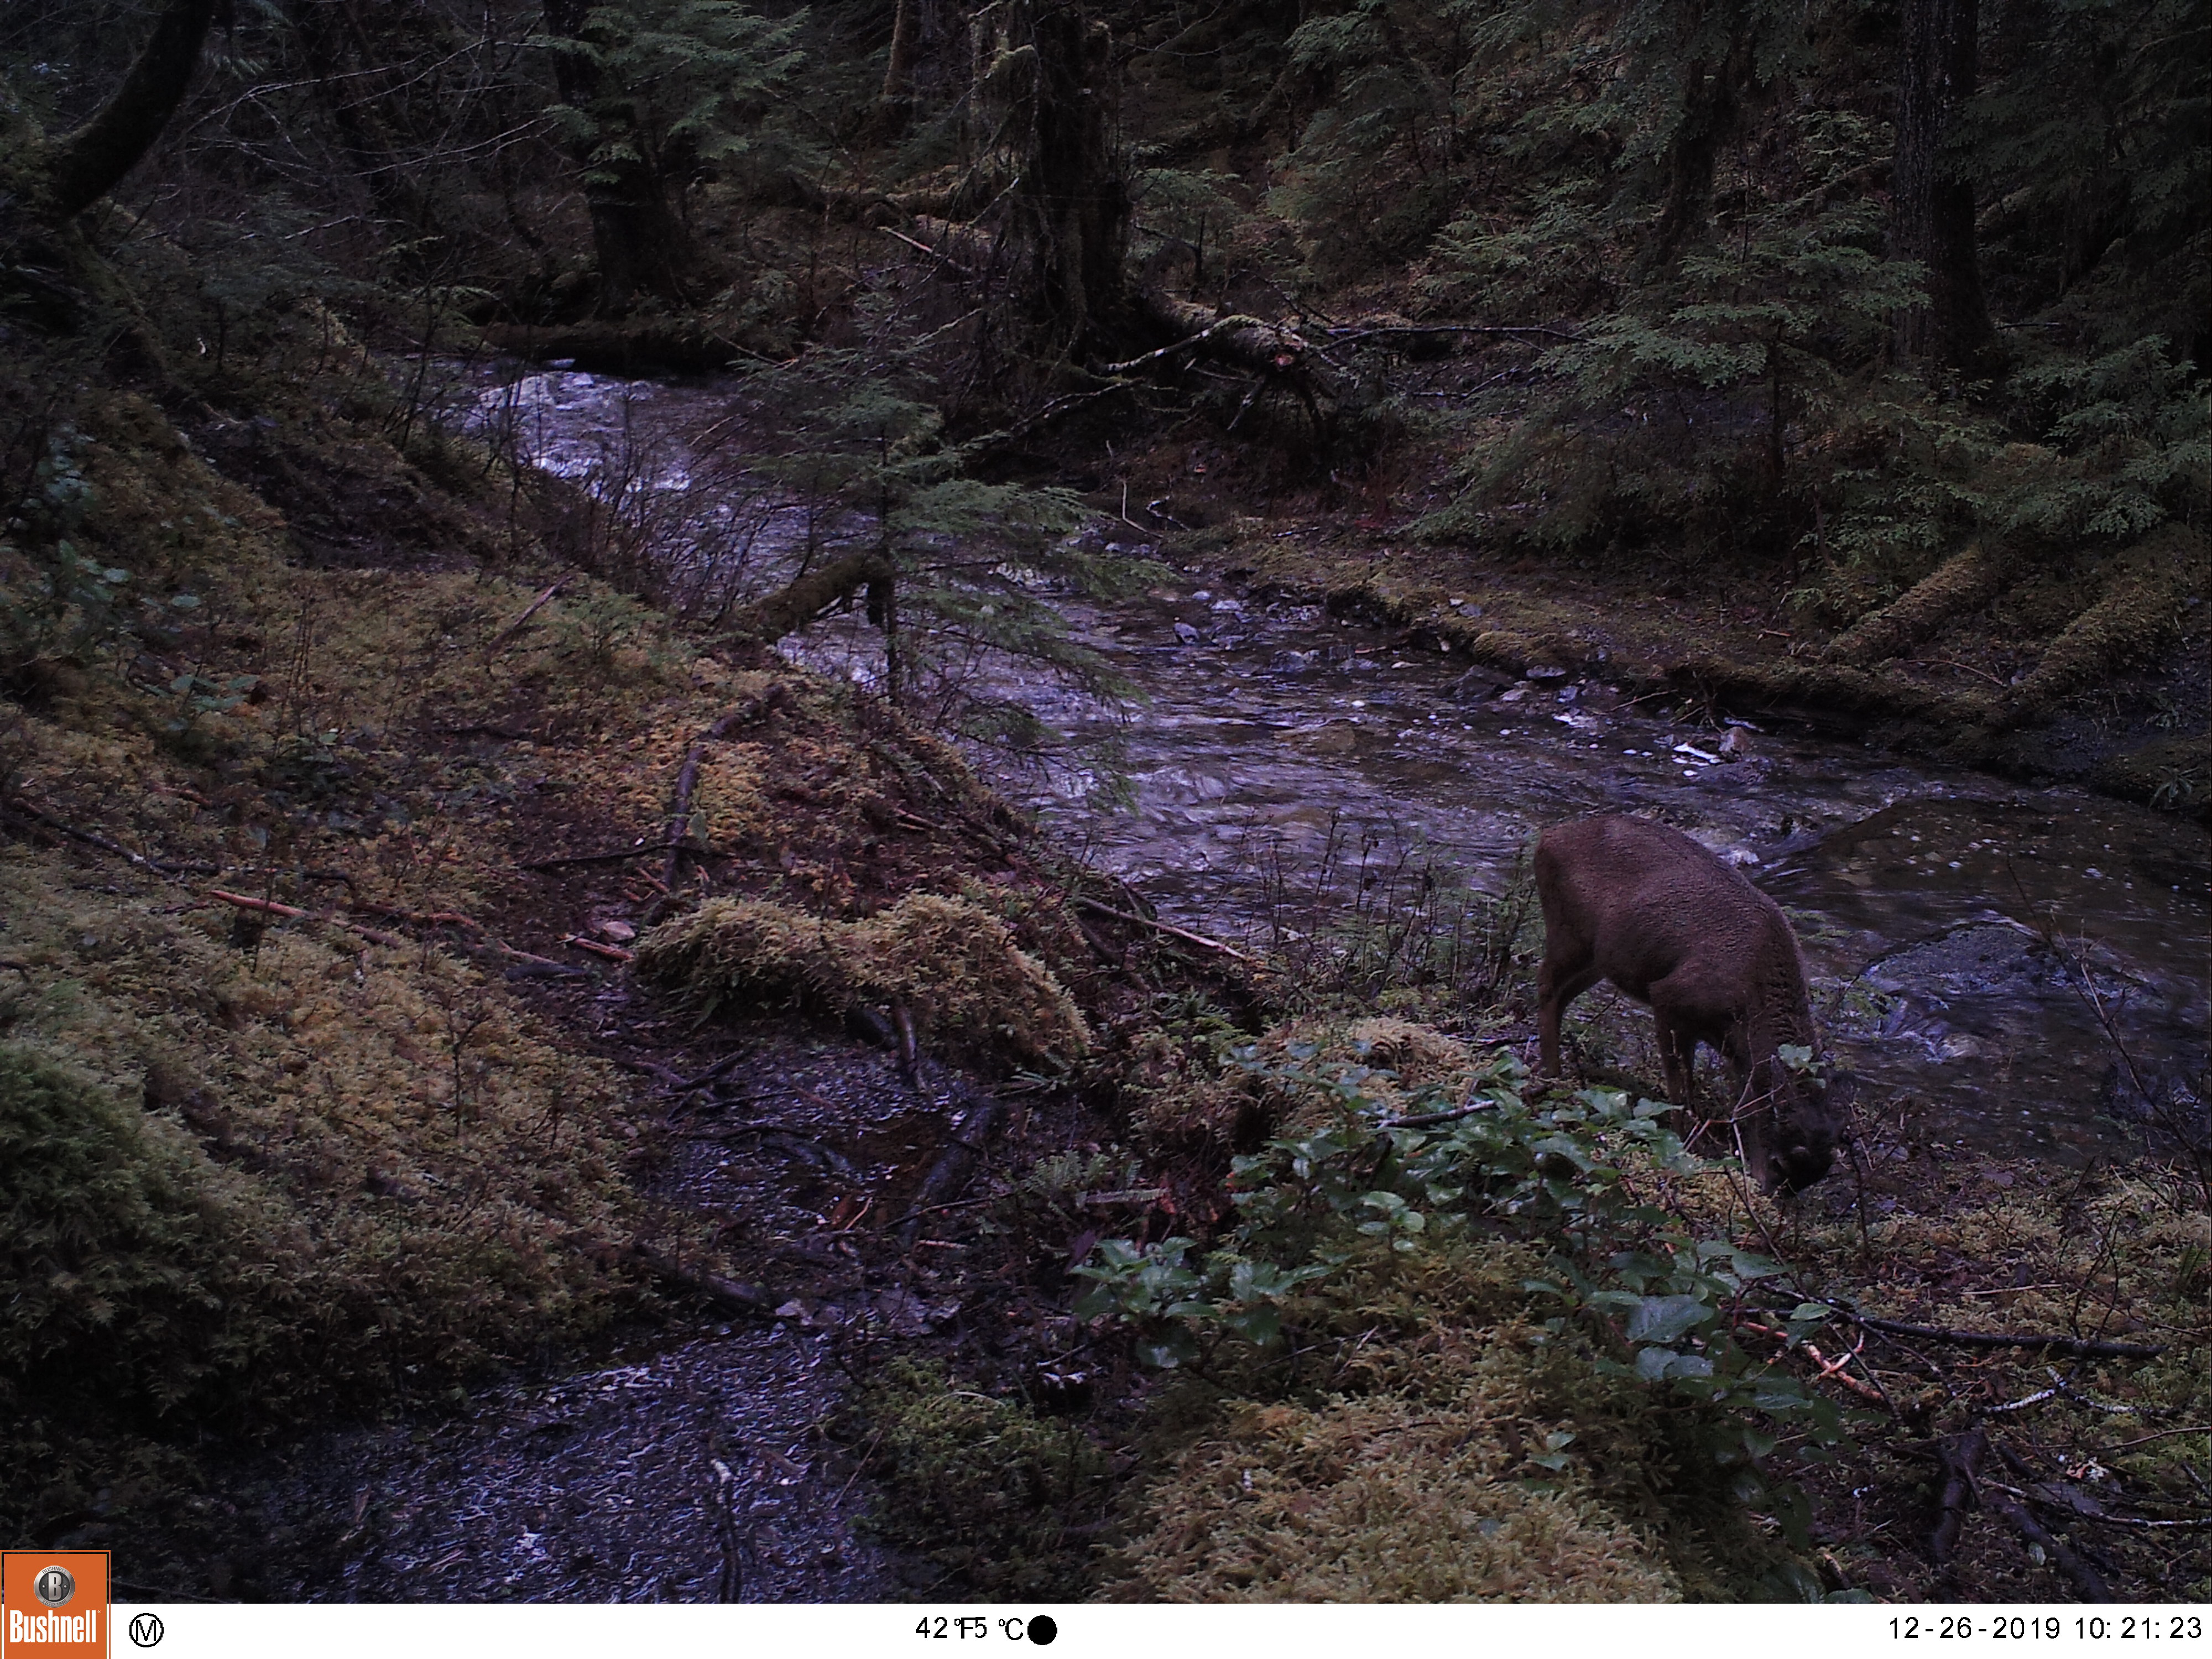

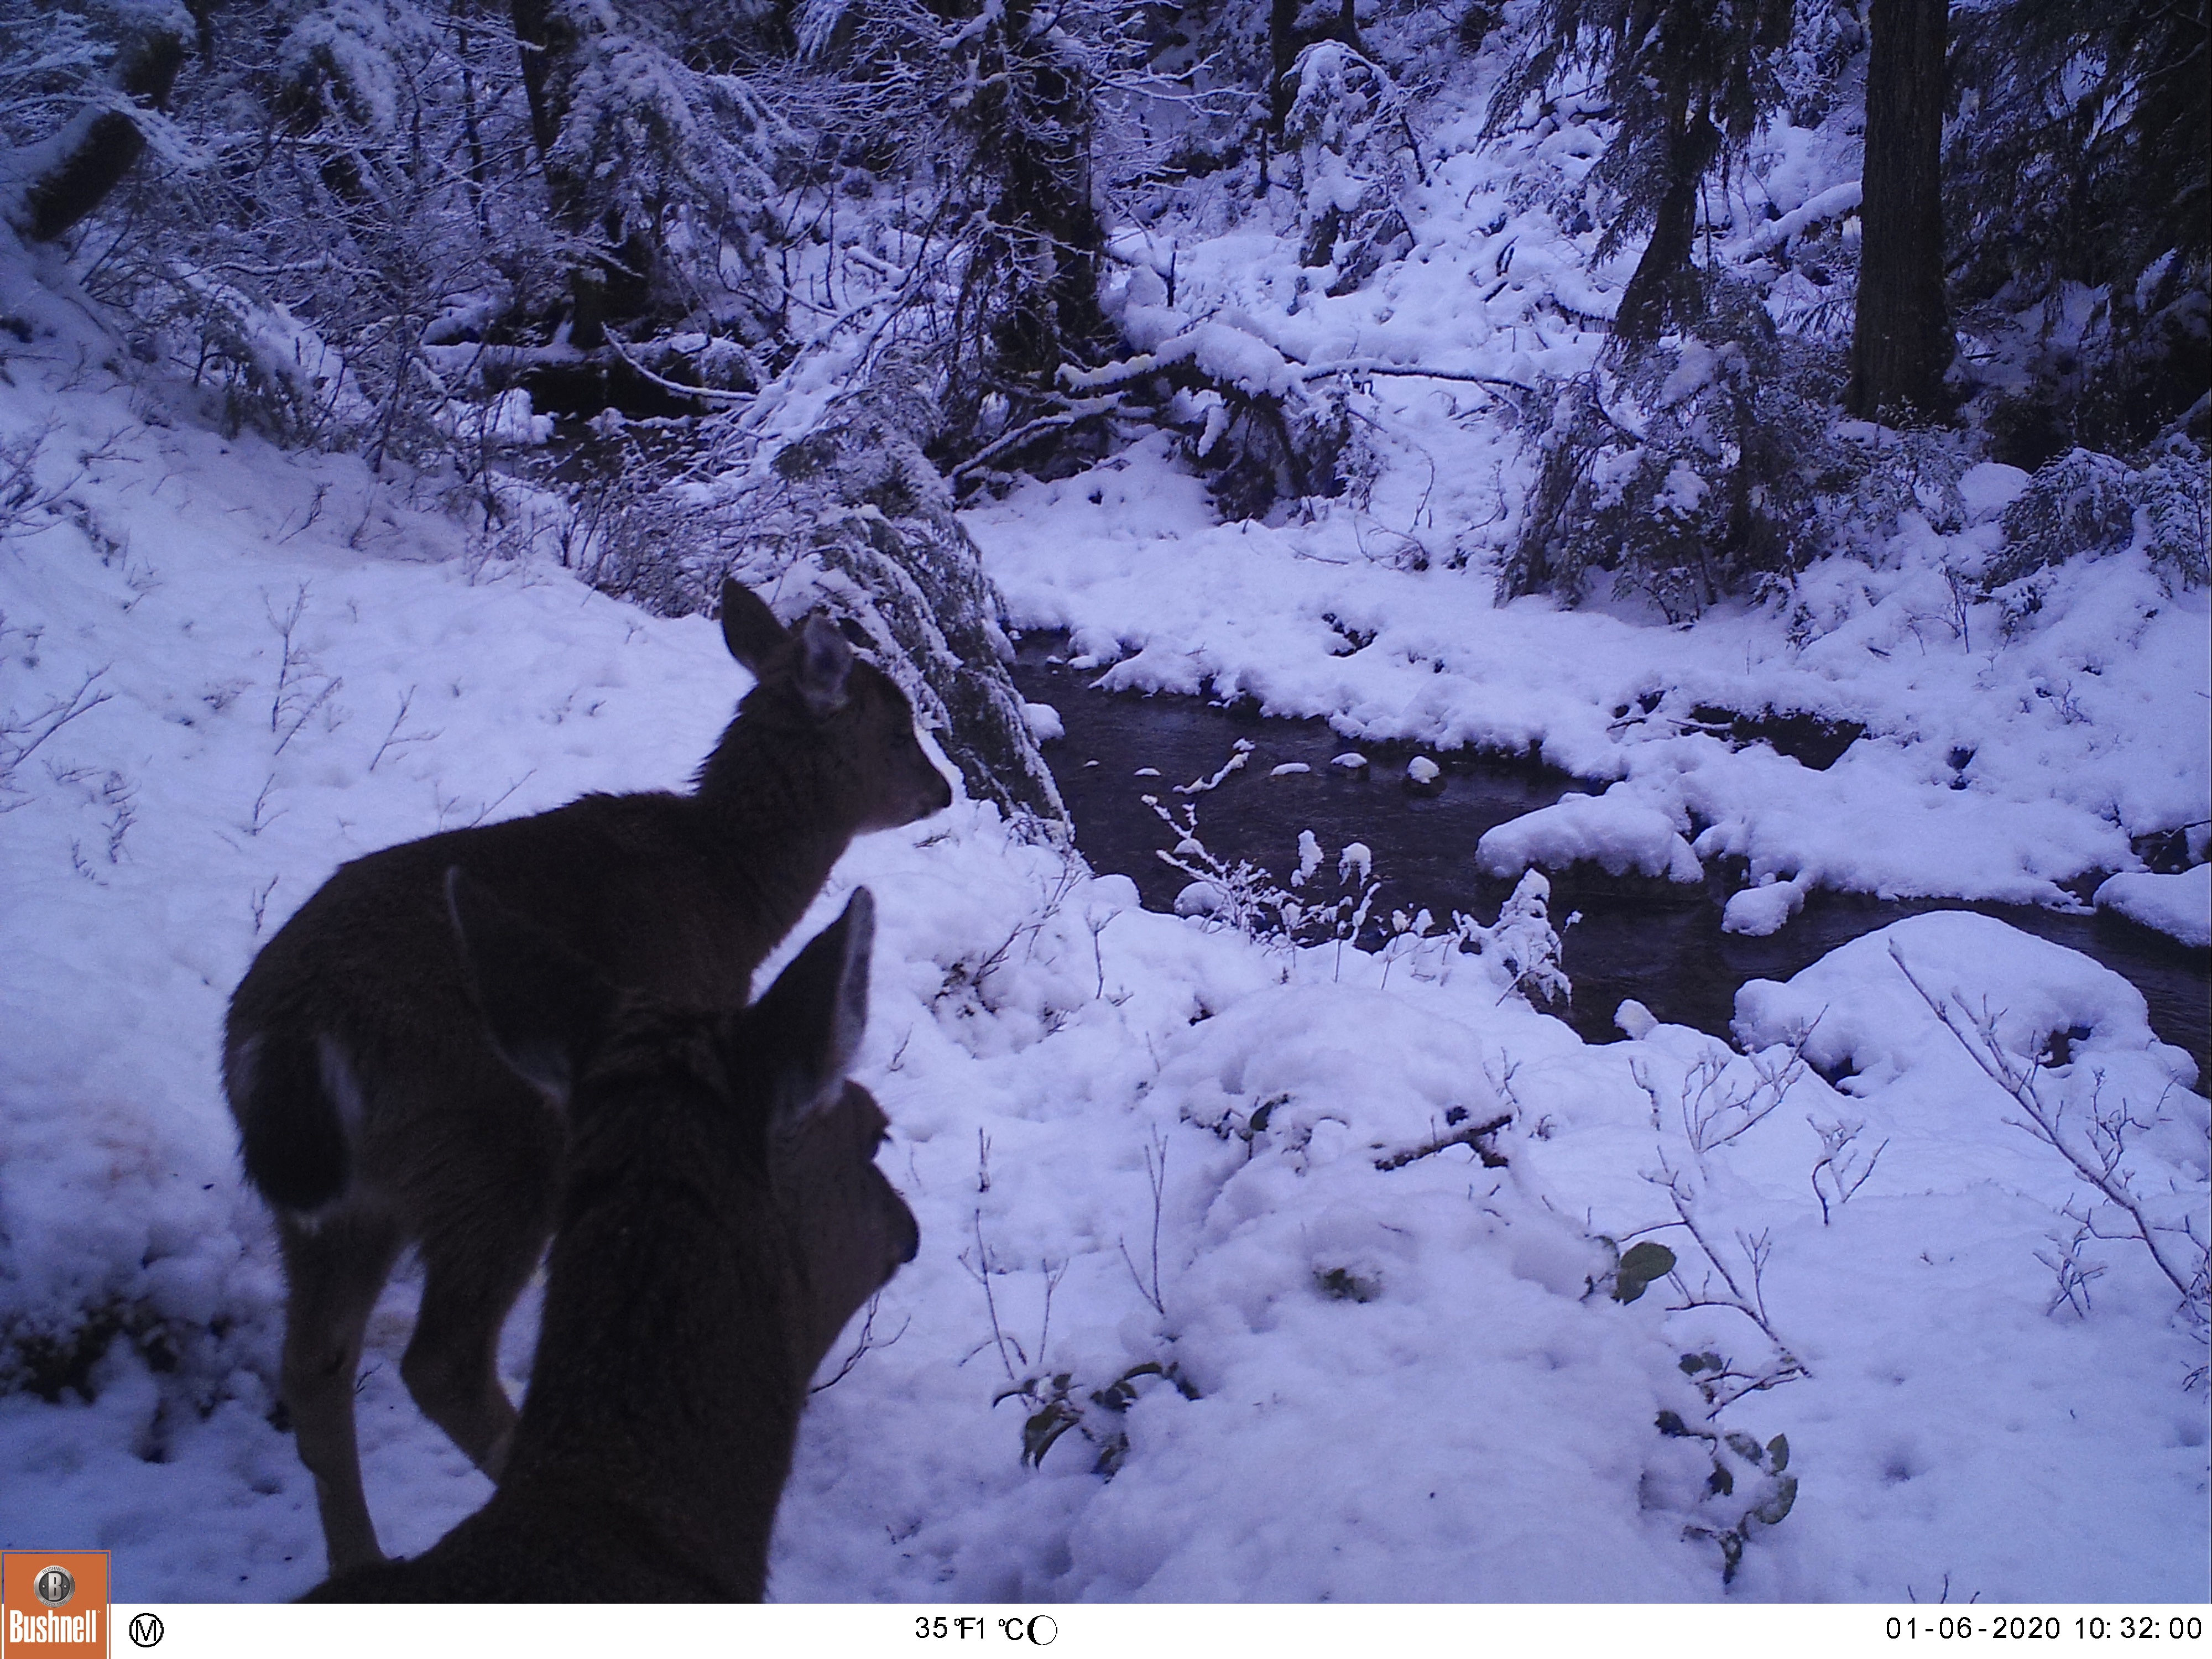
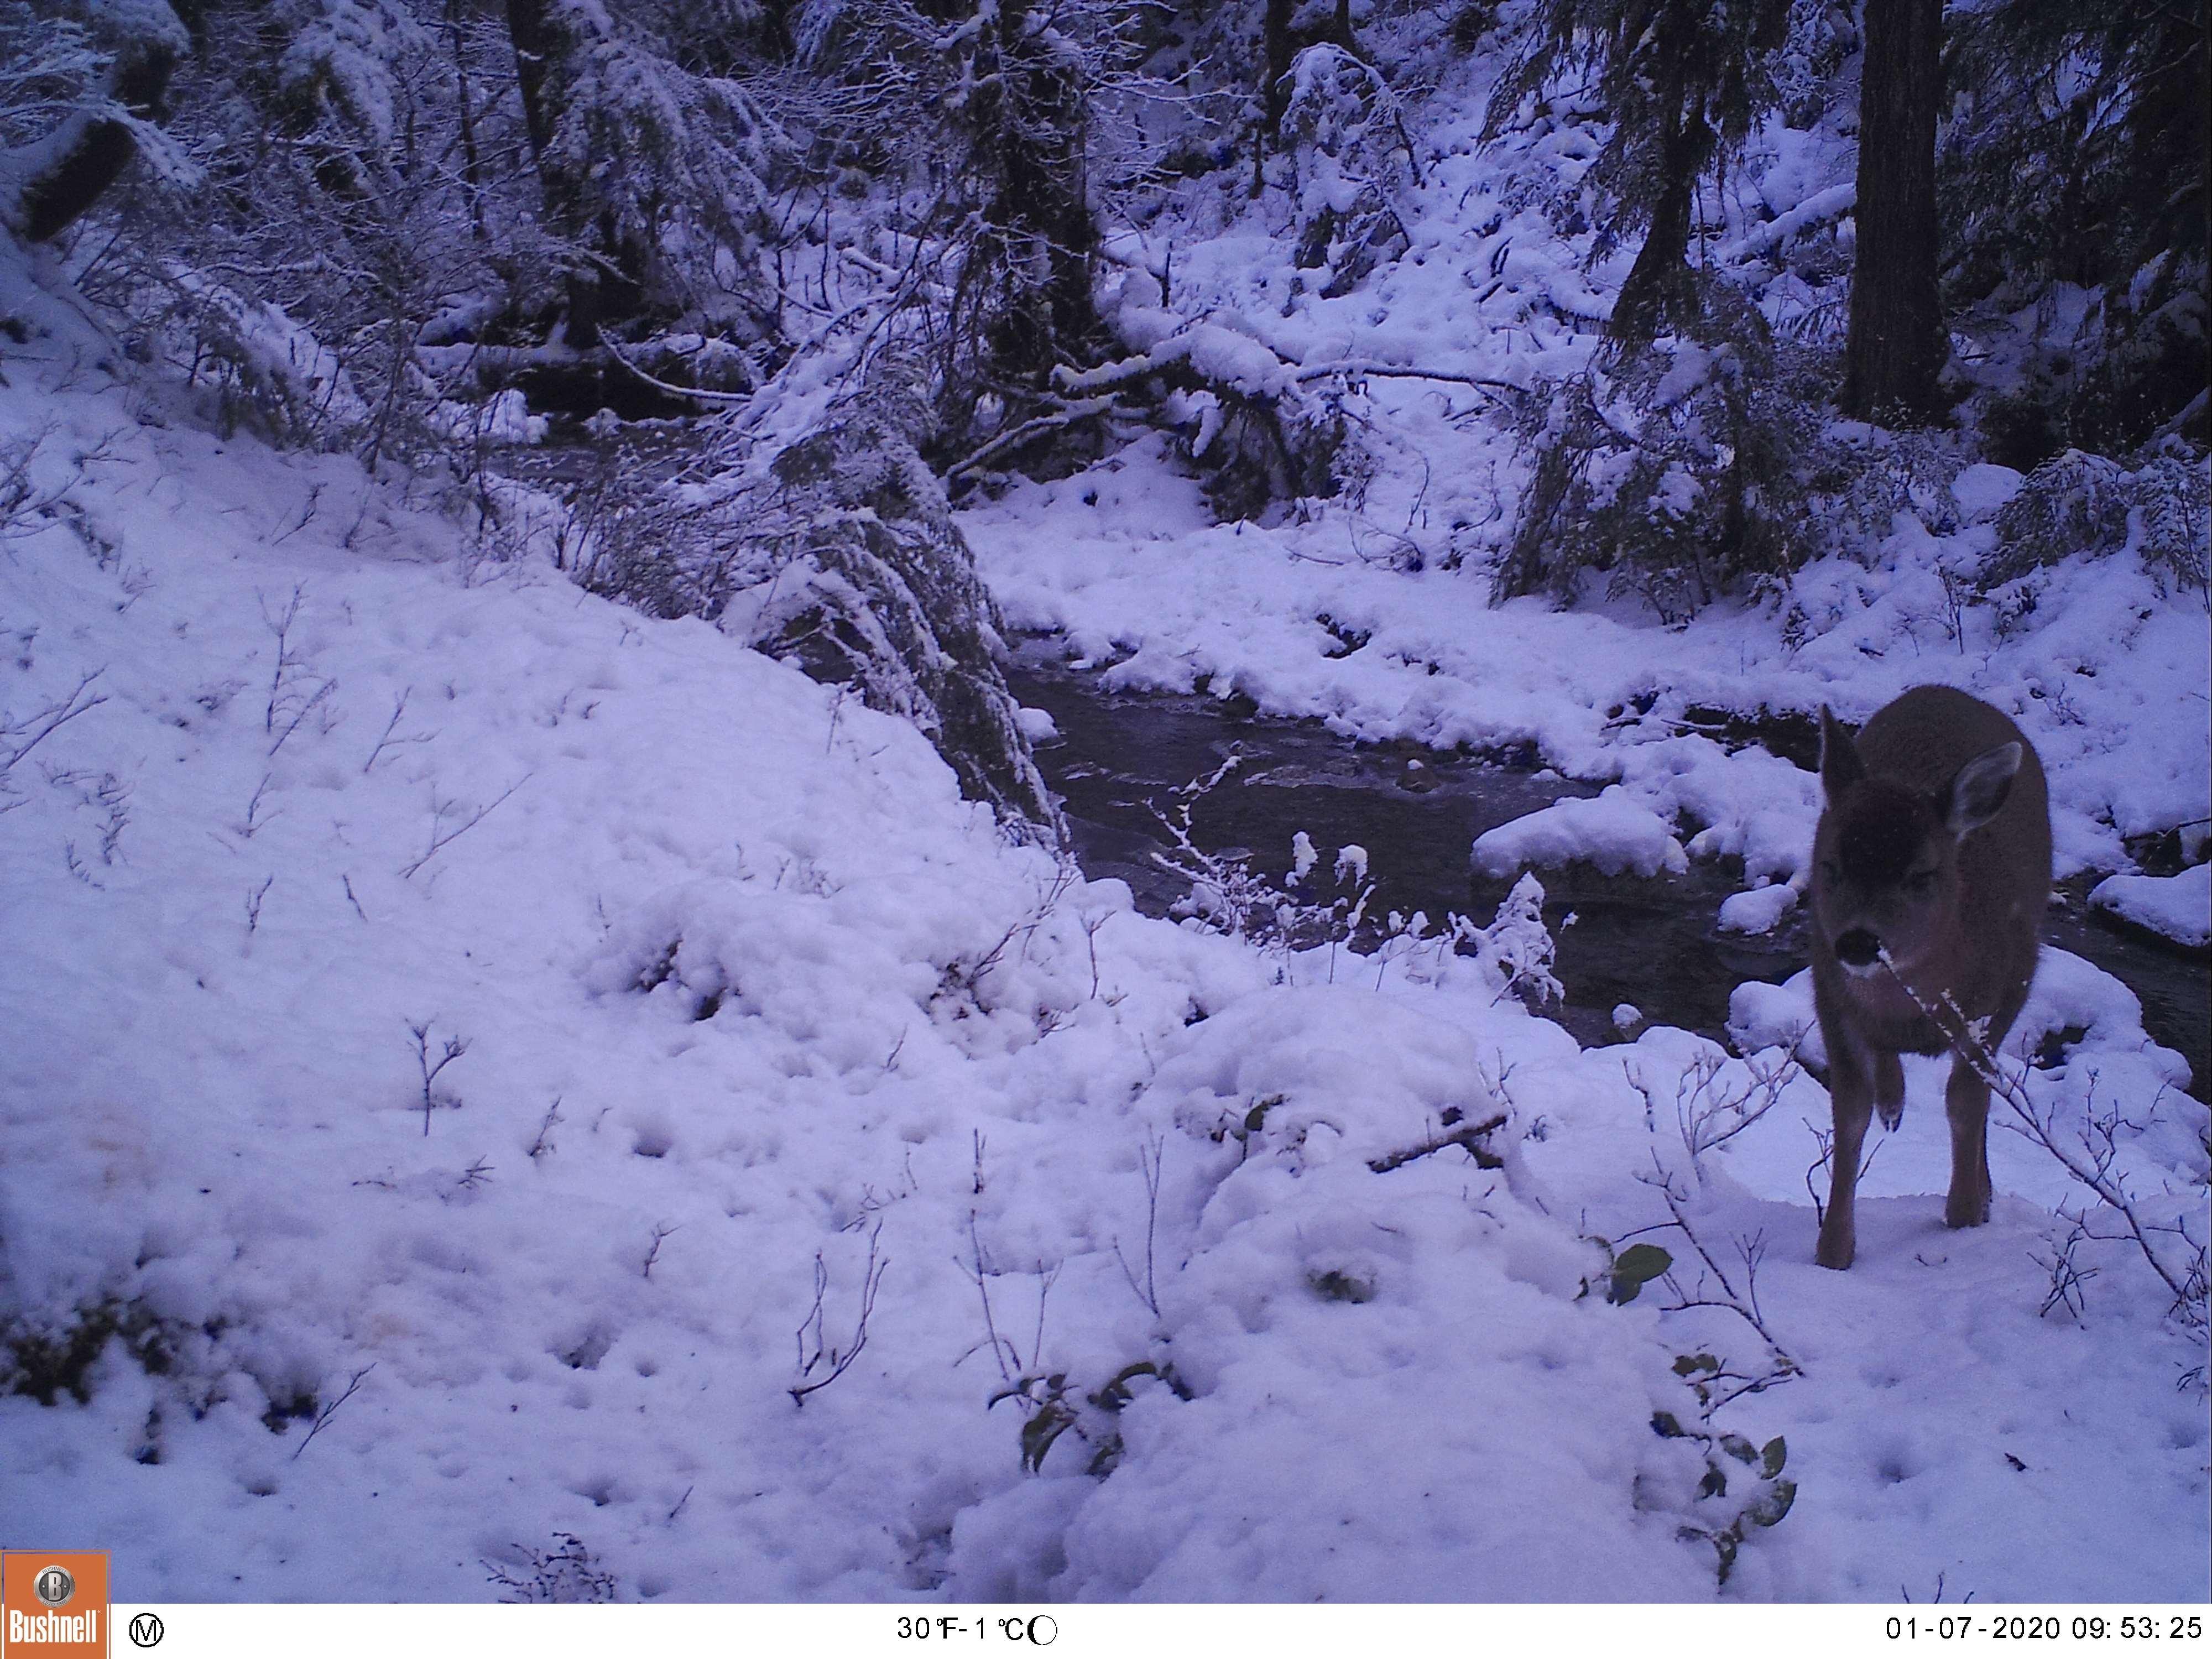
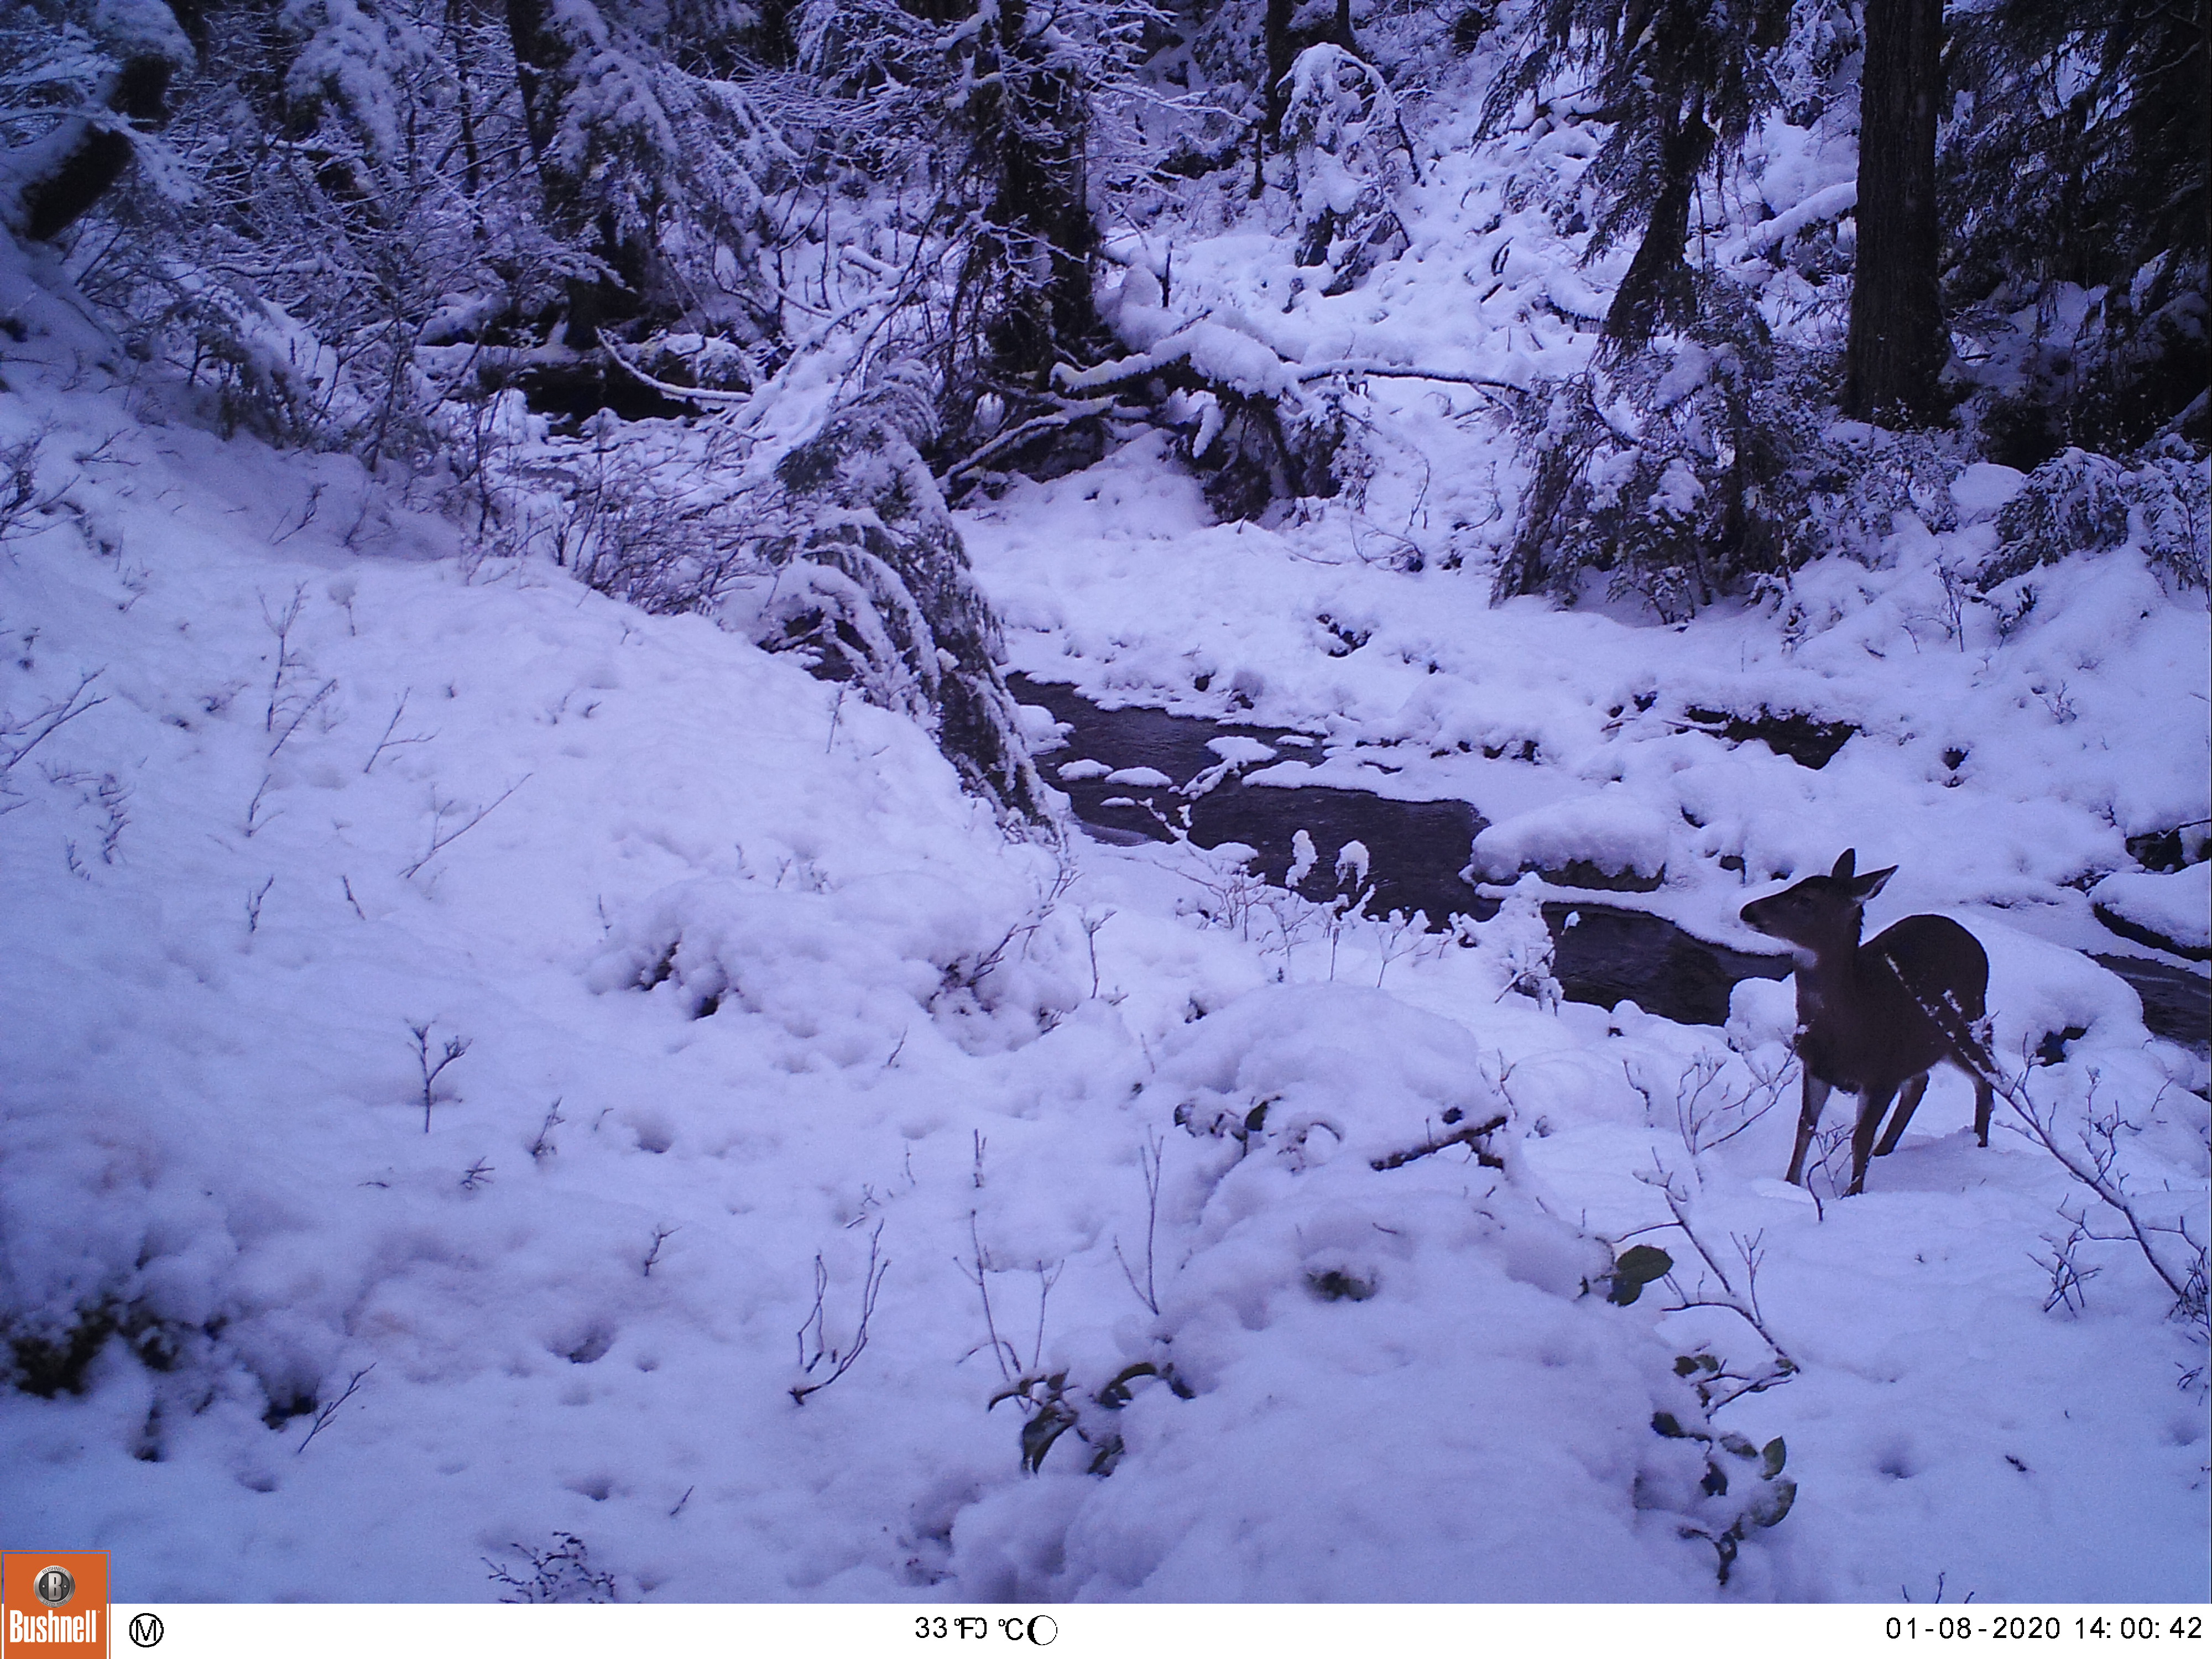
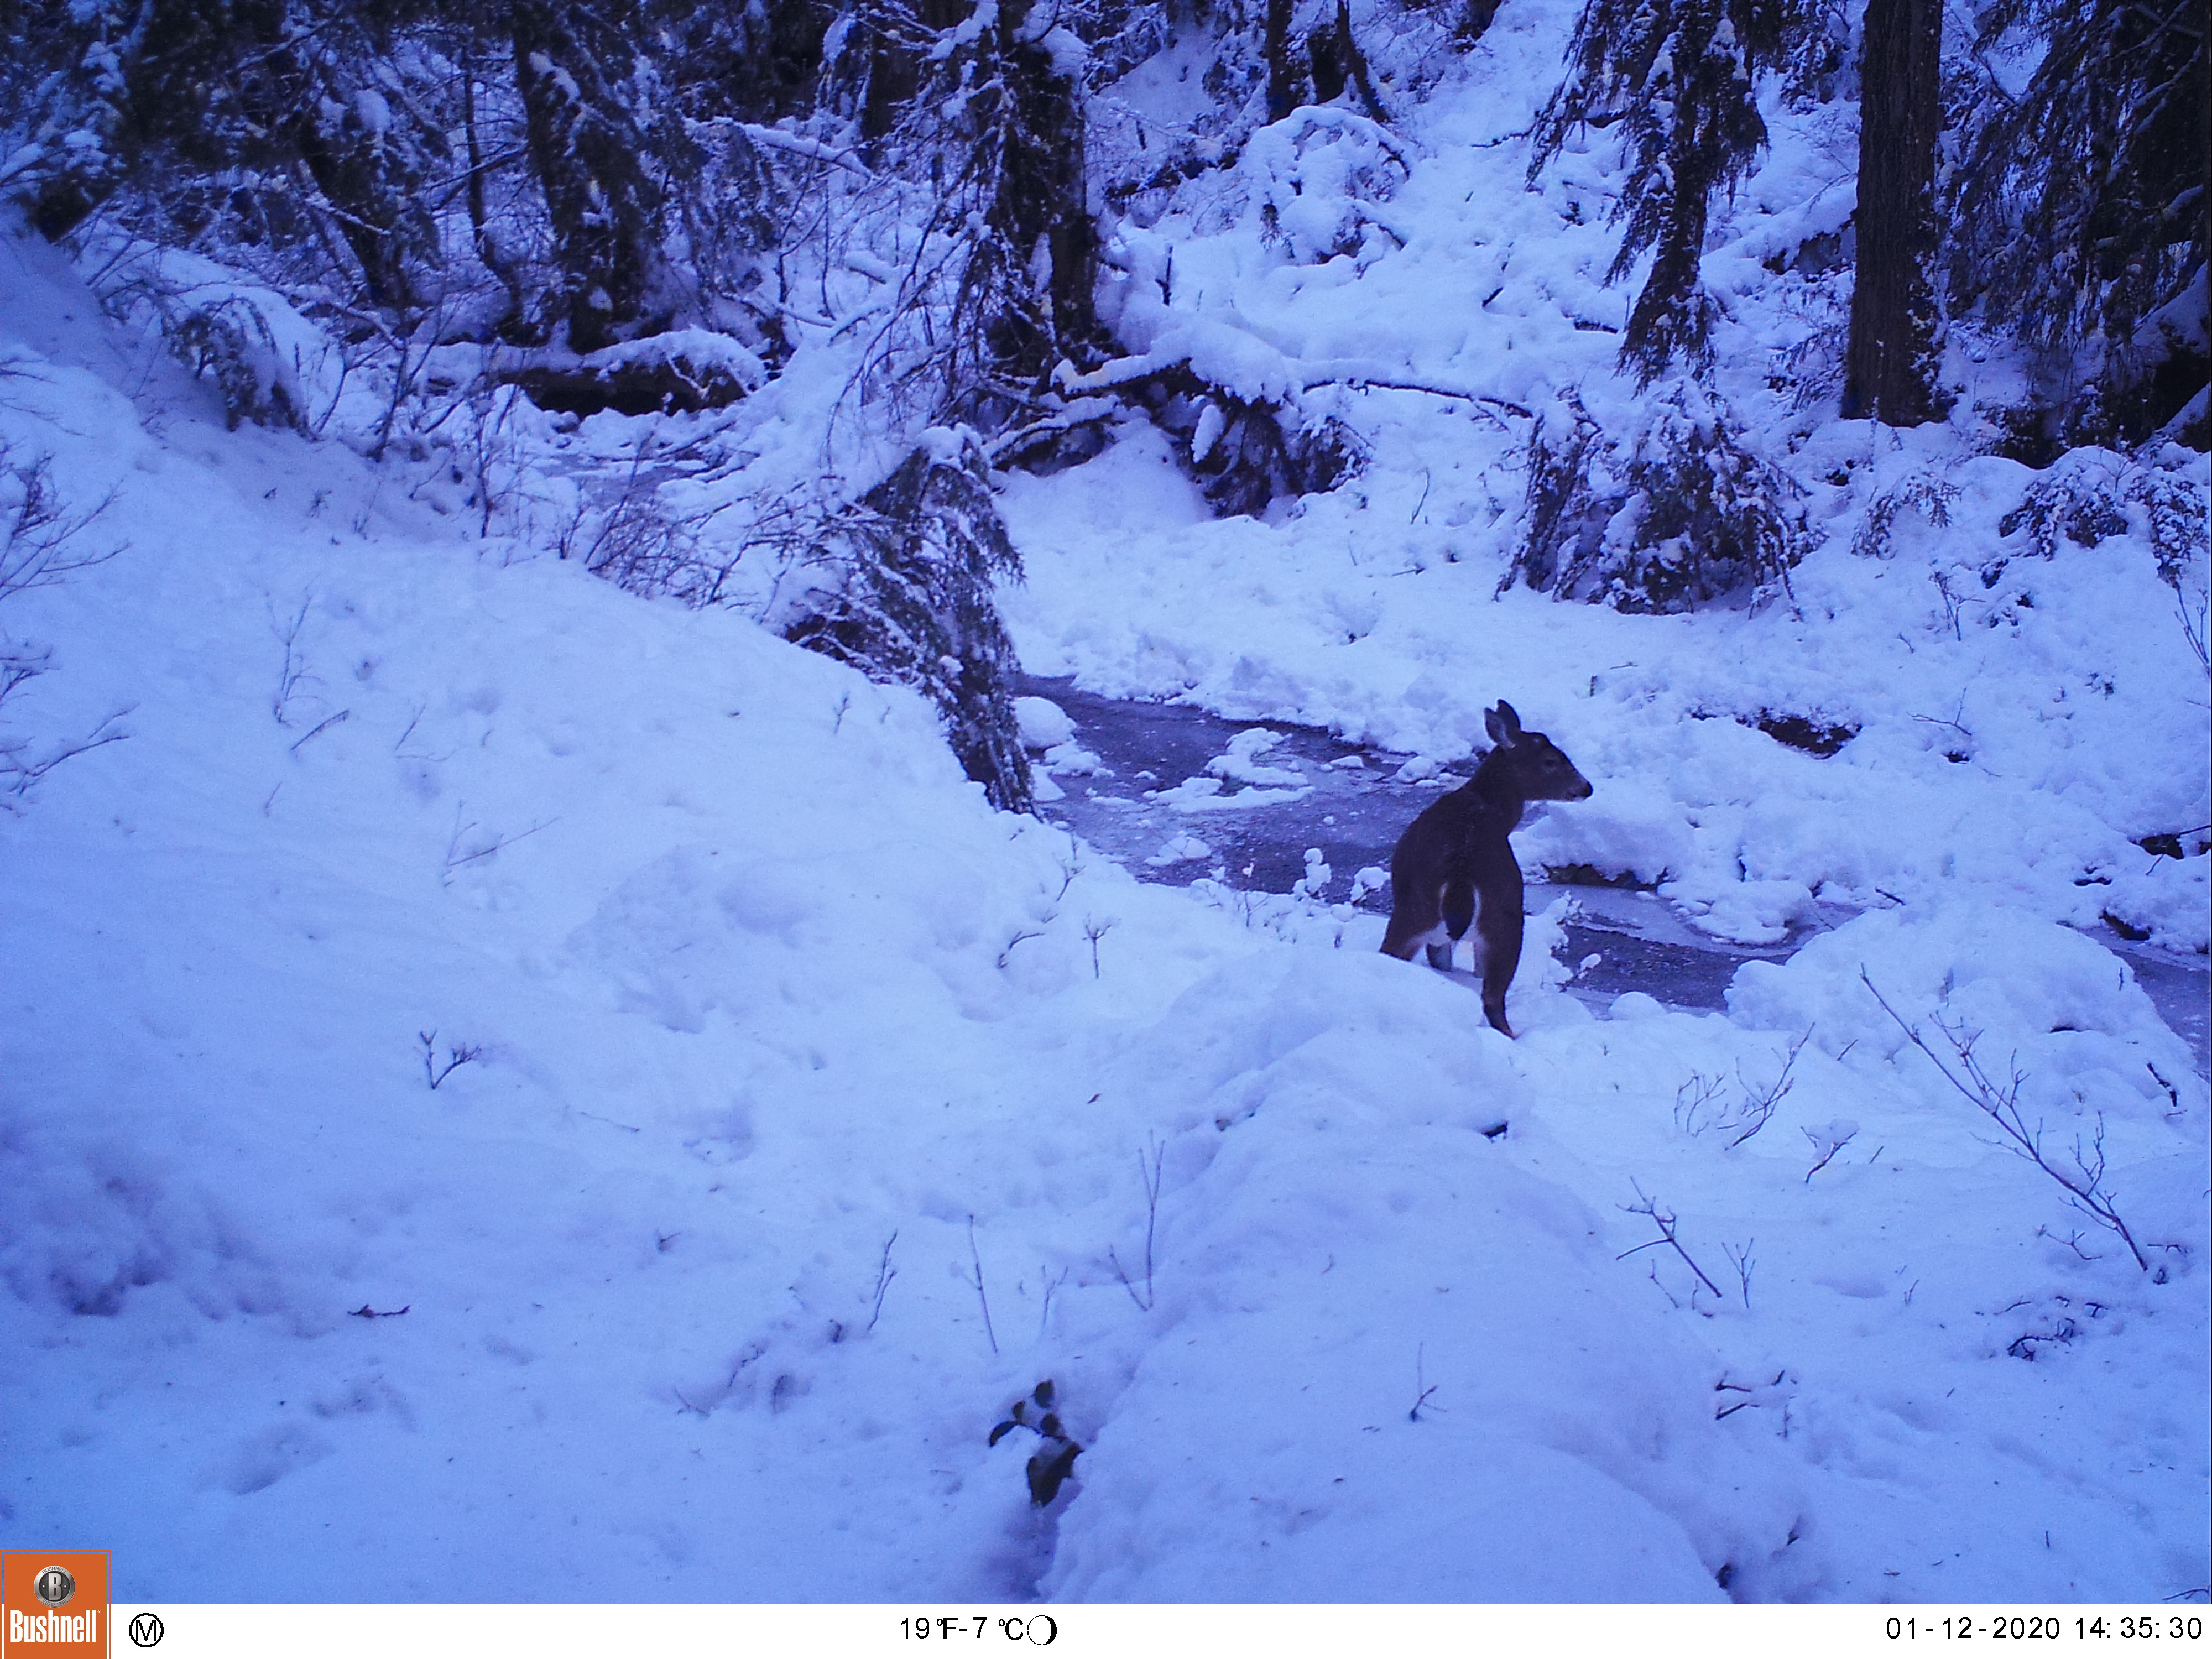

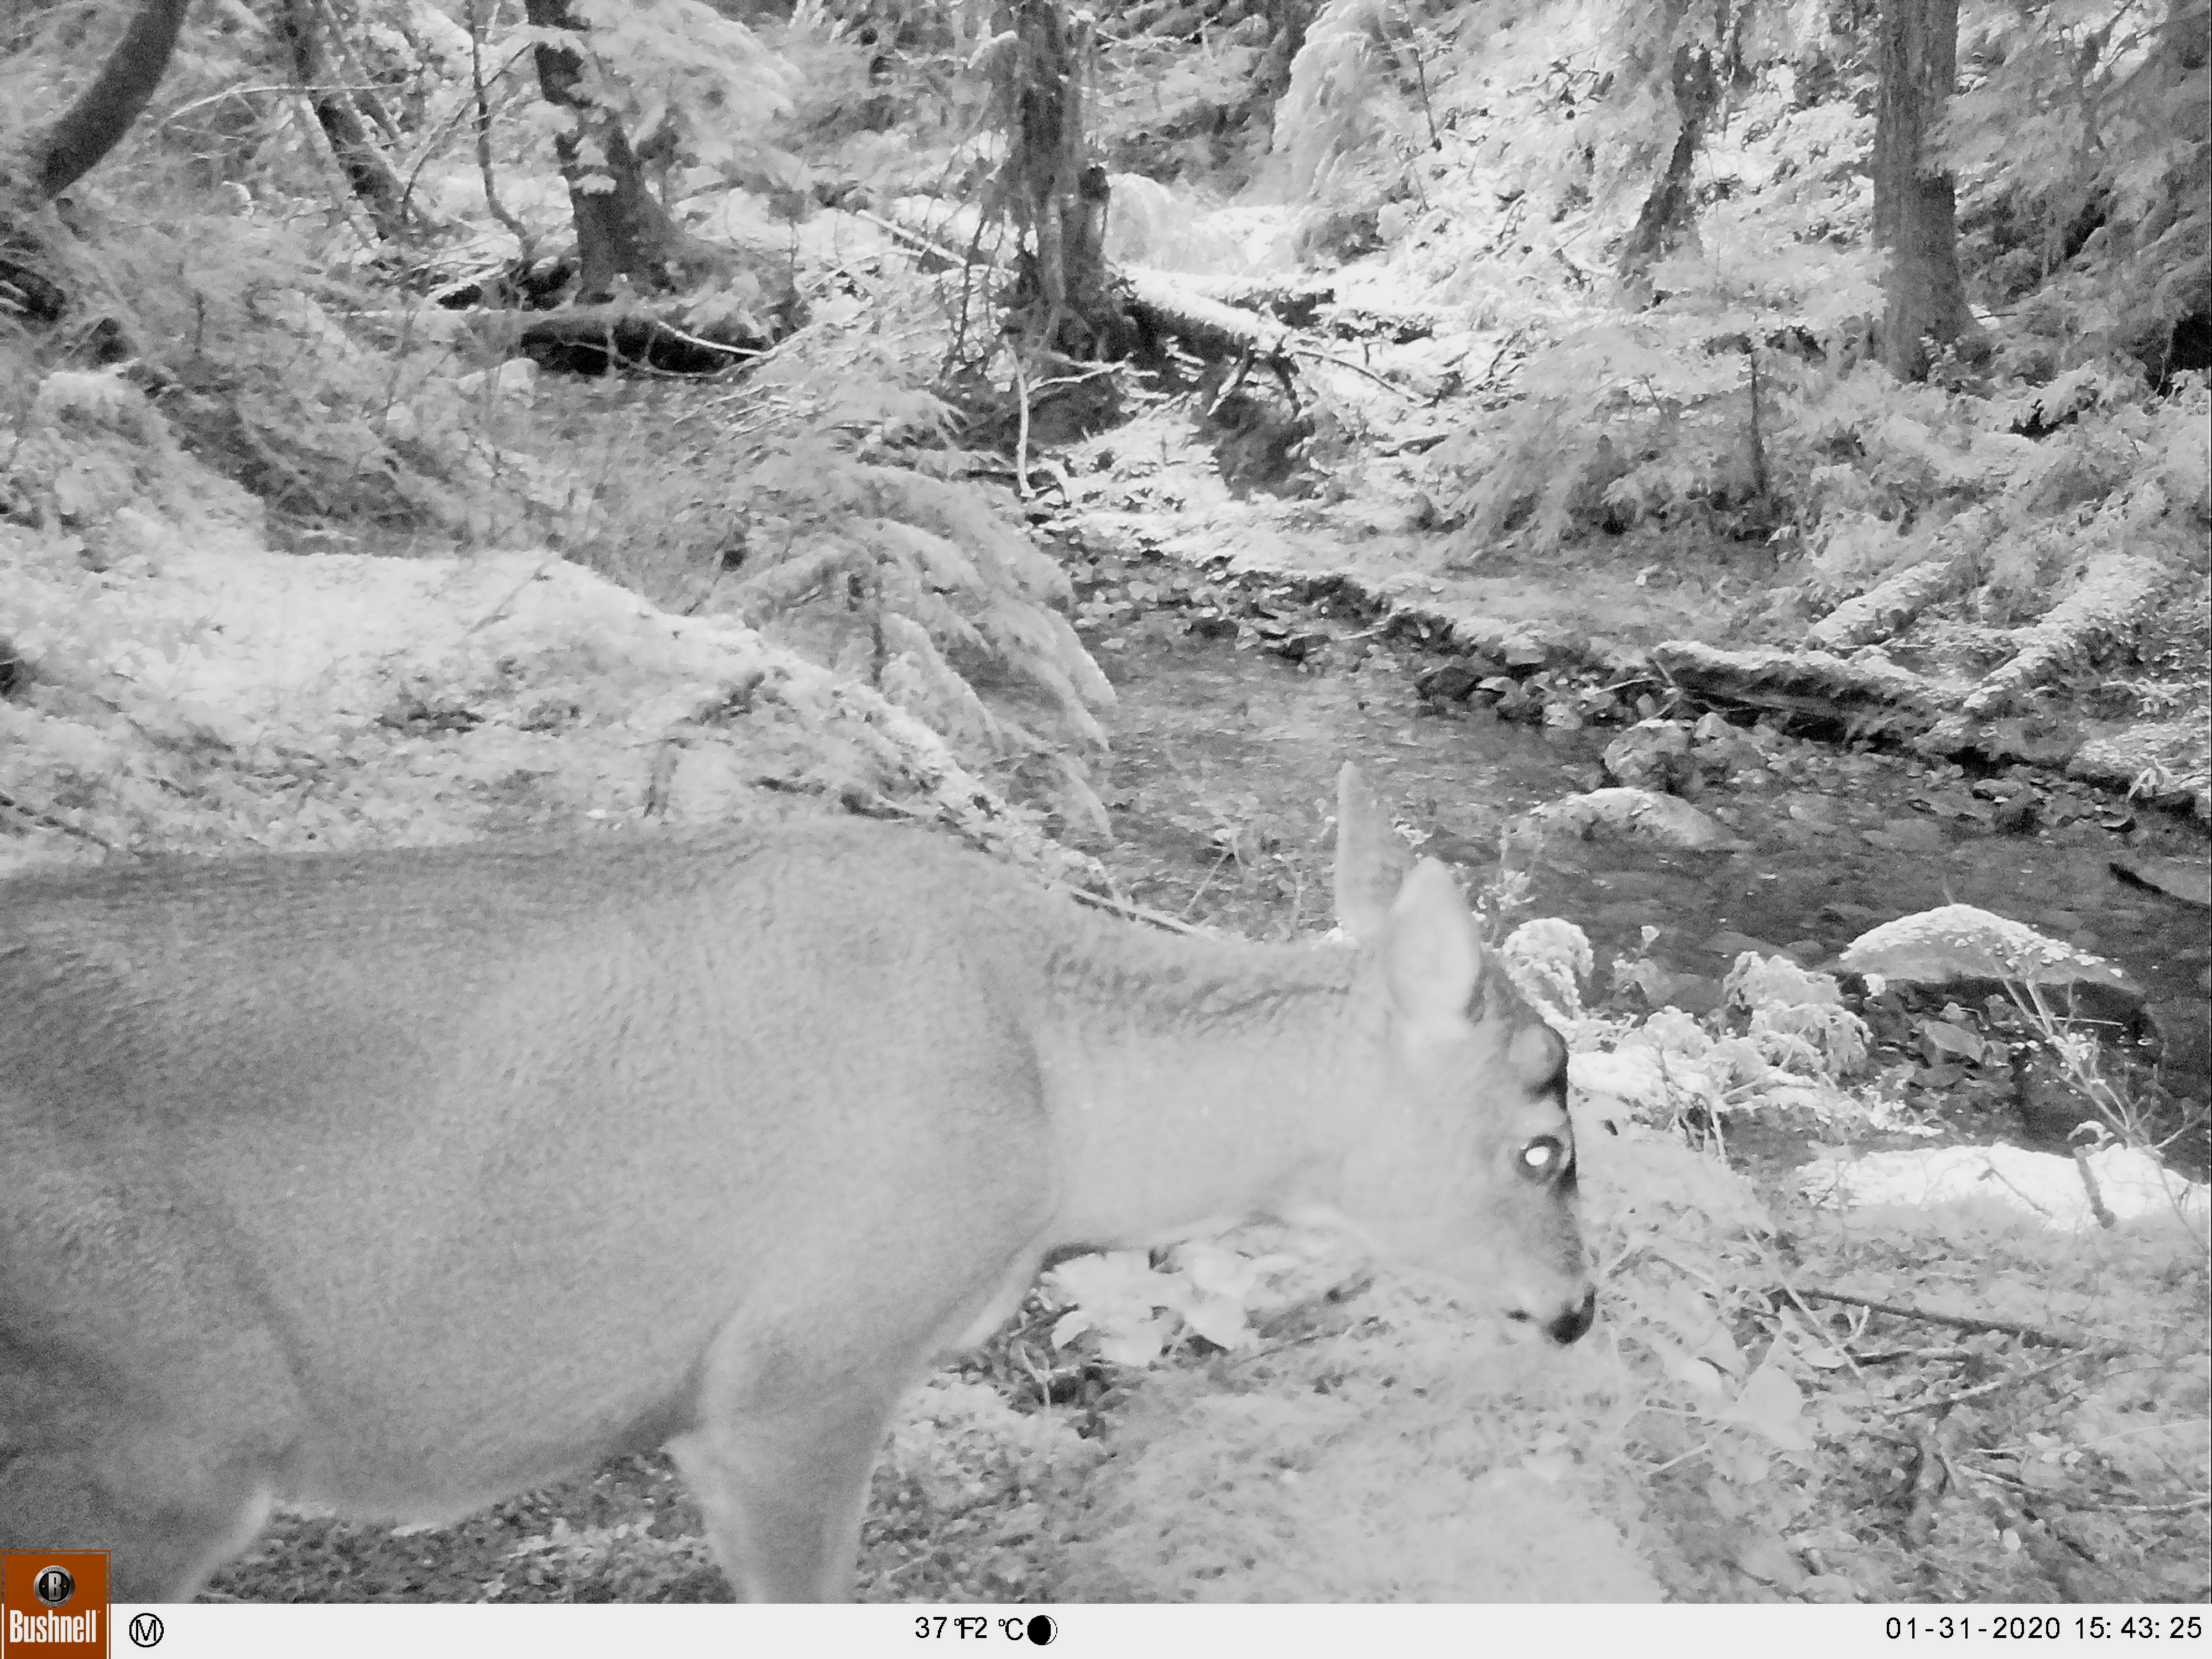


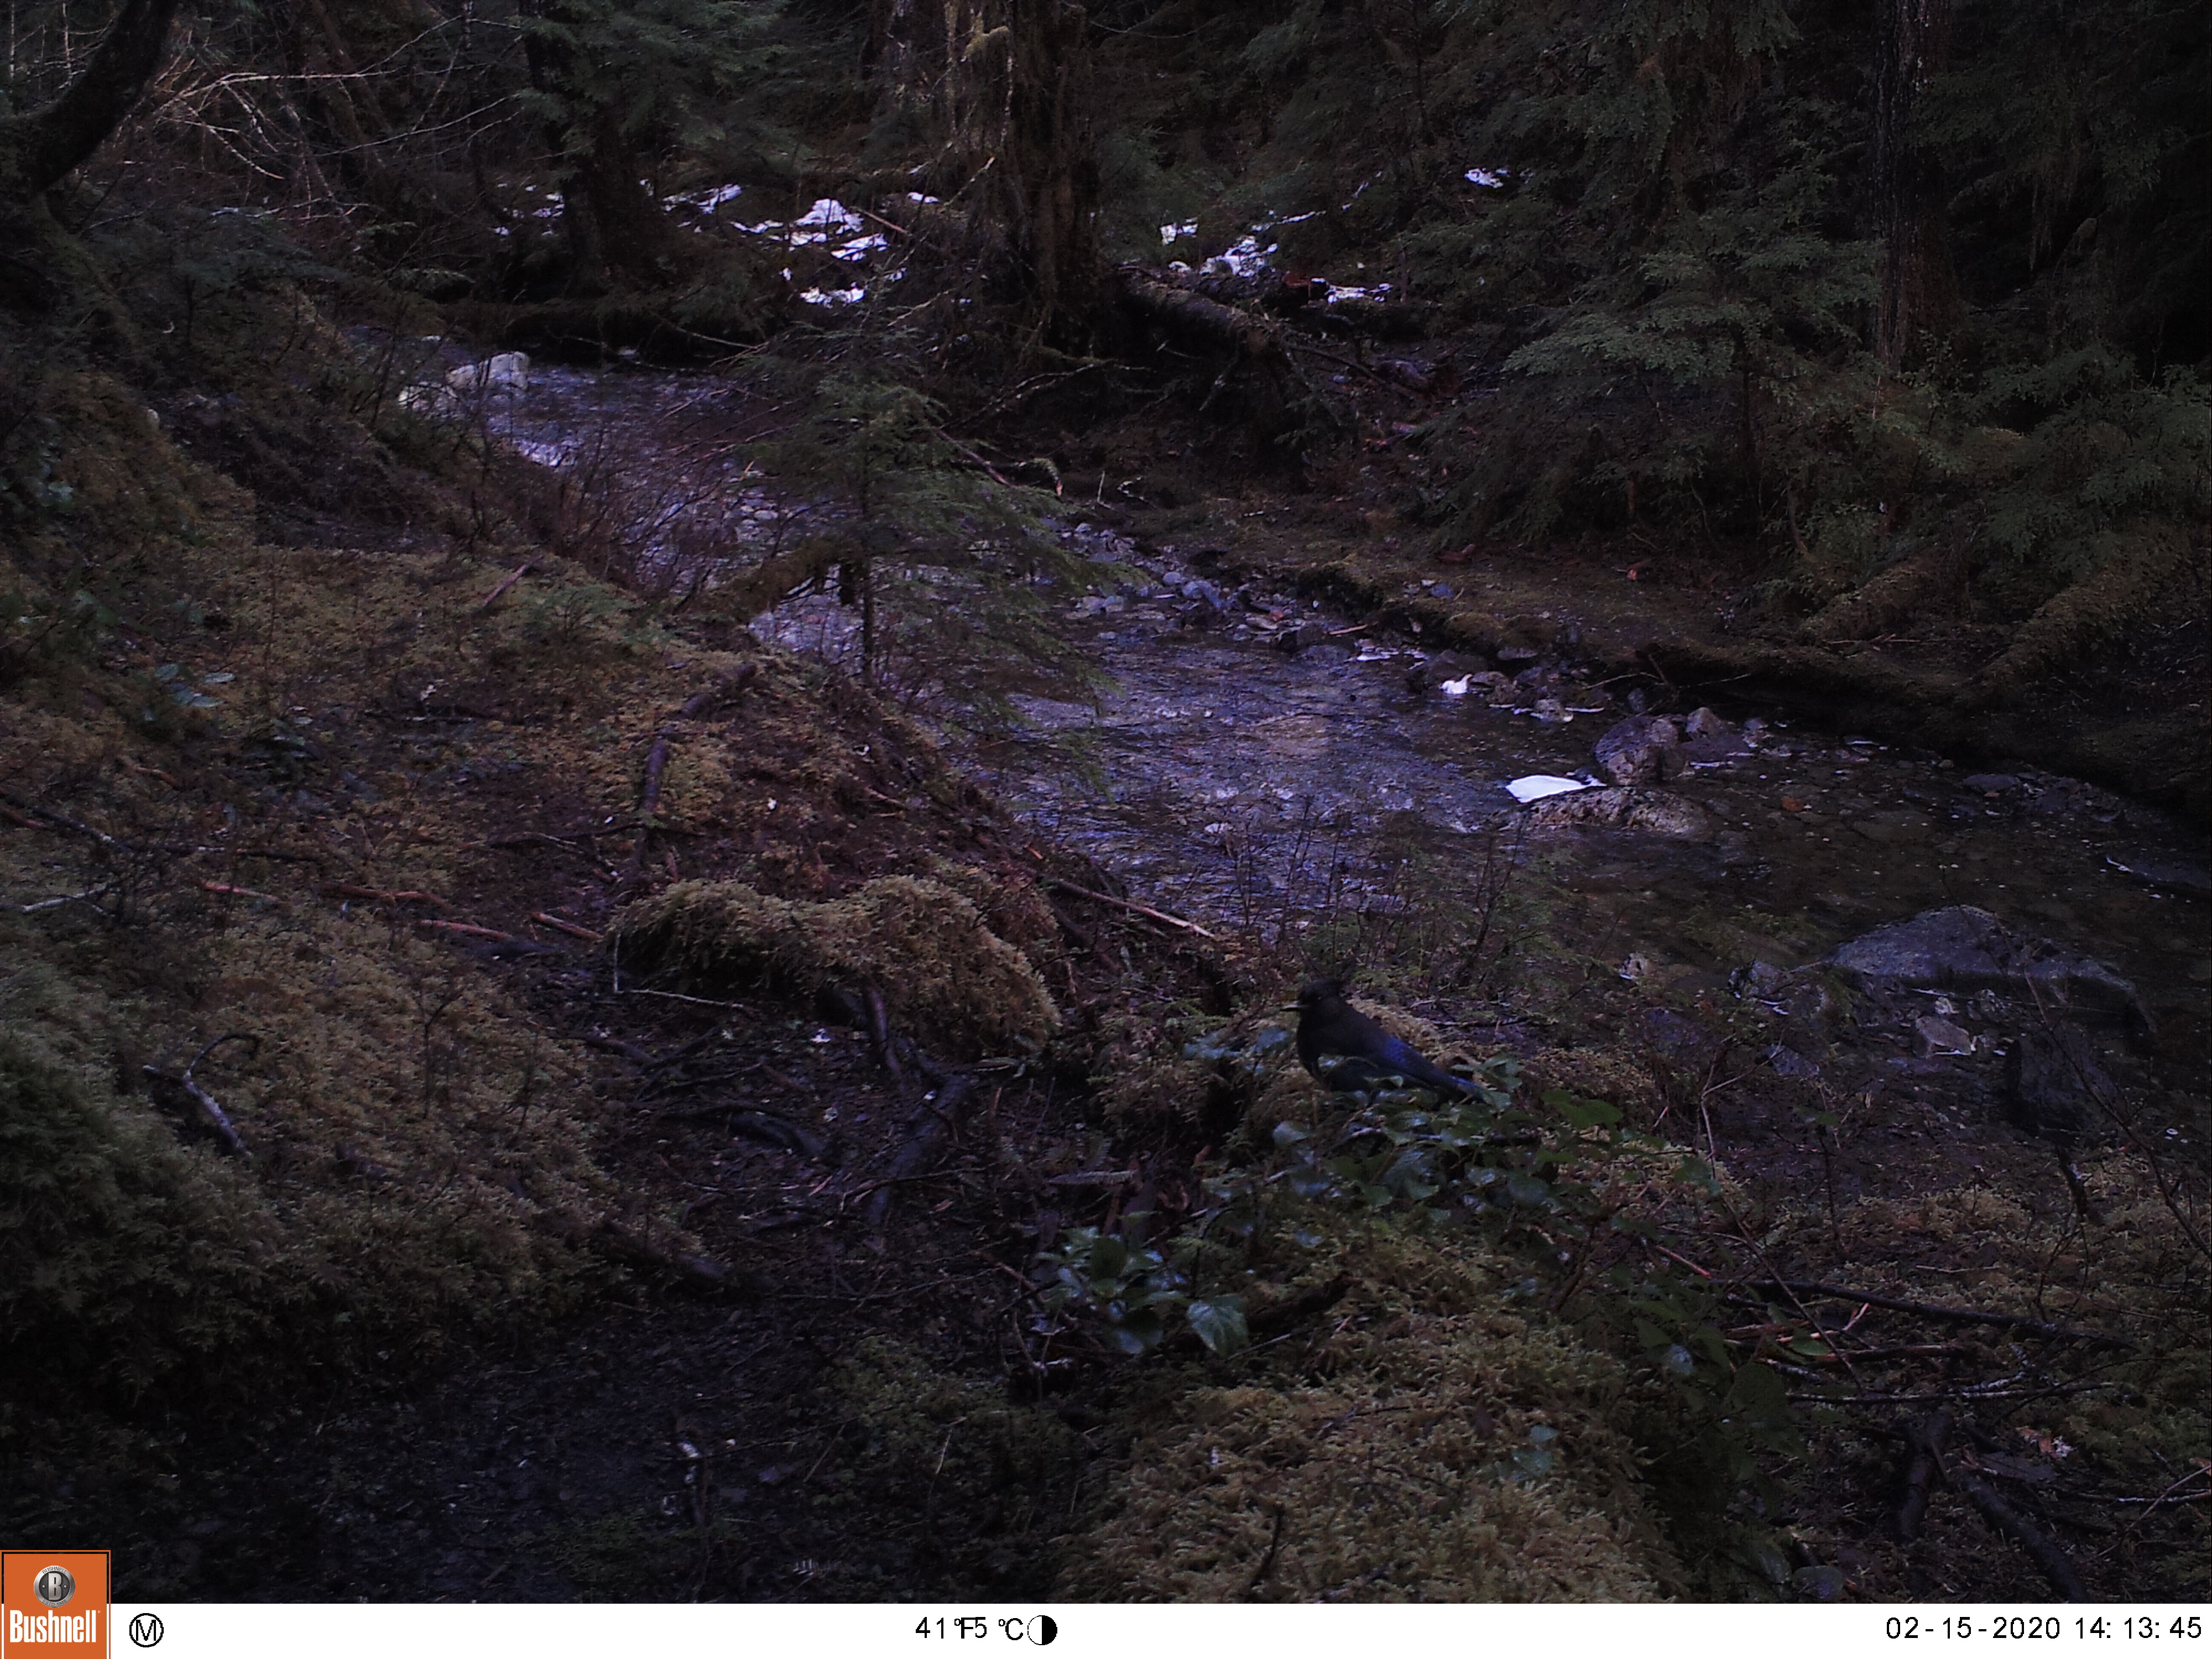
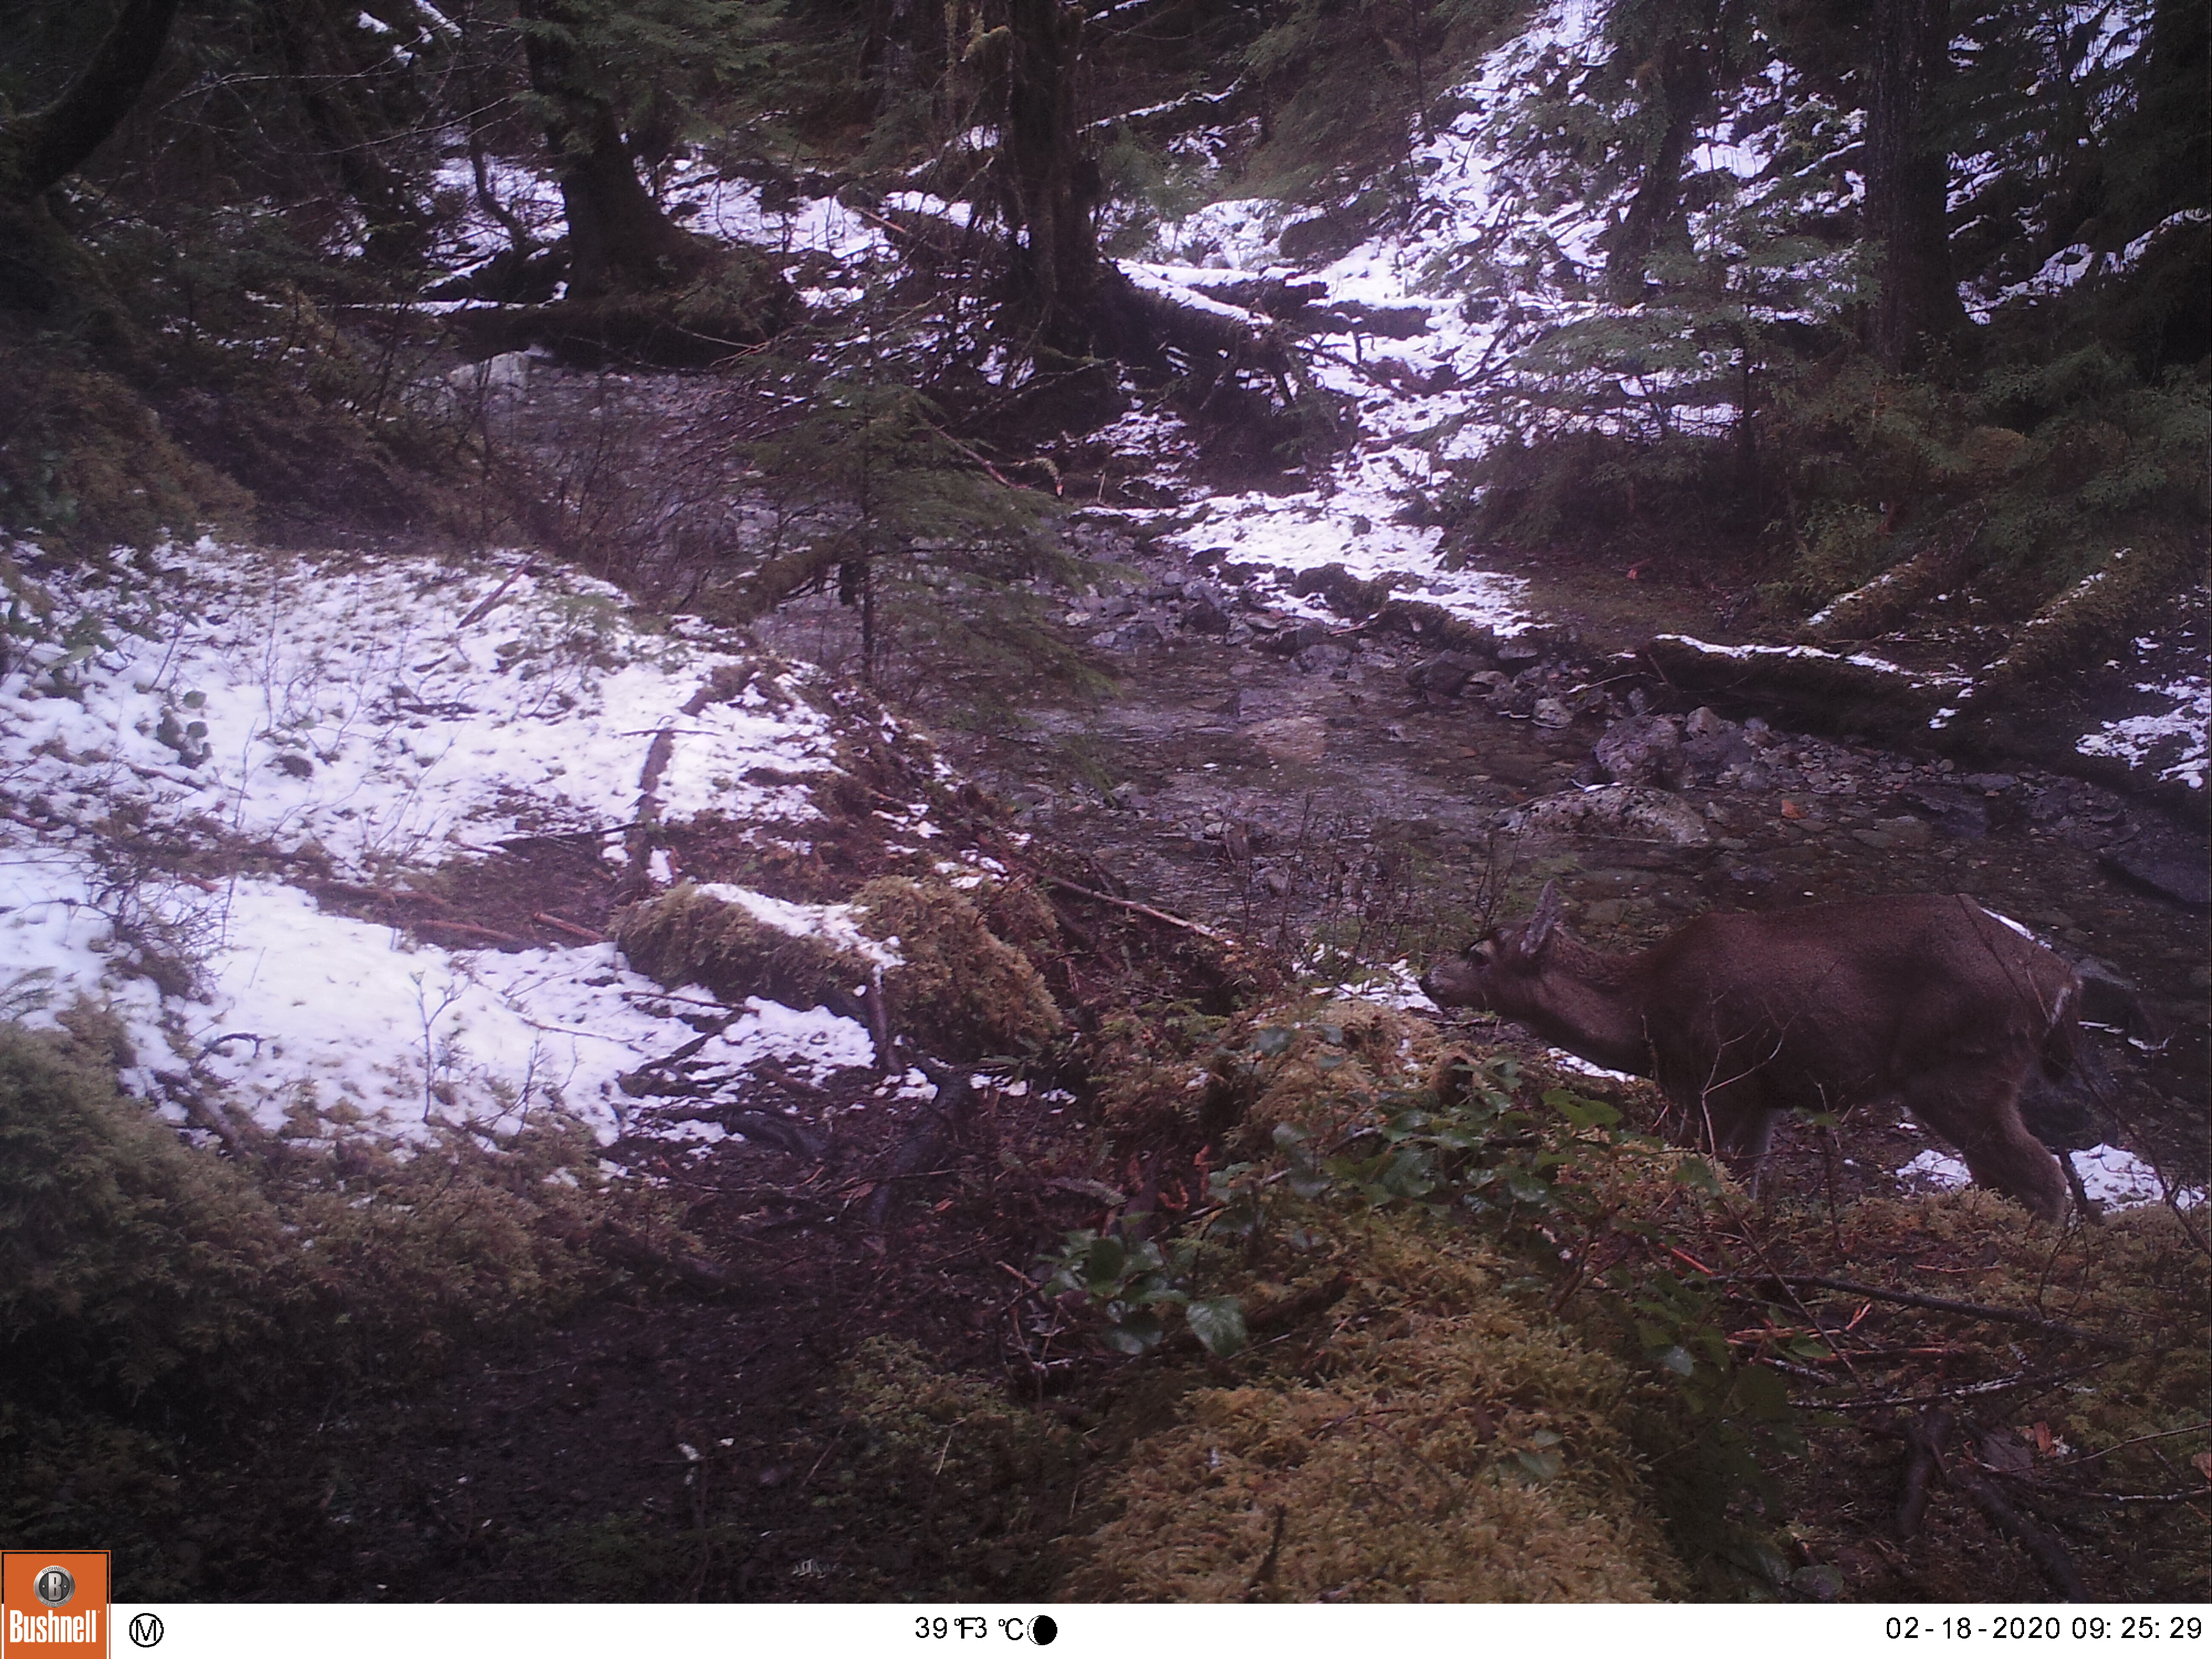
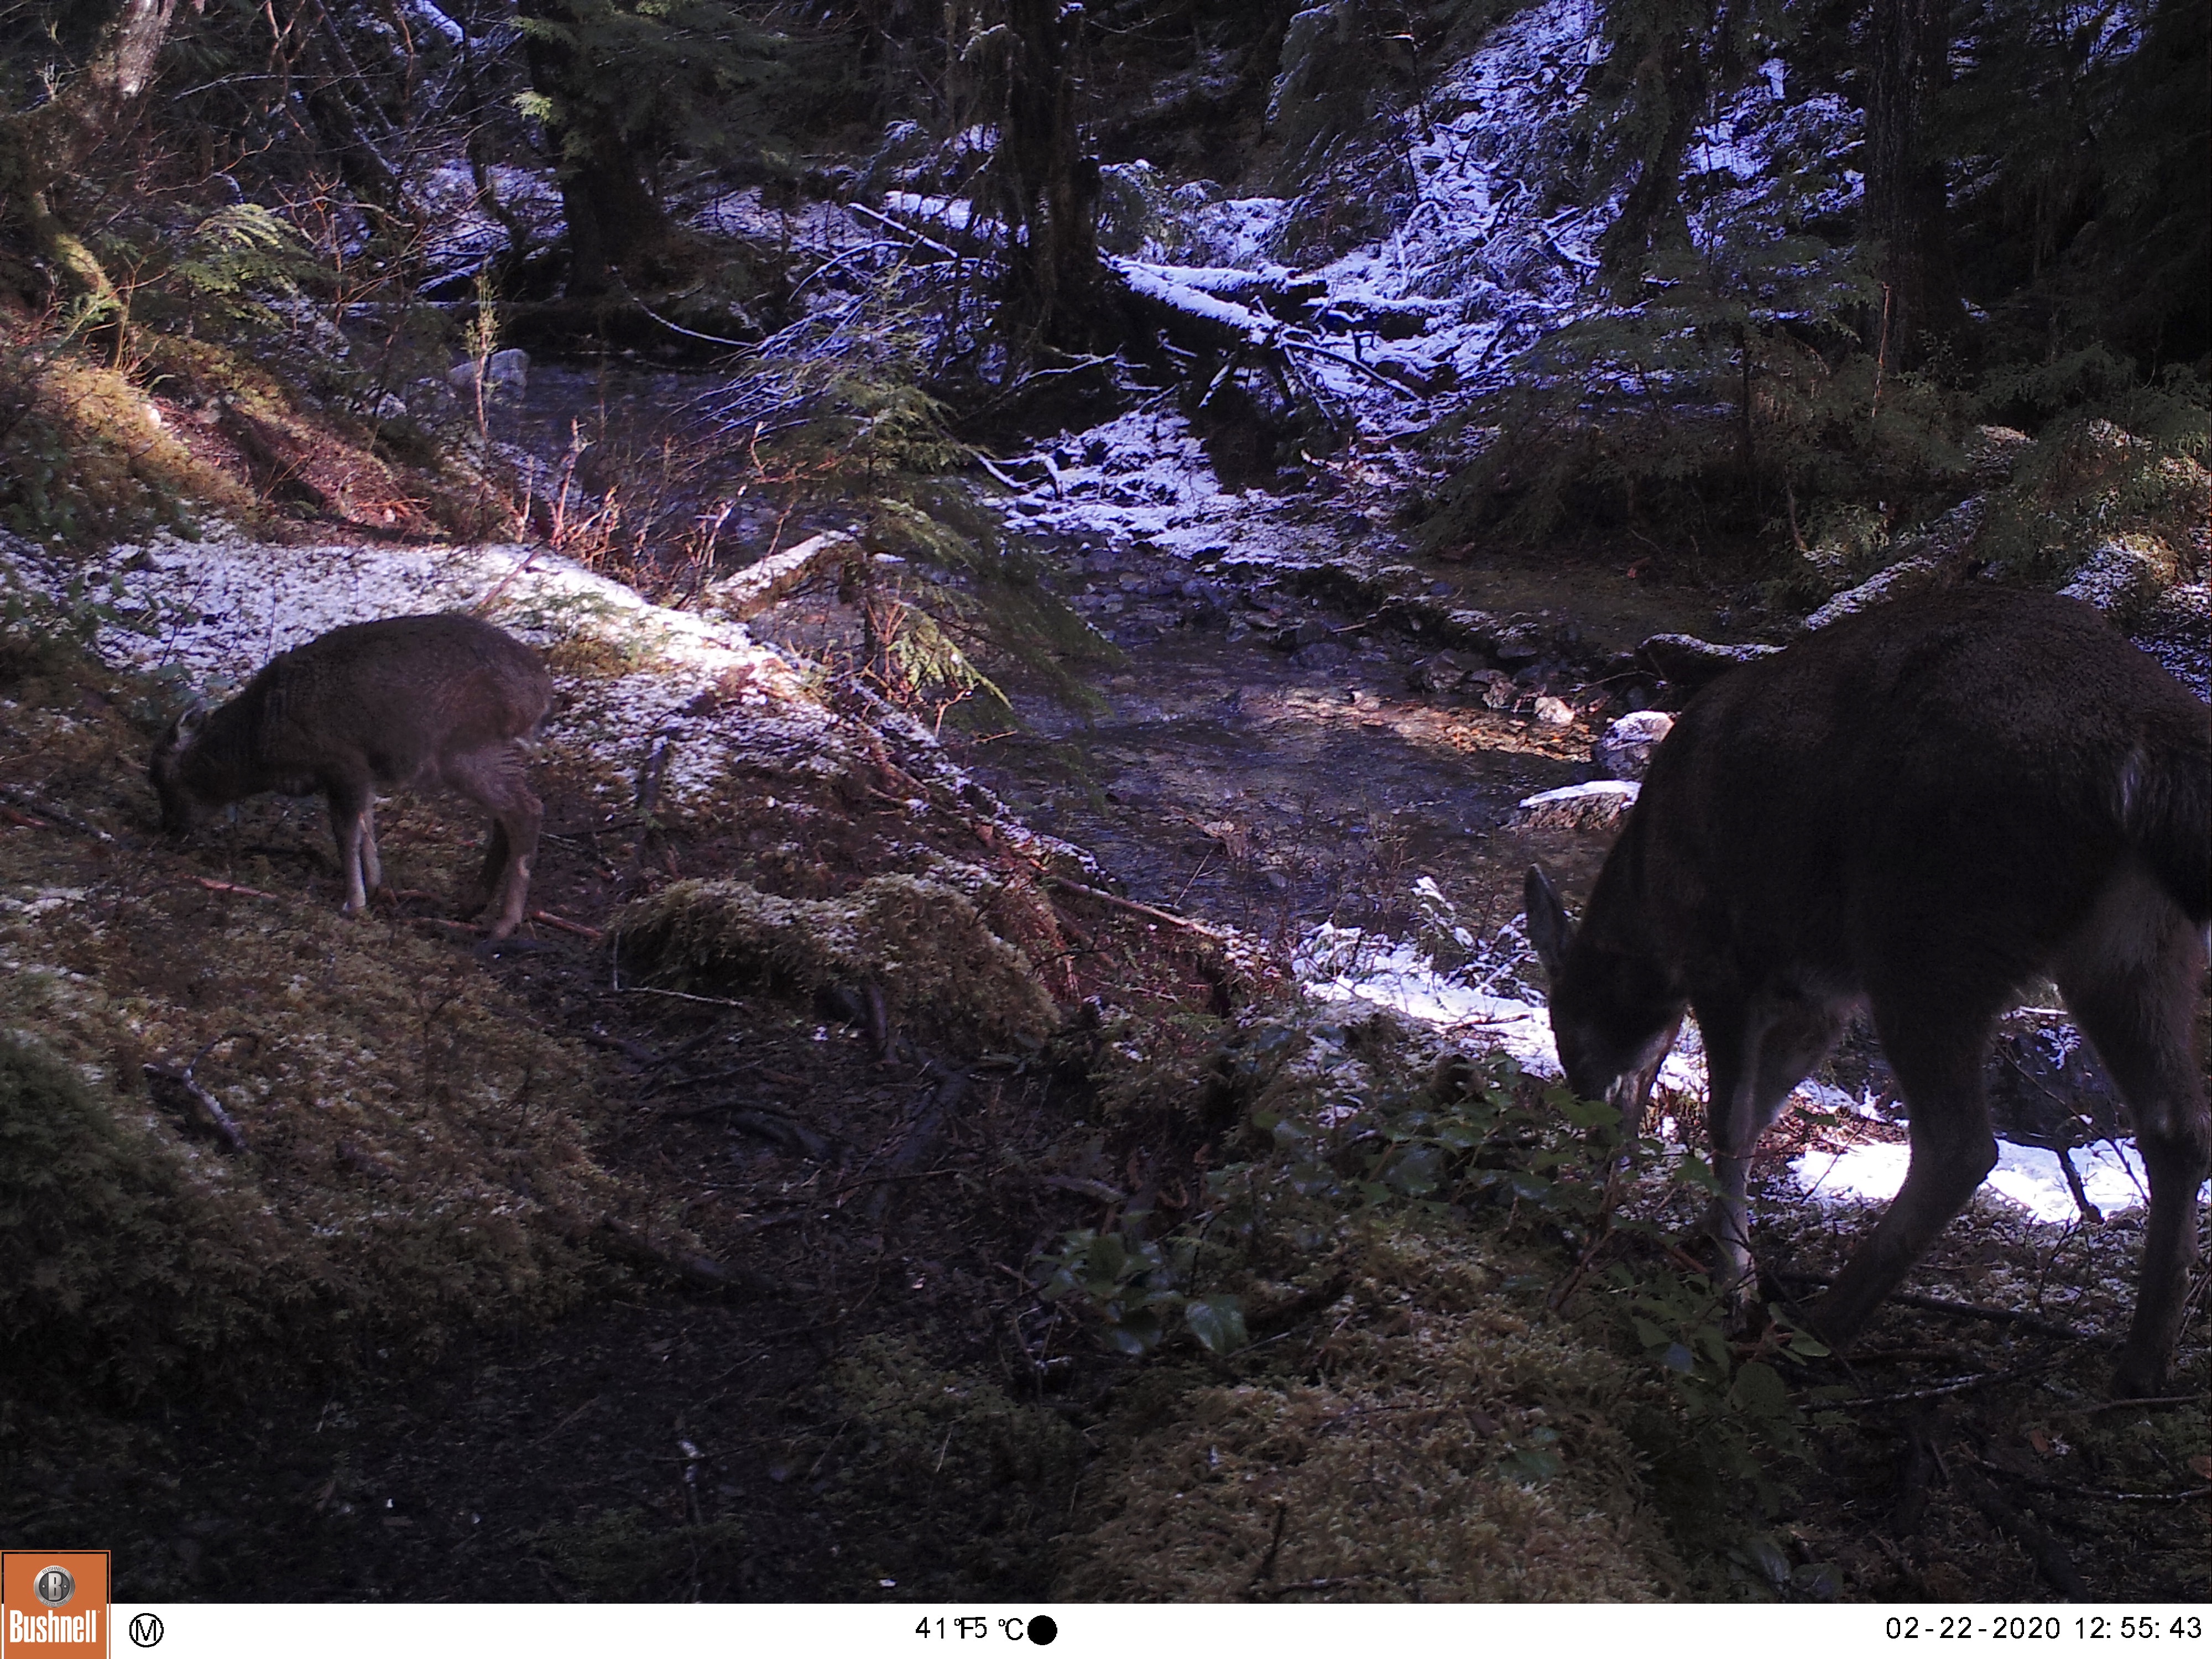

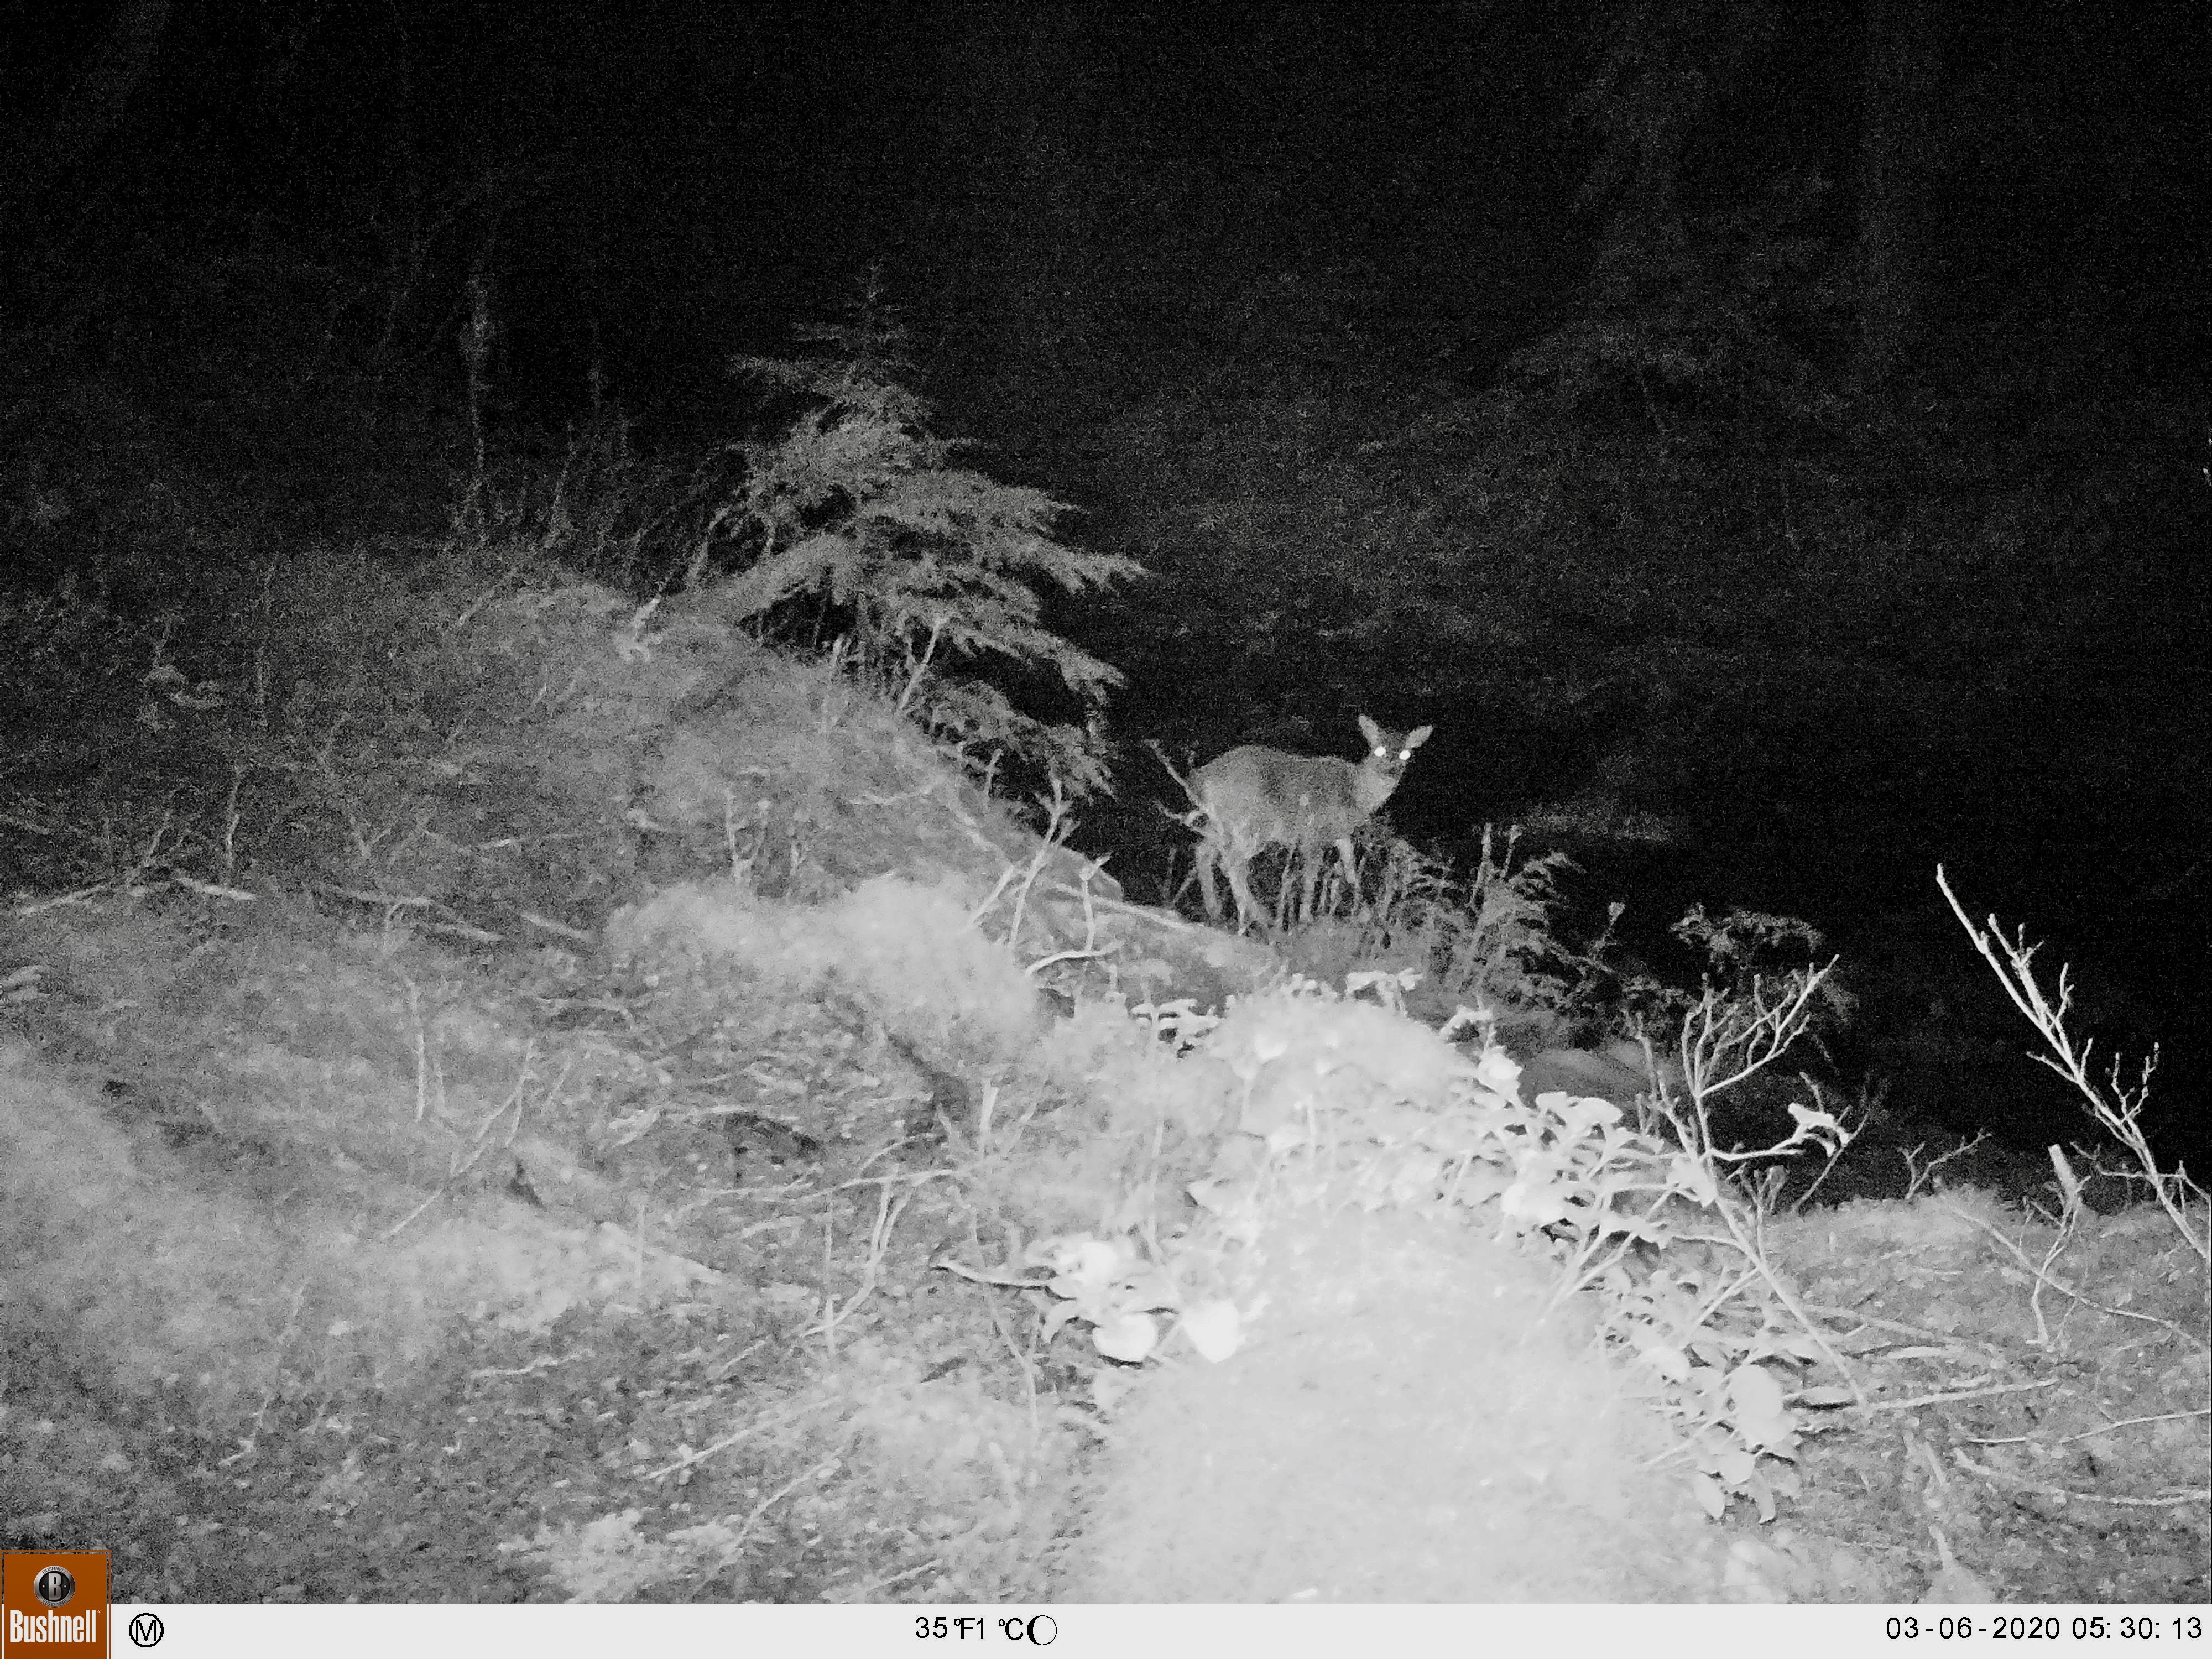

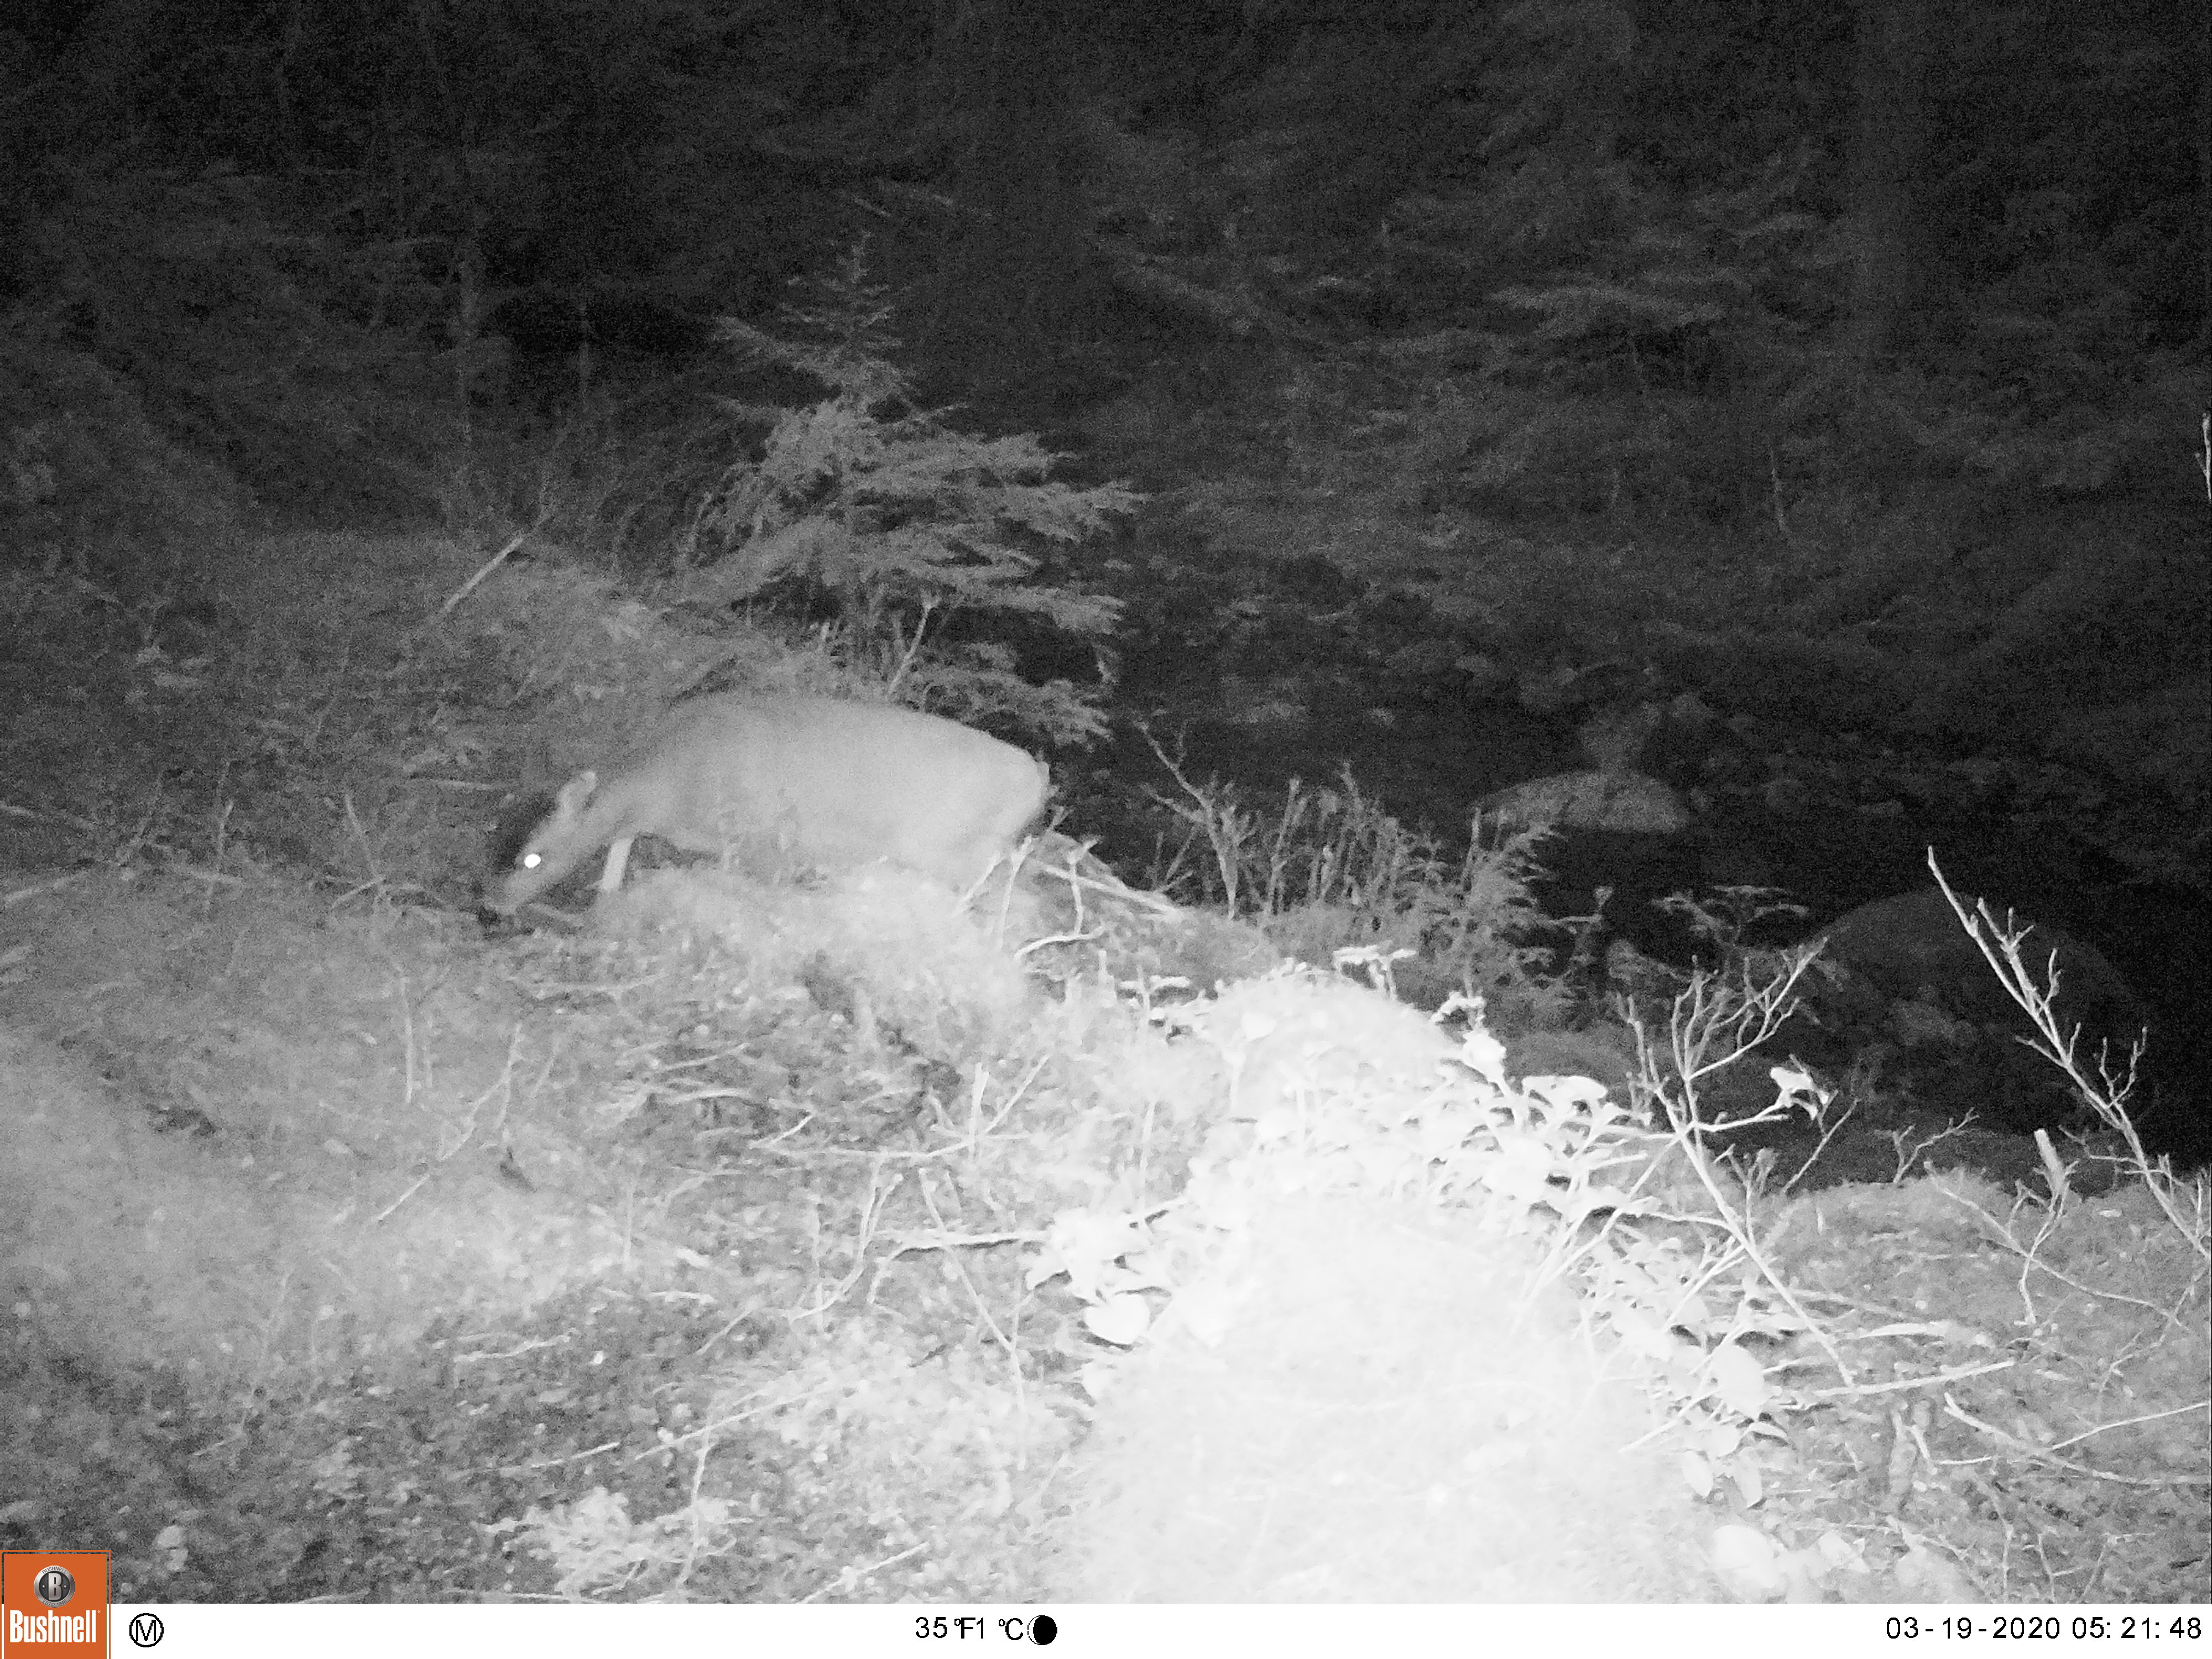
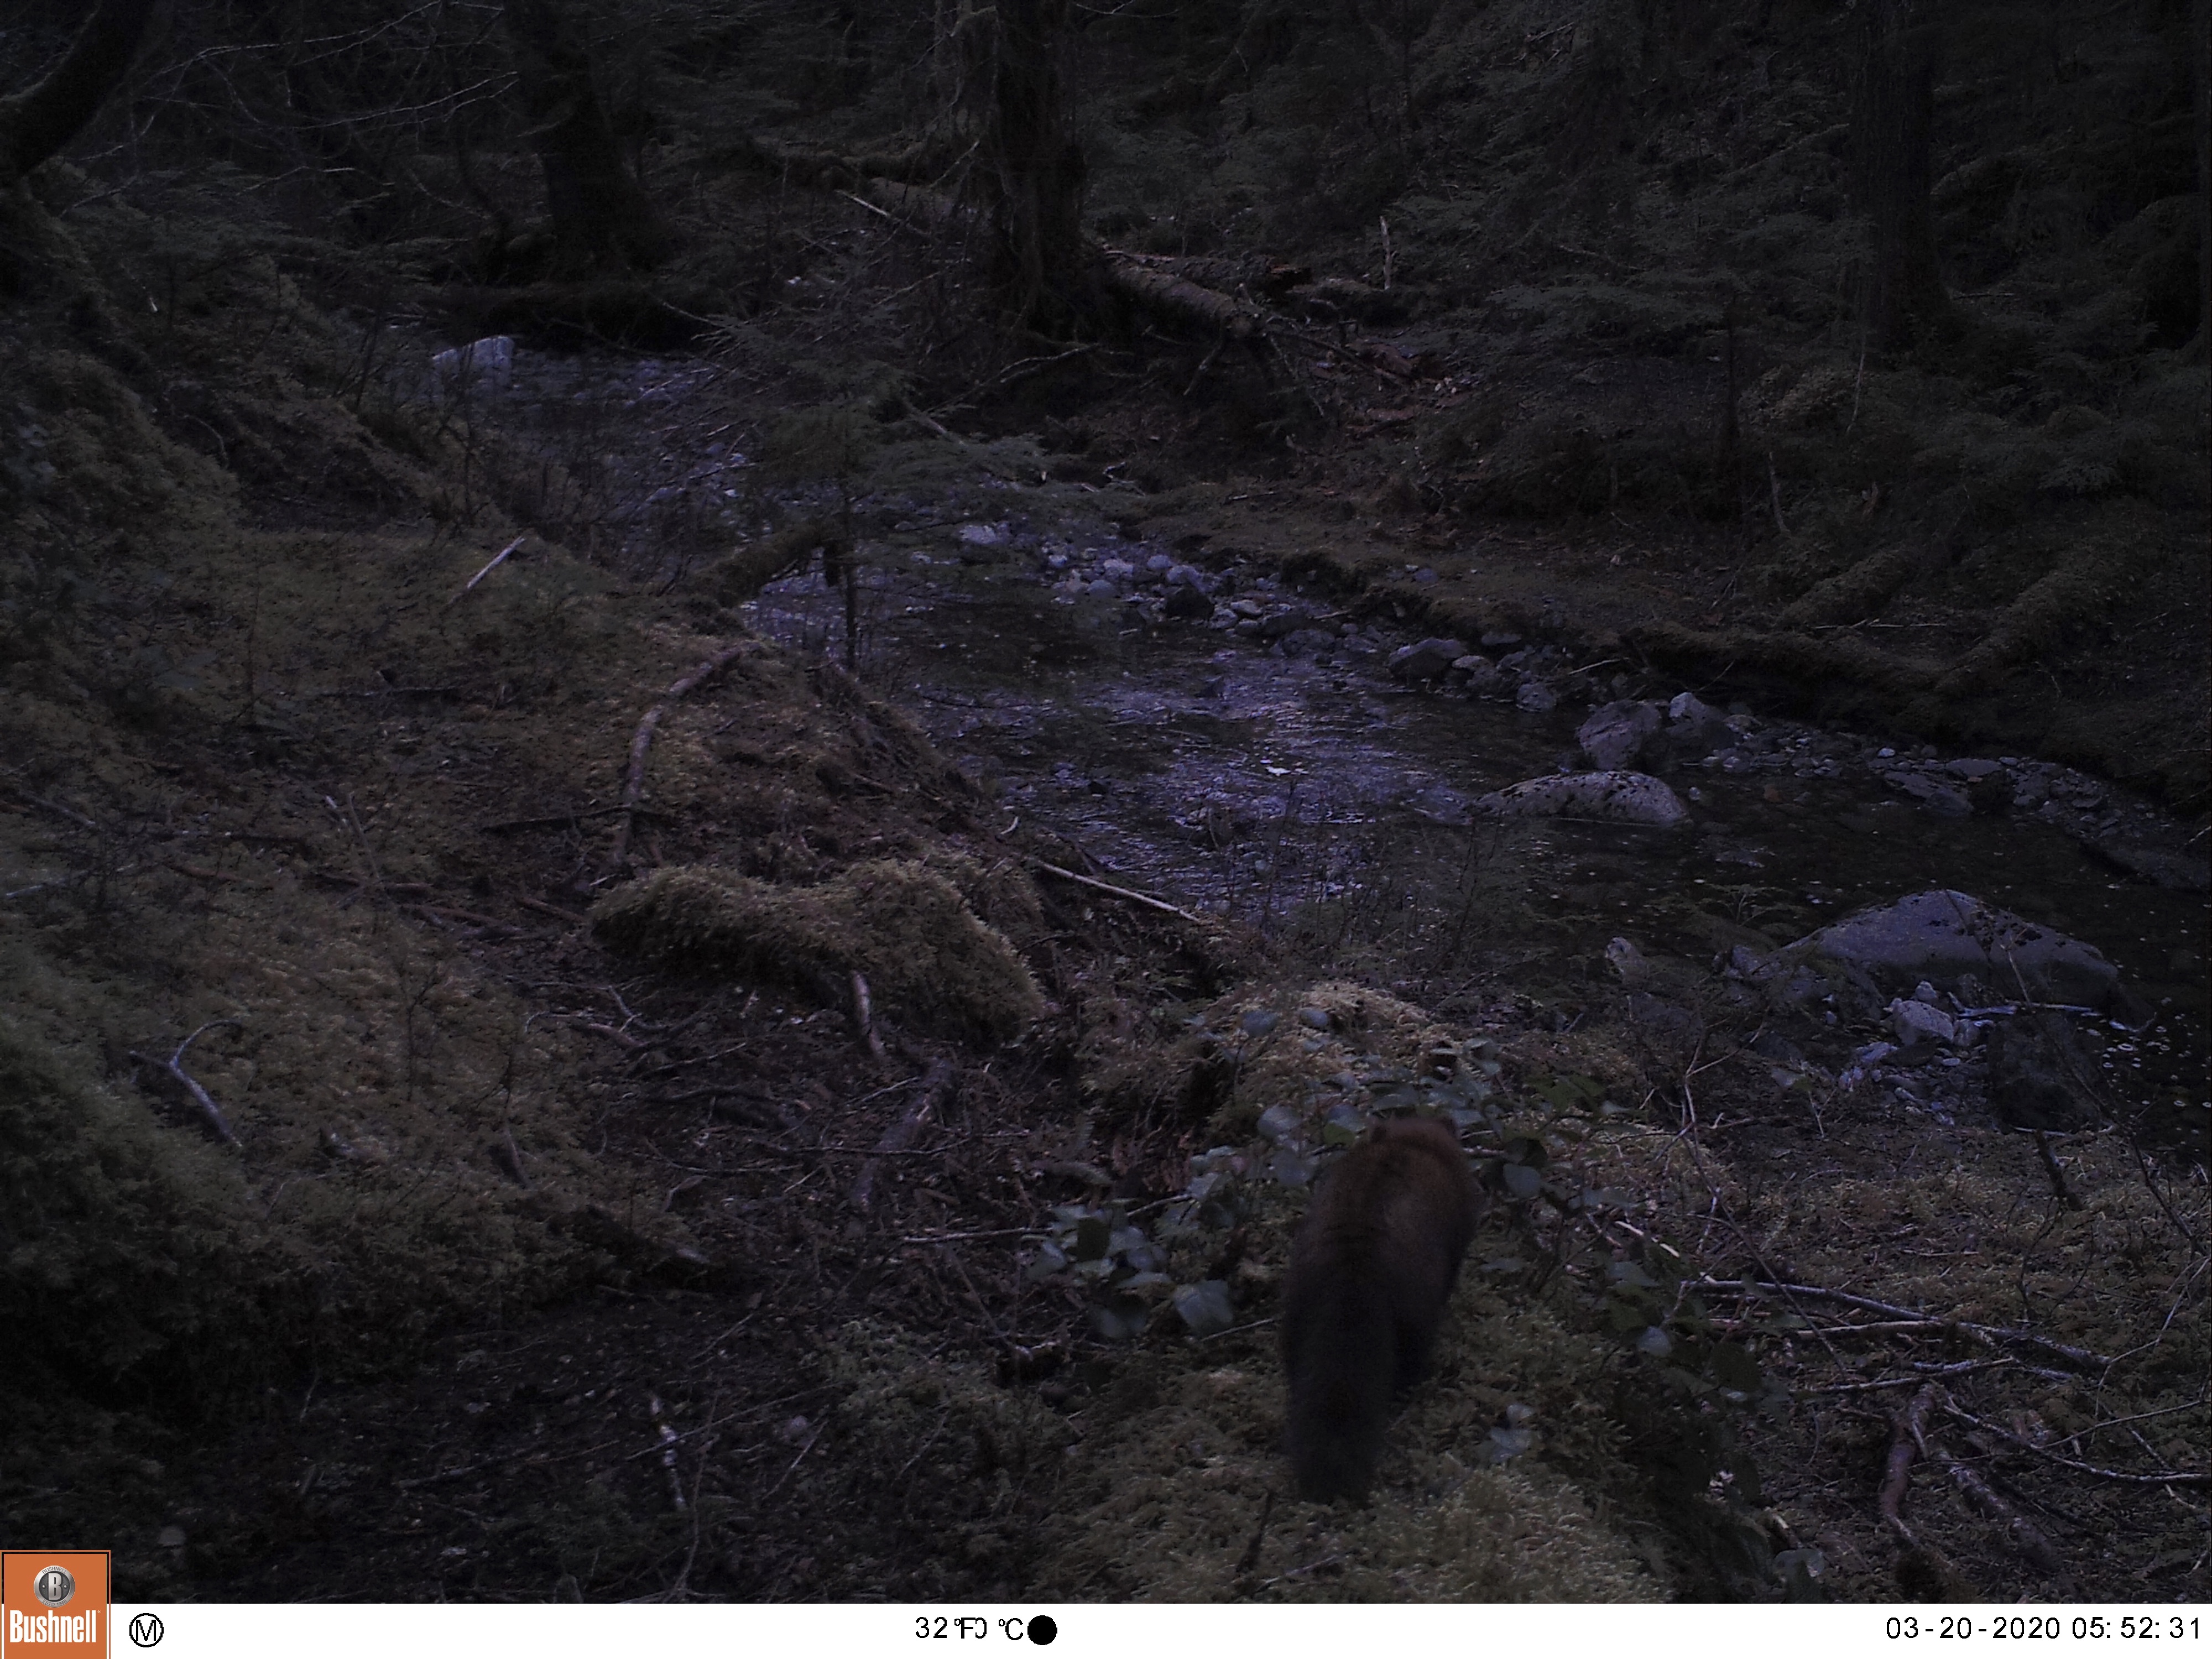


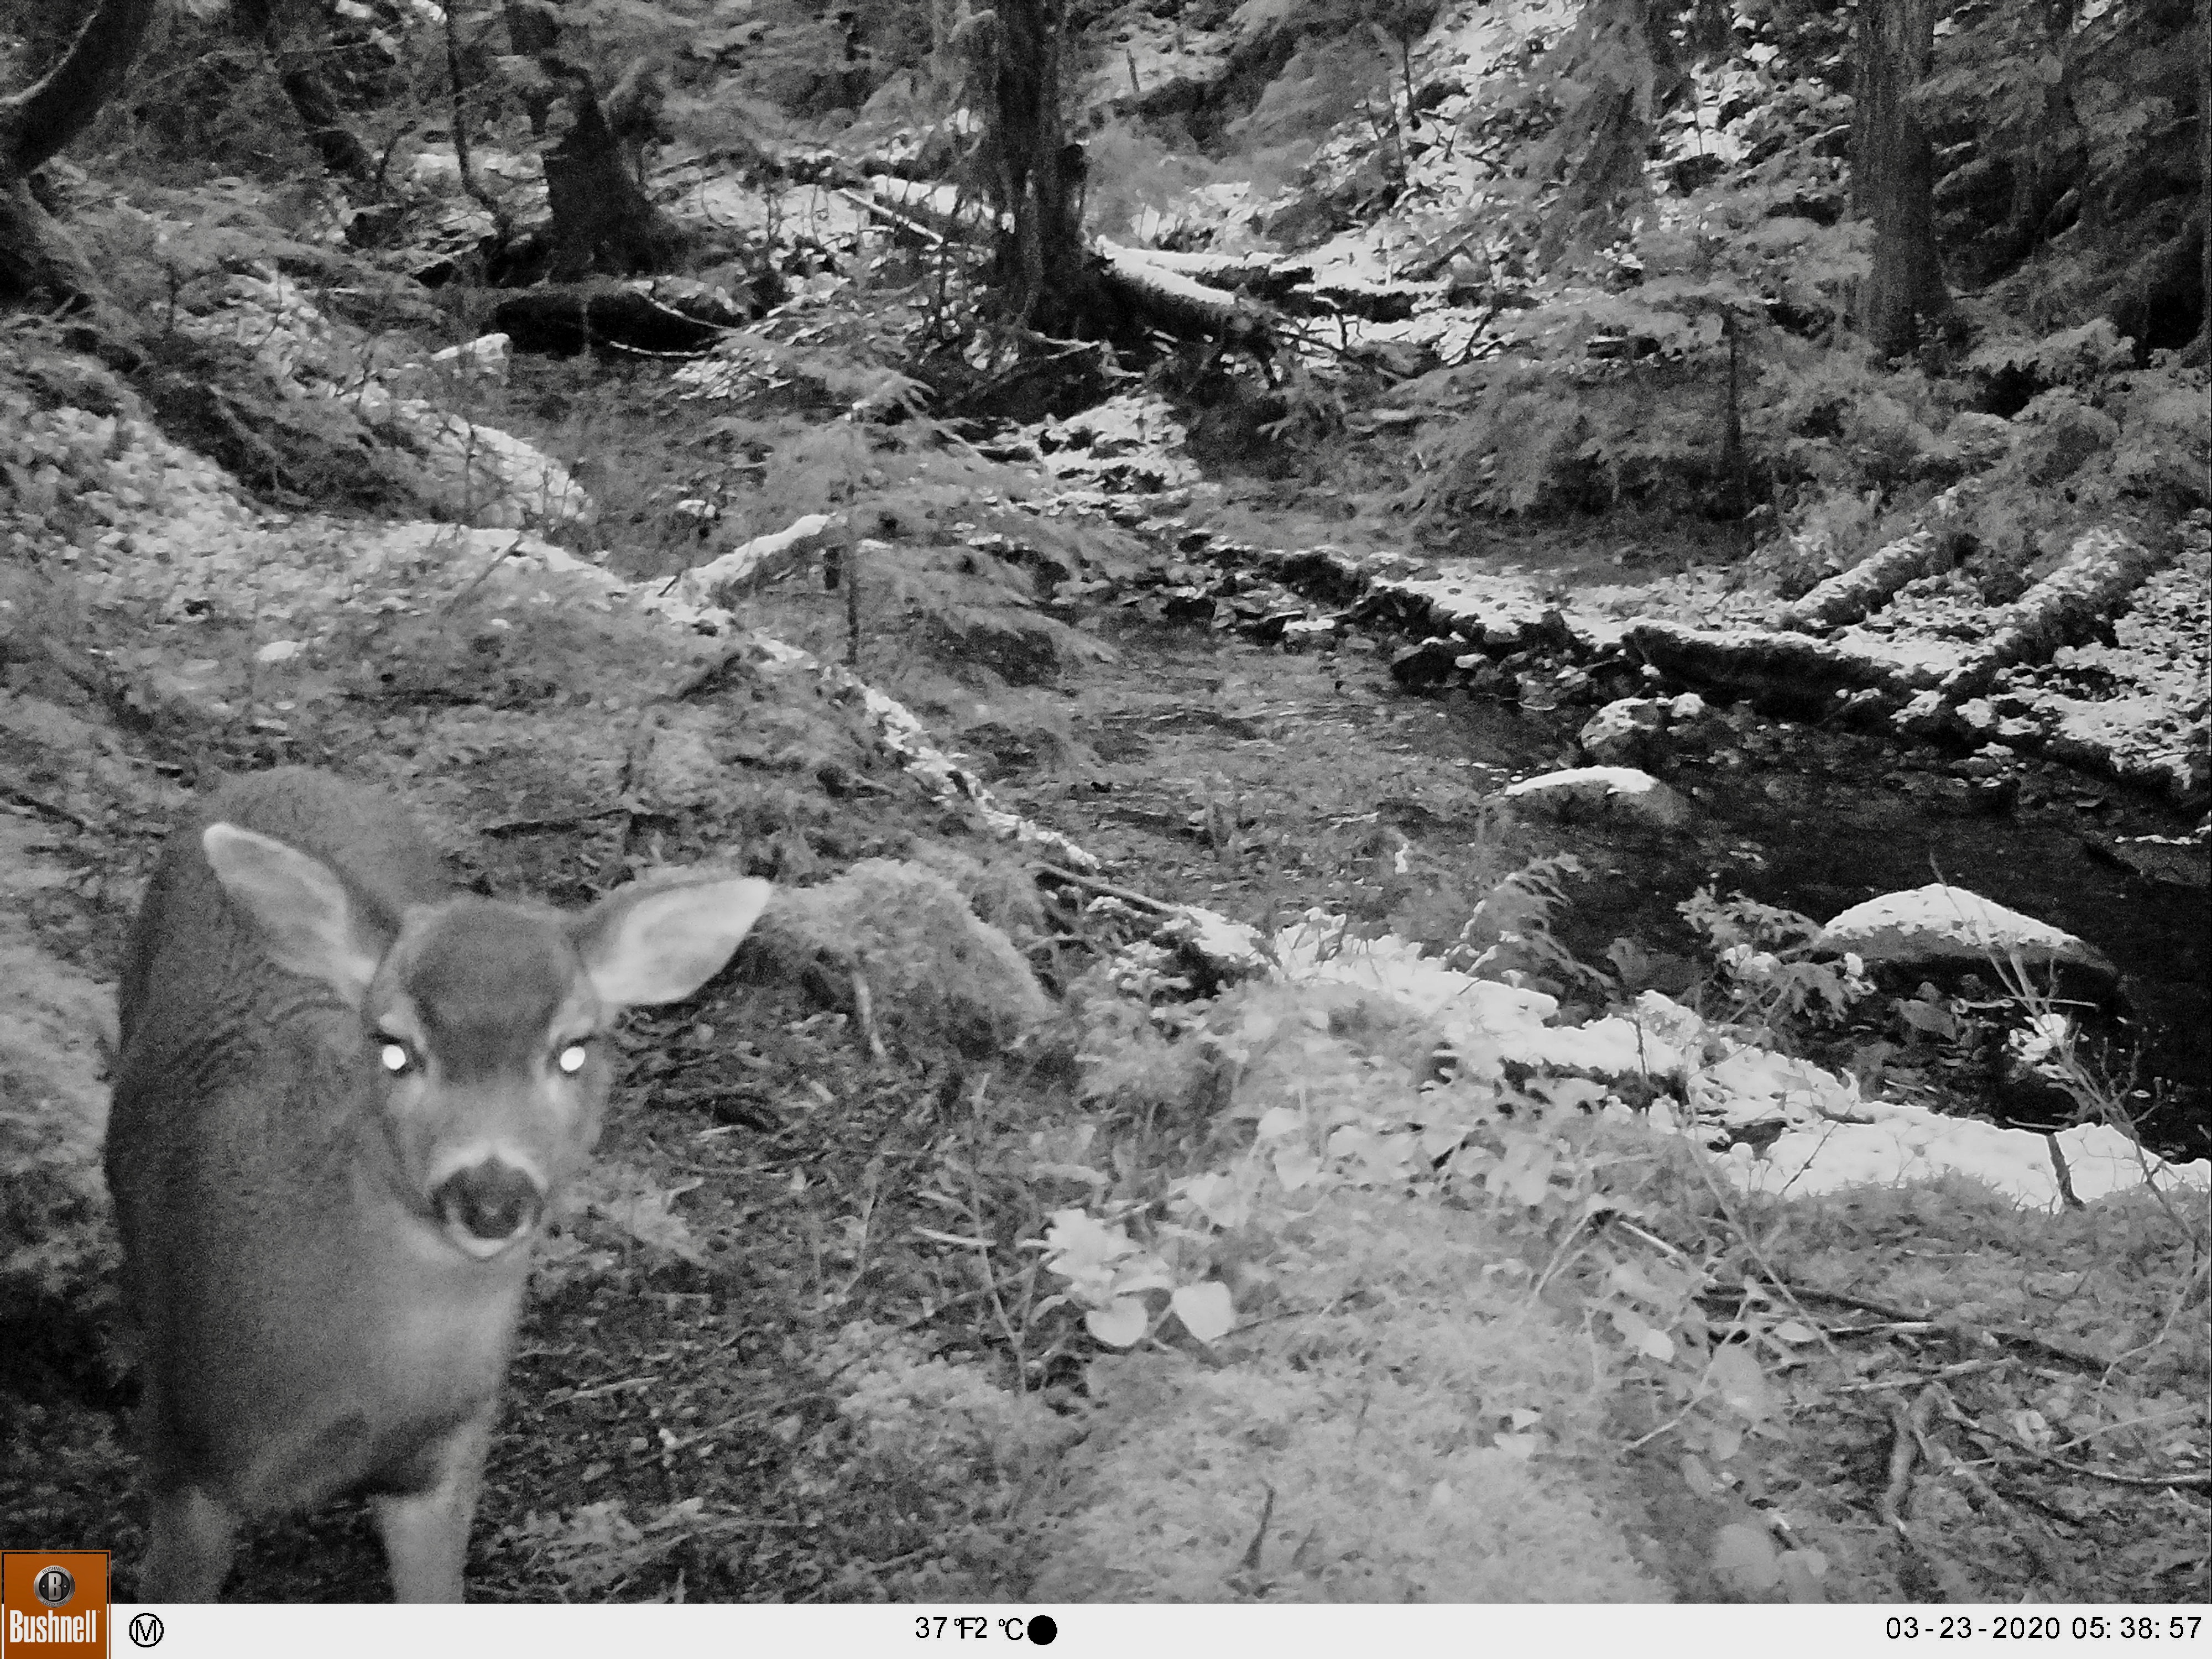
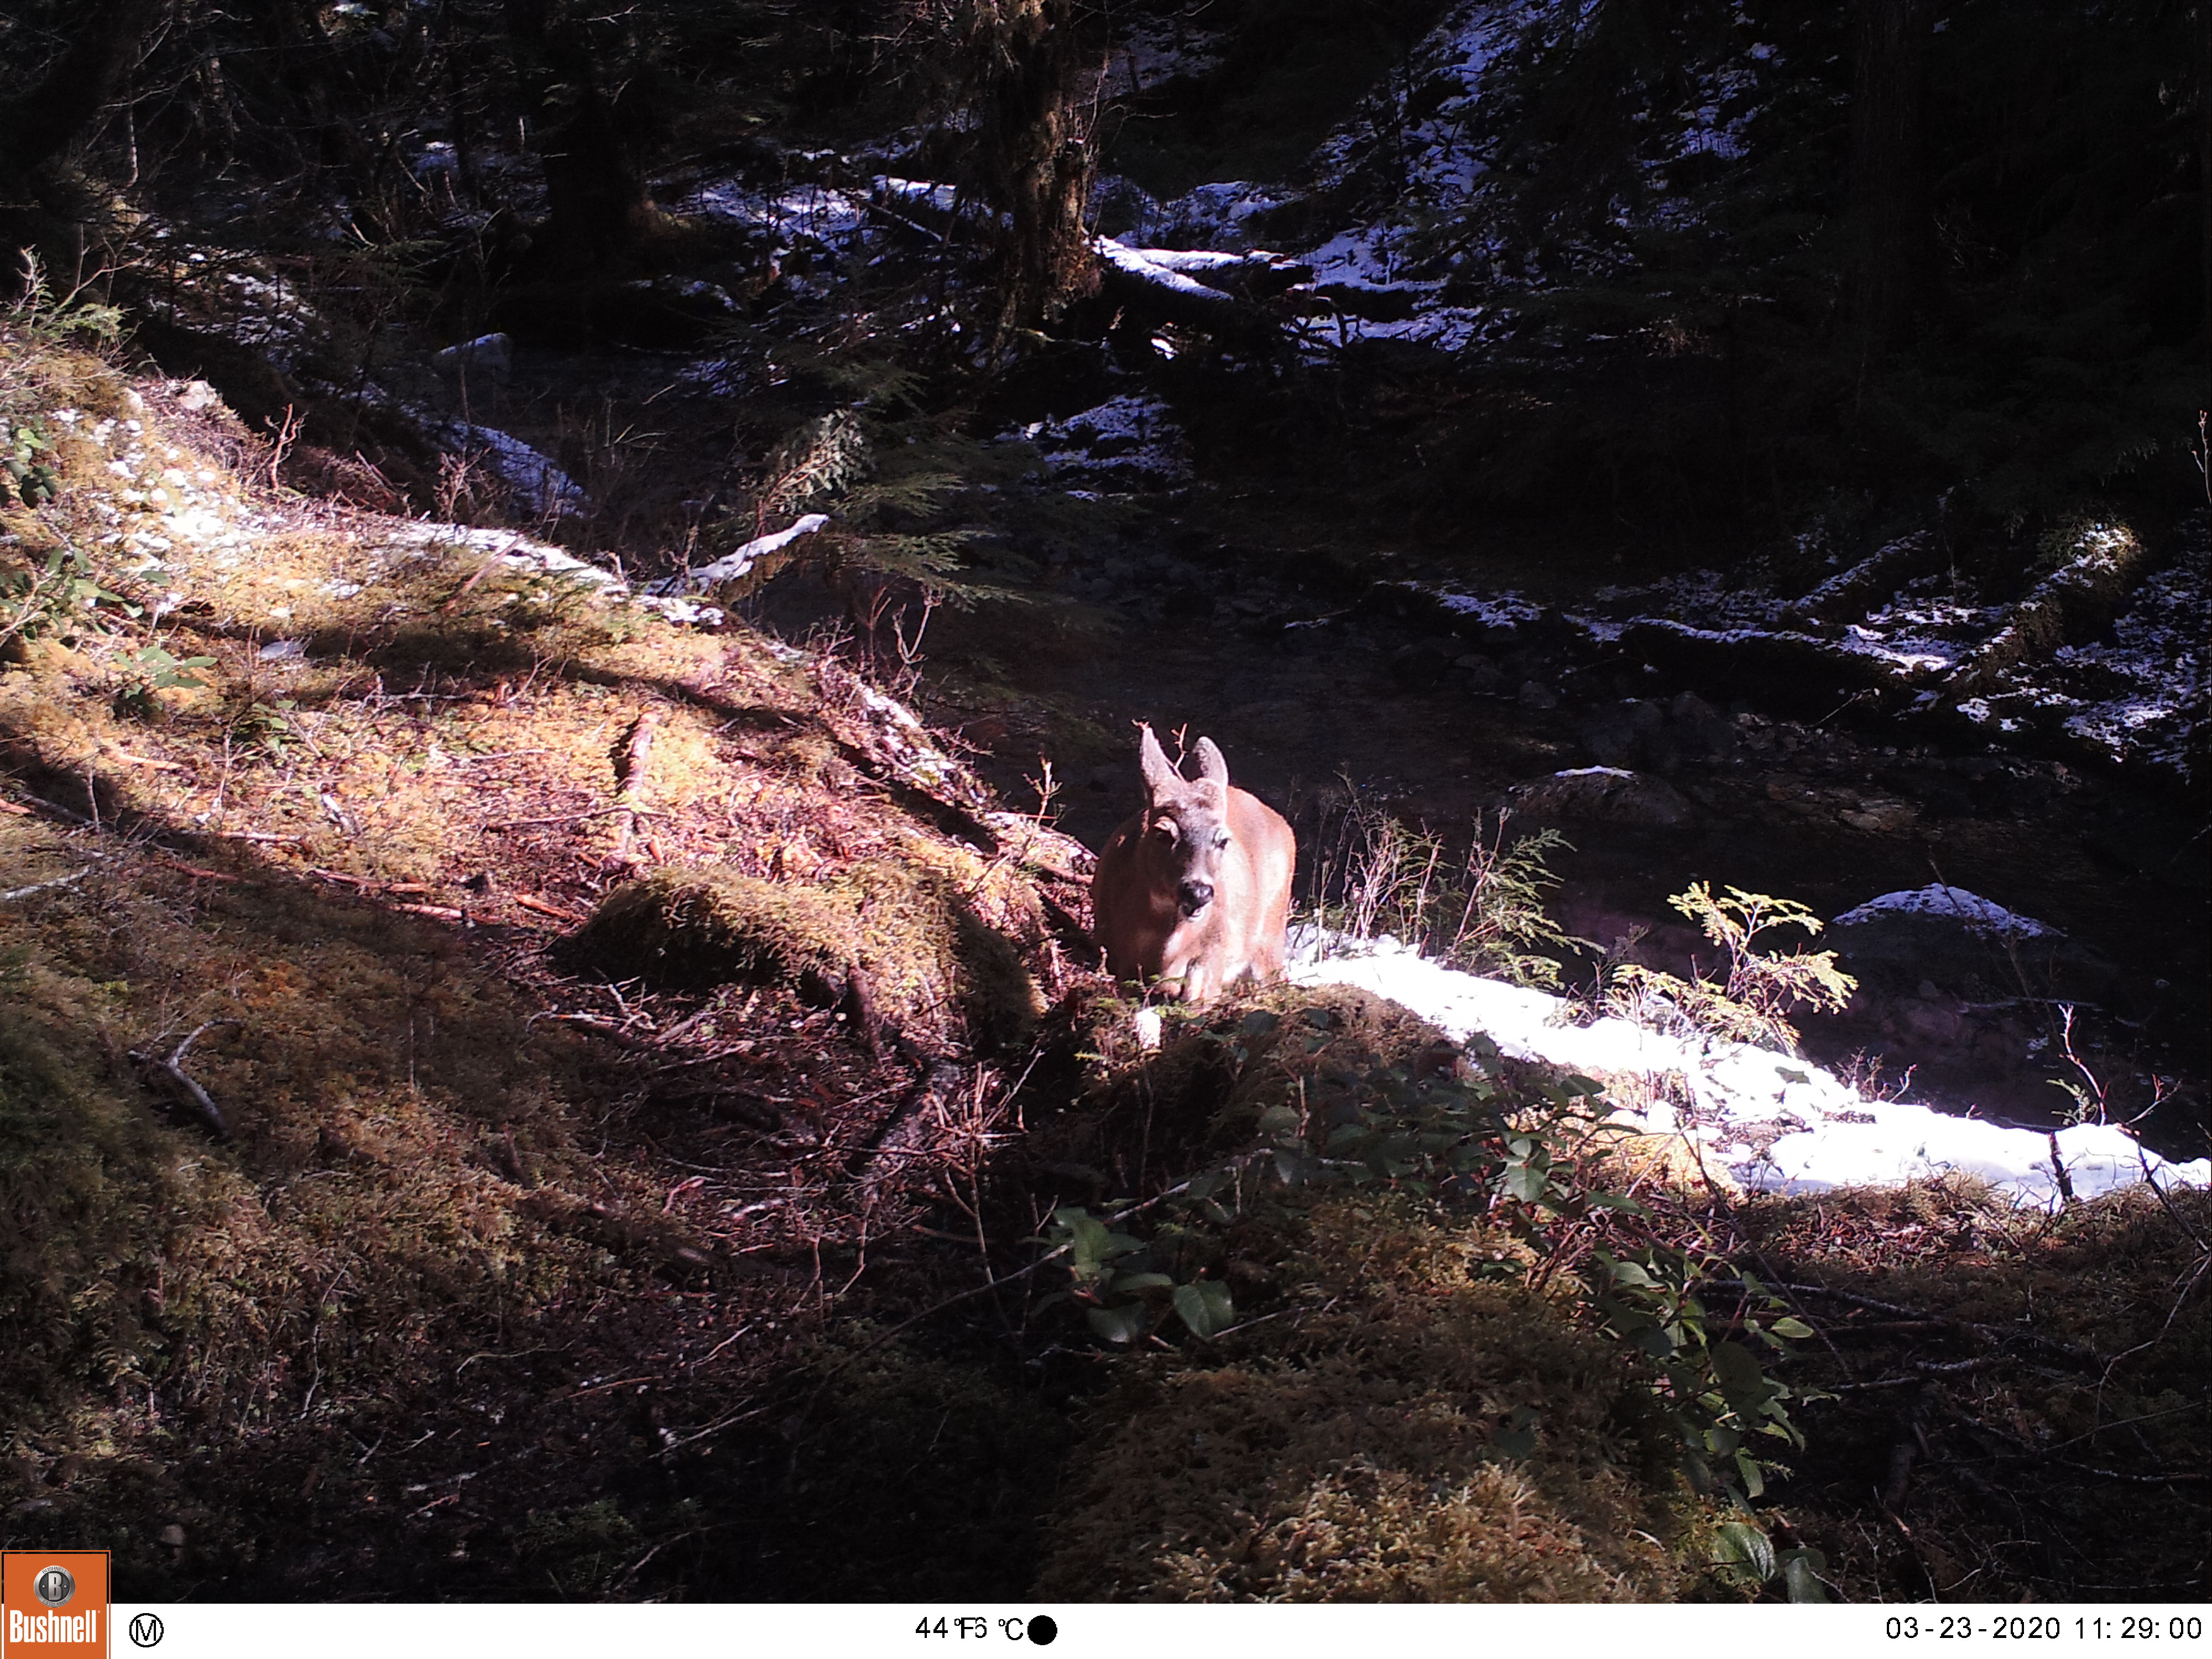


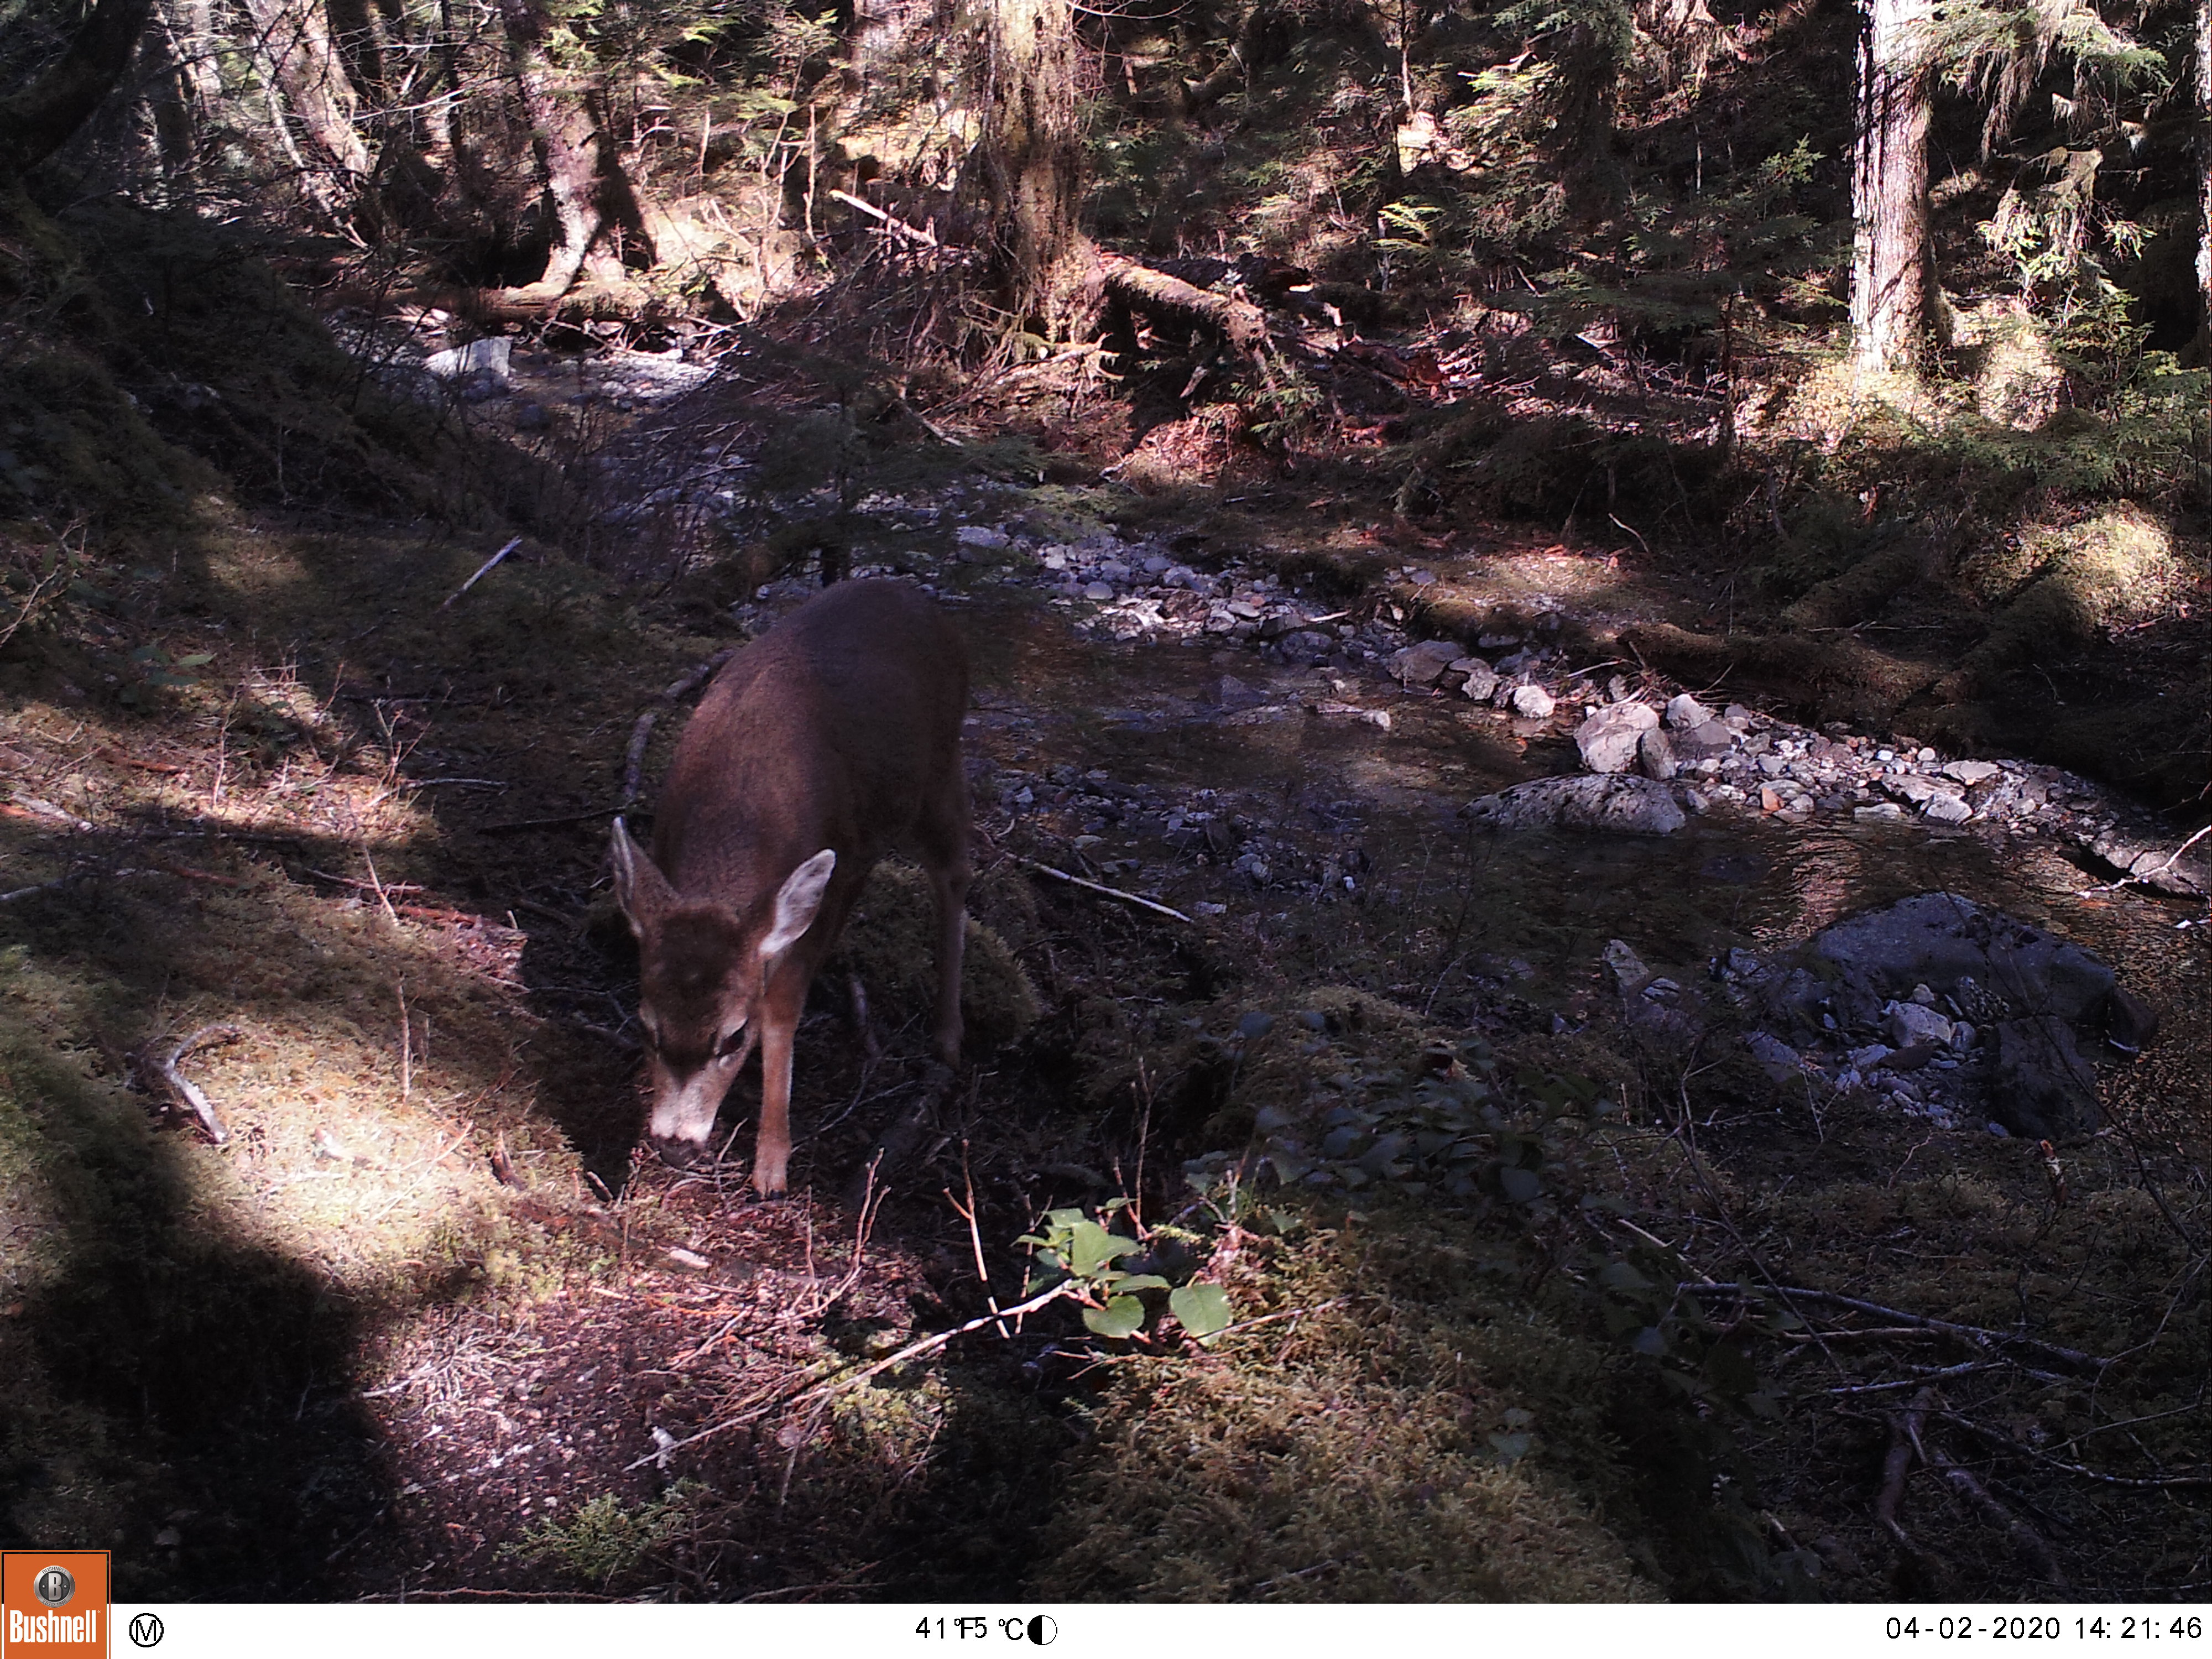
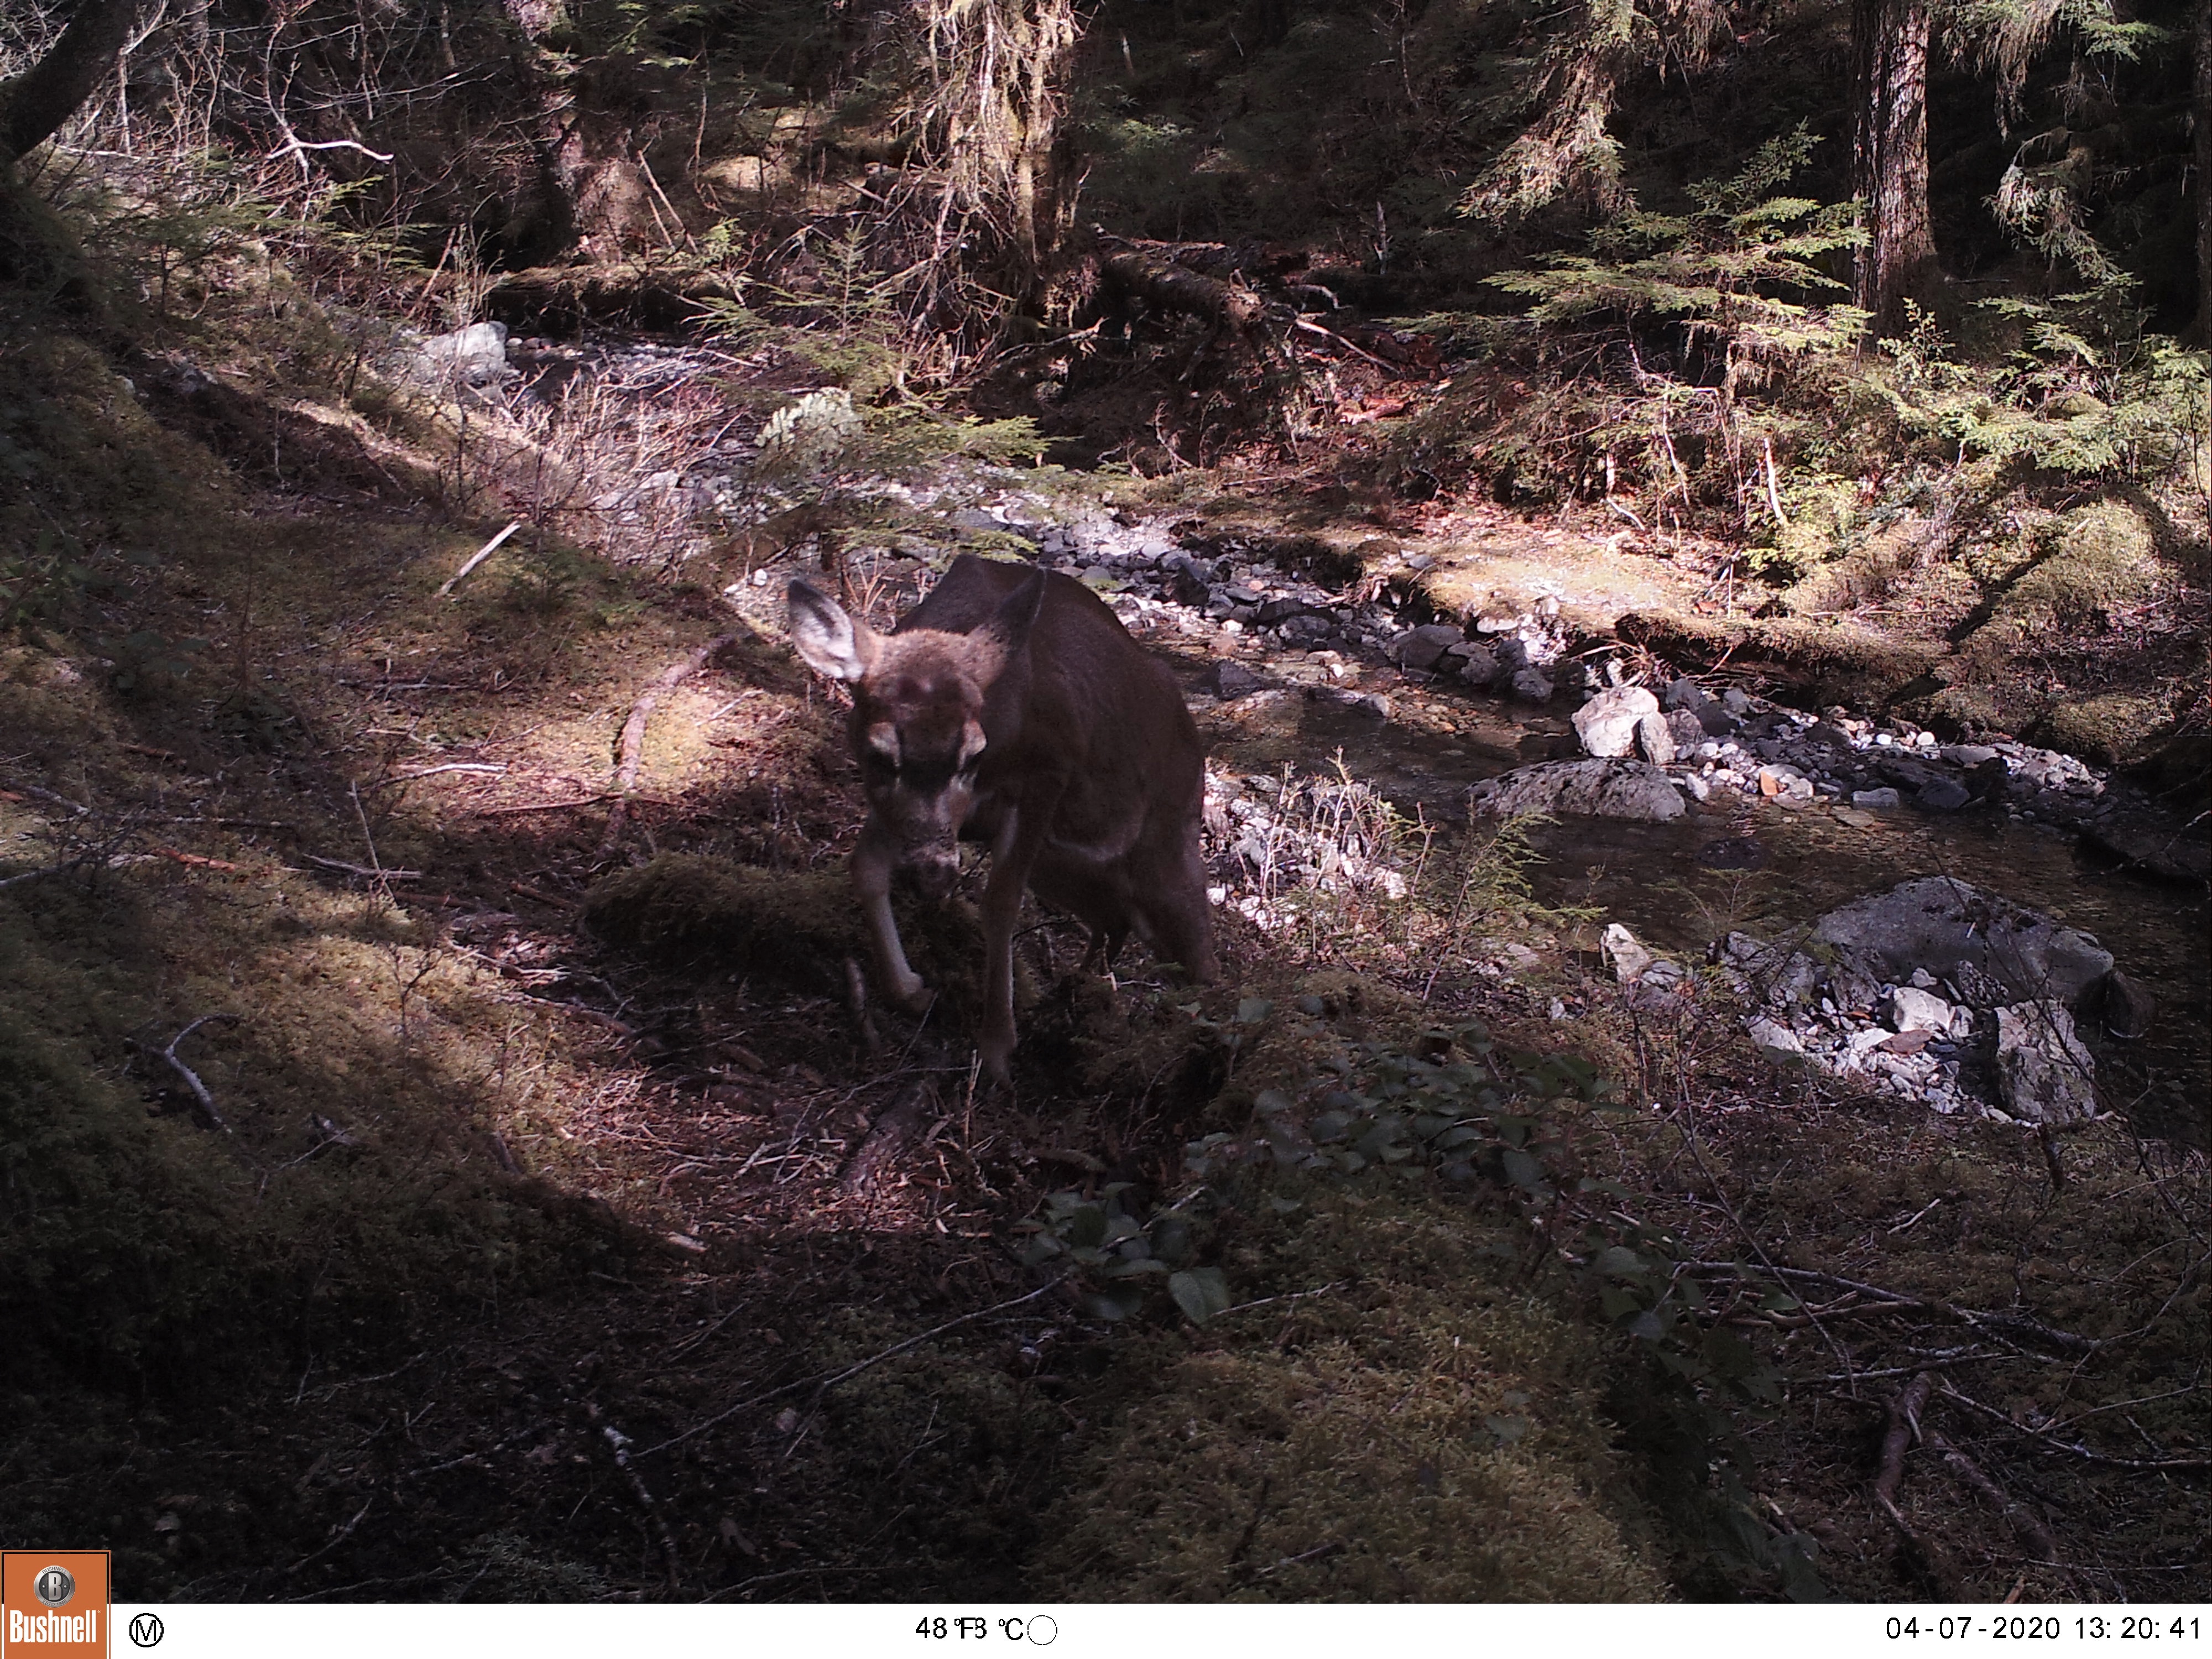
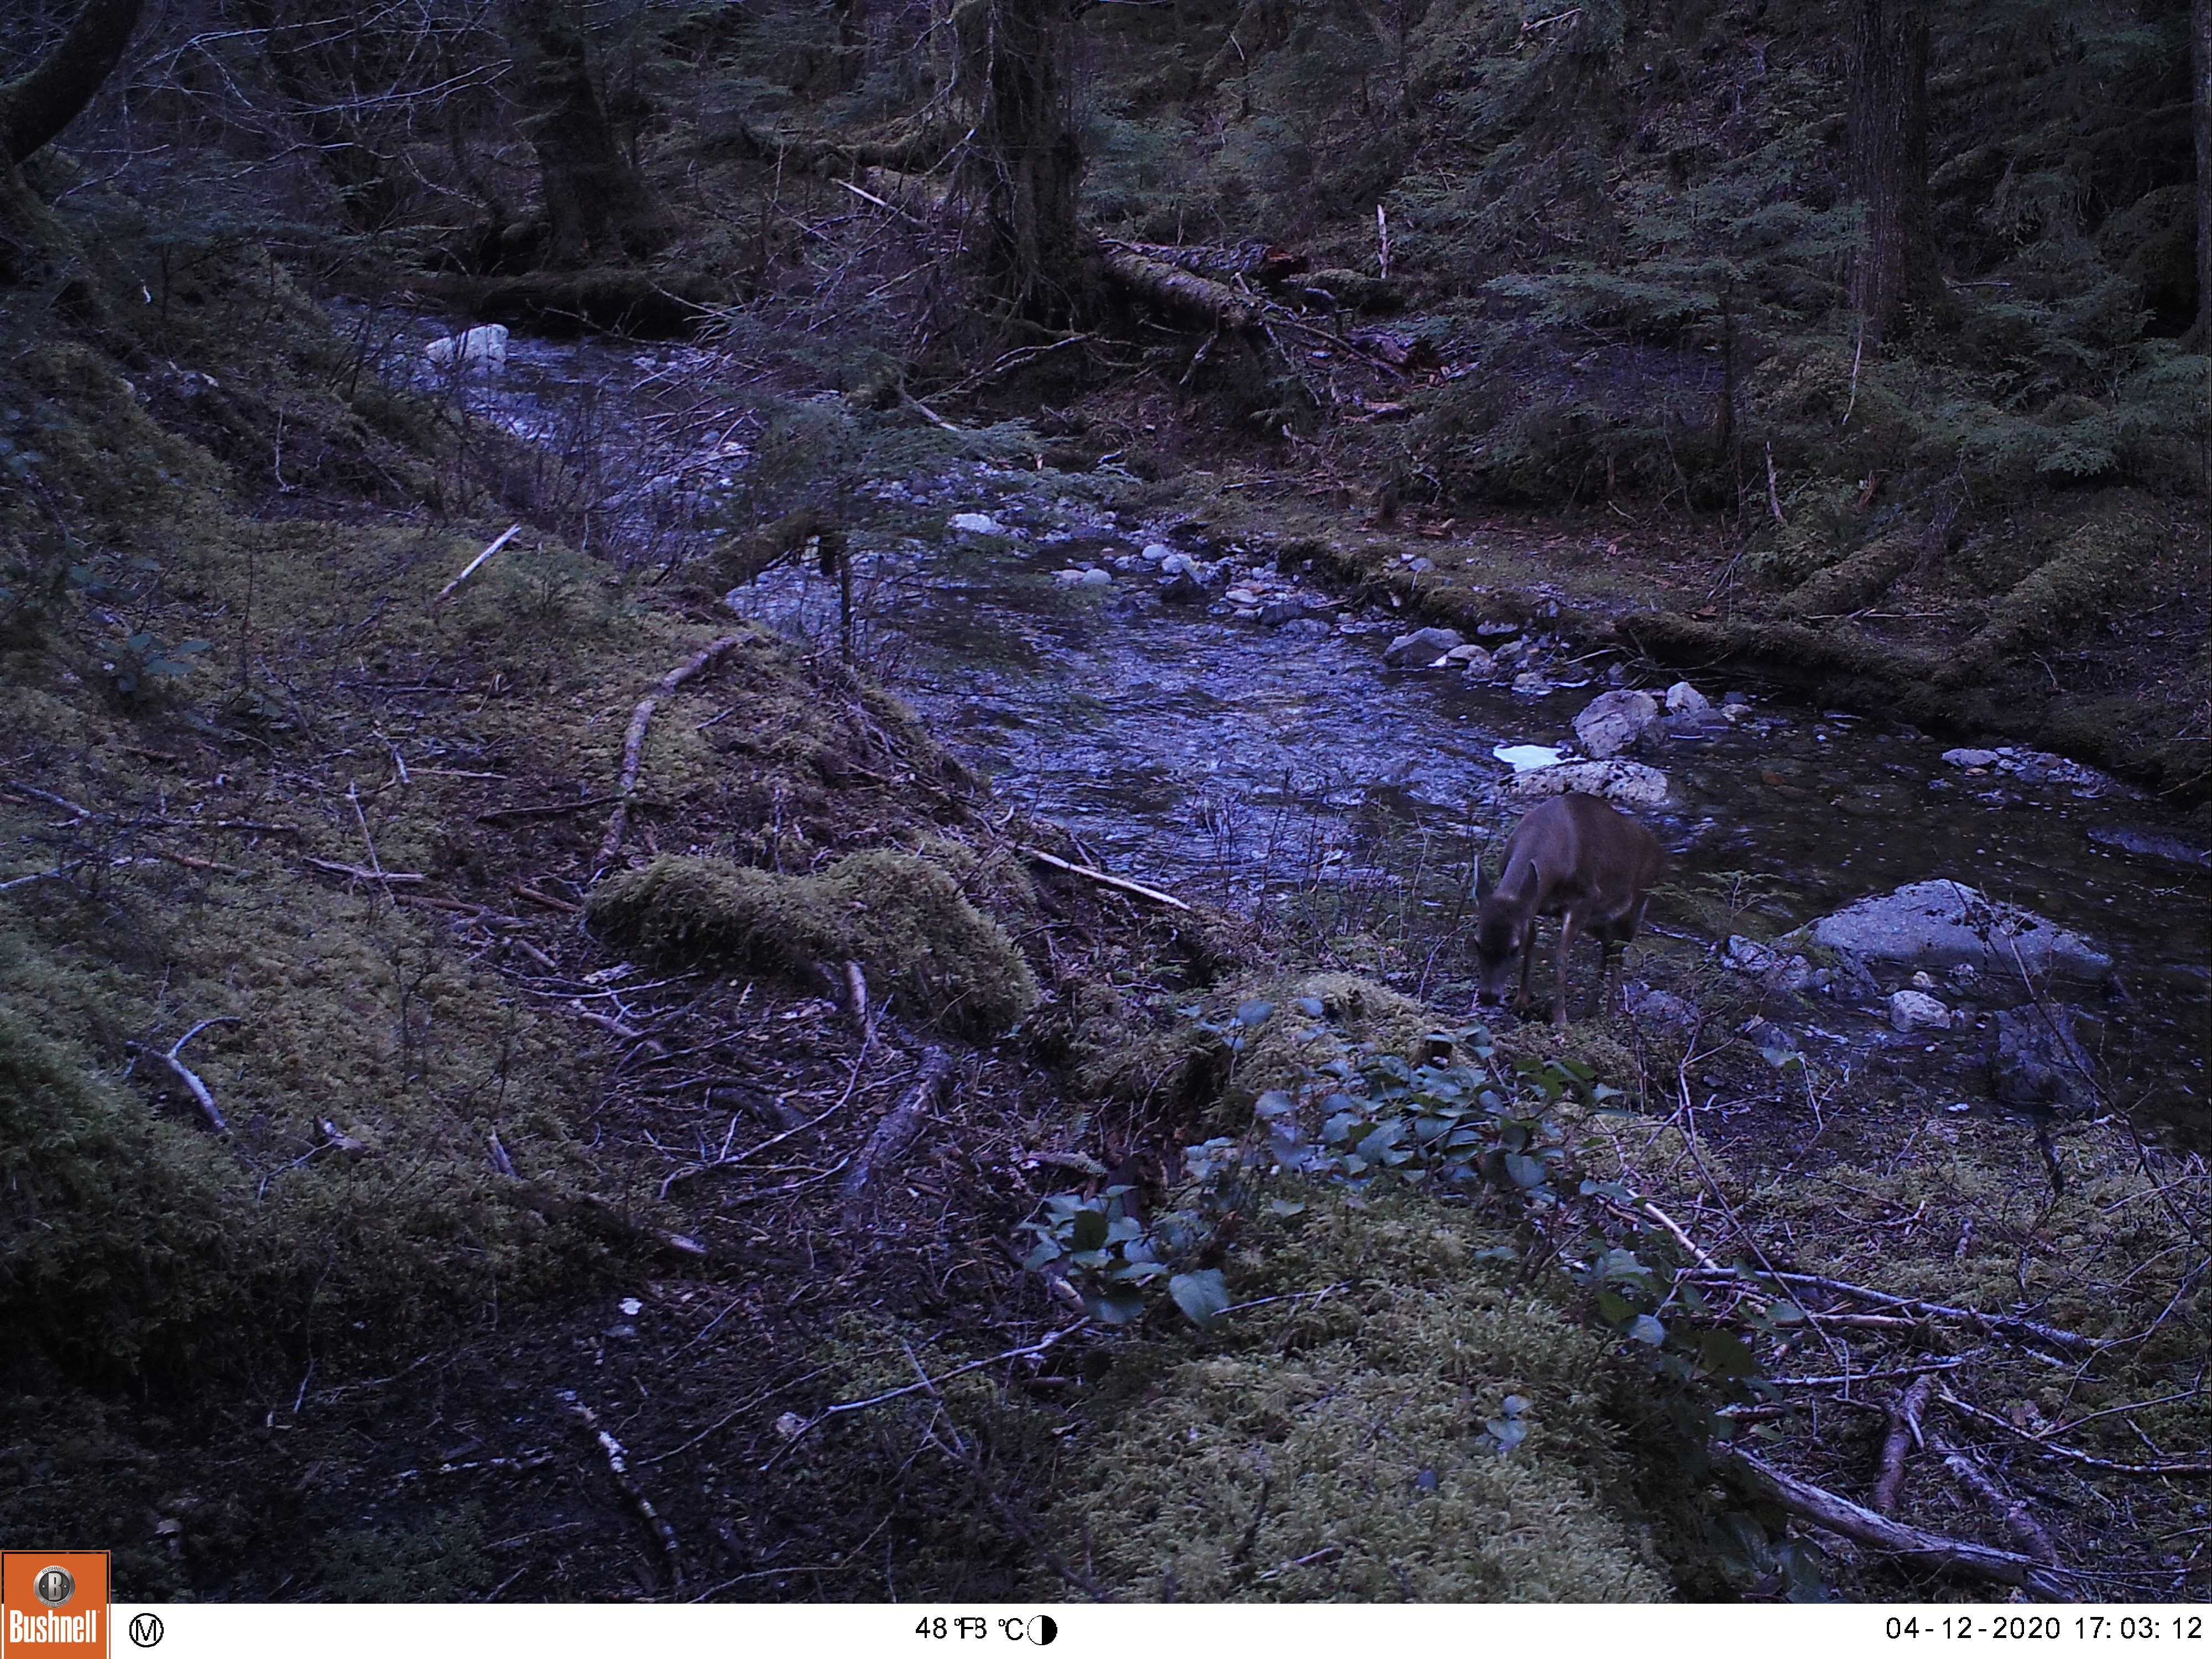
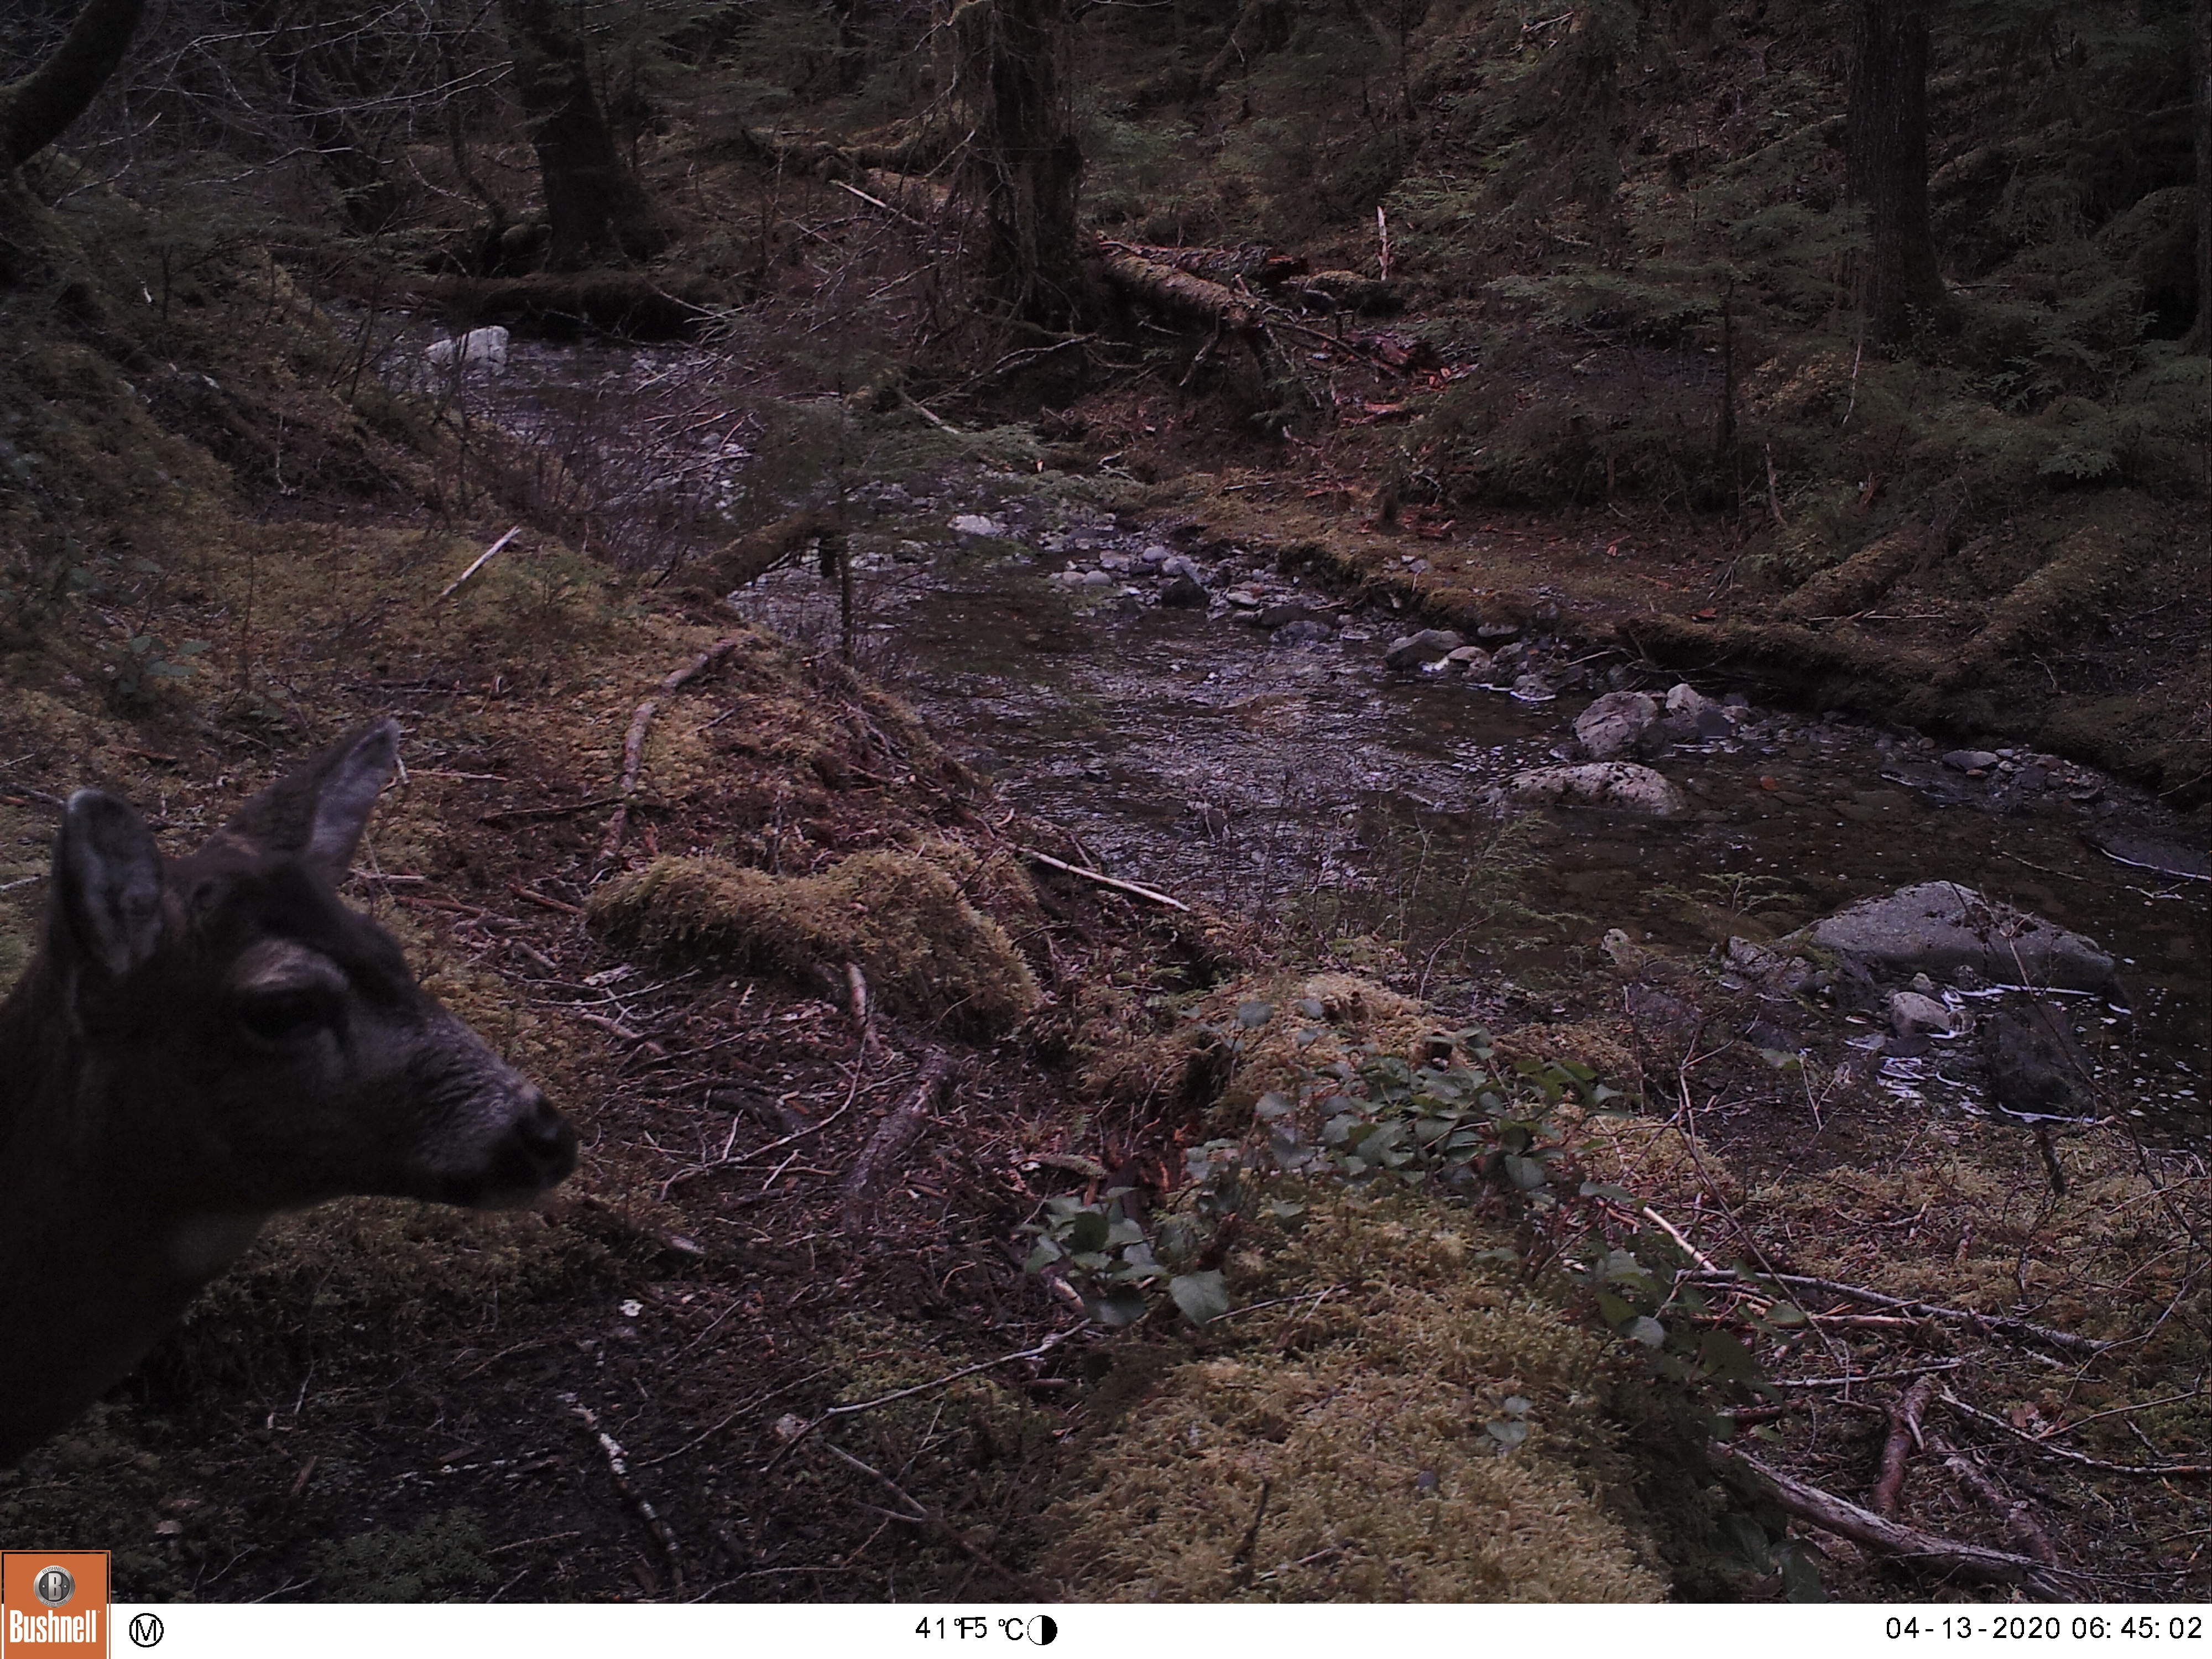

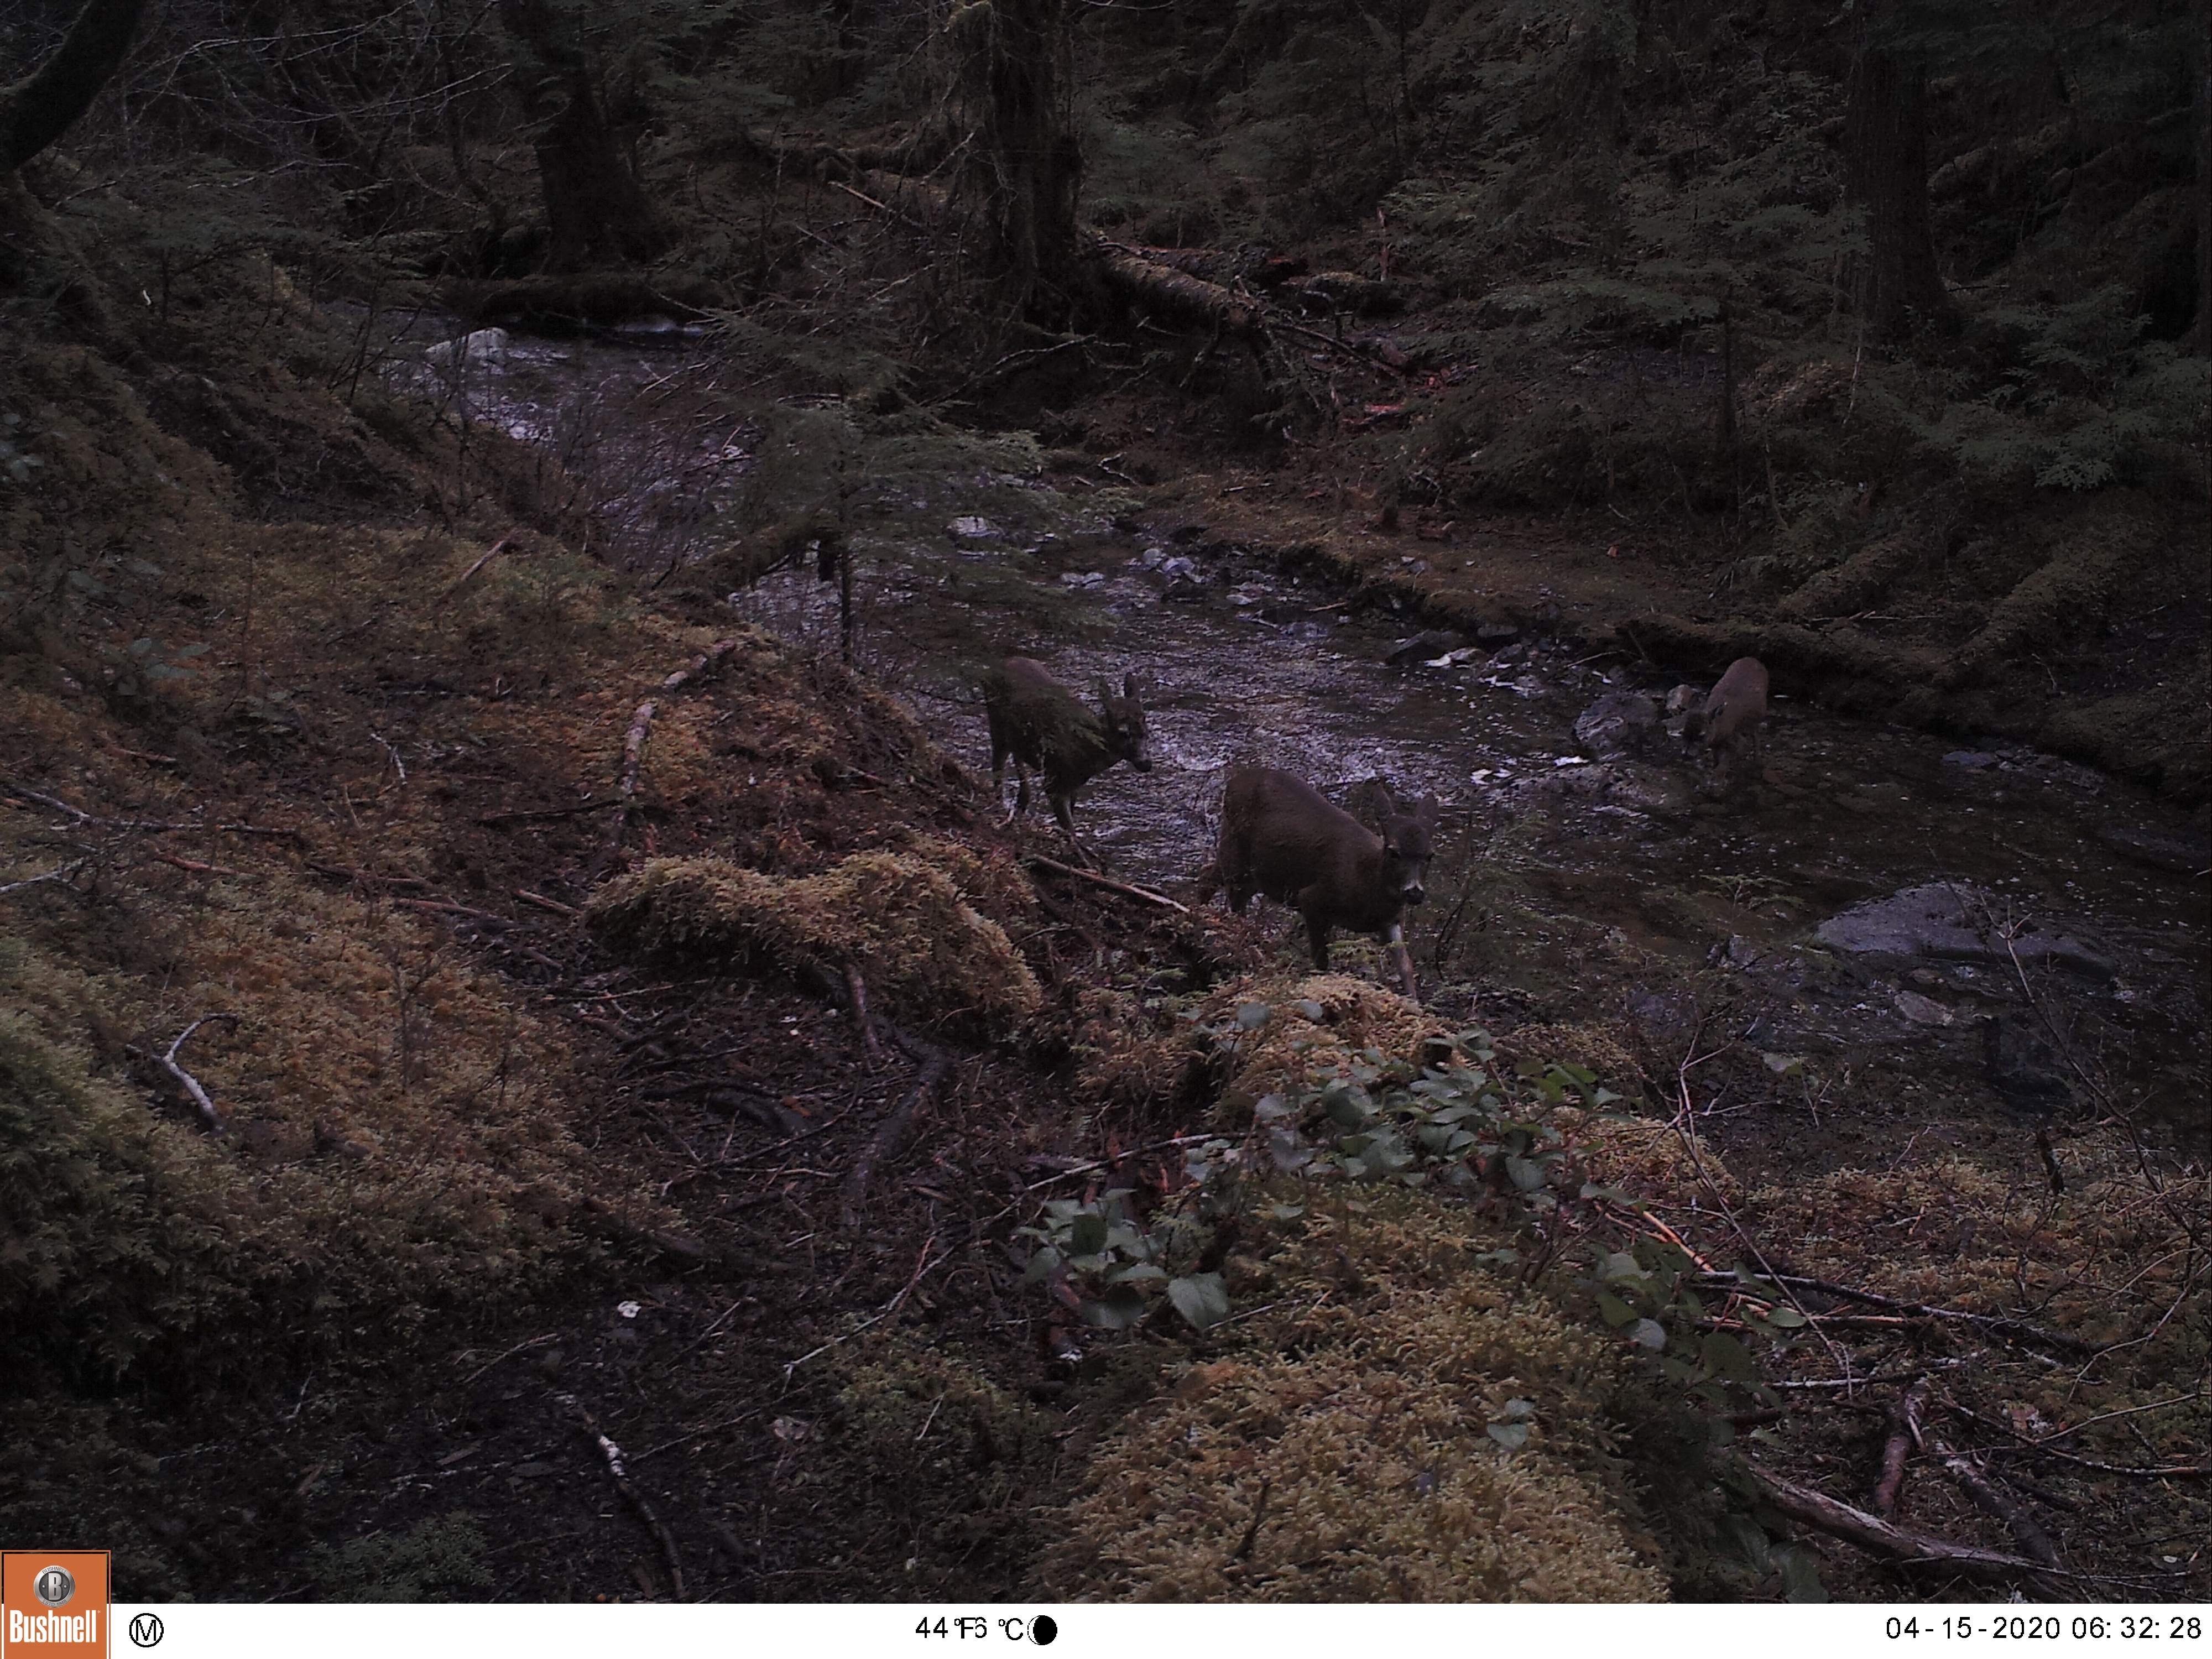
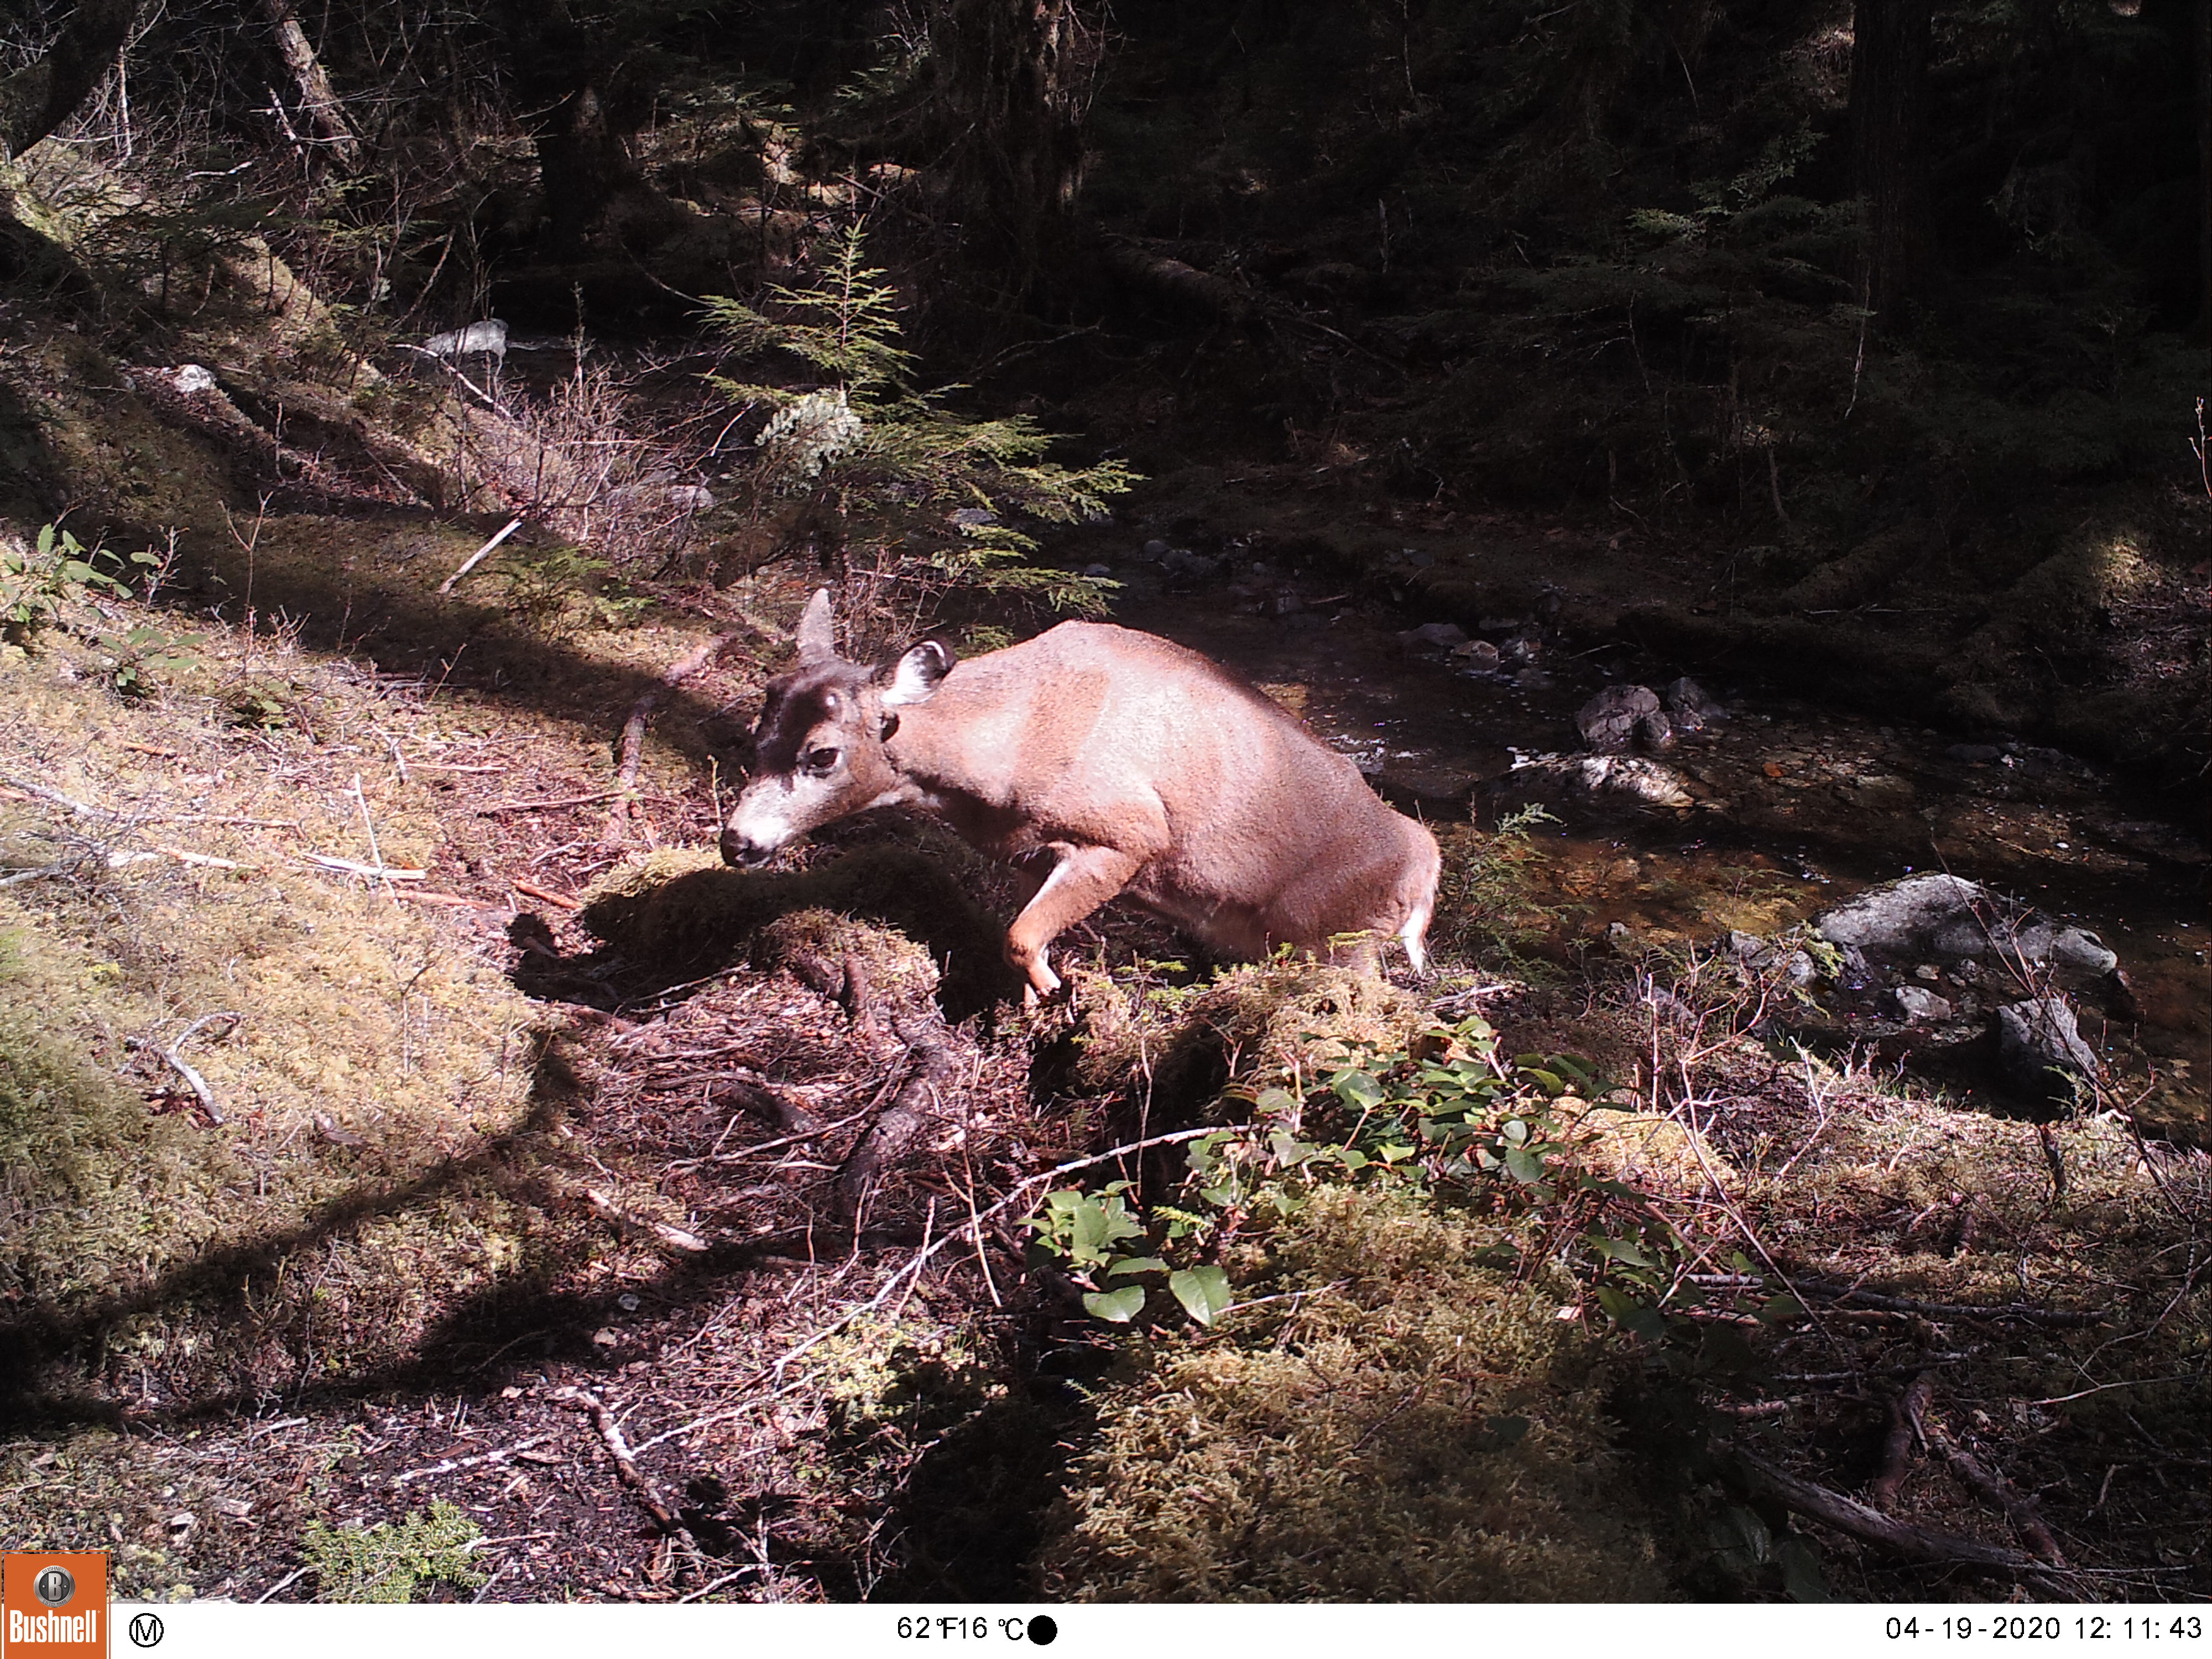

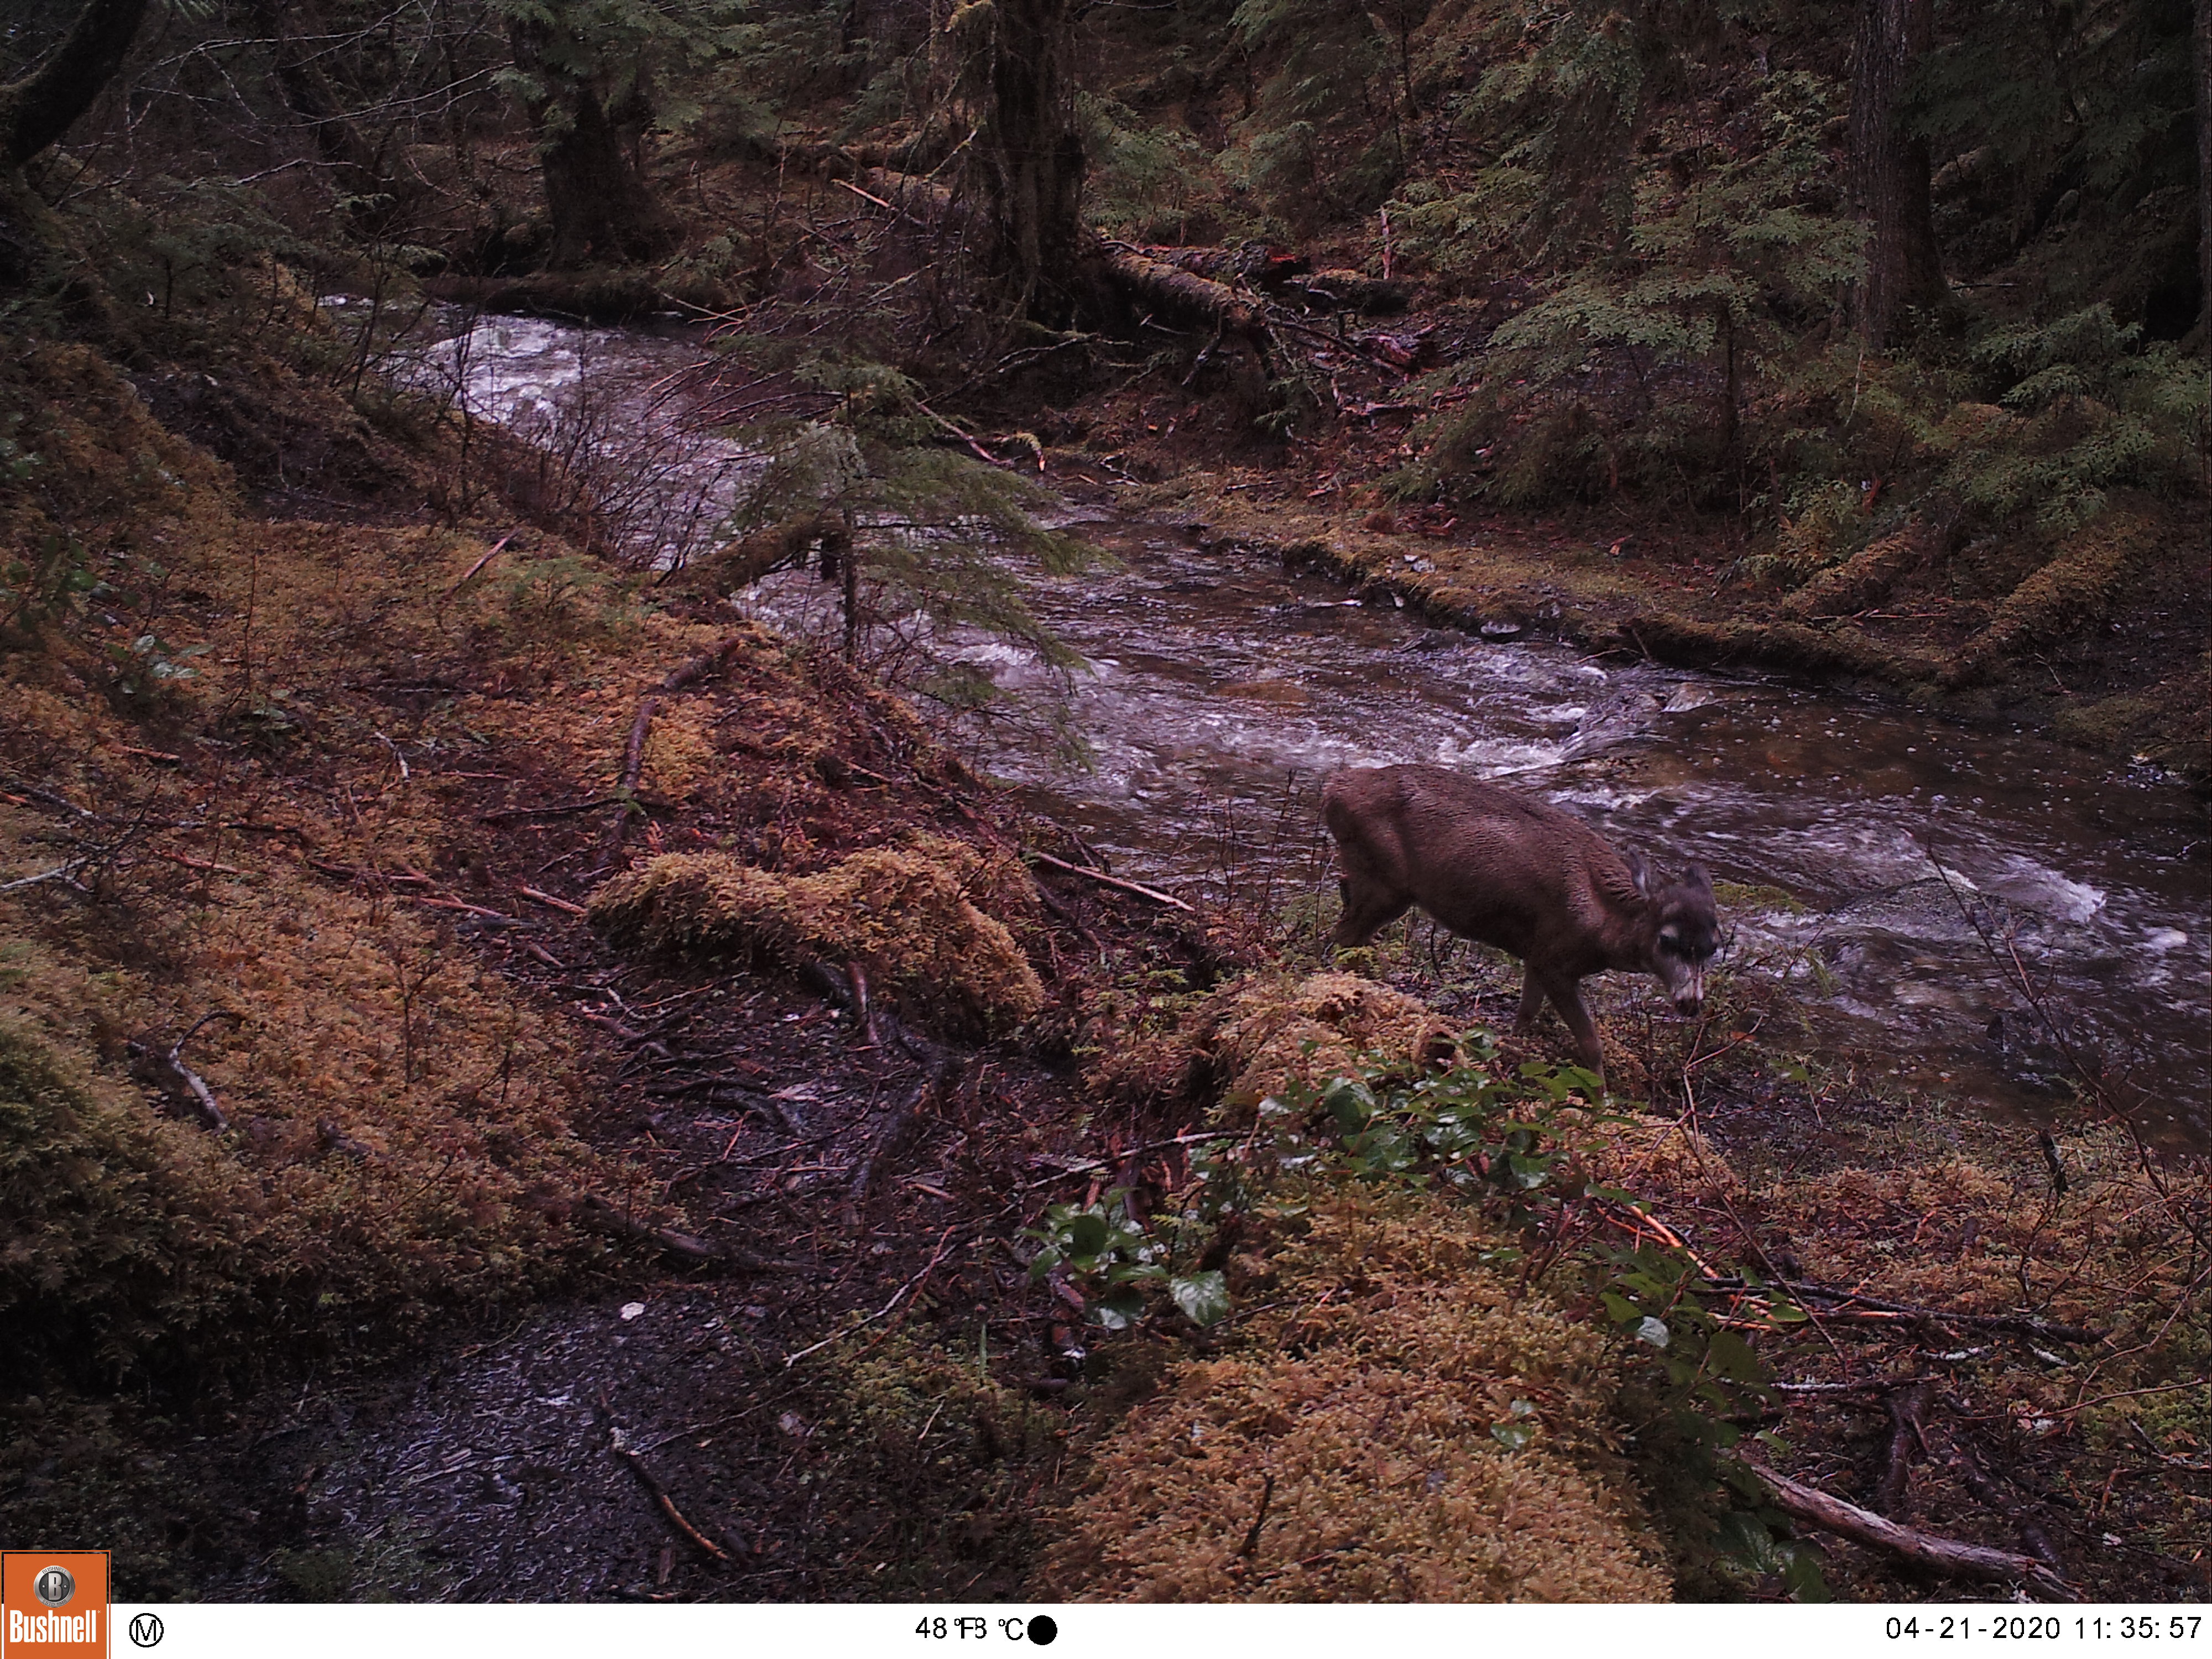
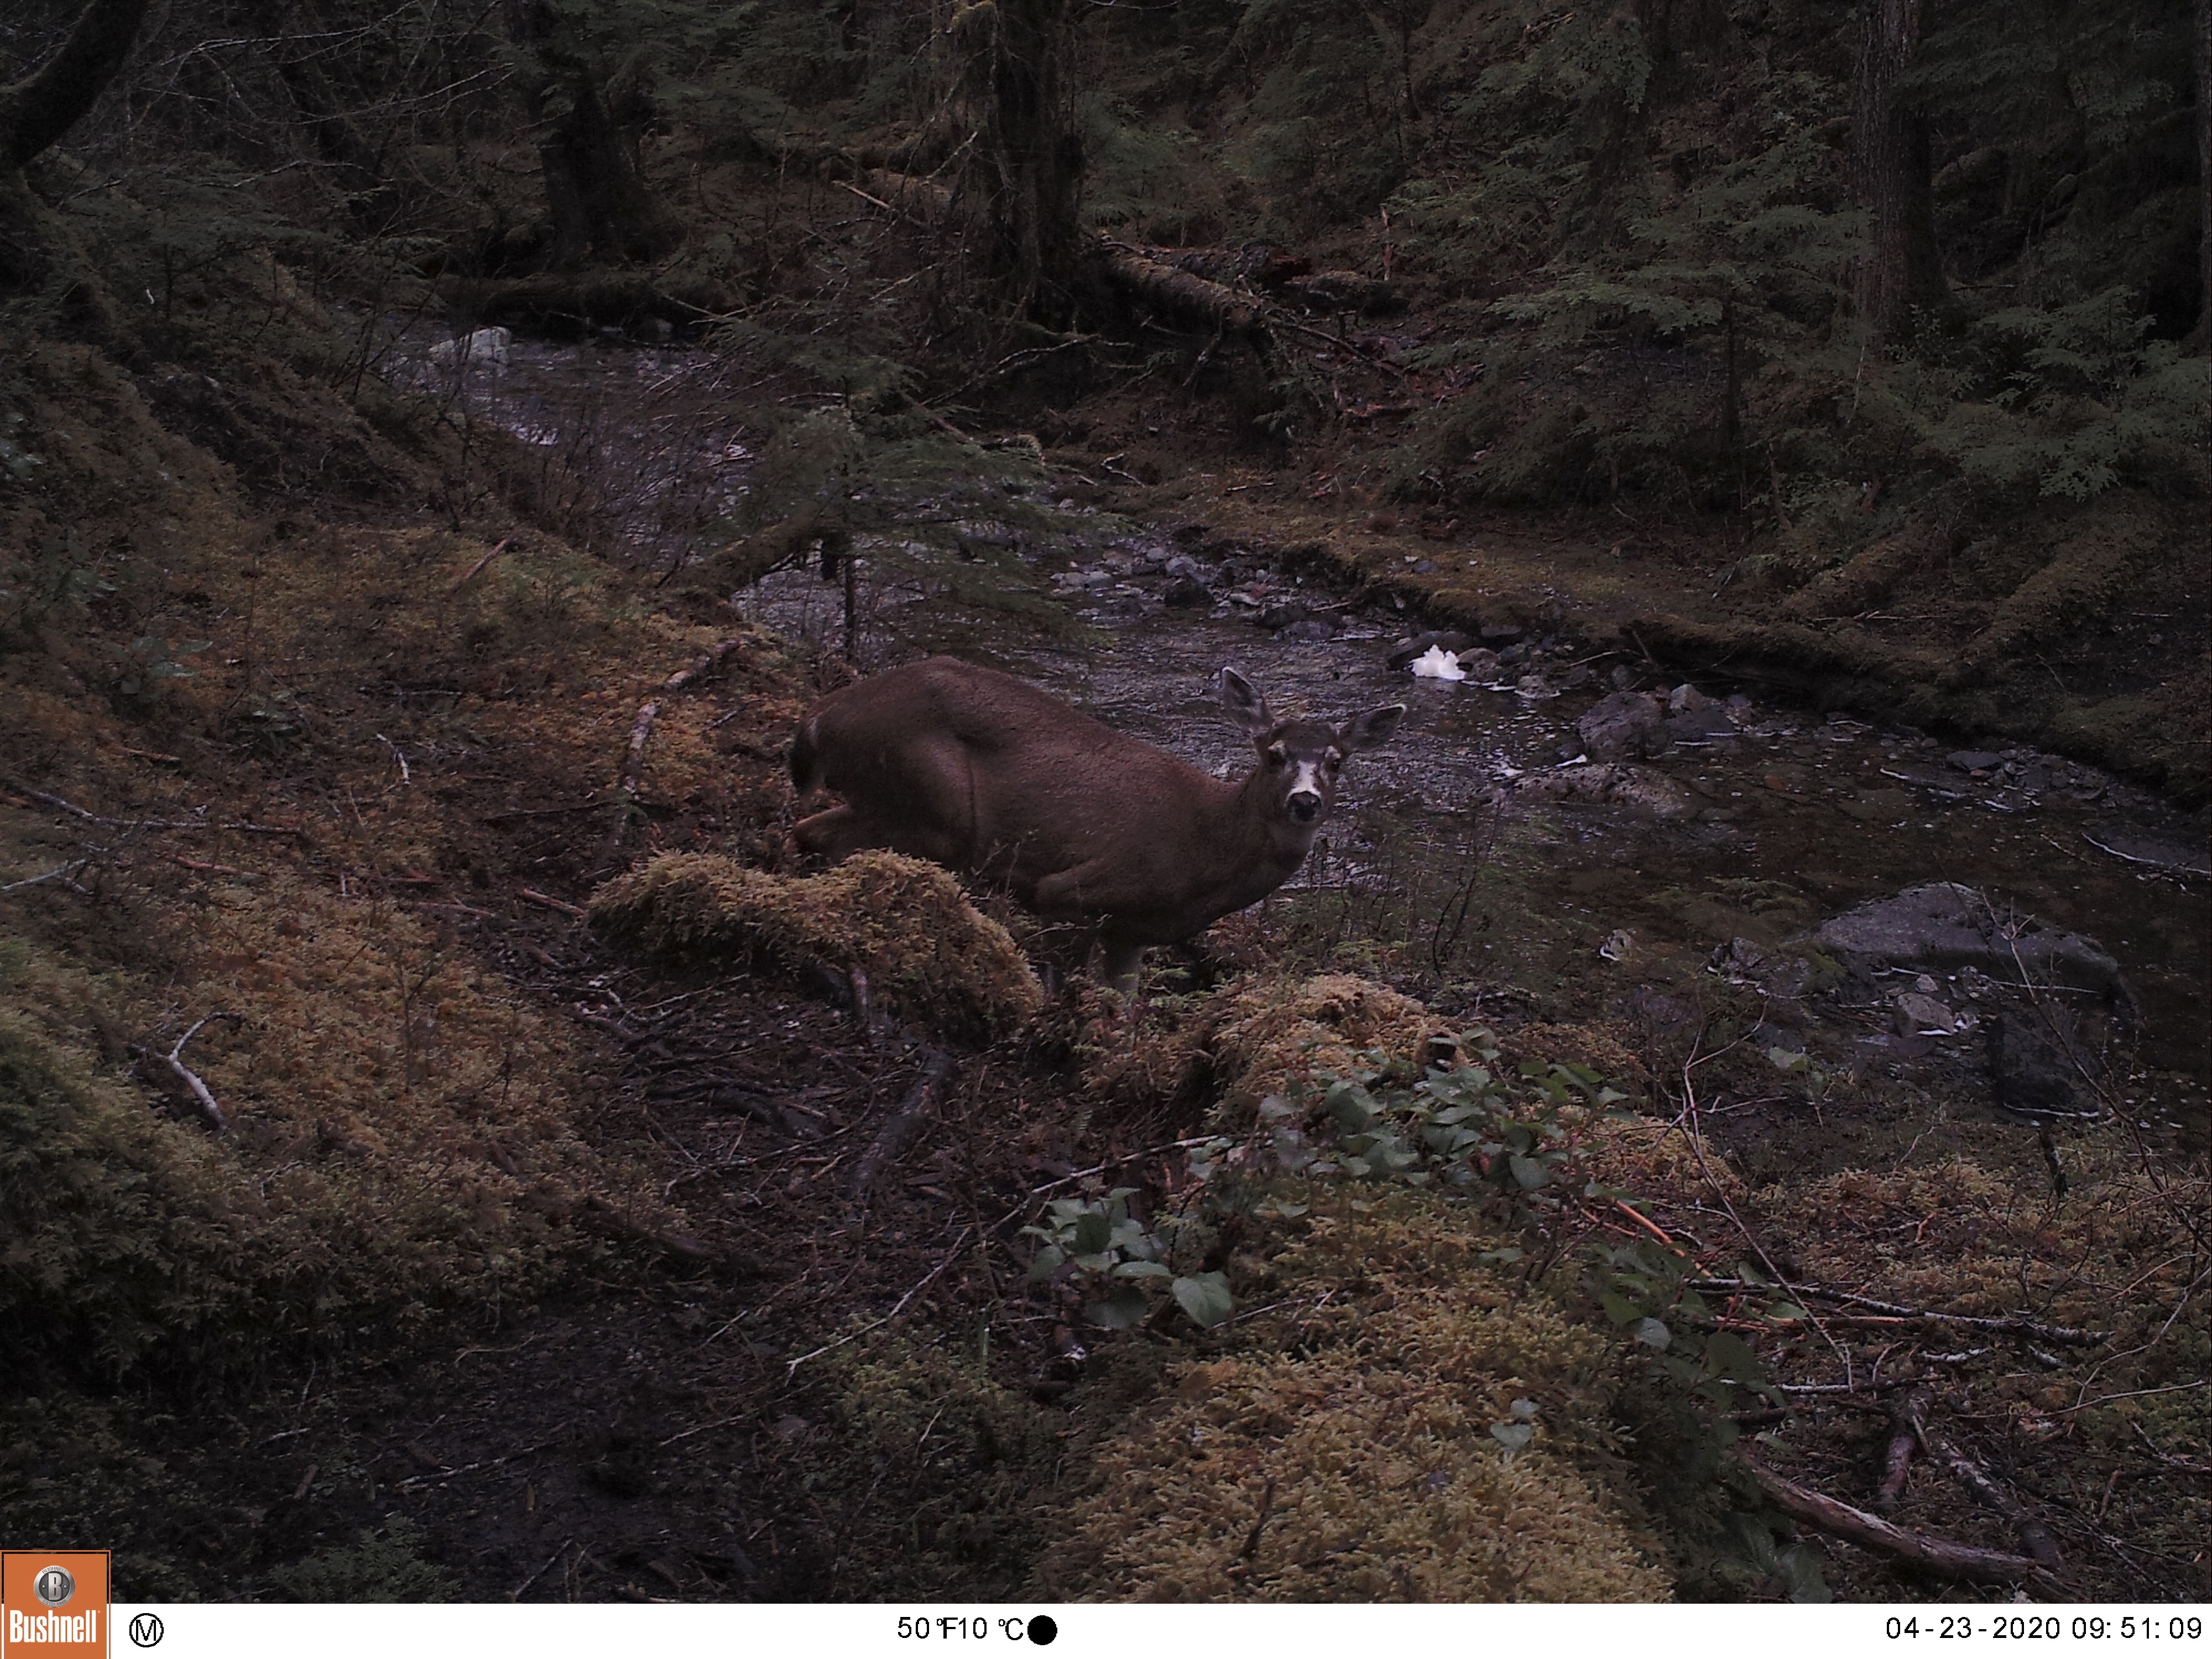
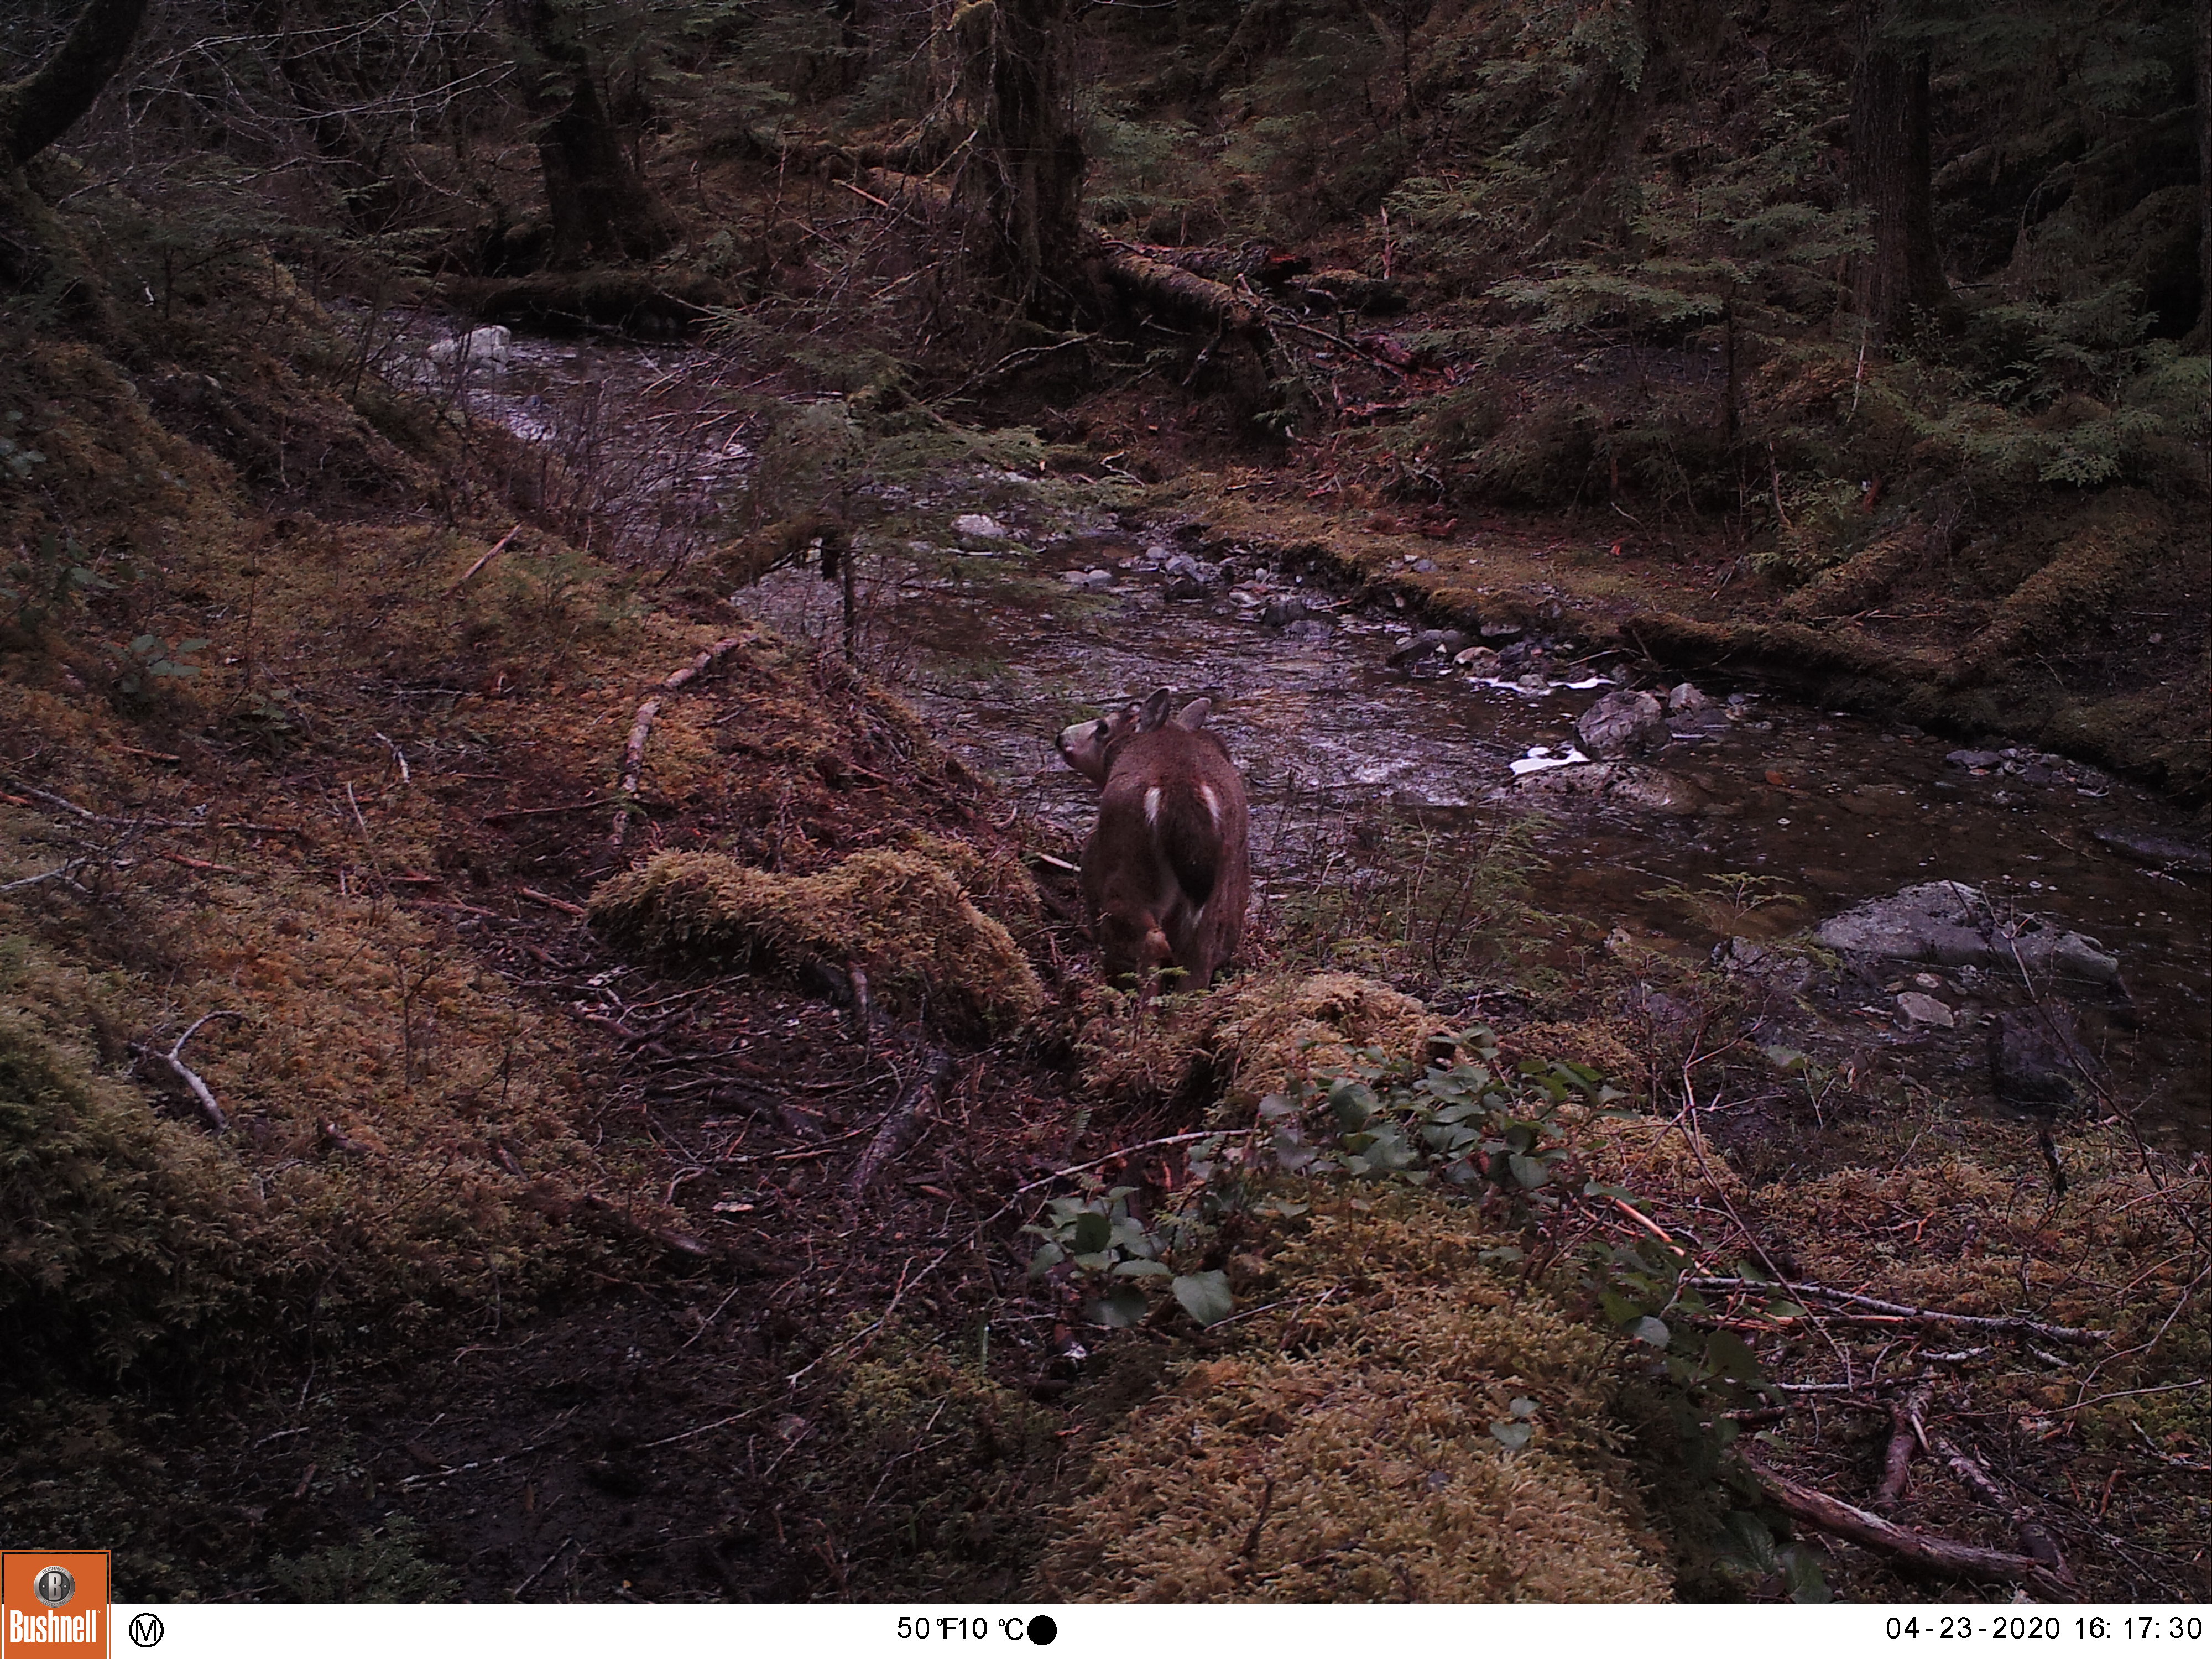

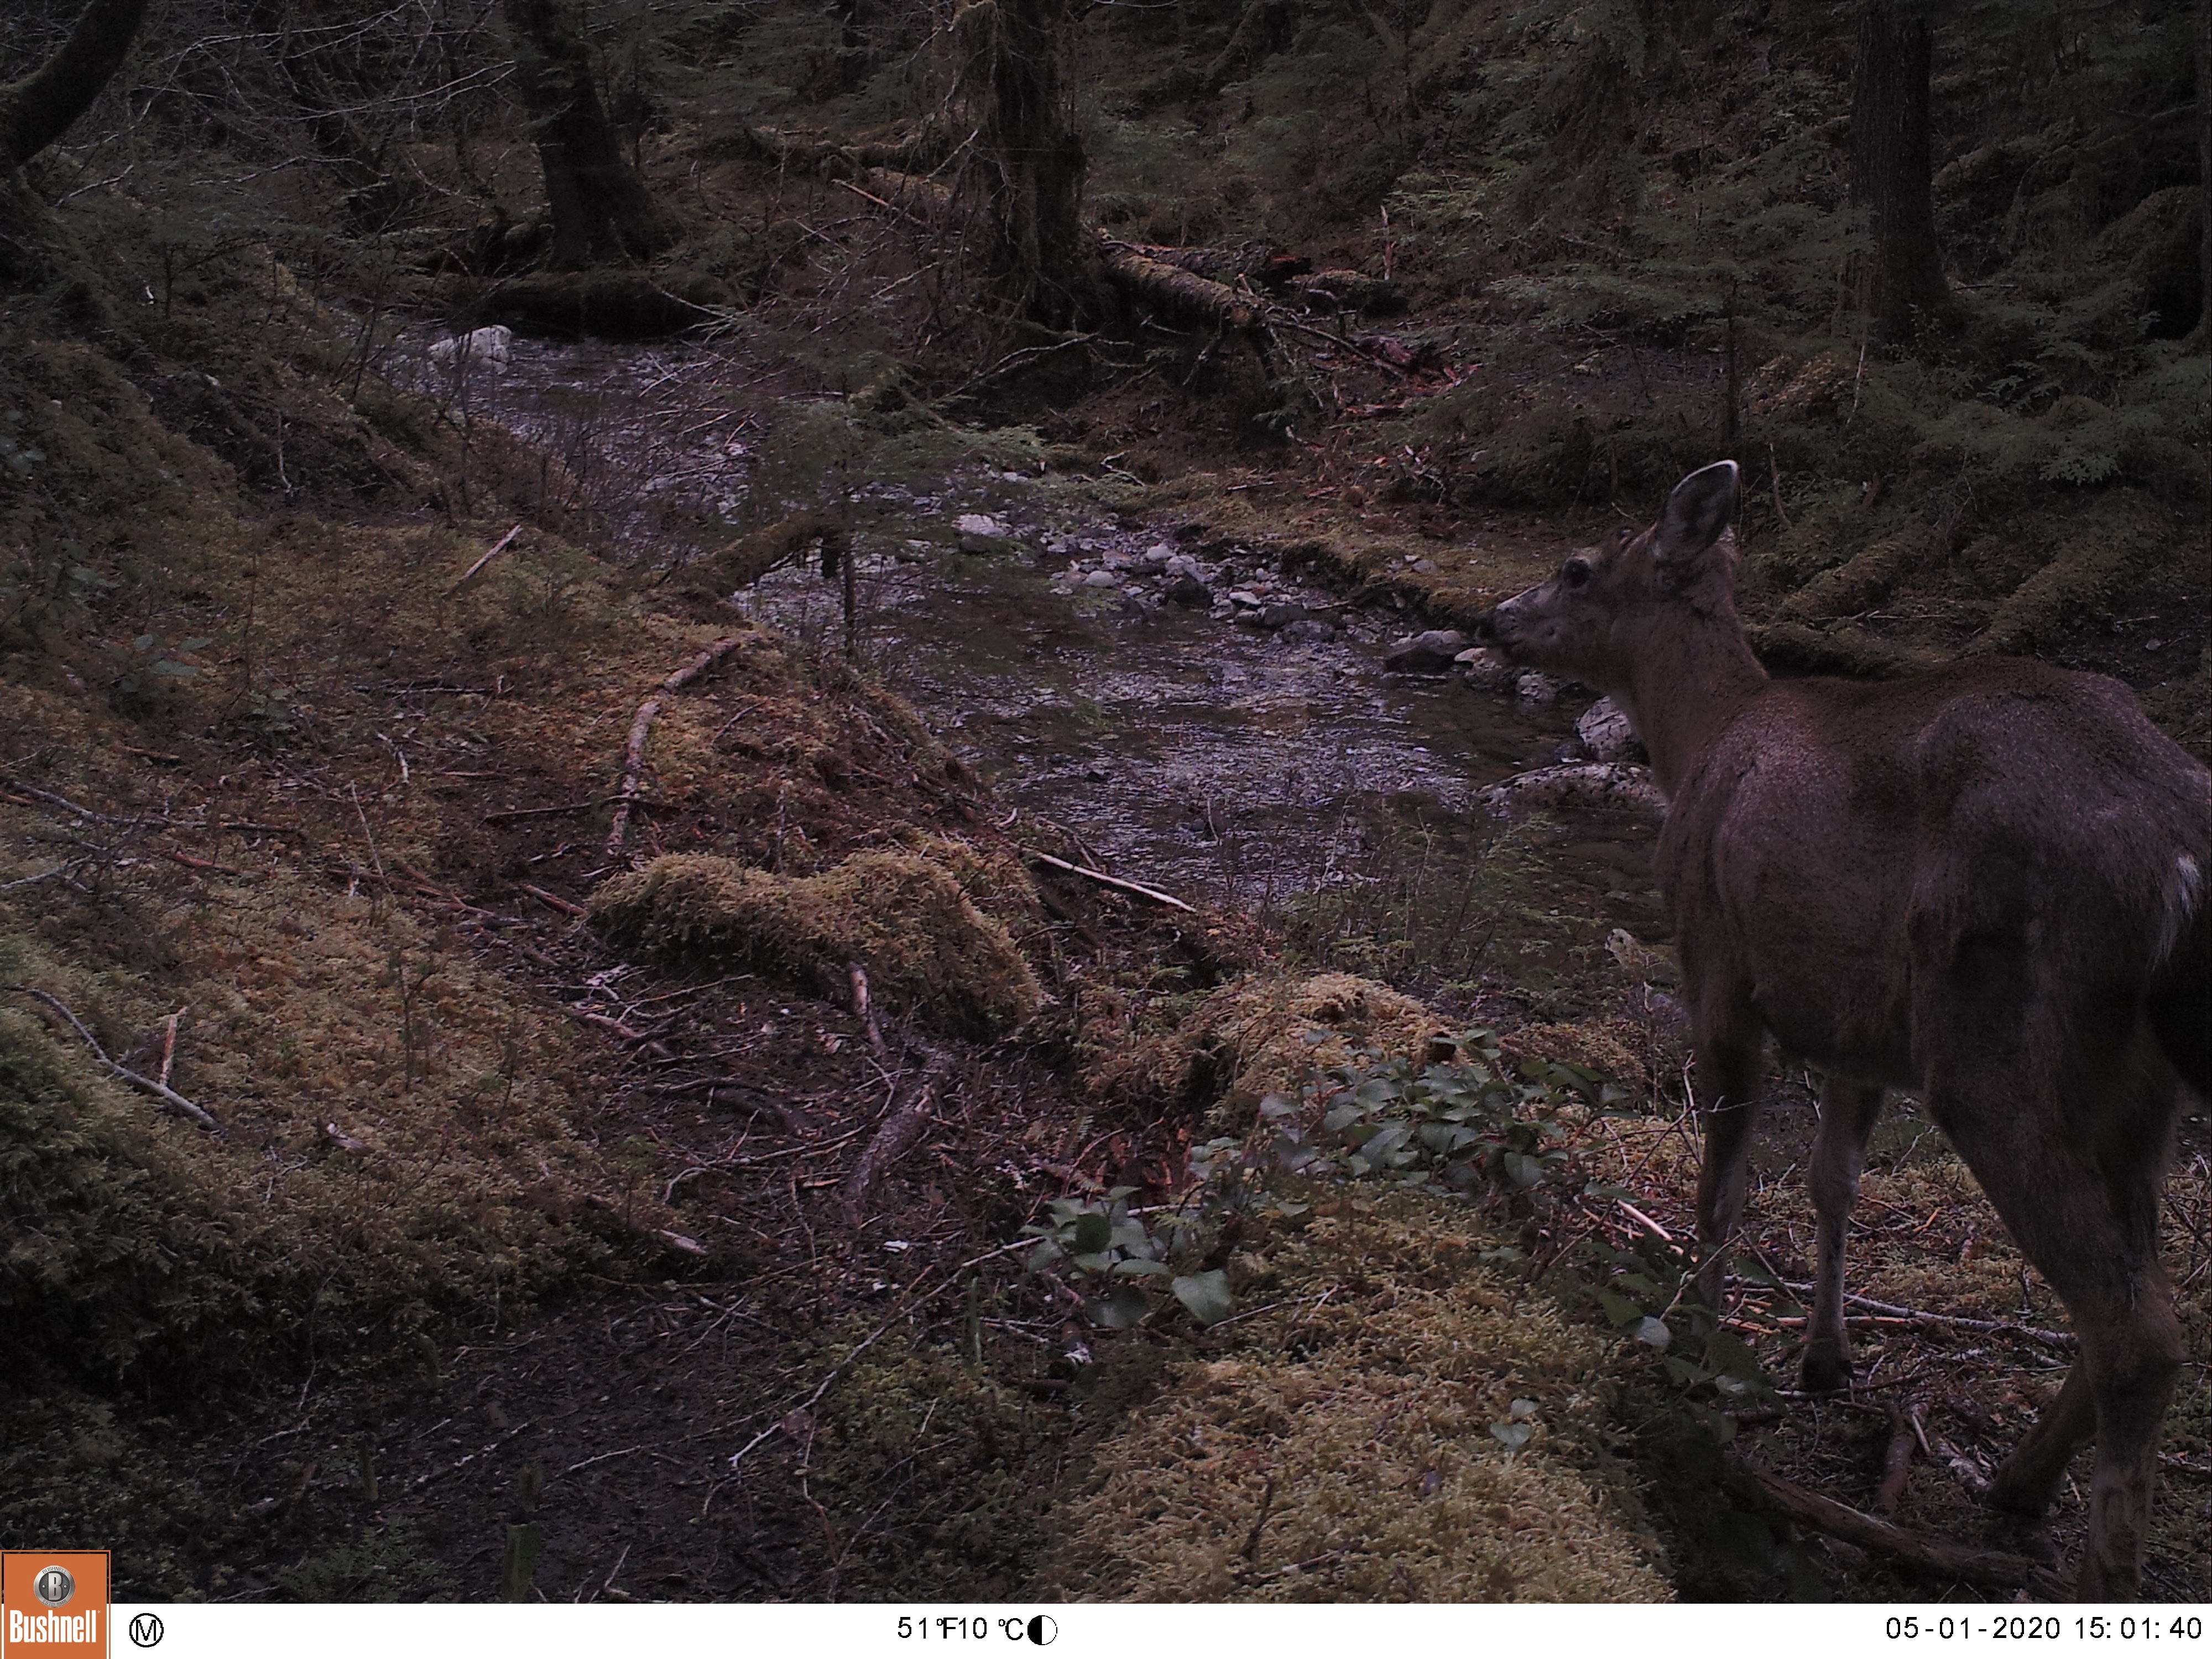
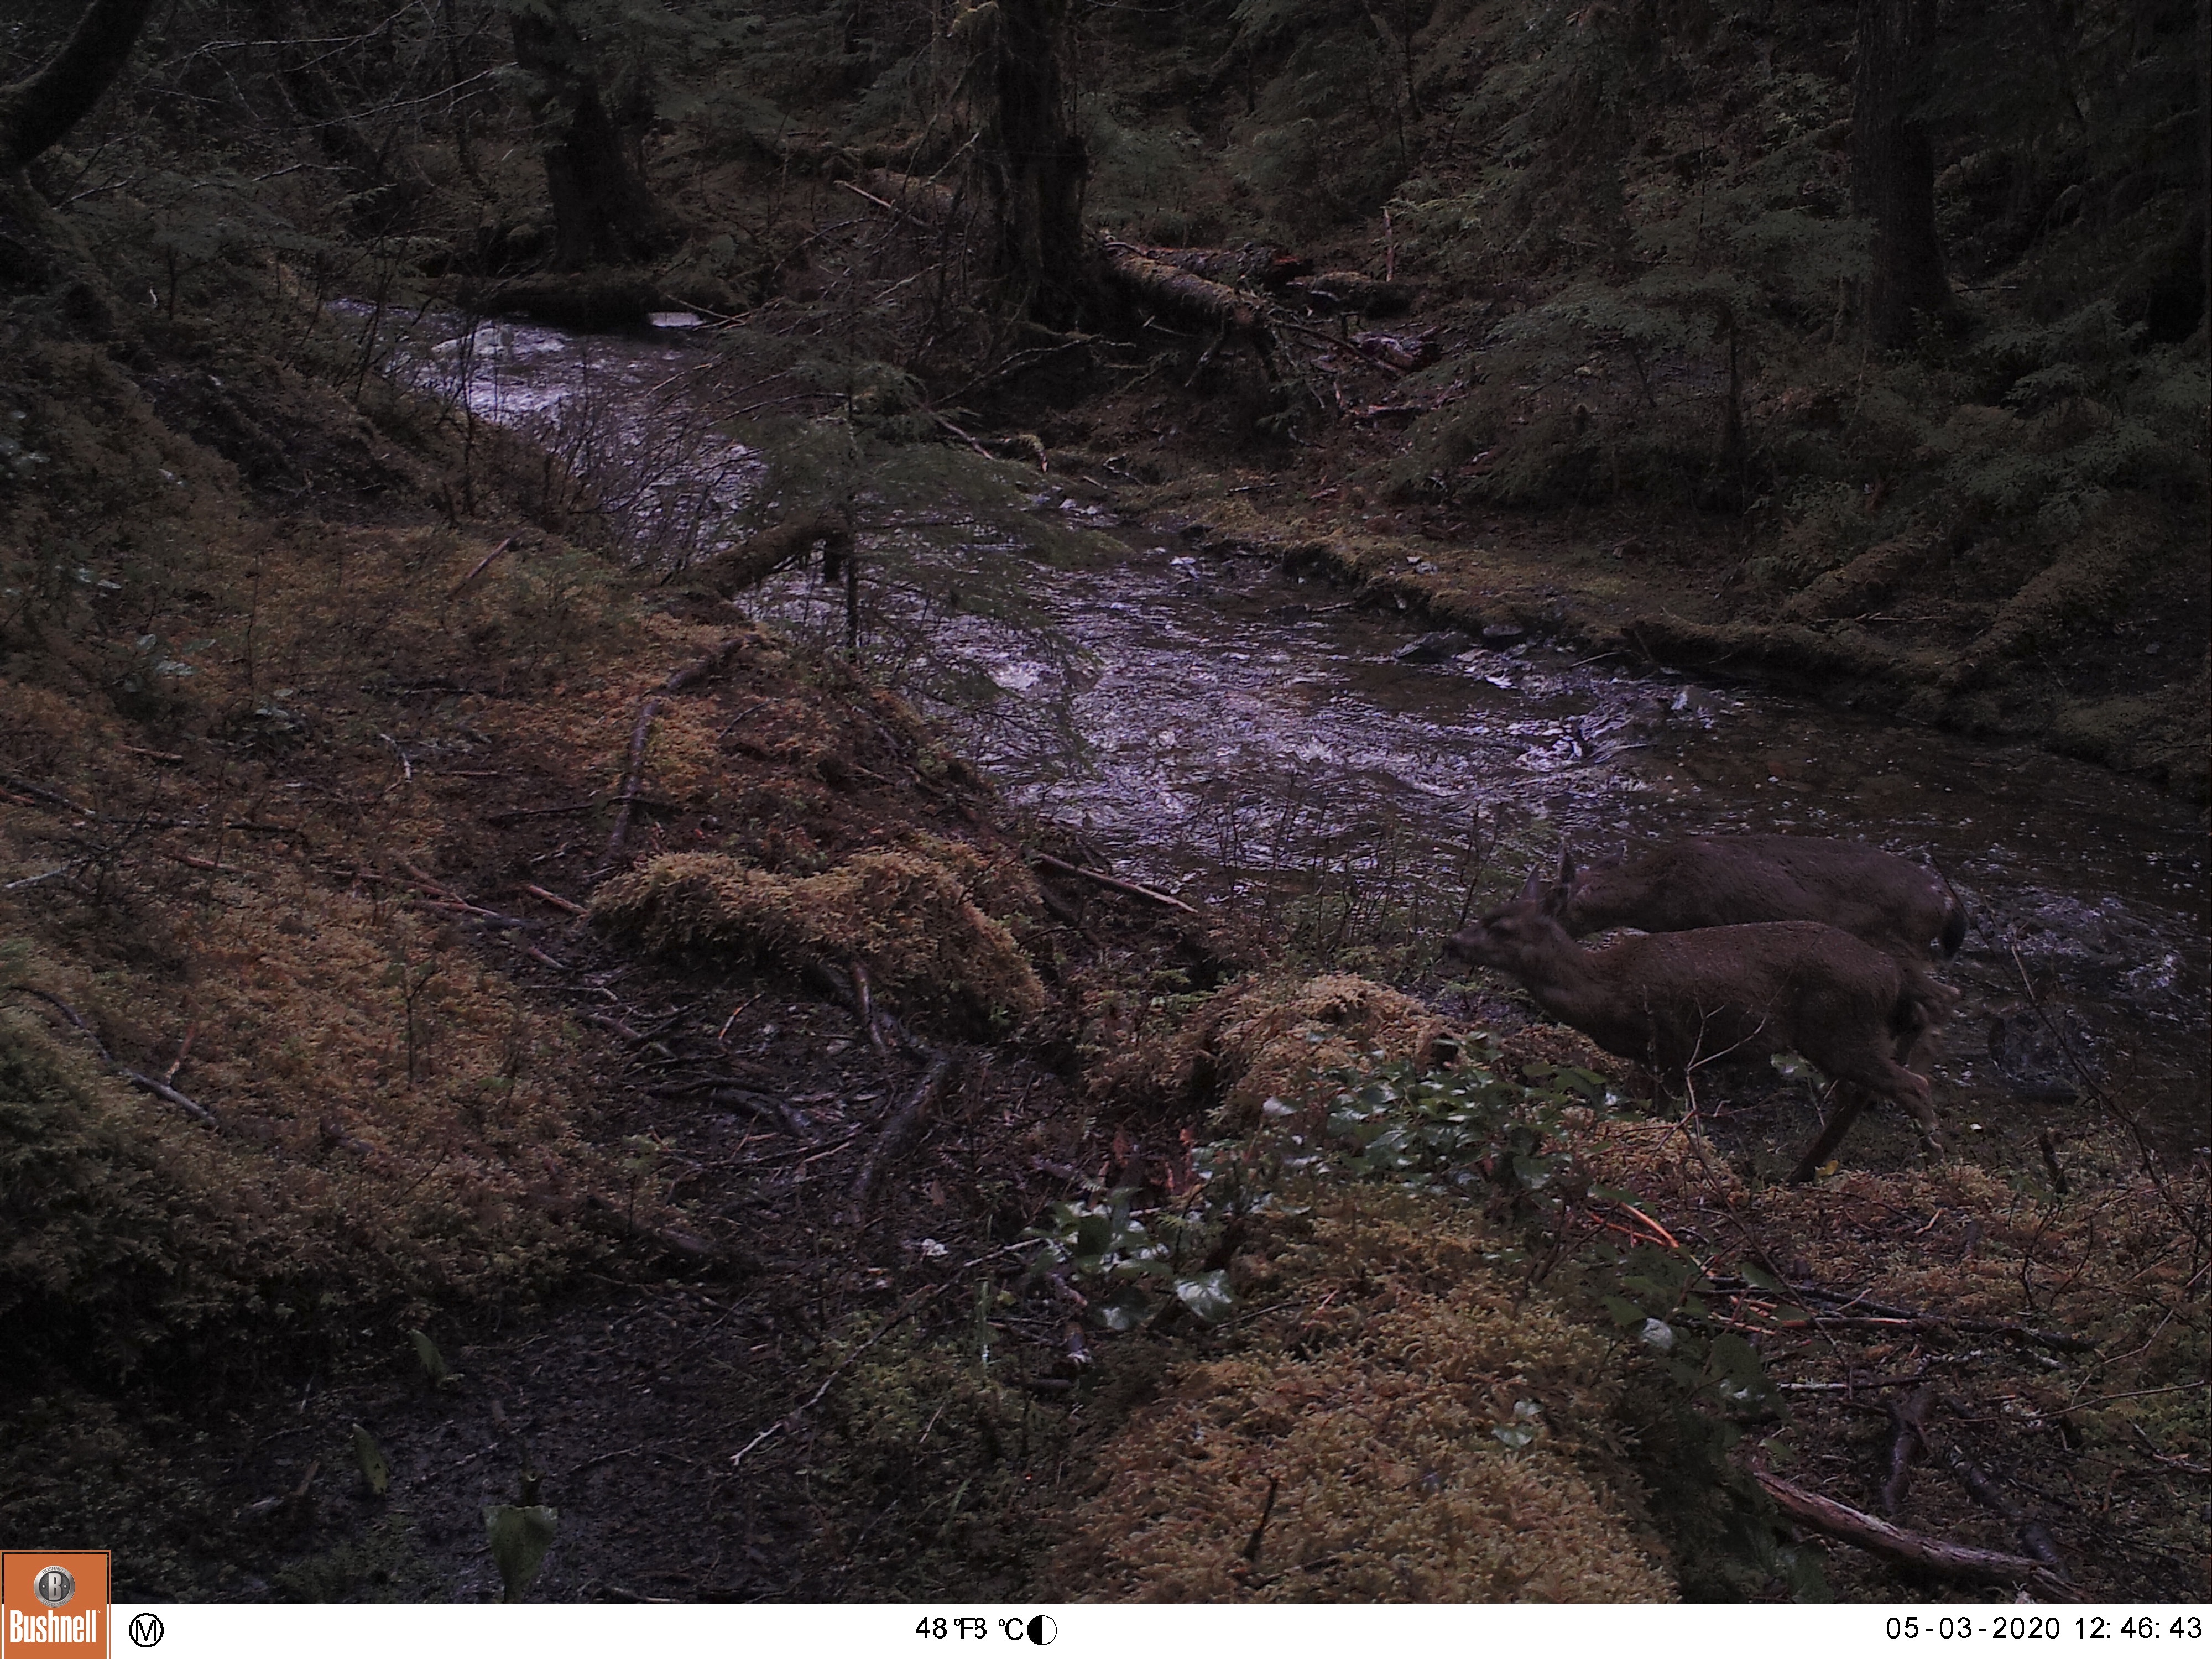
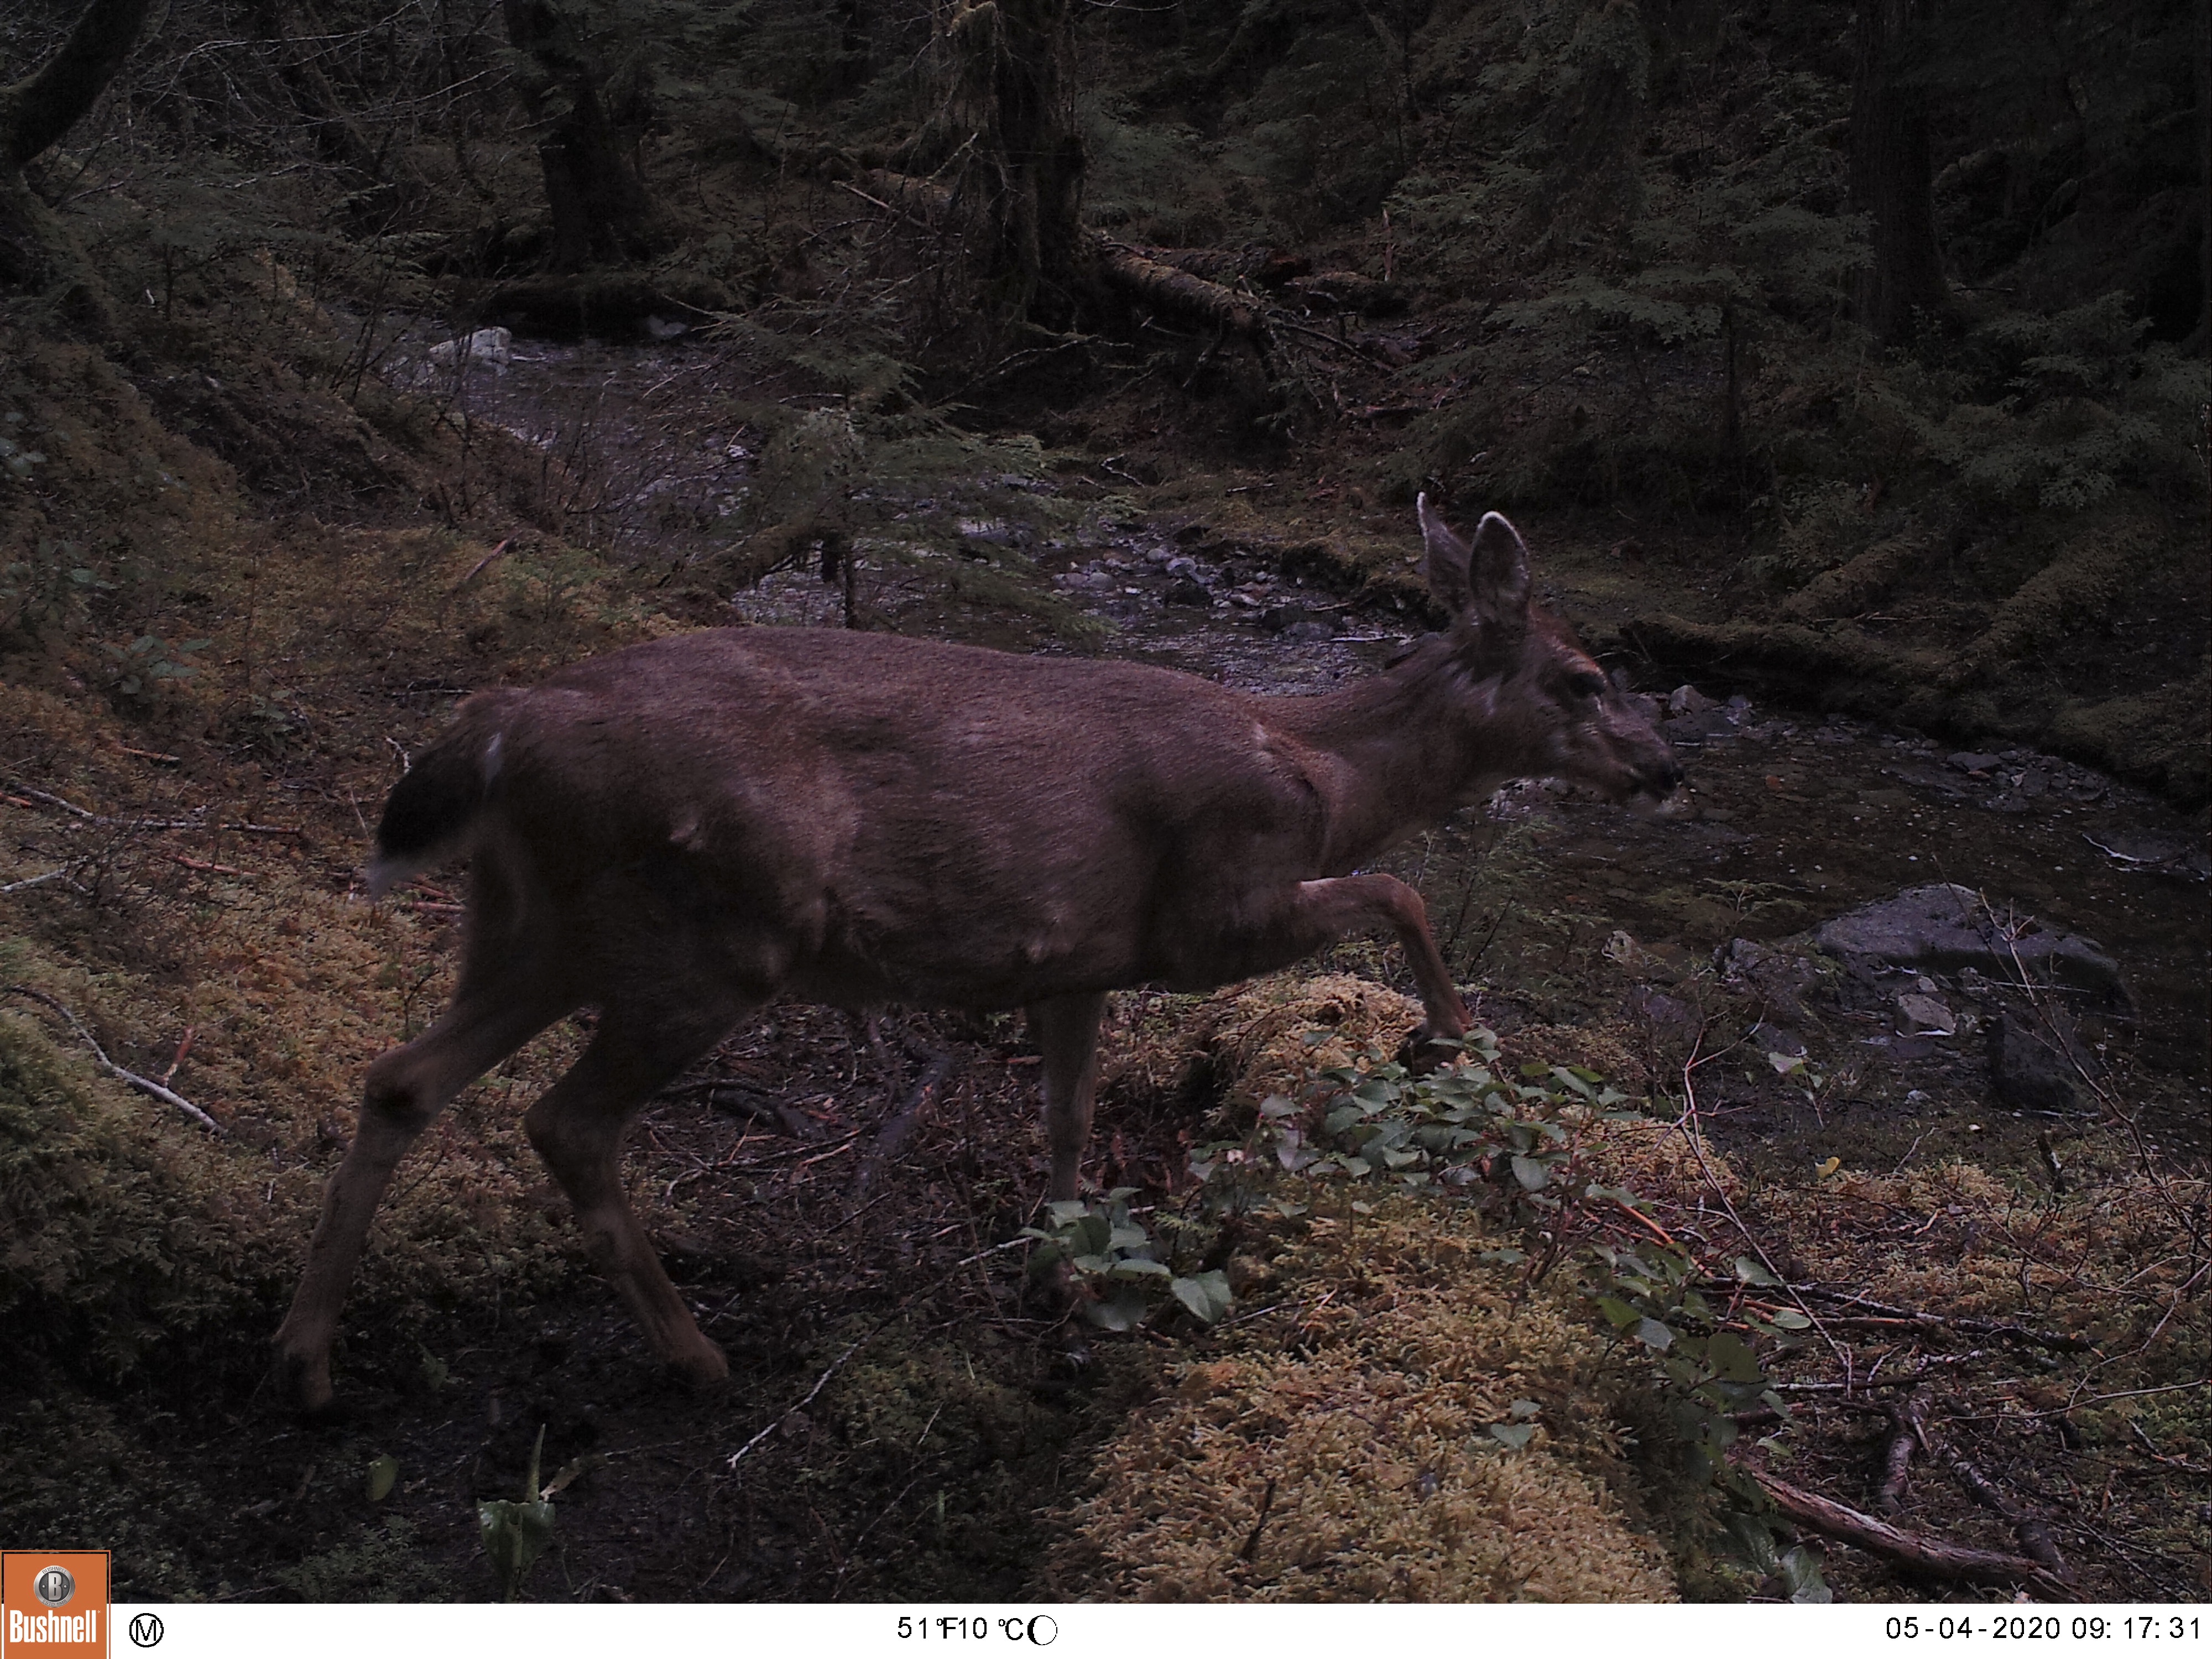
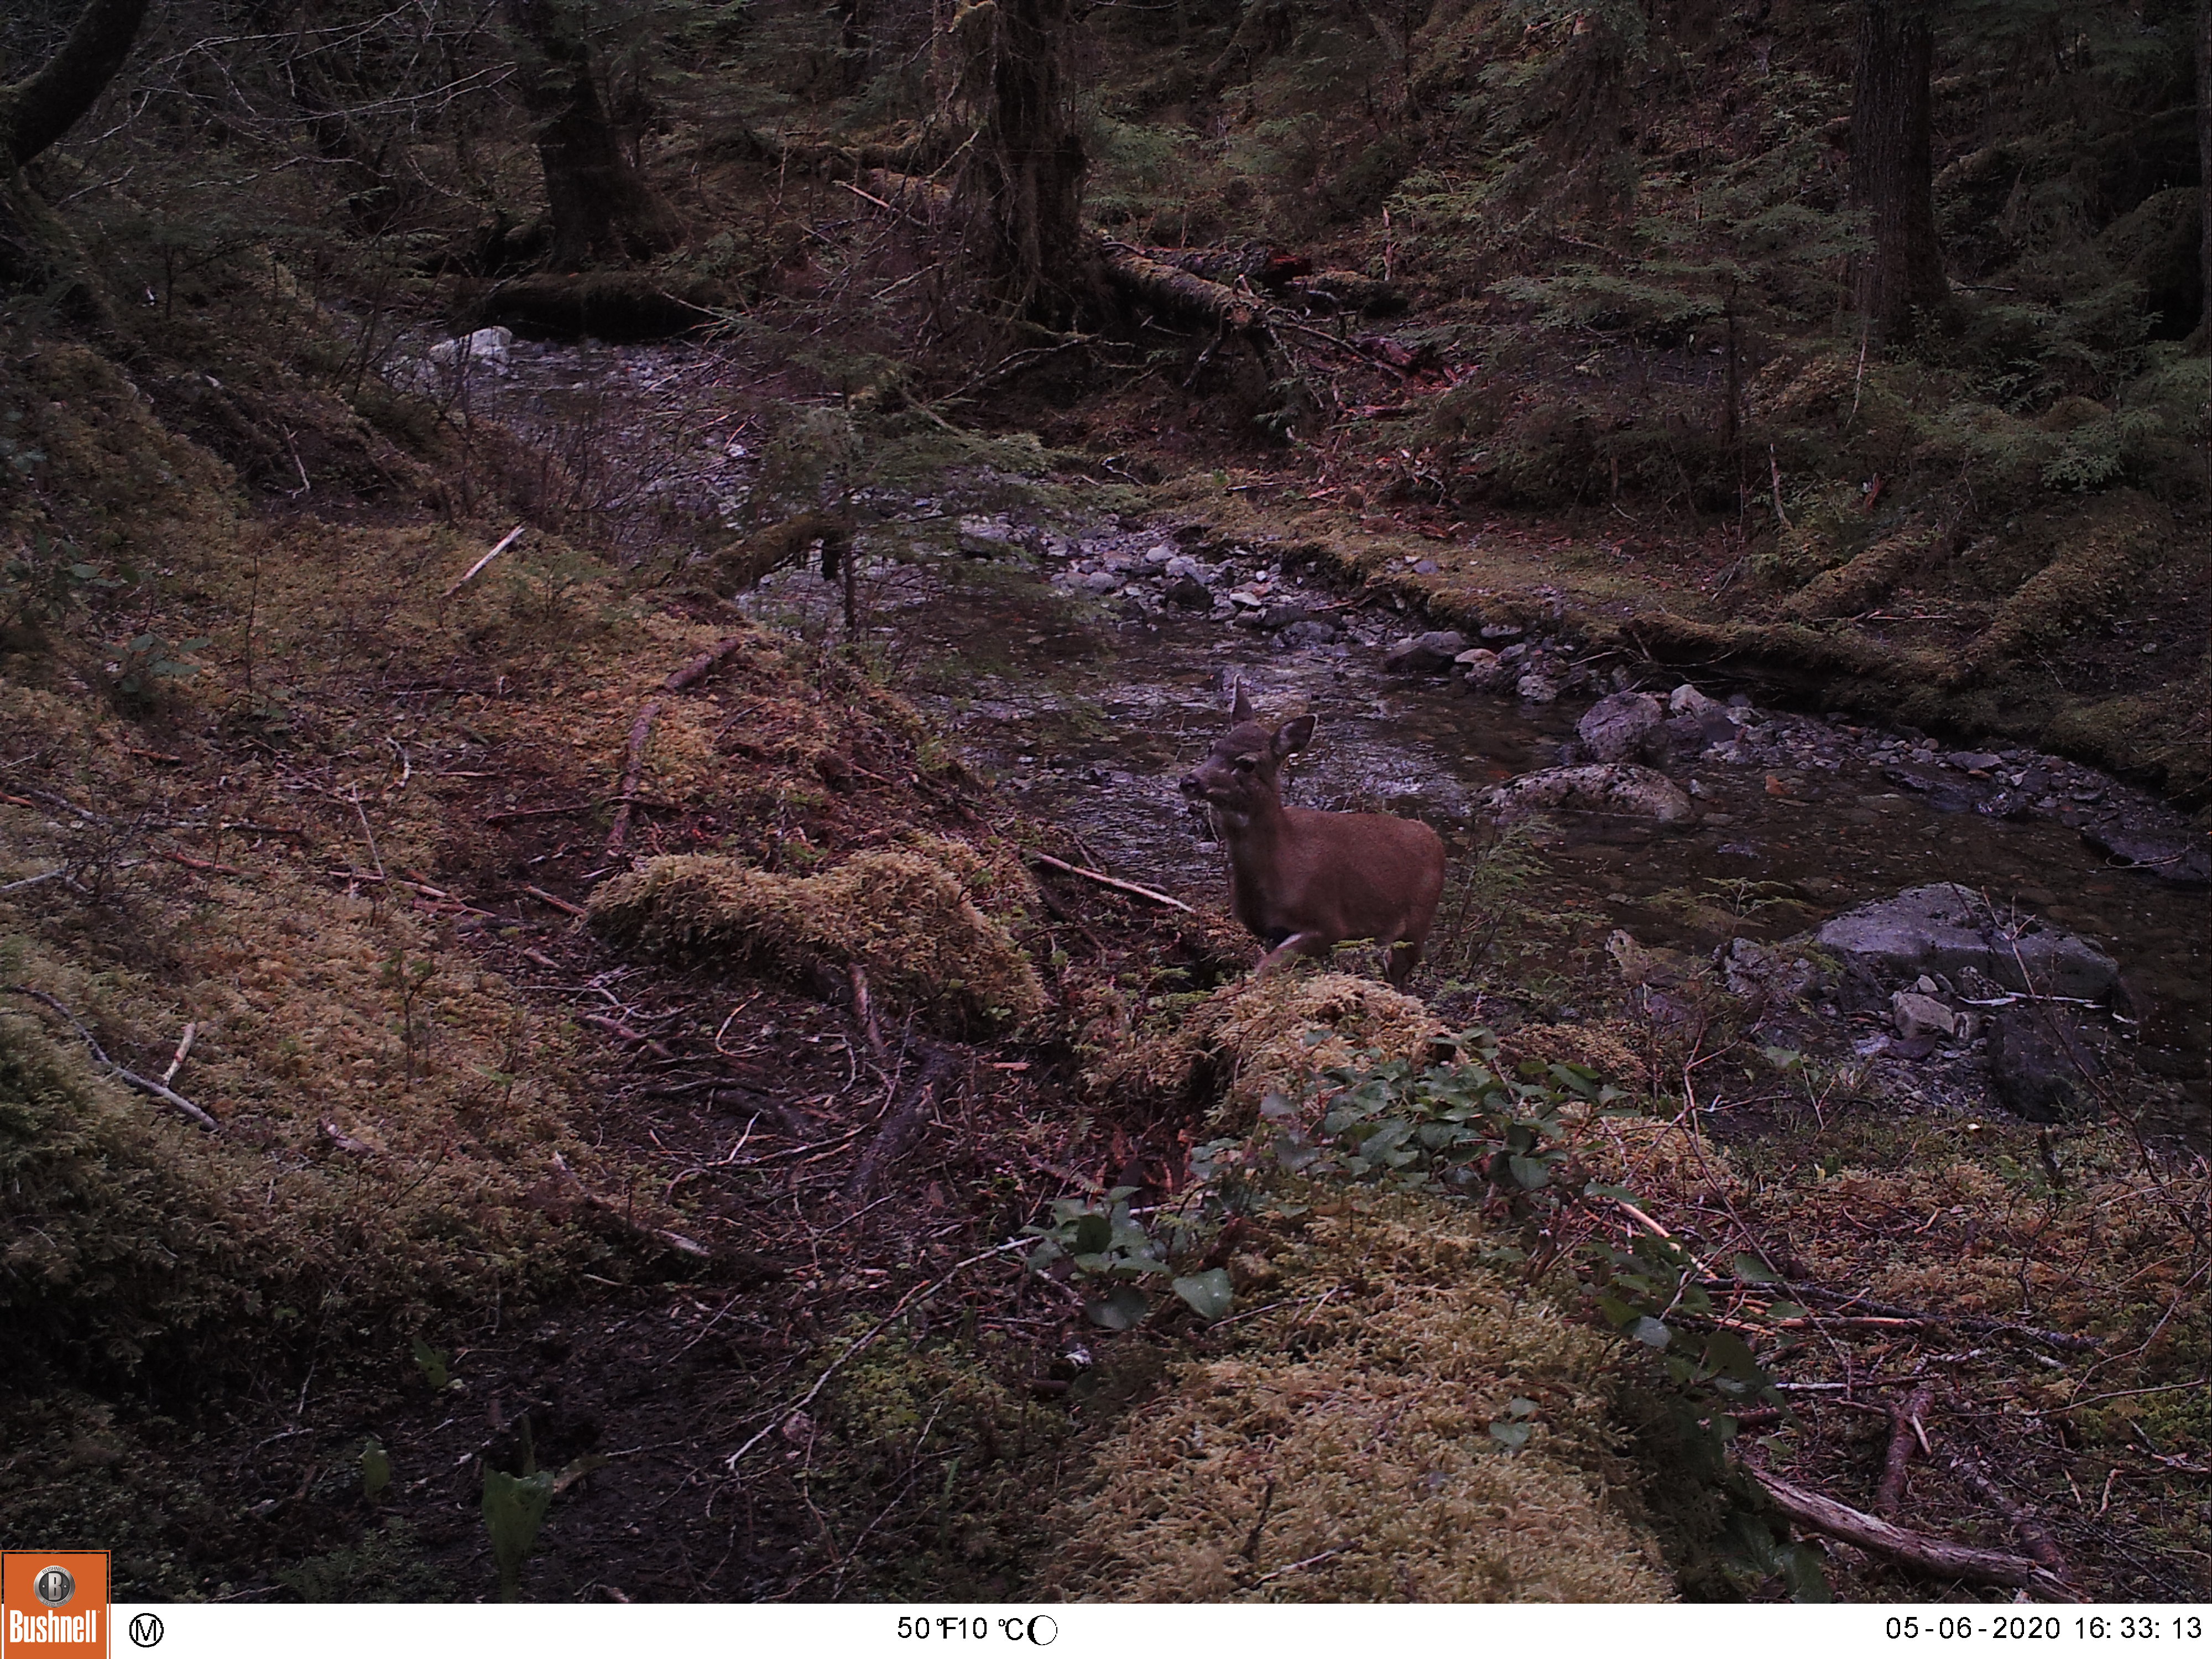
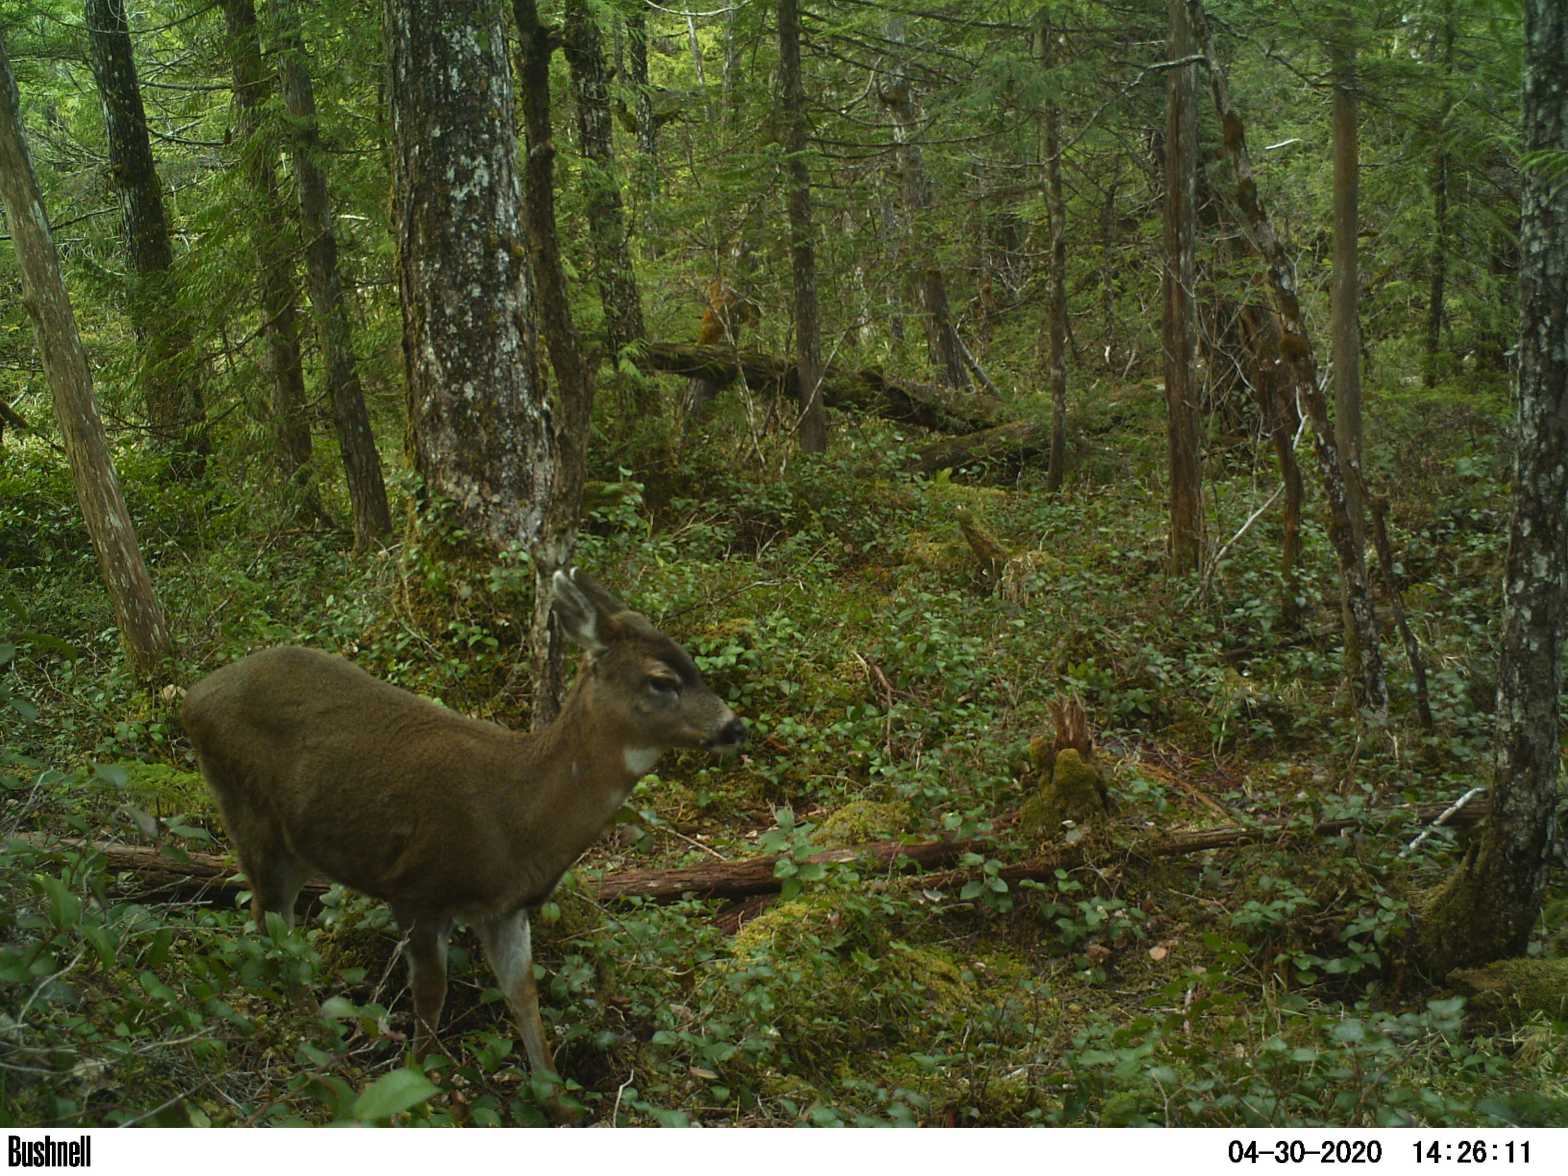
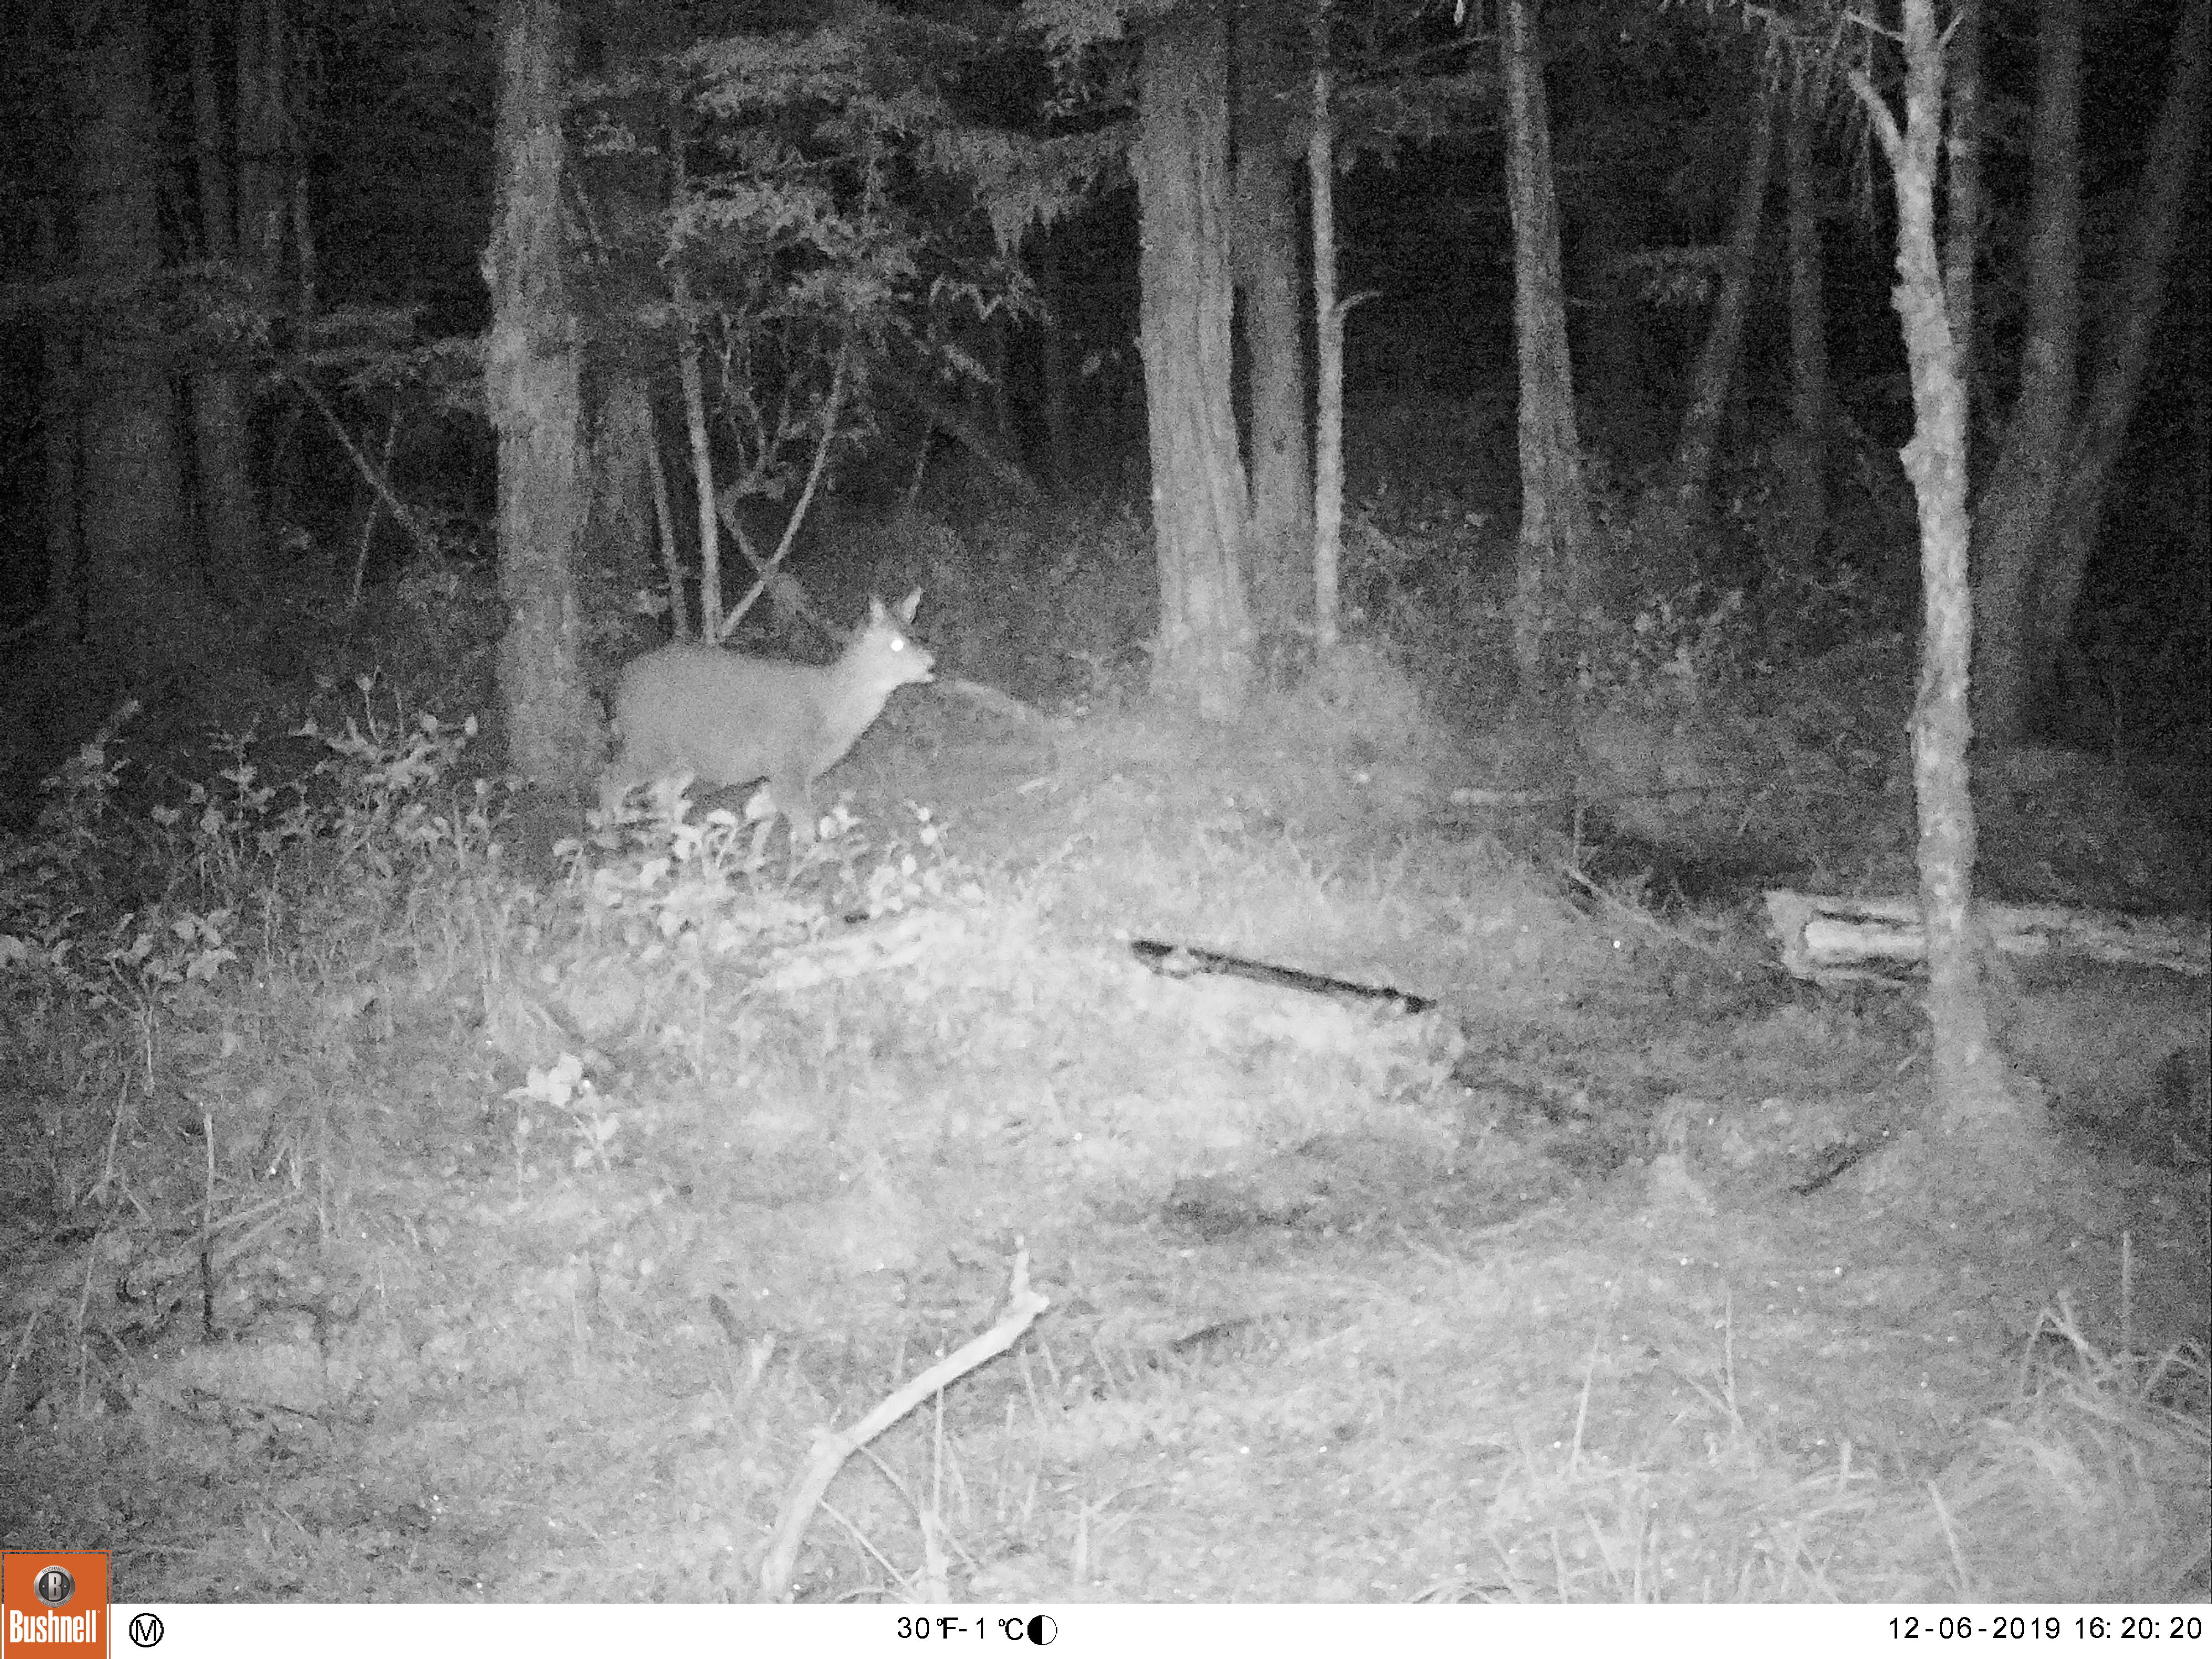
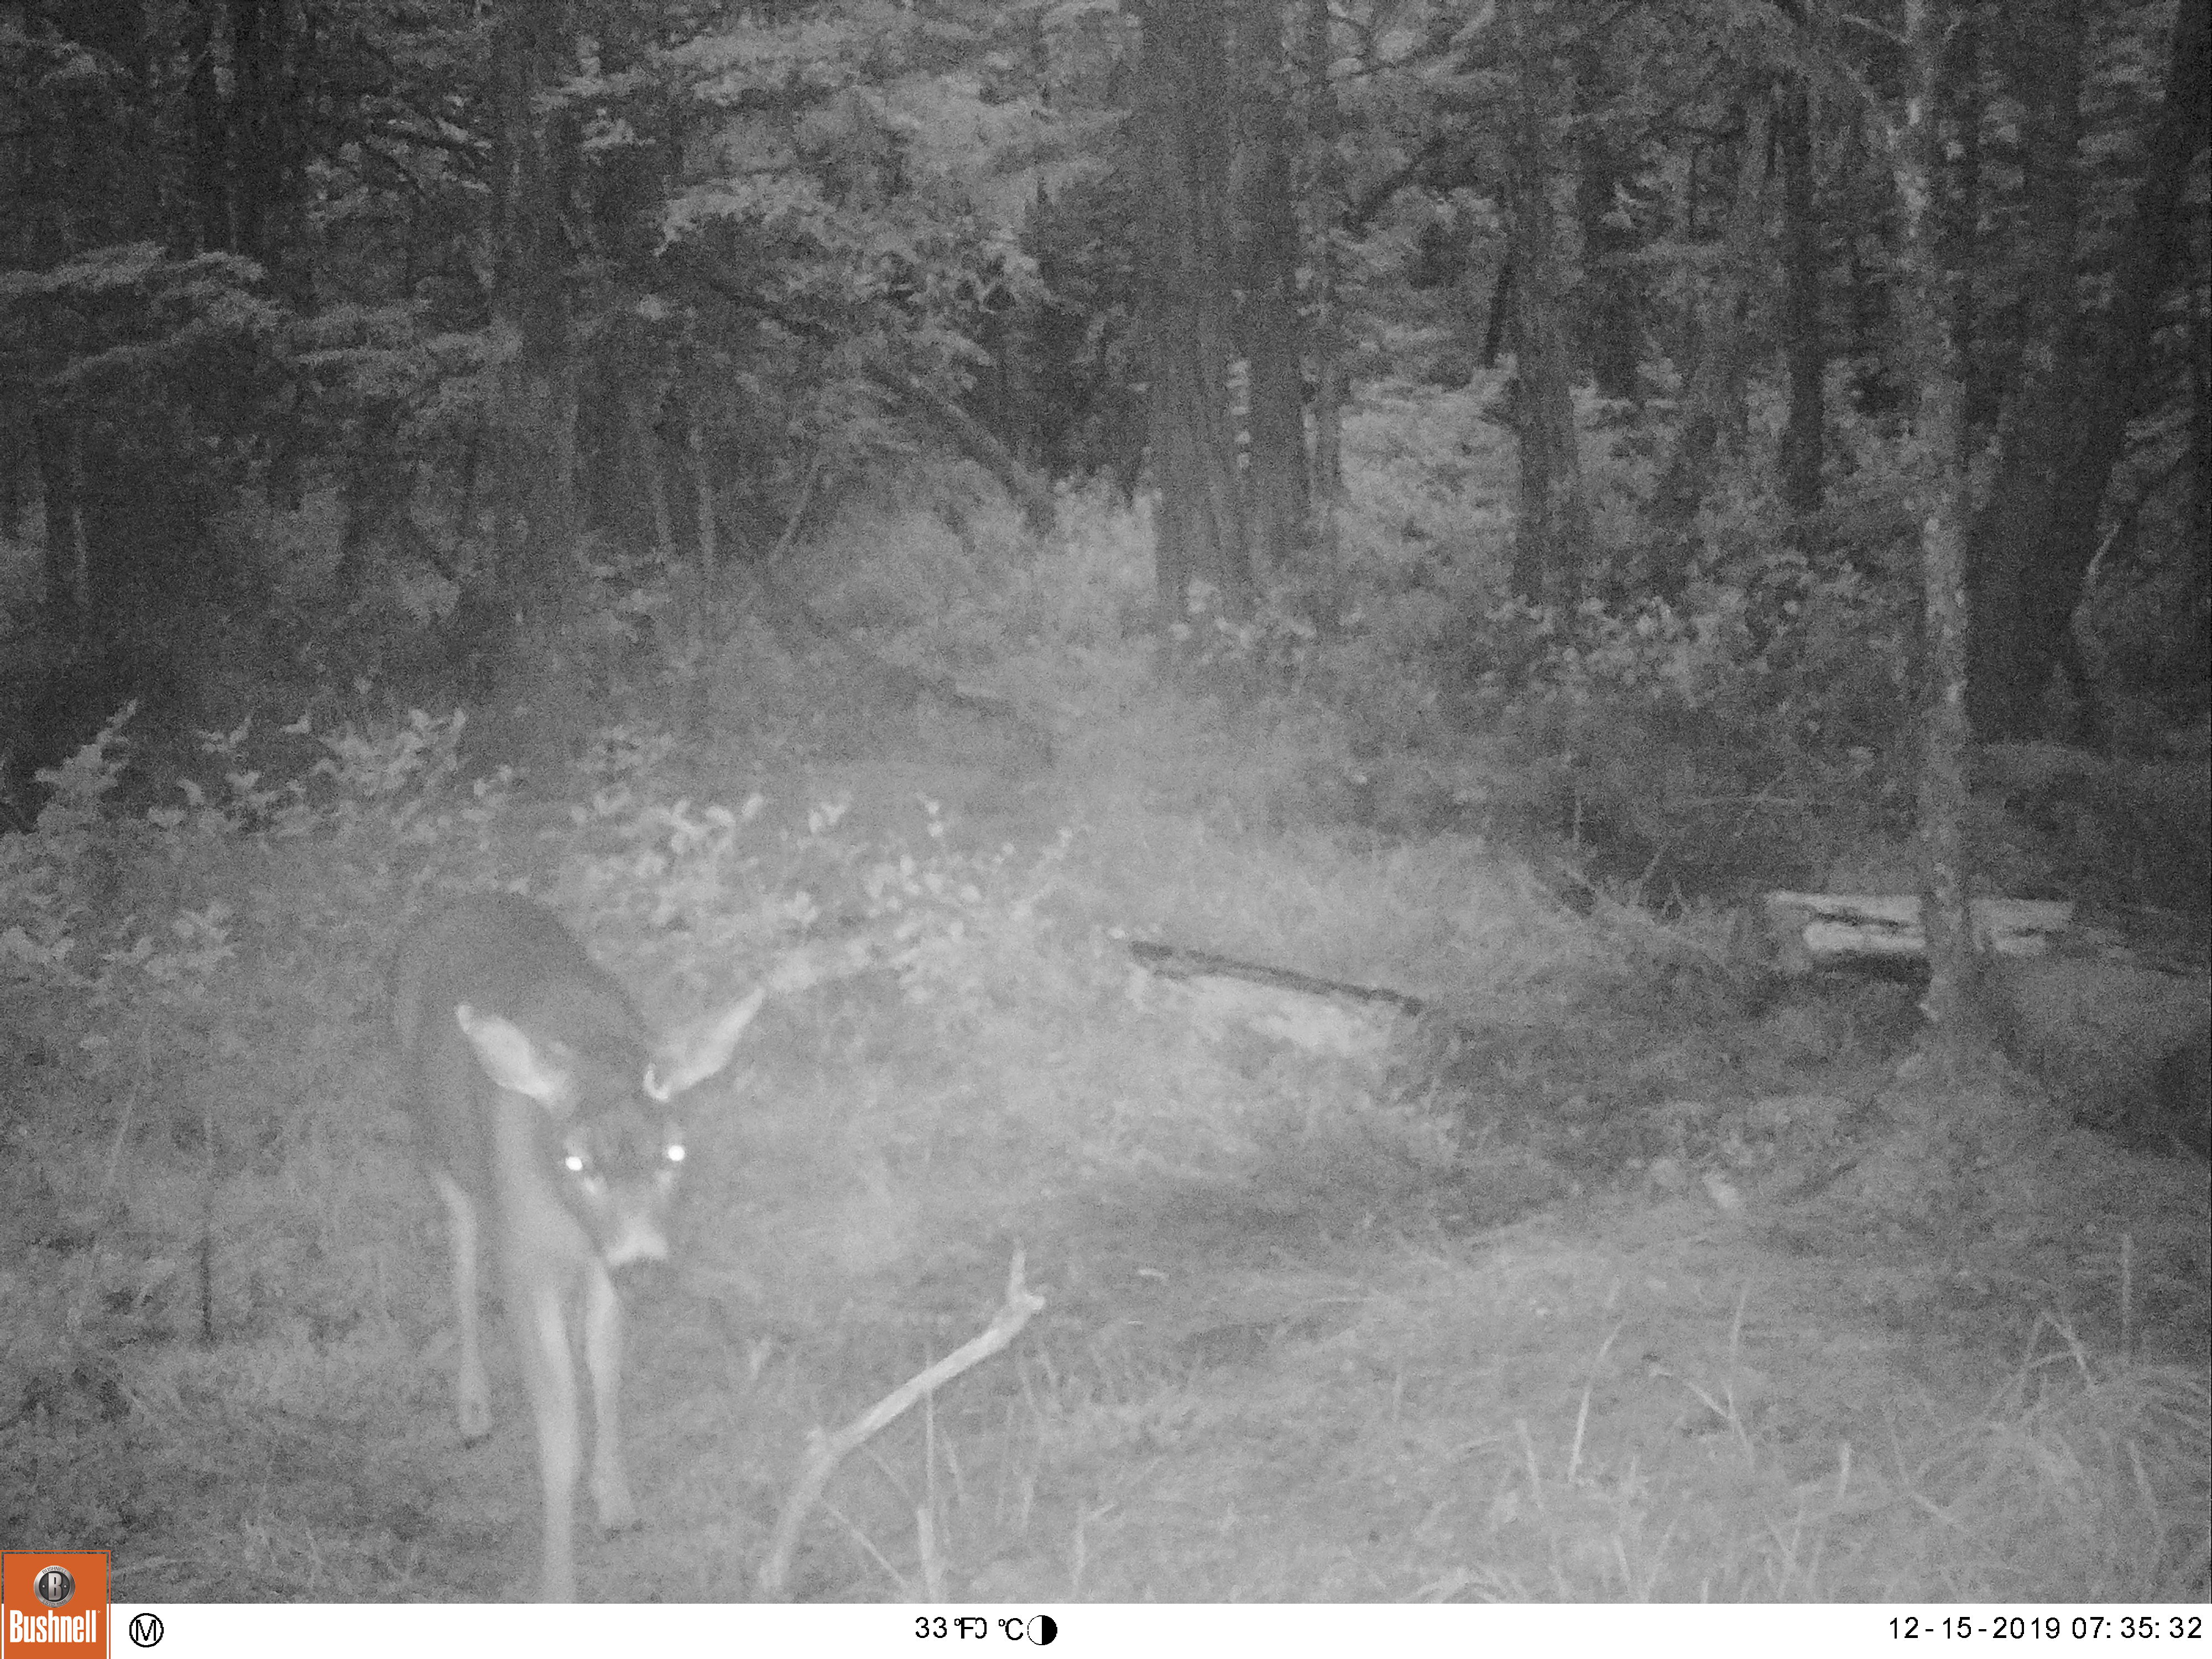
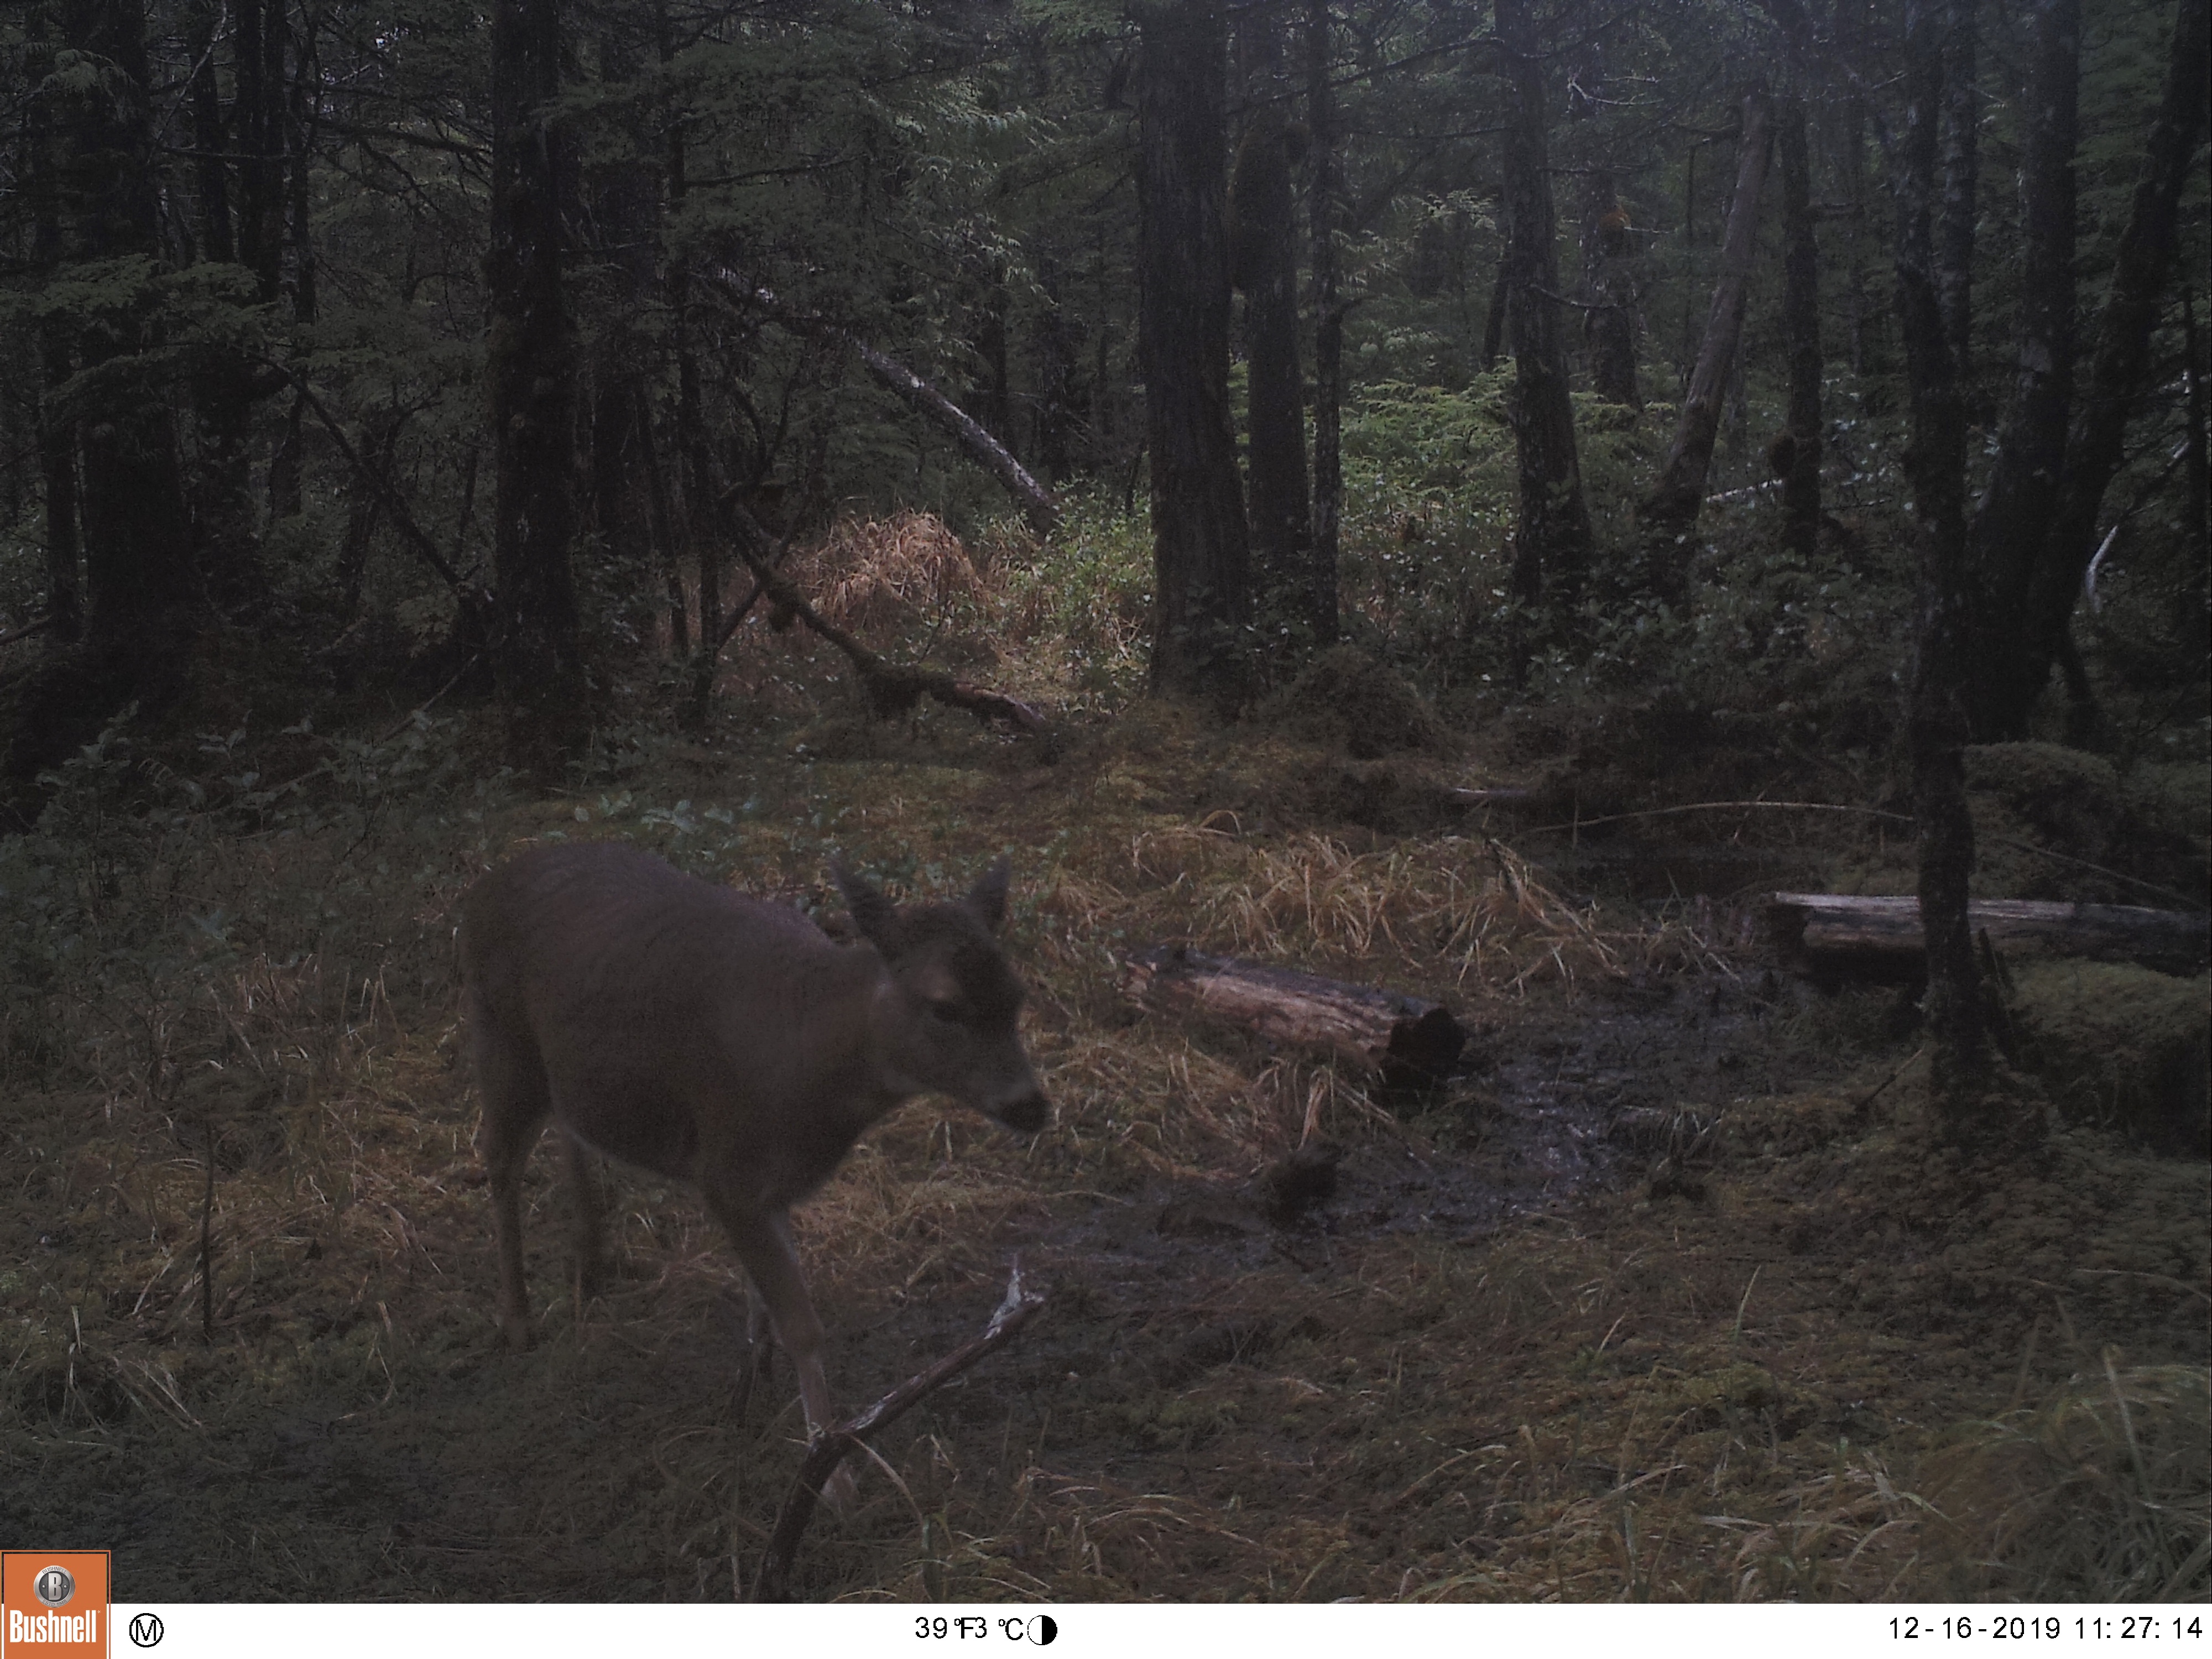
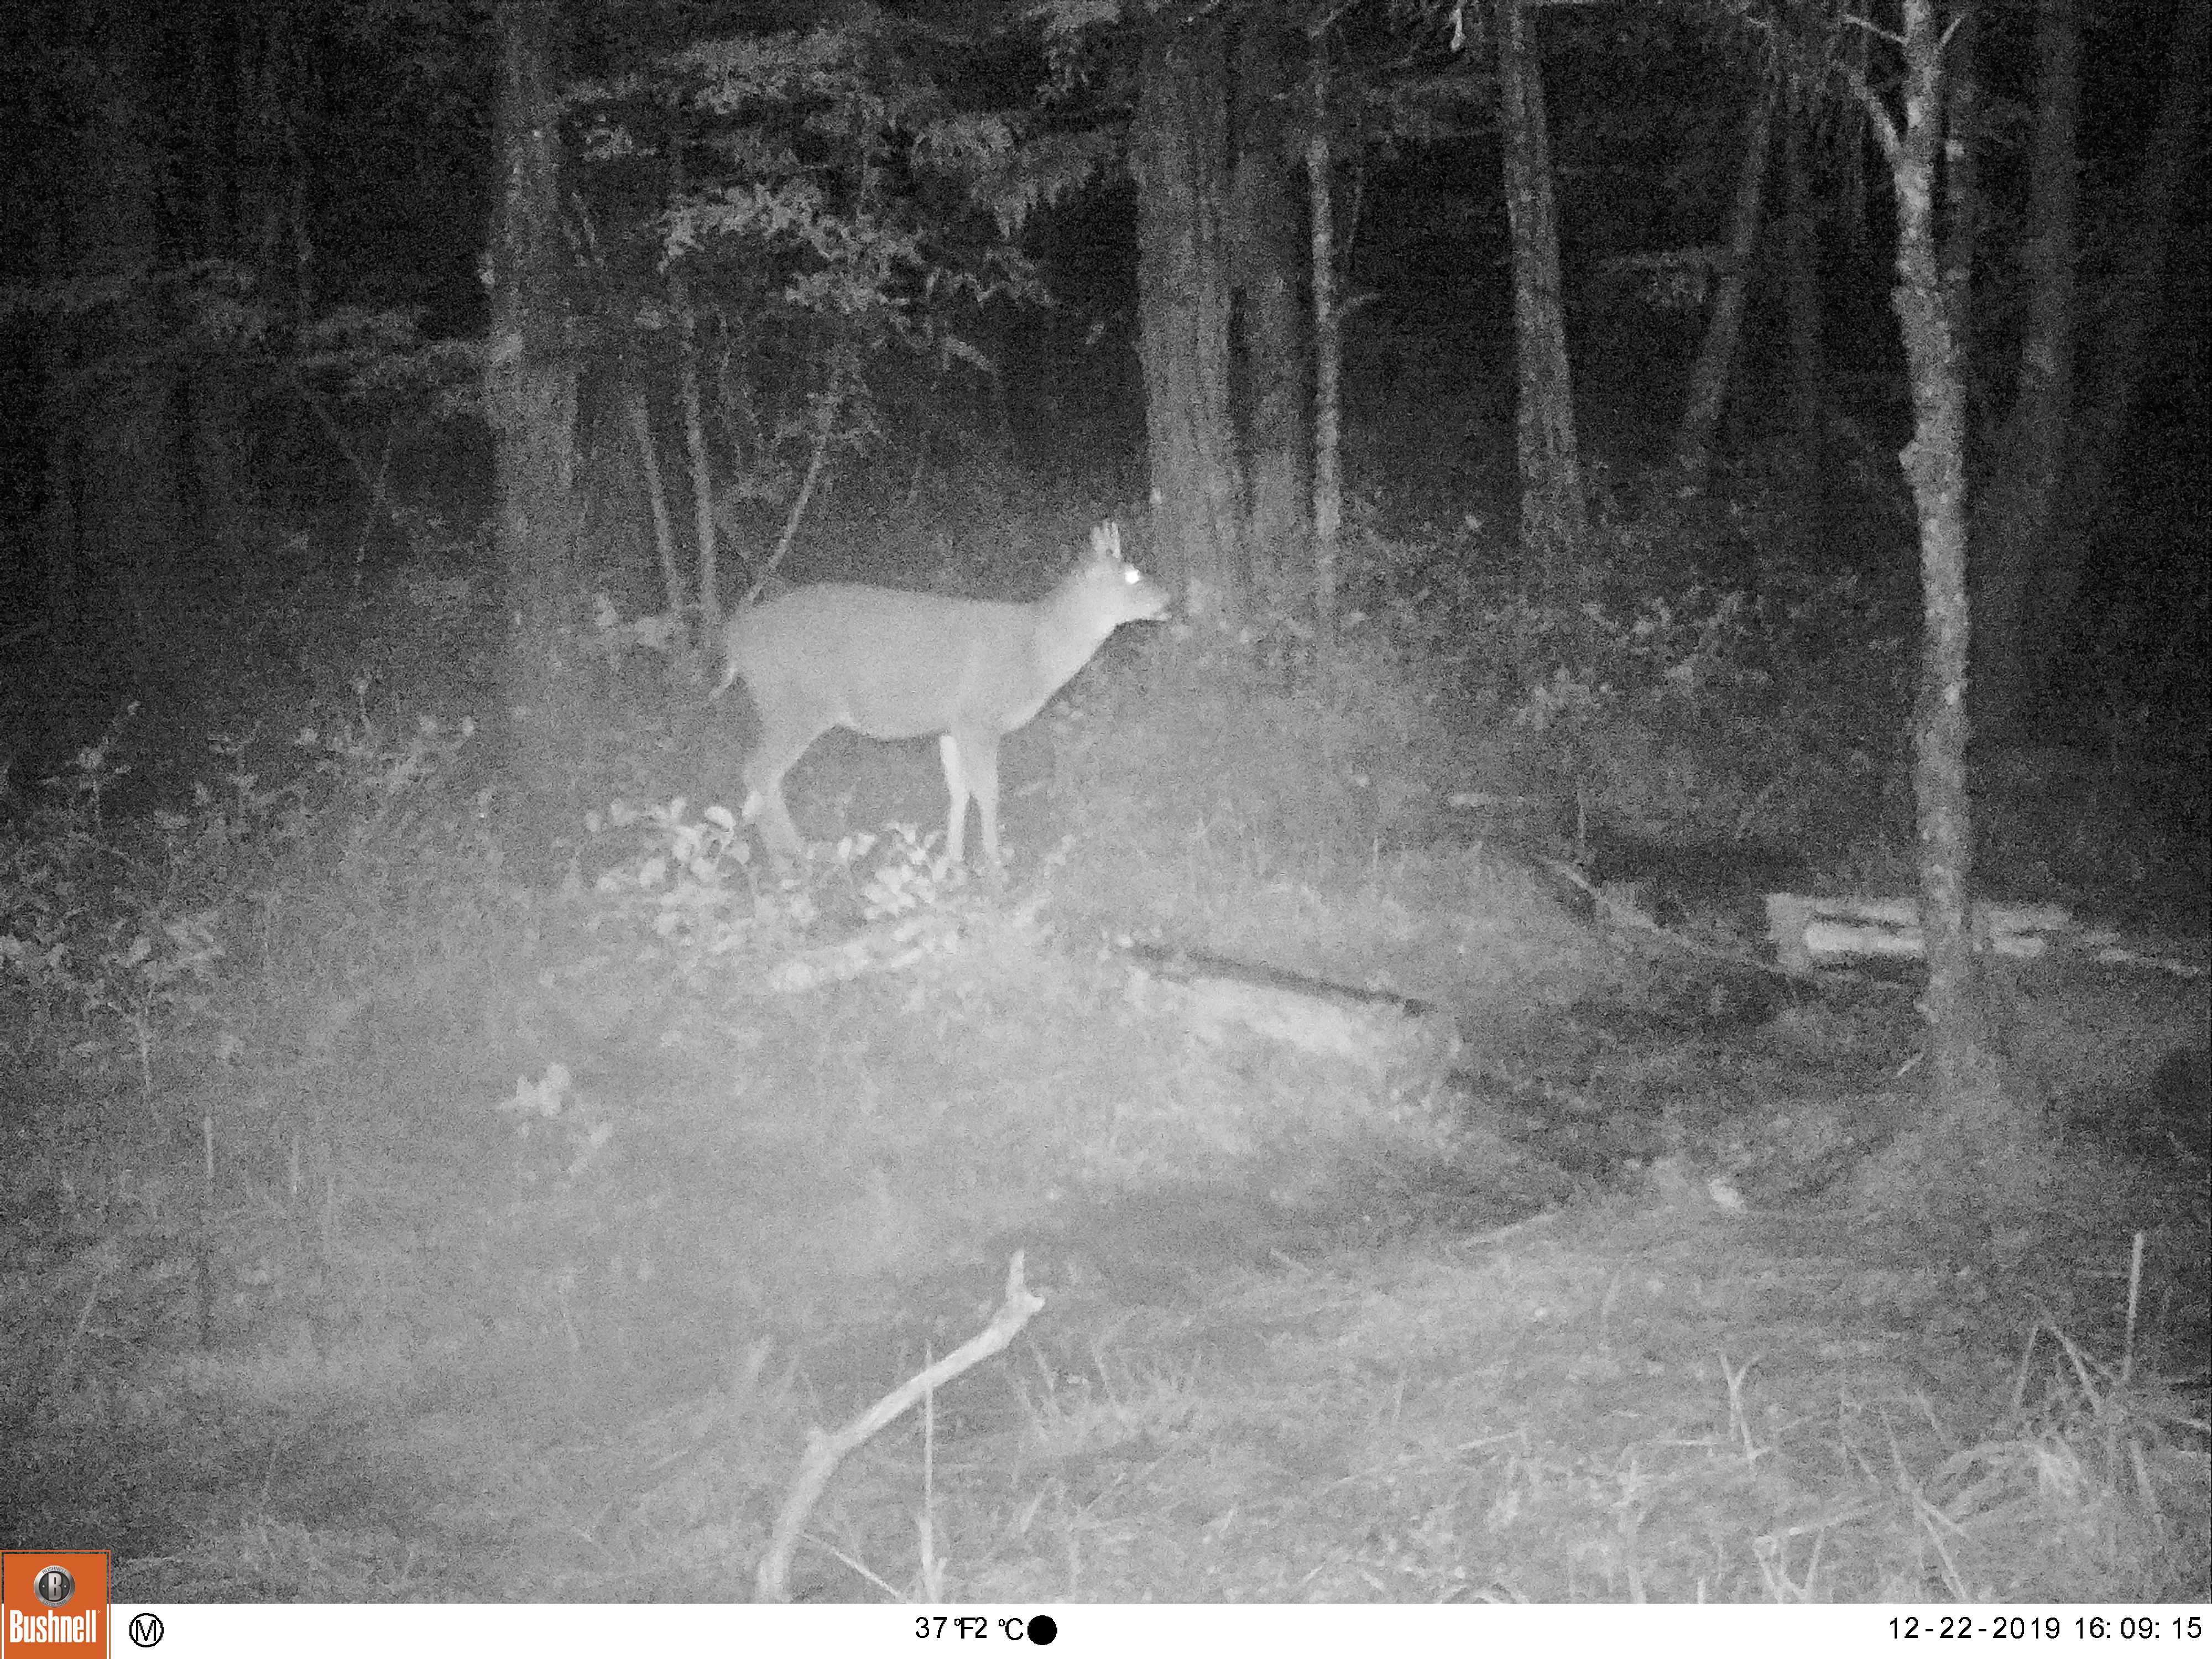
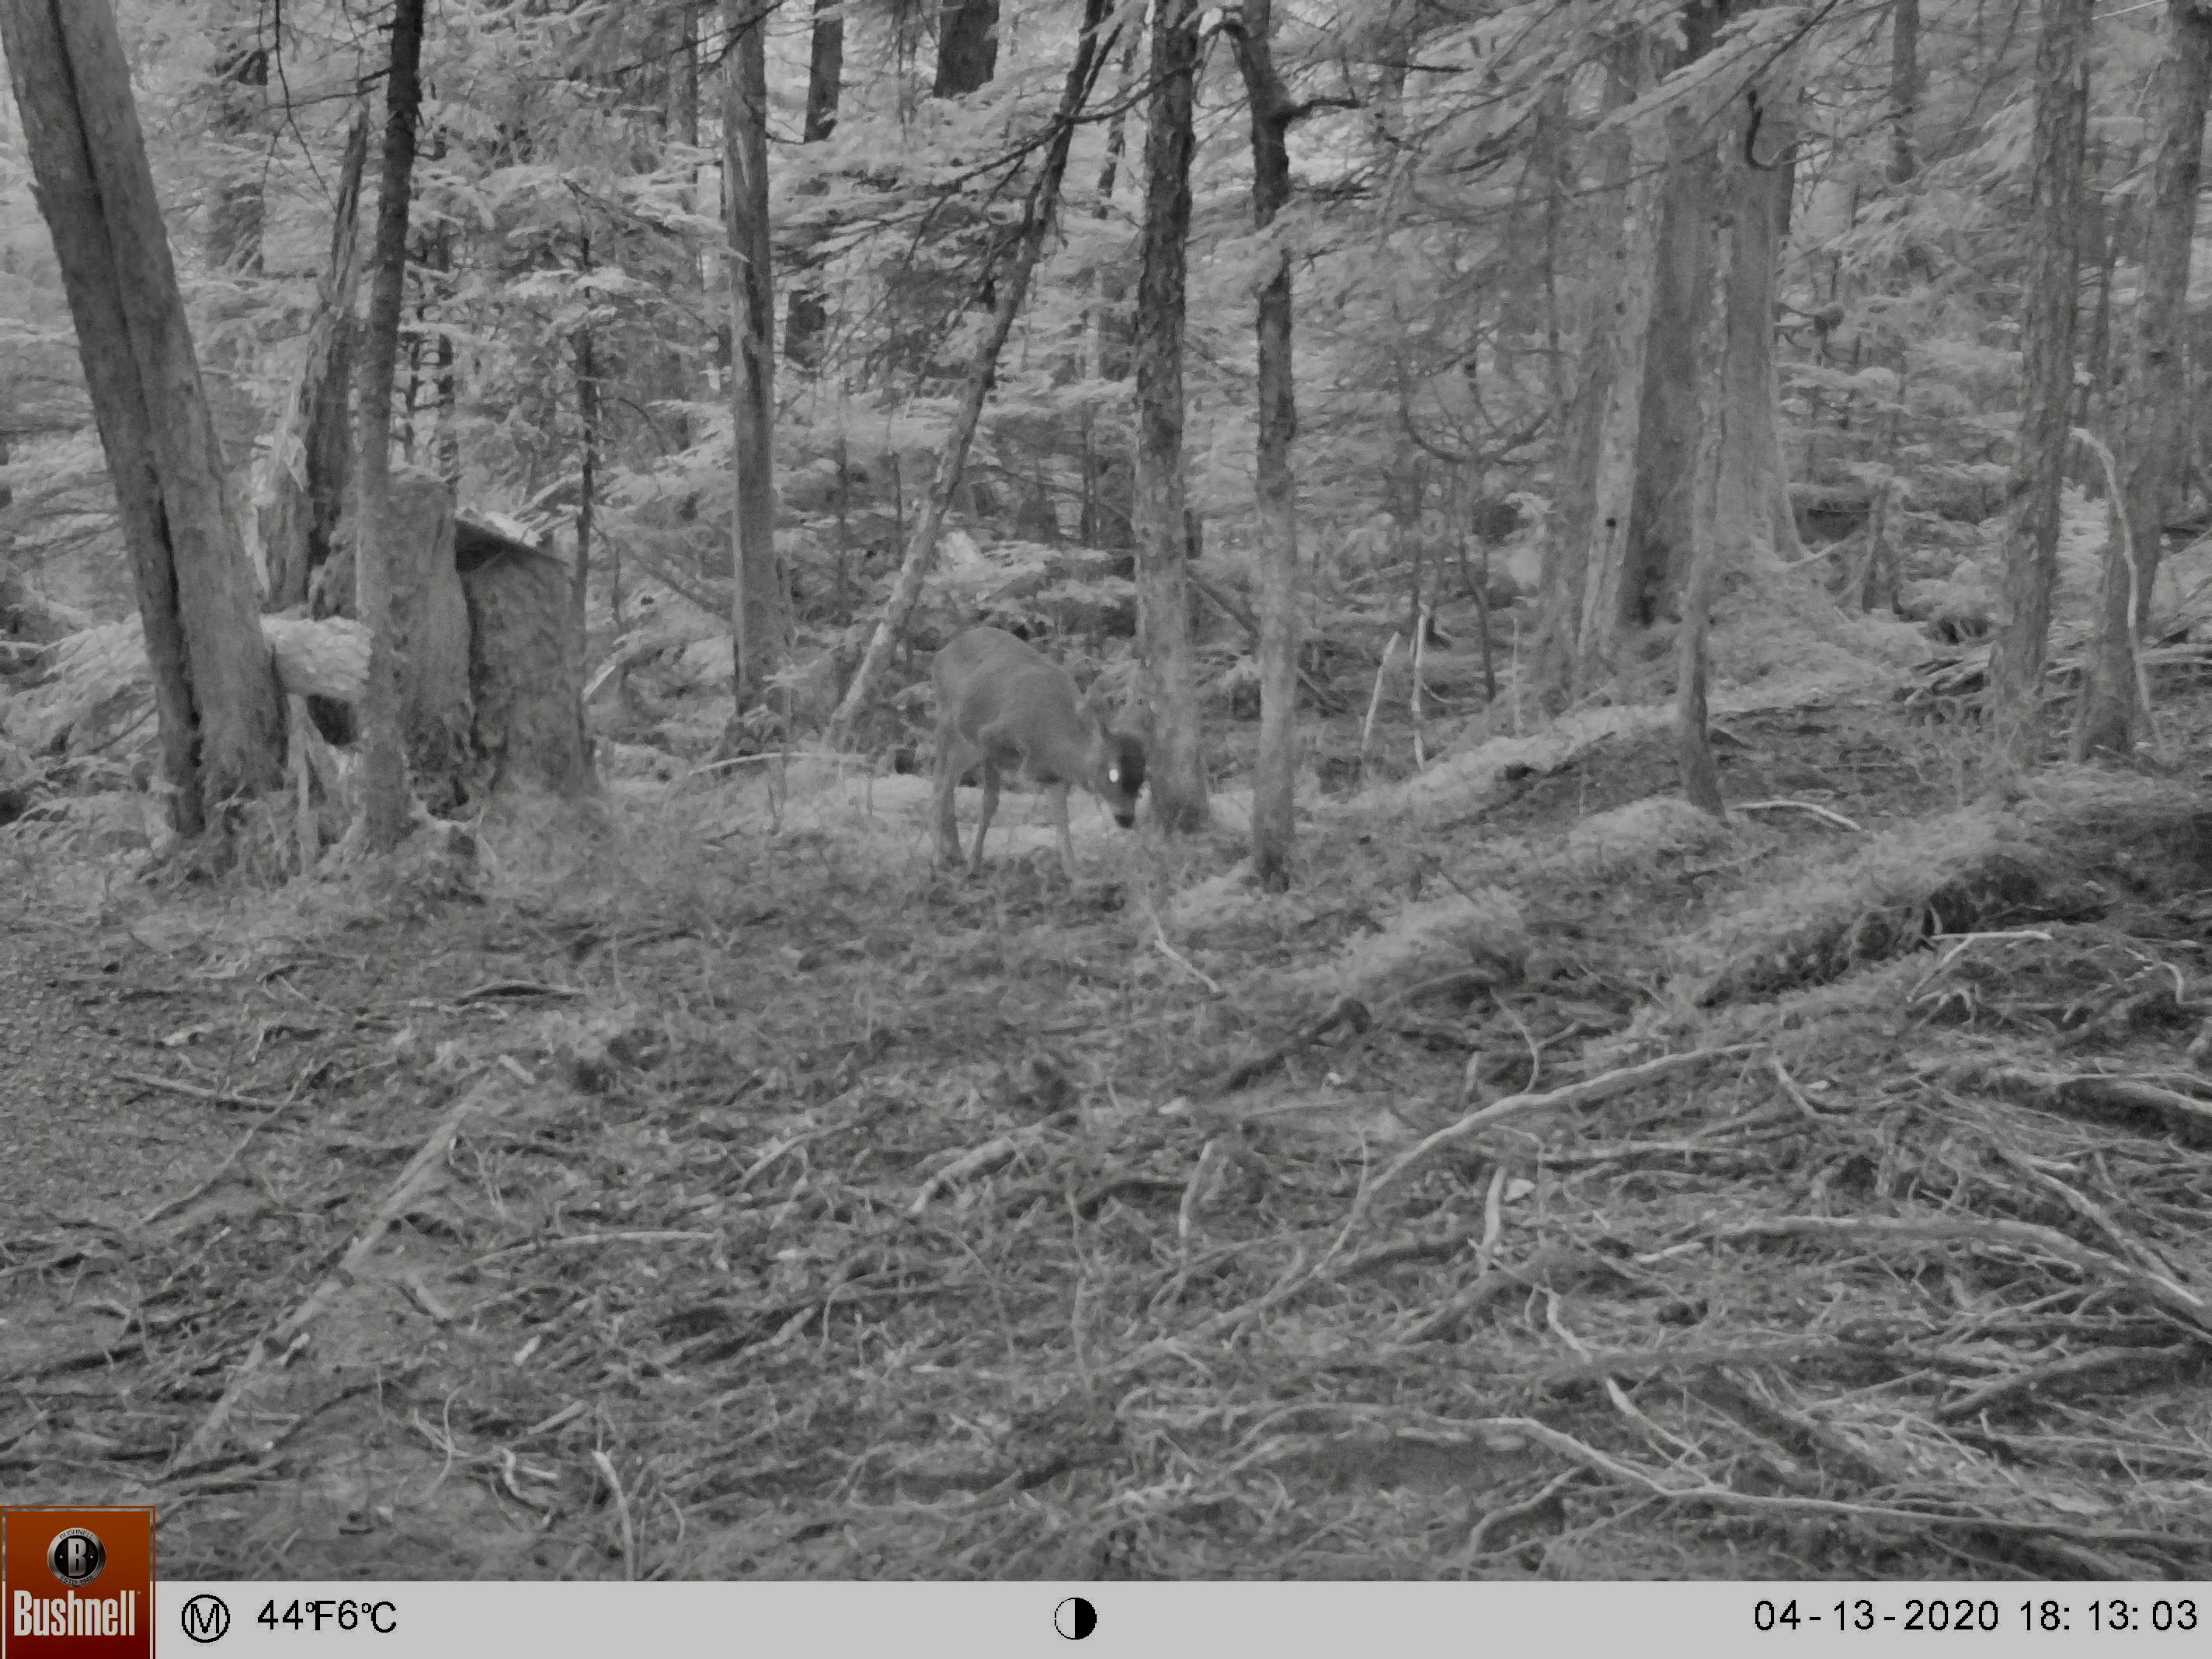
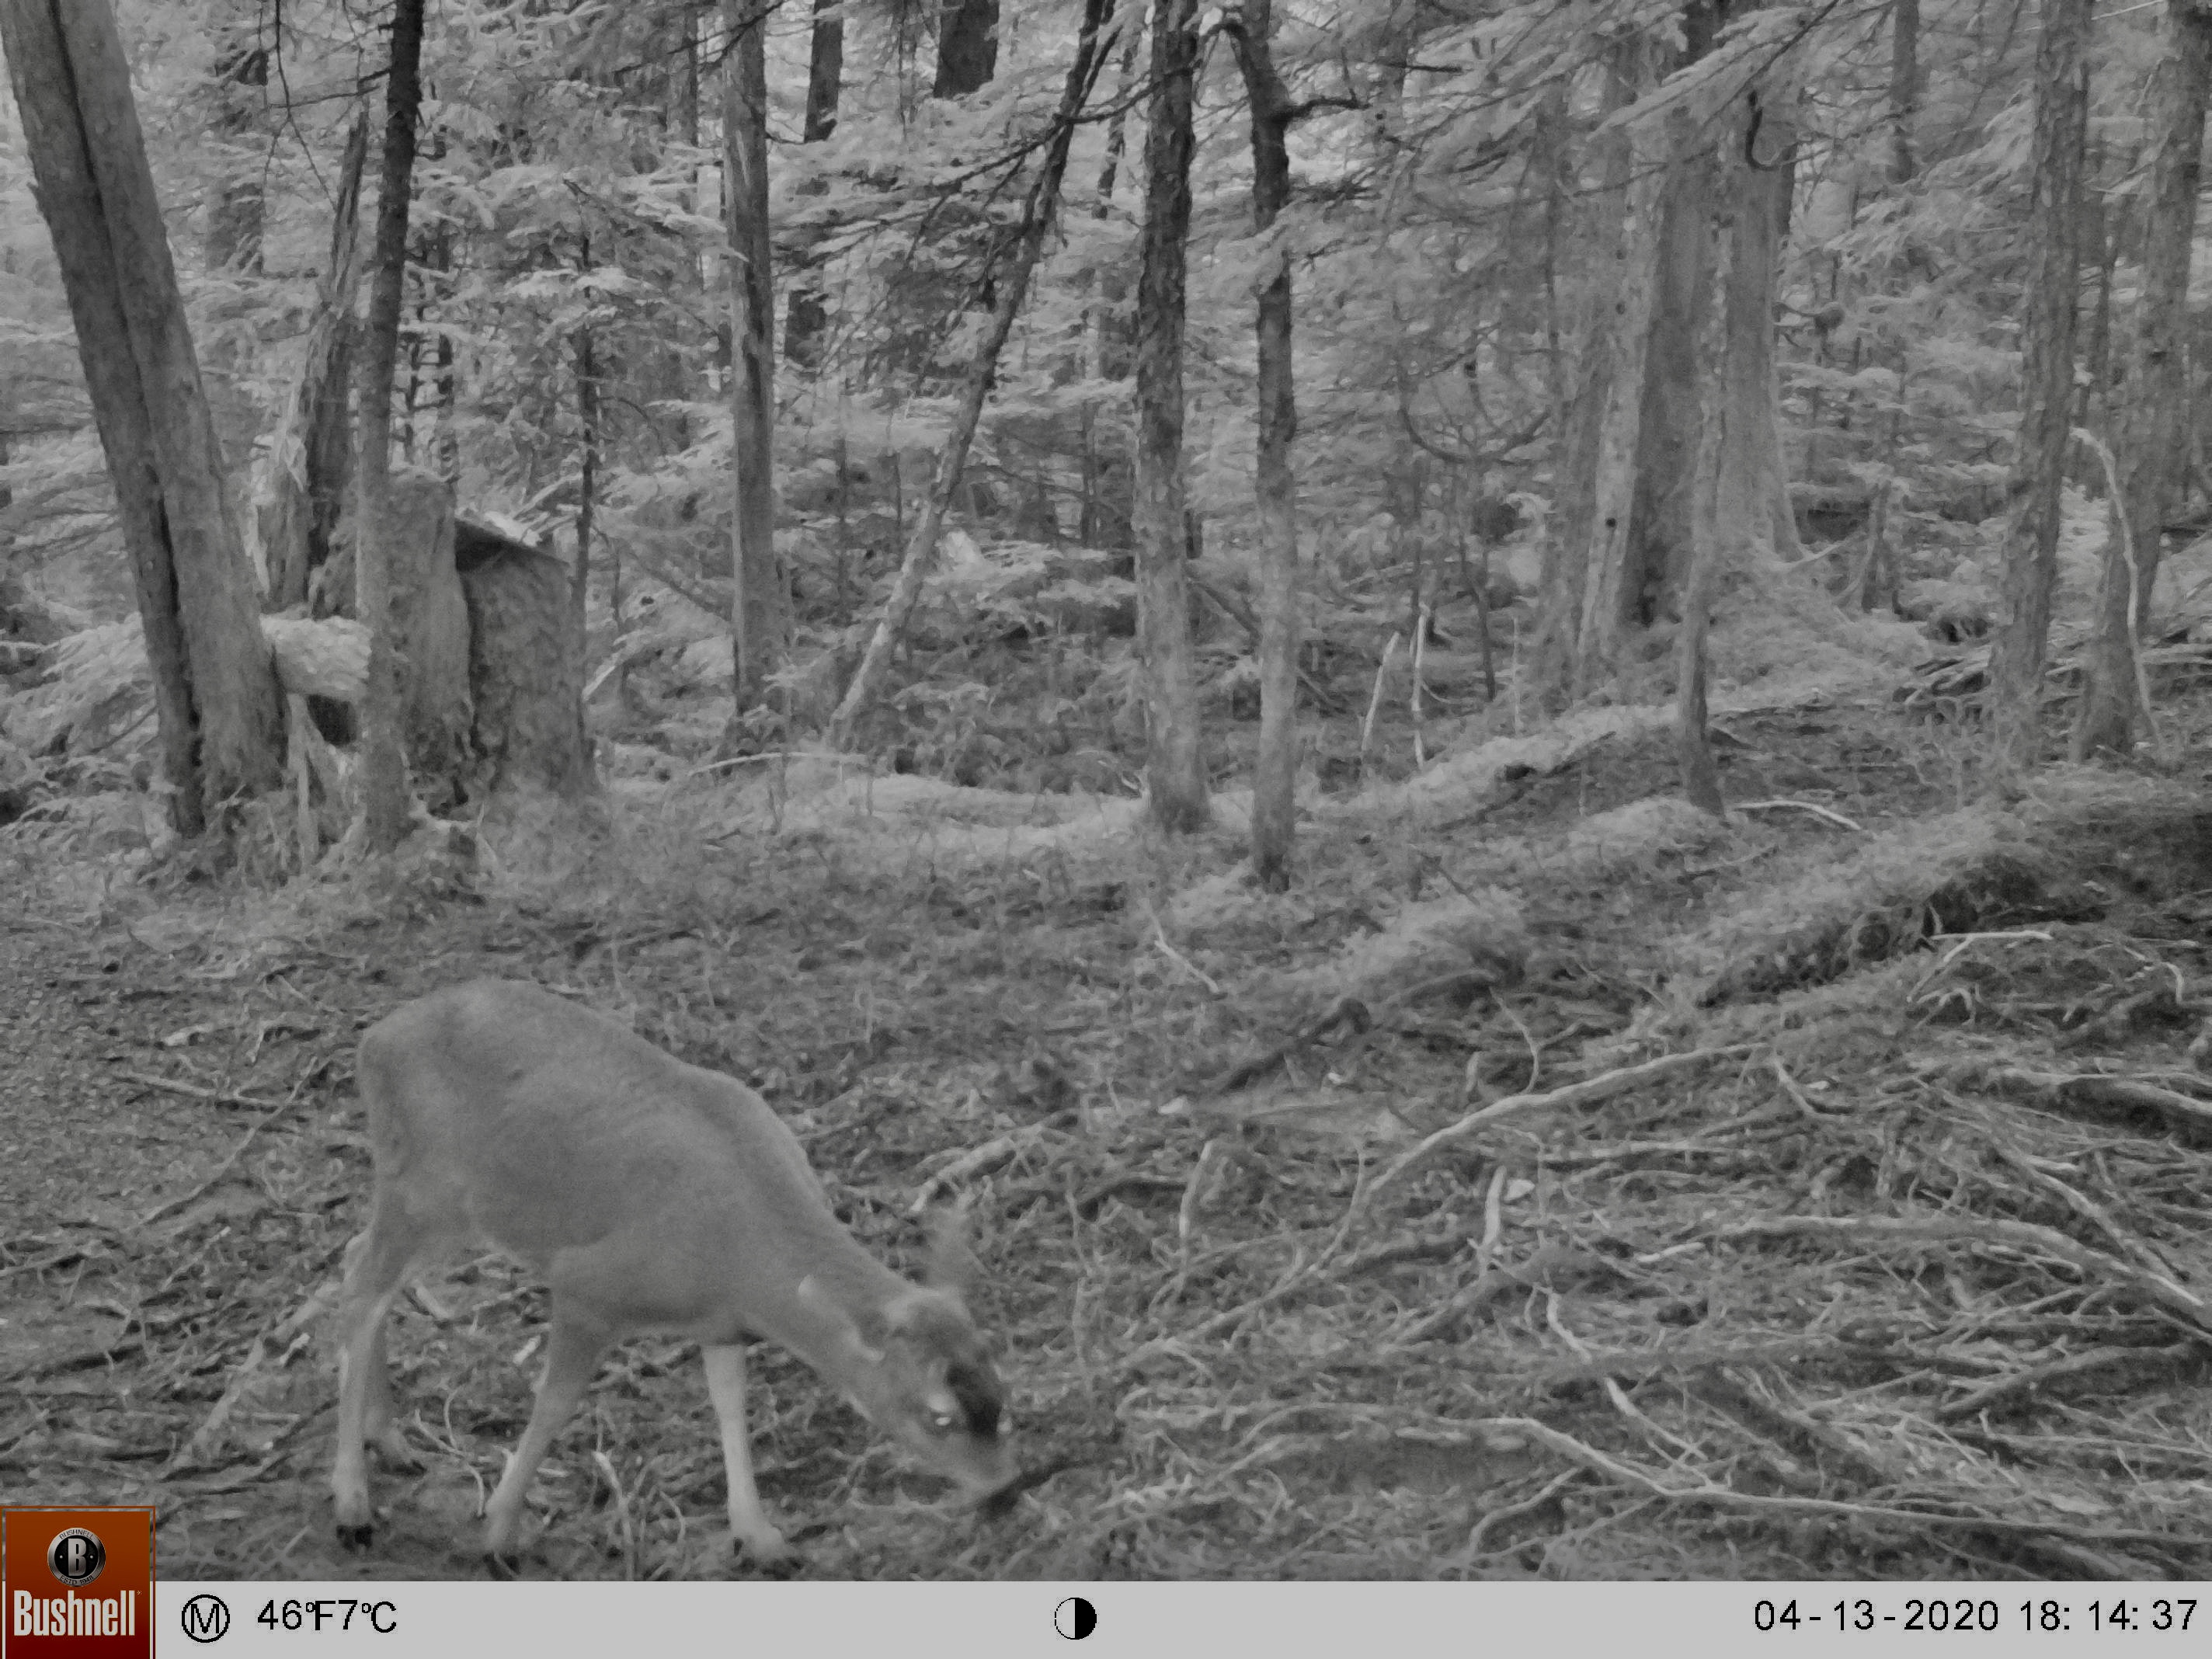
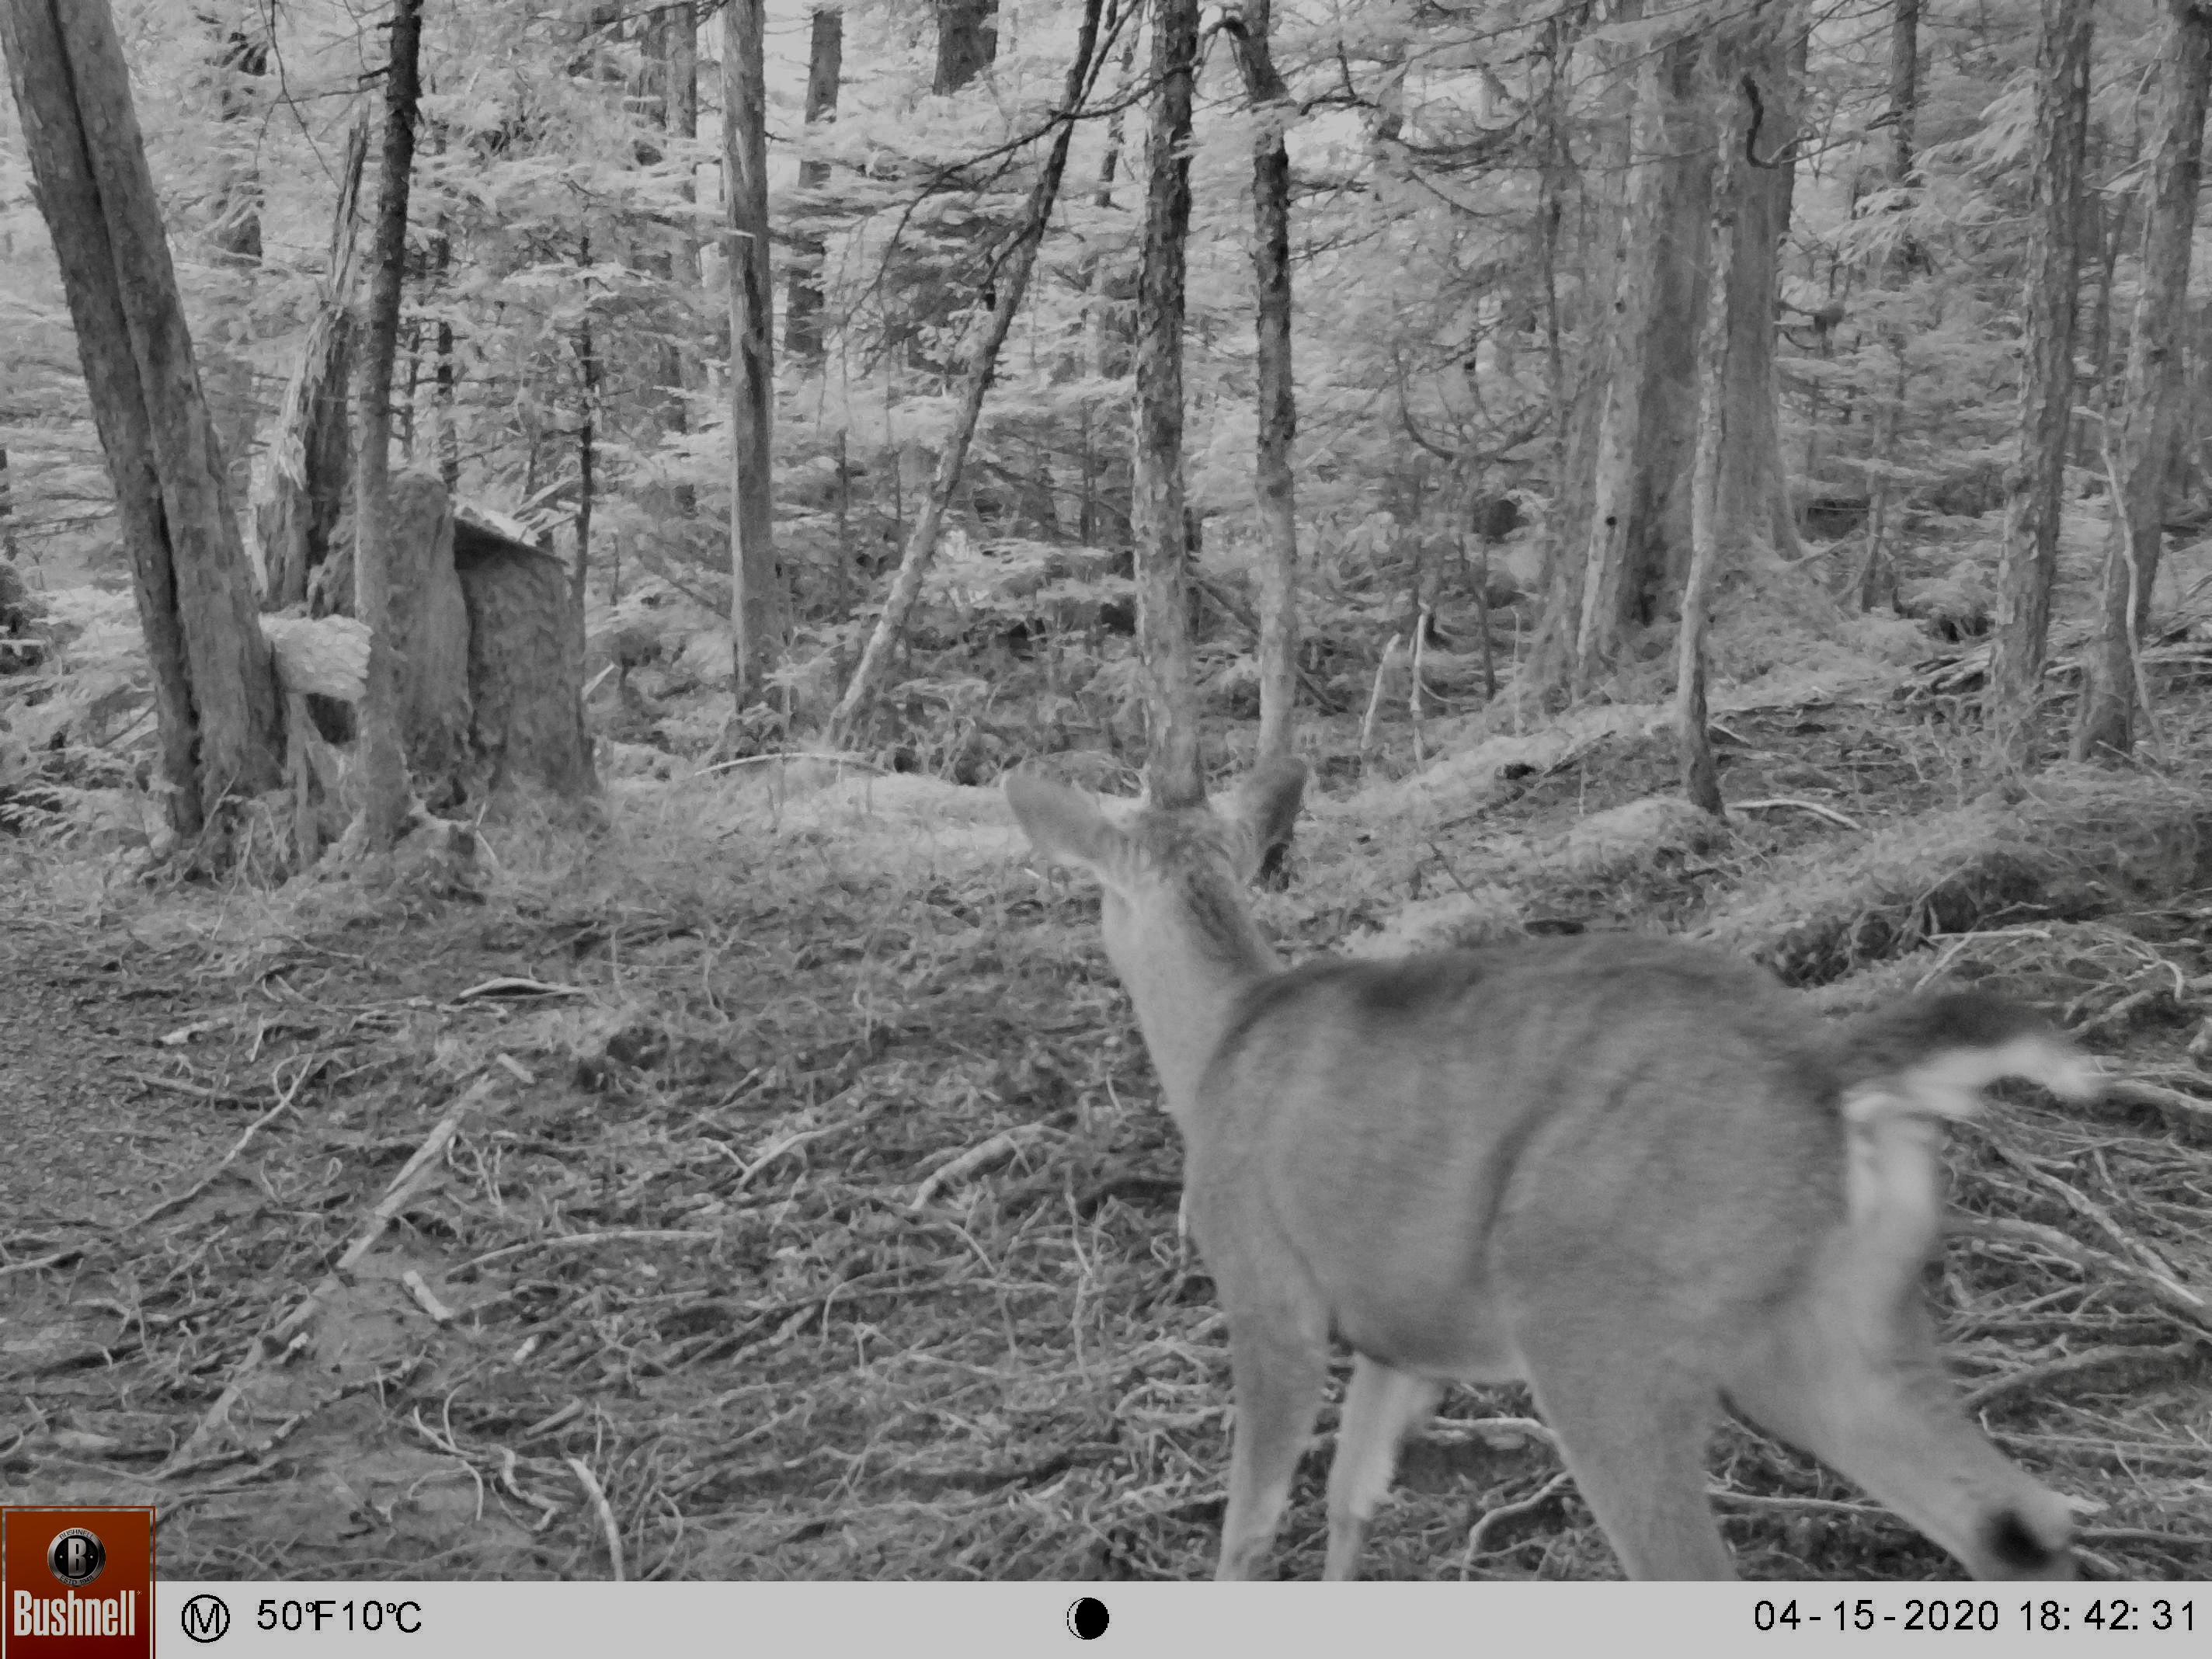
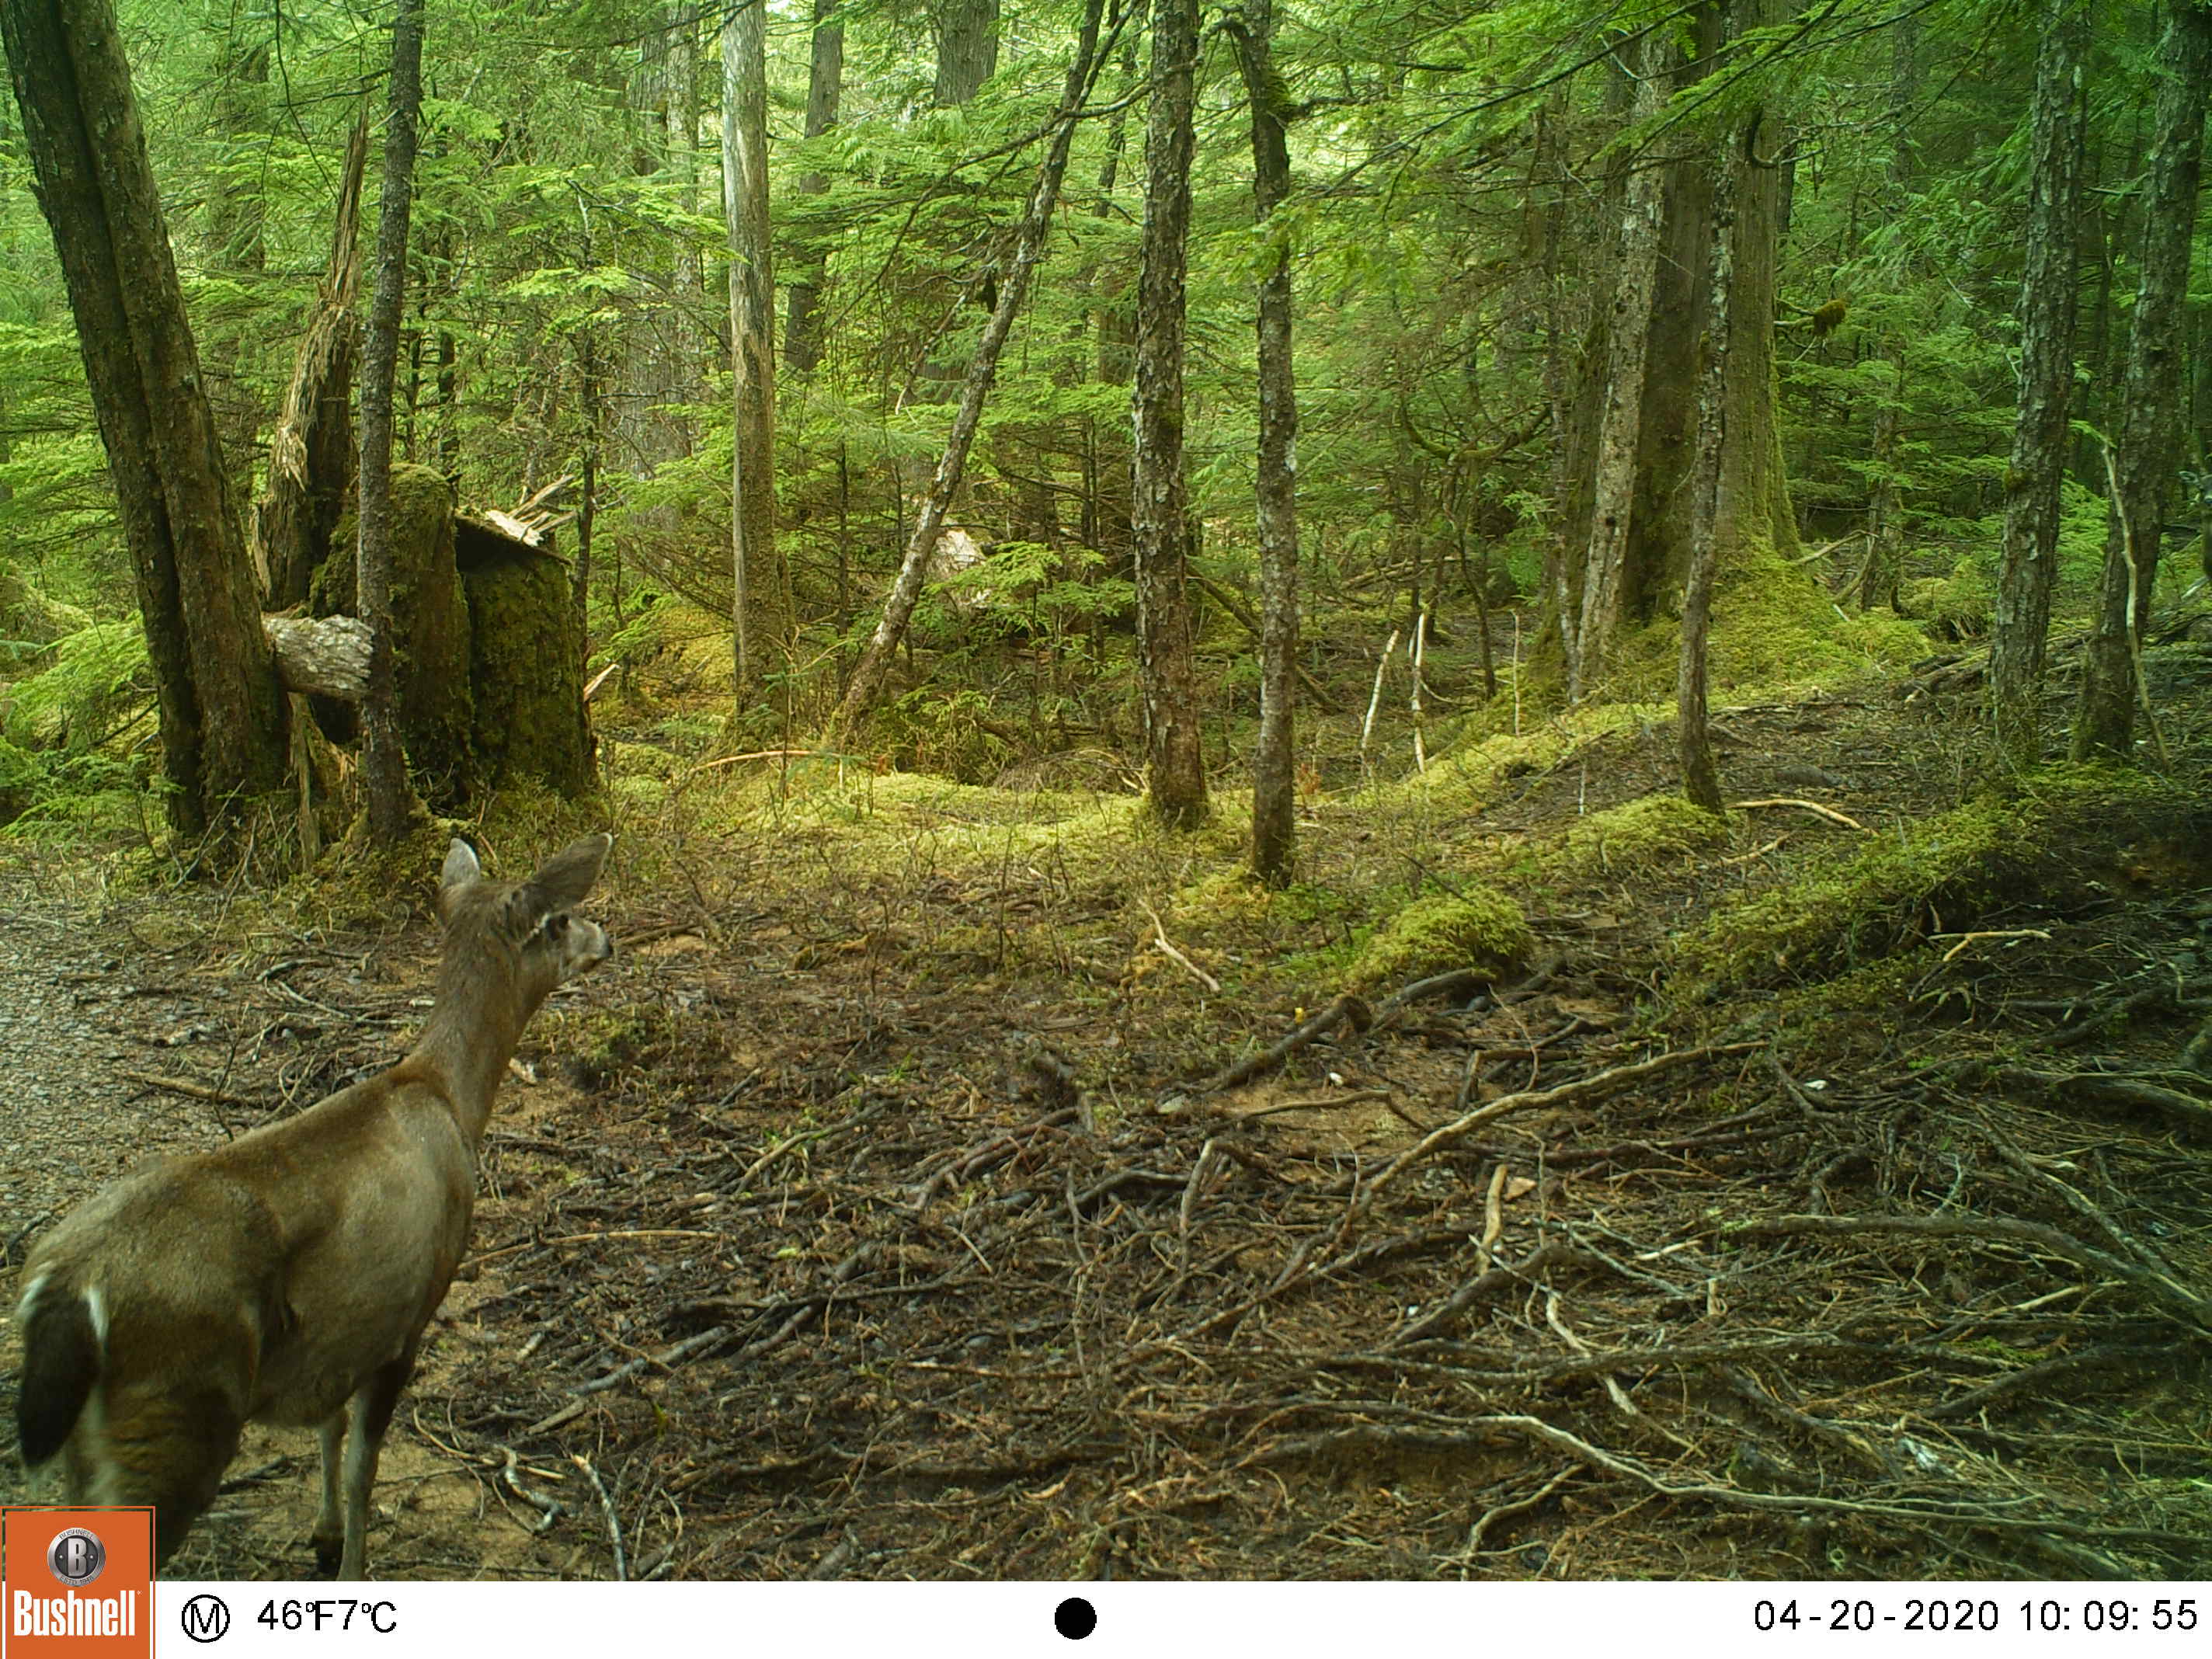
This is a good feeding area for deer; they like places like this with green leaves year round, and plenty of cover in which to hide.
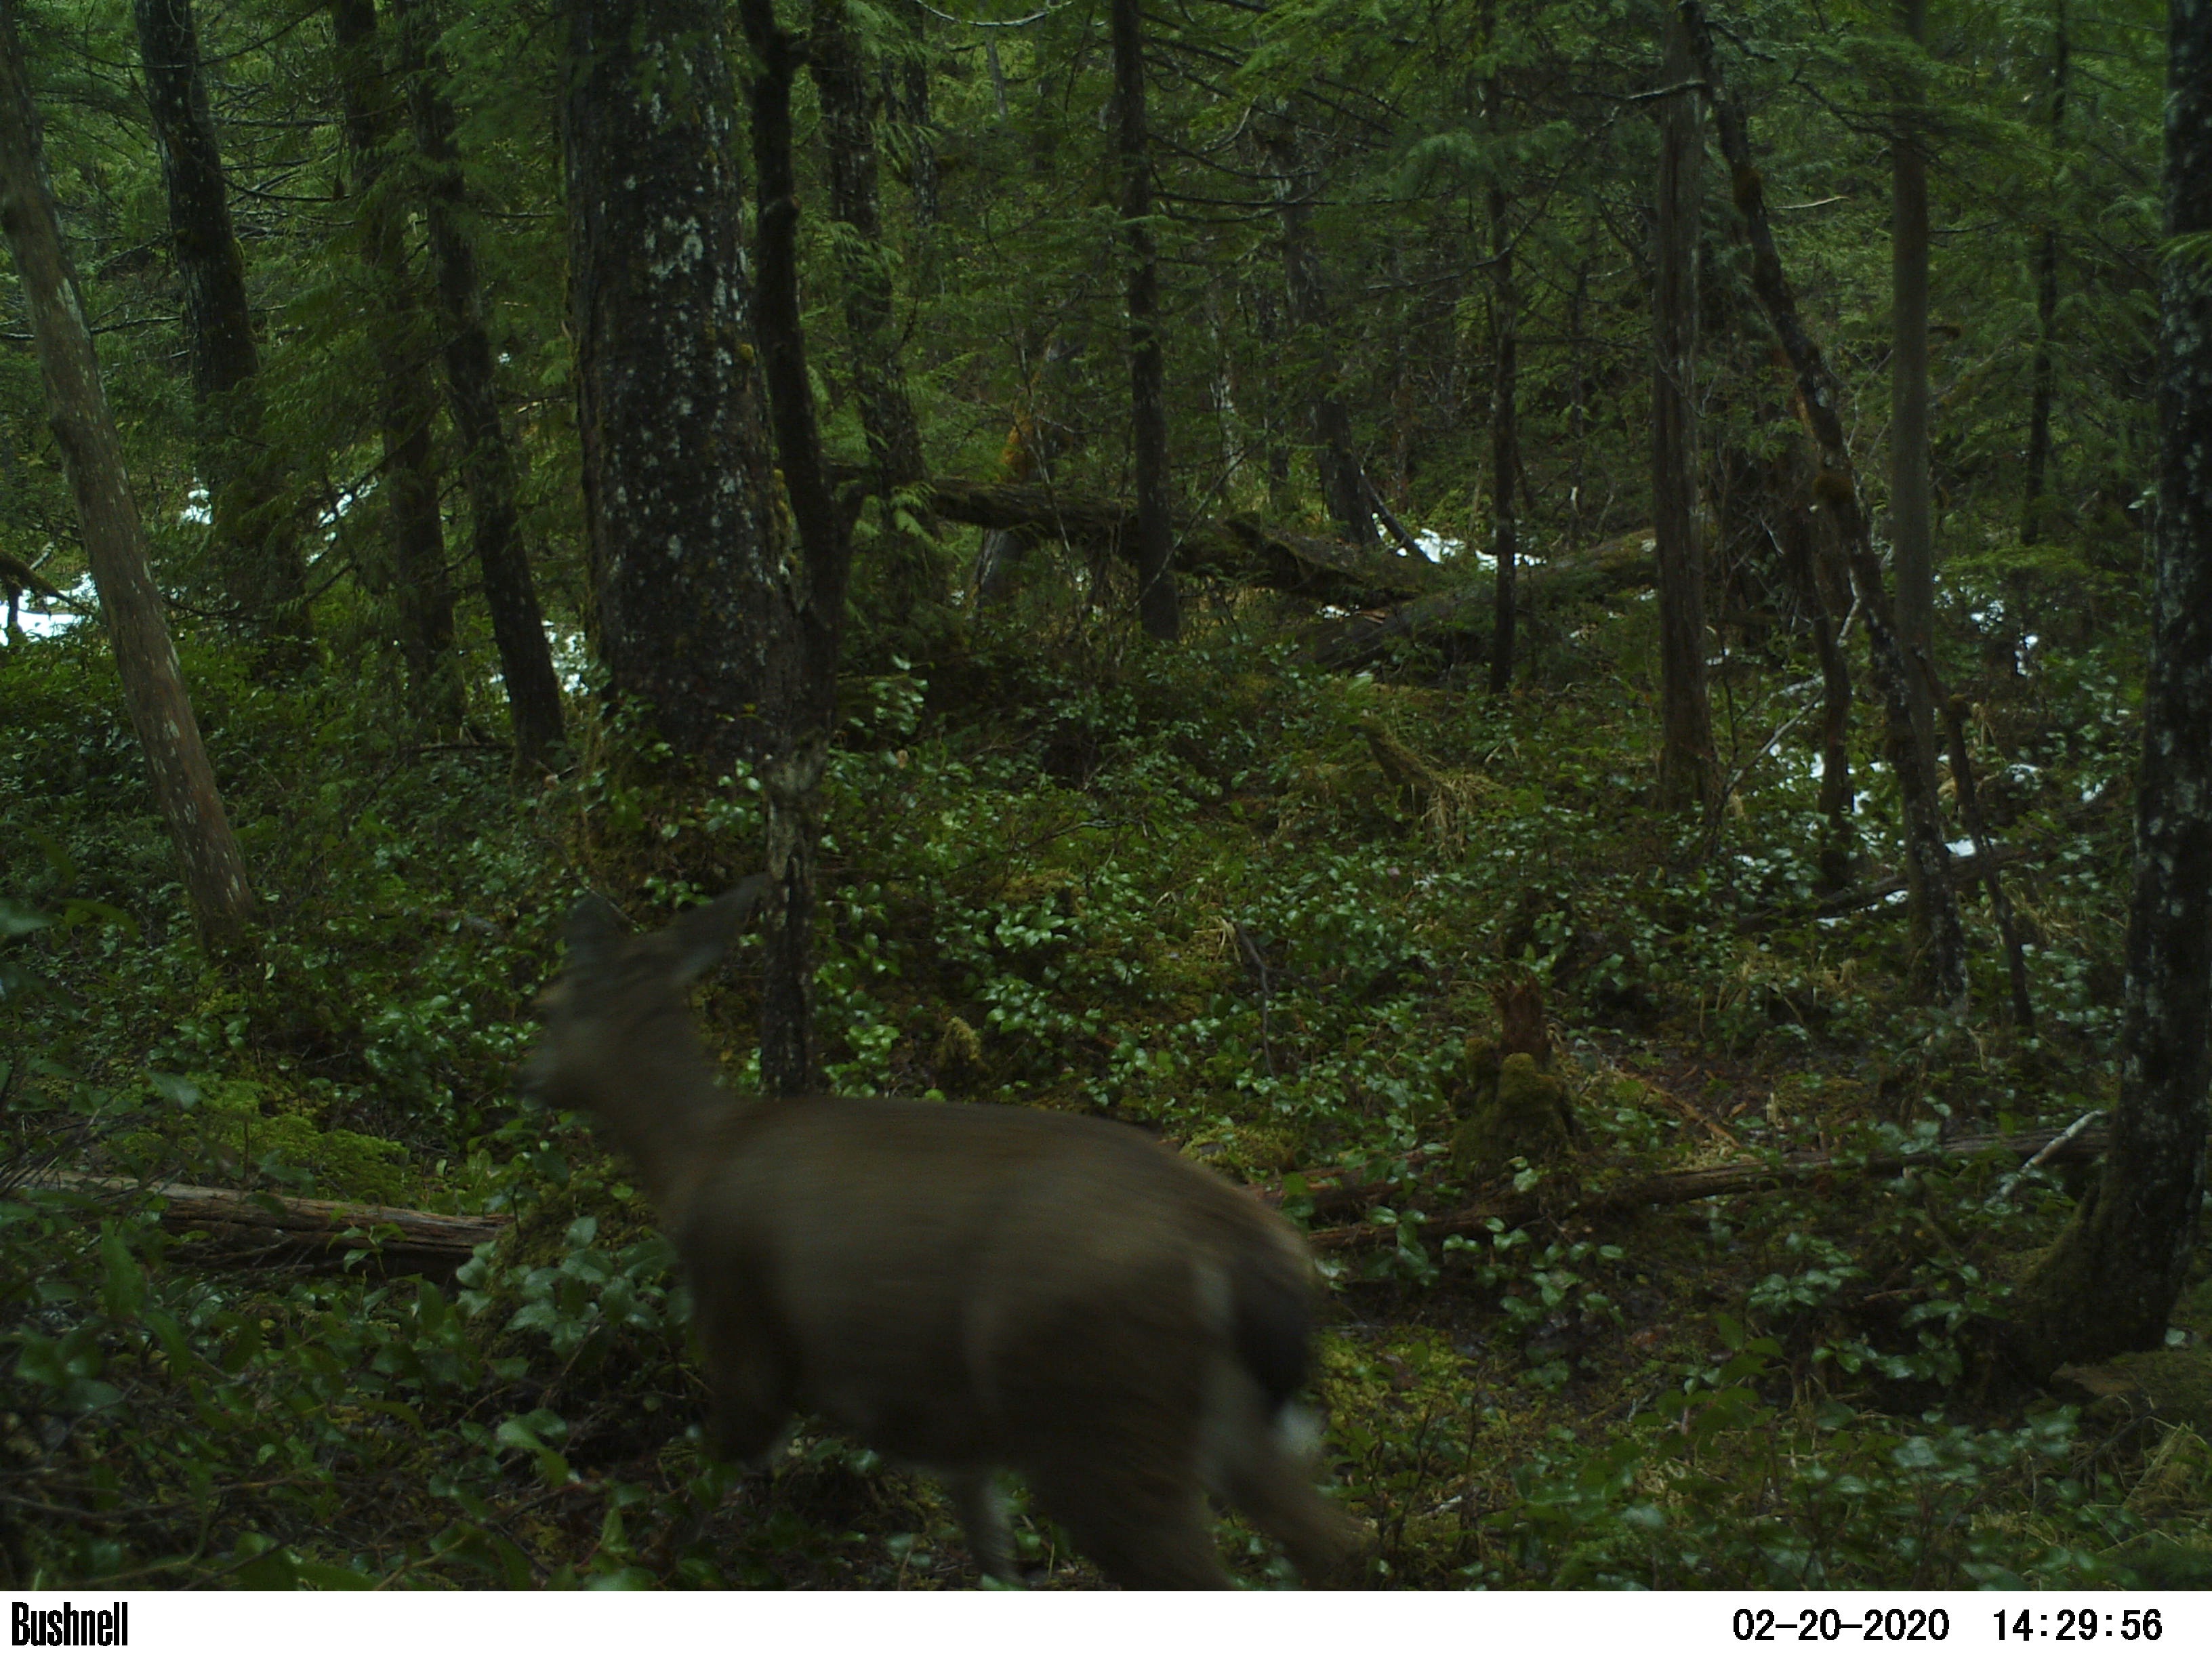
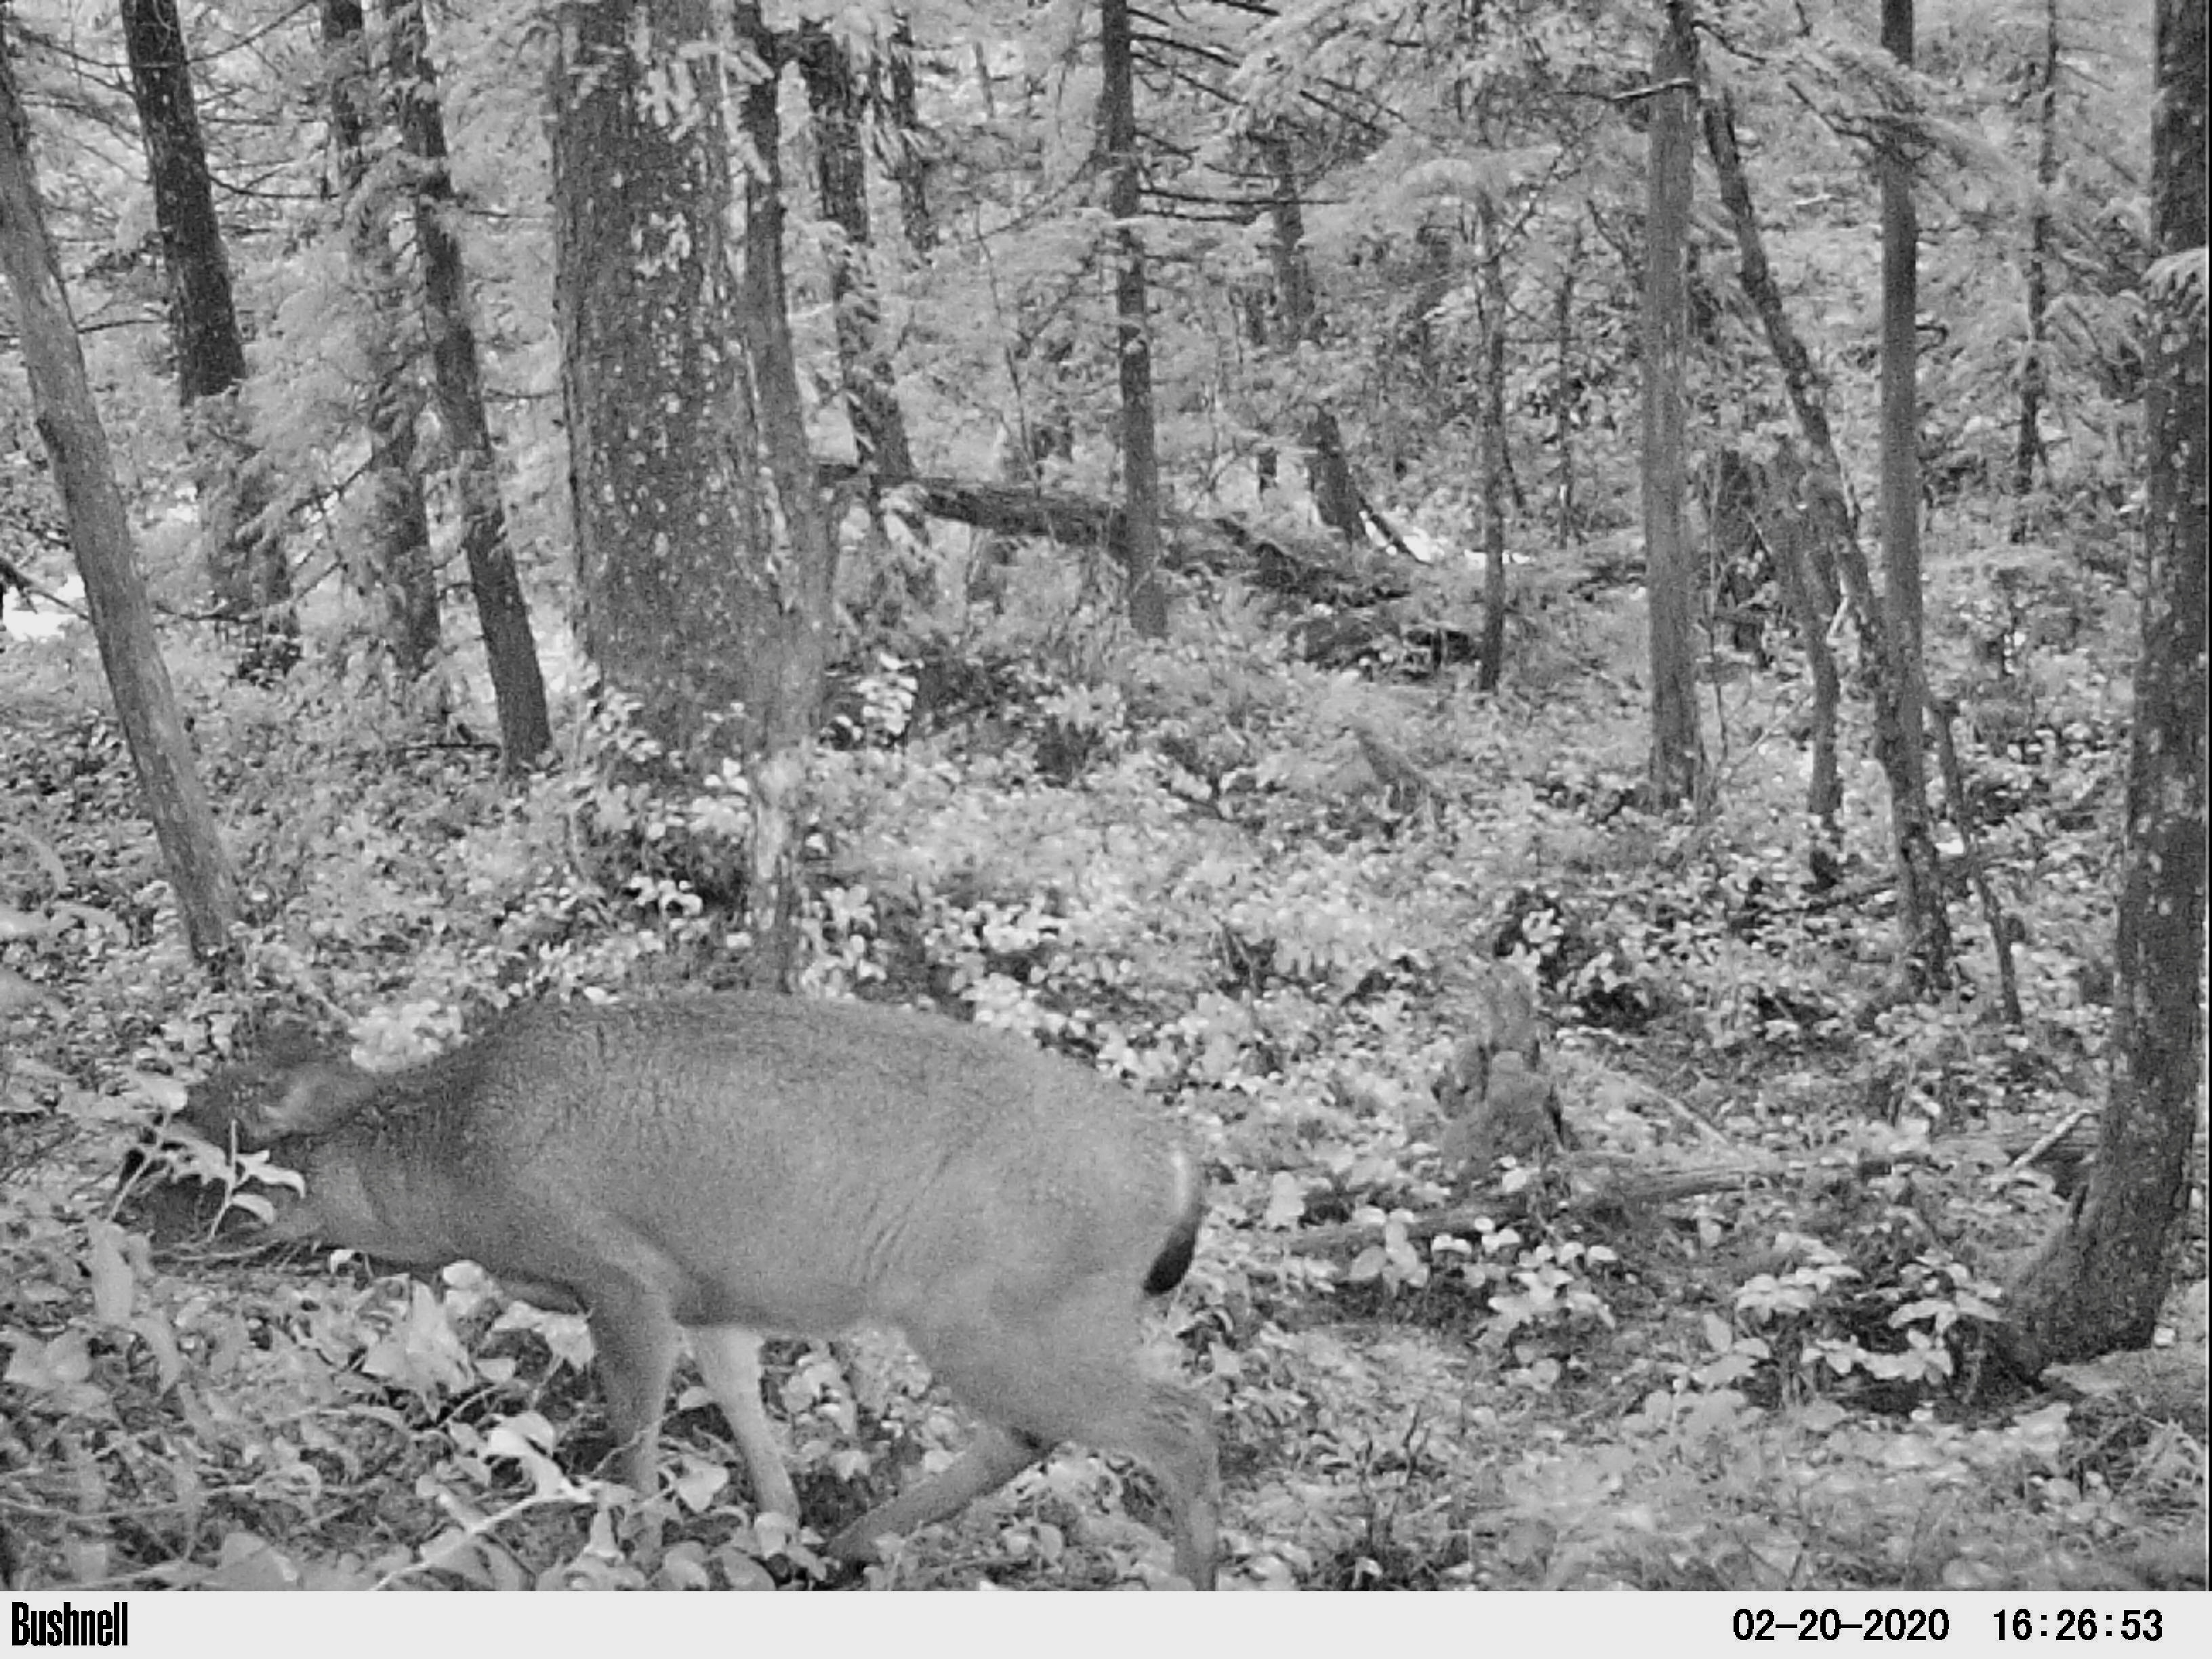

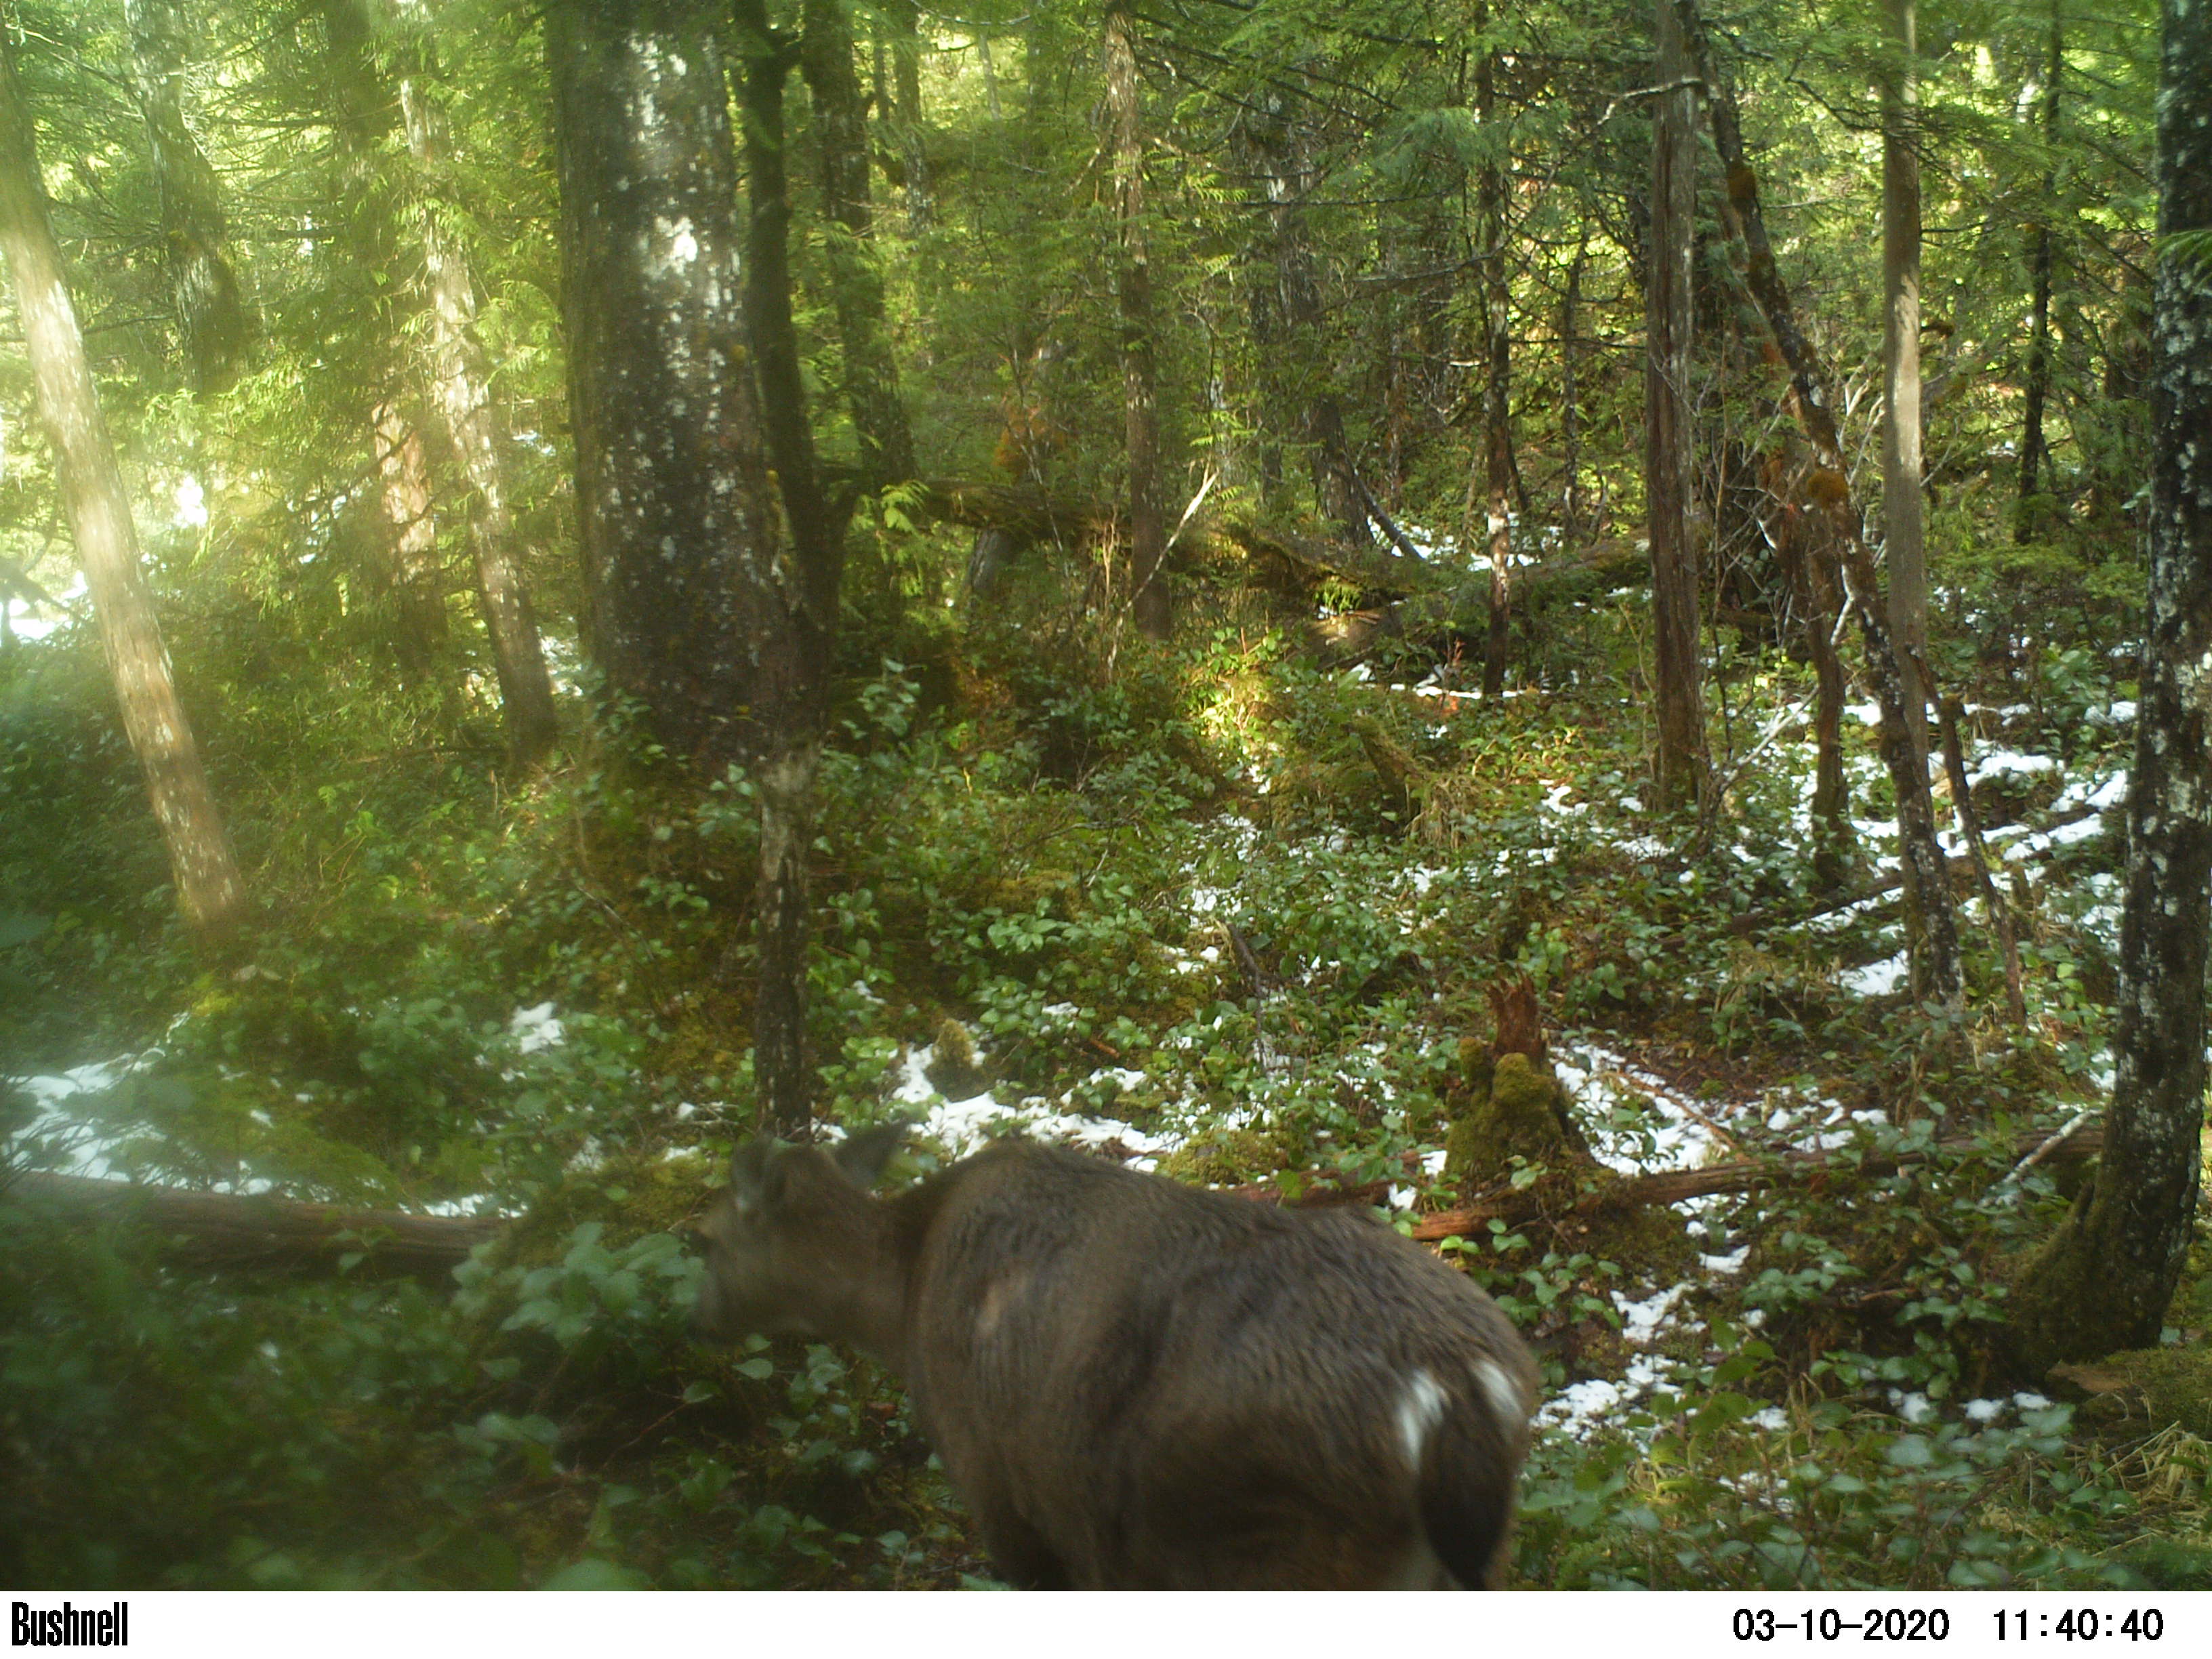
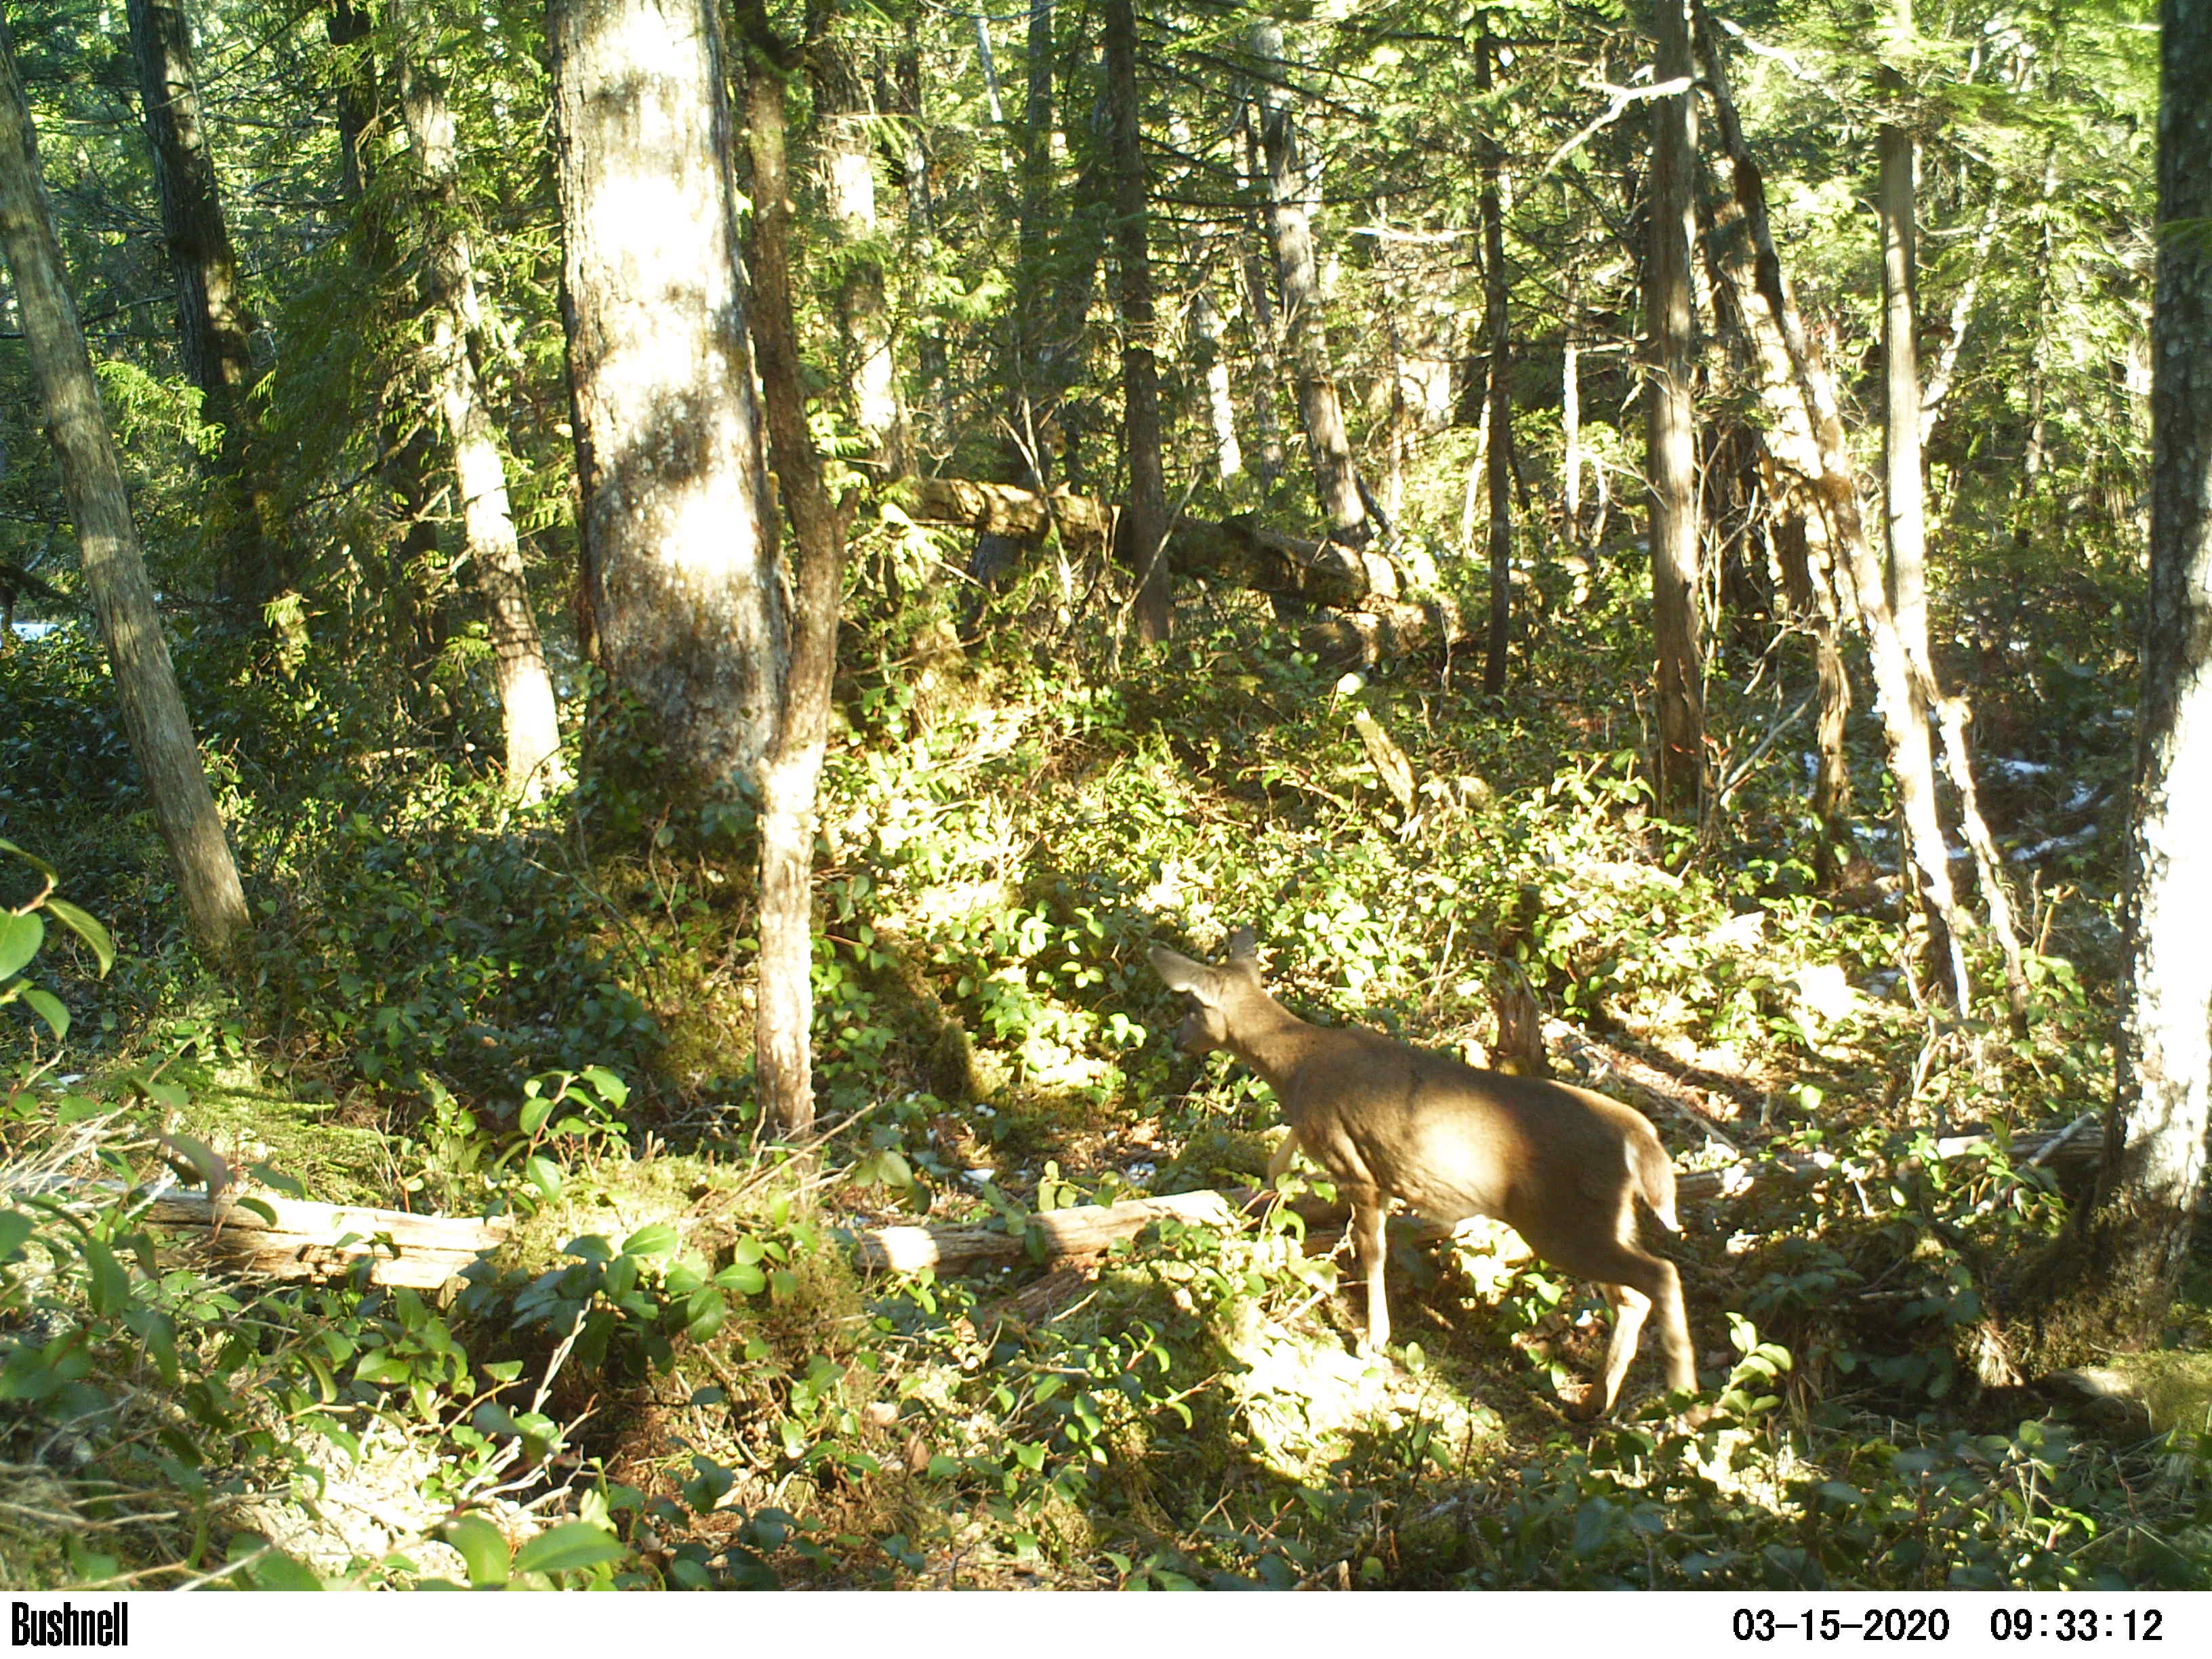
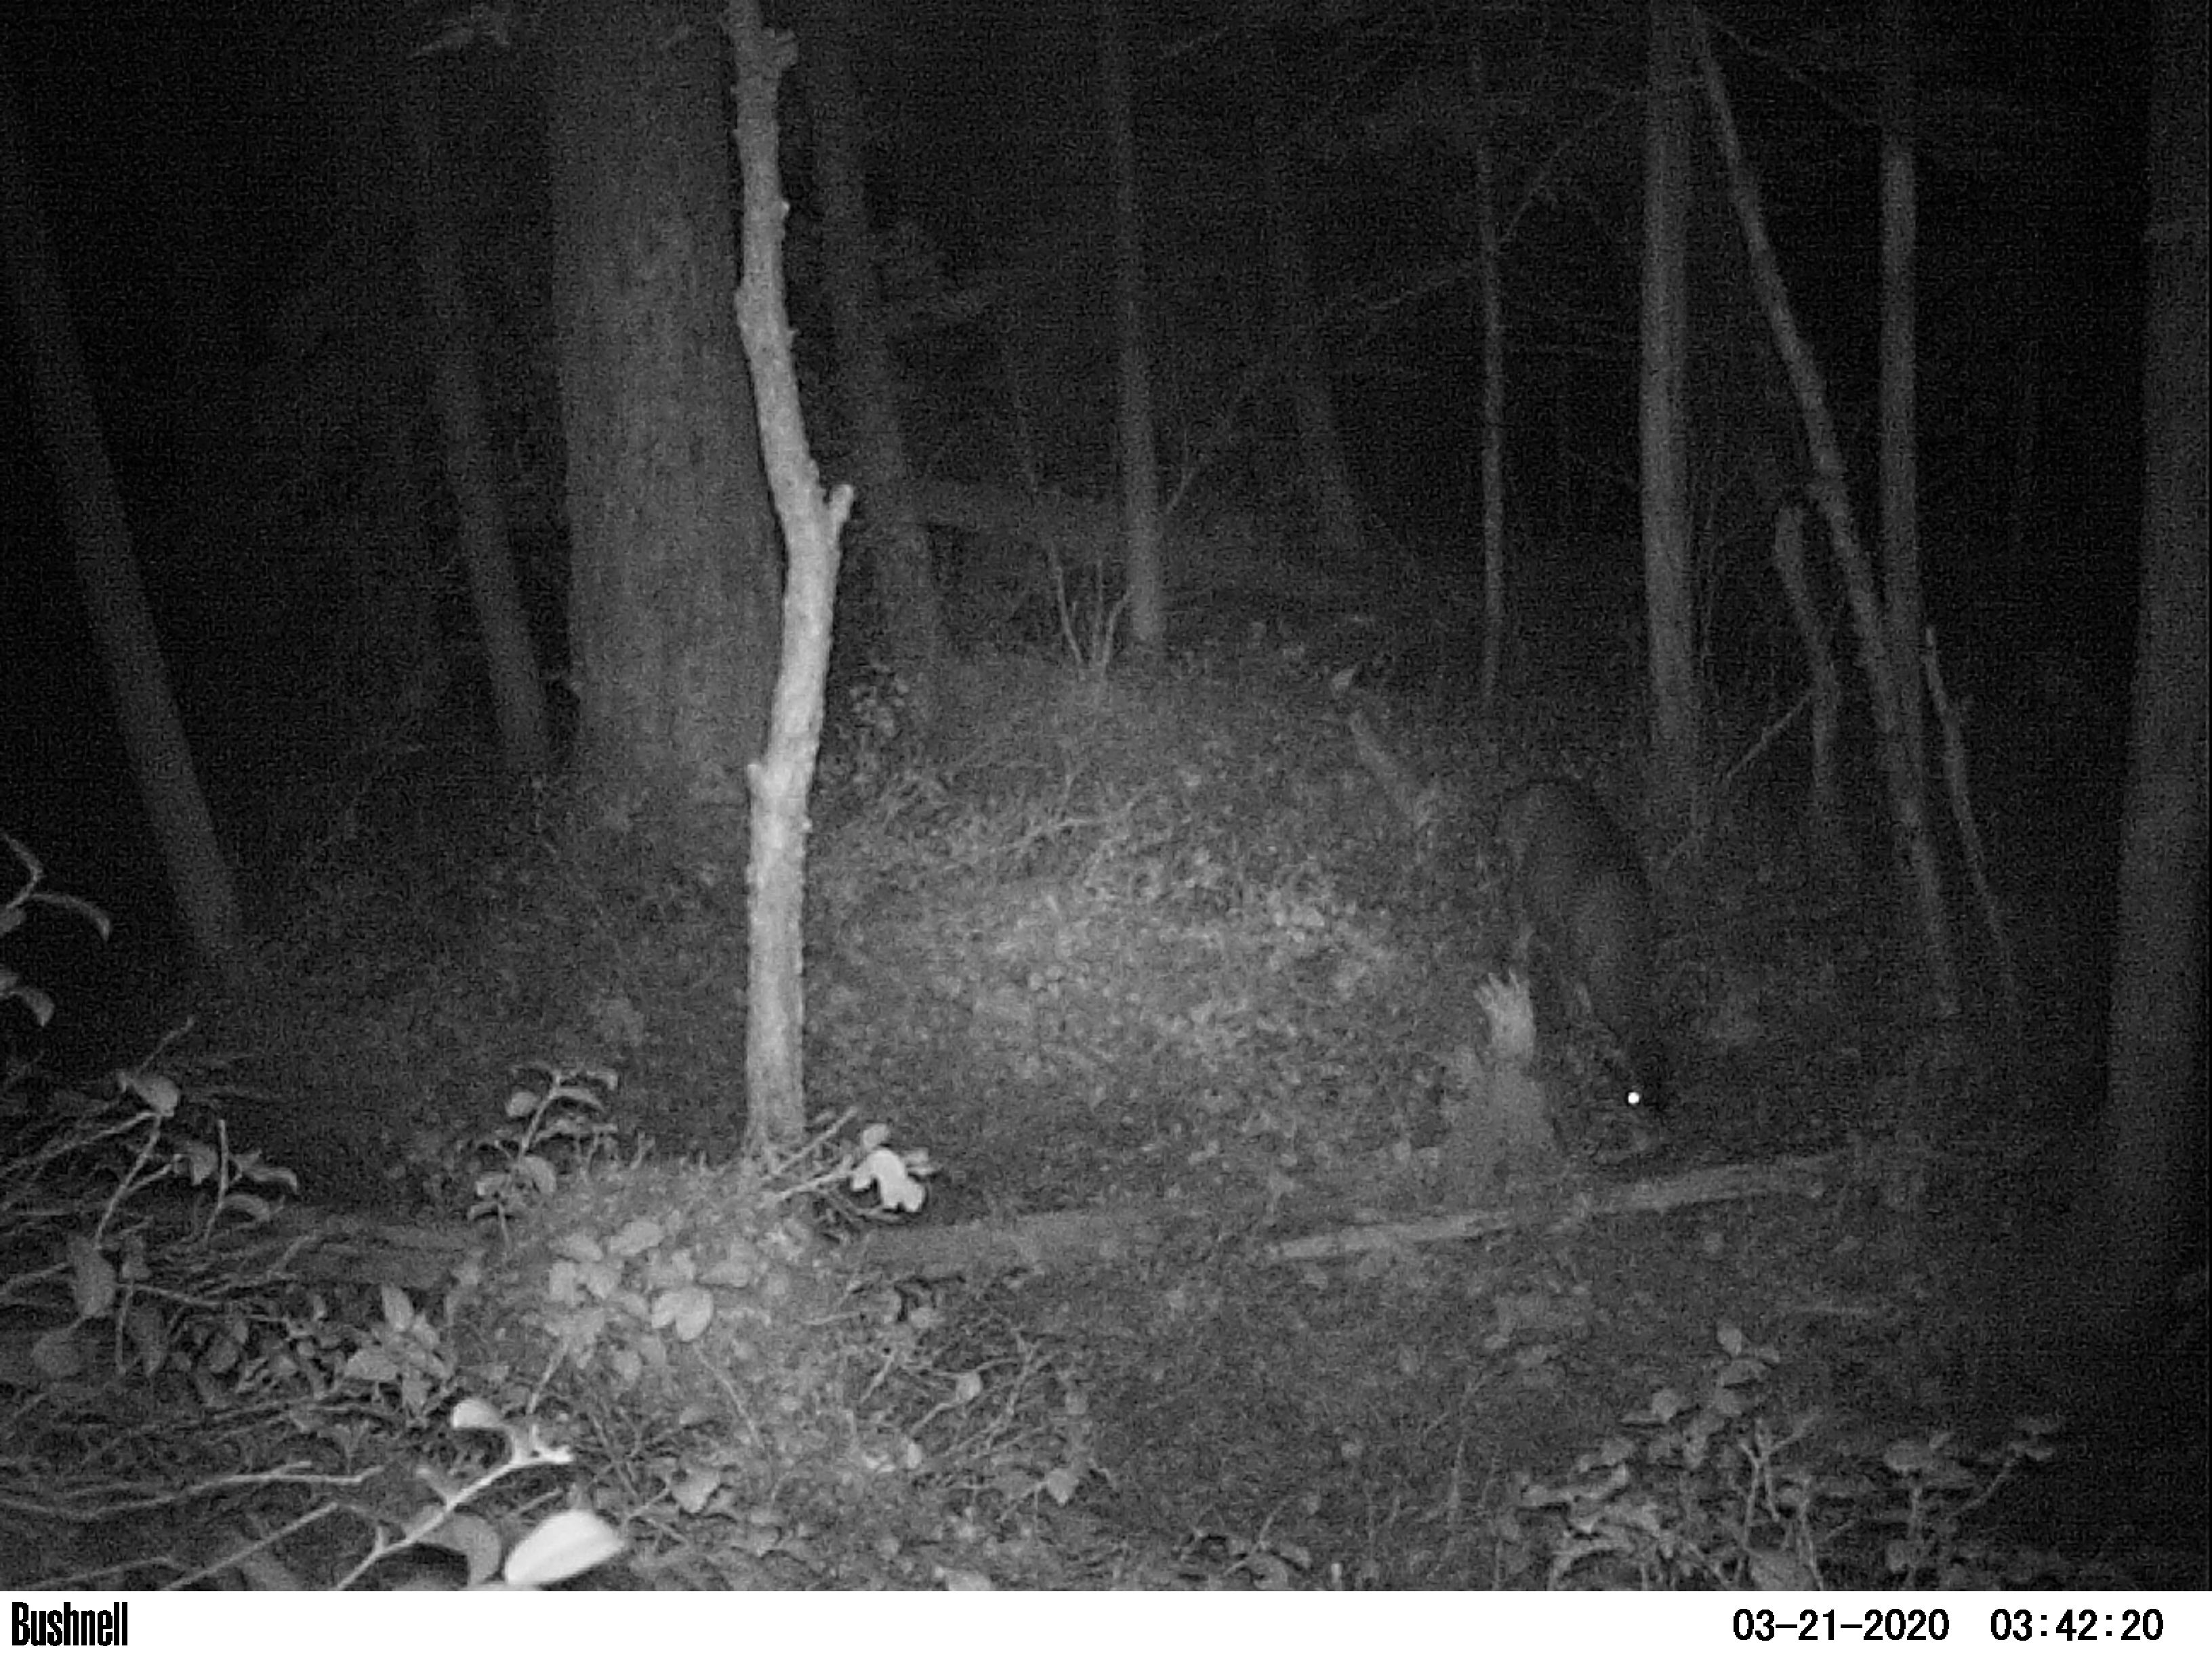
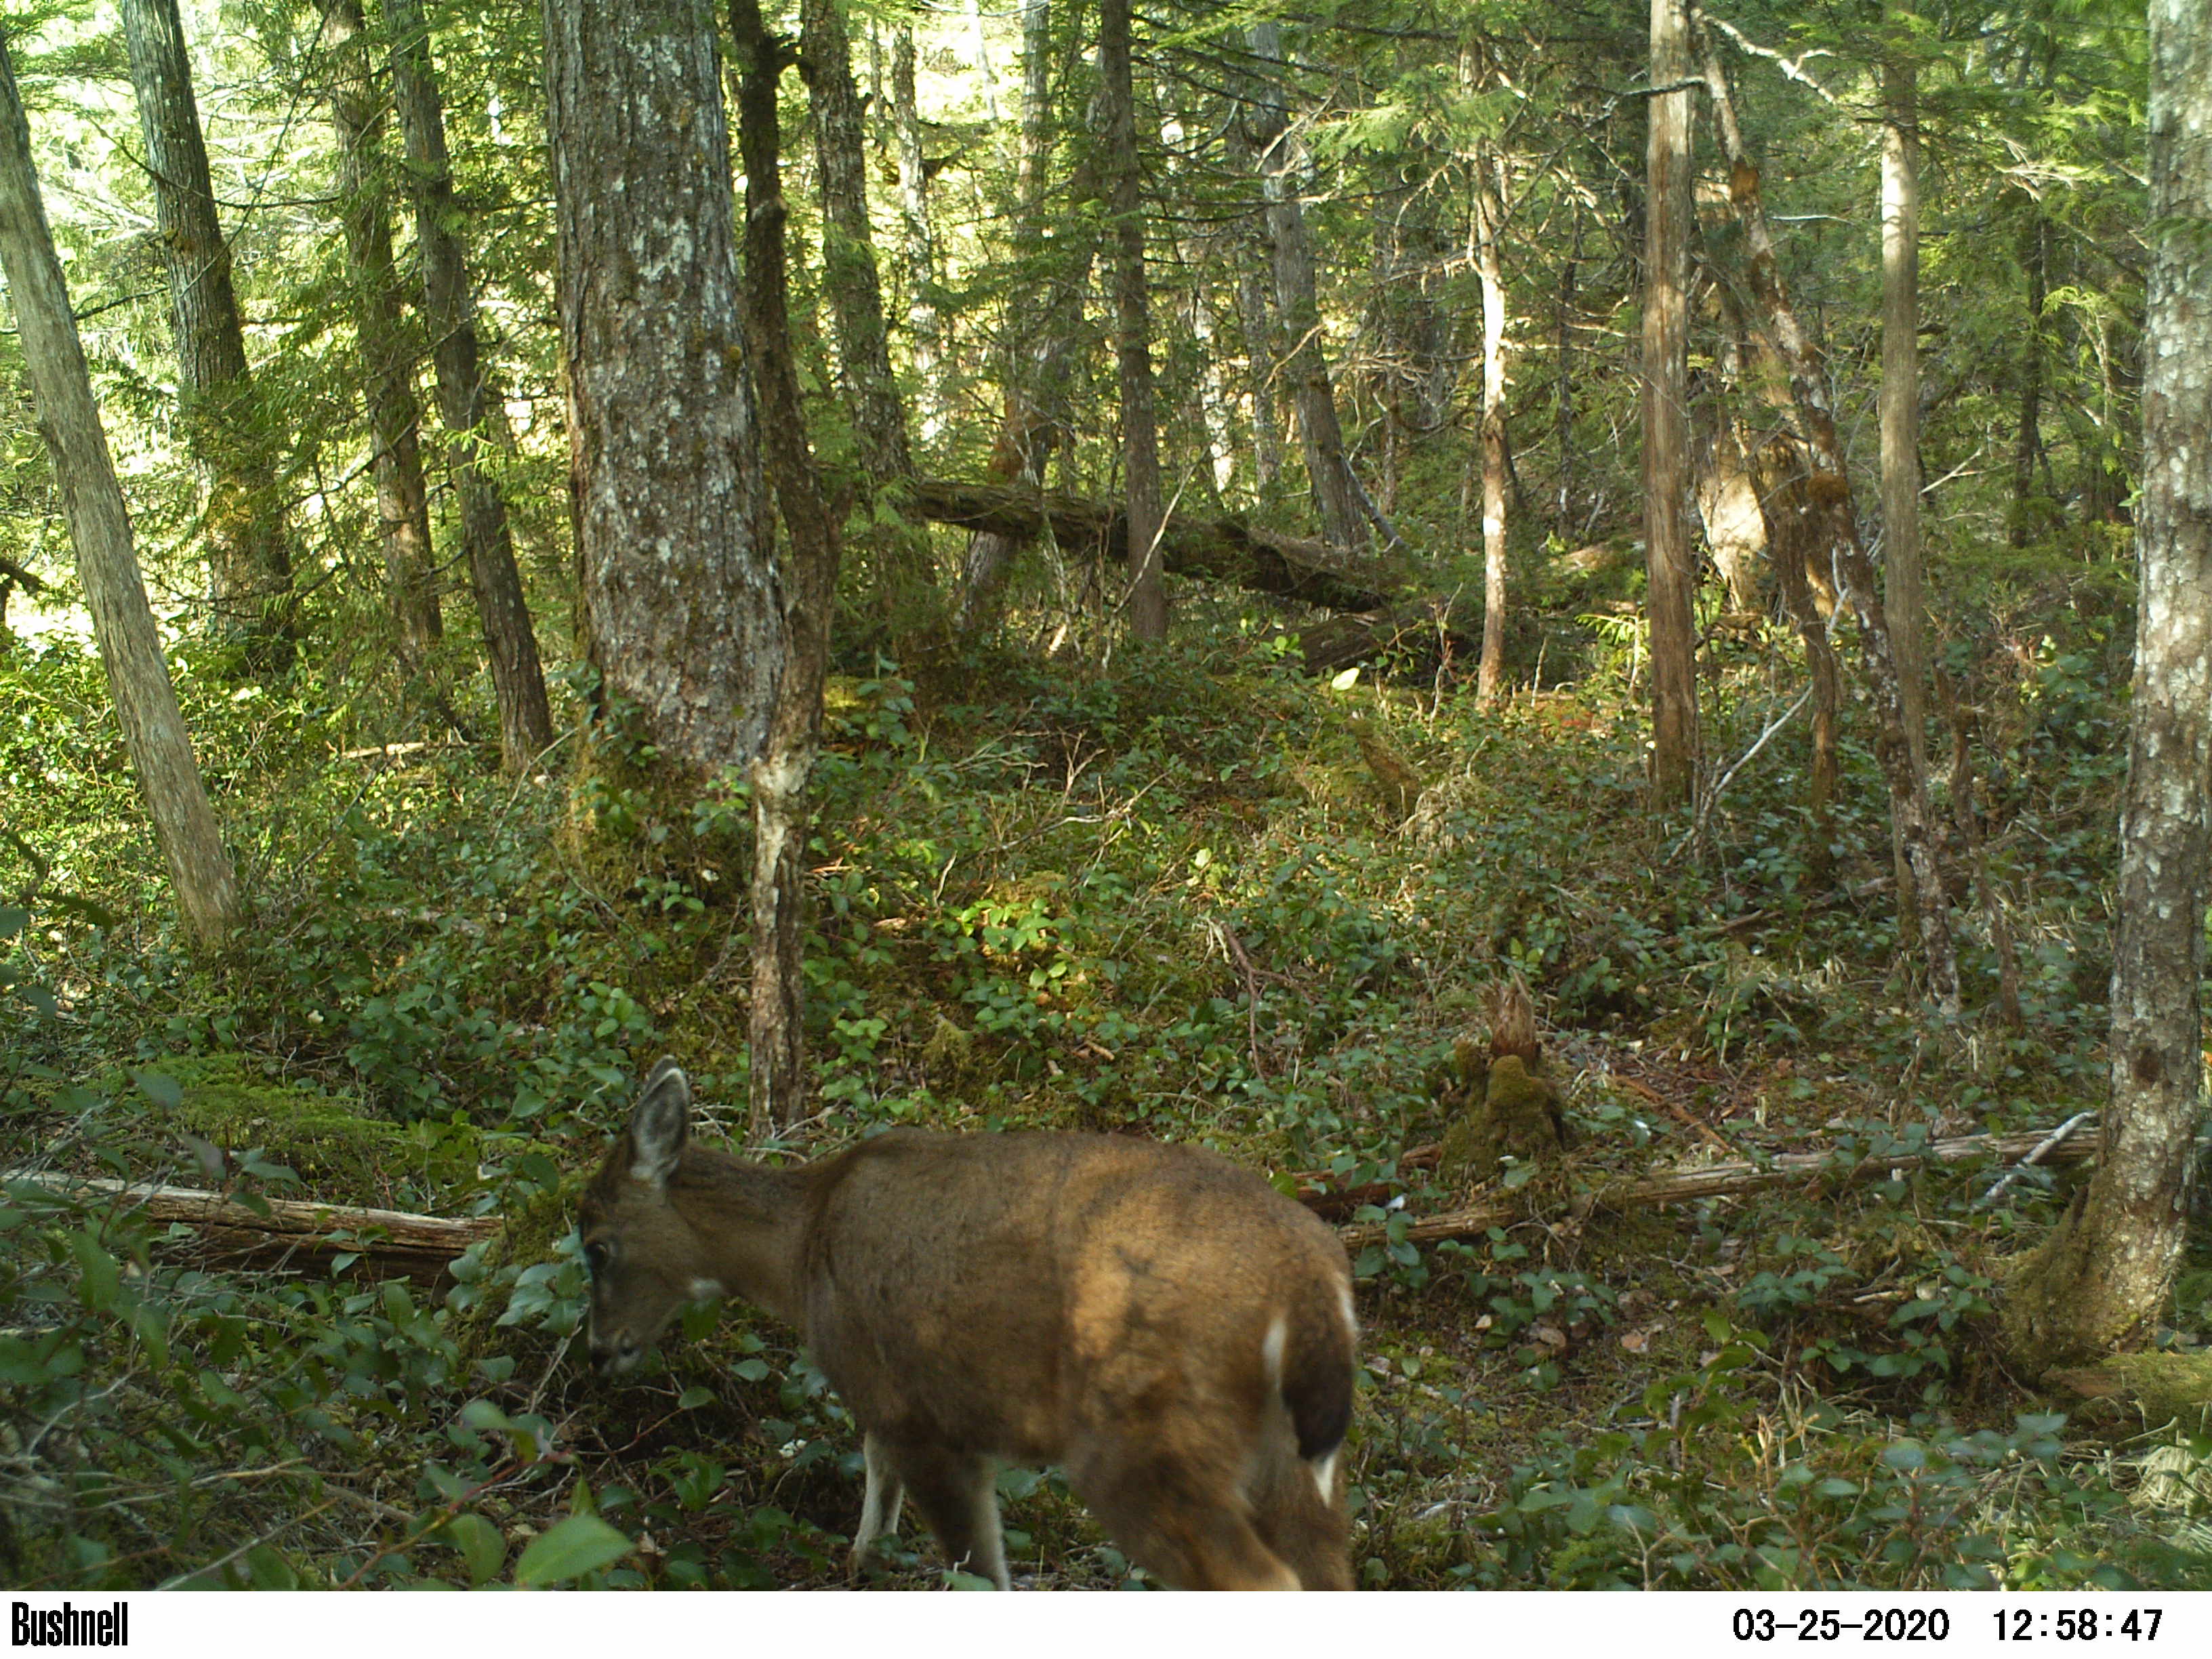

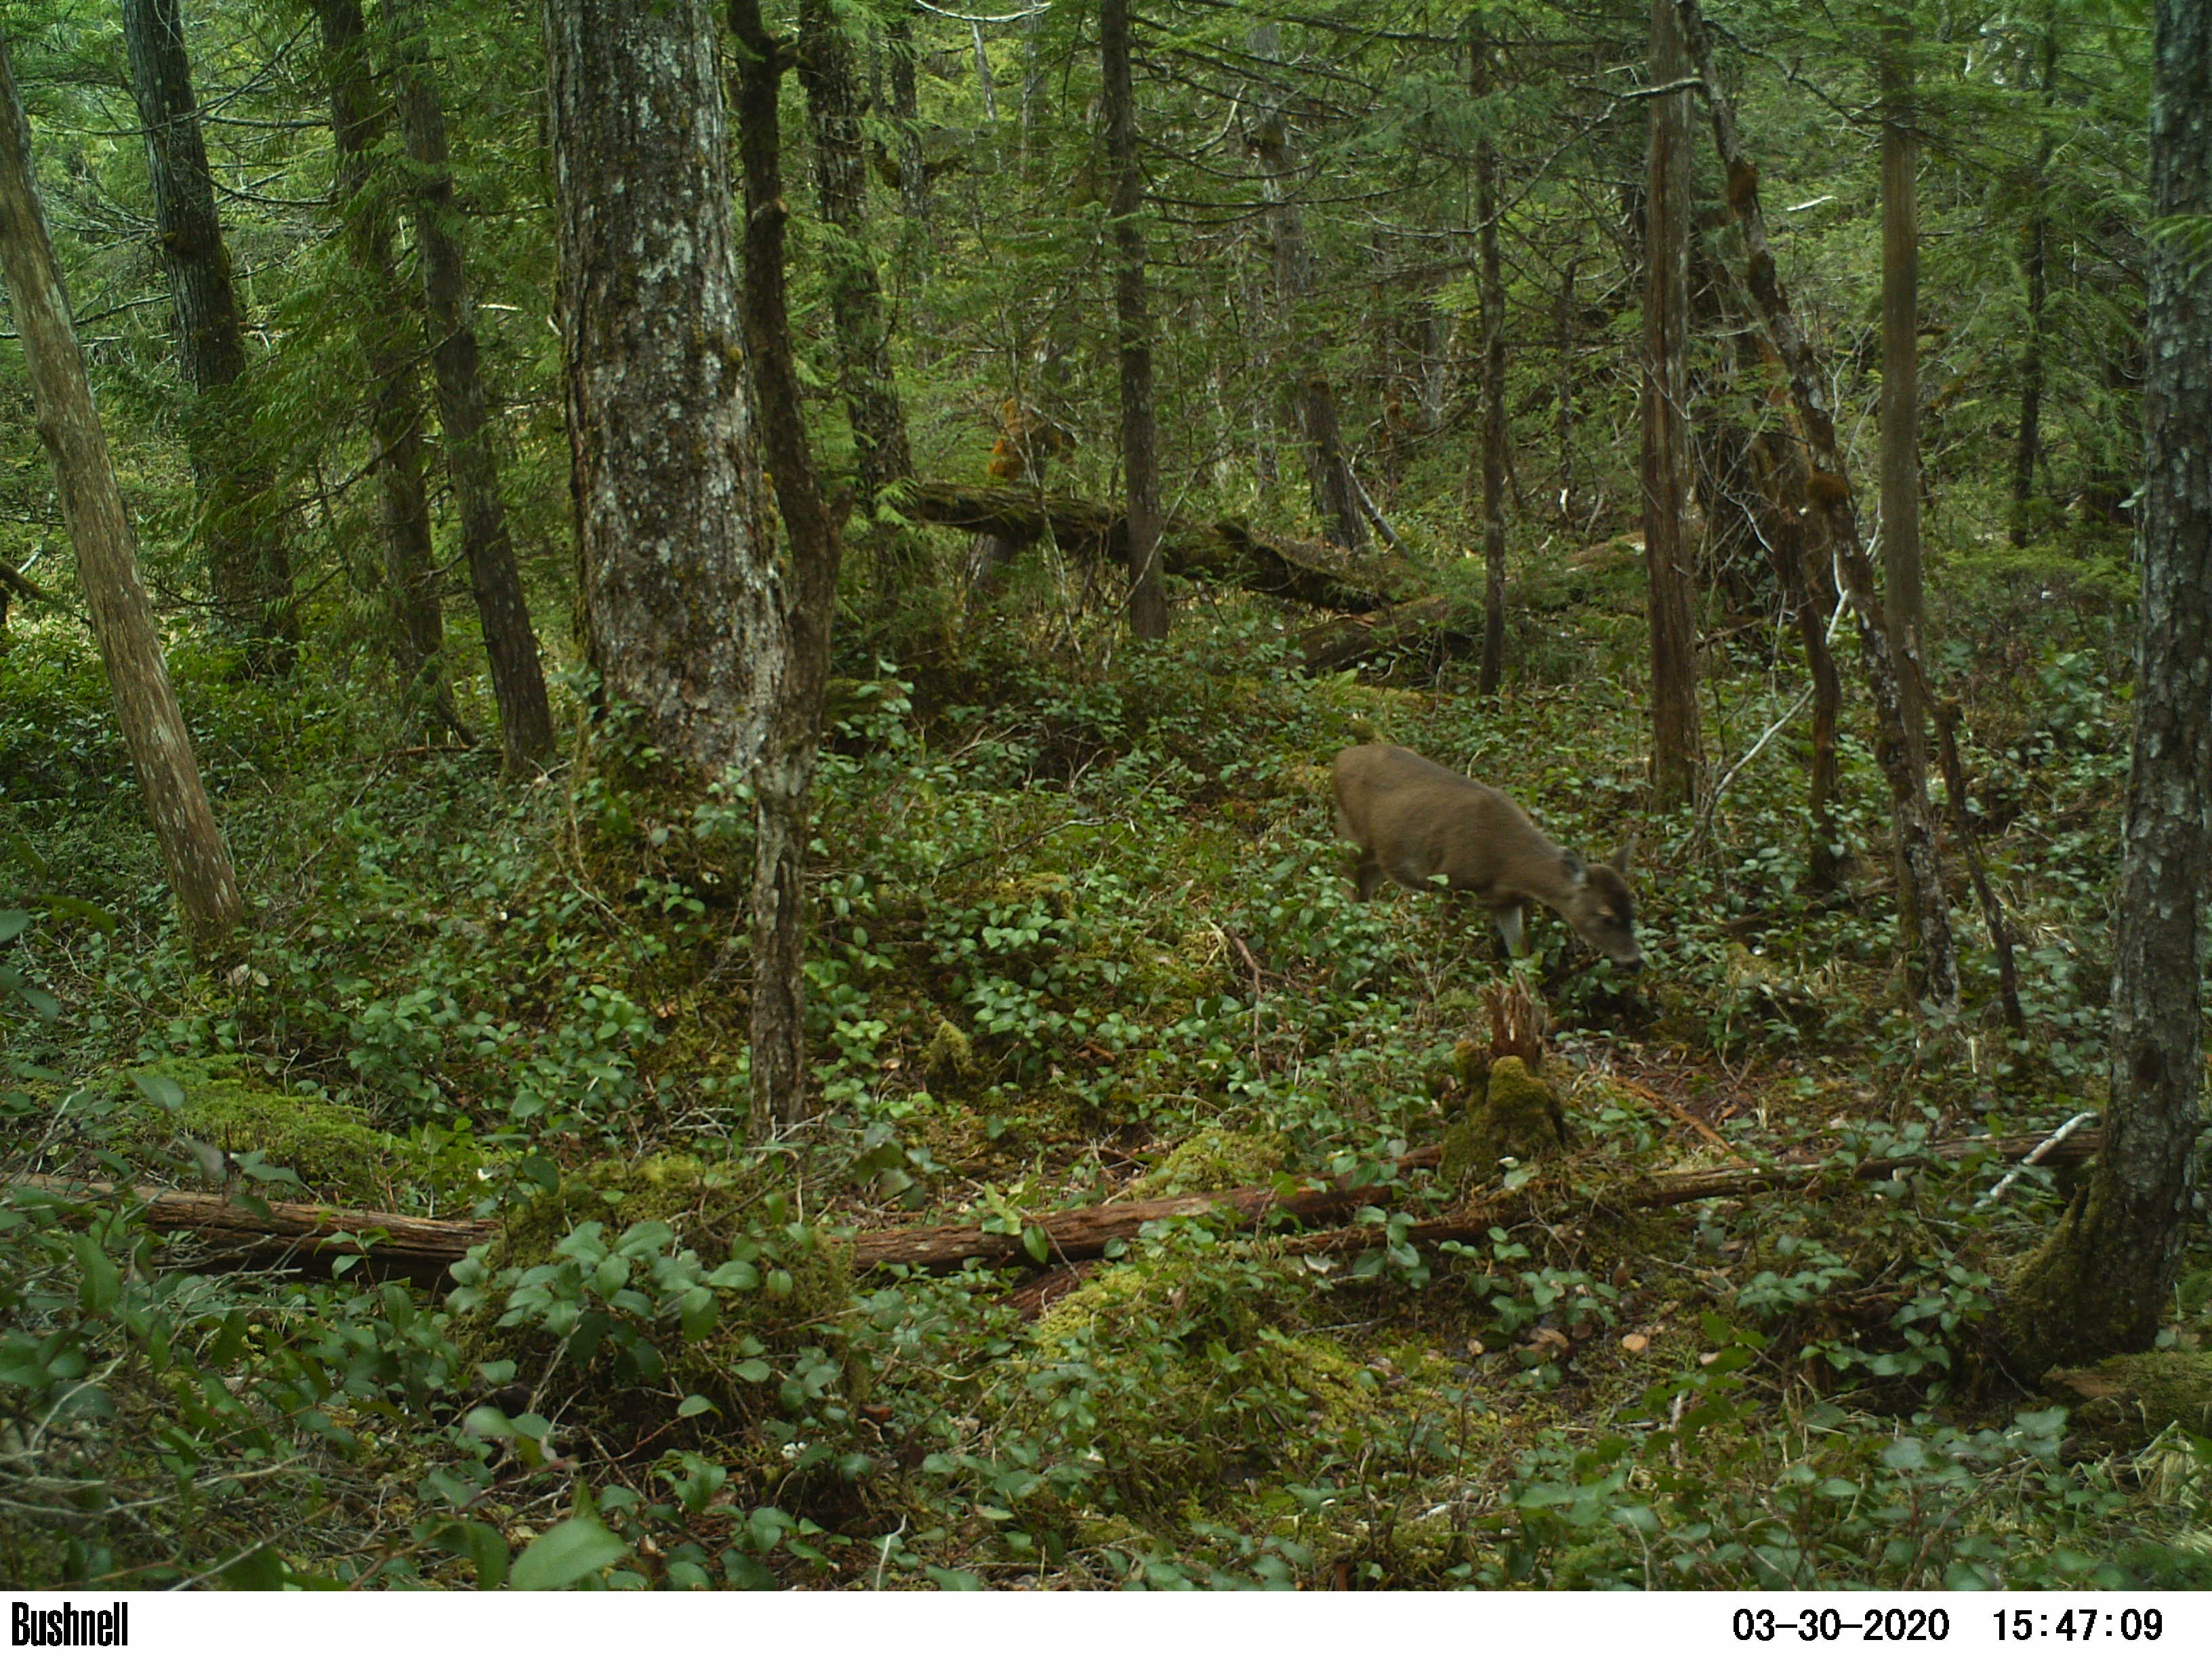

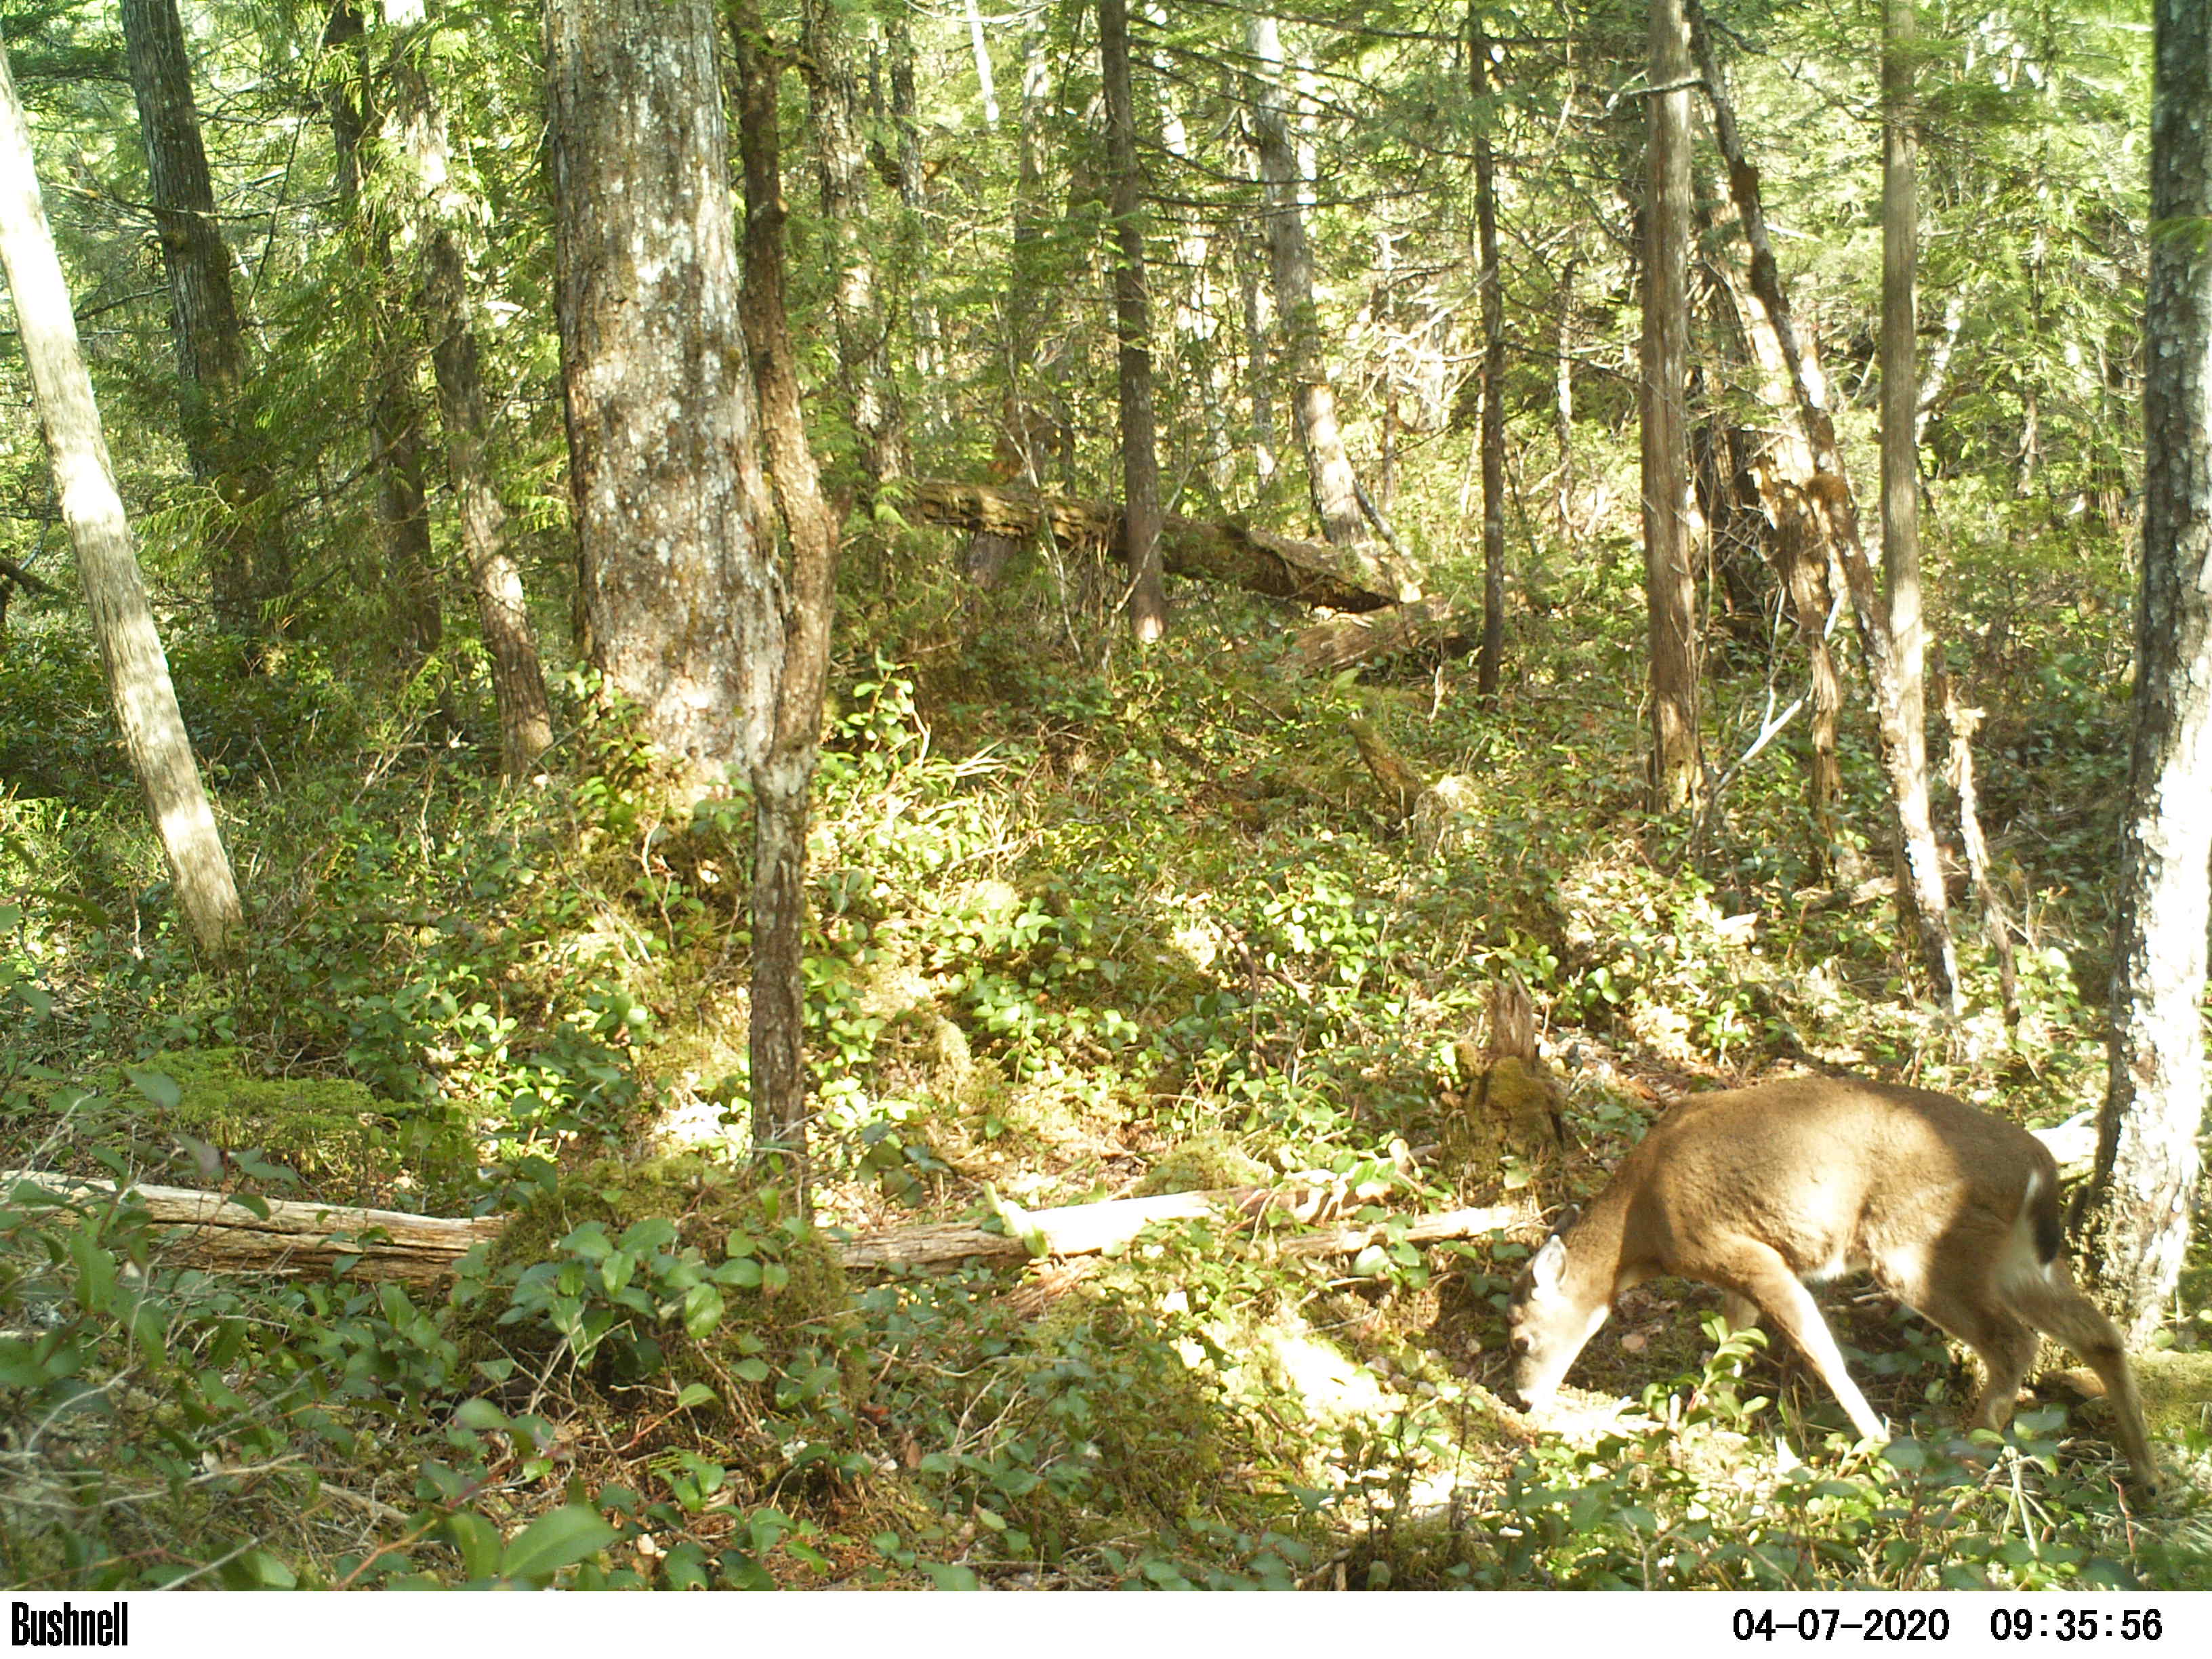
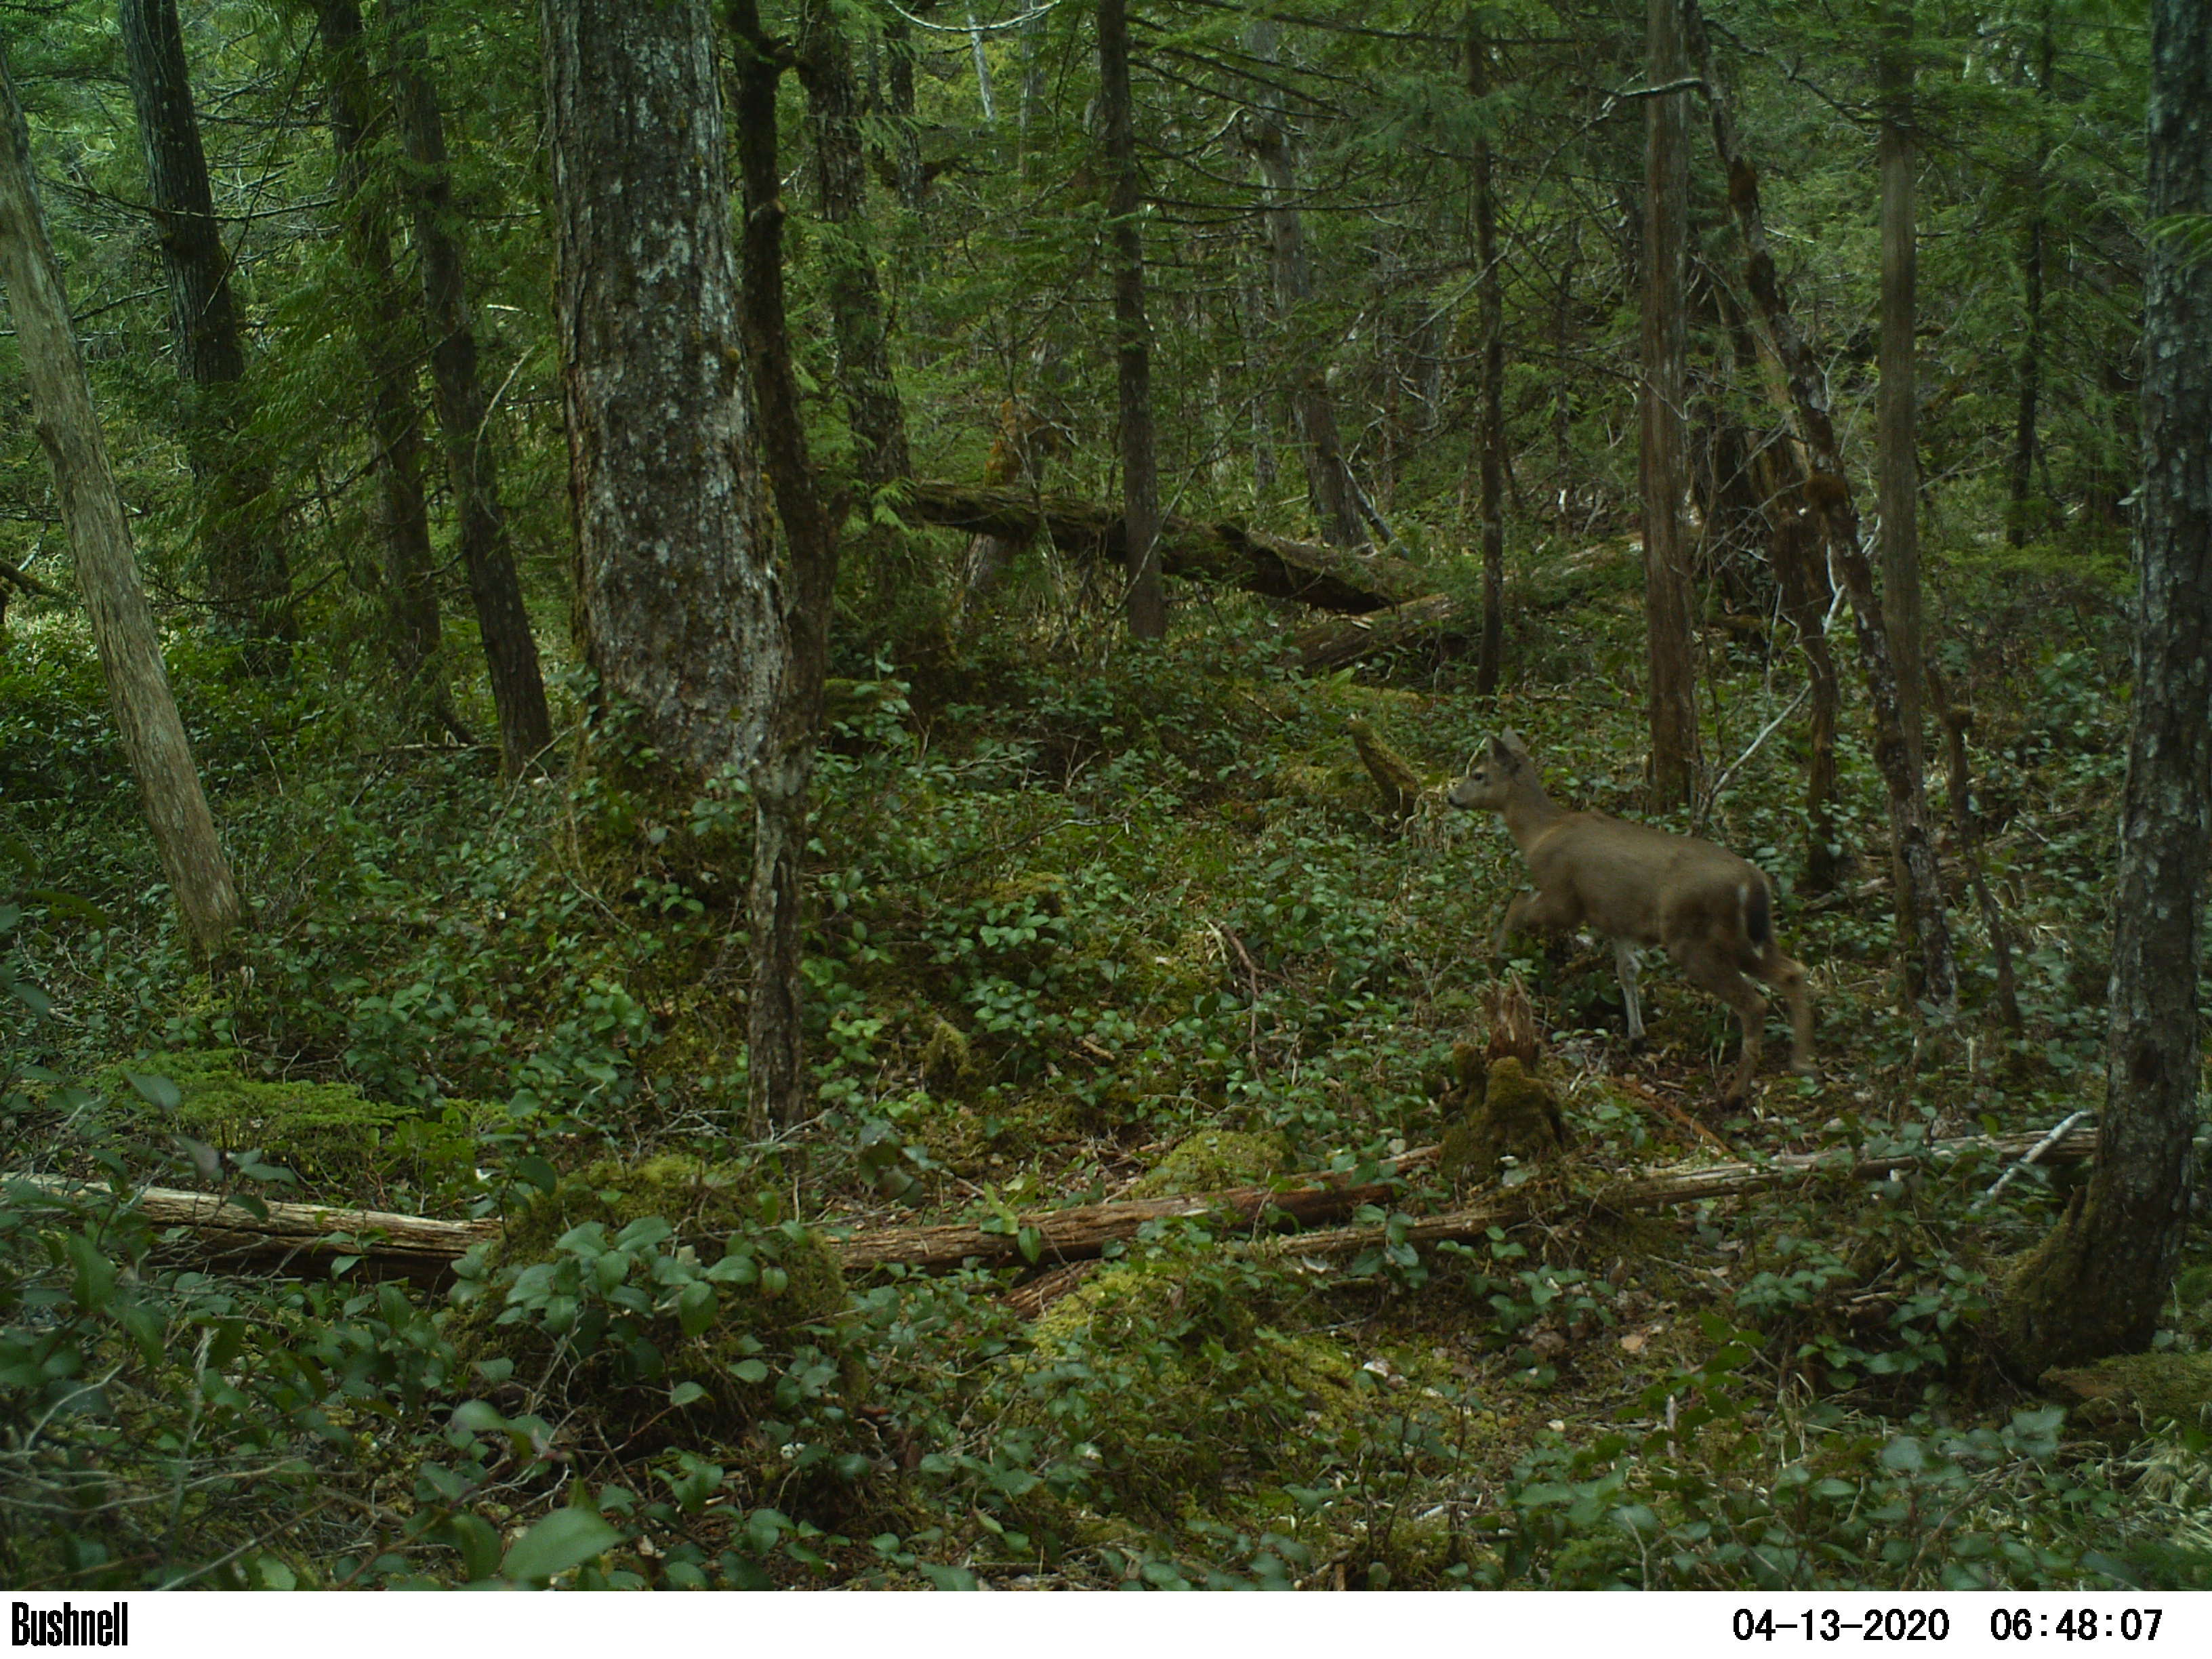

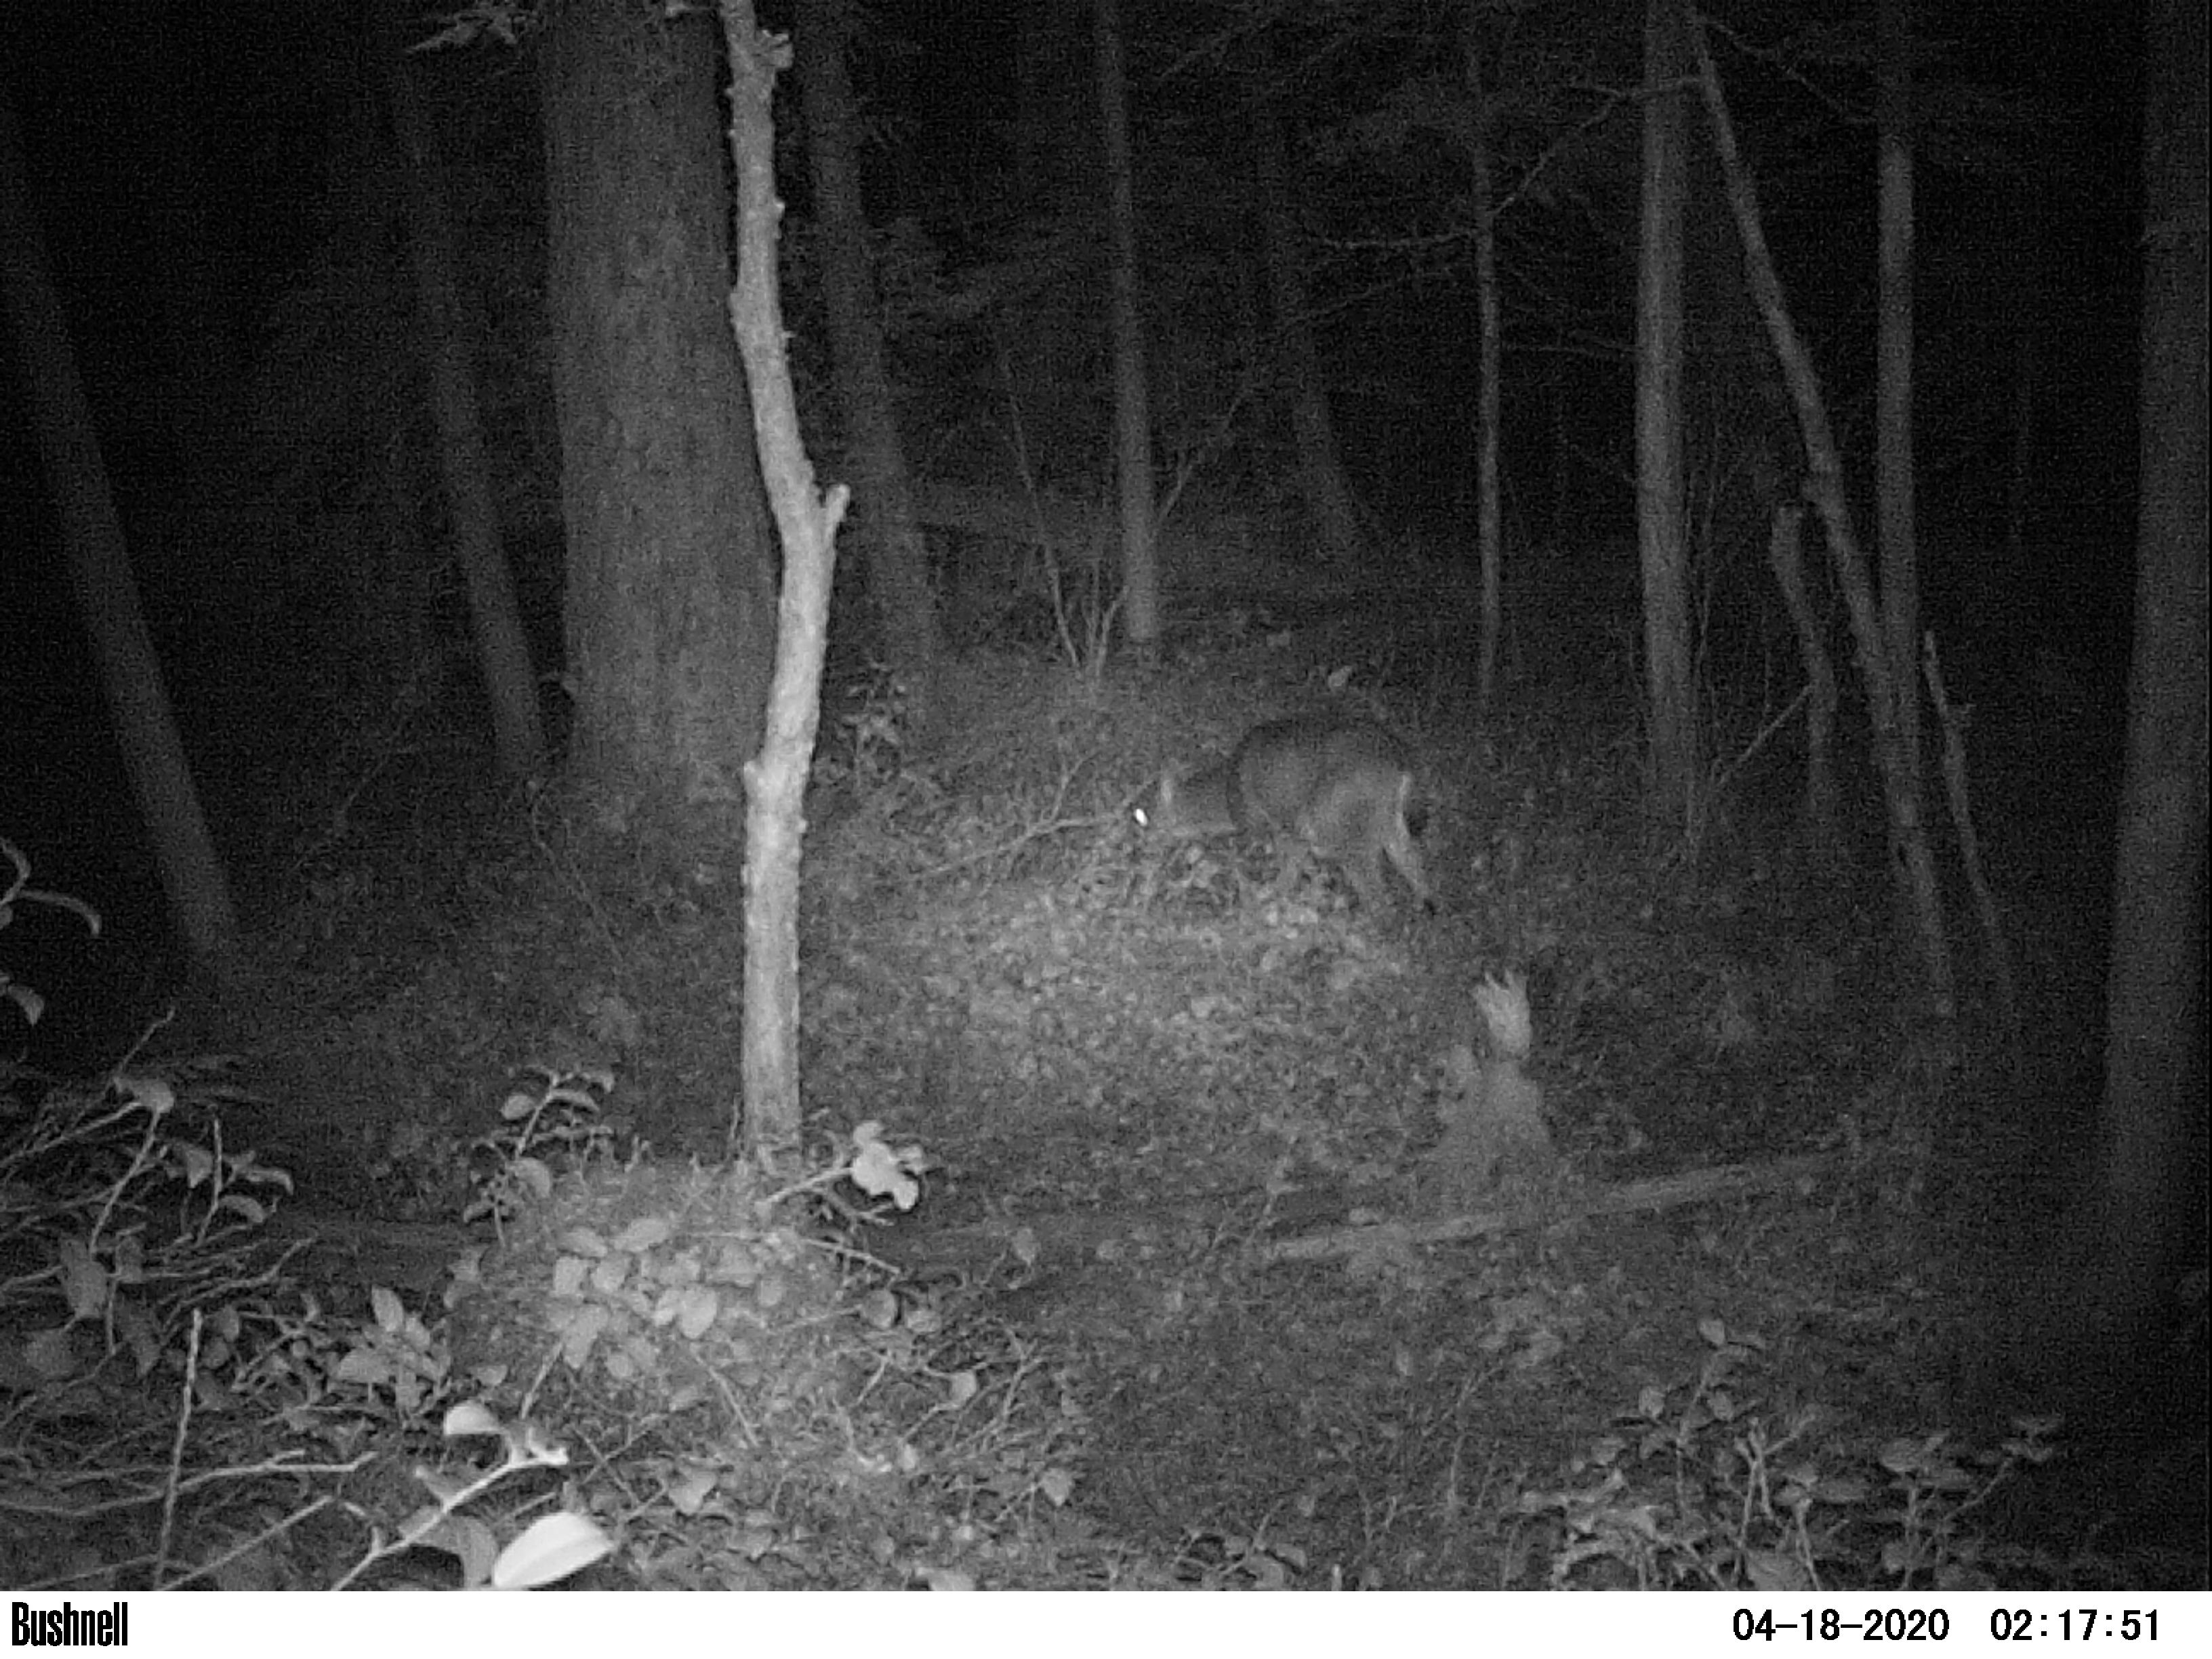
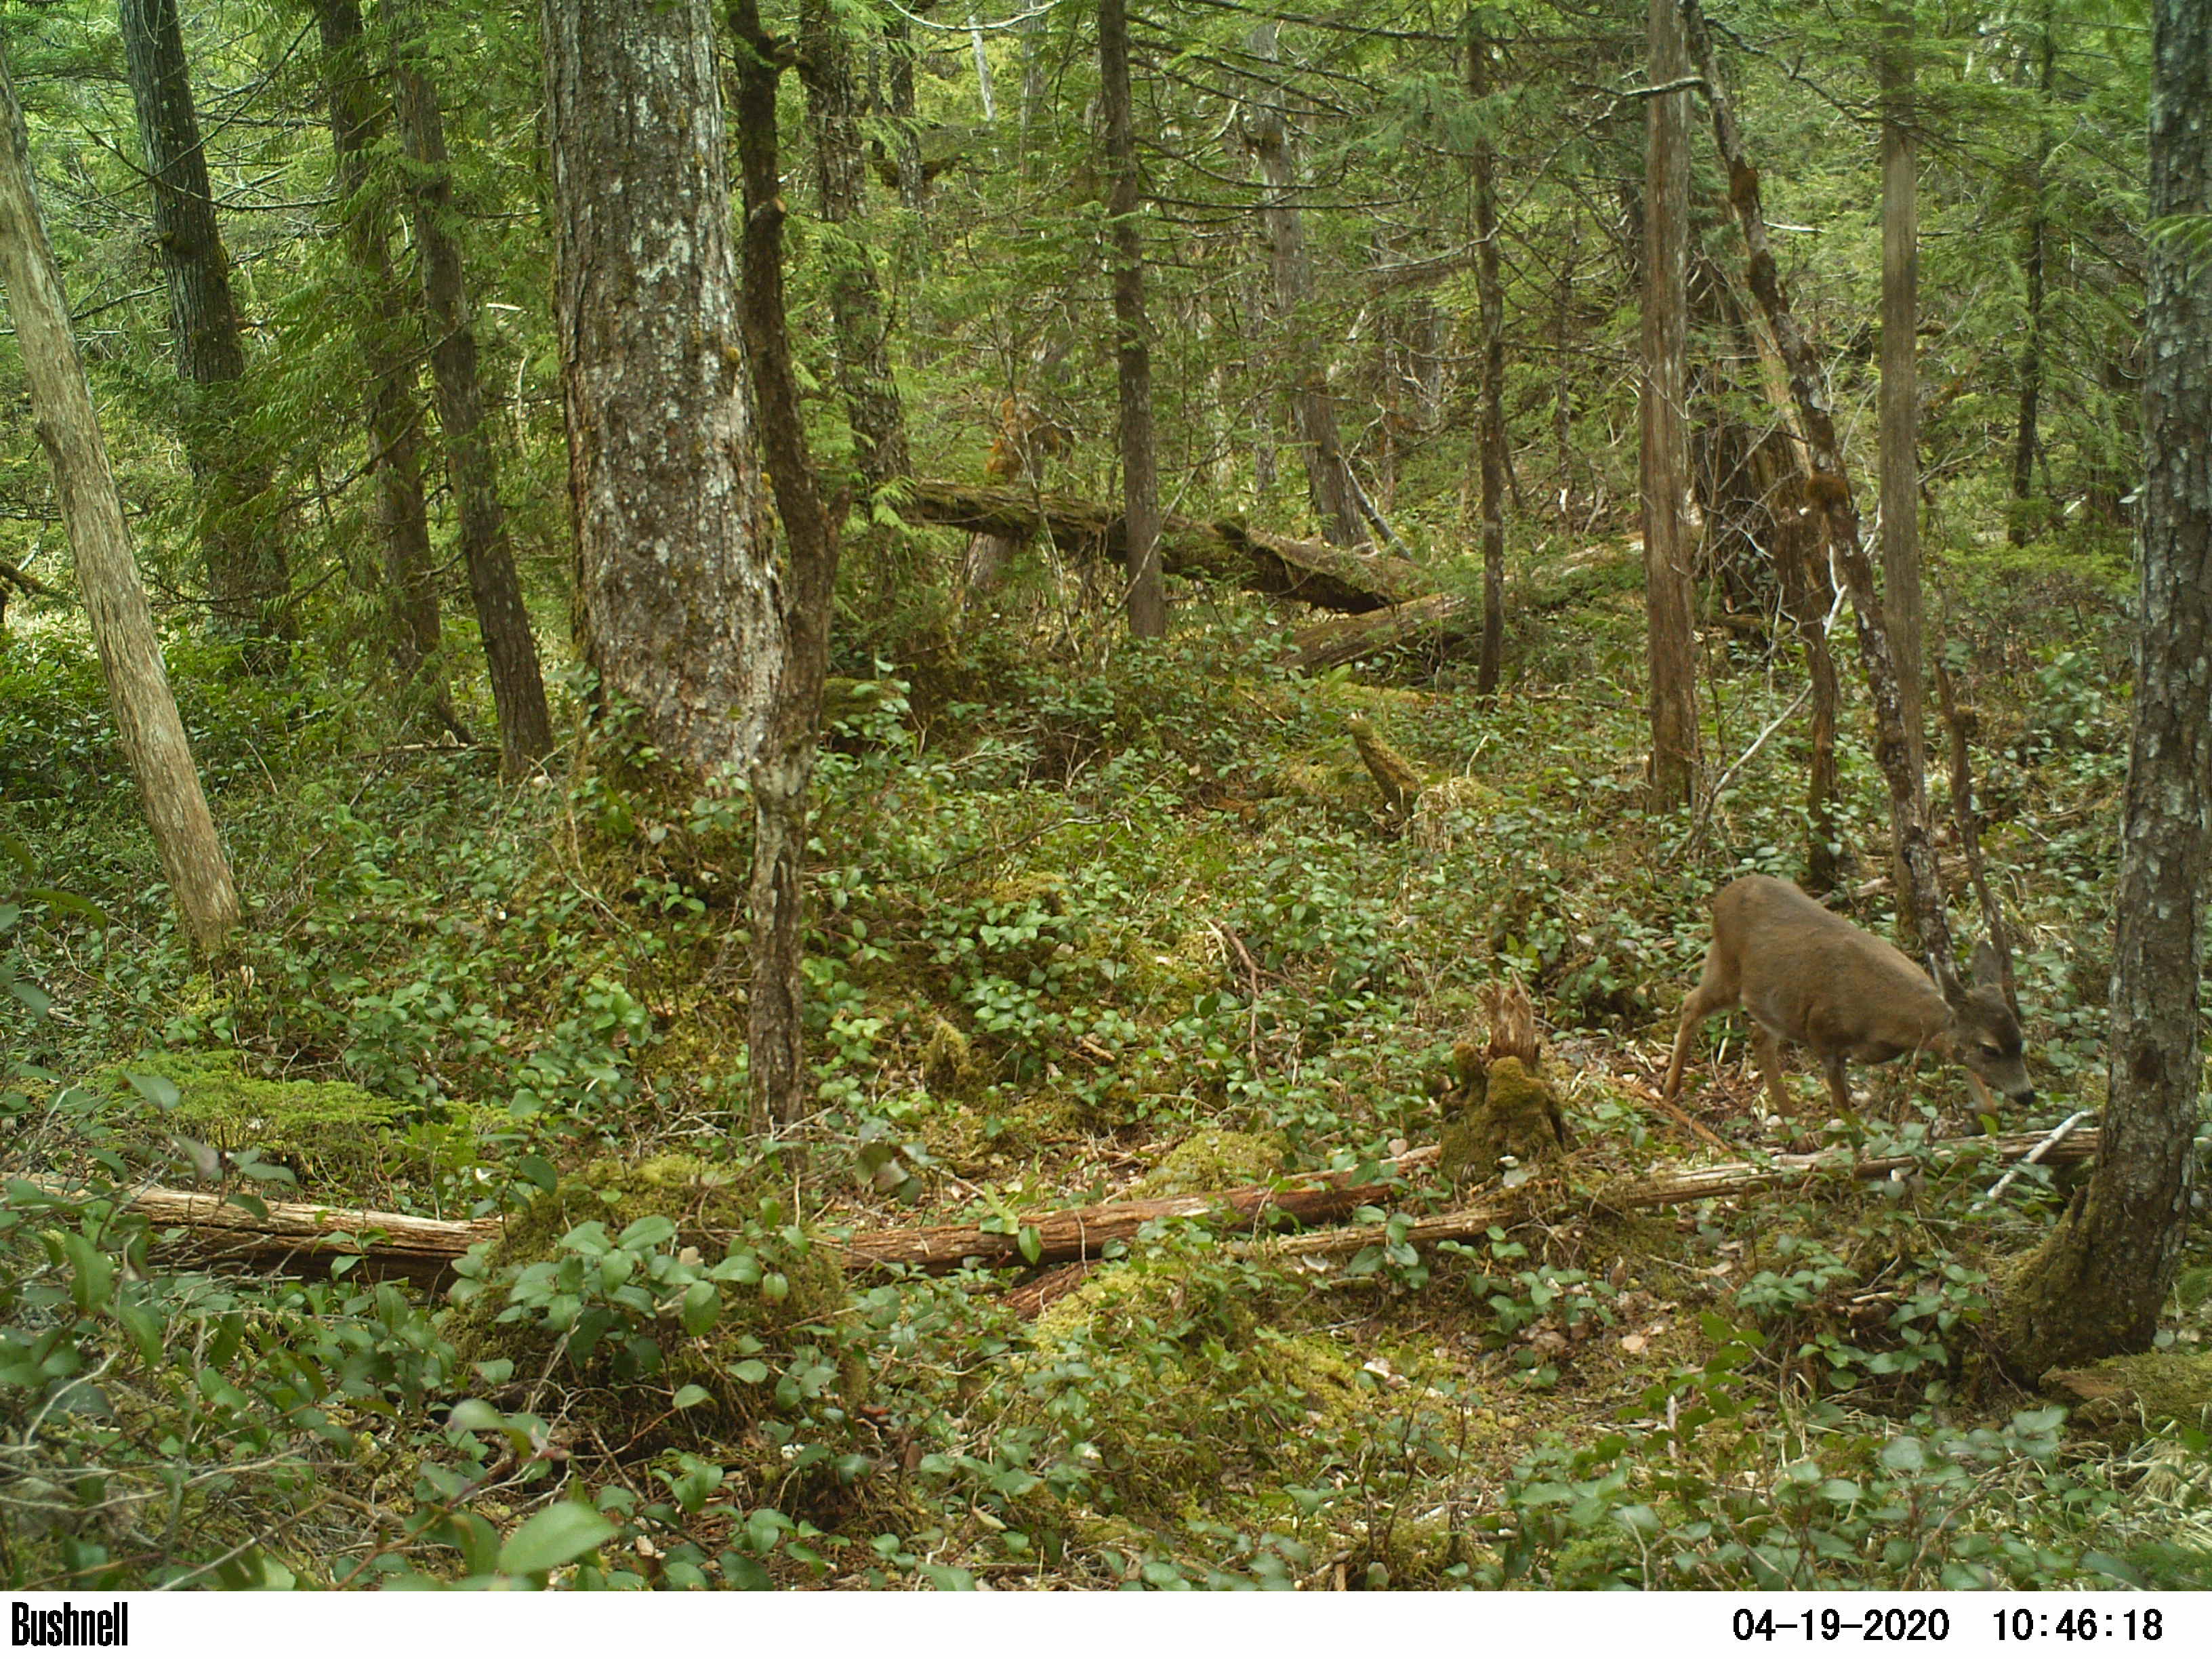
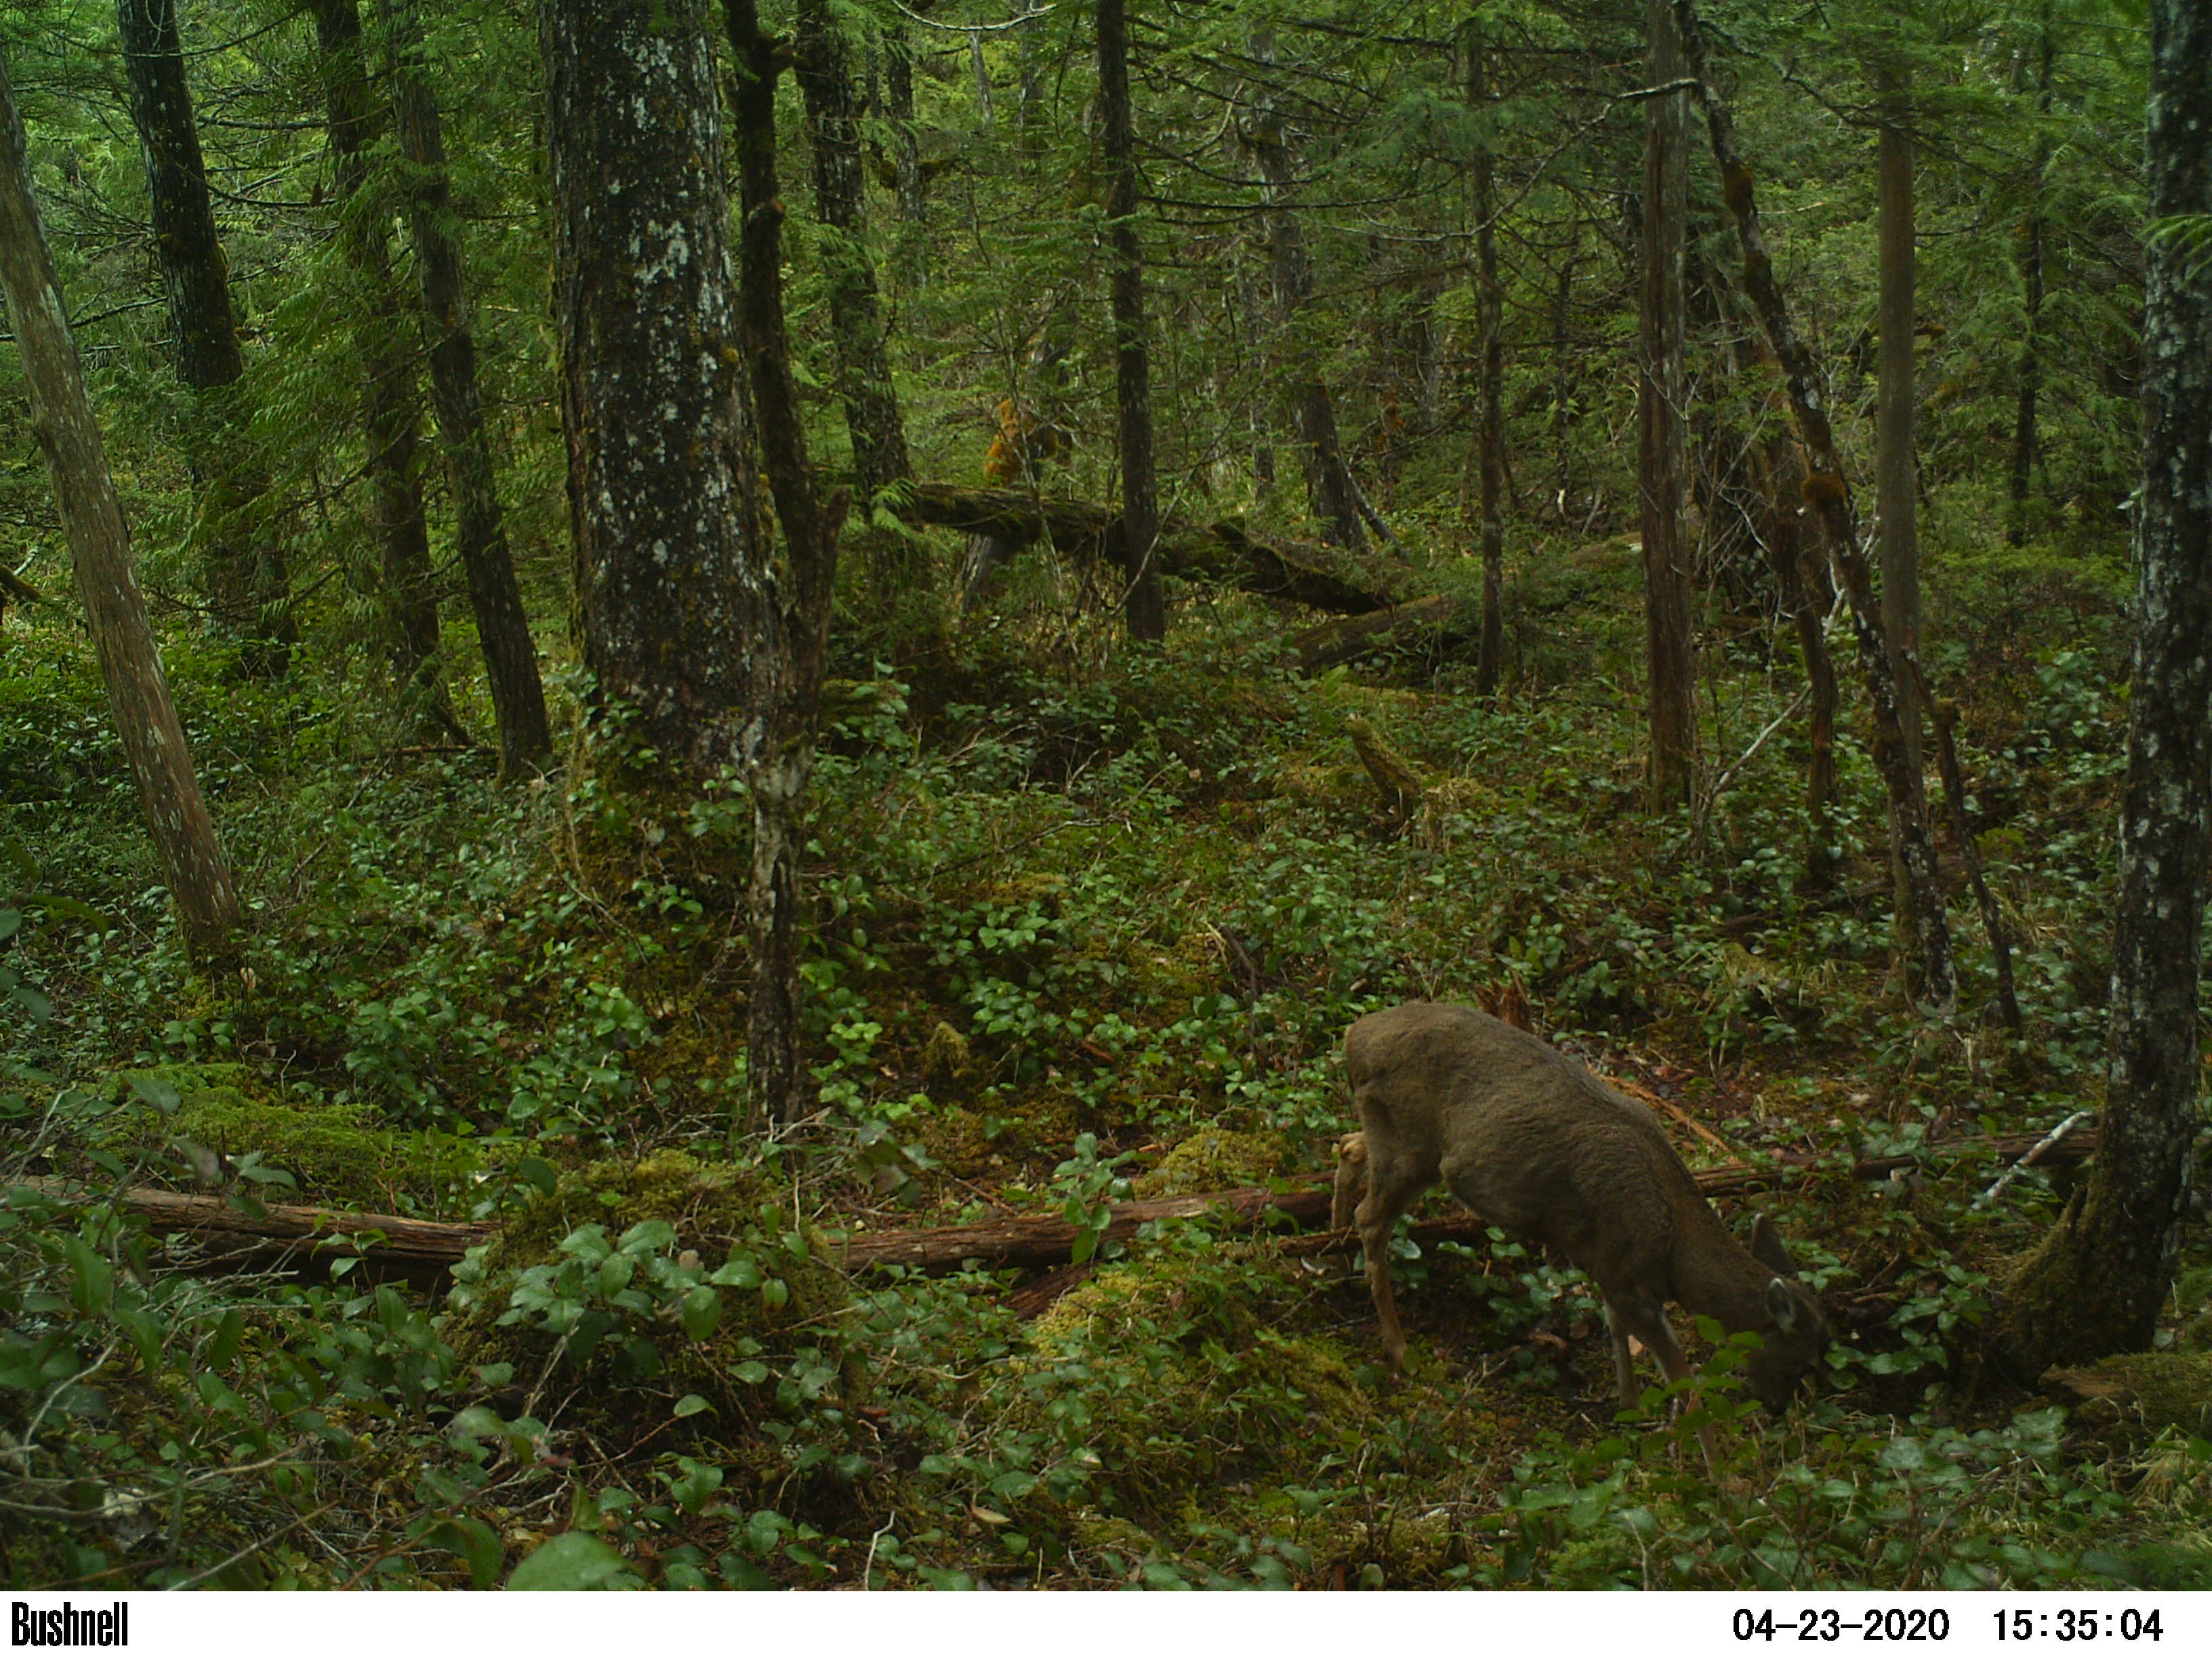
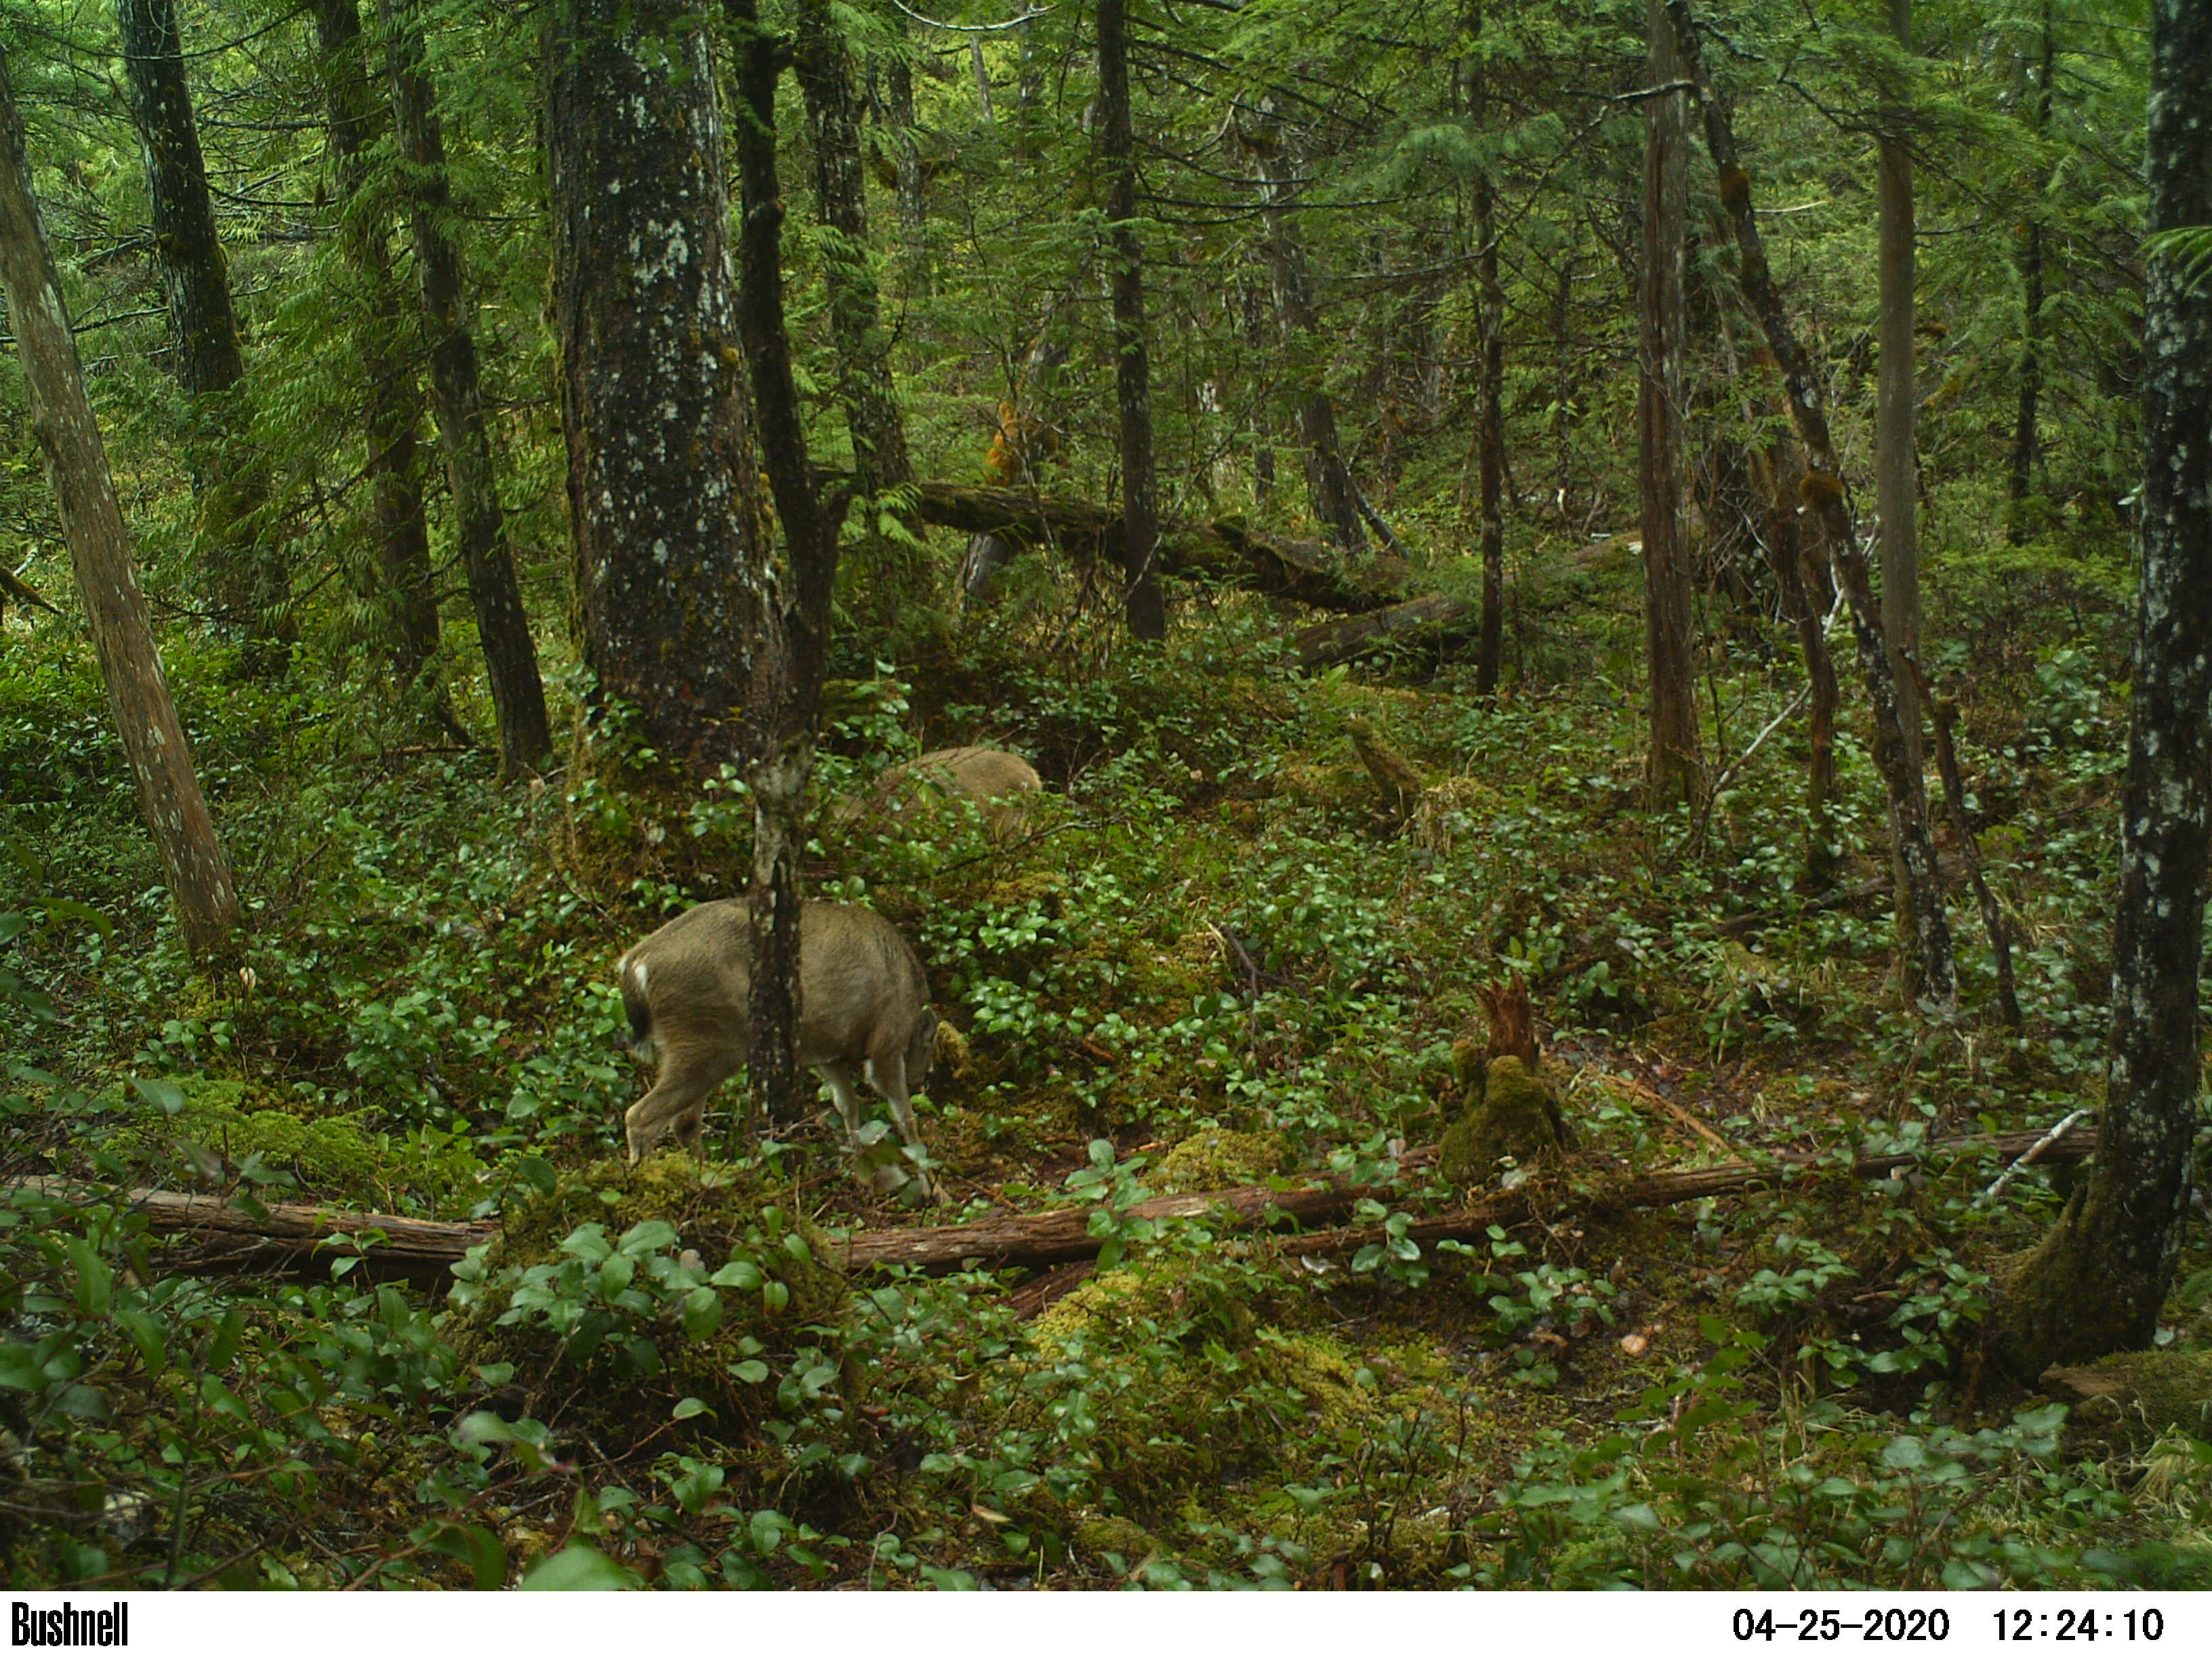
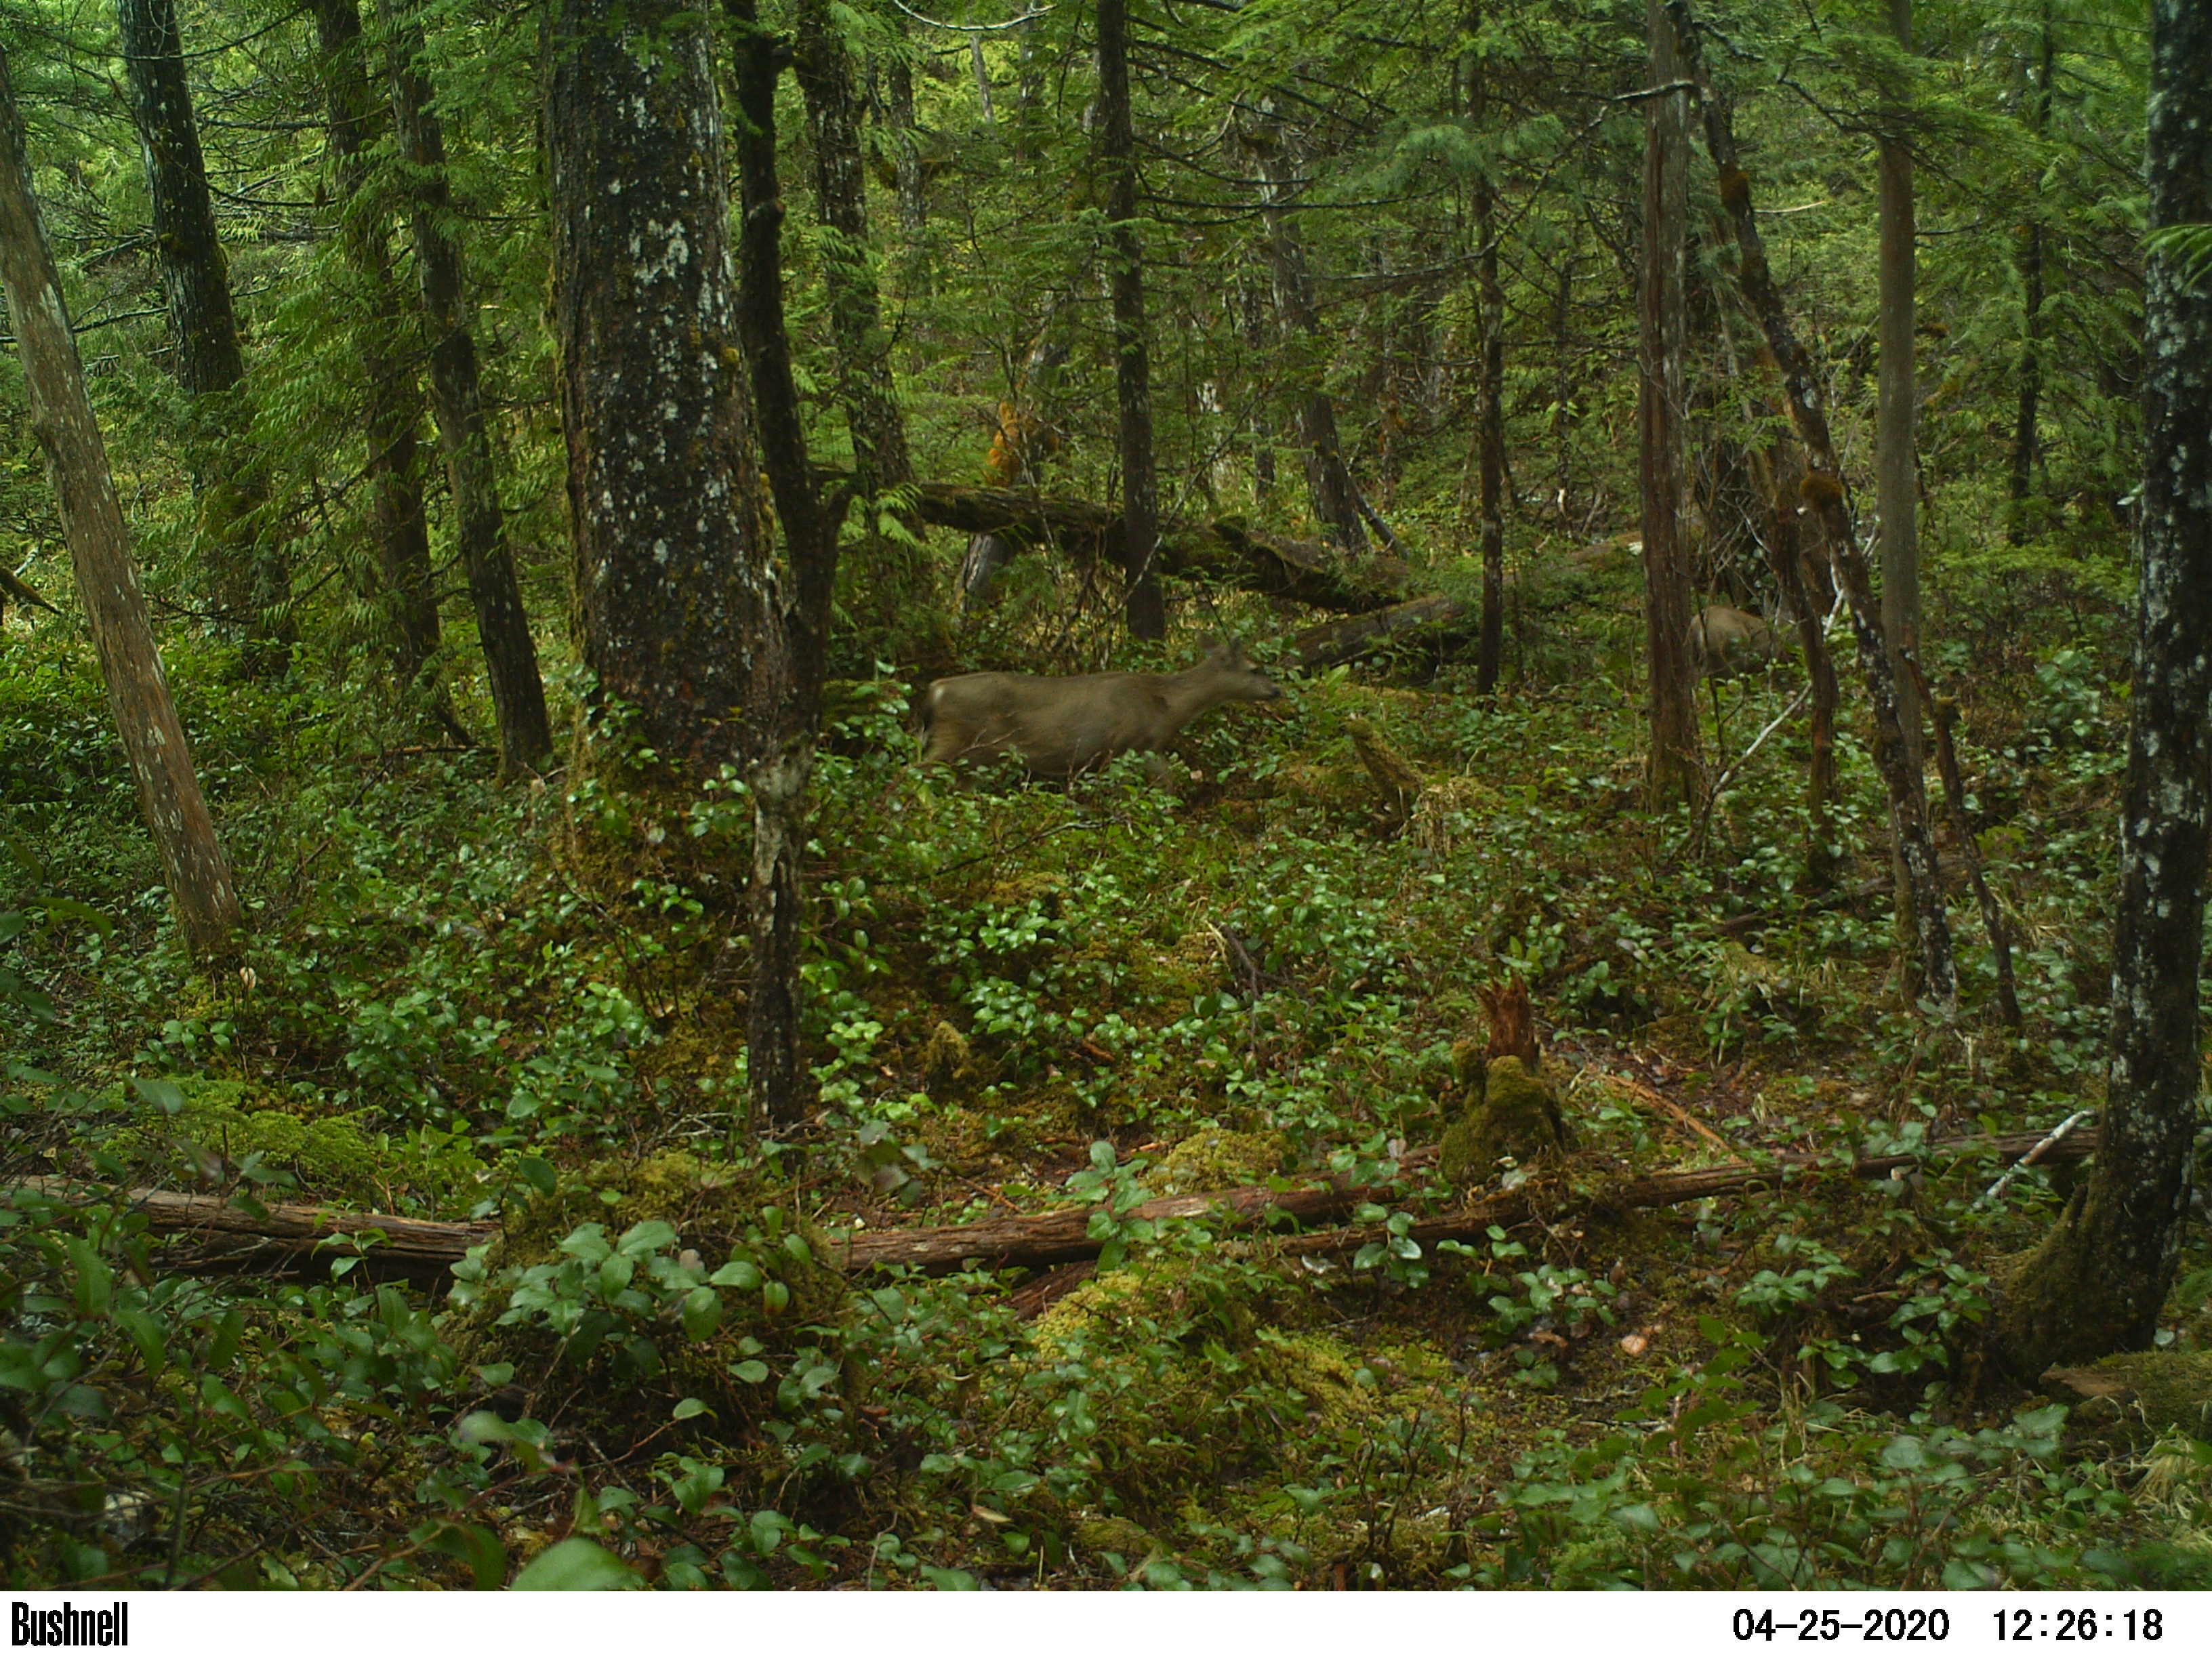

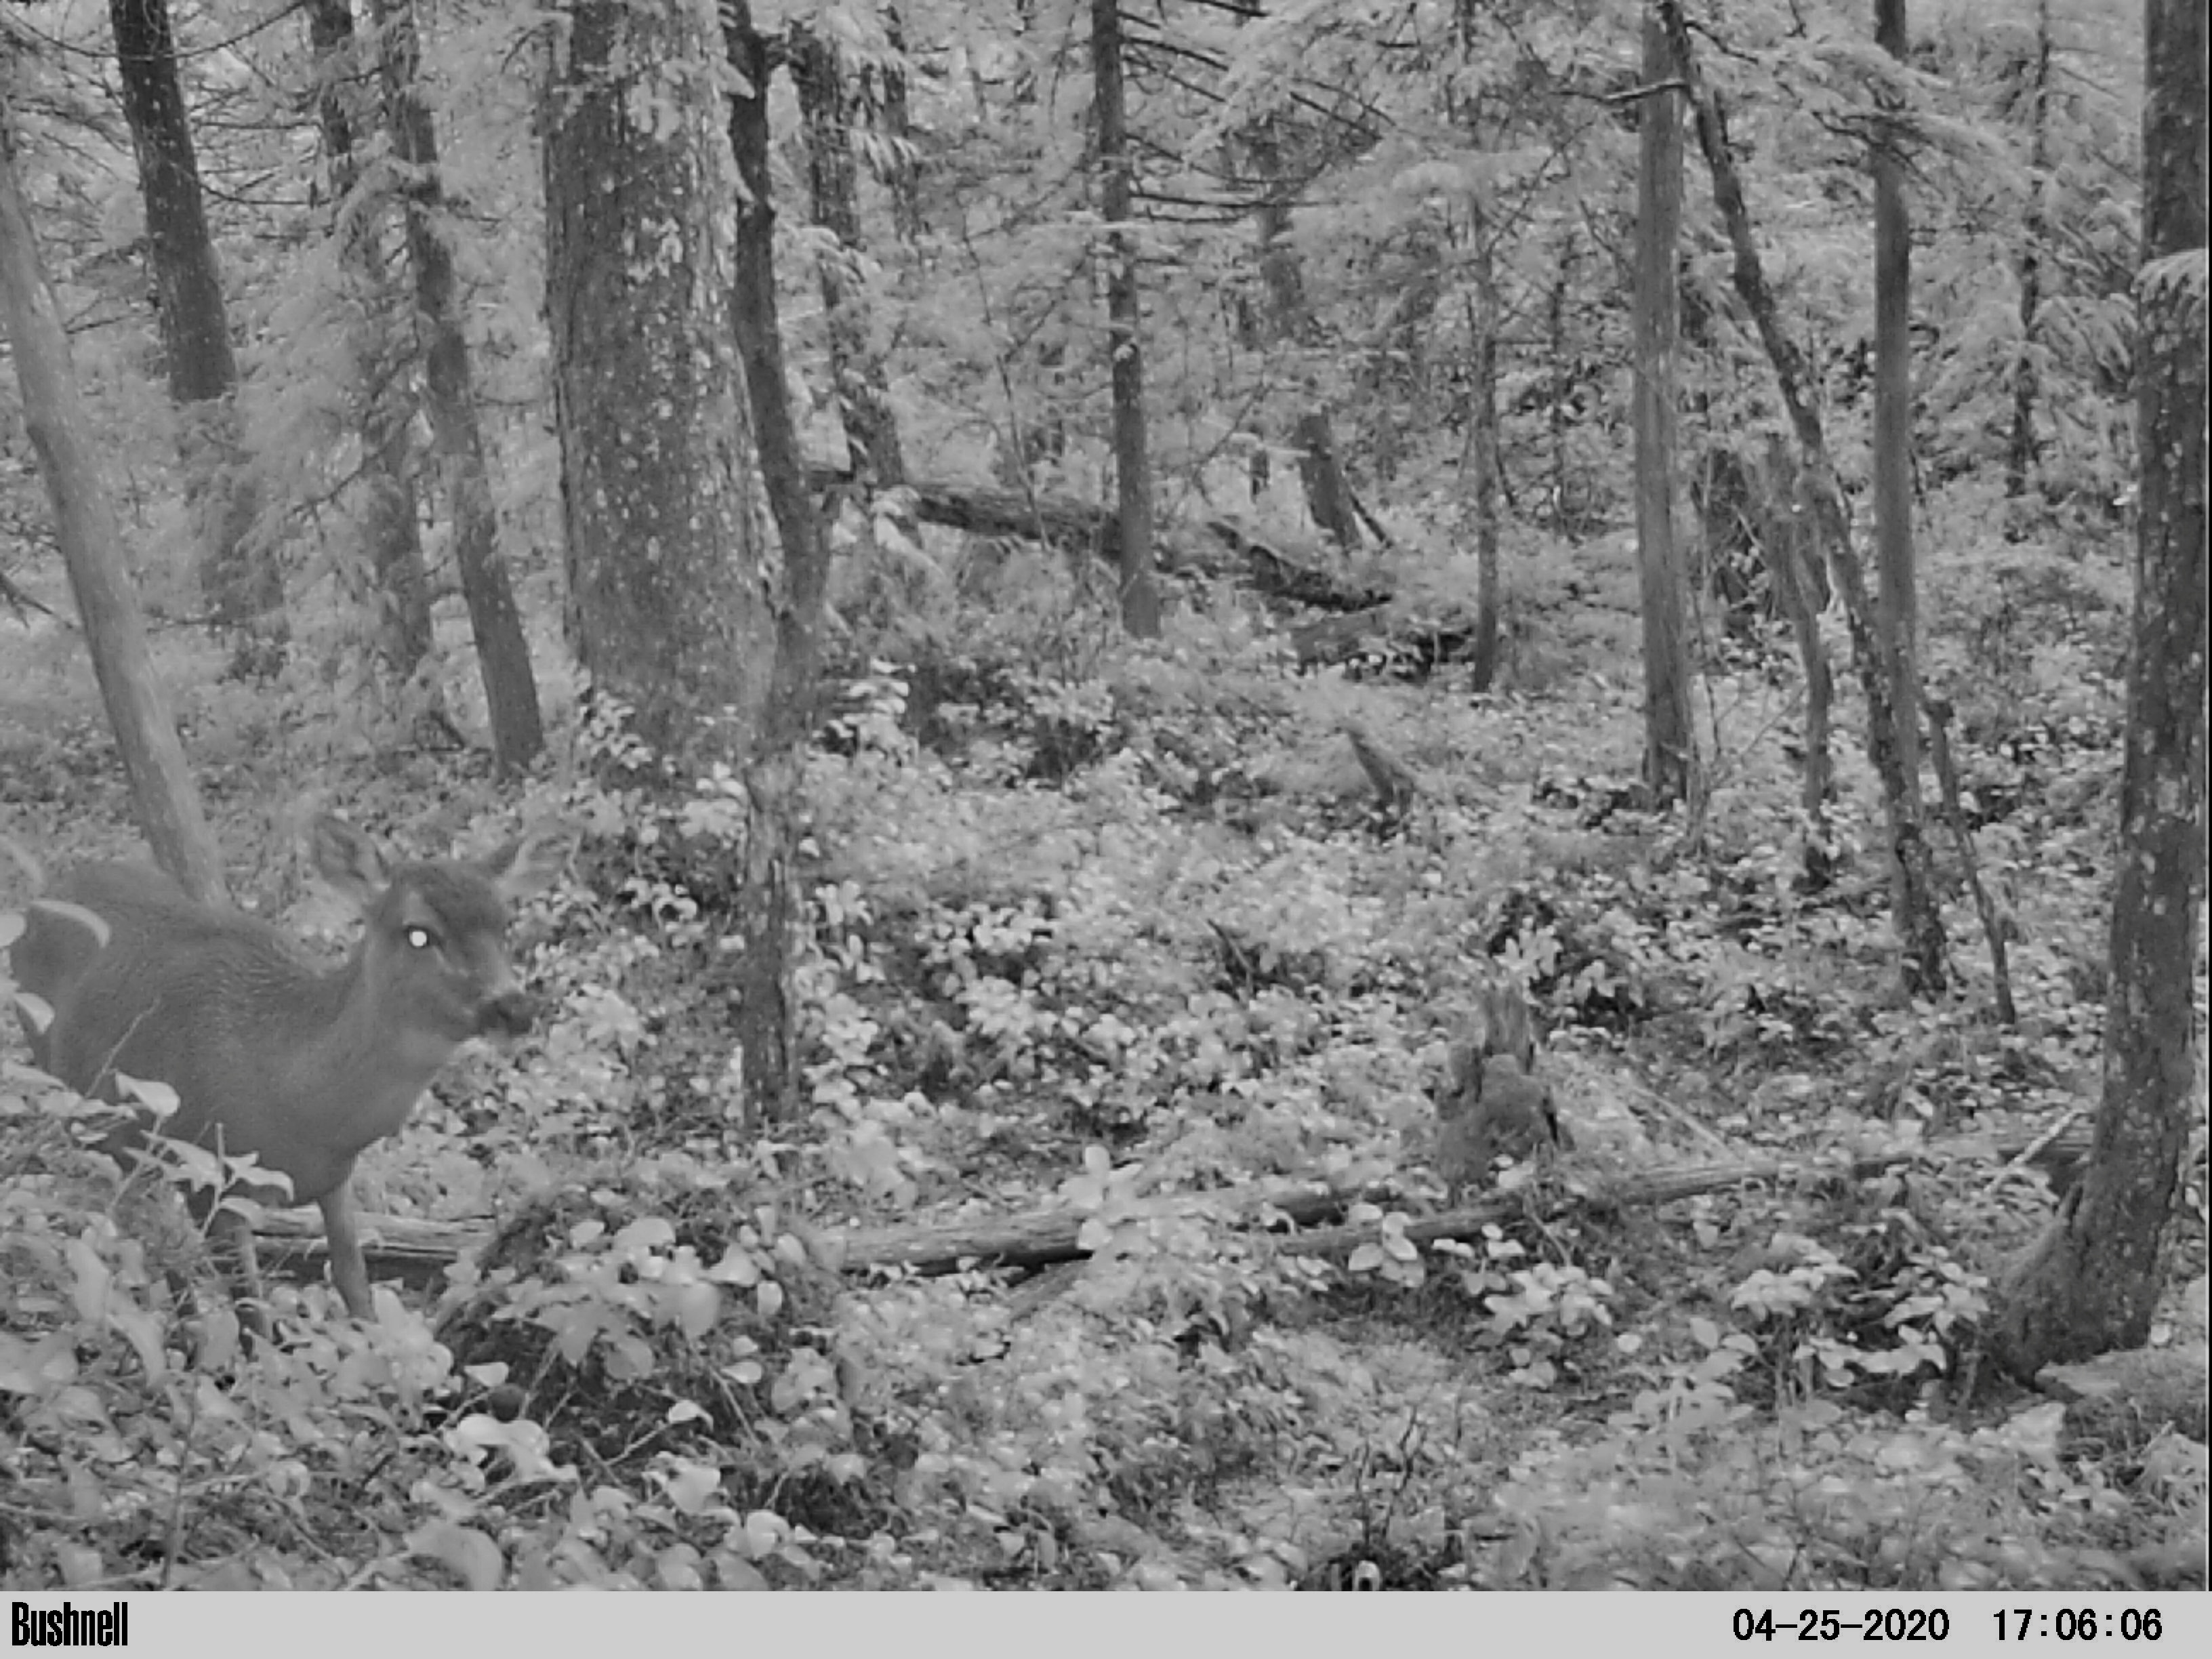
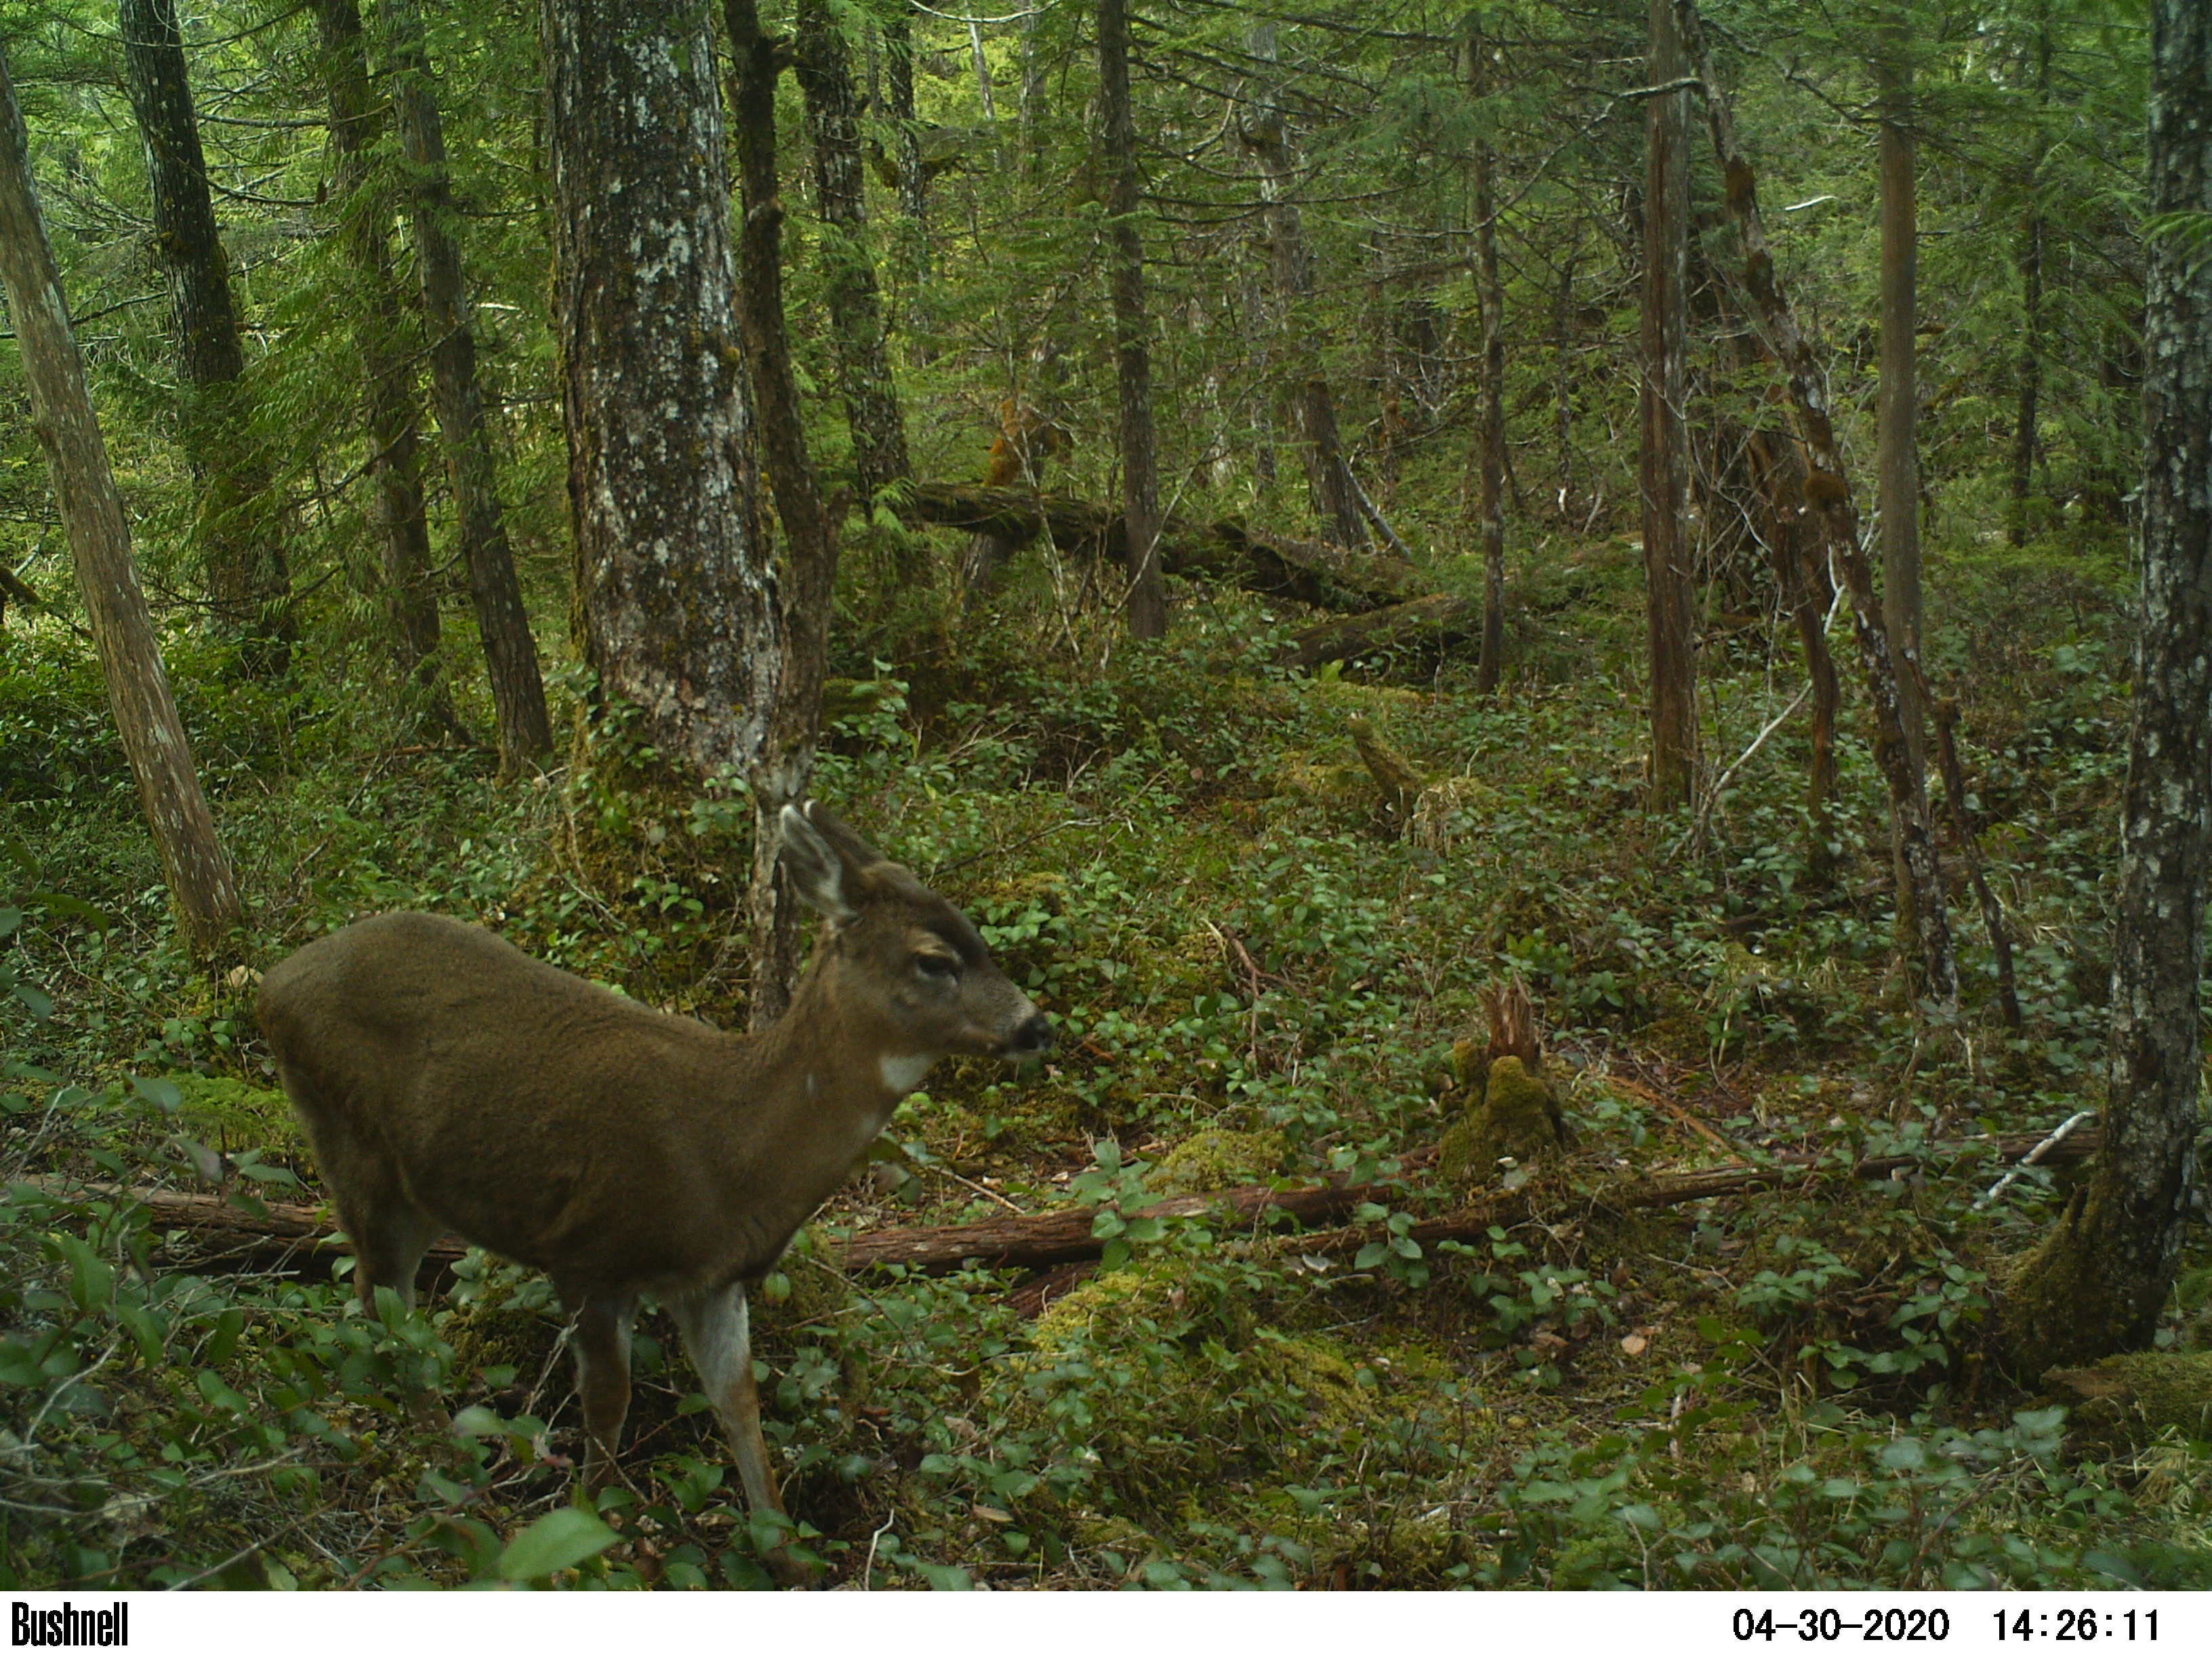
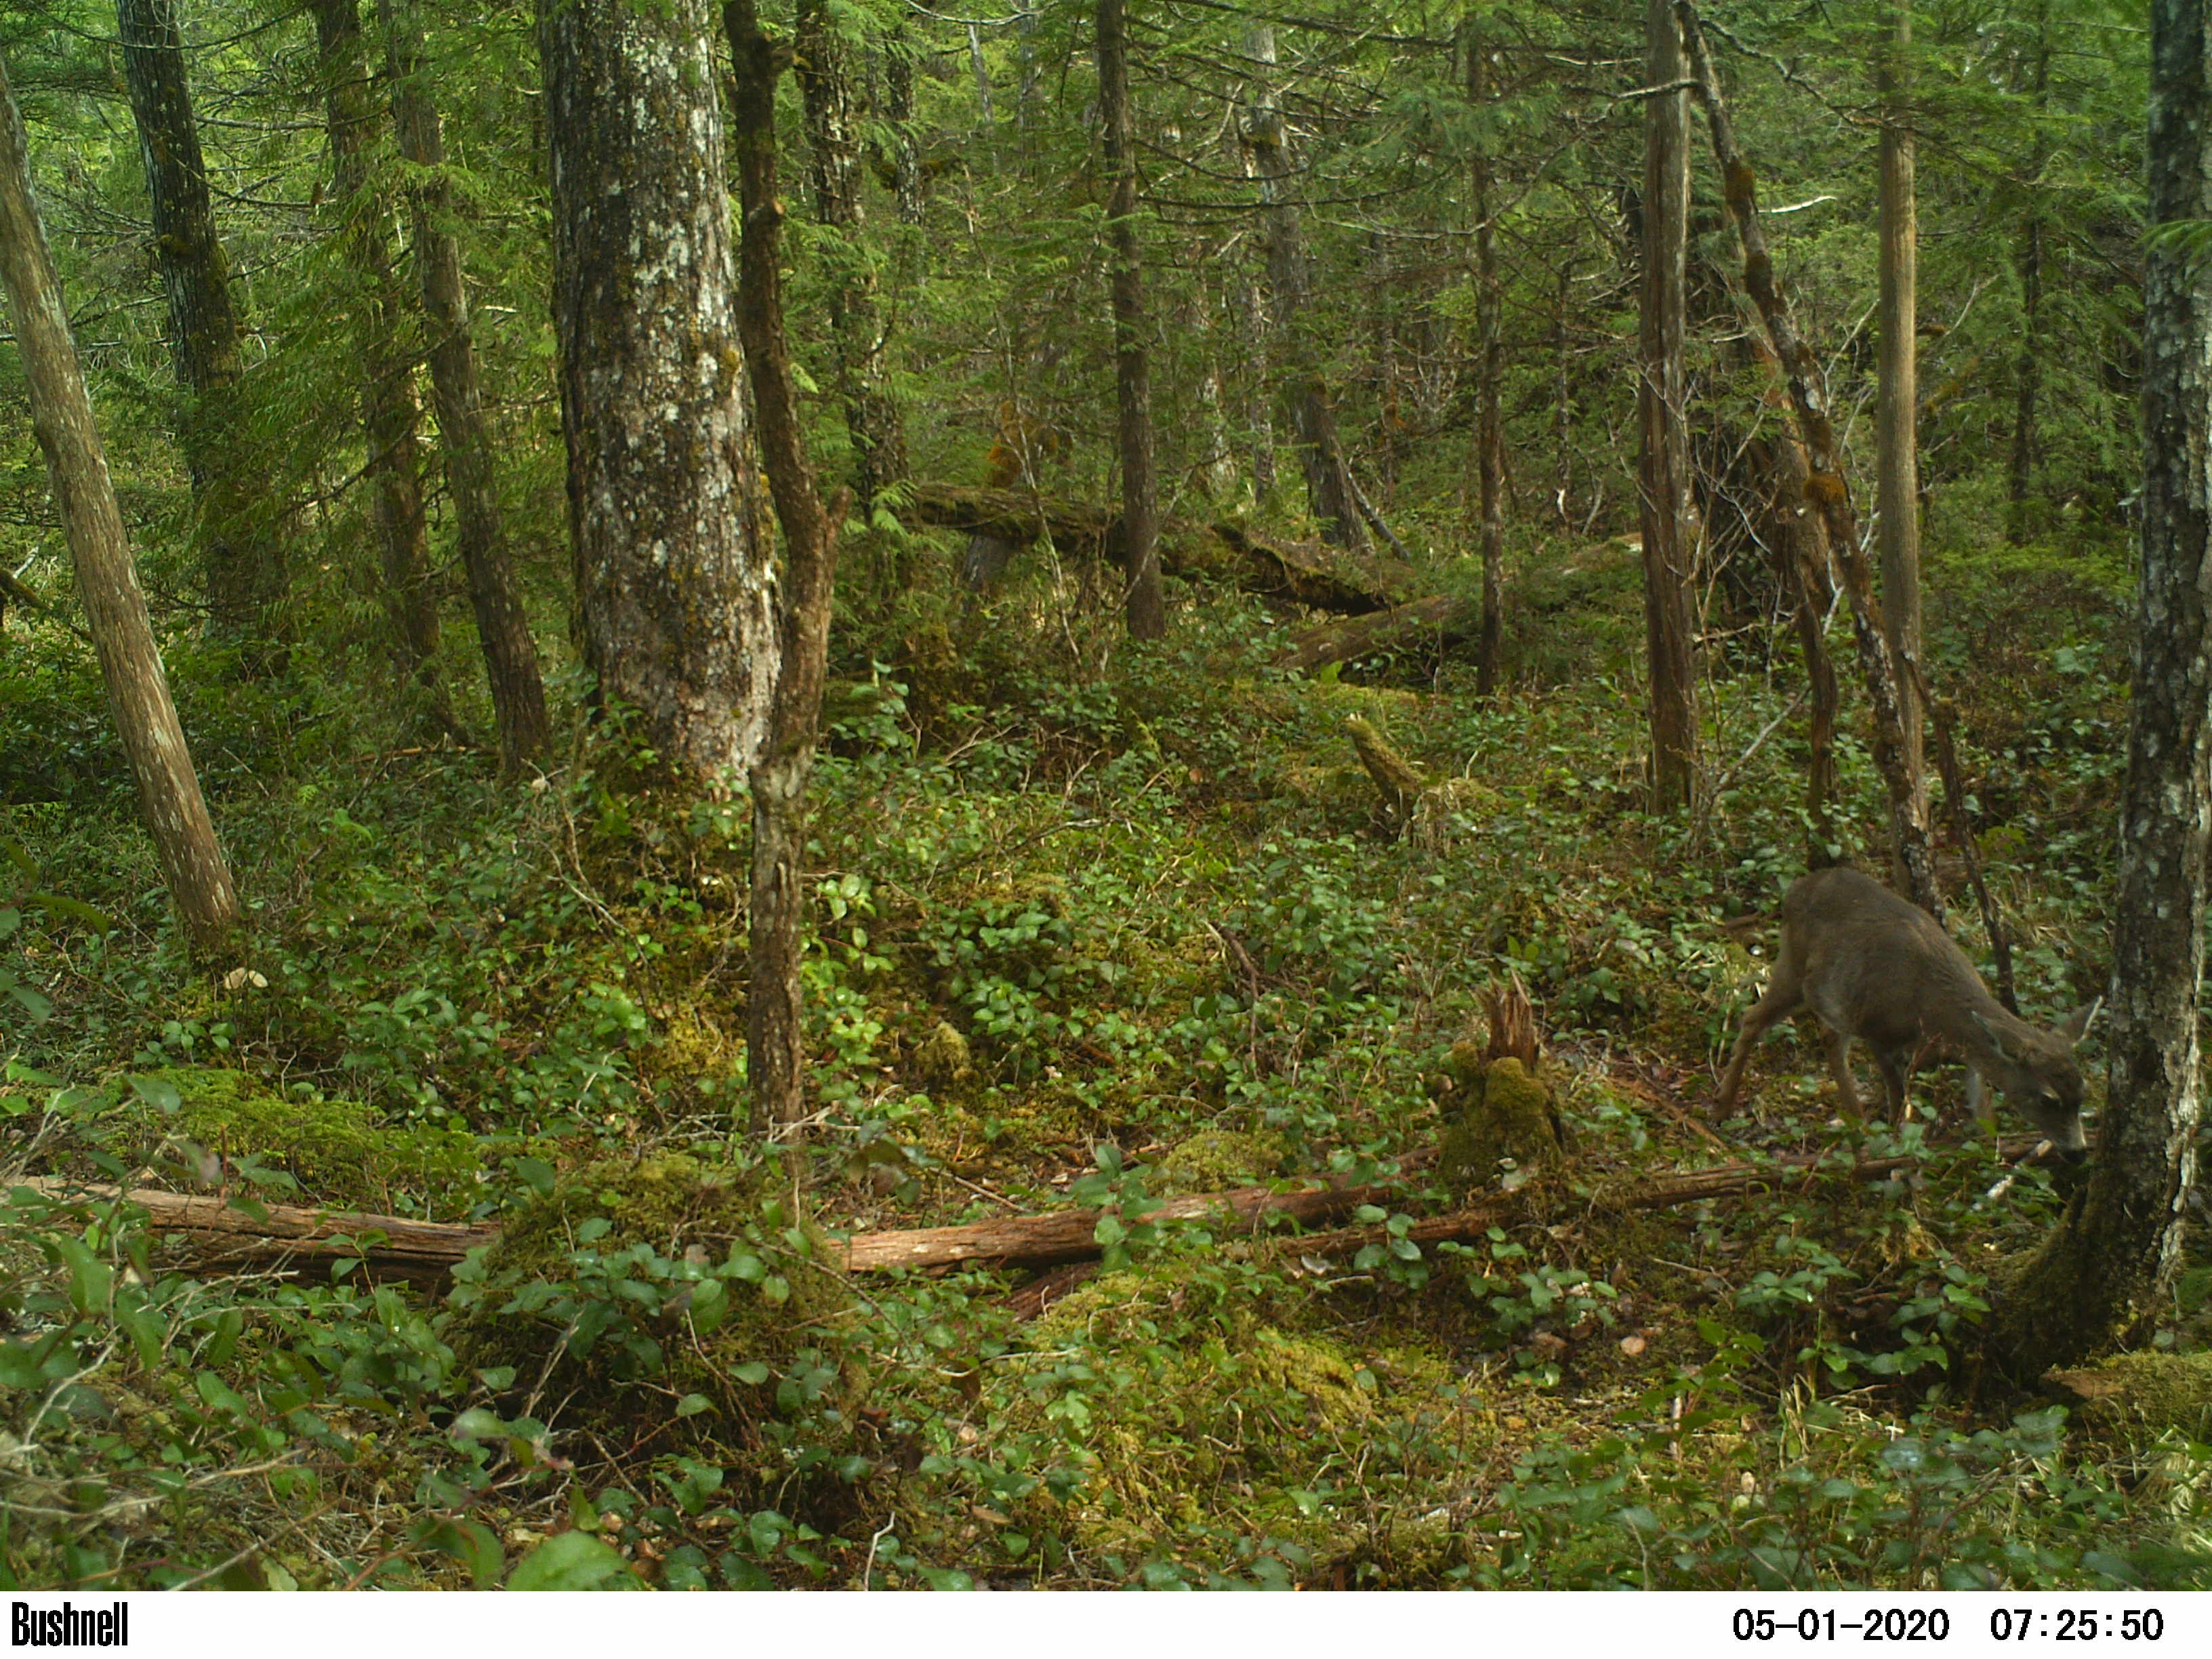
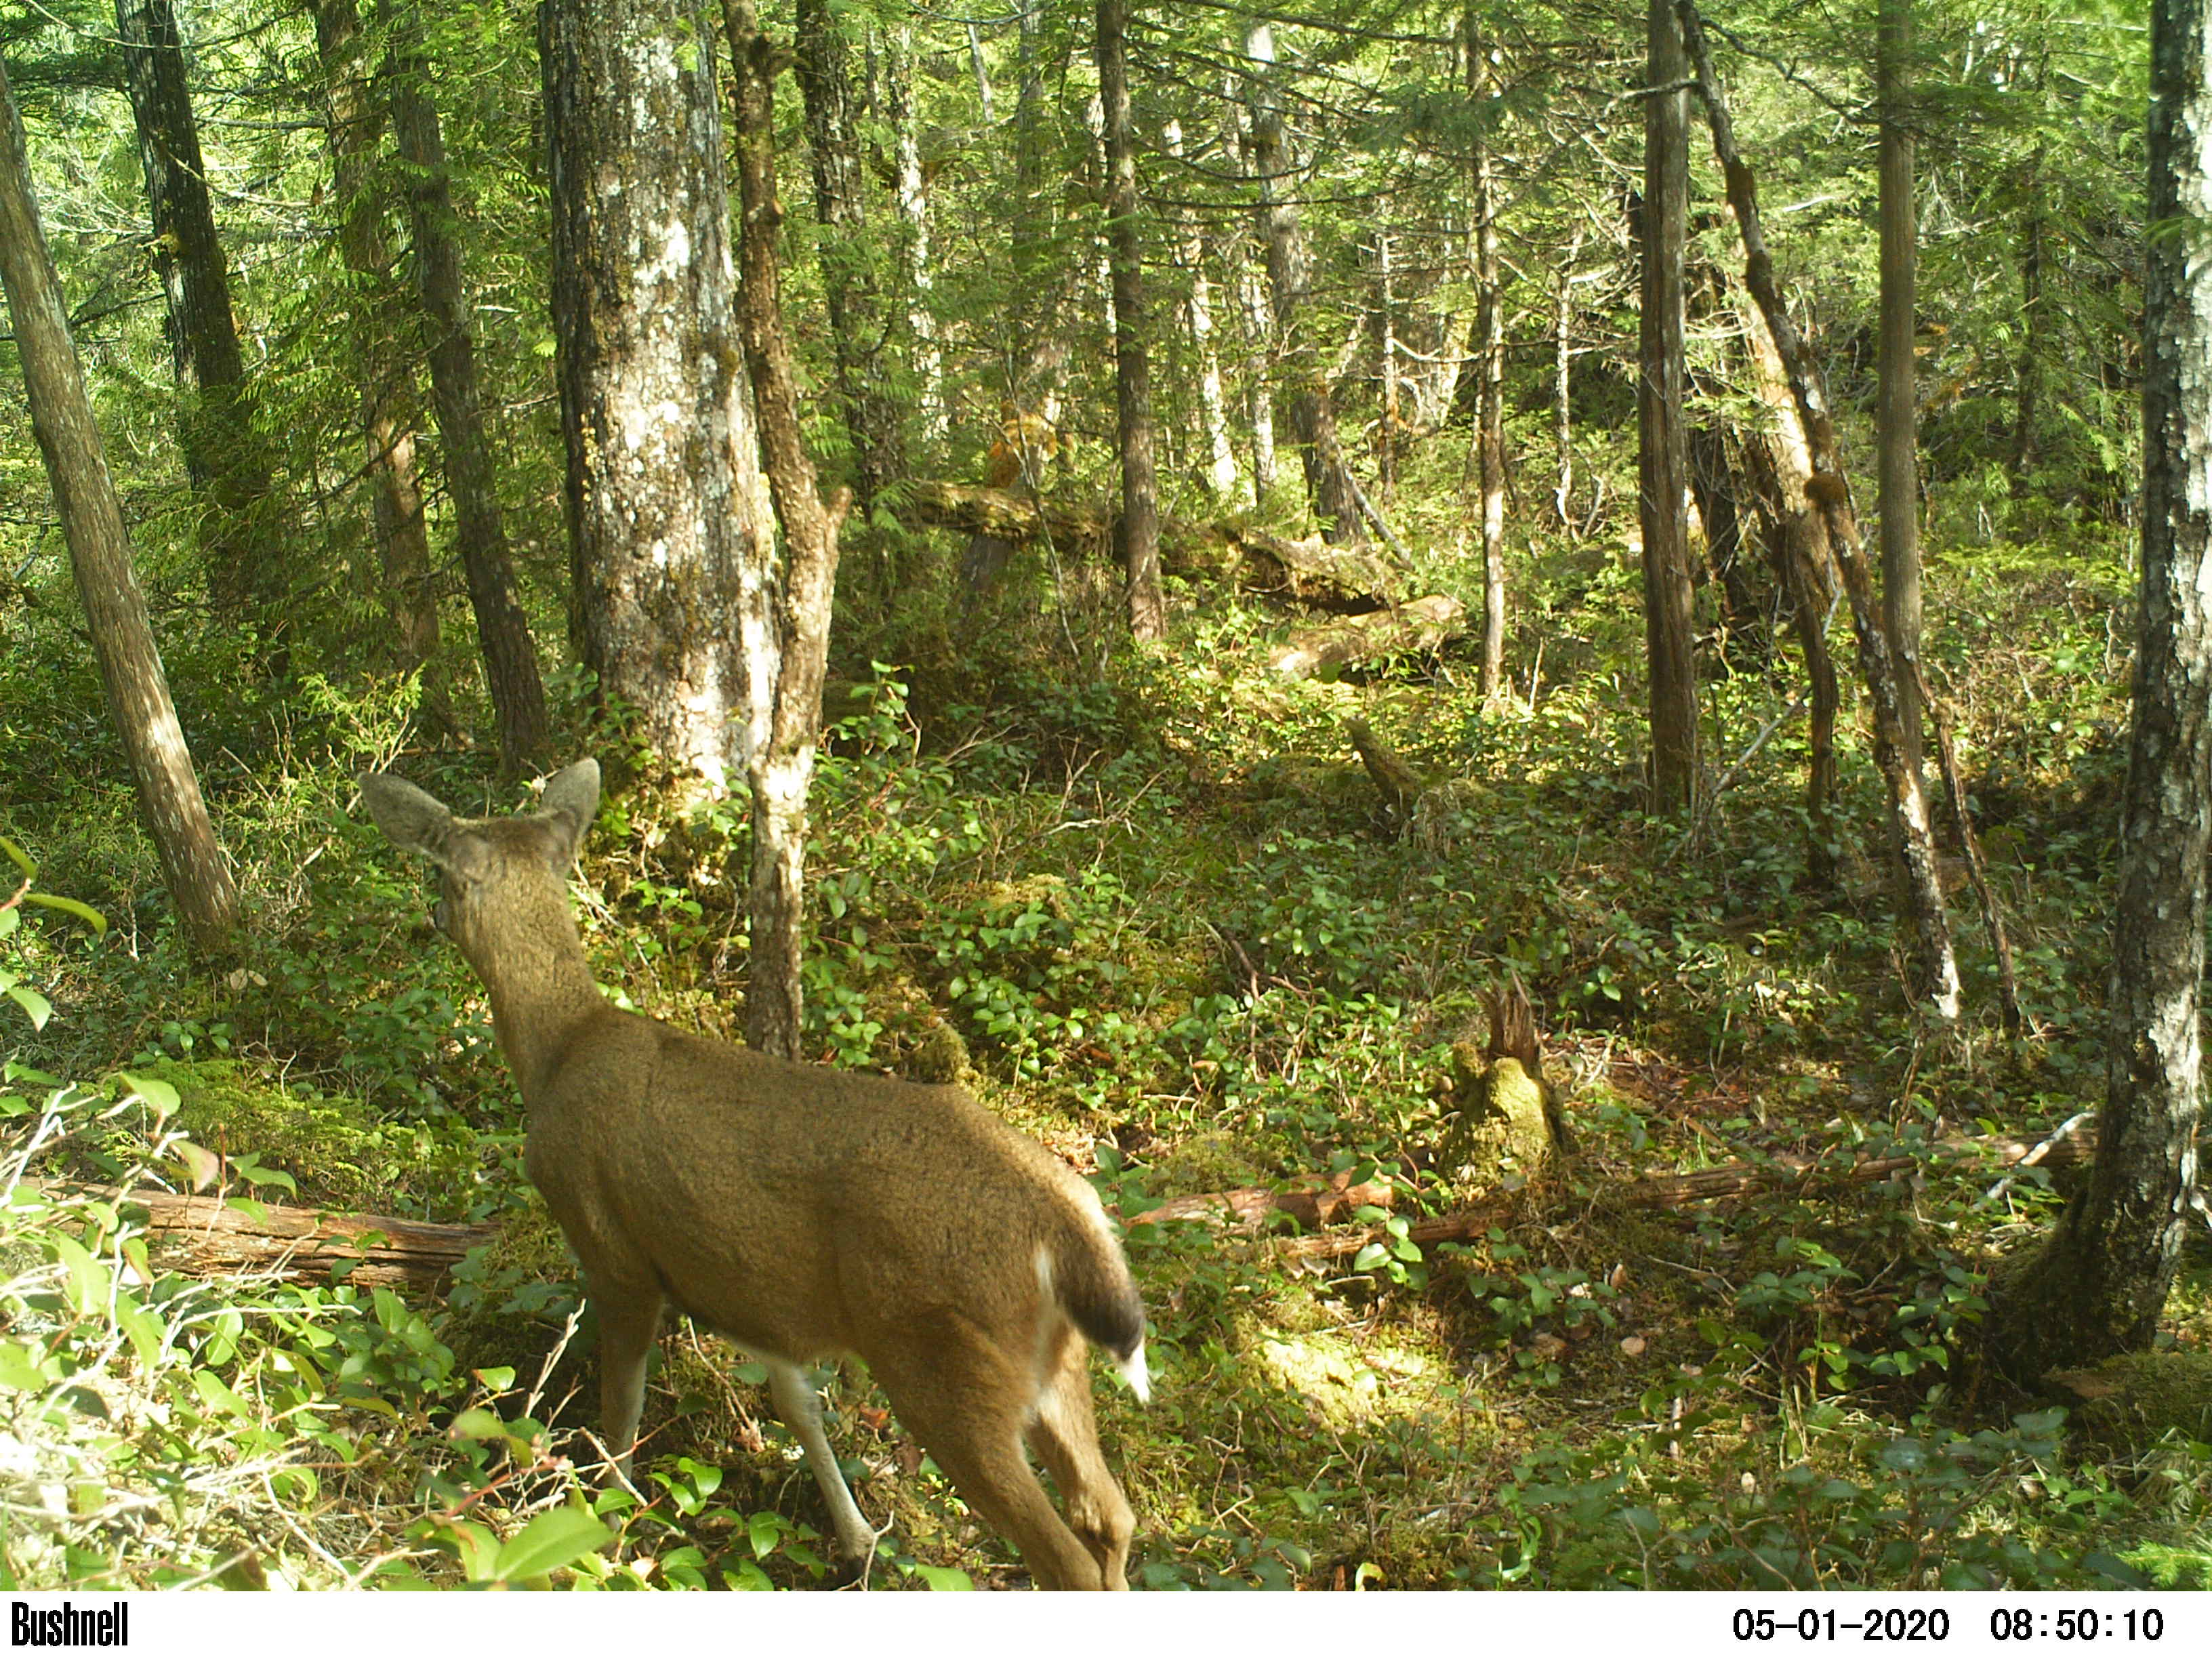
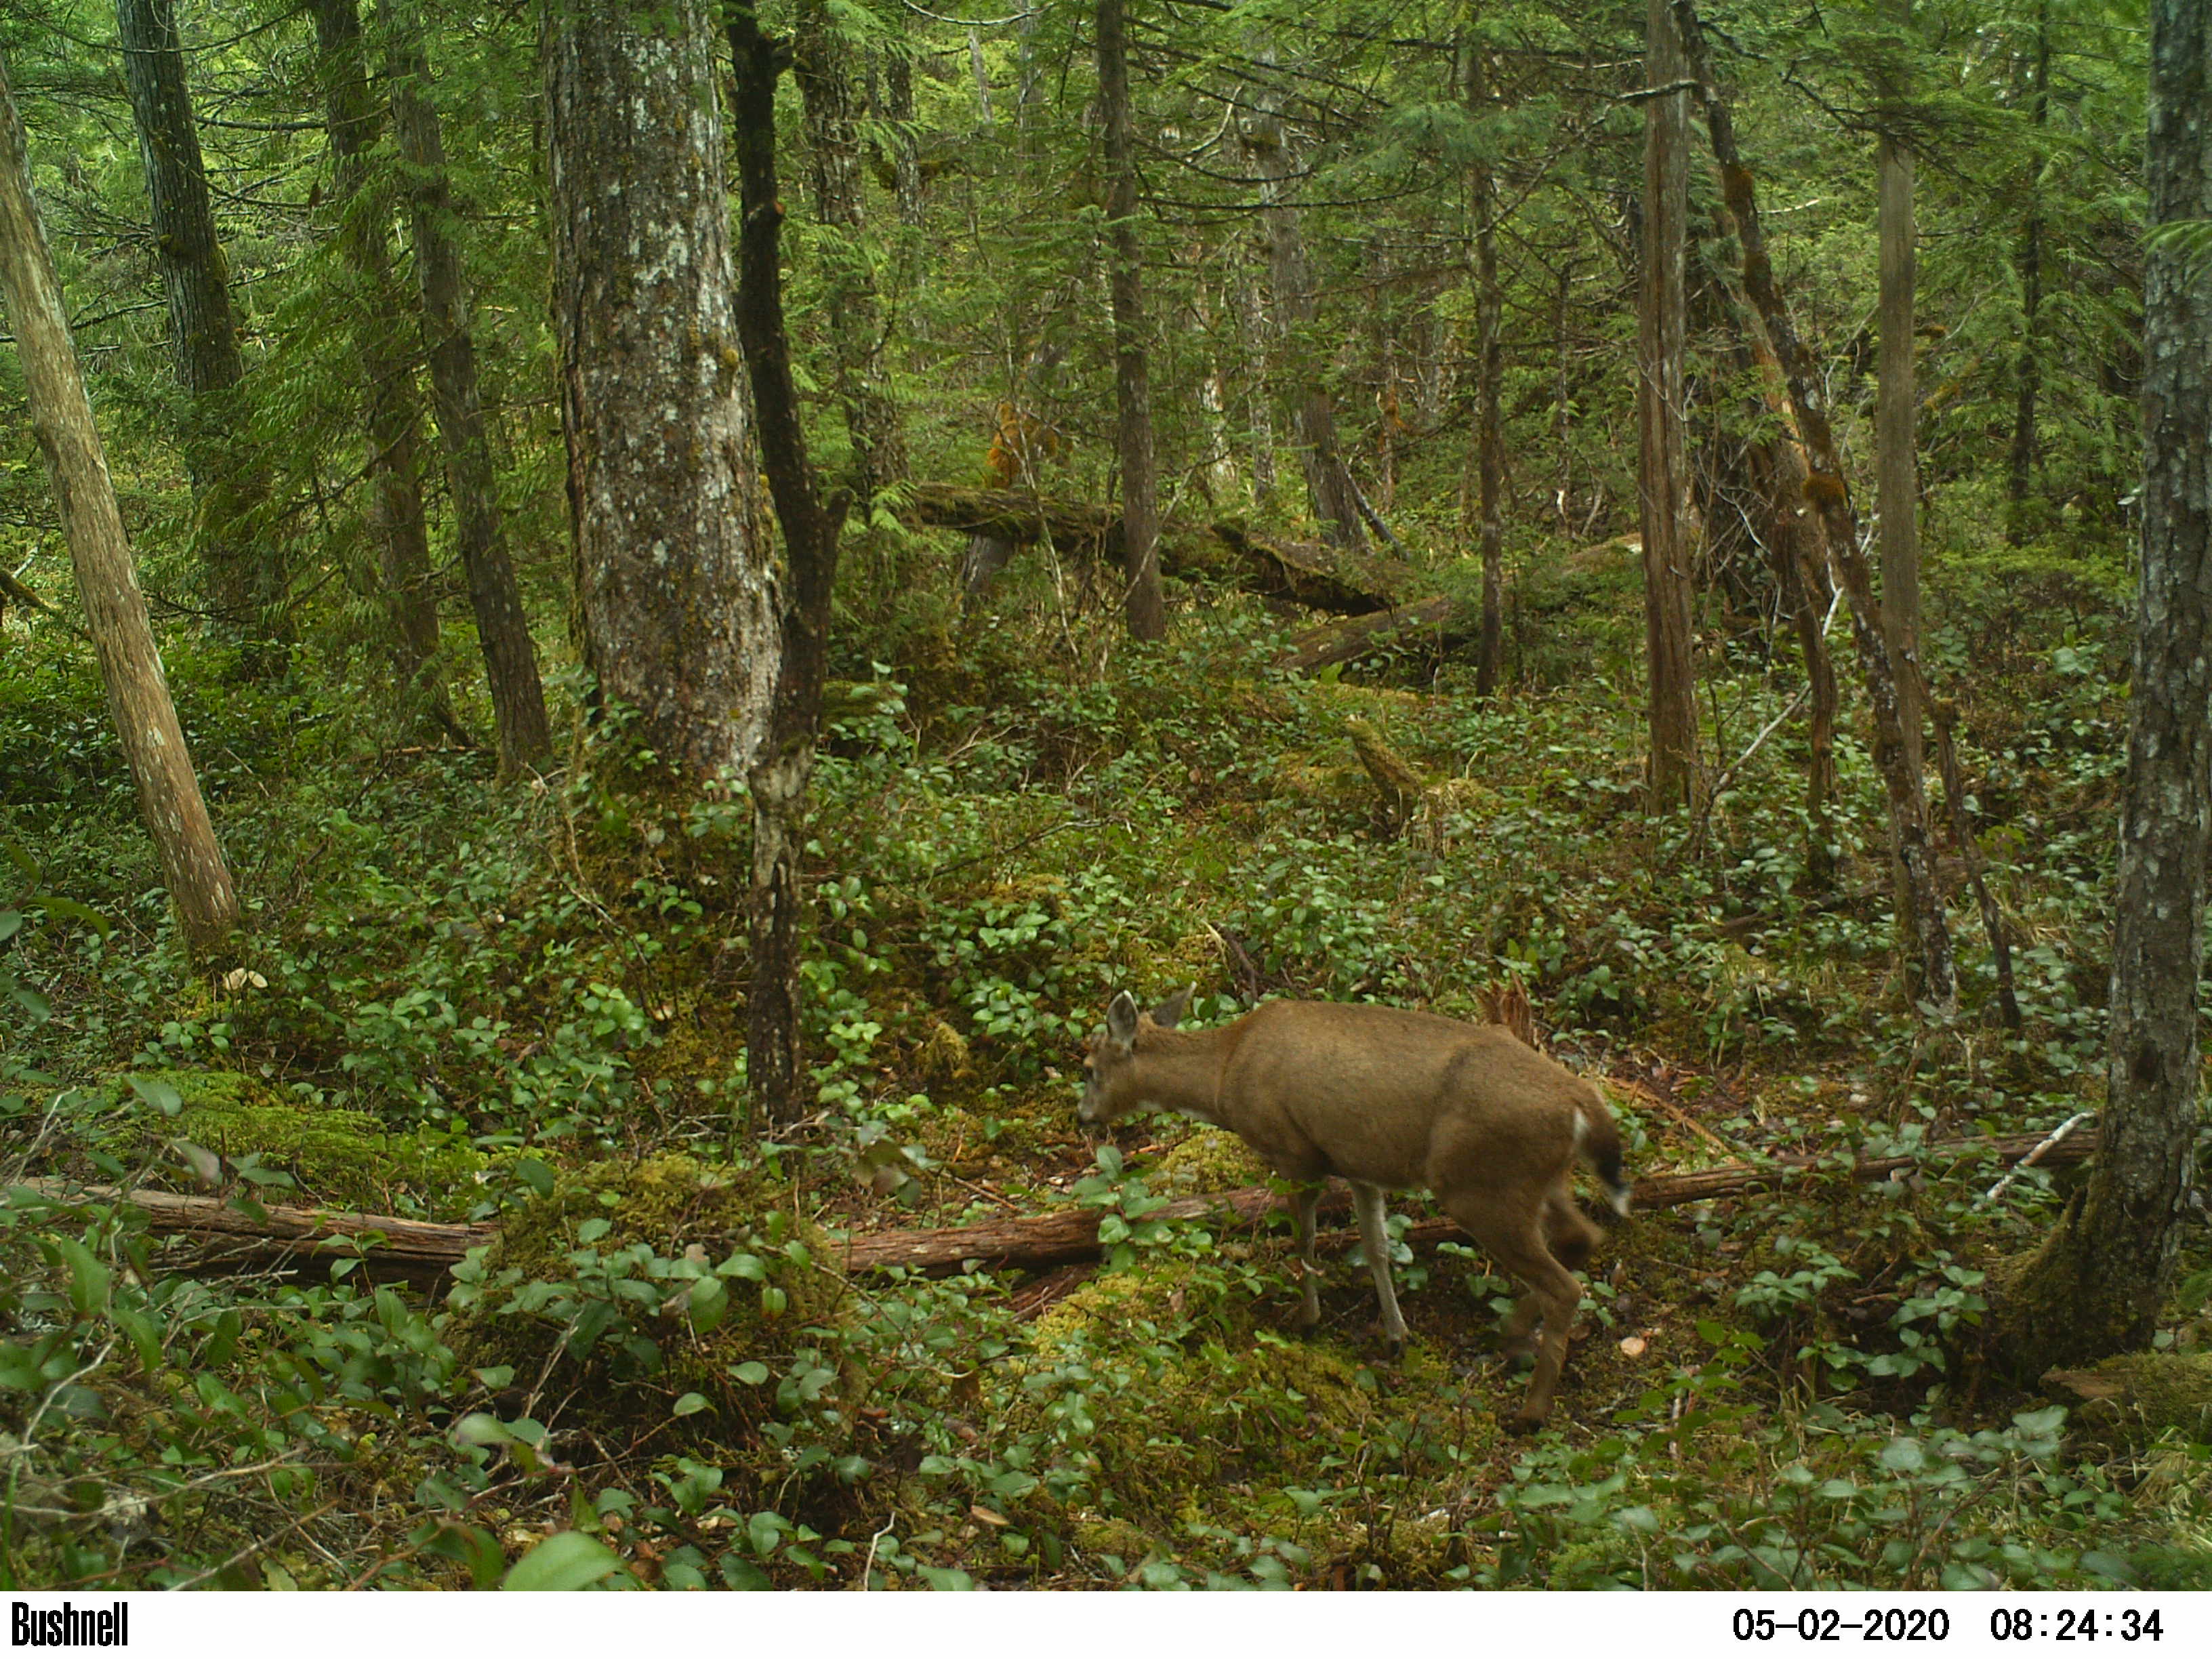
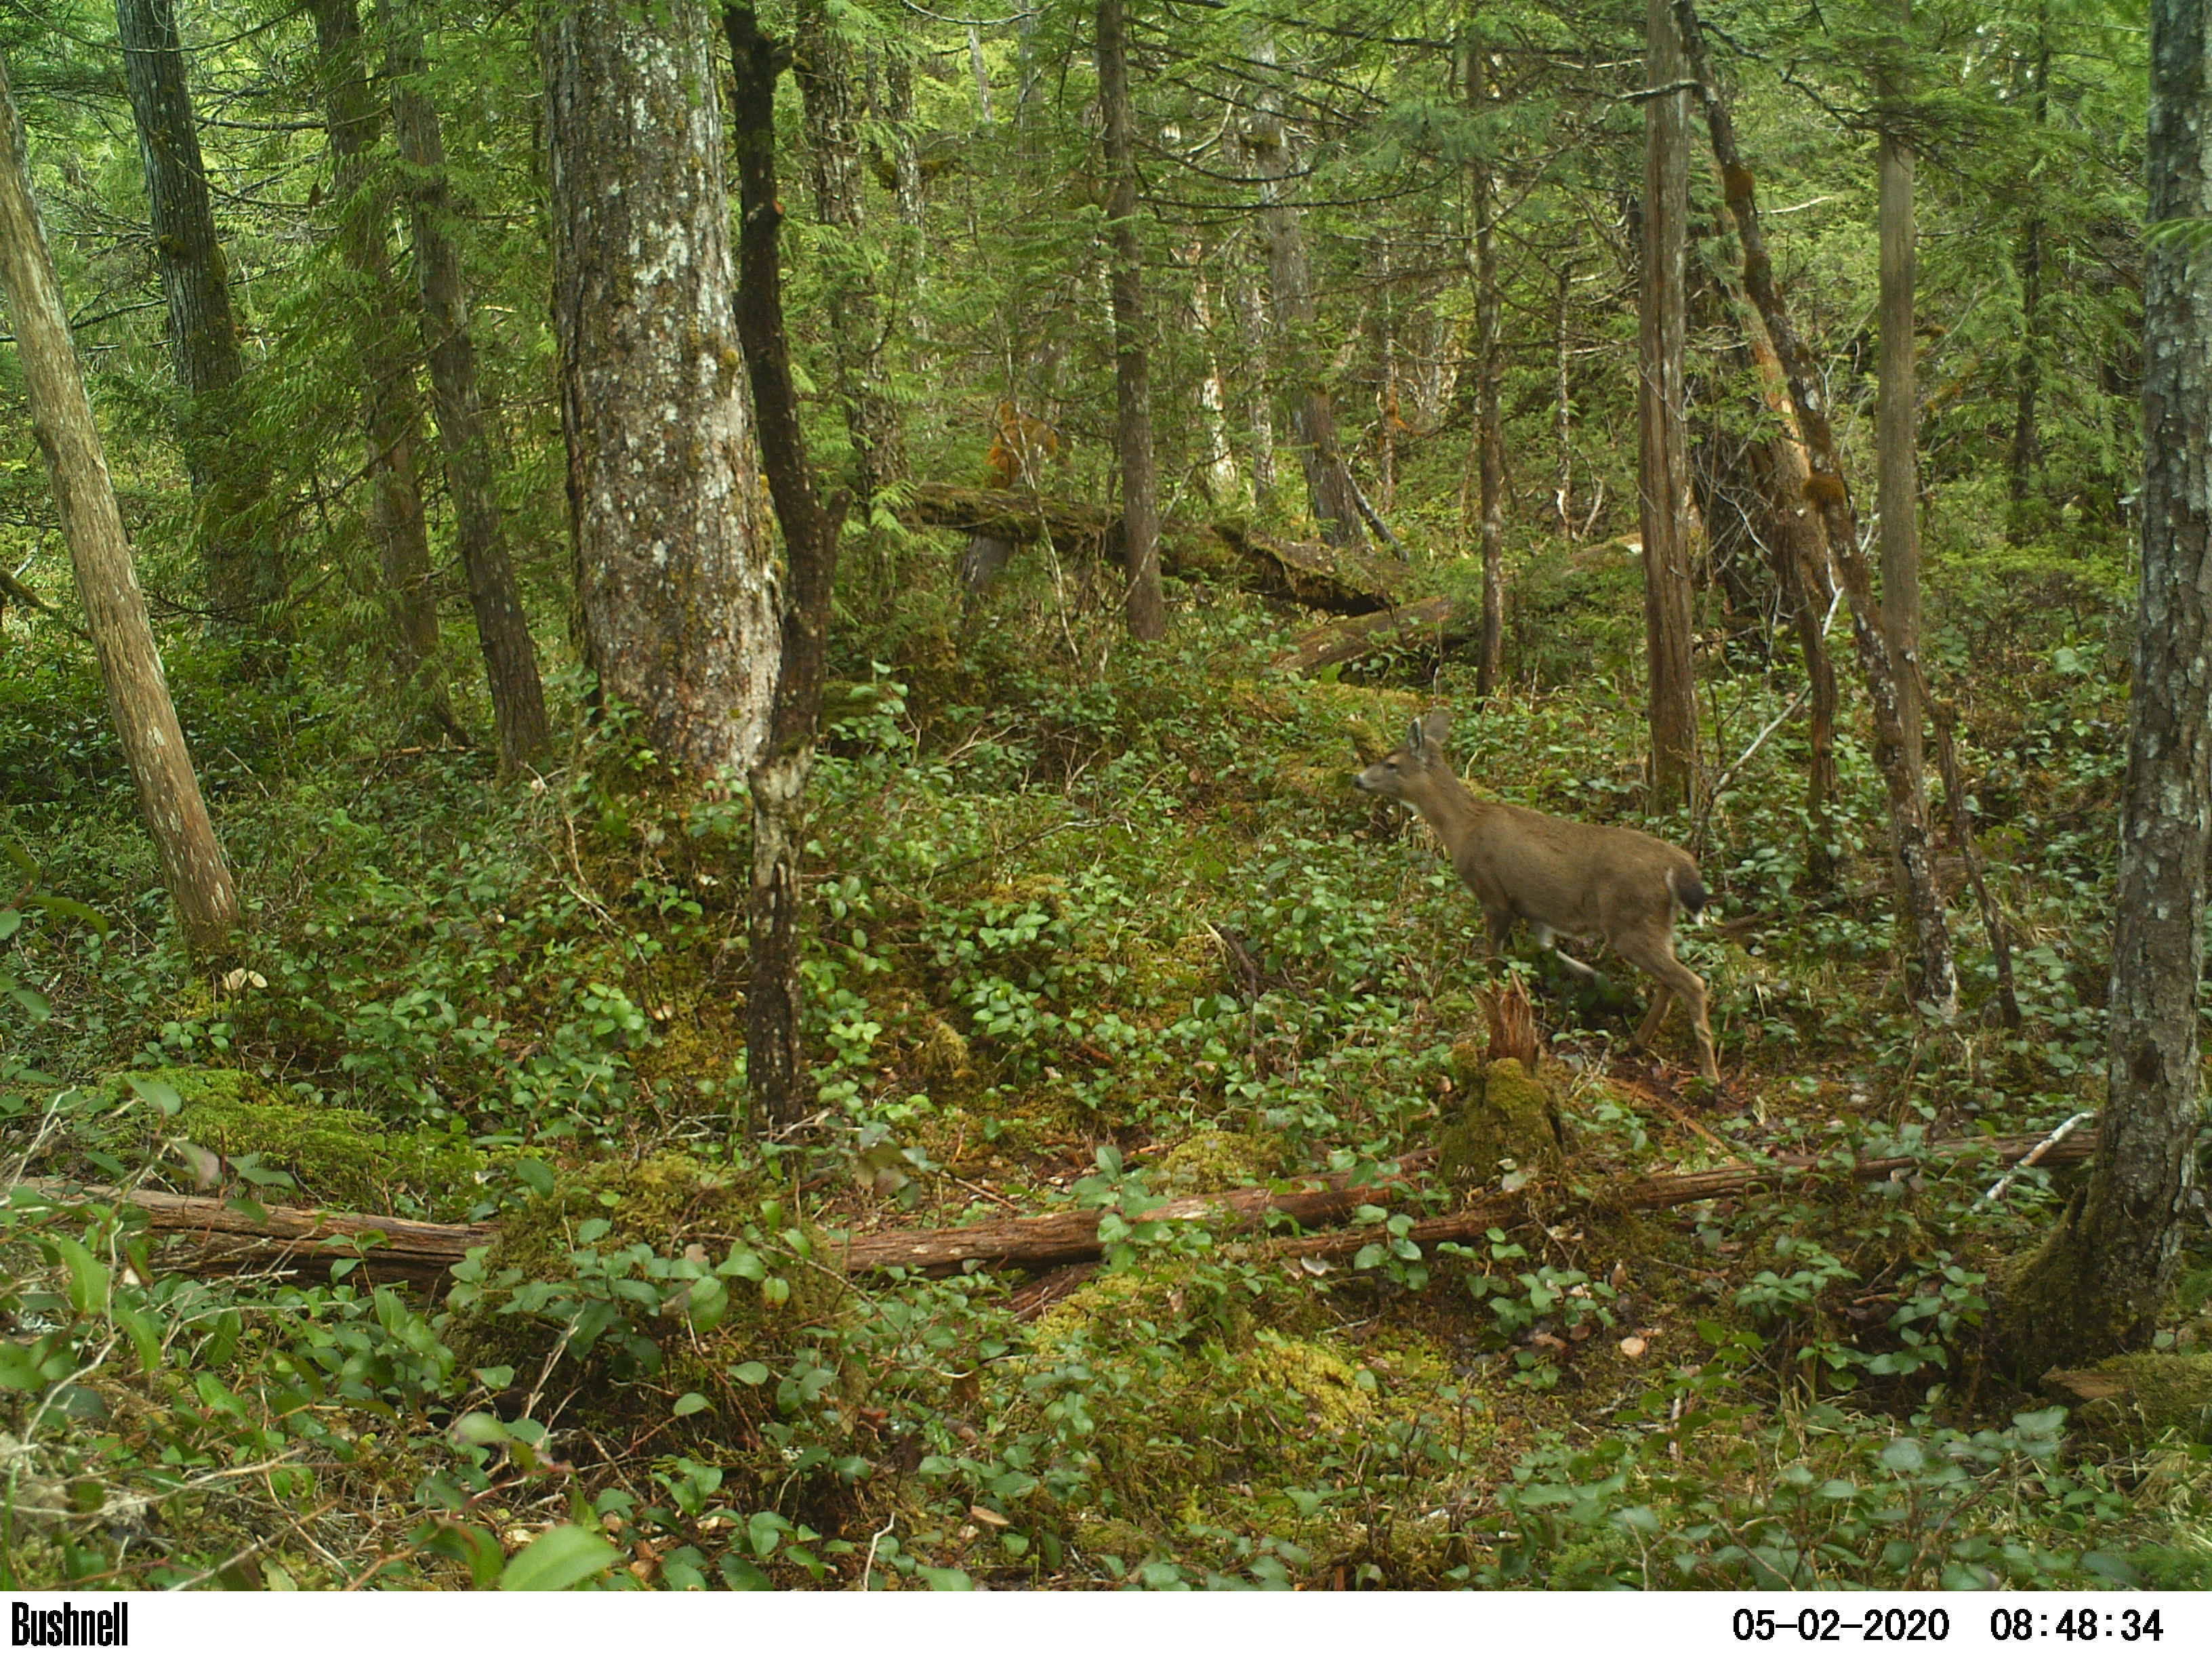
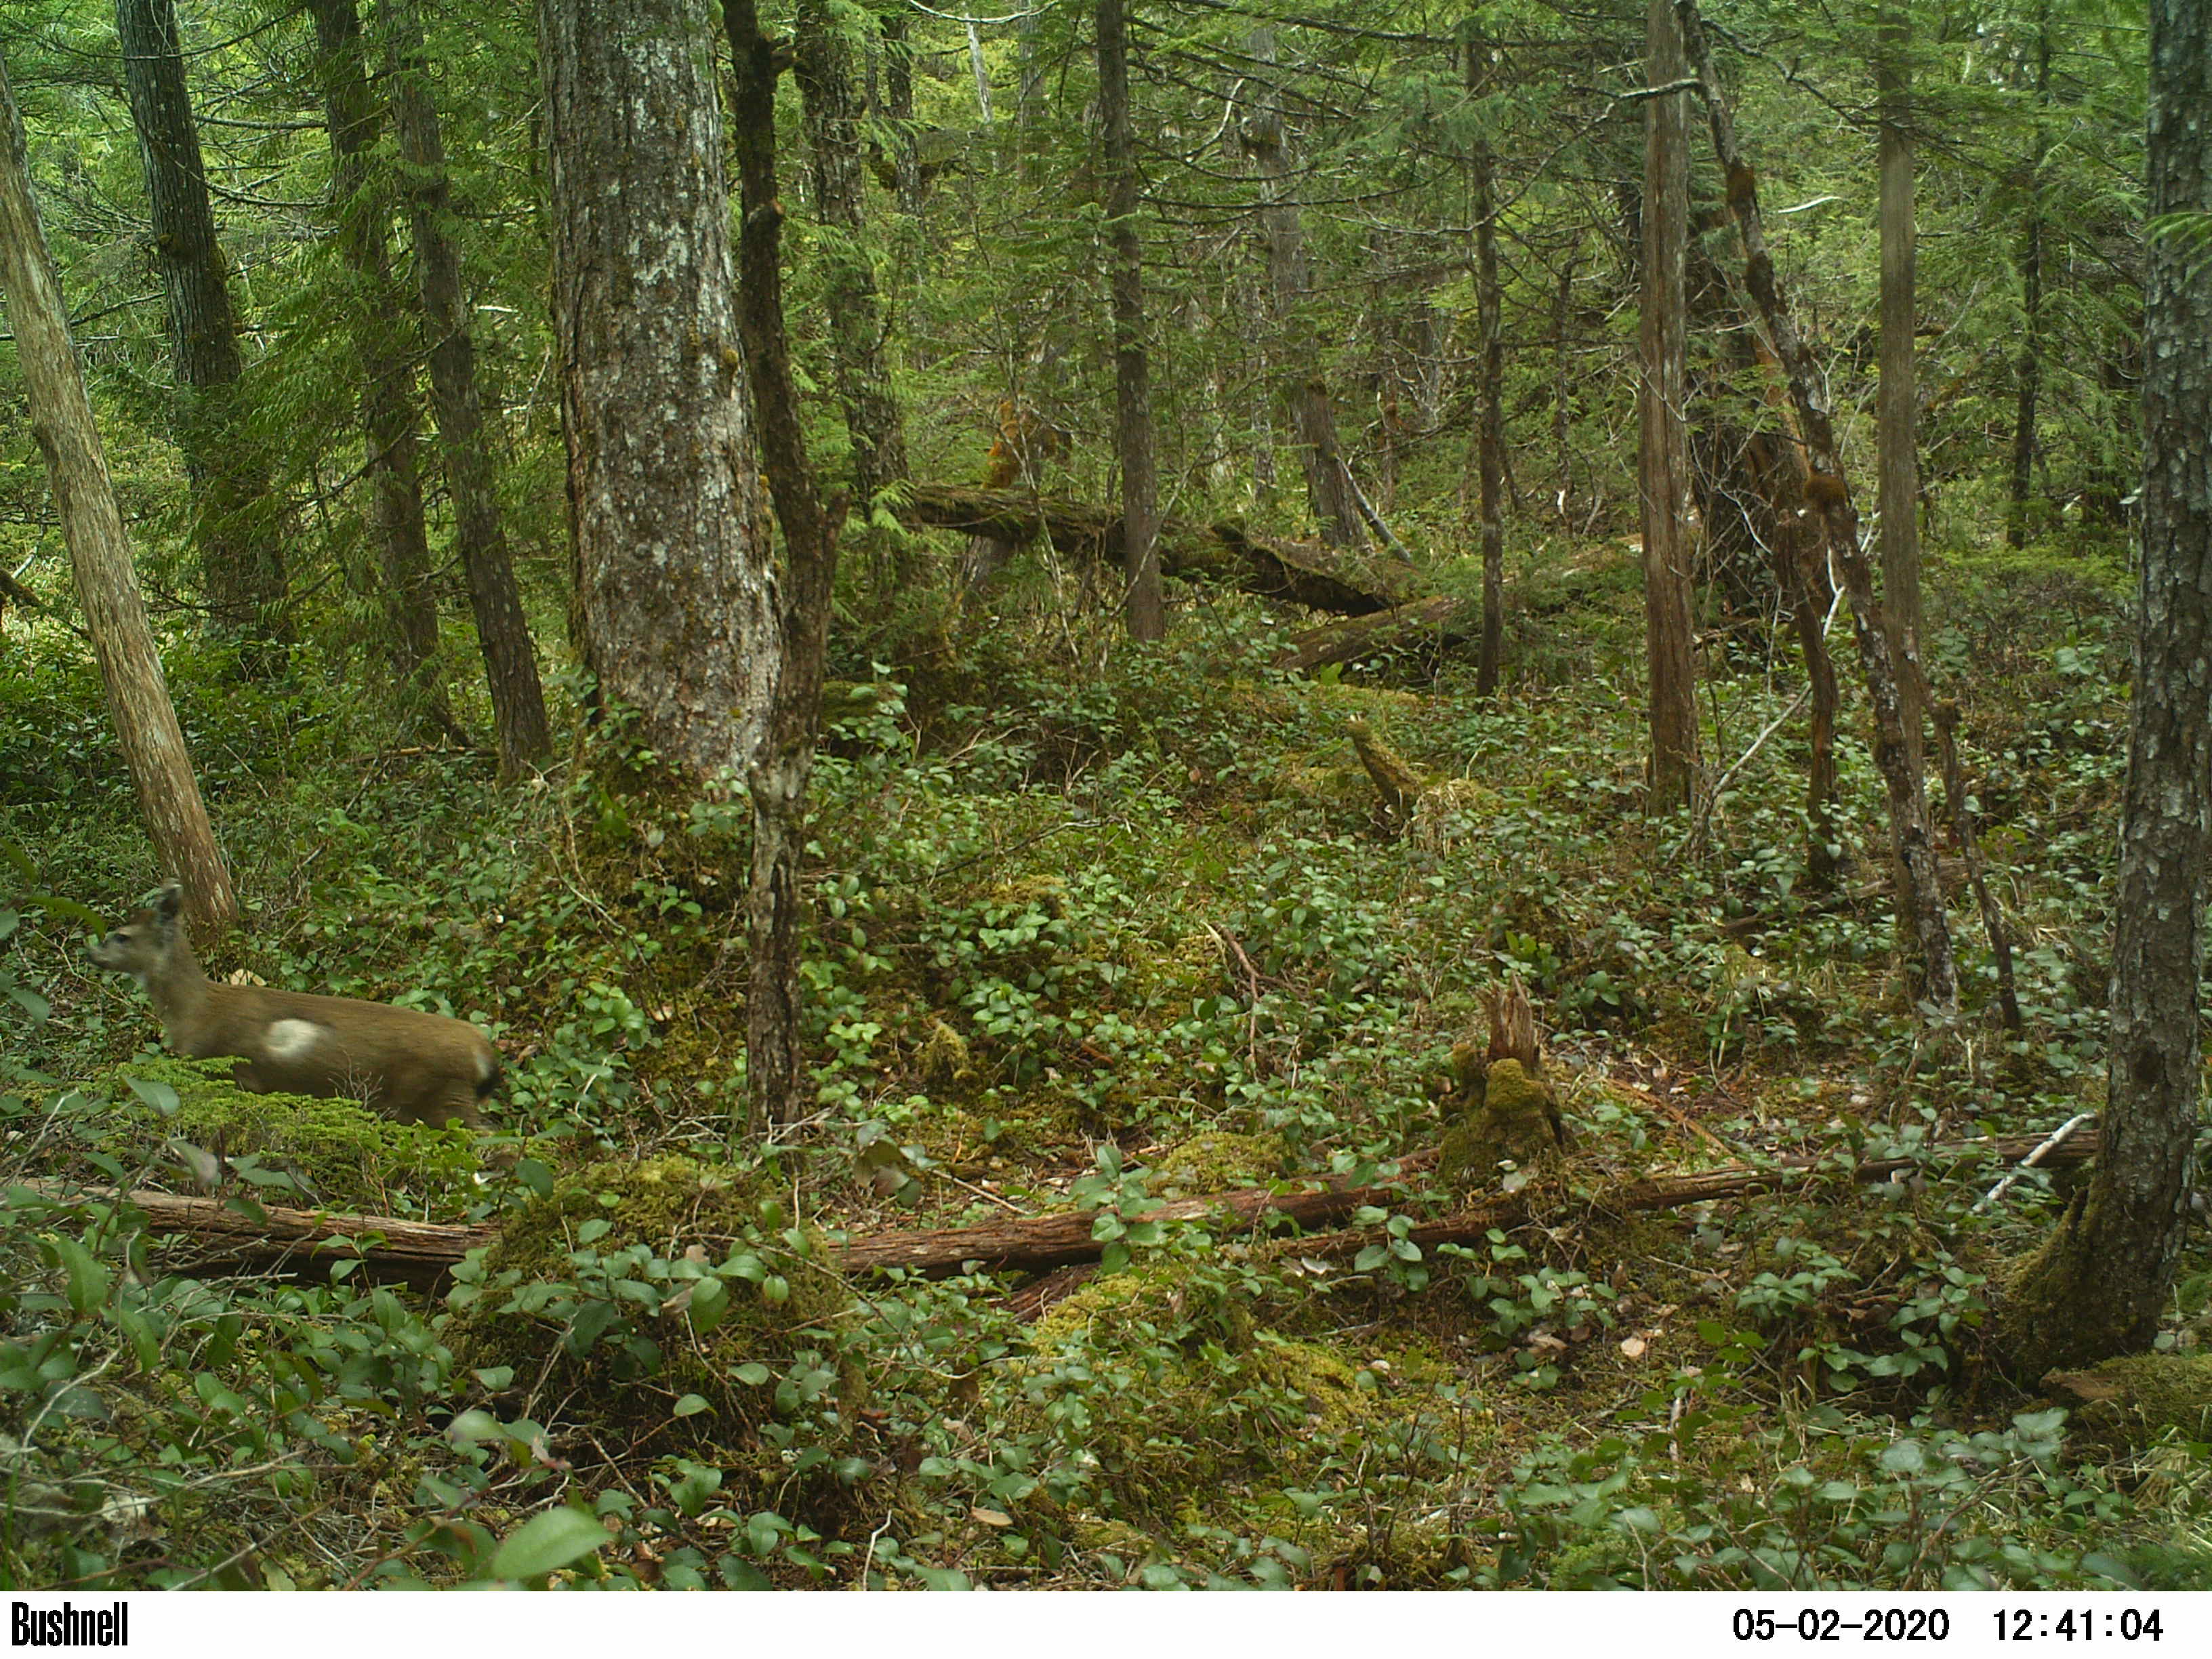
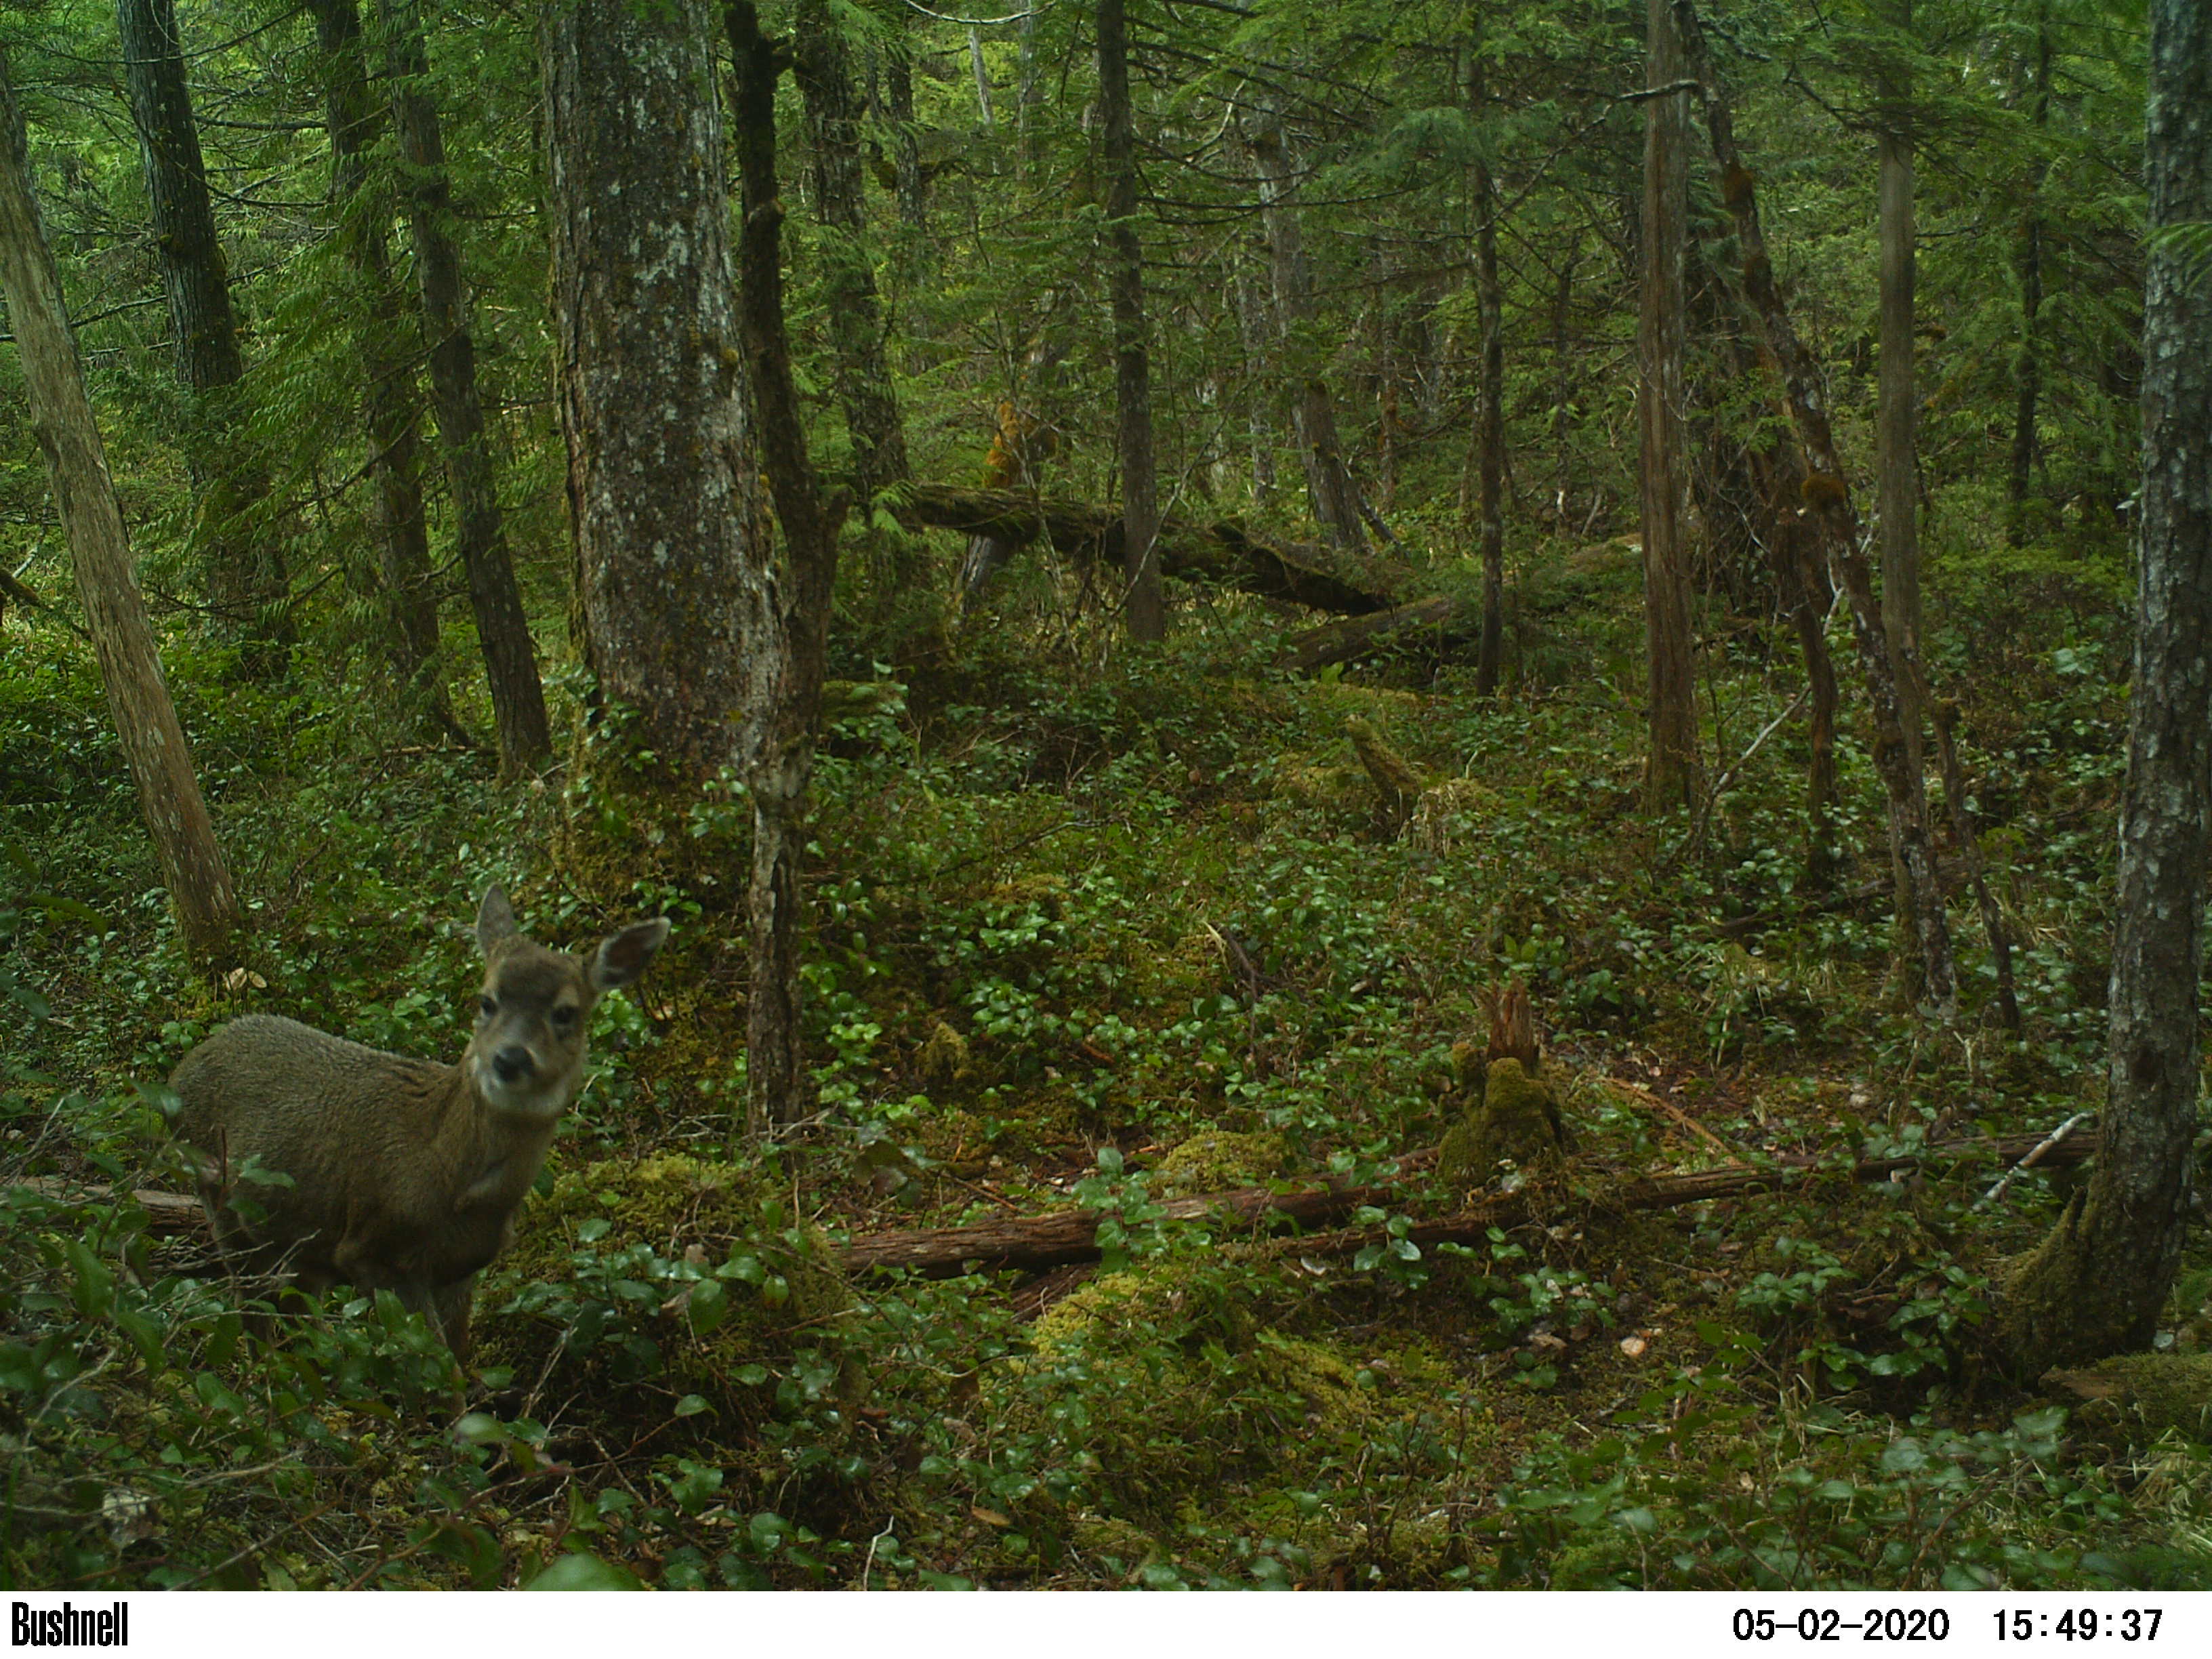

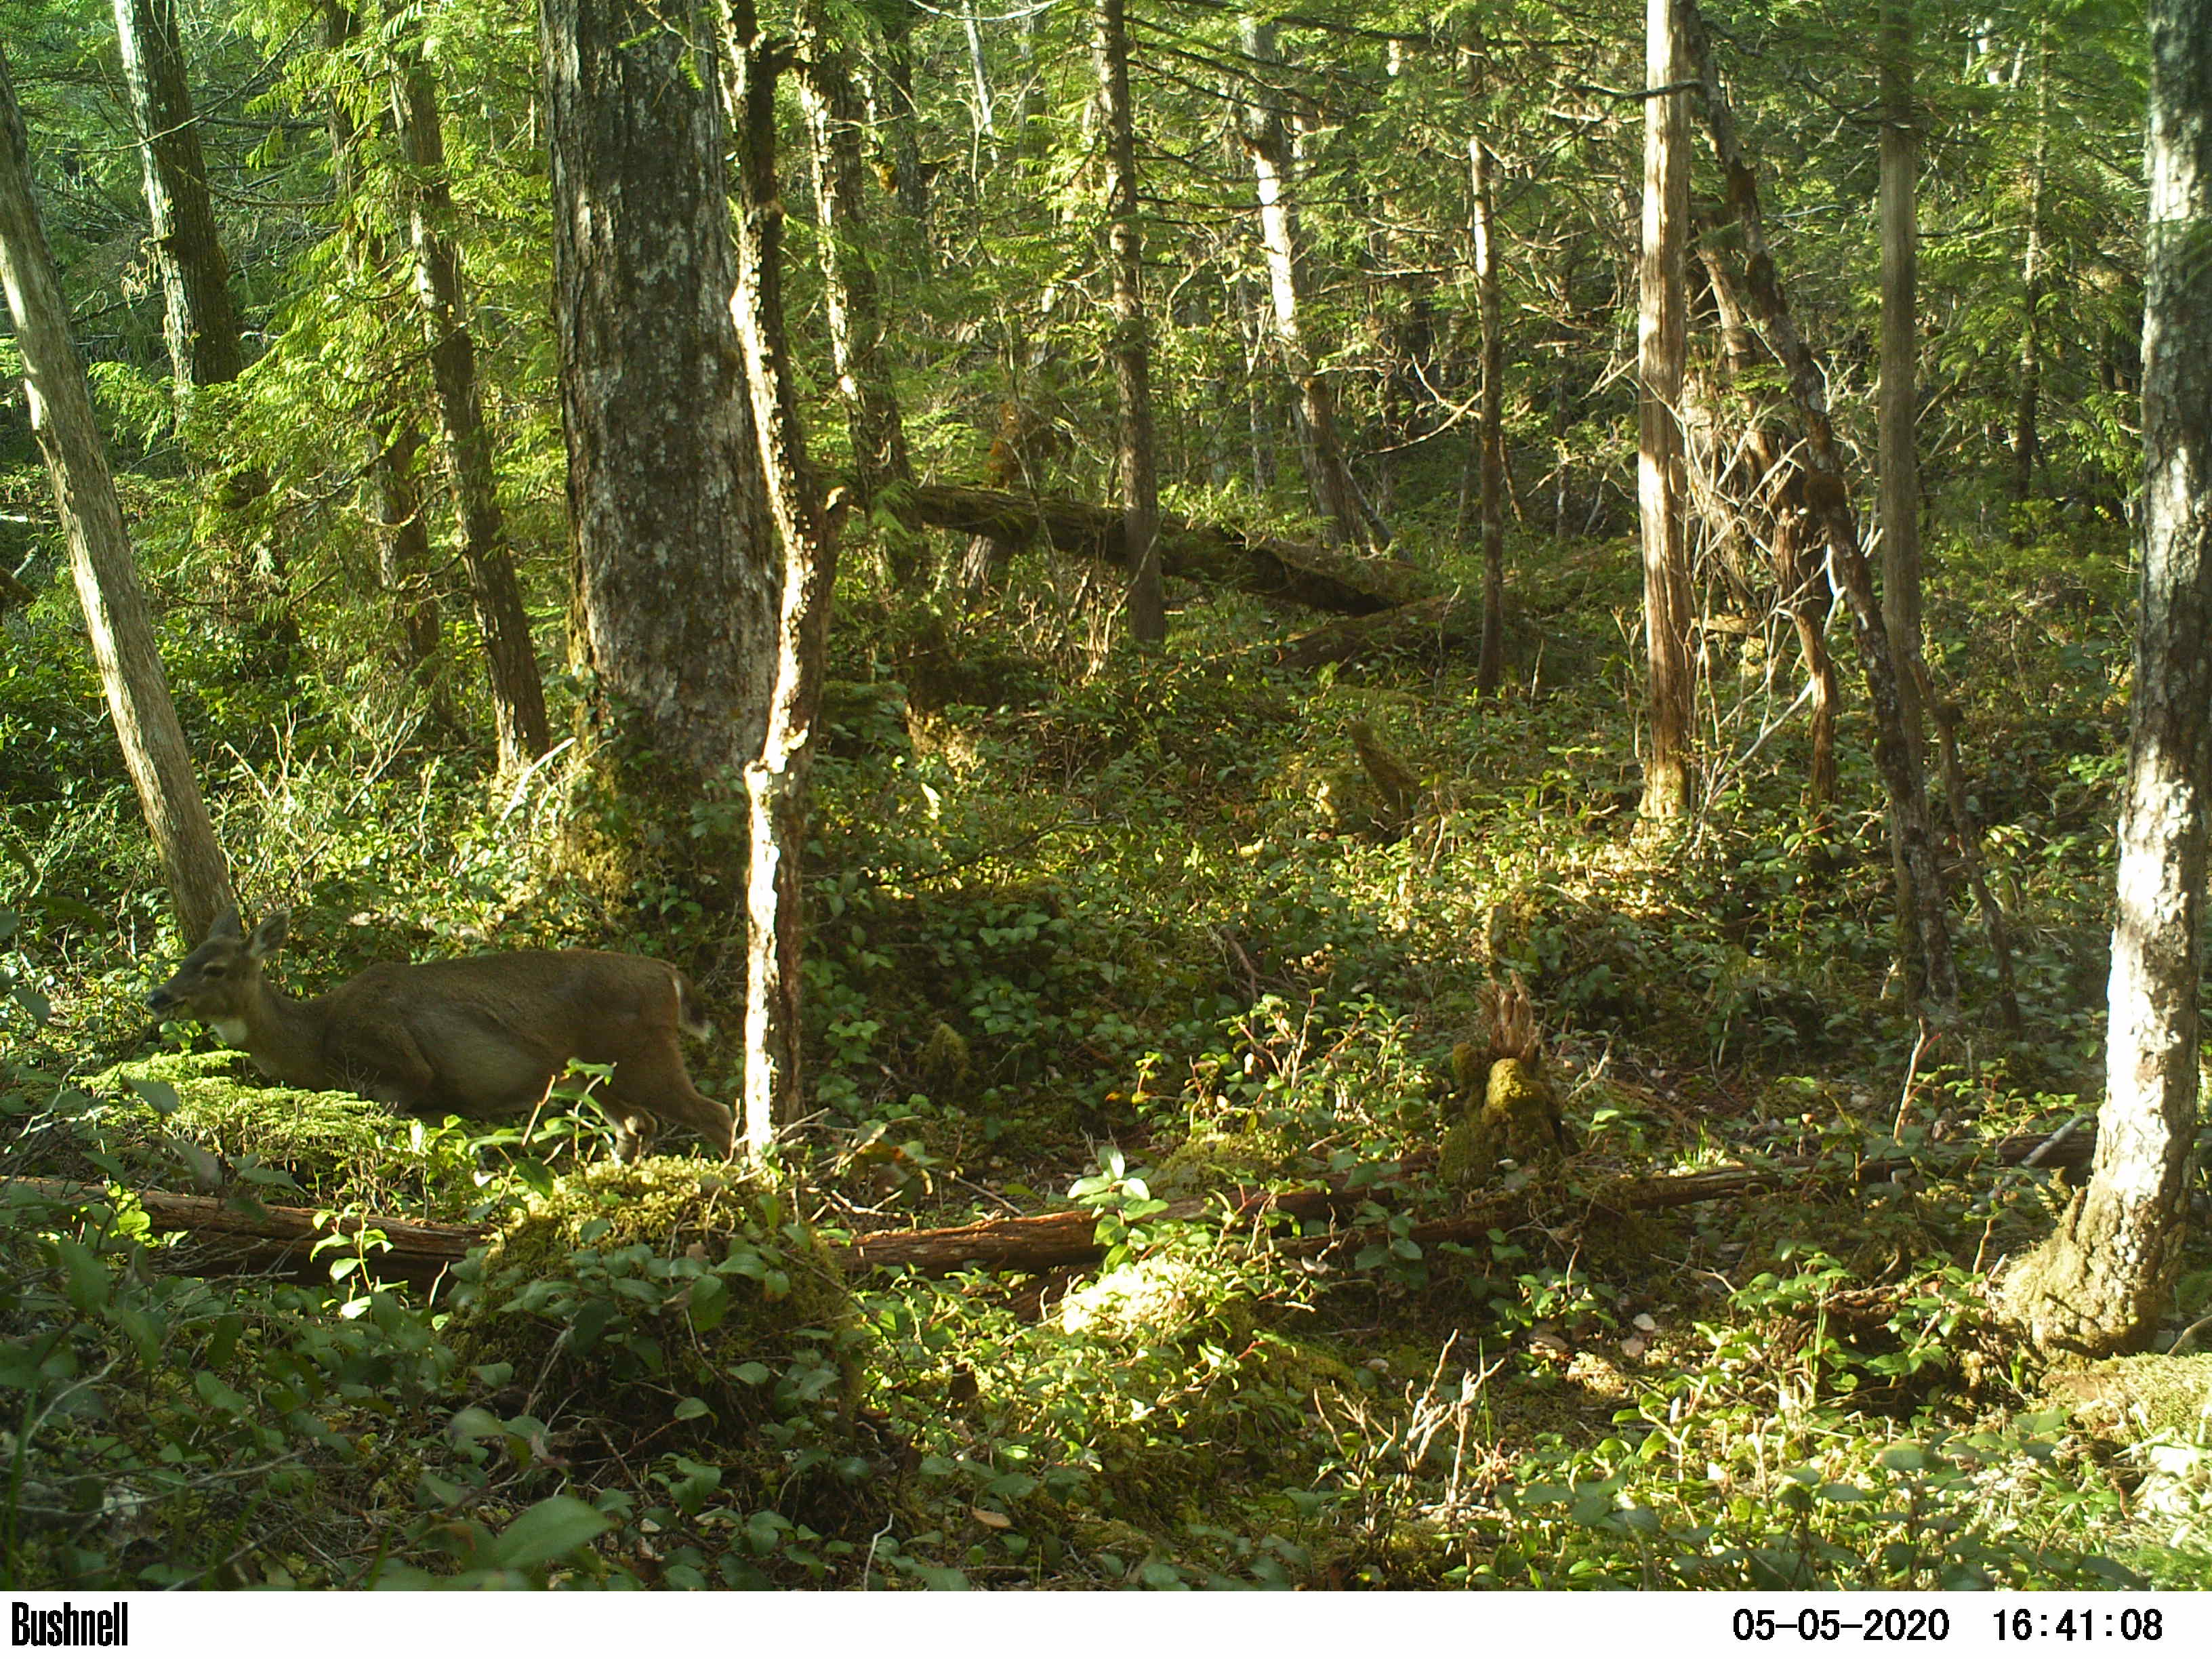

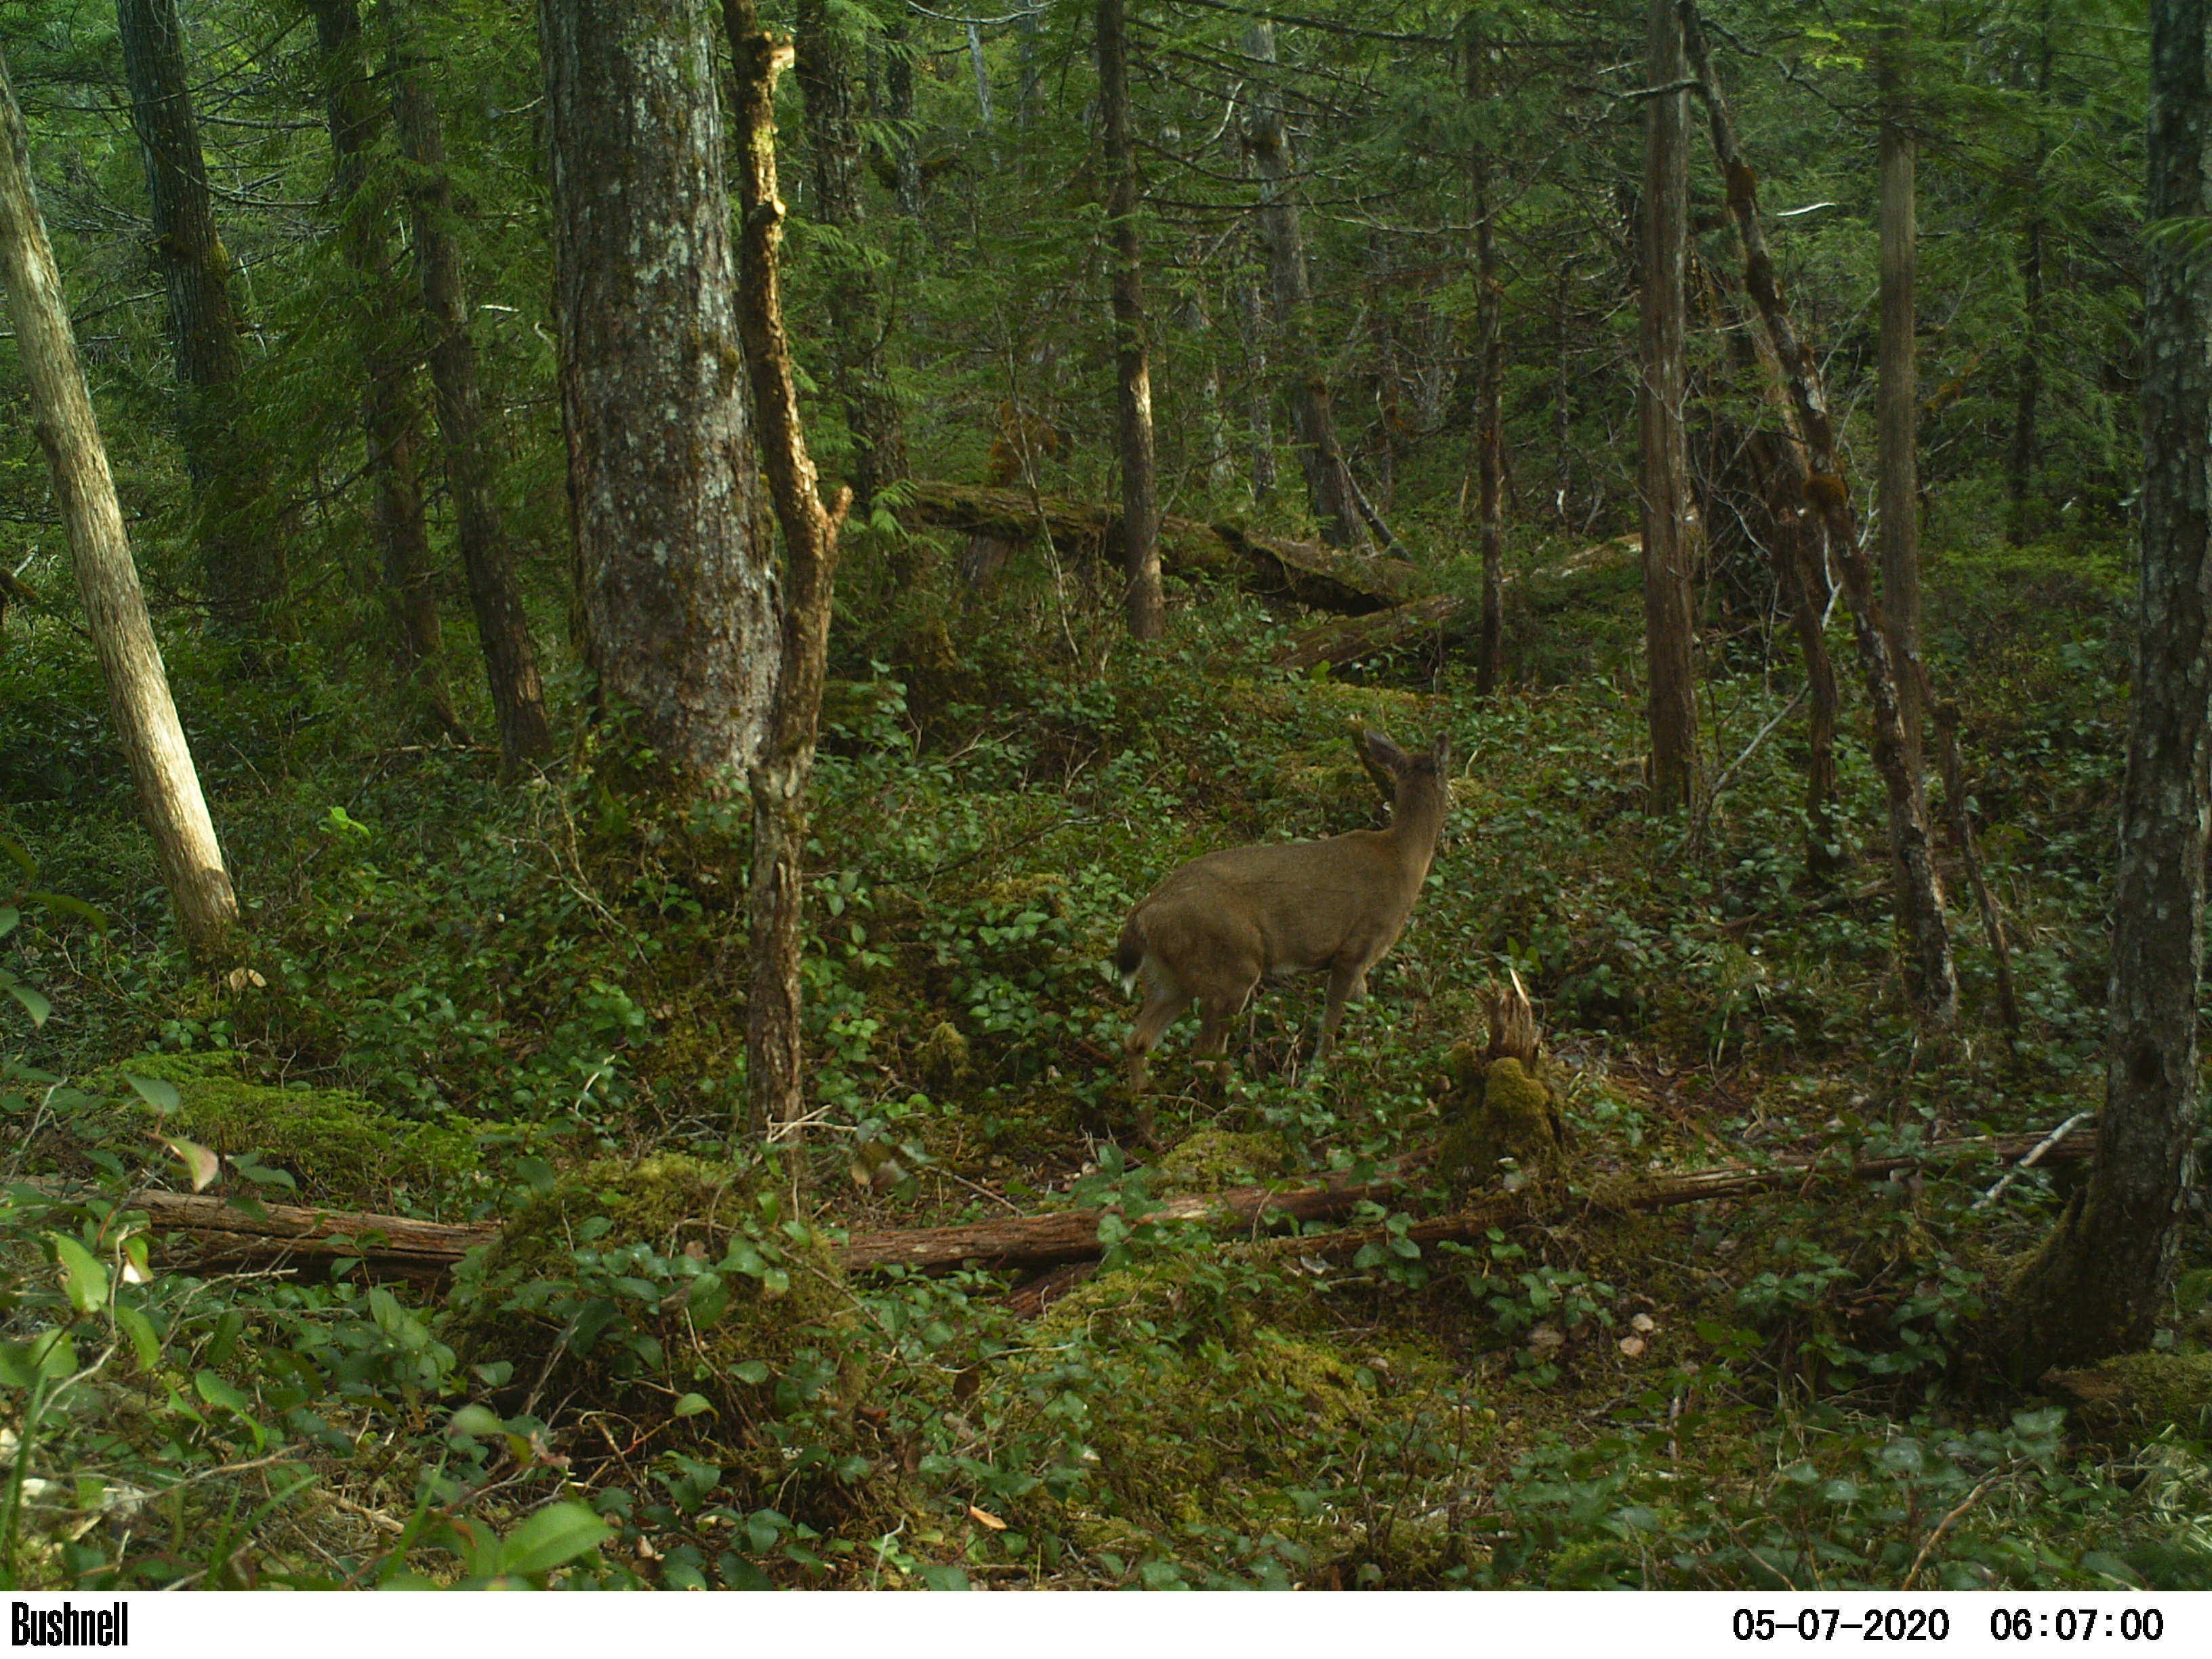
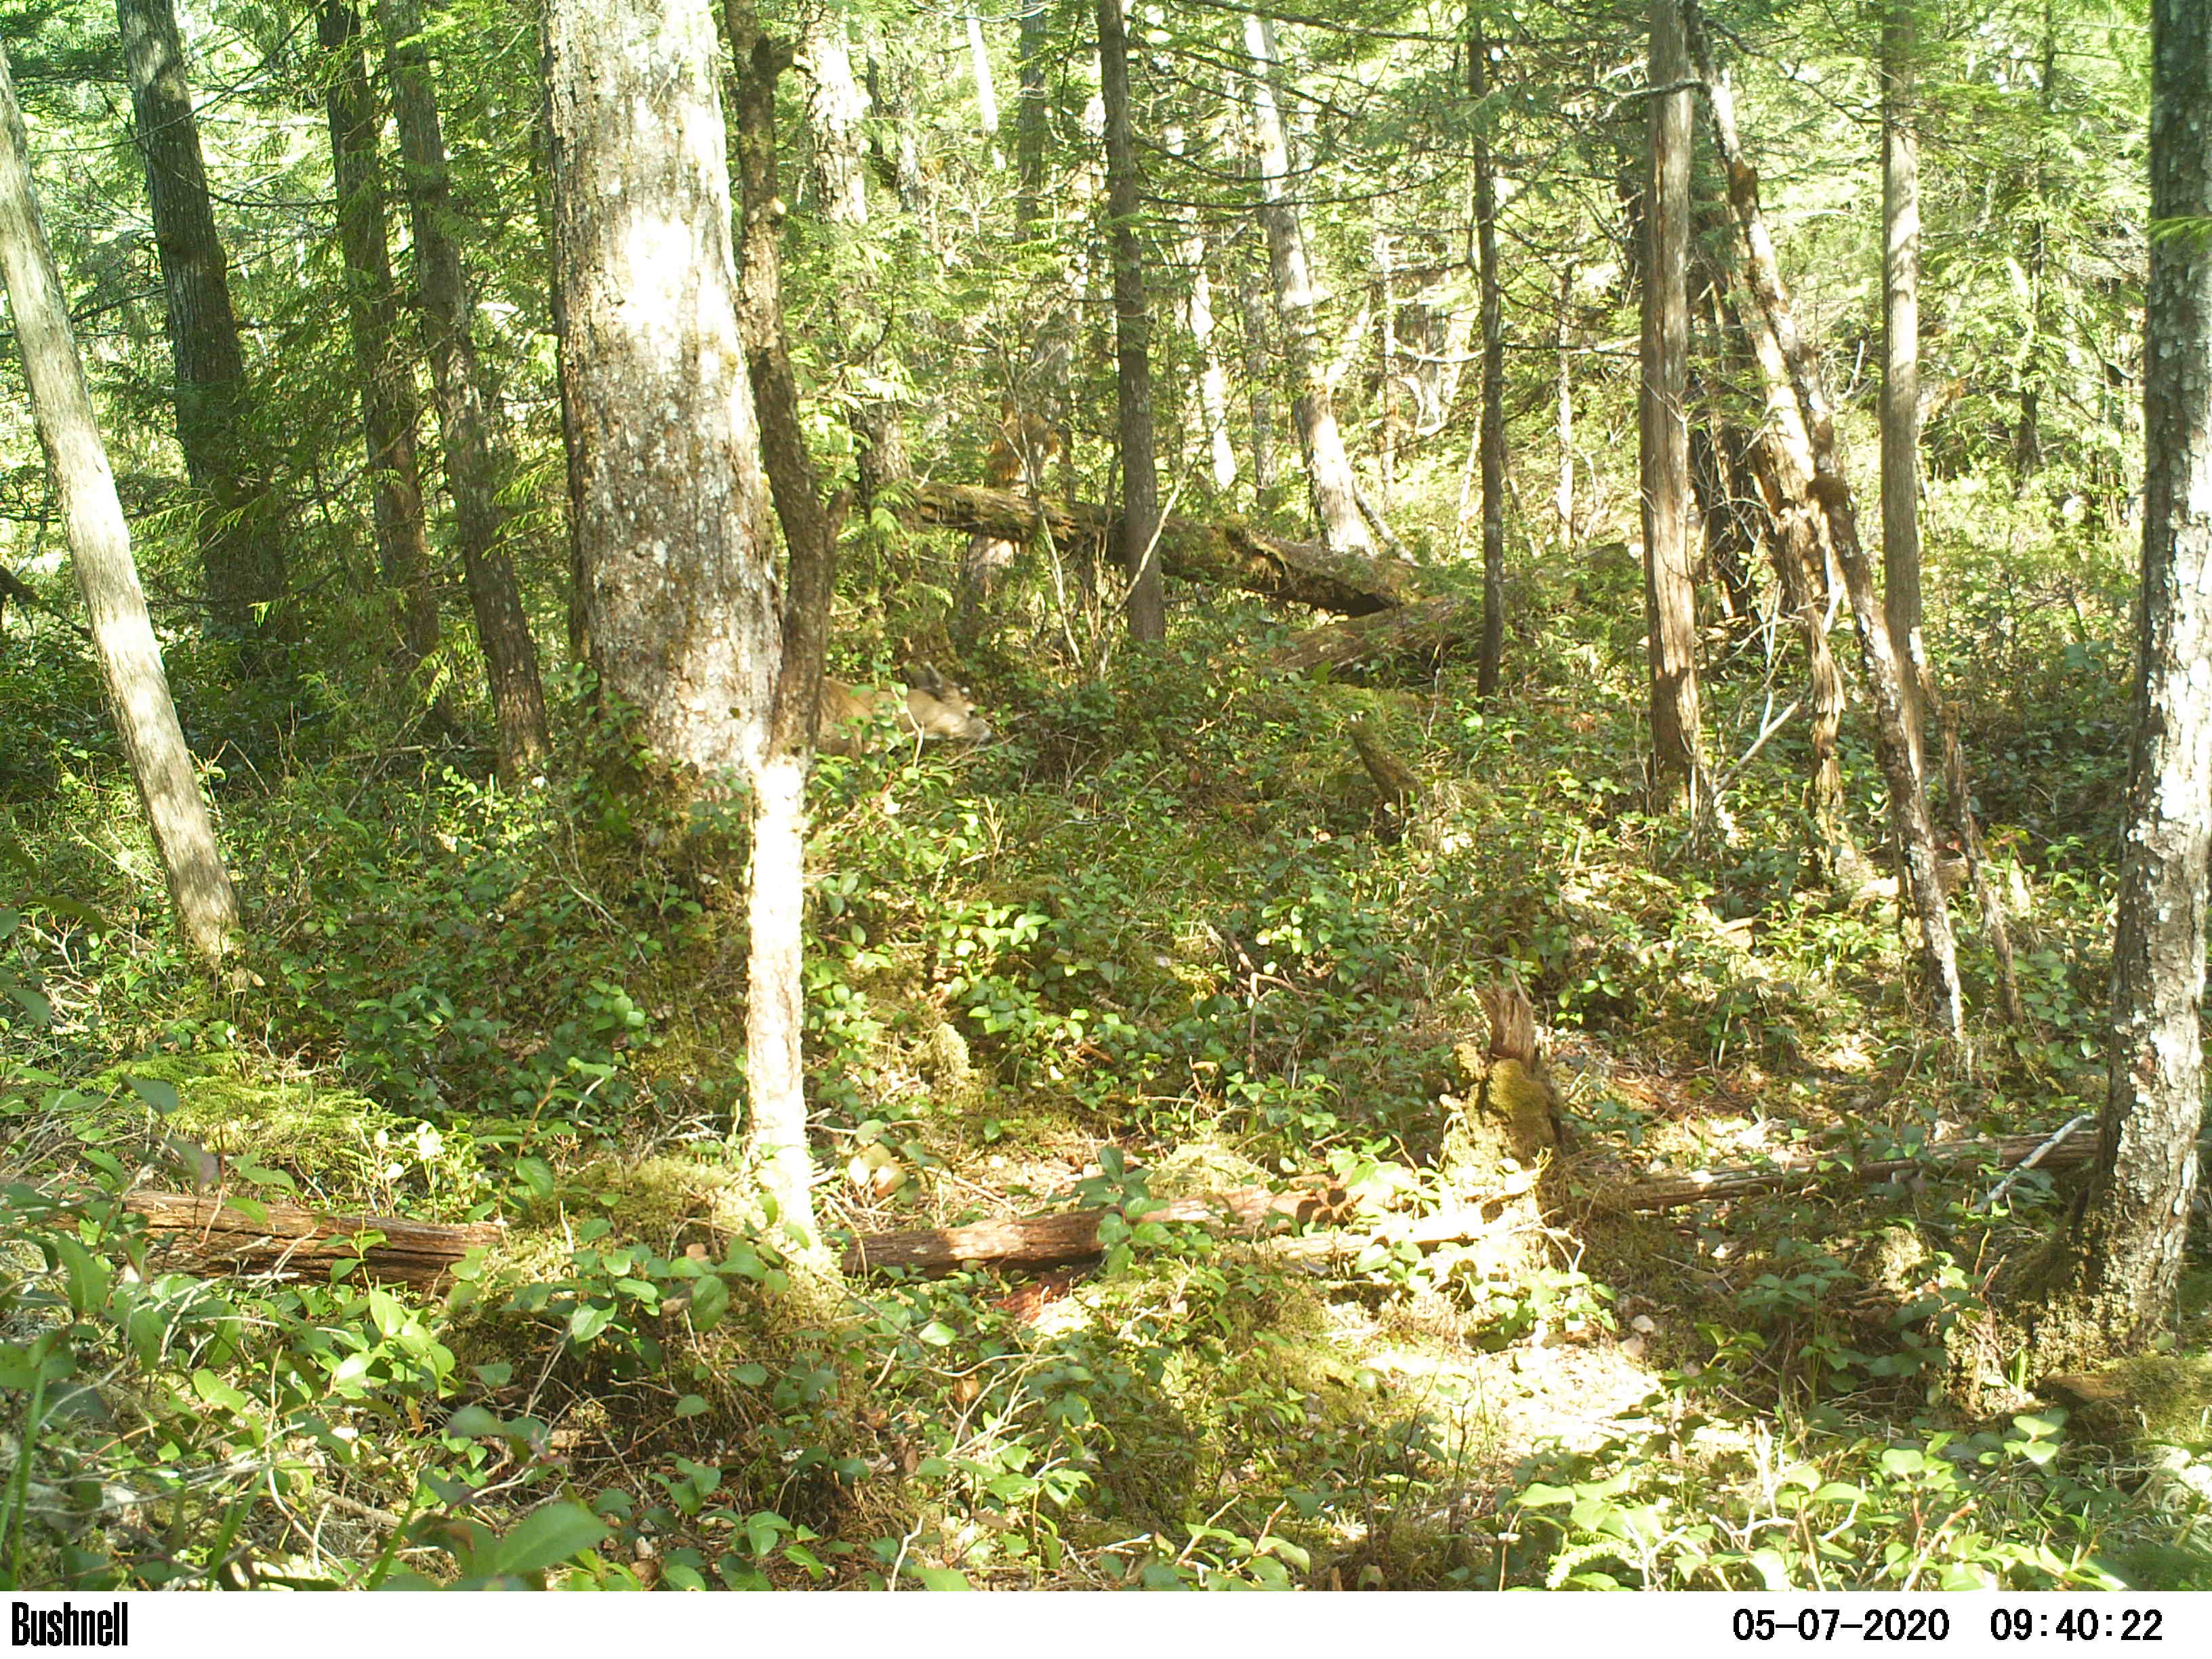

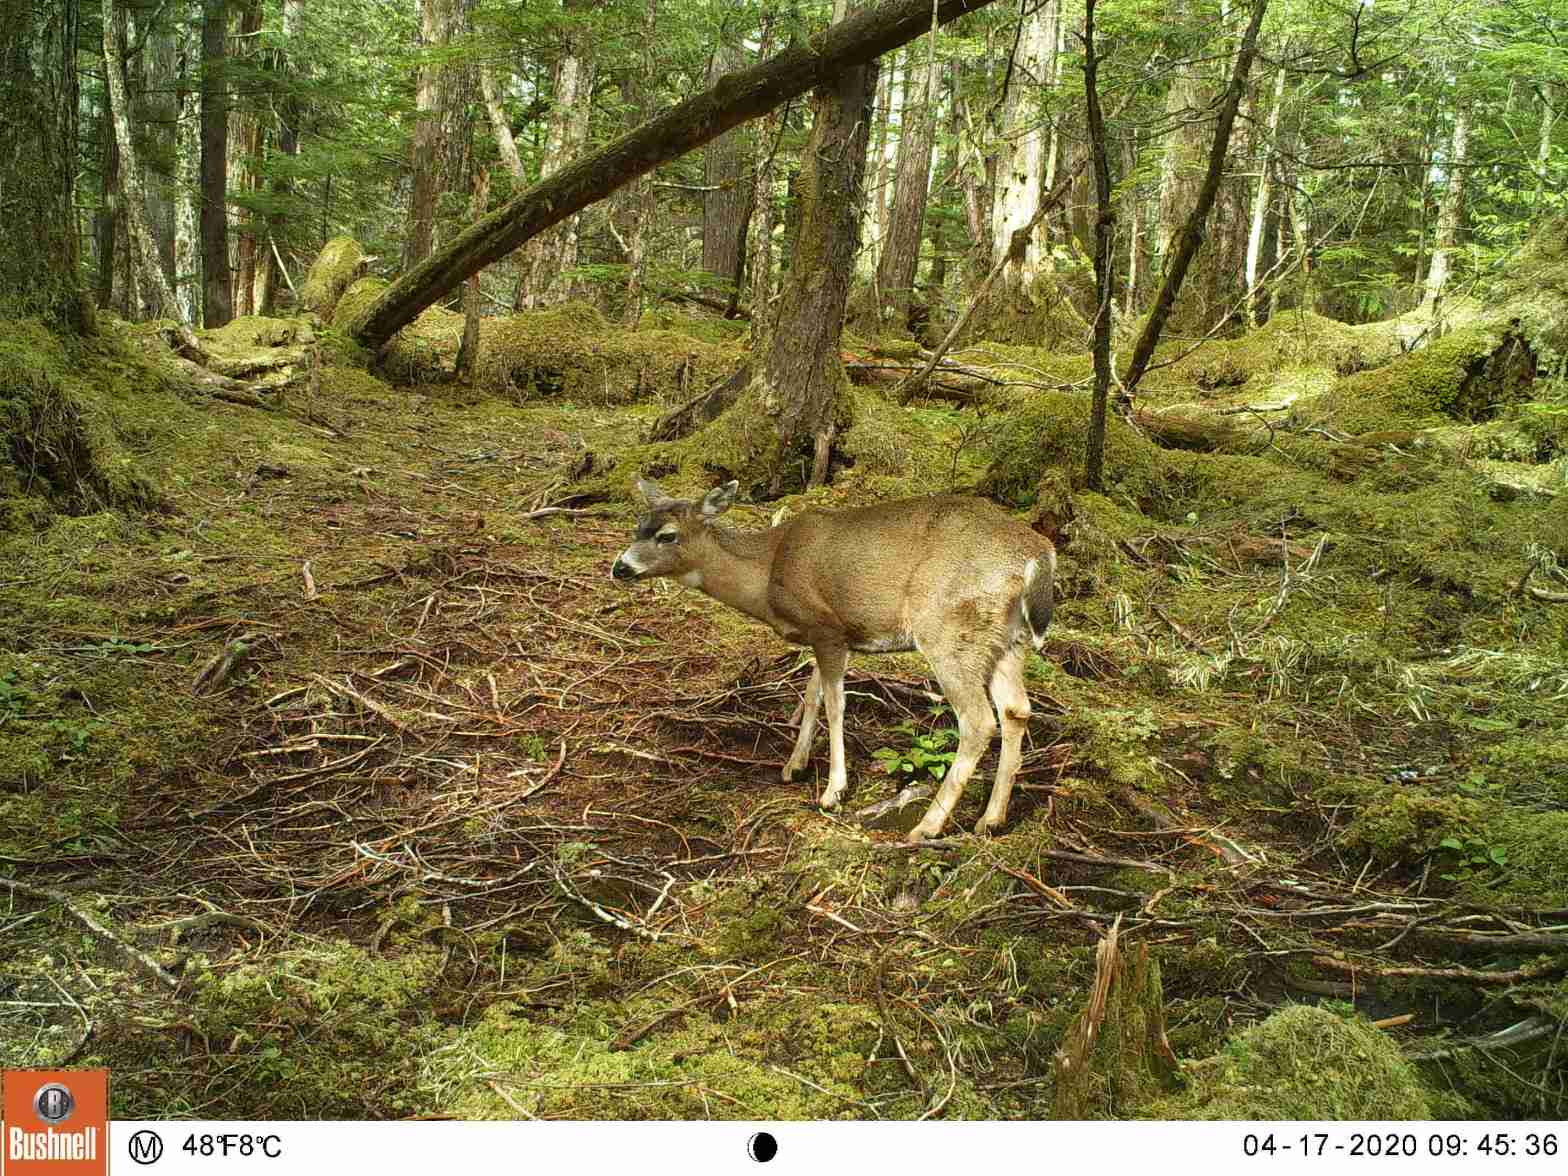
This is a good spot, but a little too popular with squirrels, so I moved it in order to avoid spending so much time deleting pictures of them.


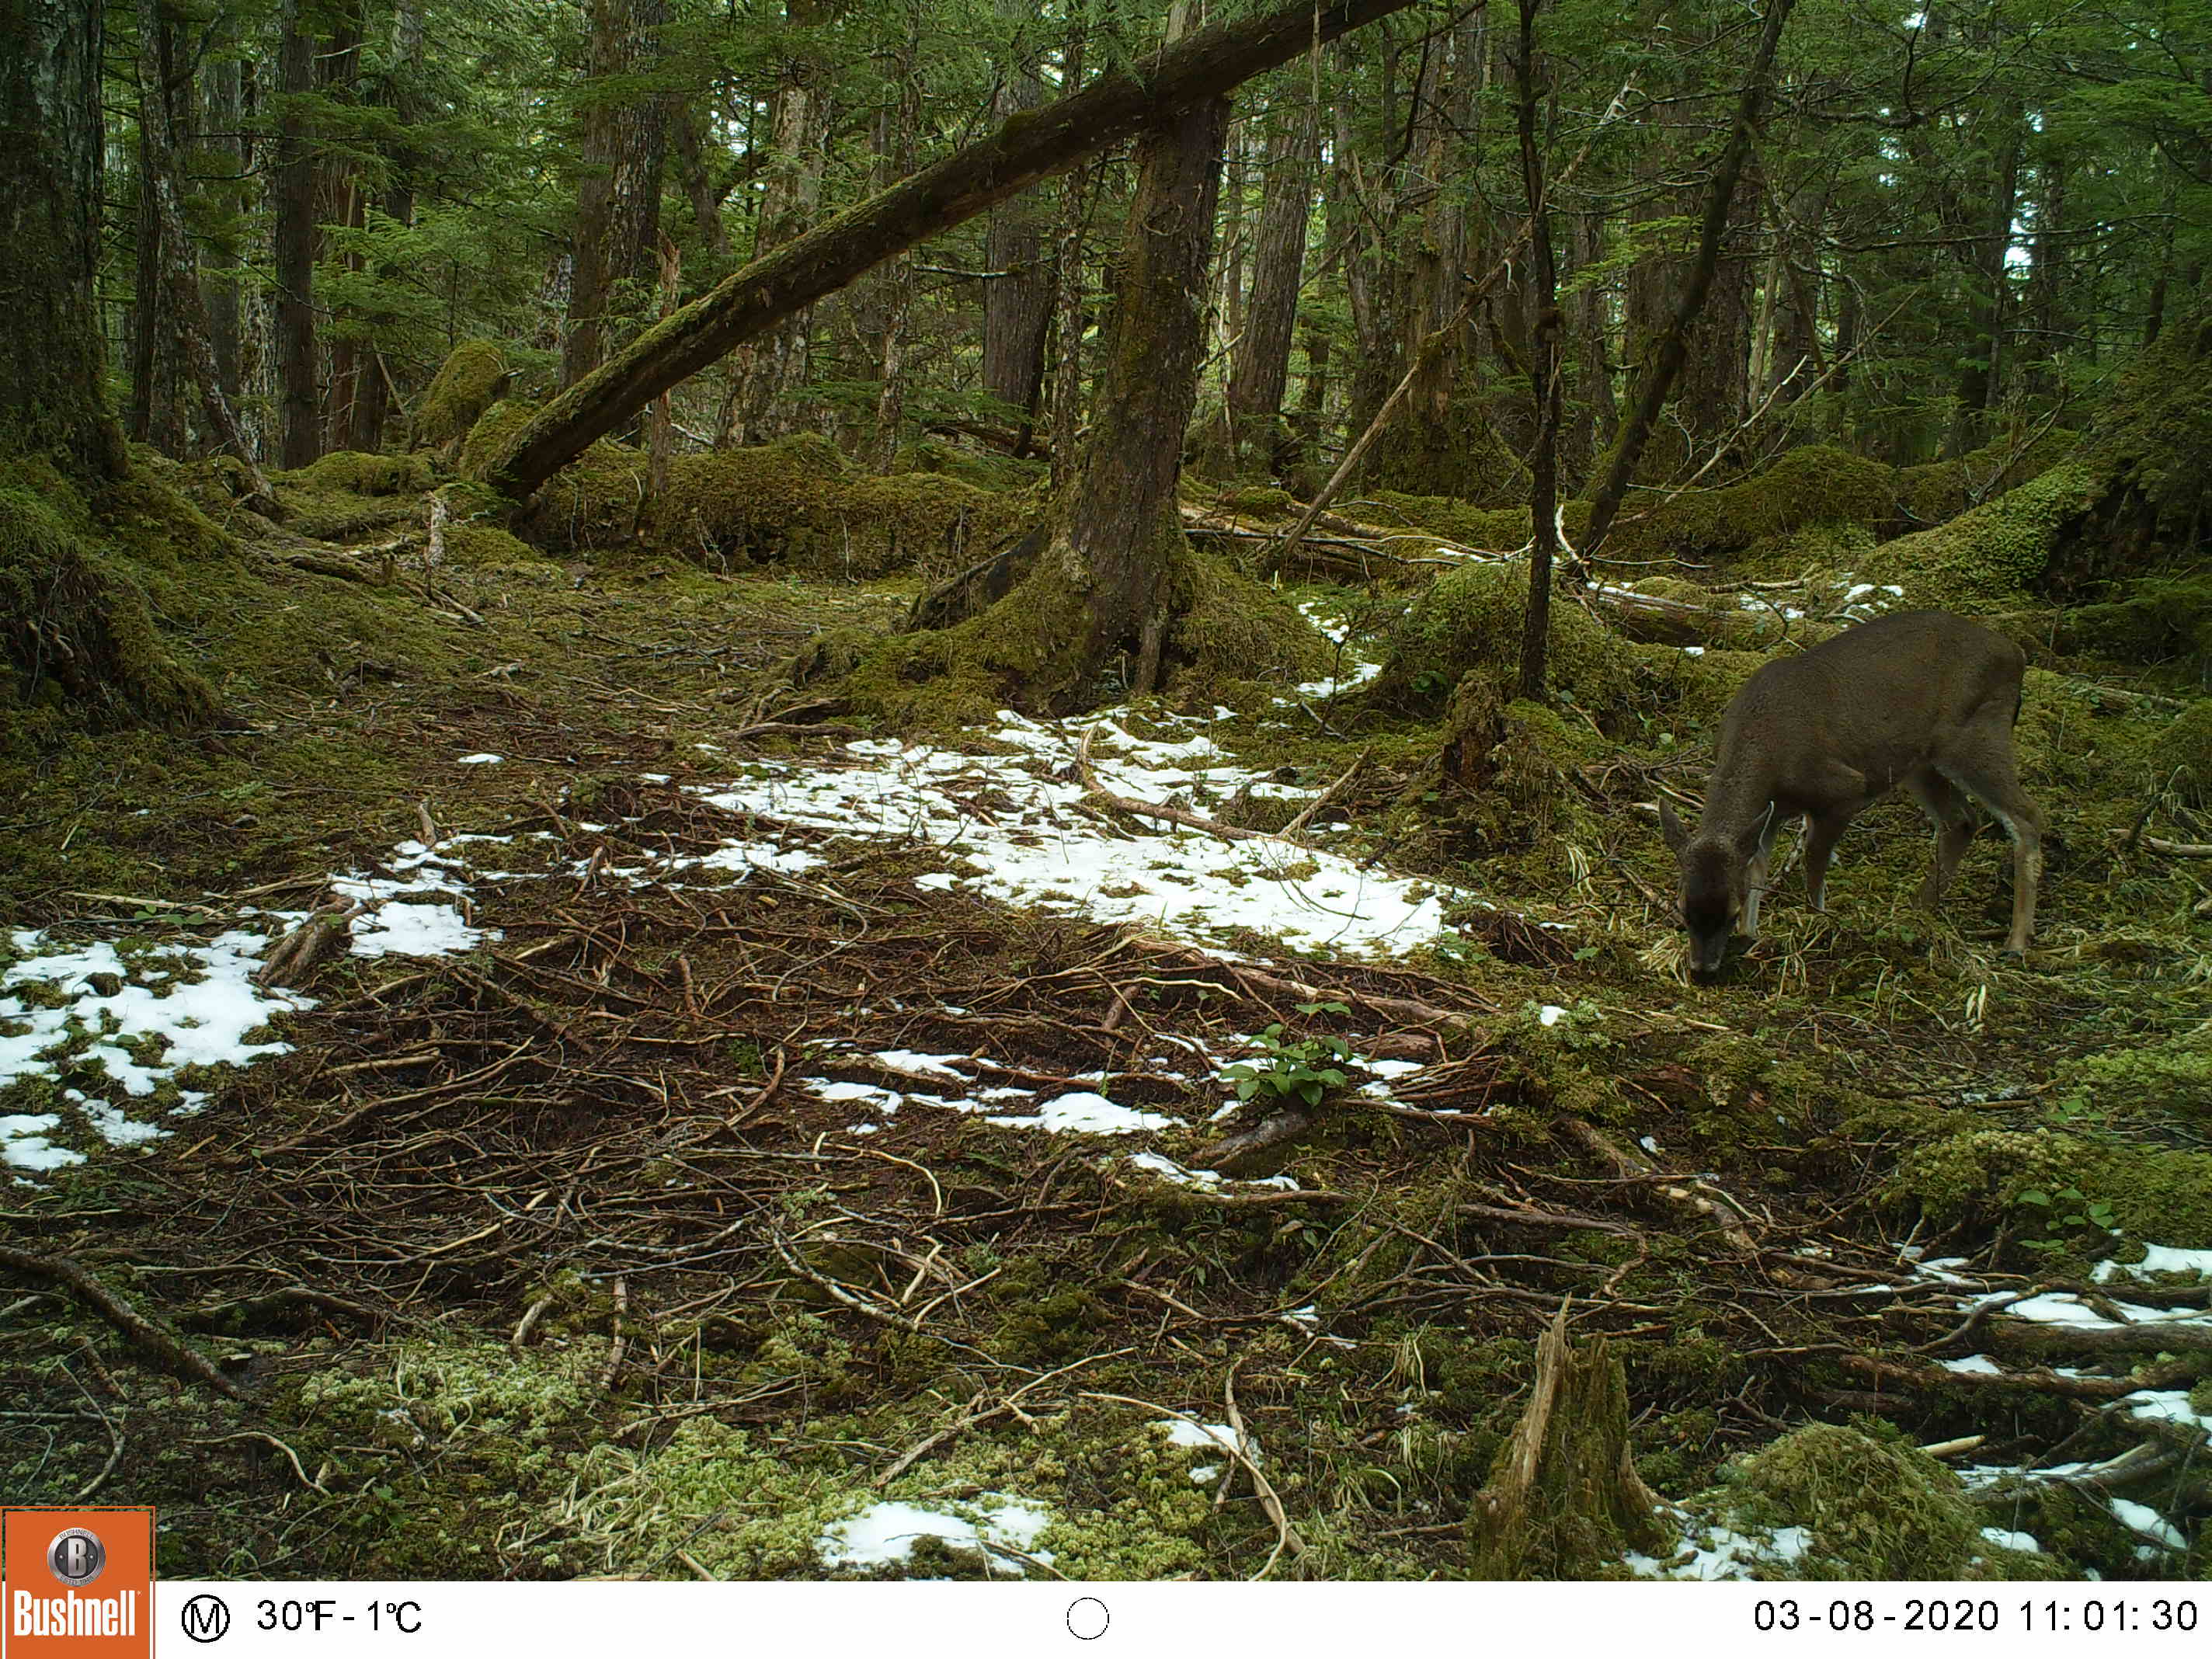
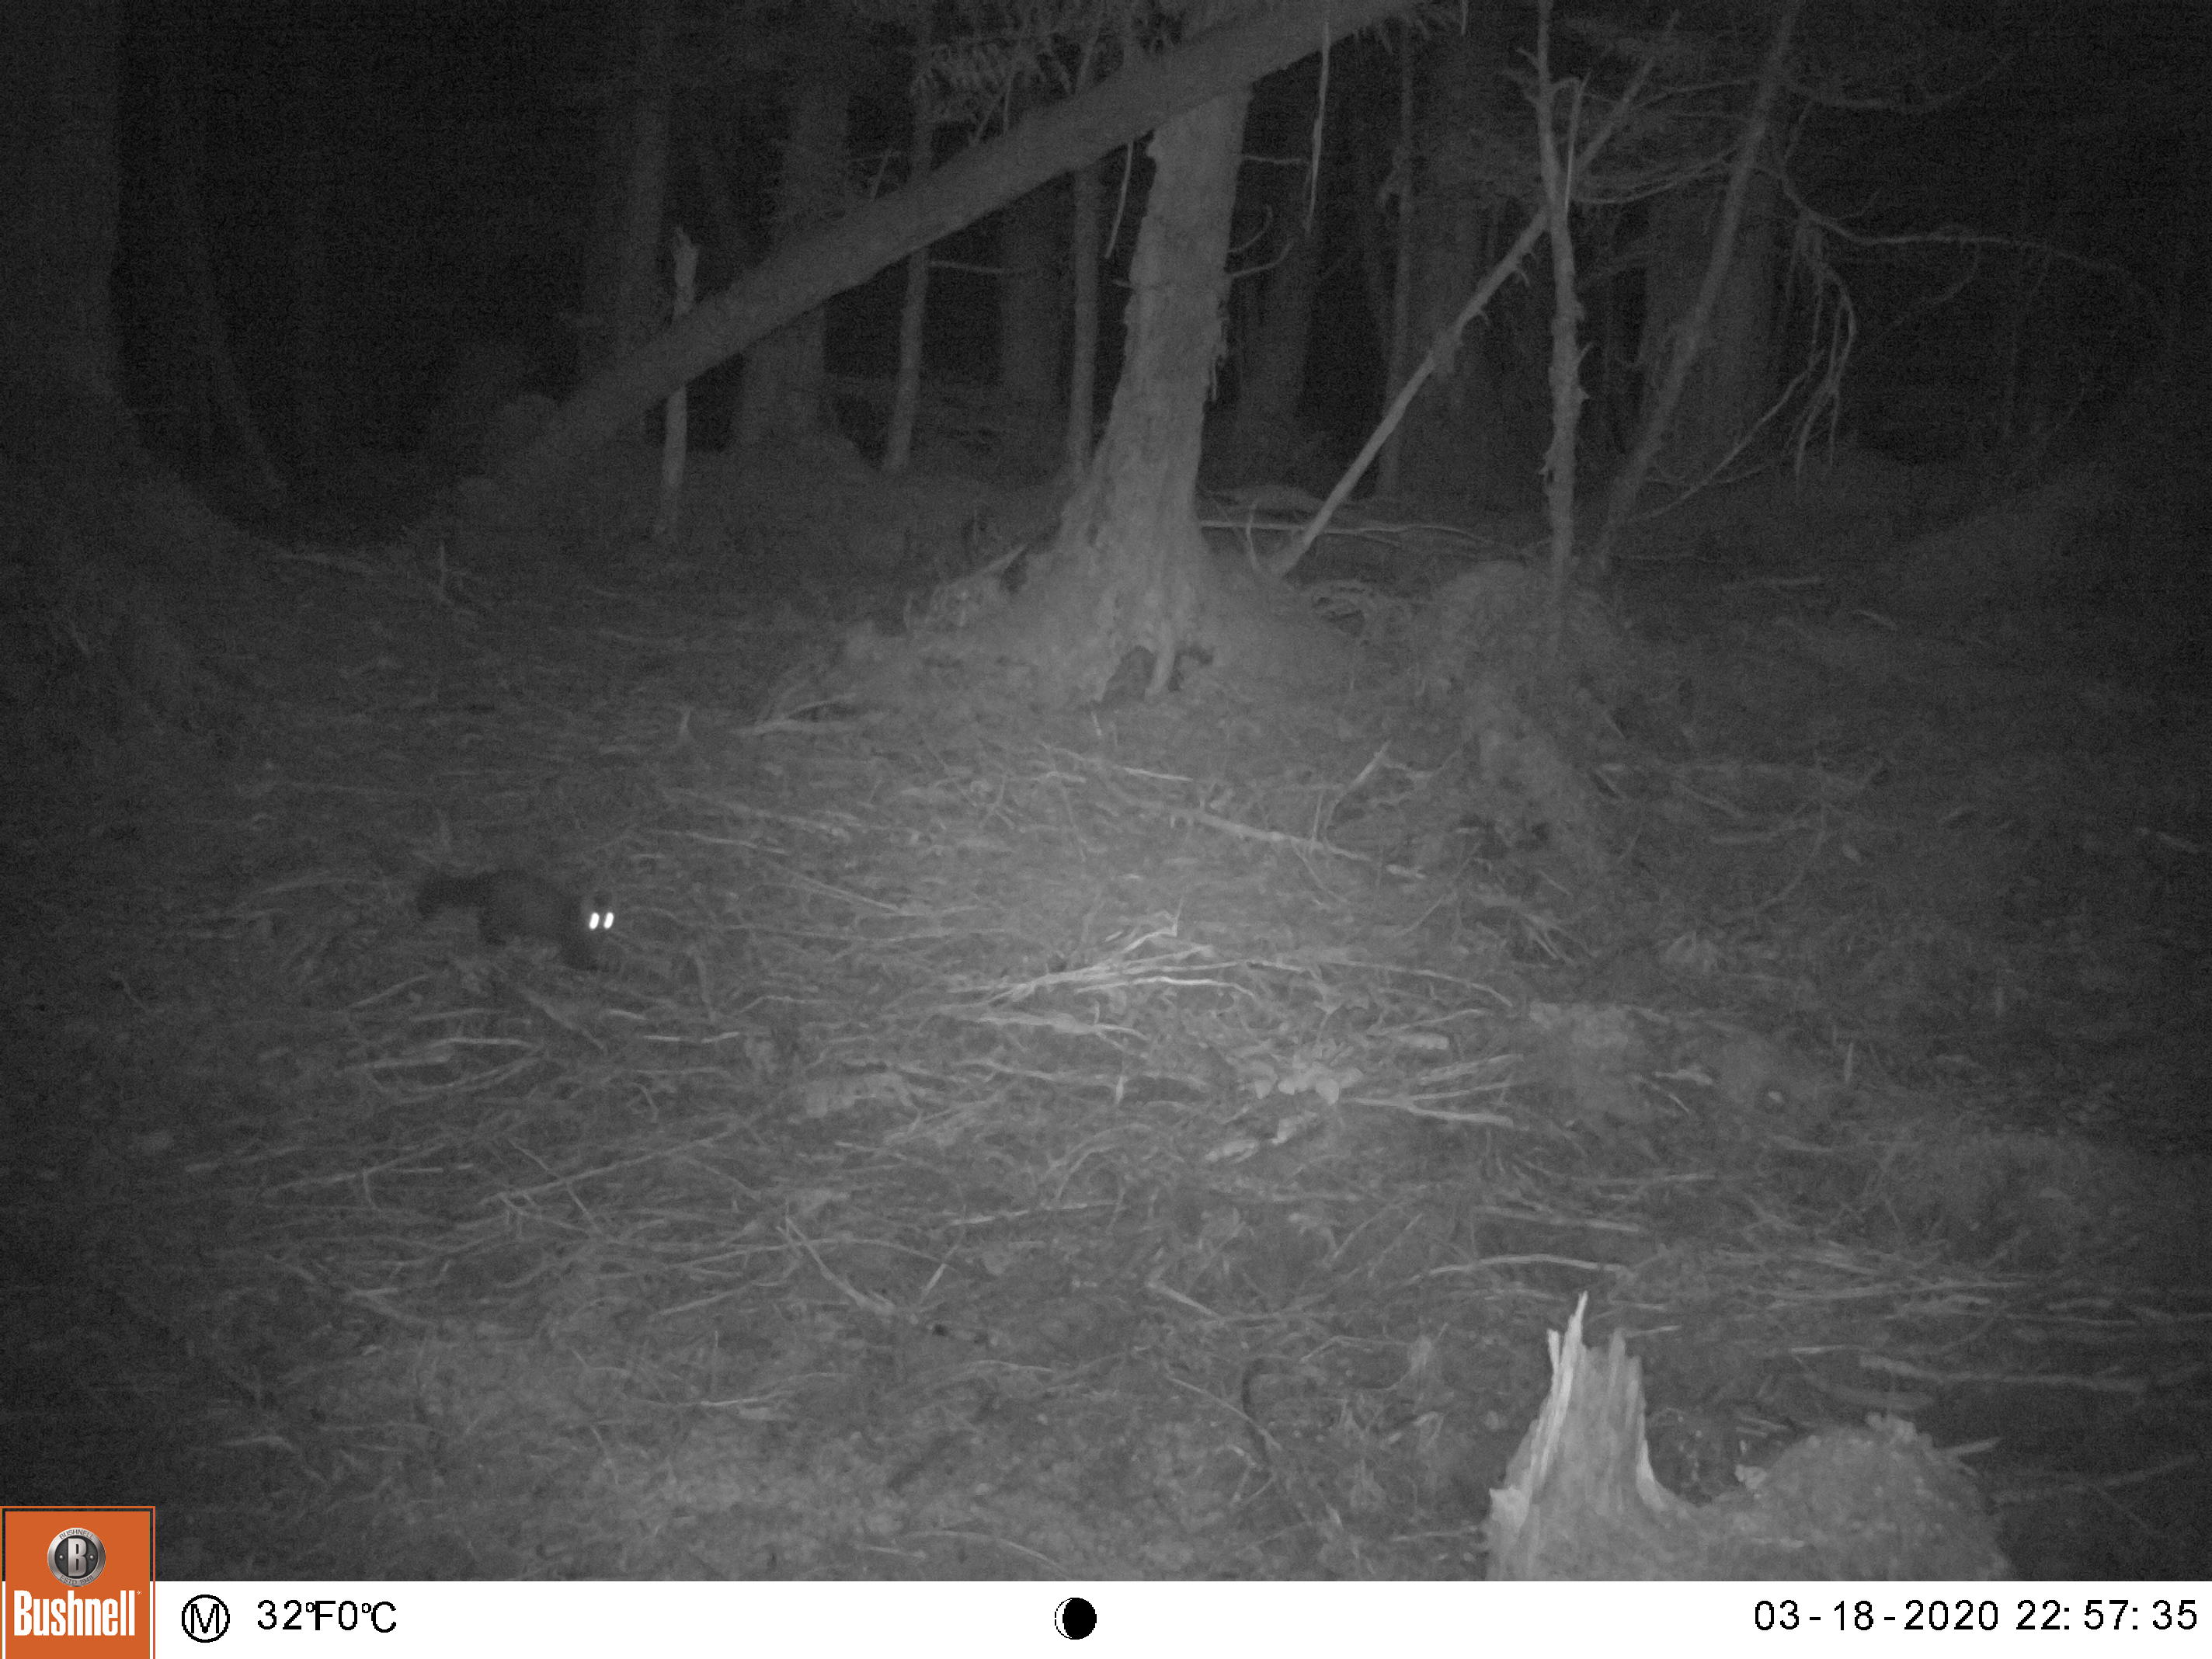

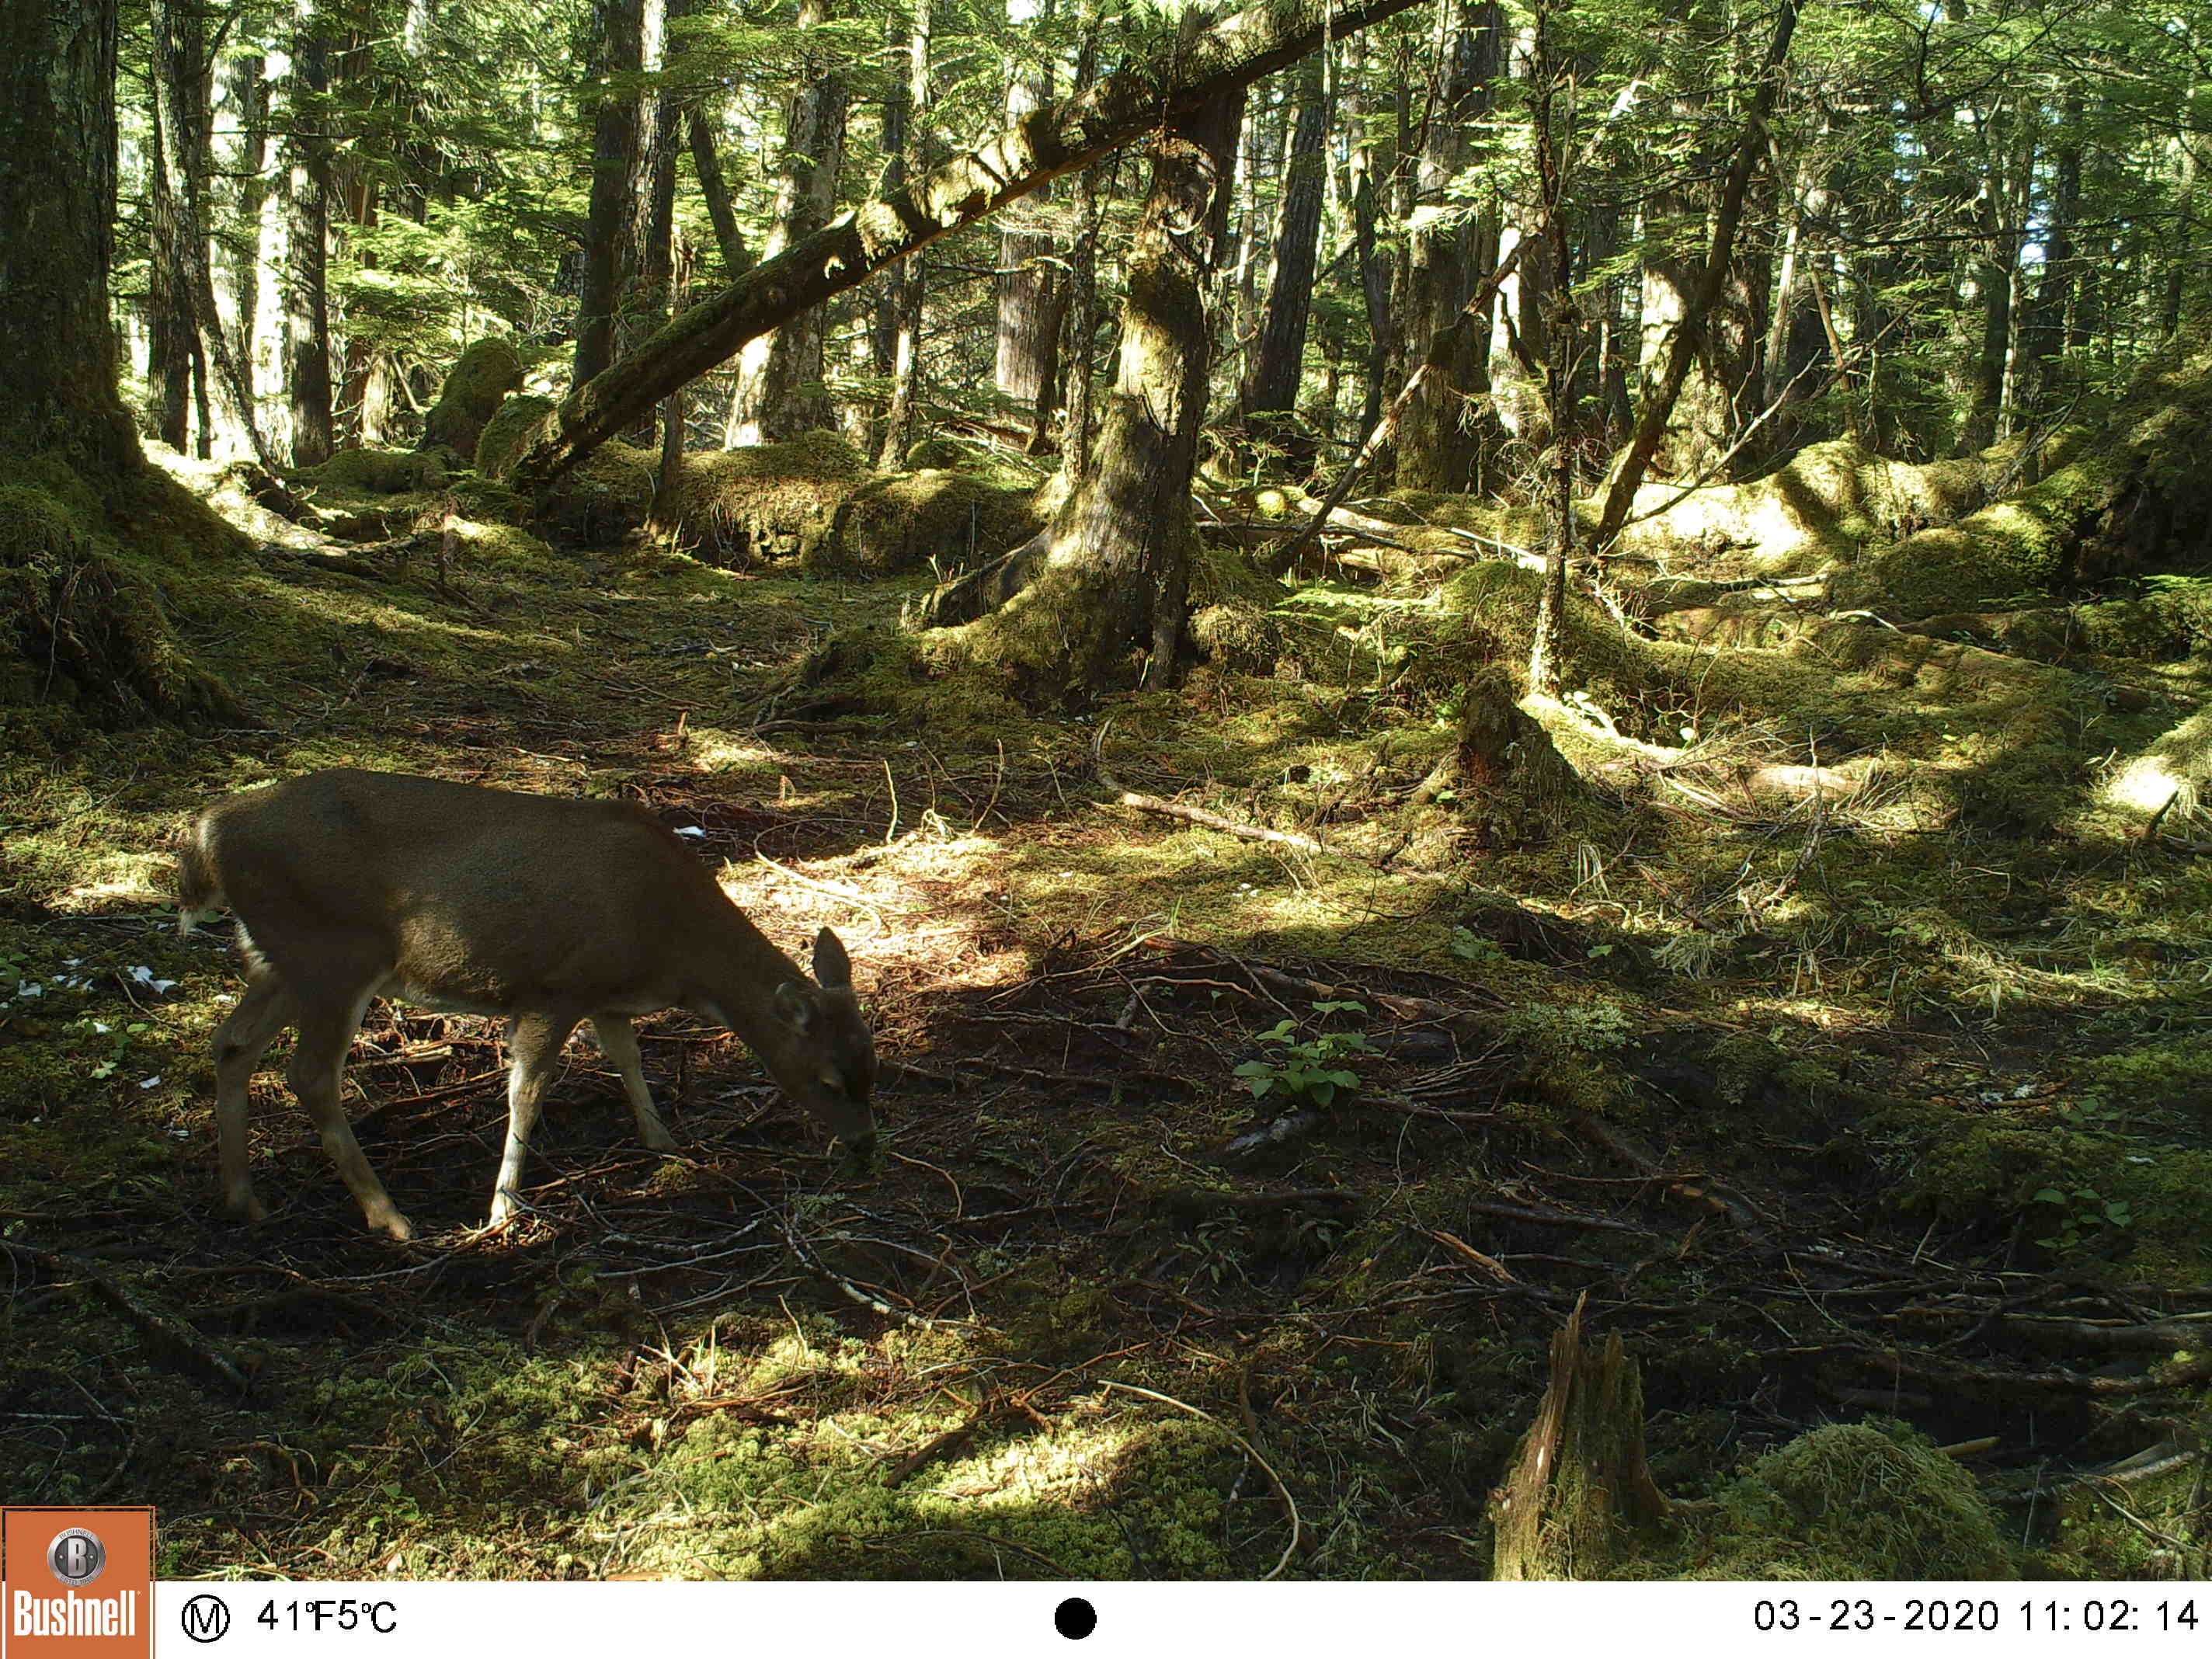
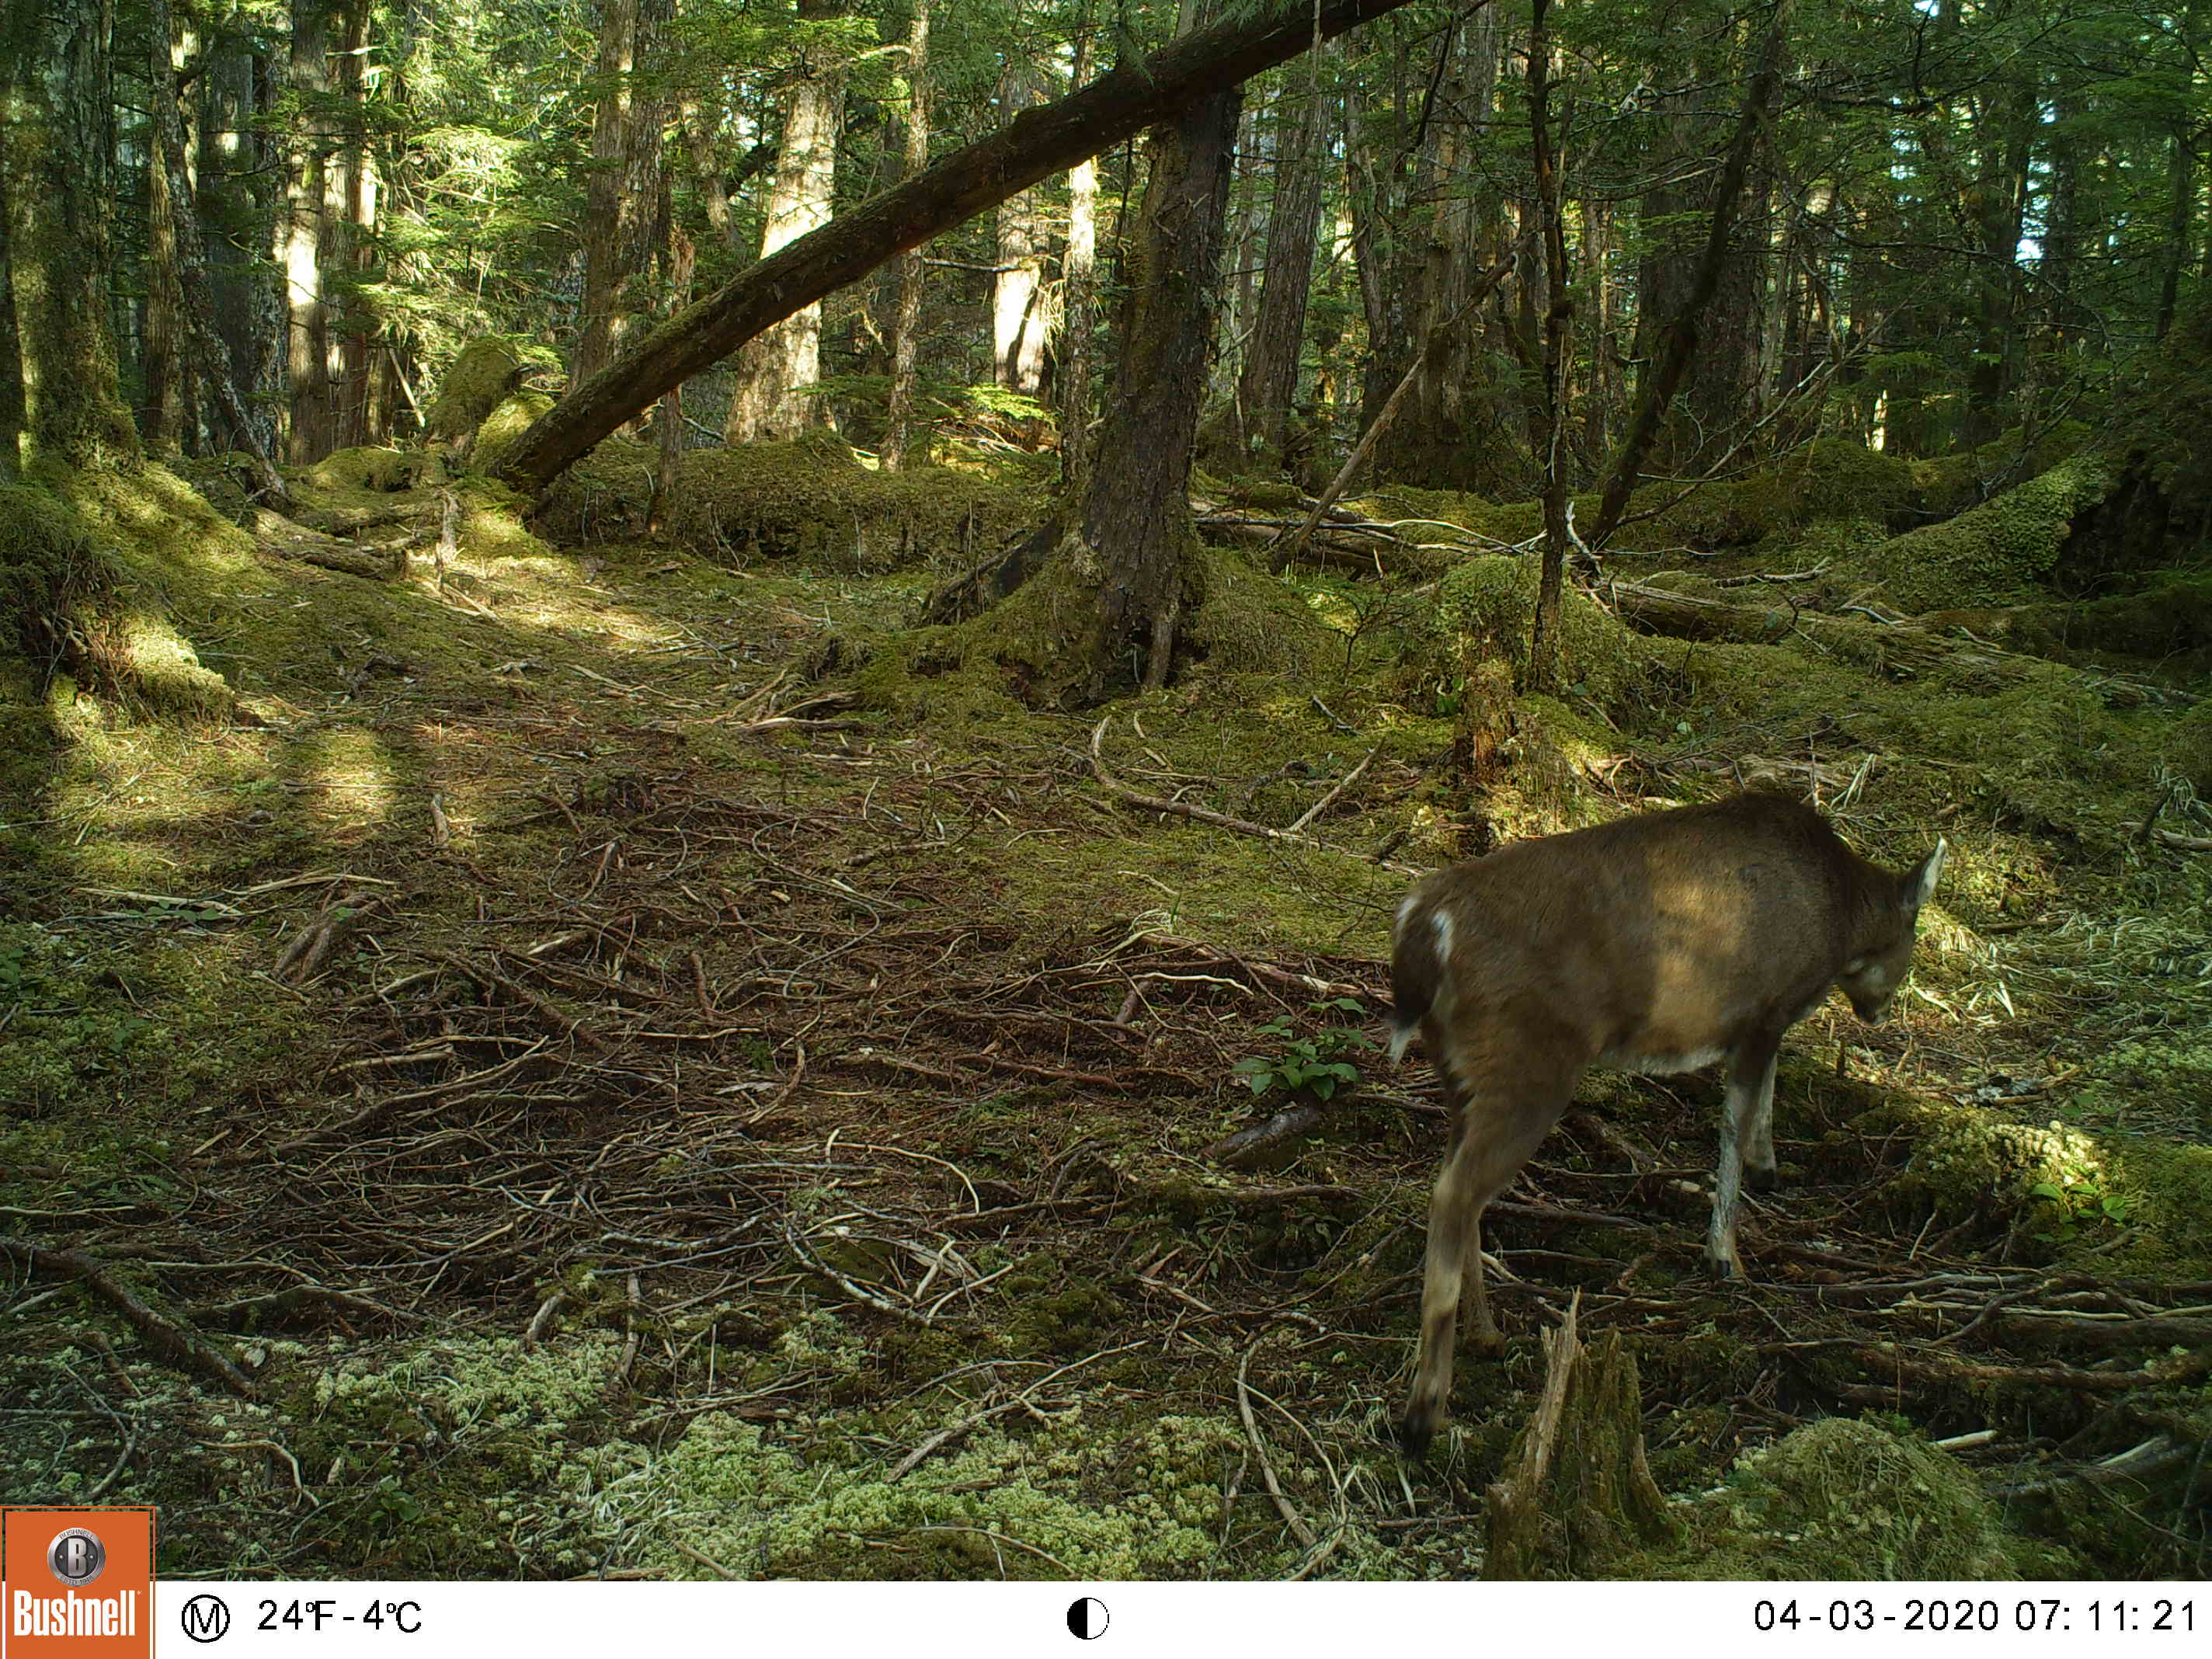

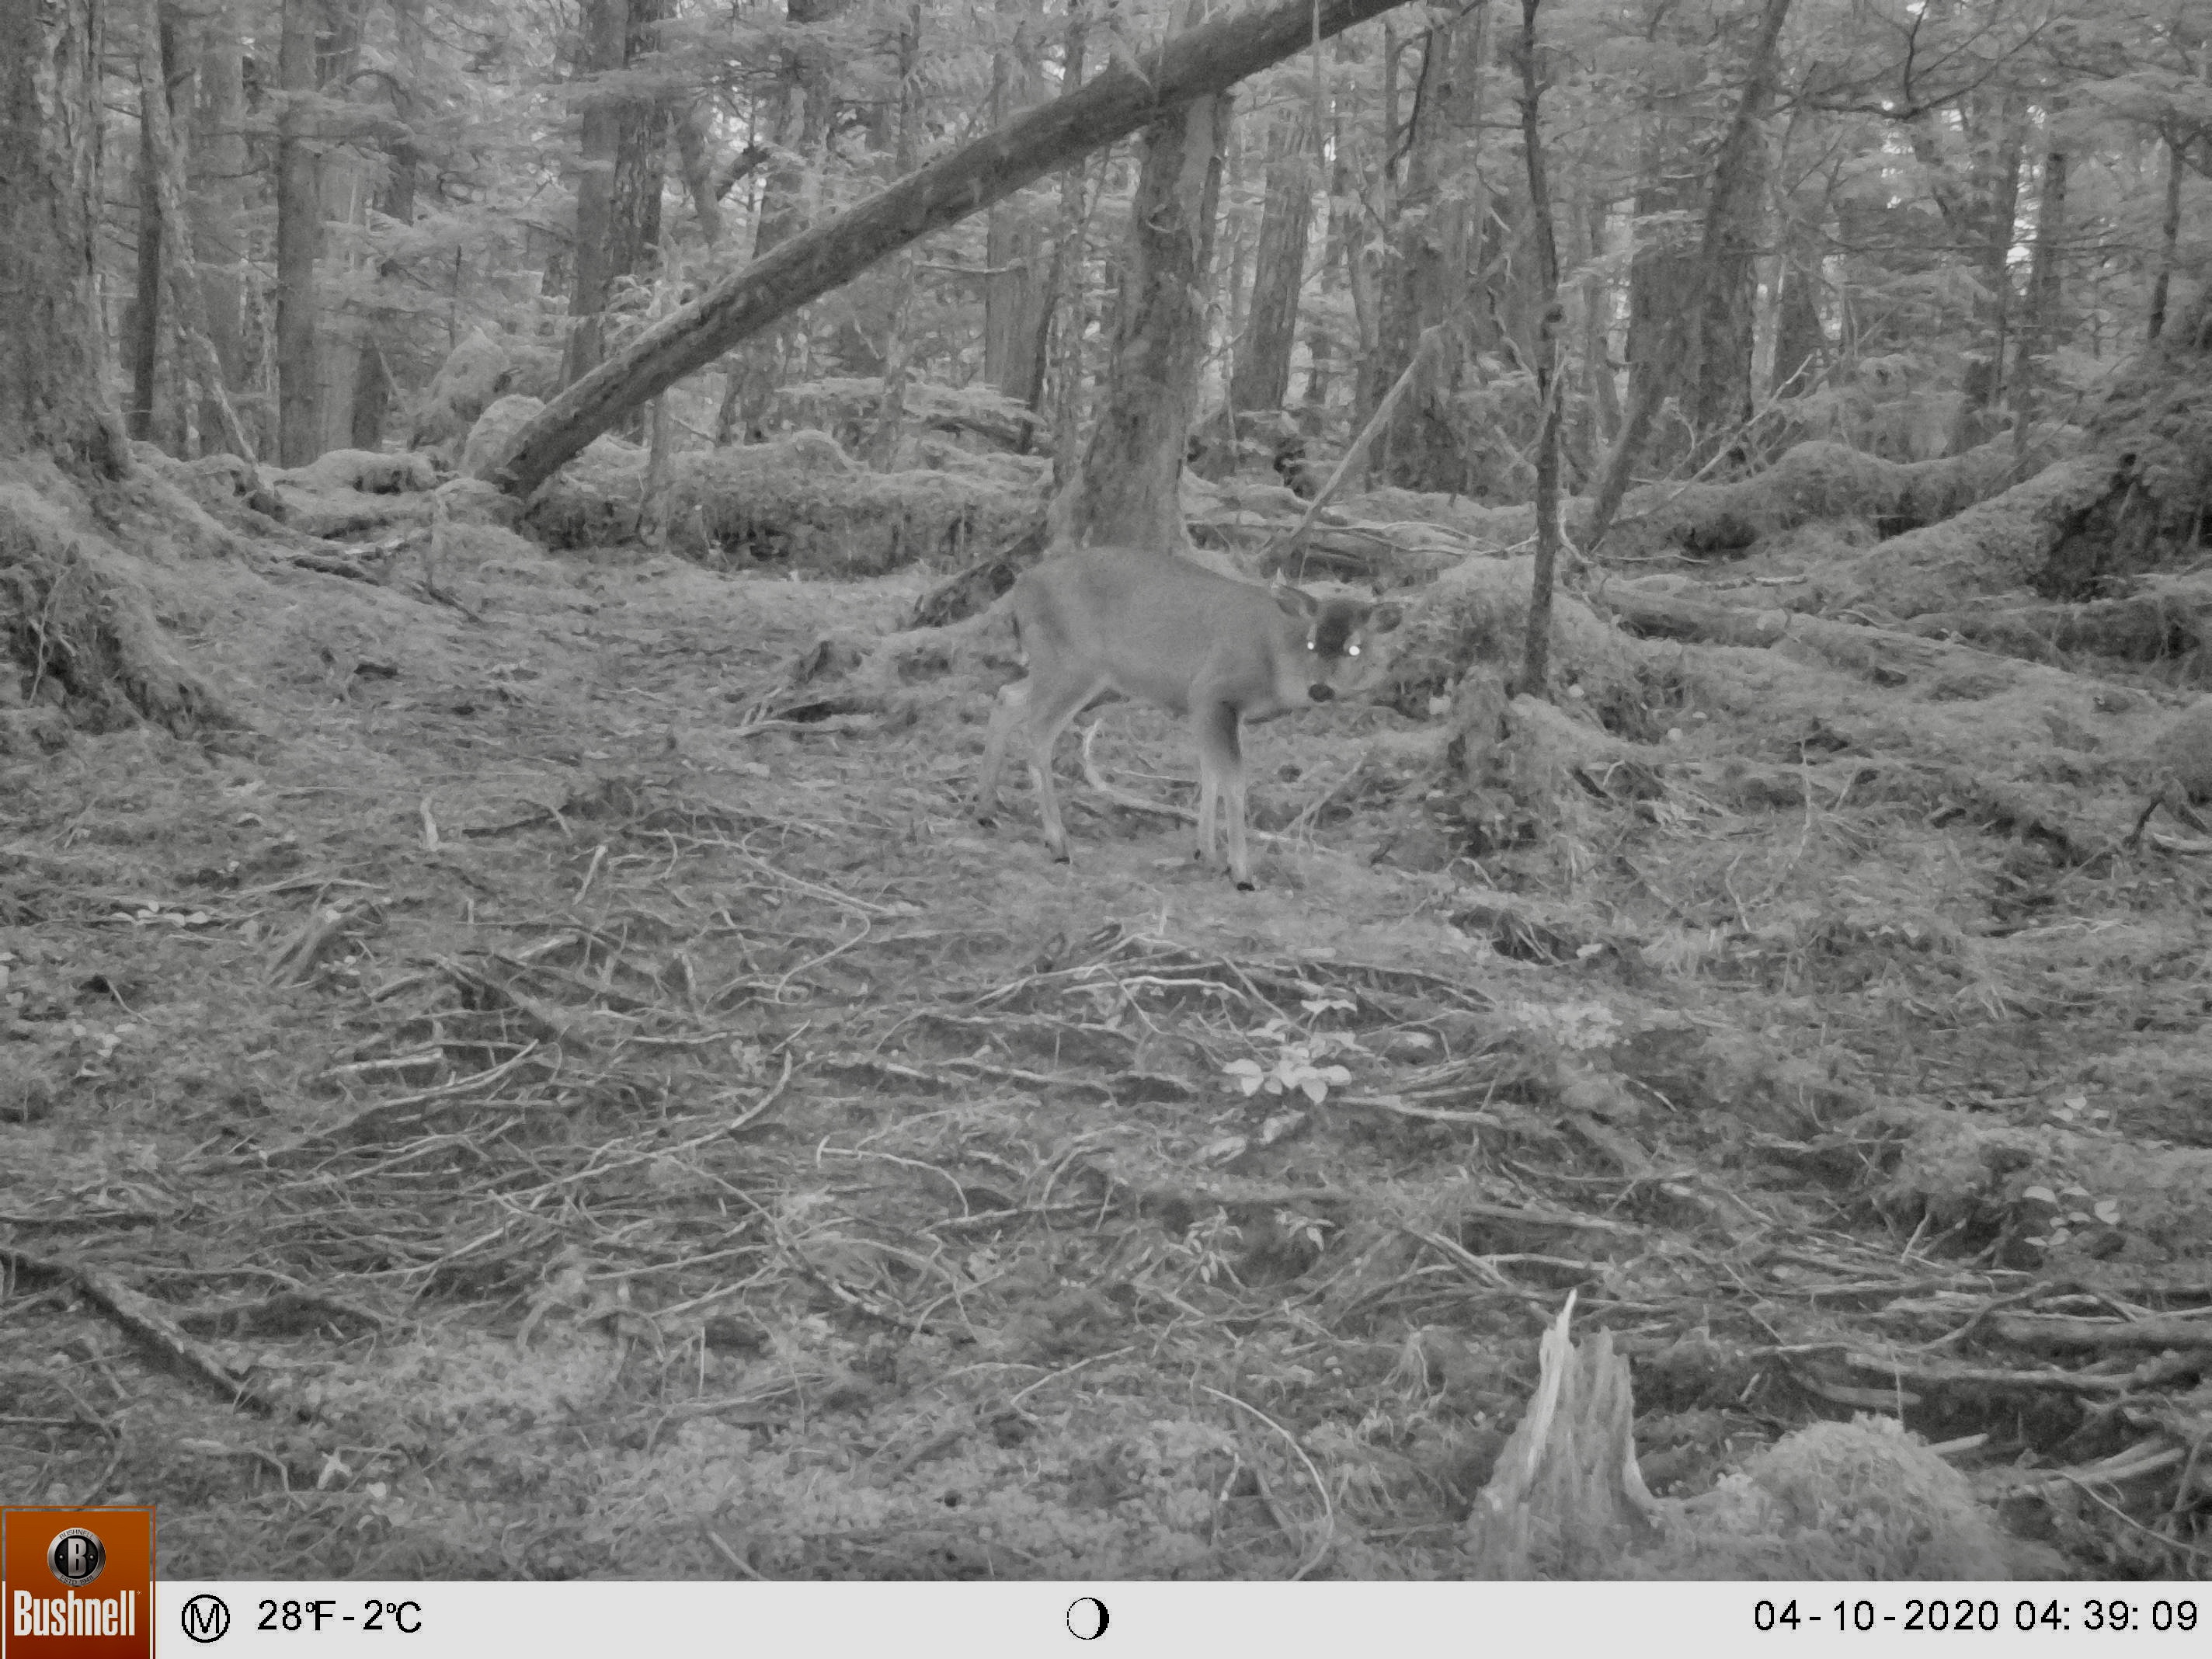
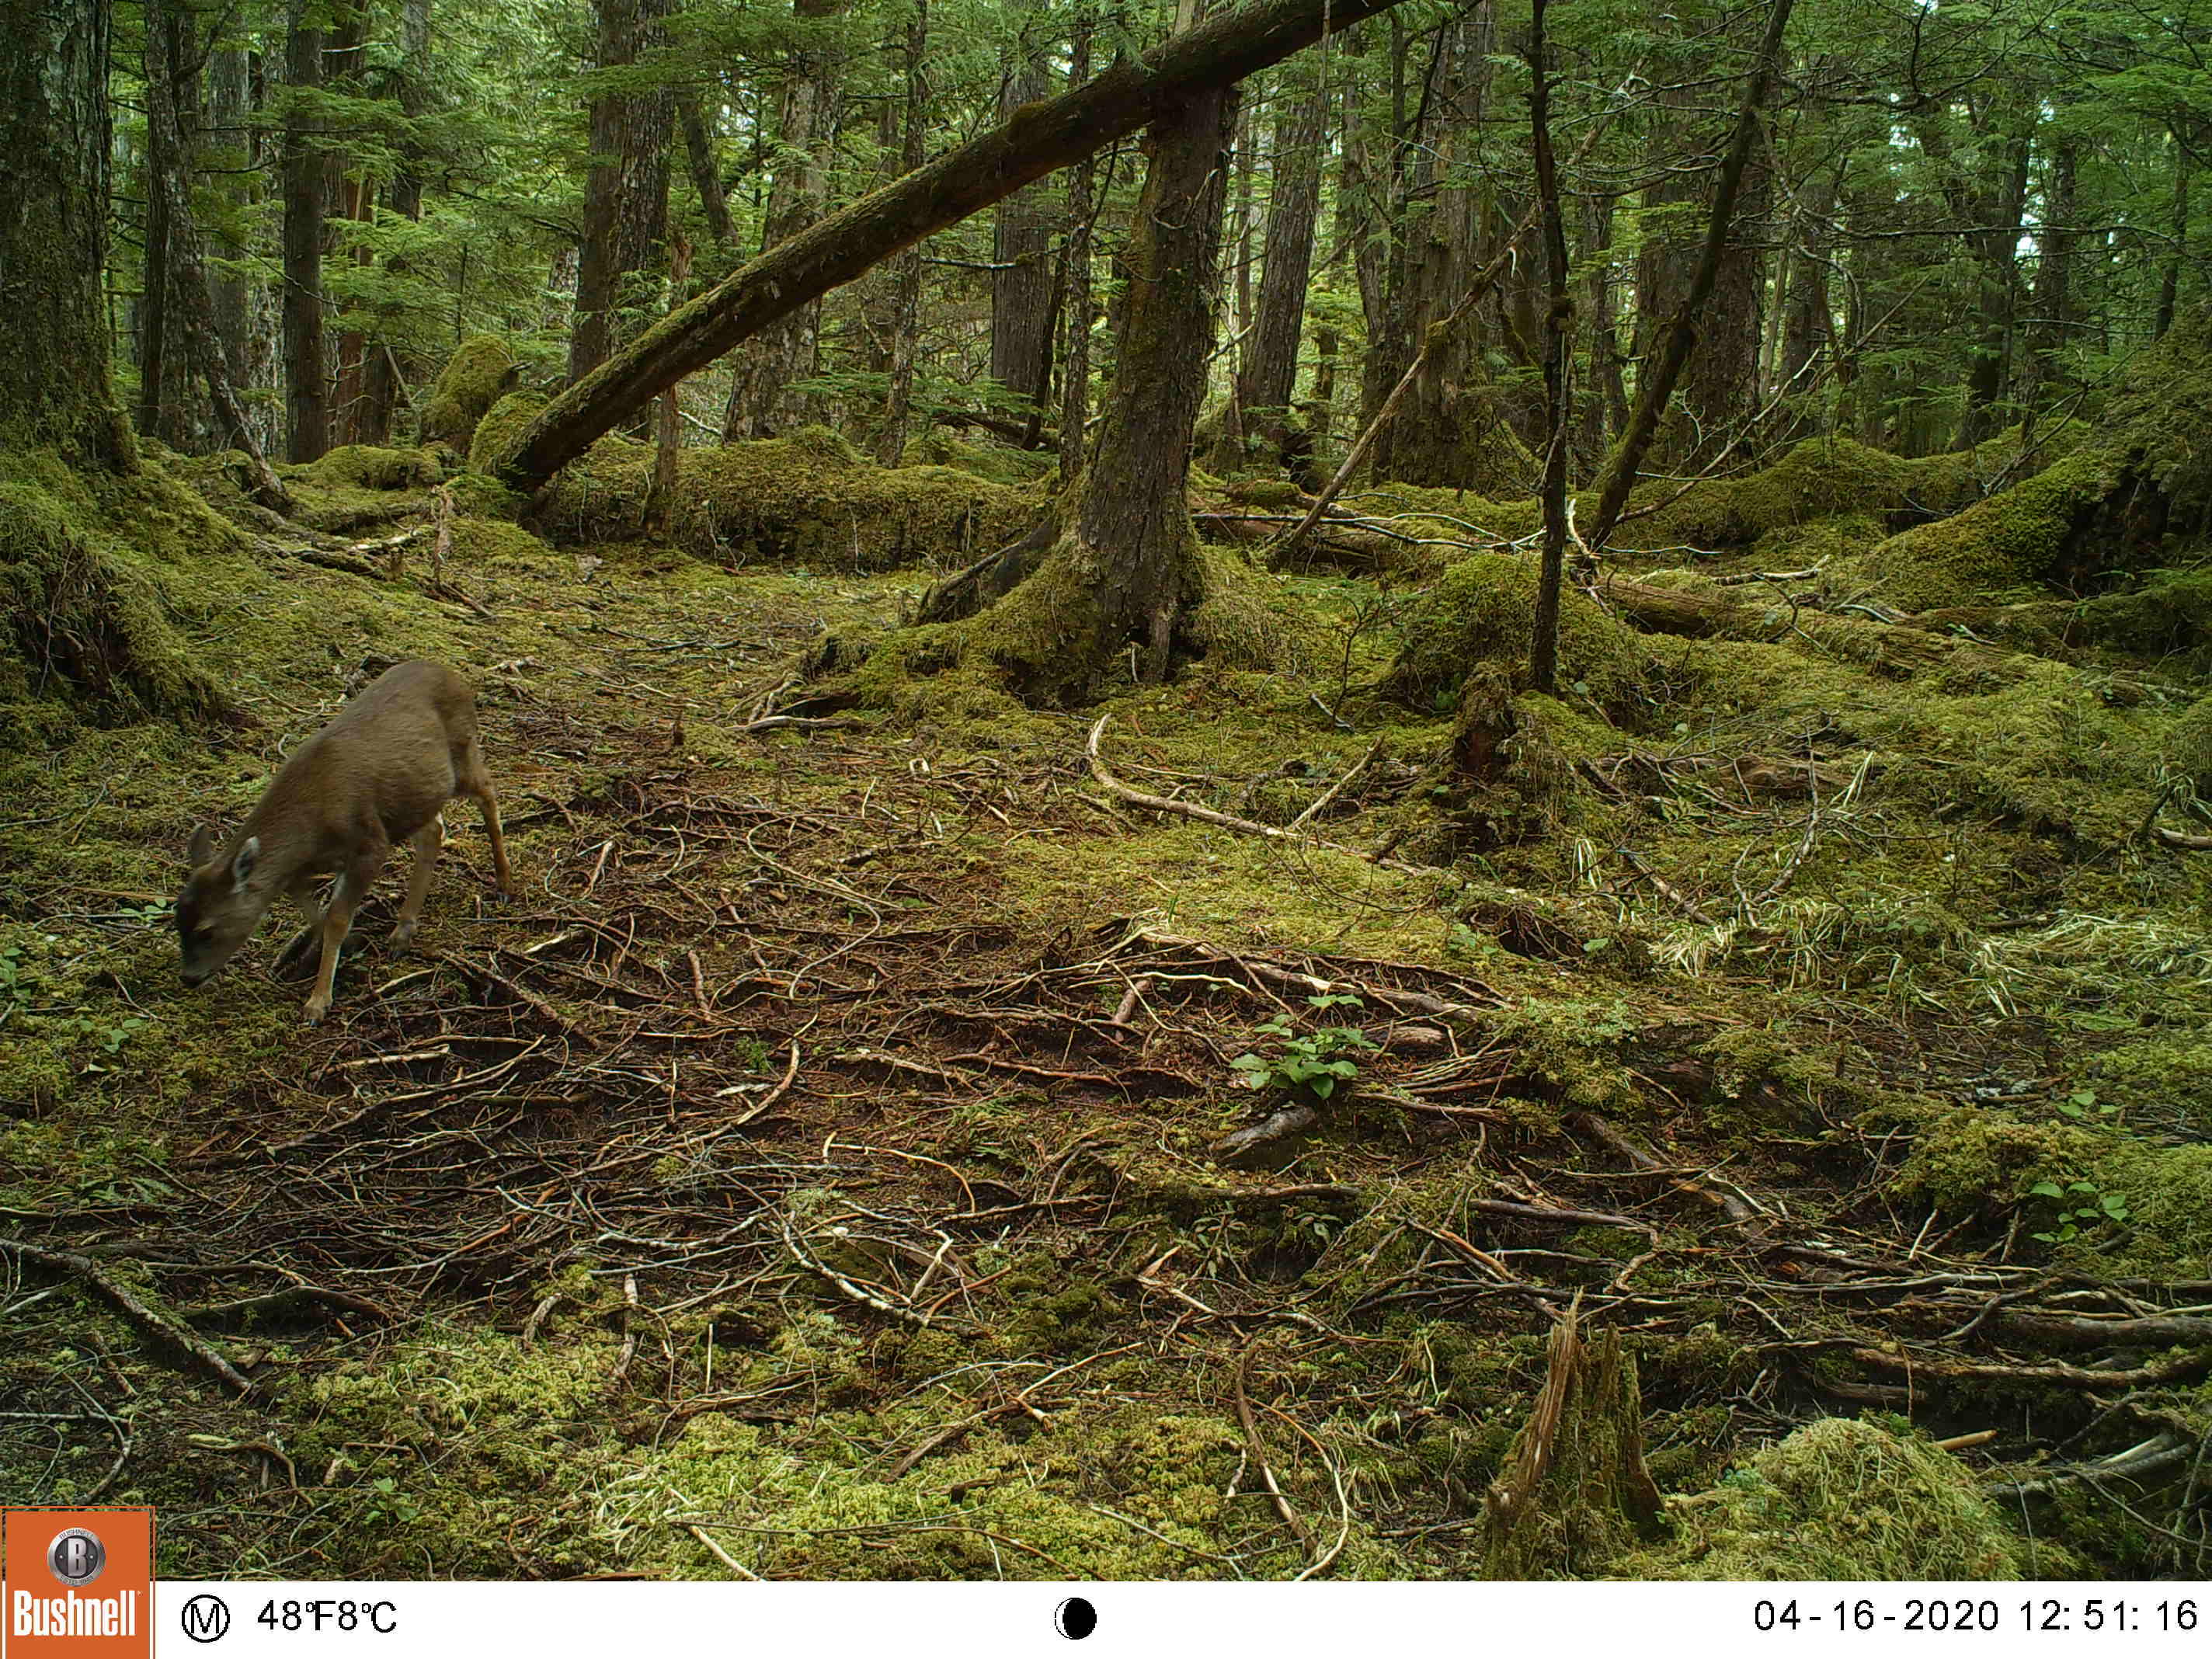

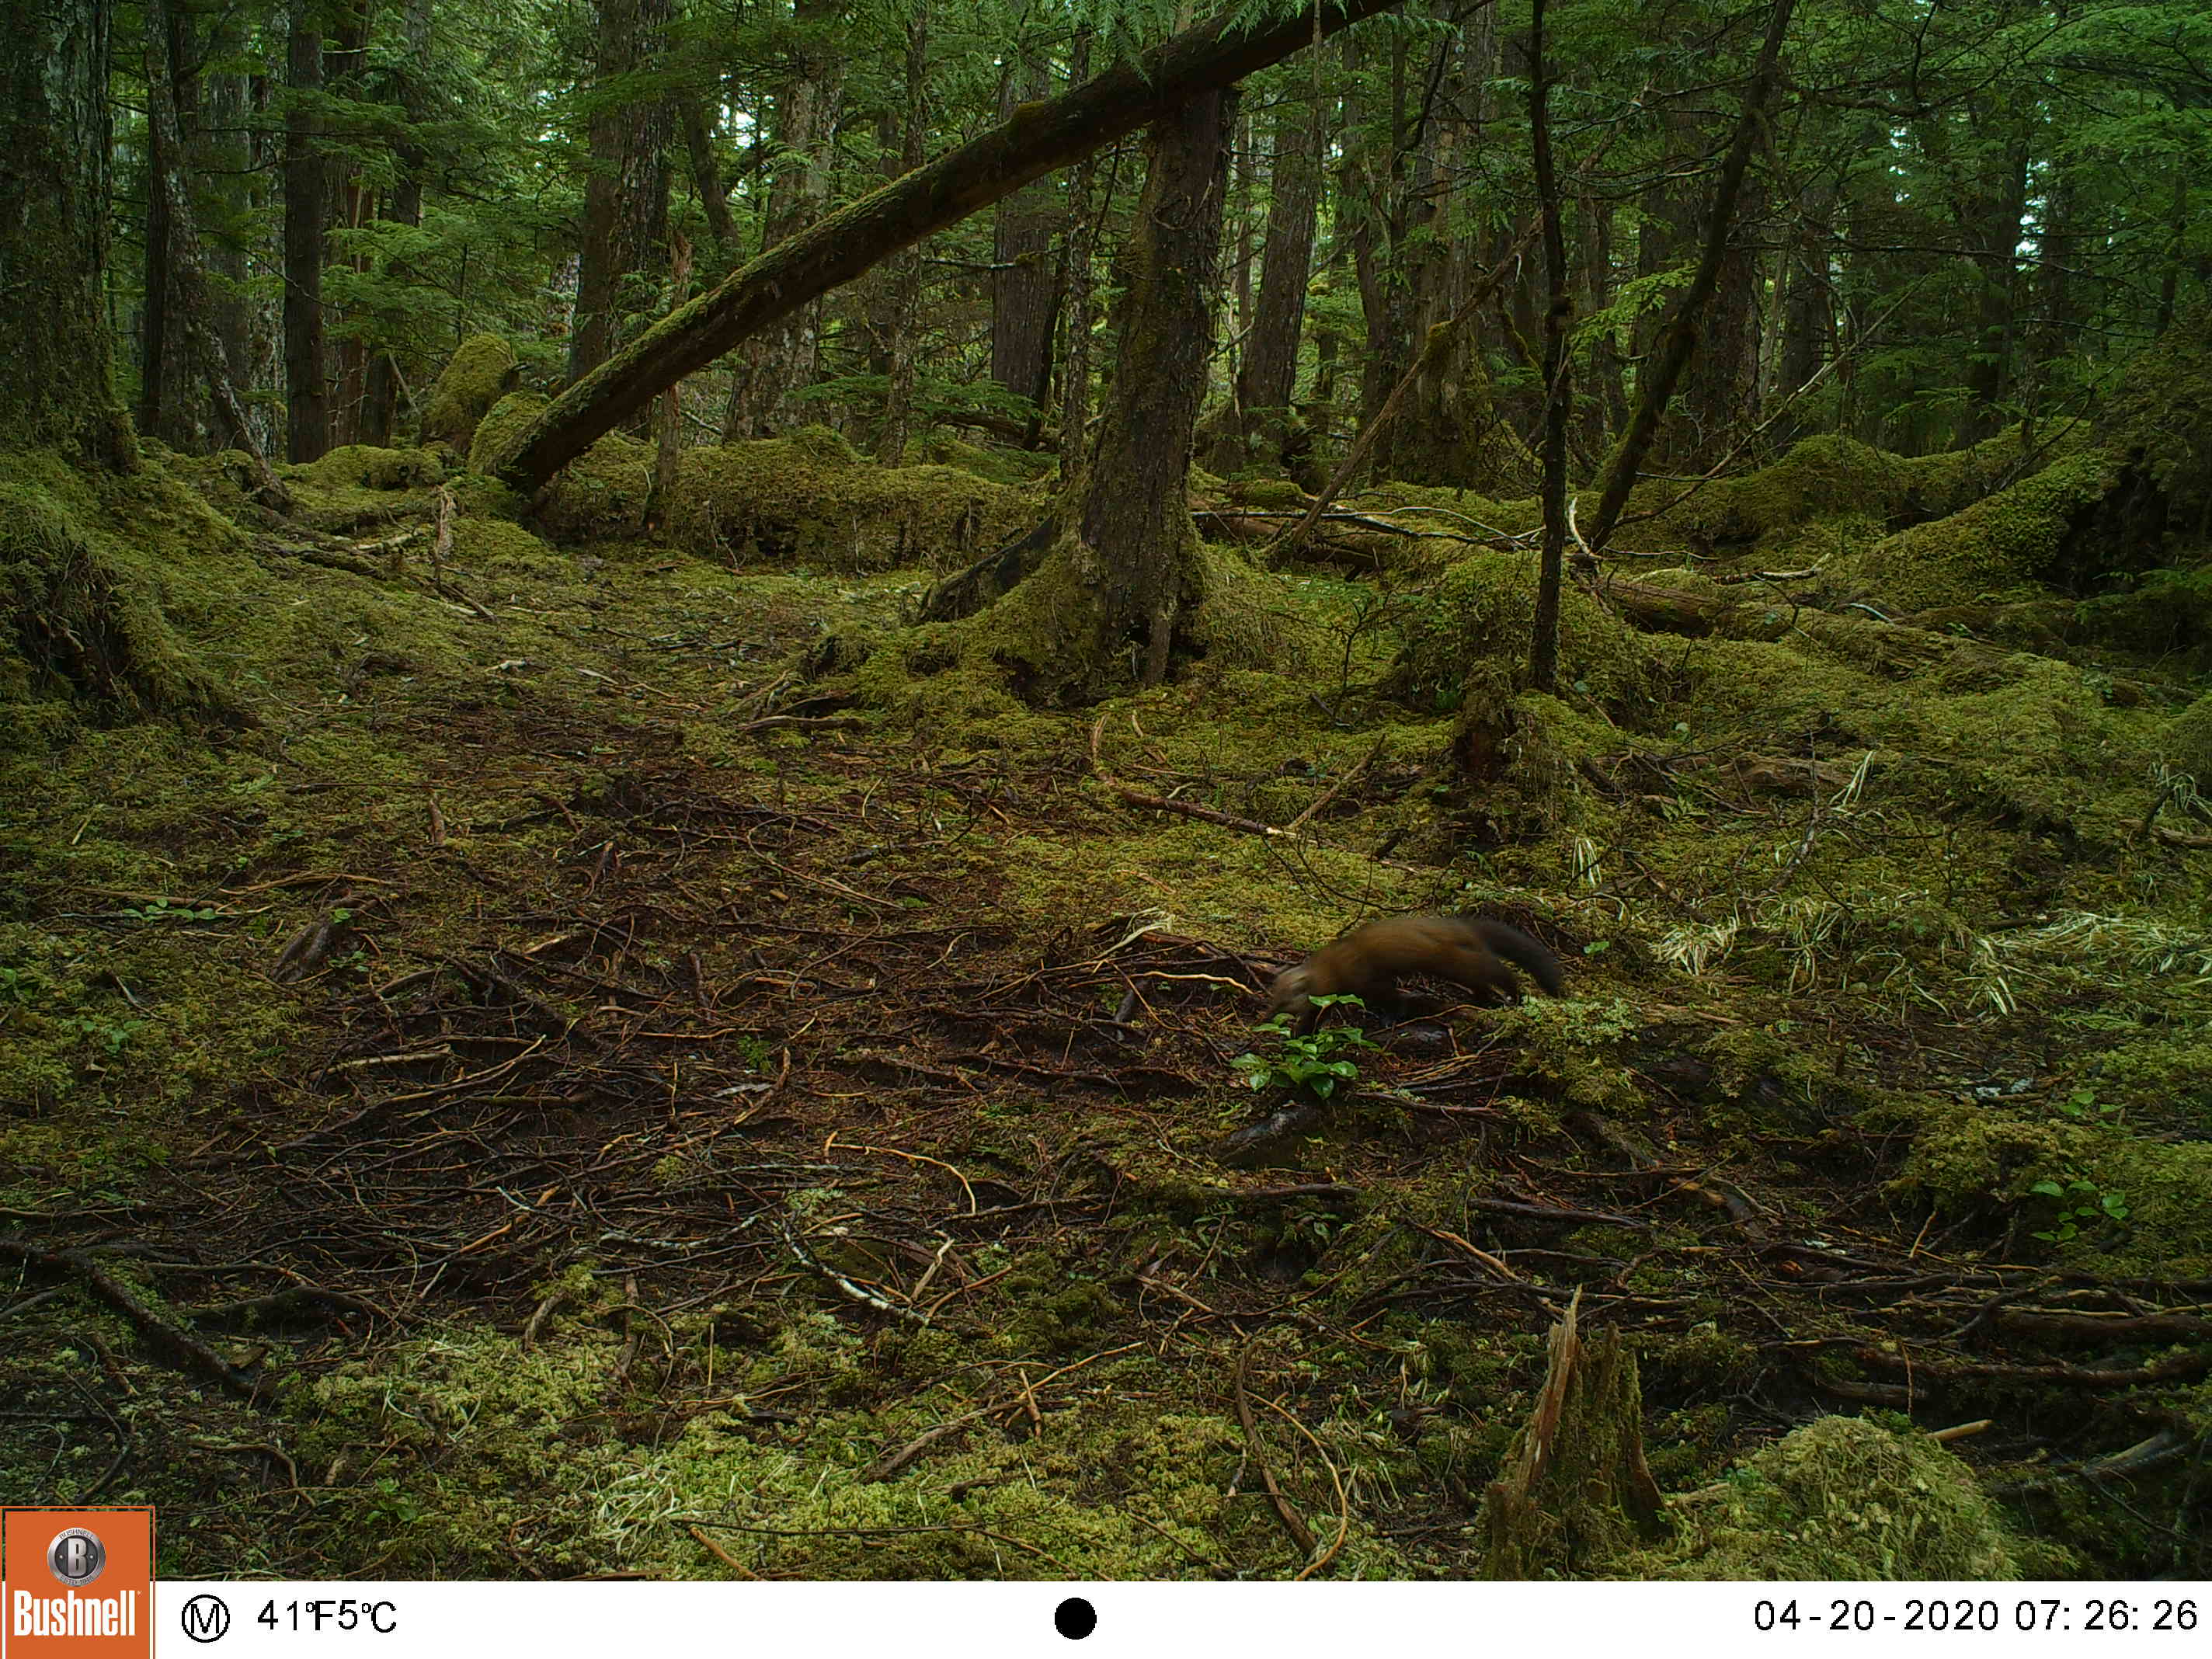
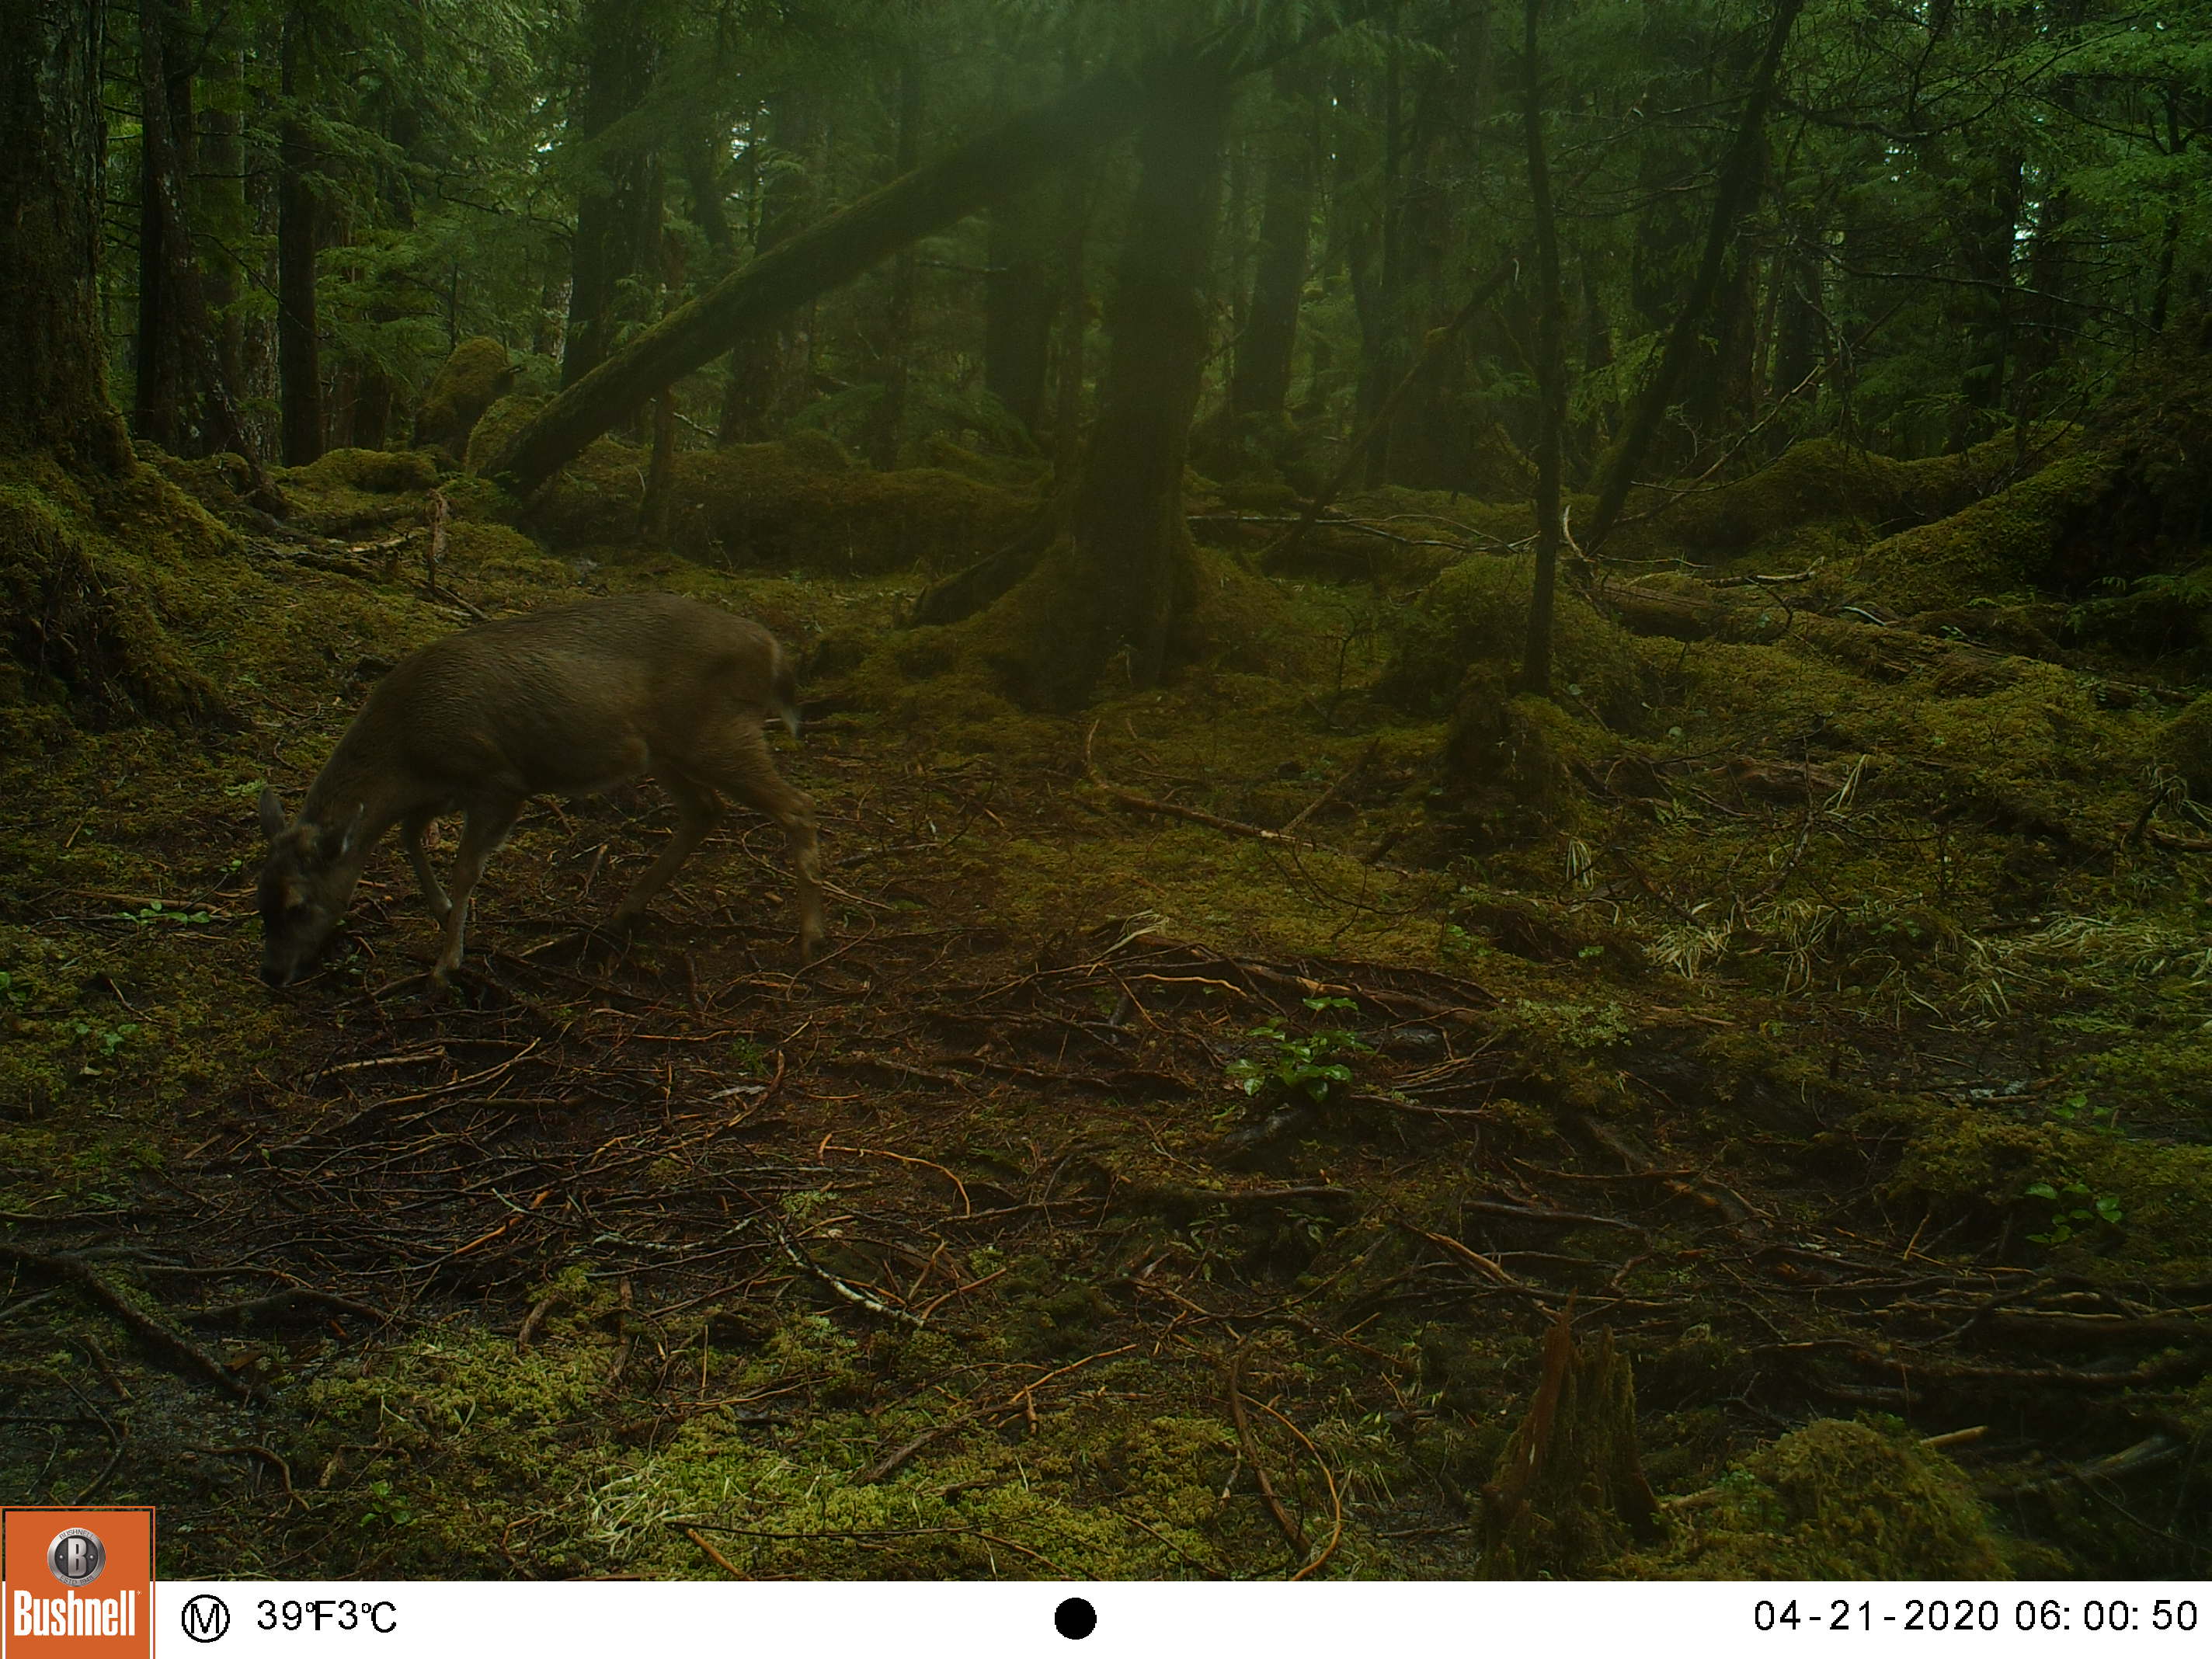
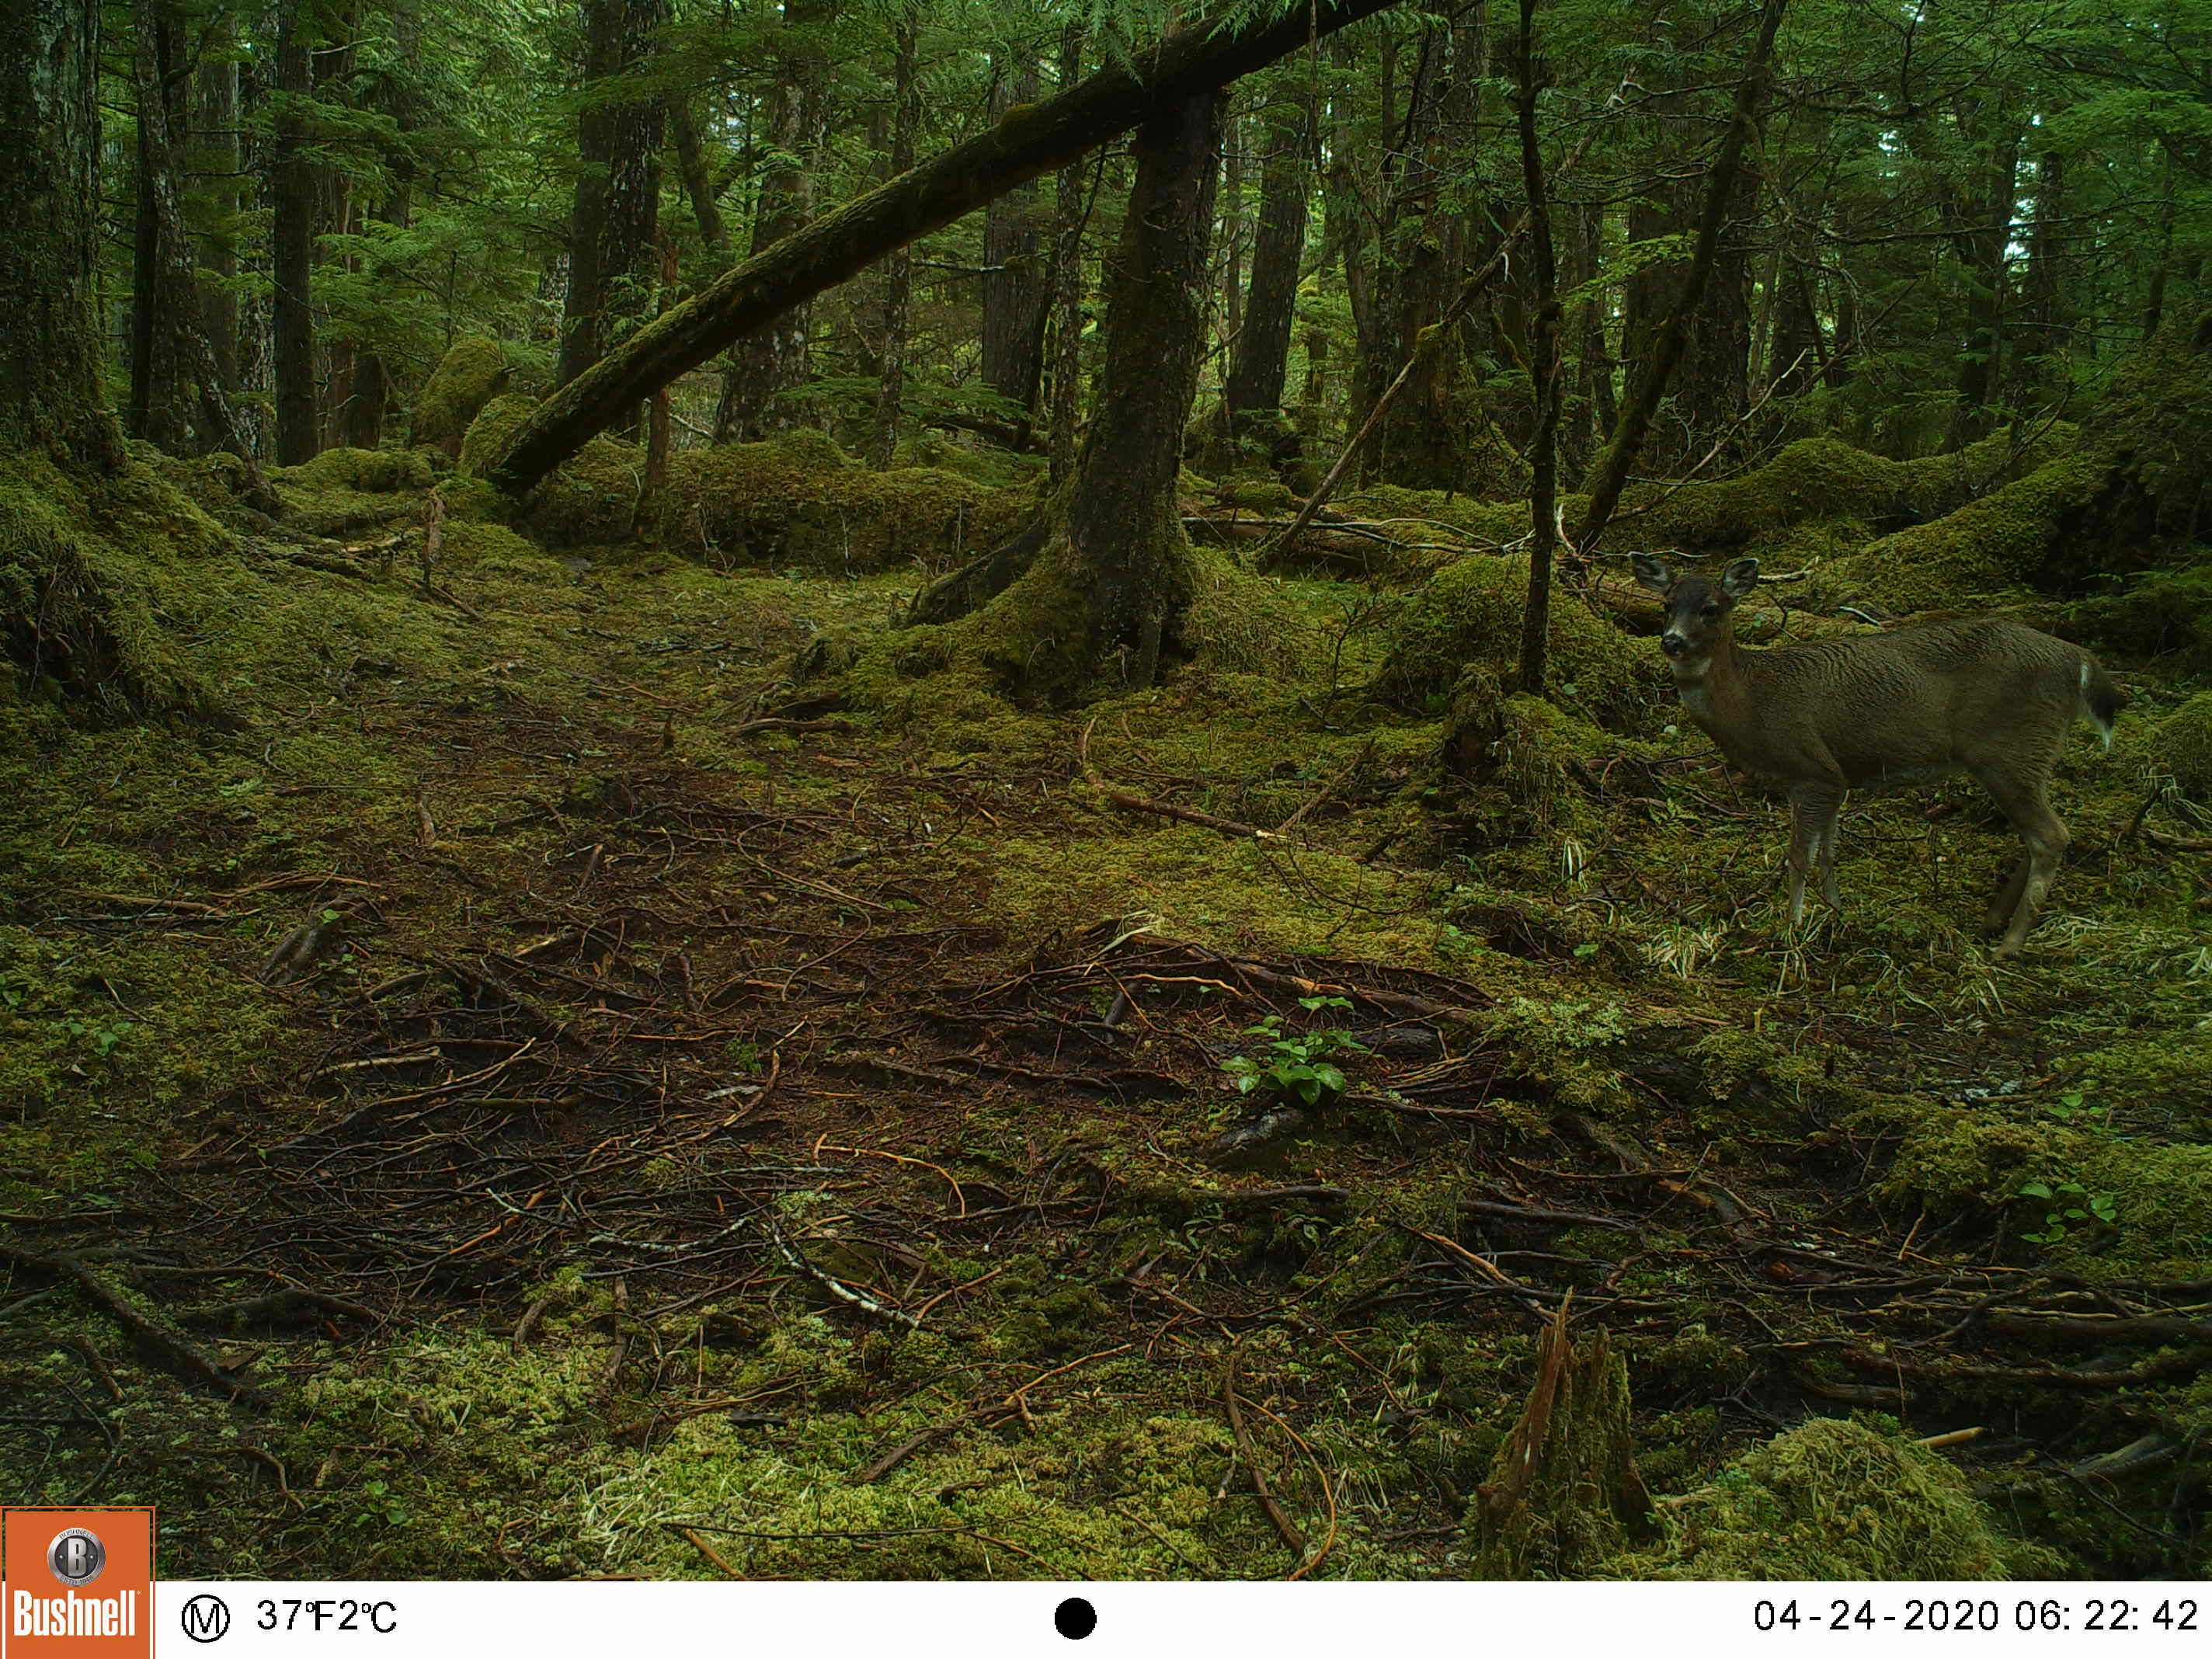


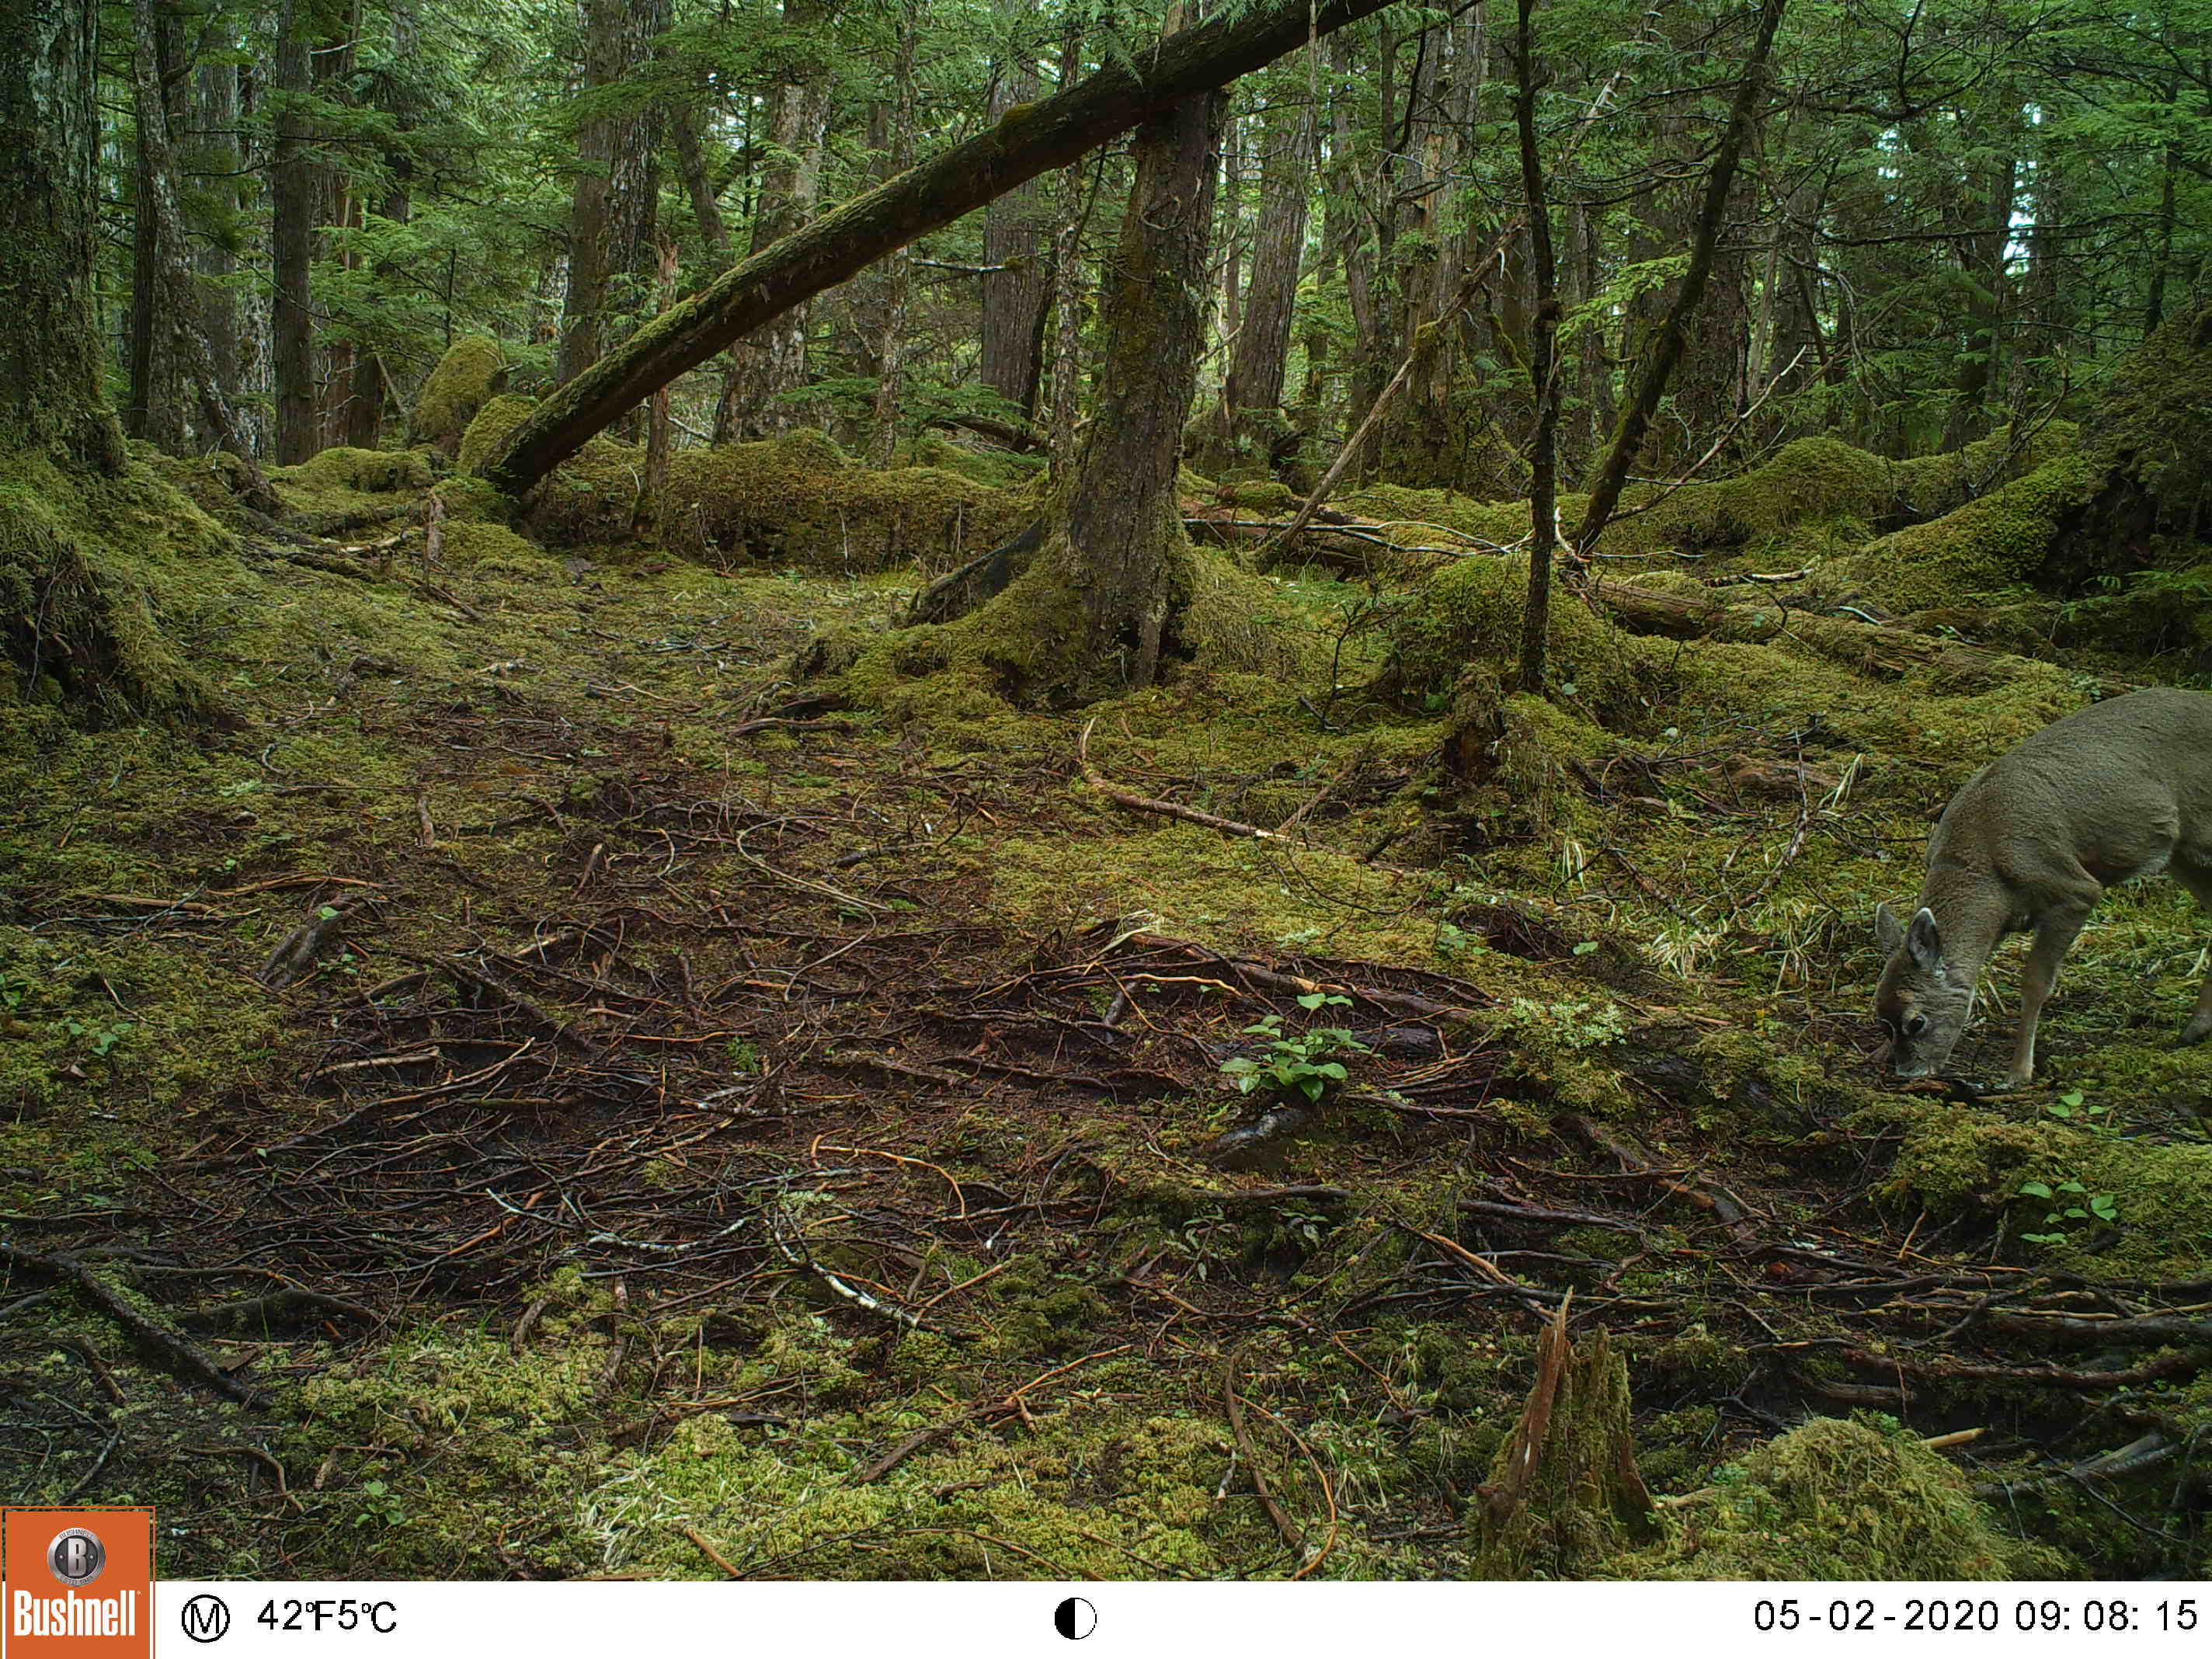


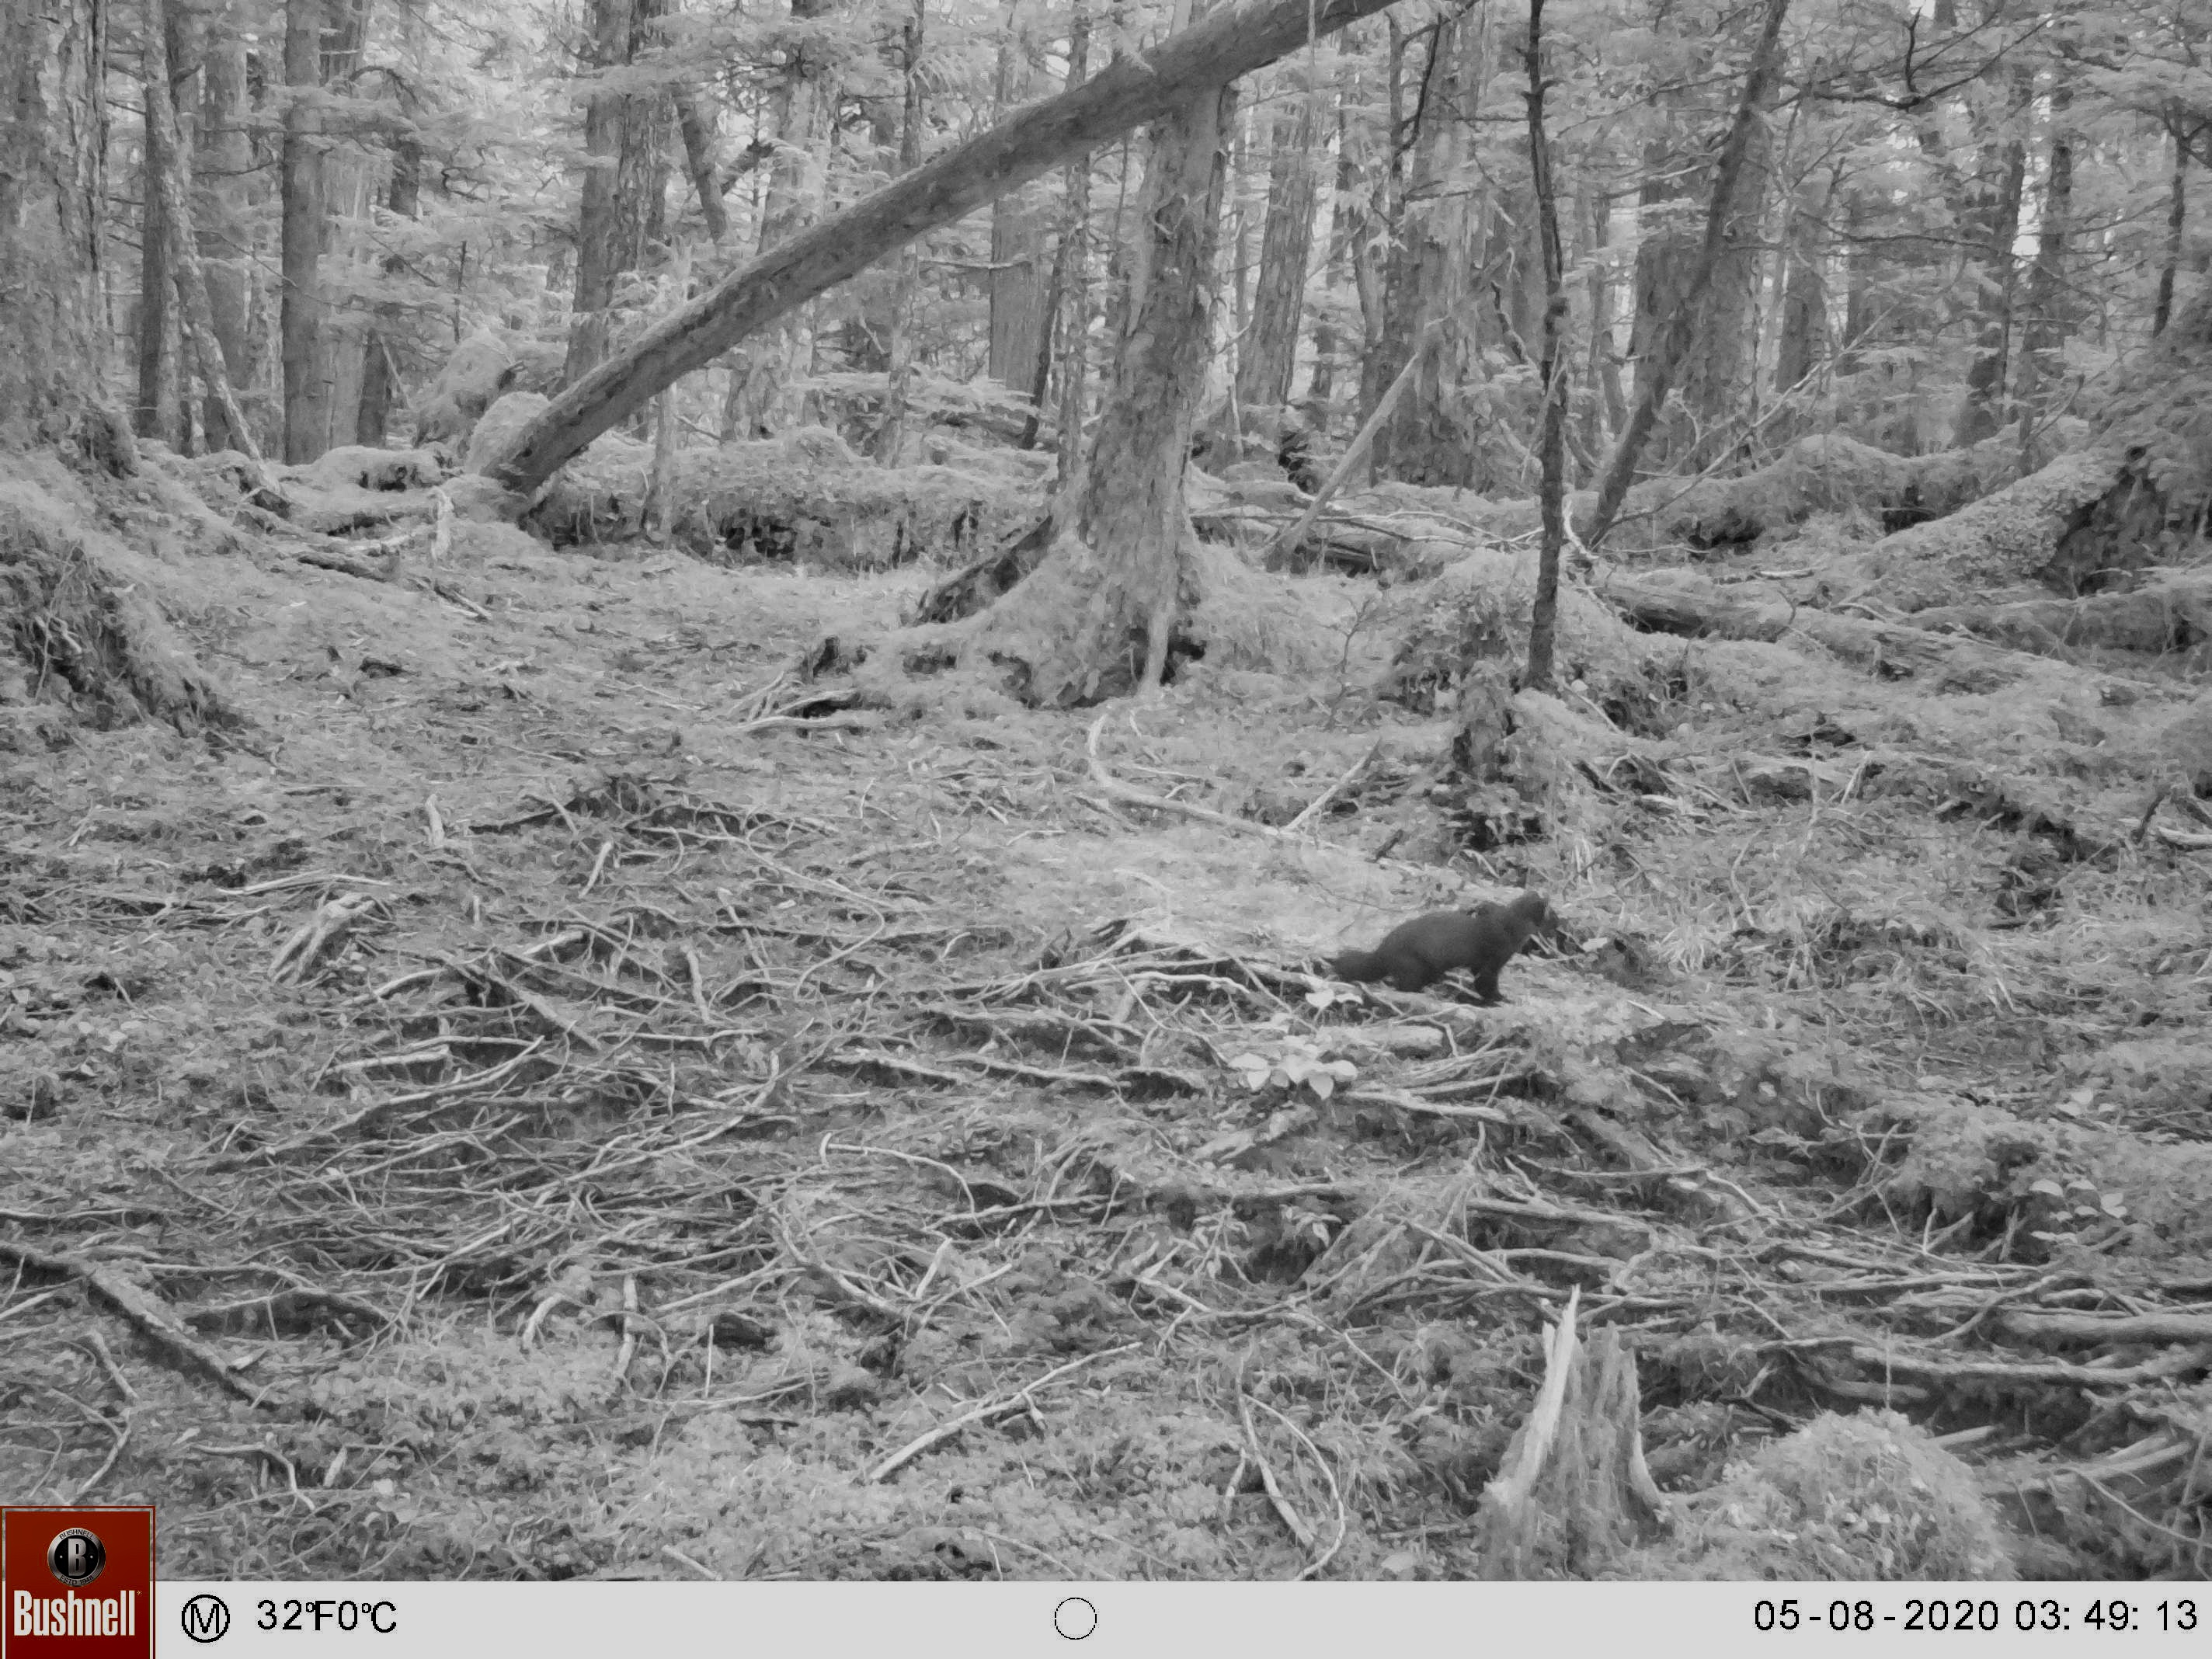

This was a good spot but moved this camera to spread them out a little farther.


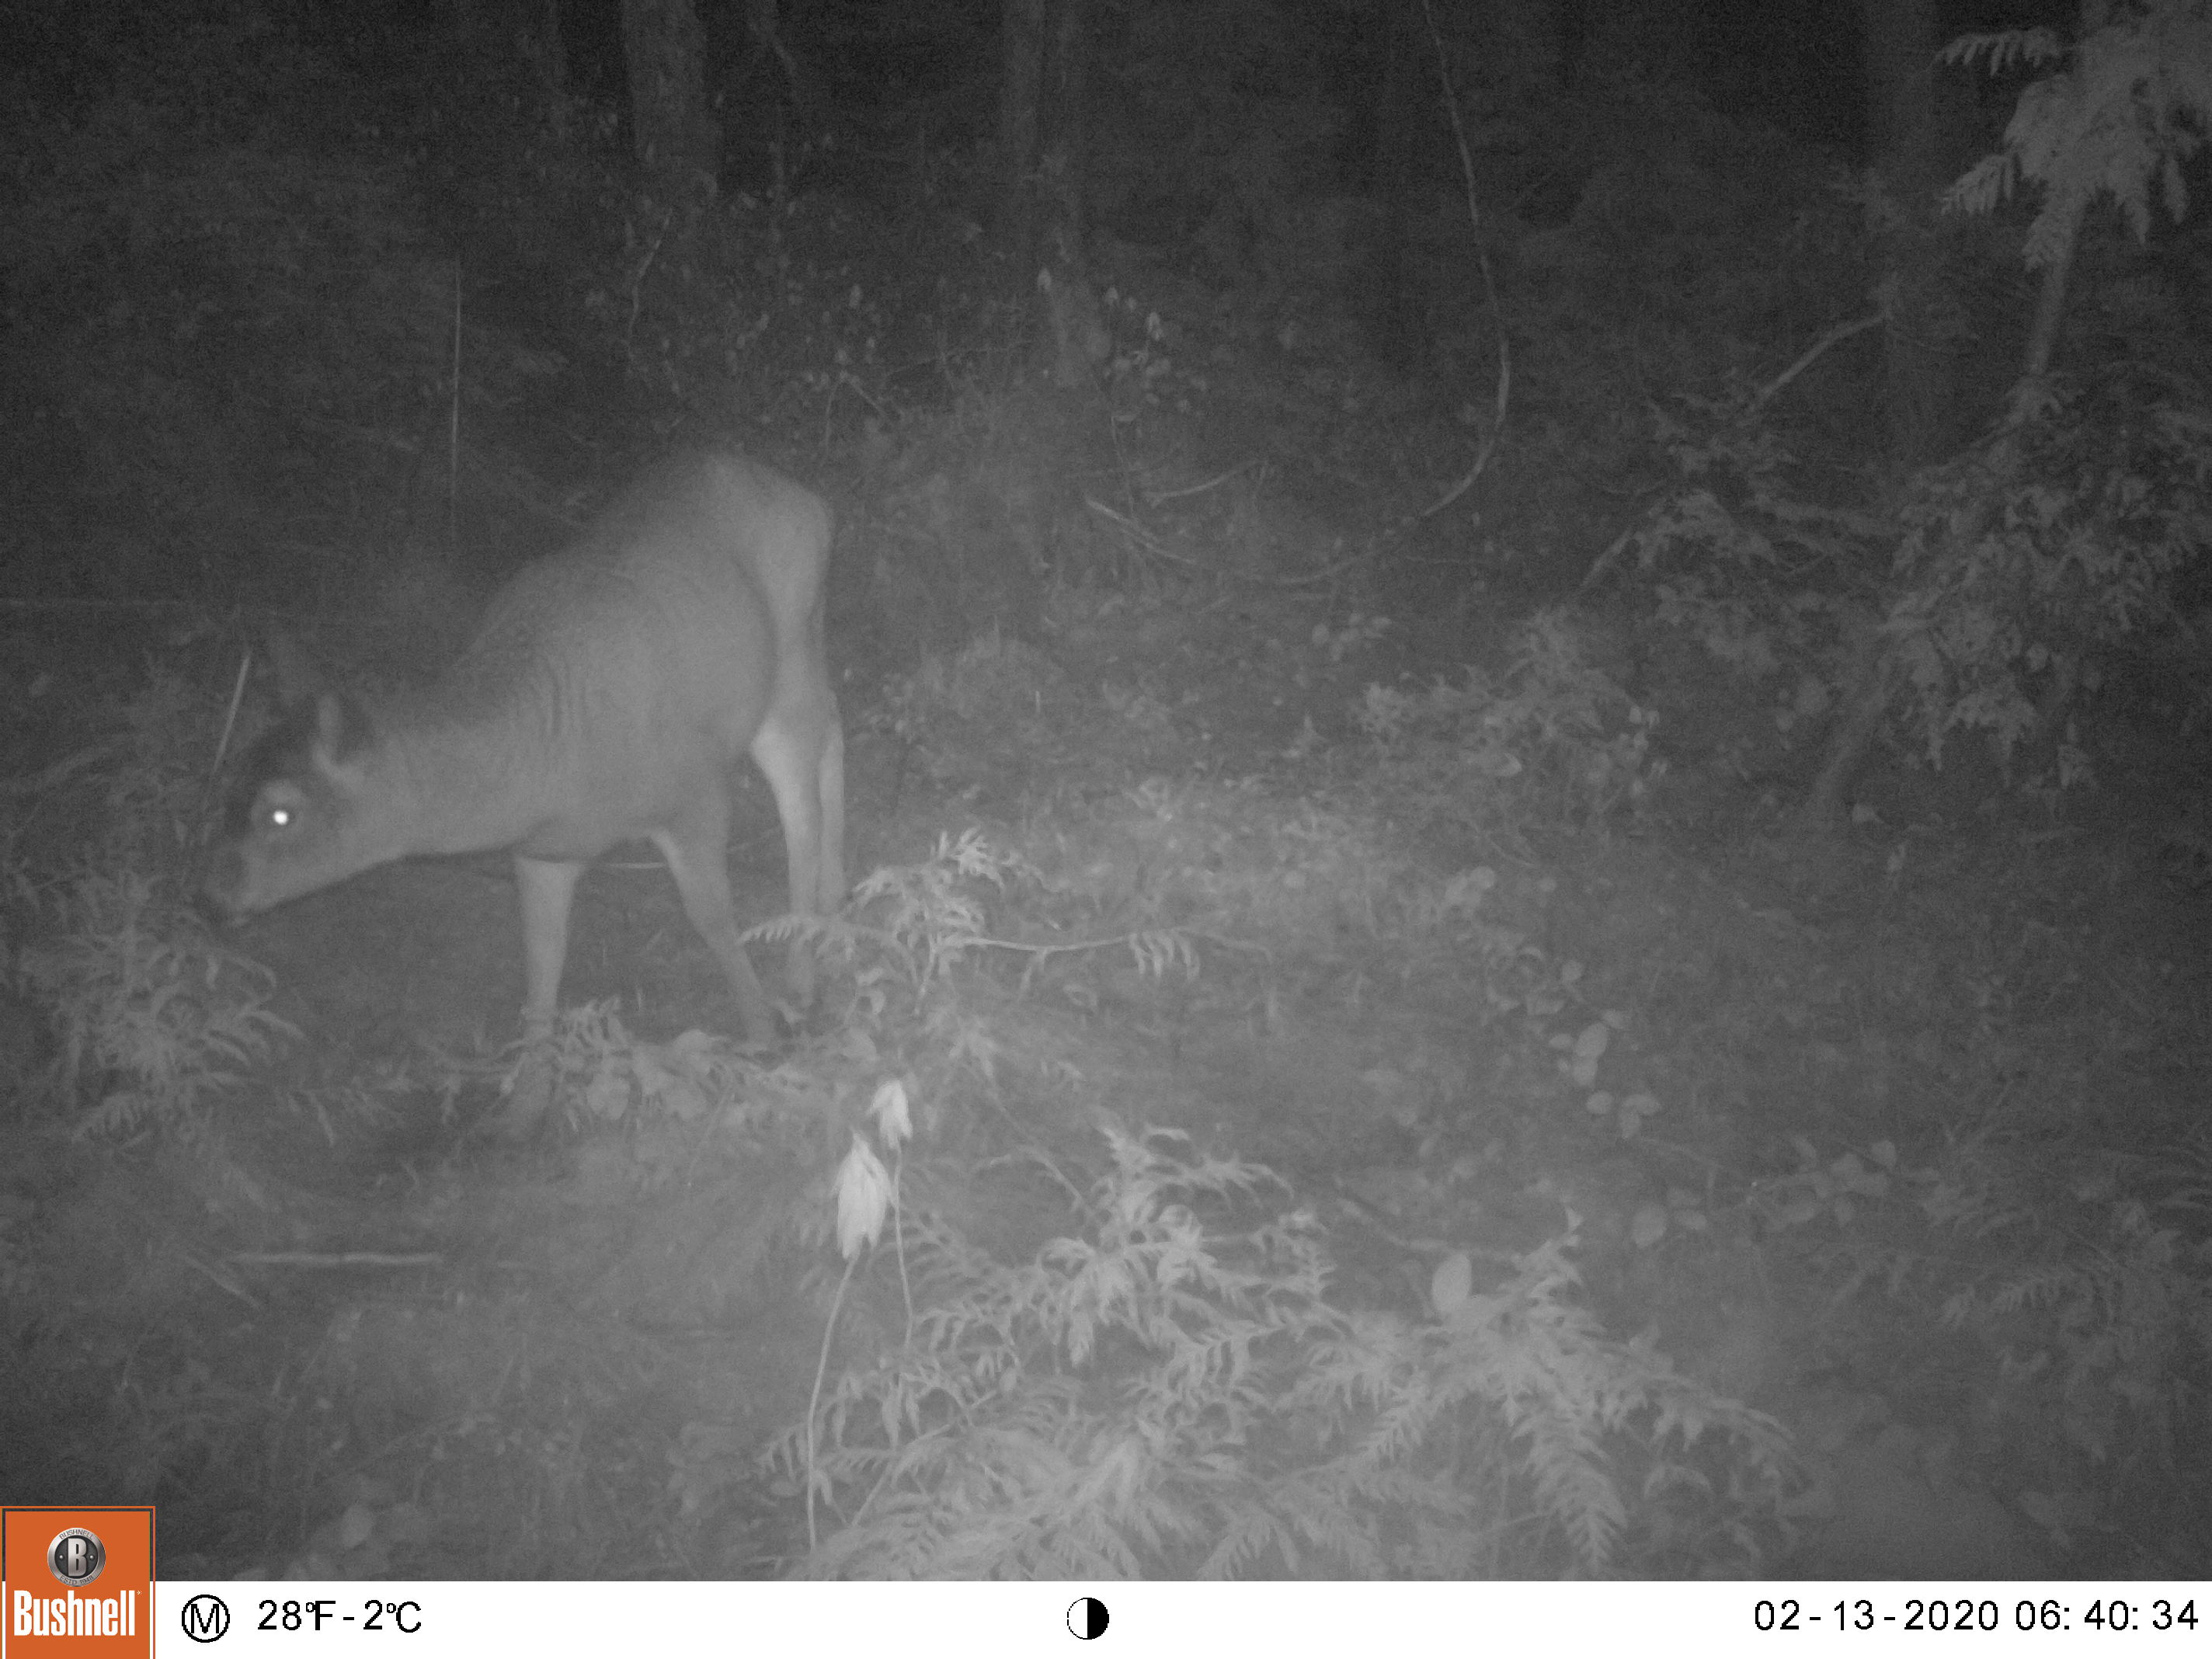

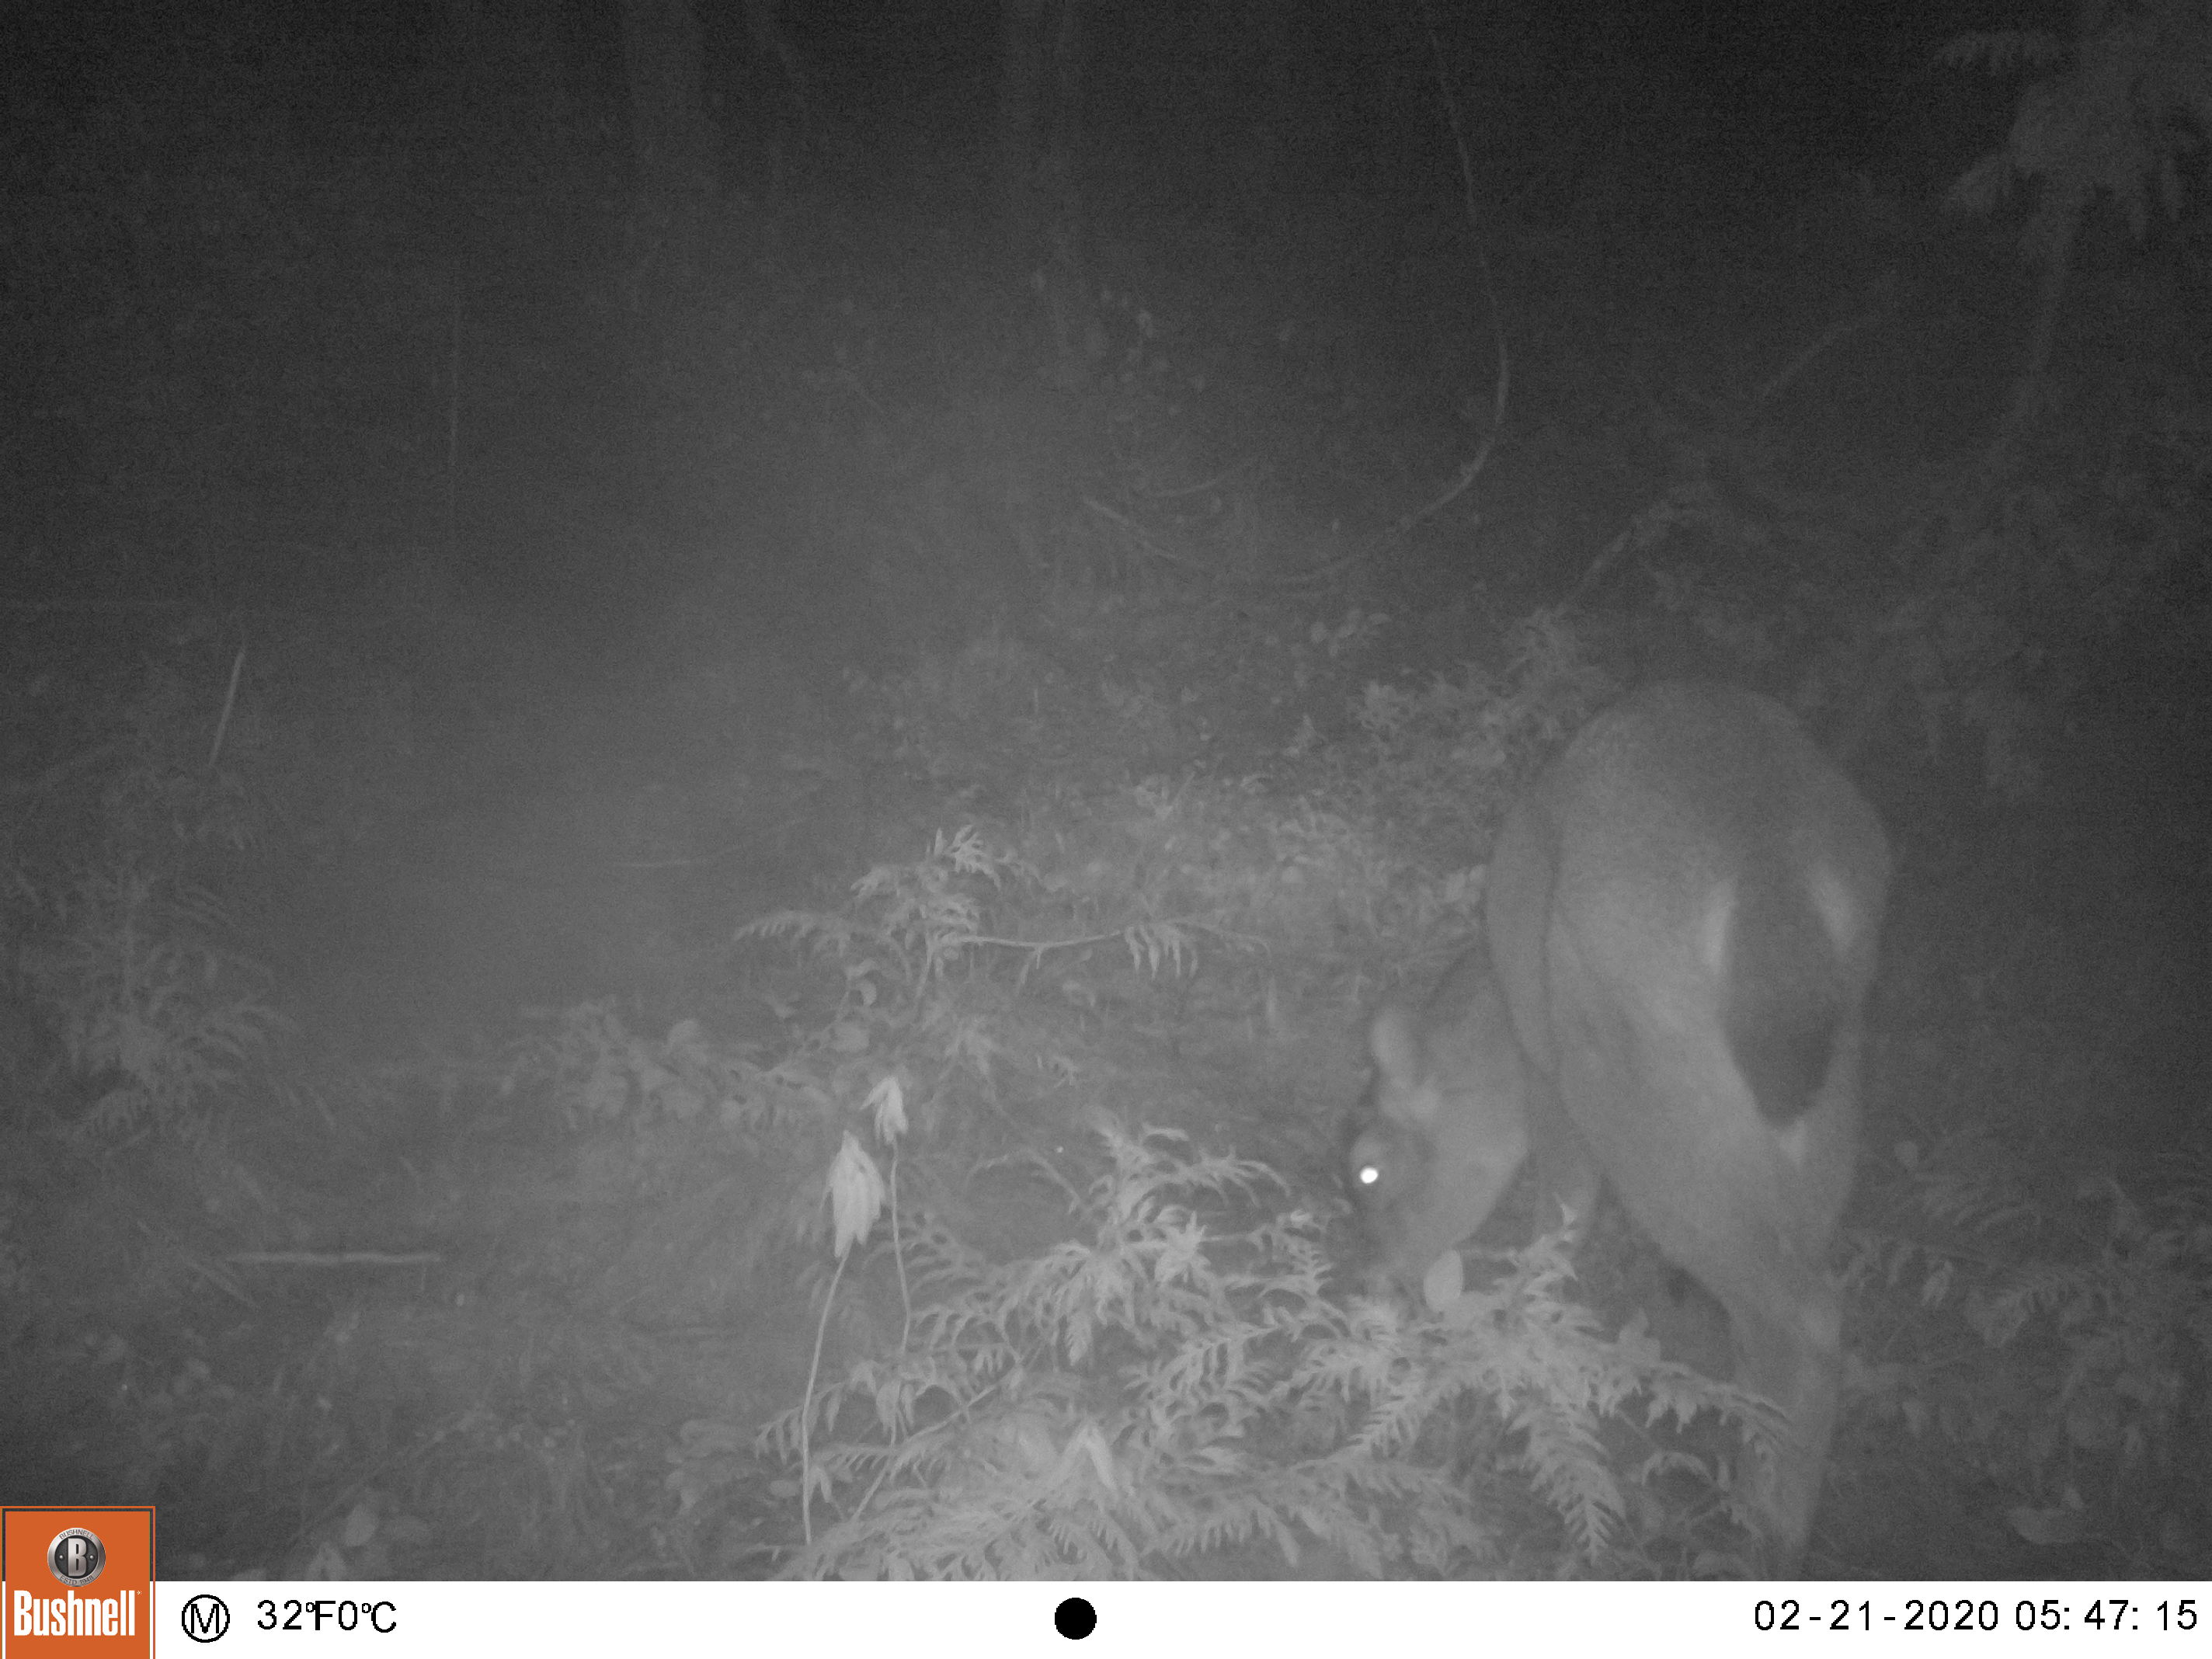

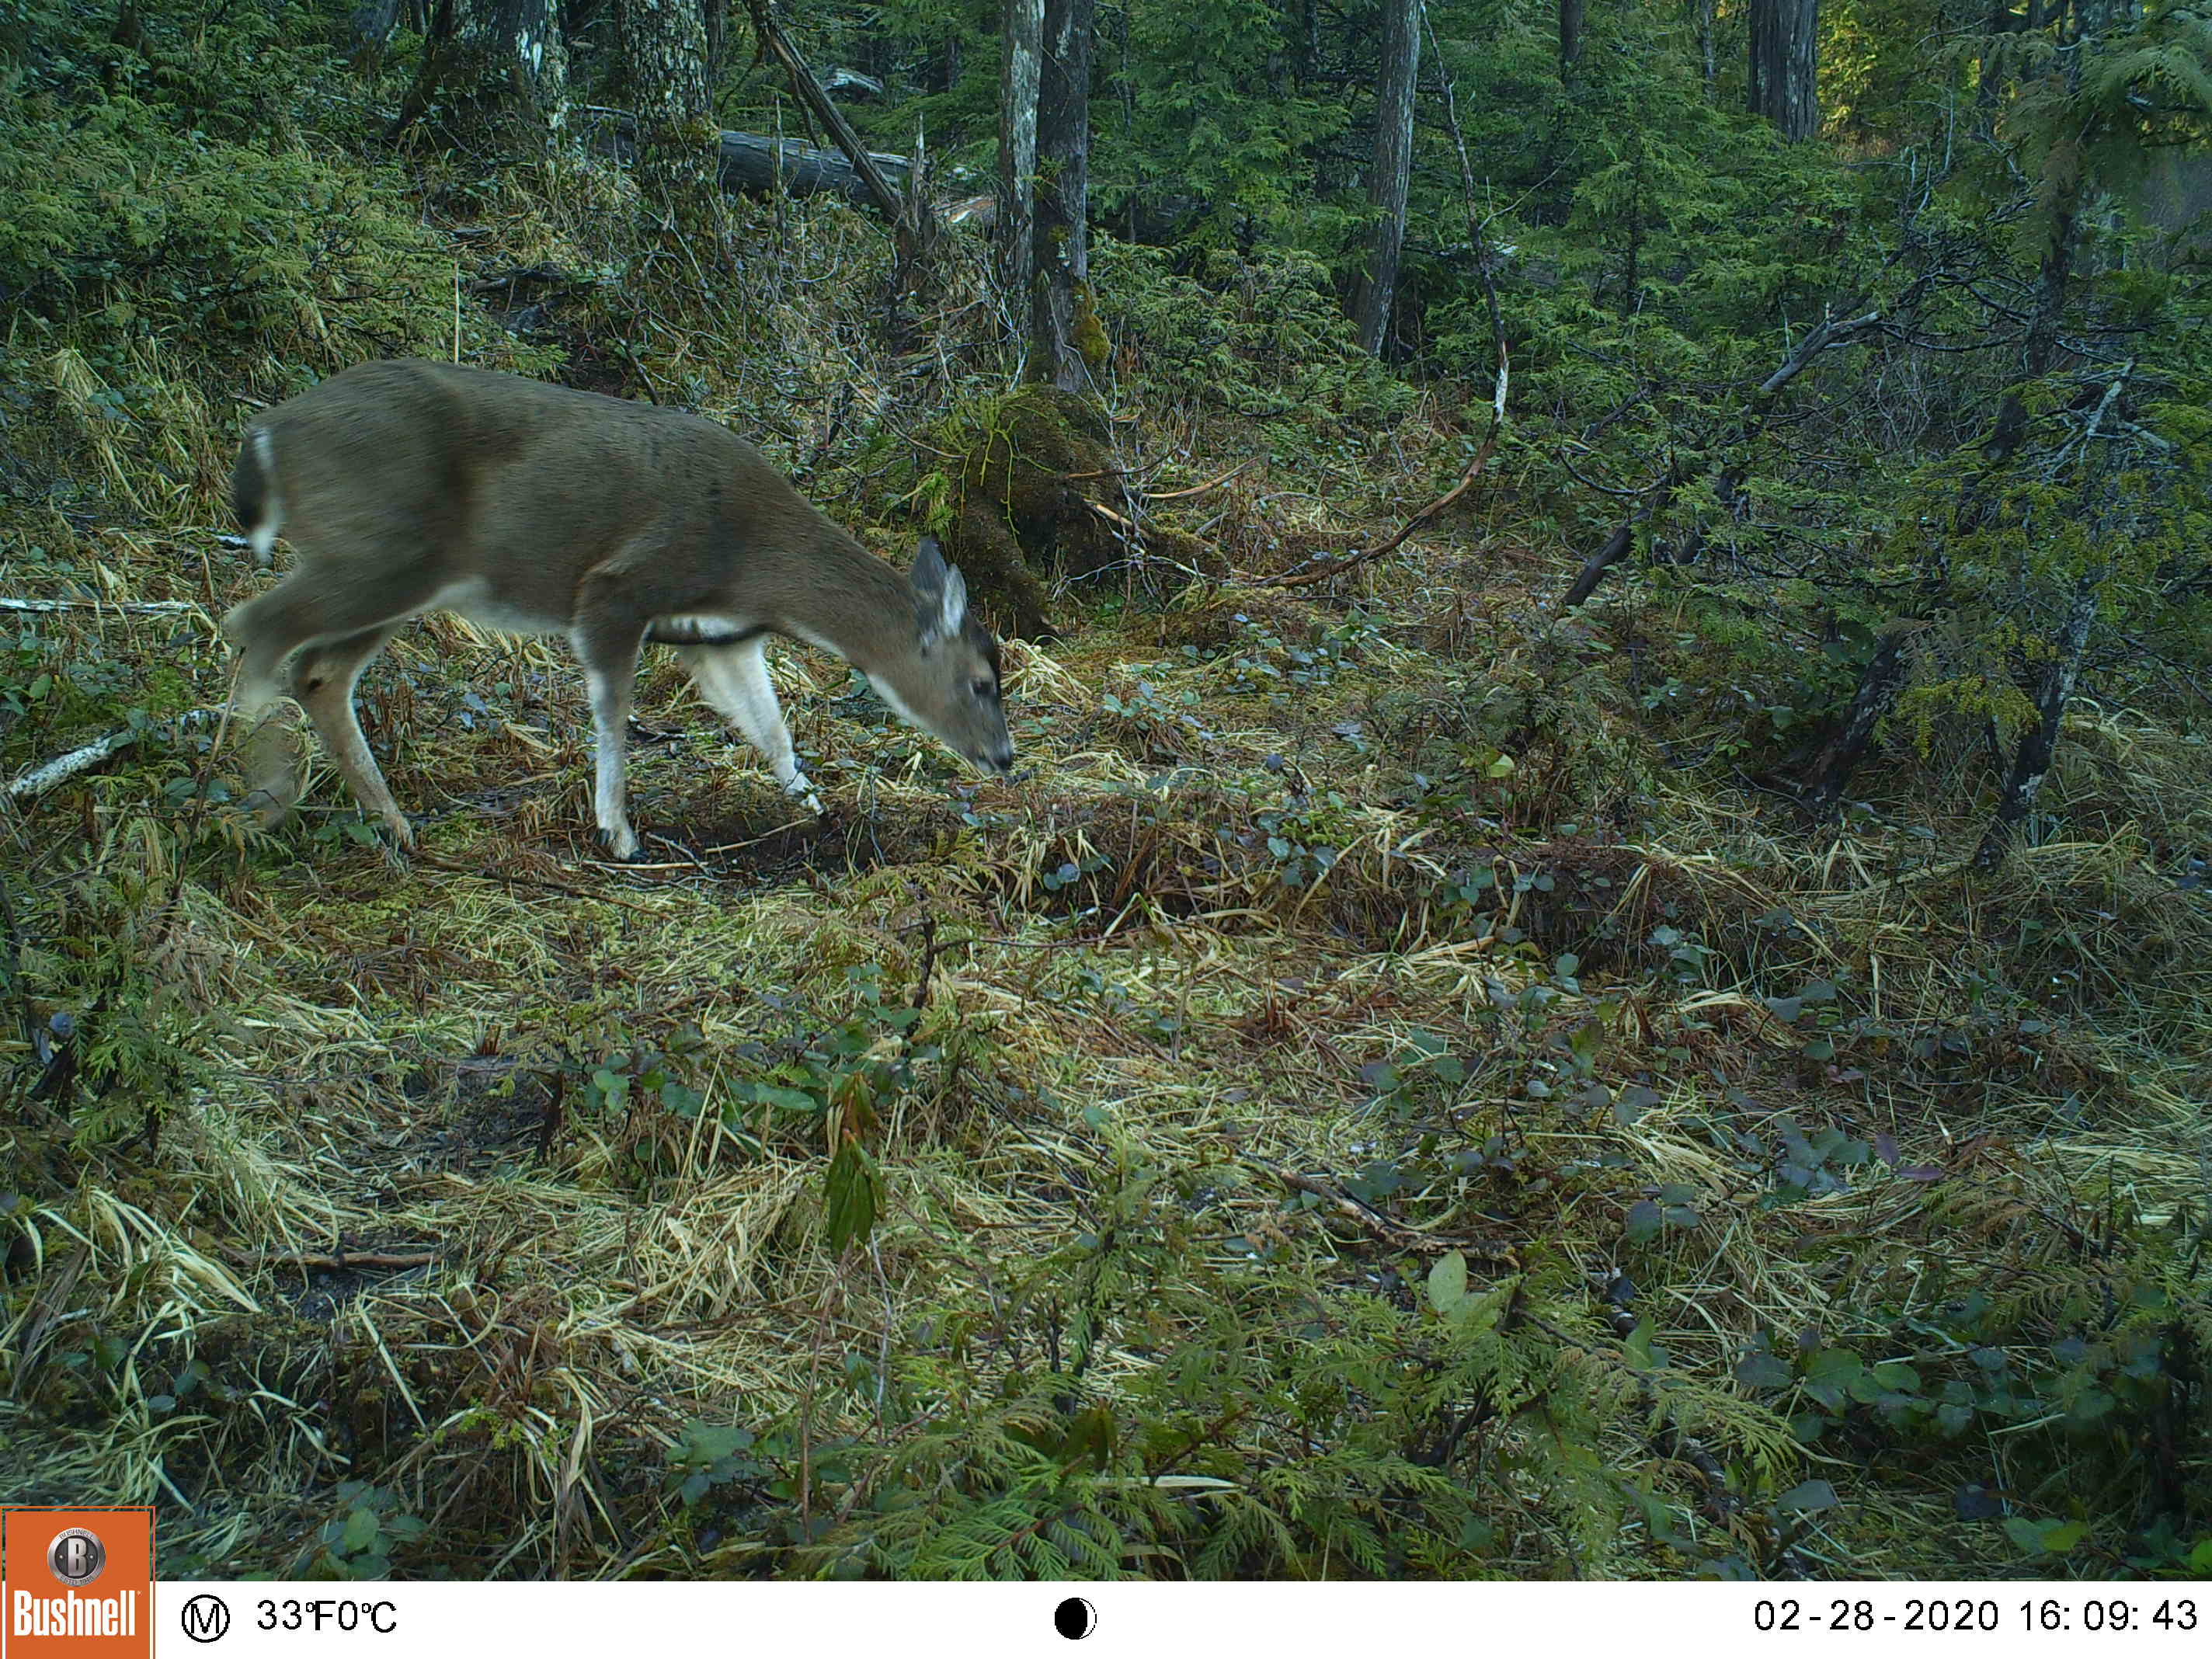


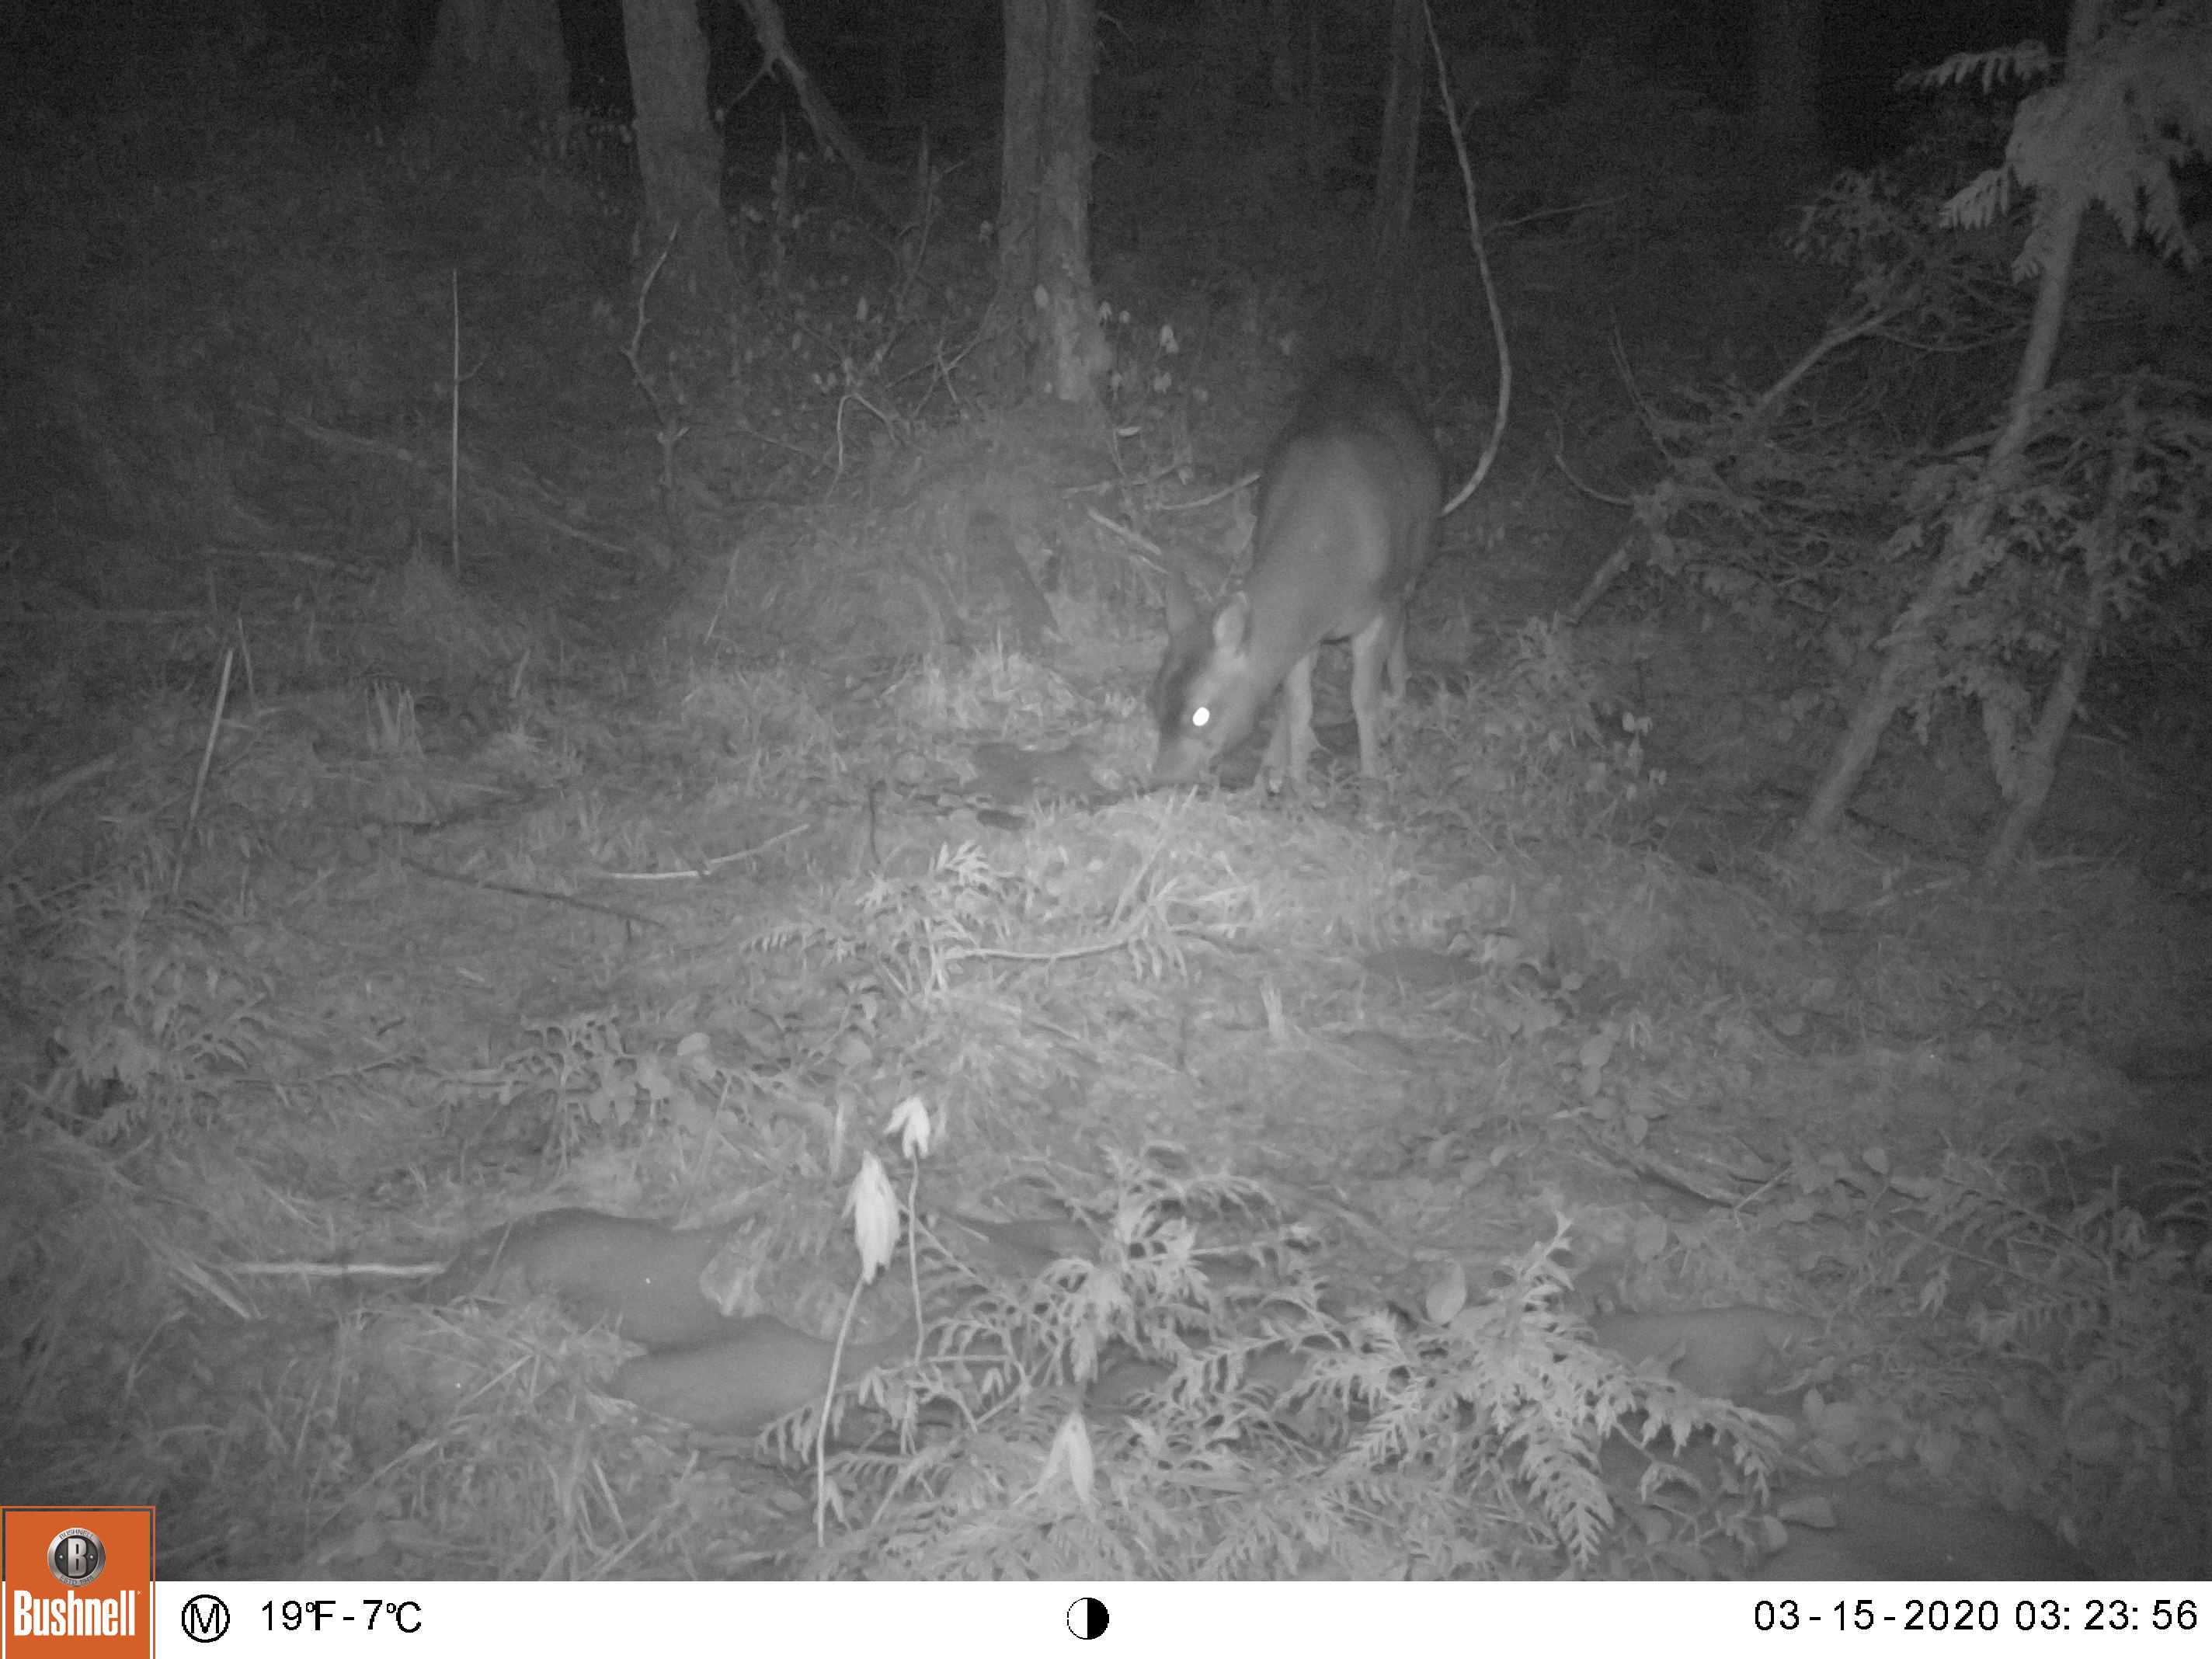


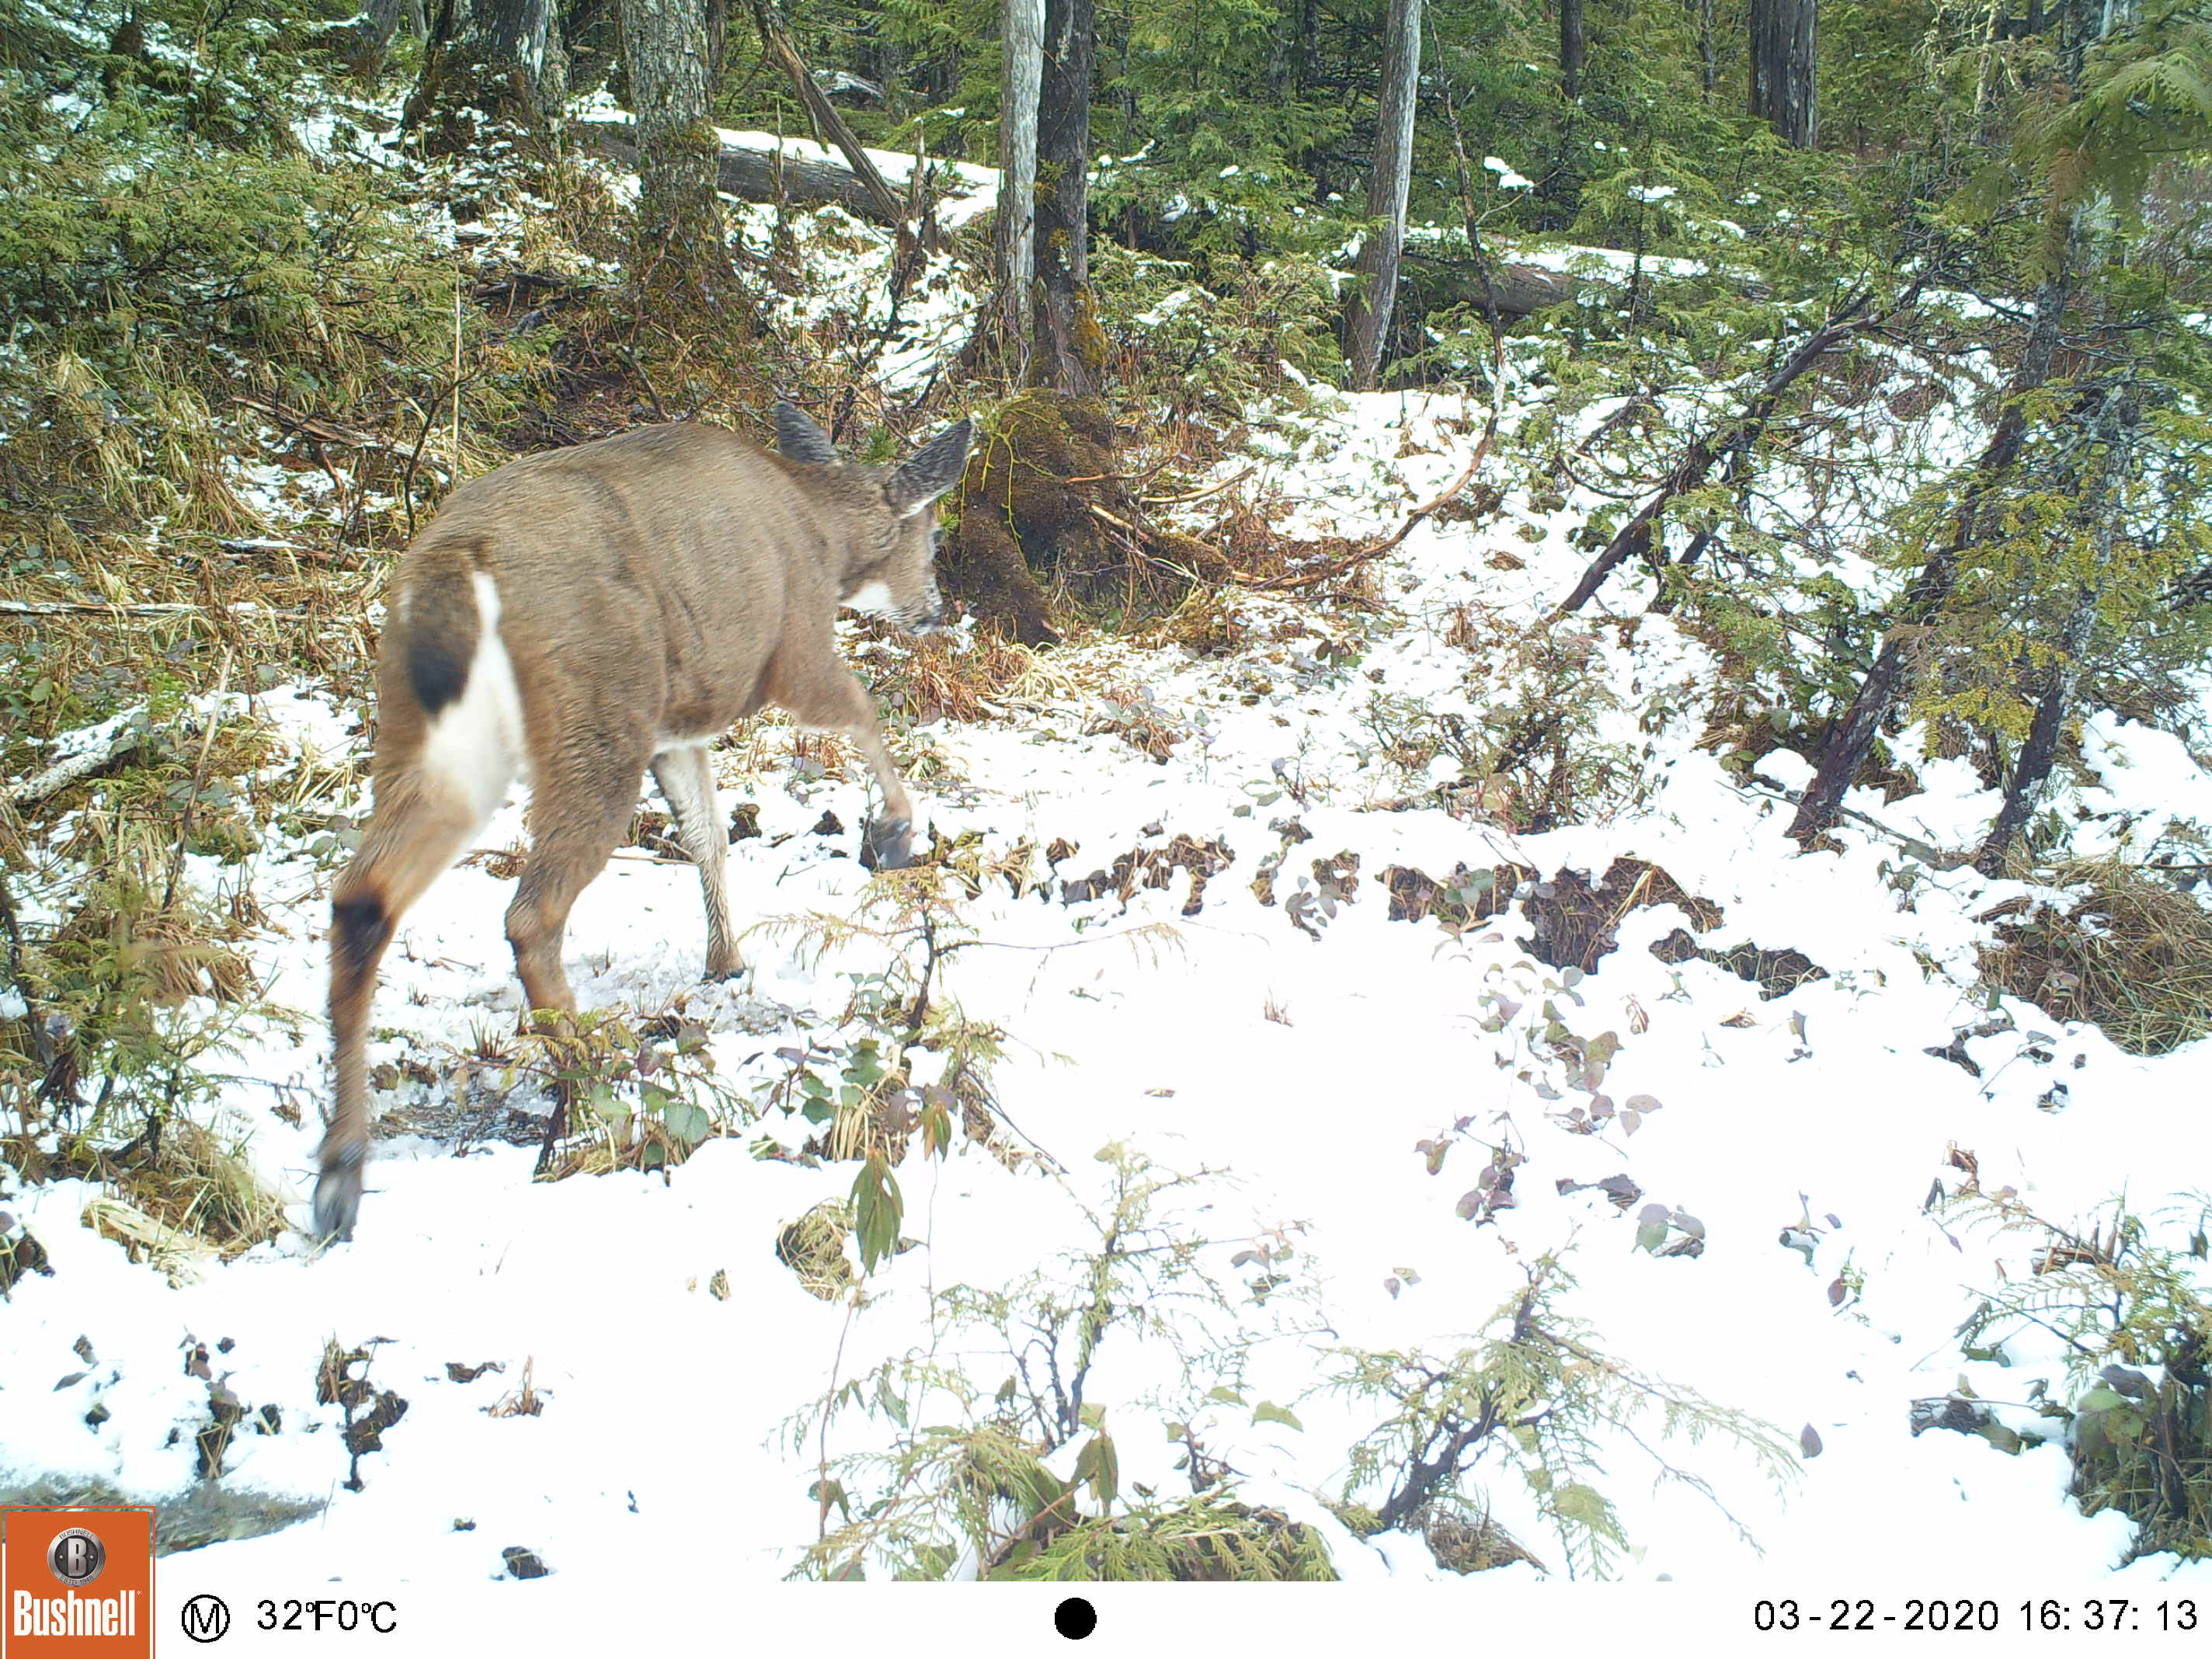
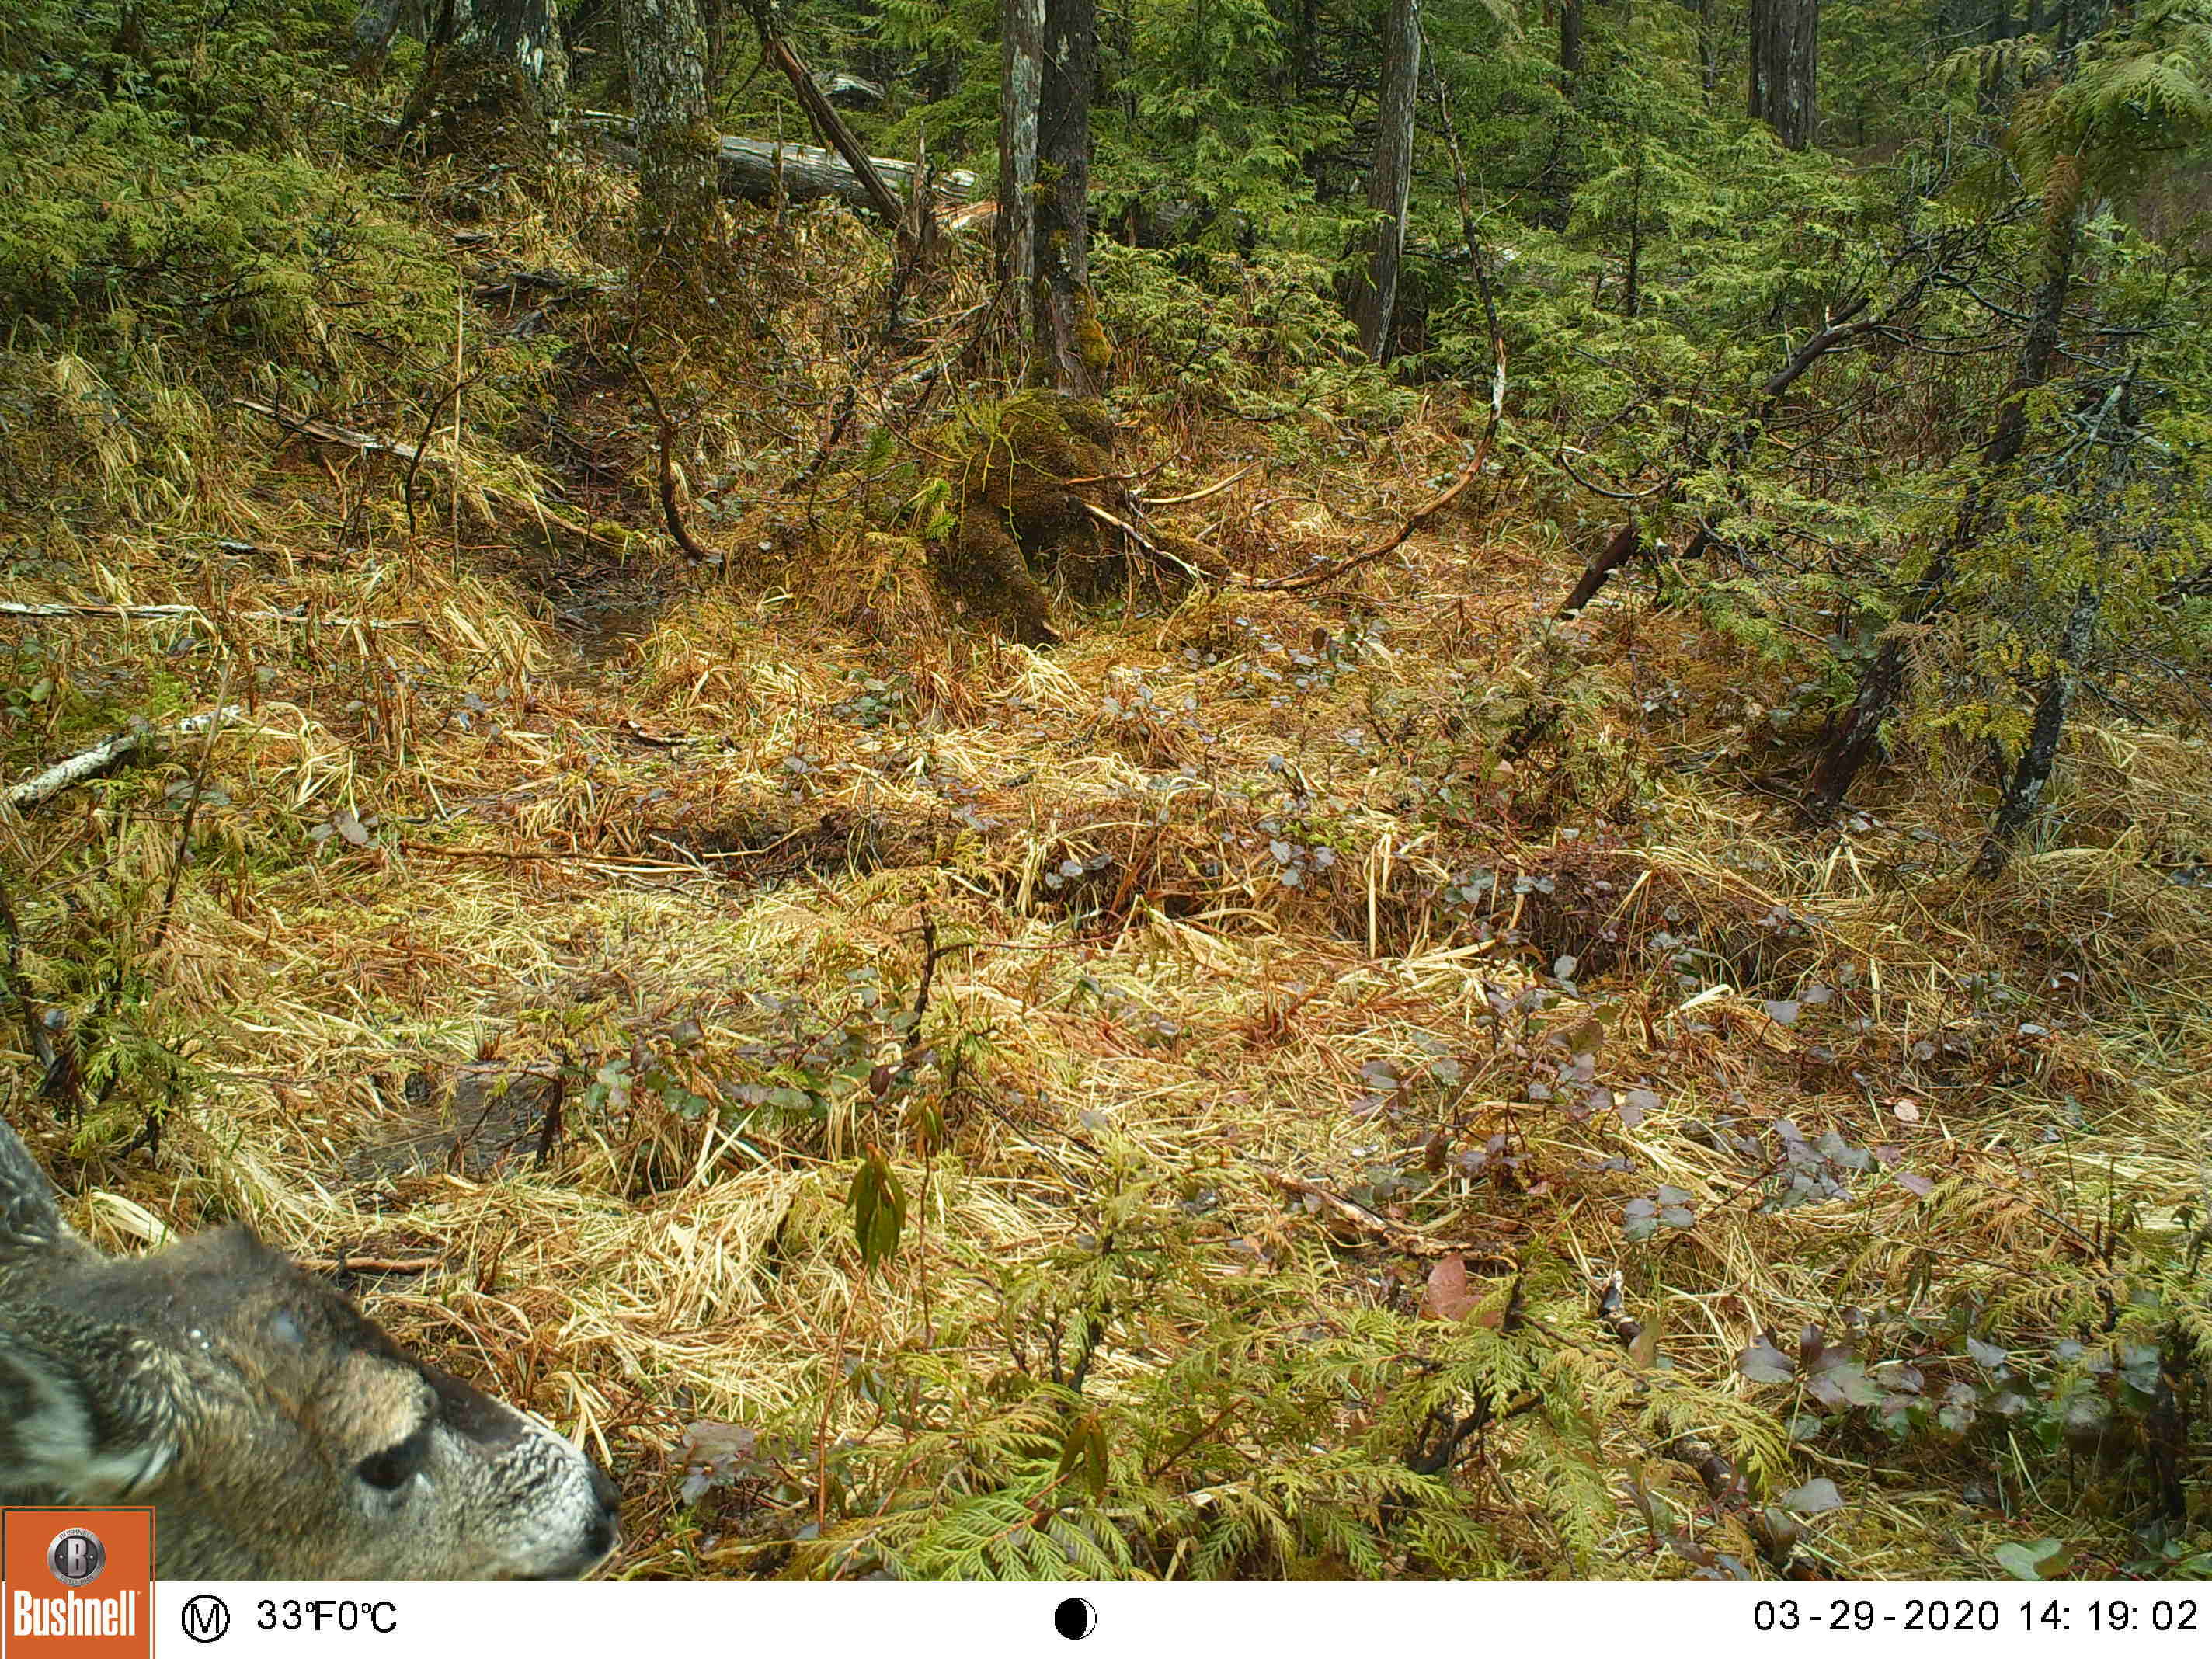


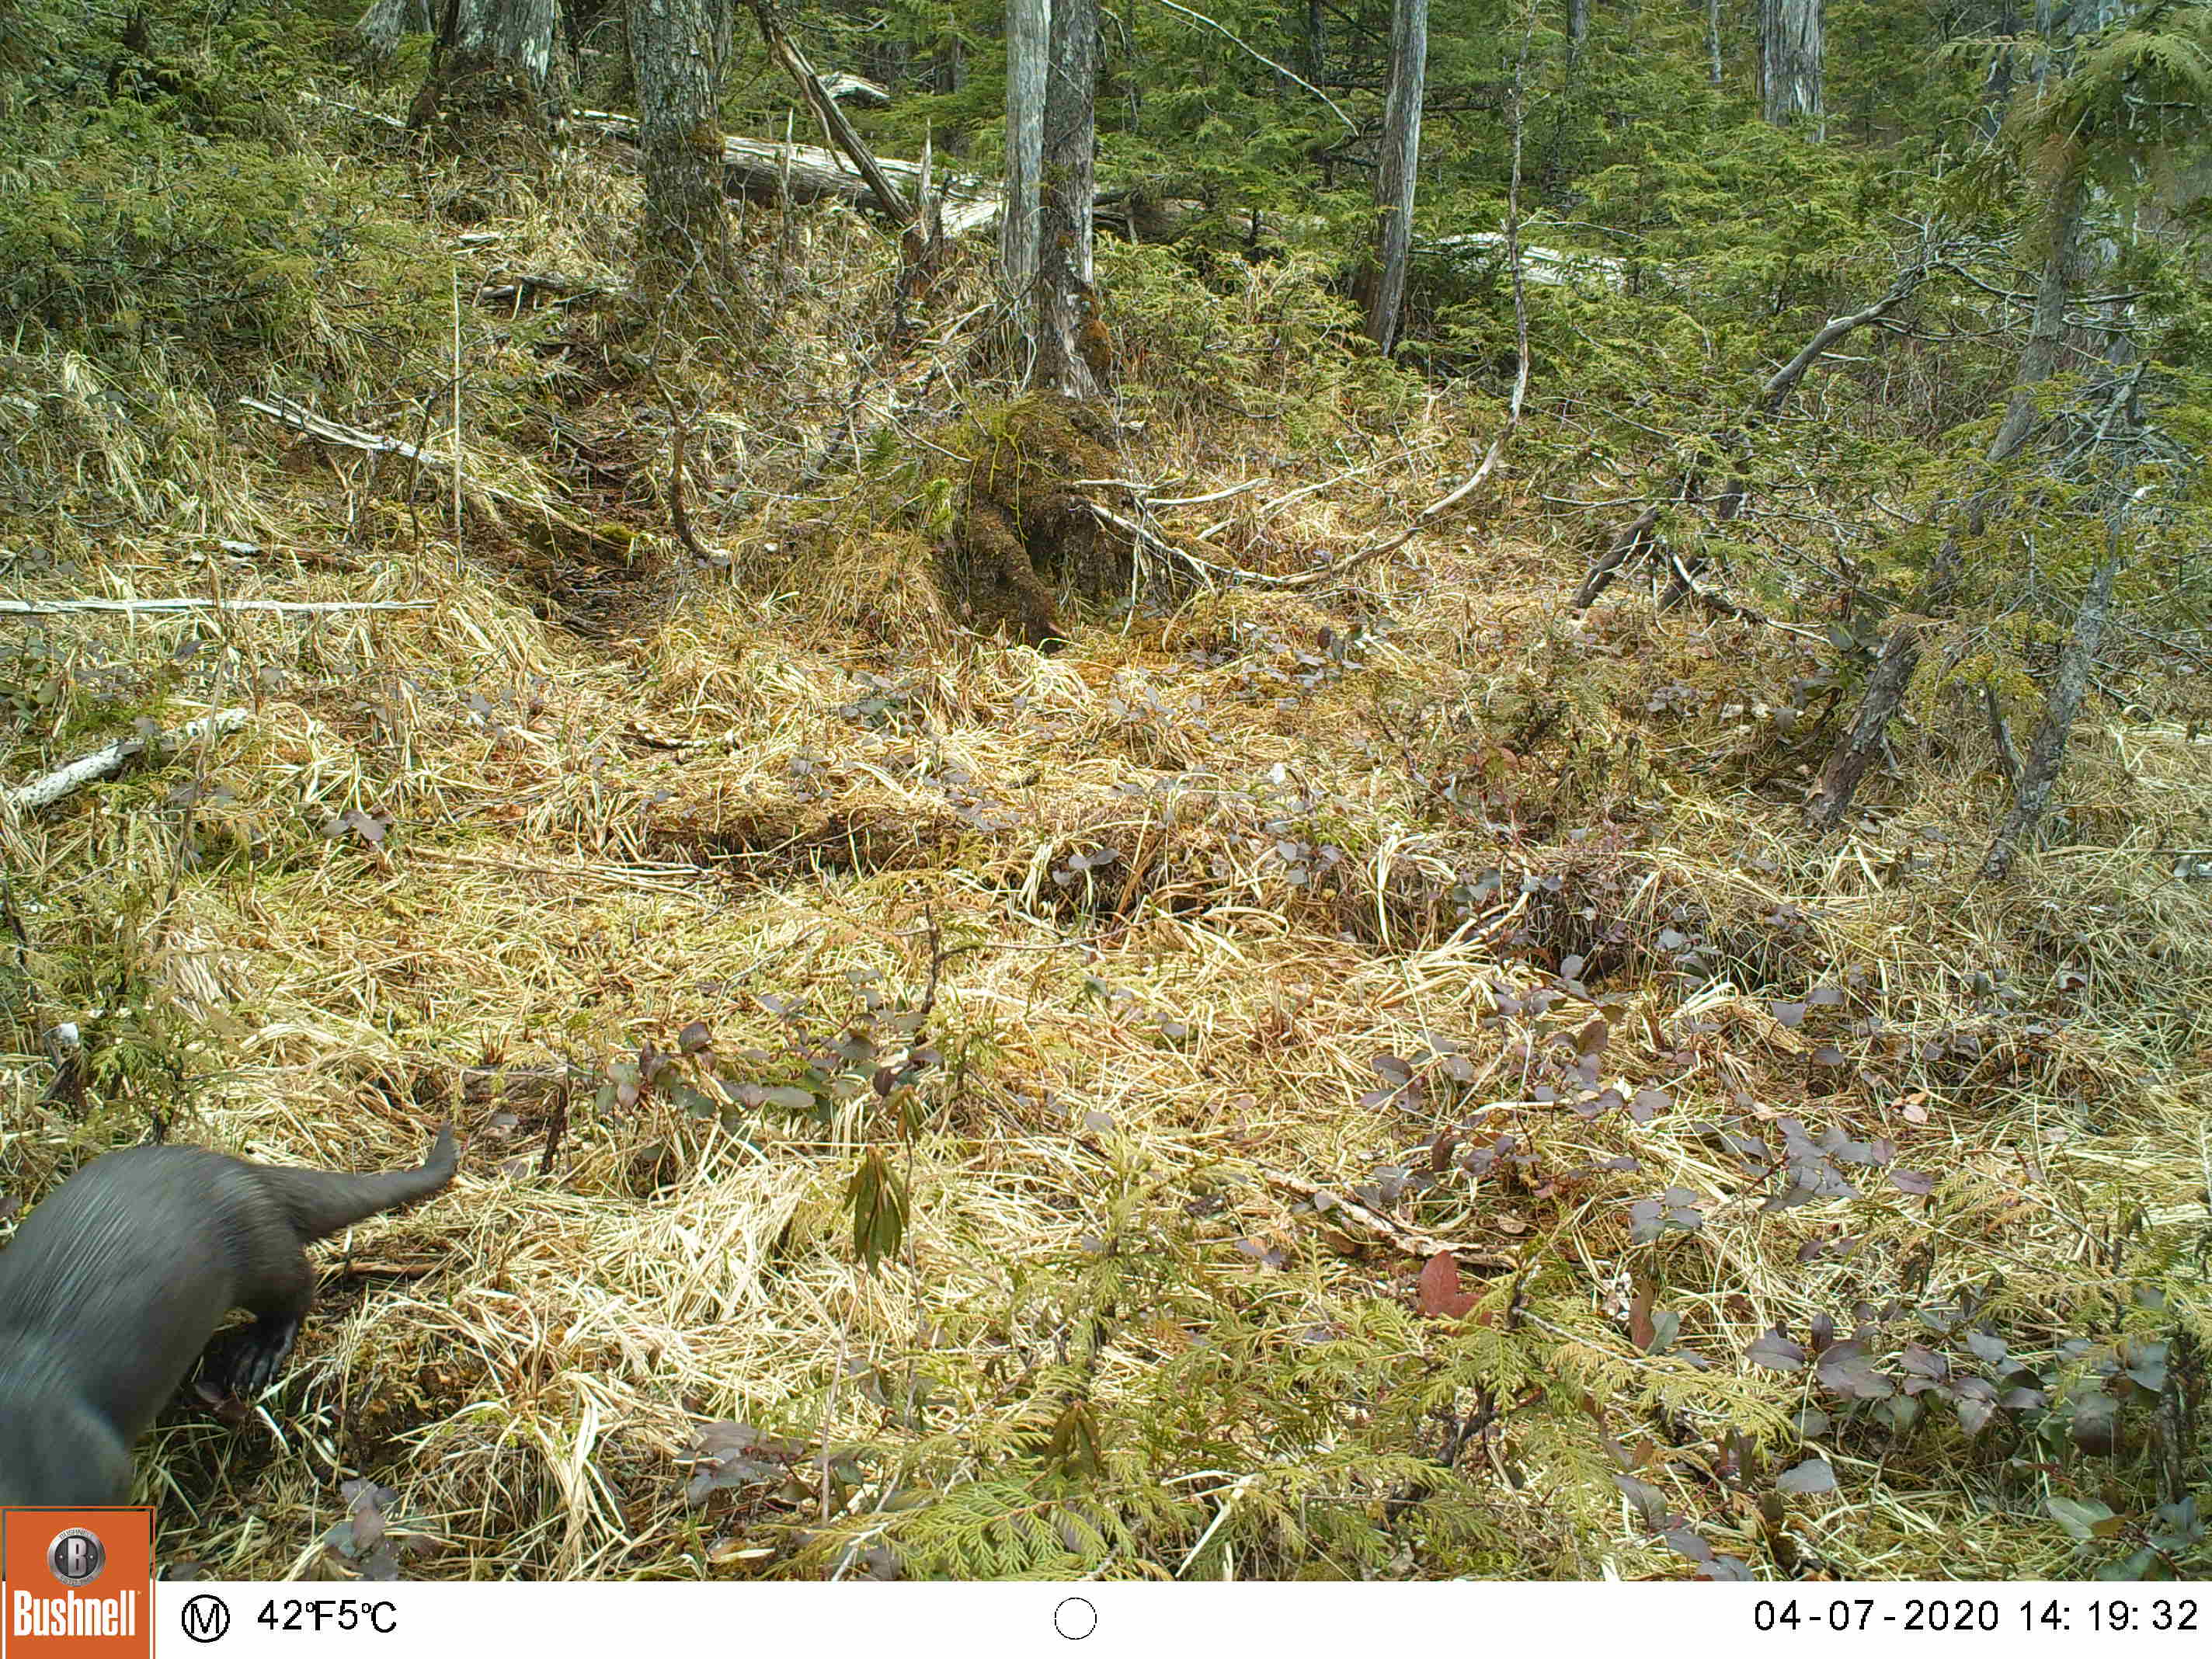


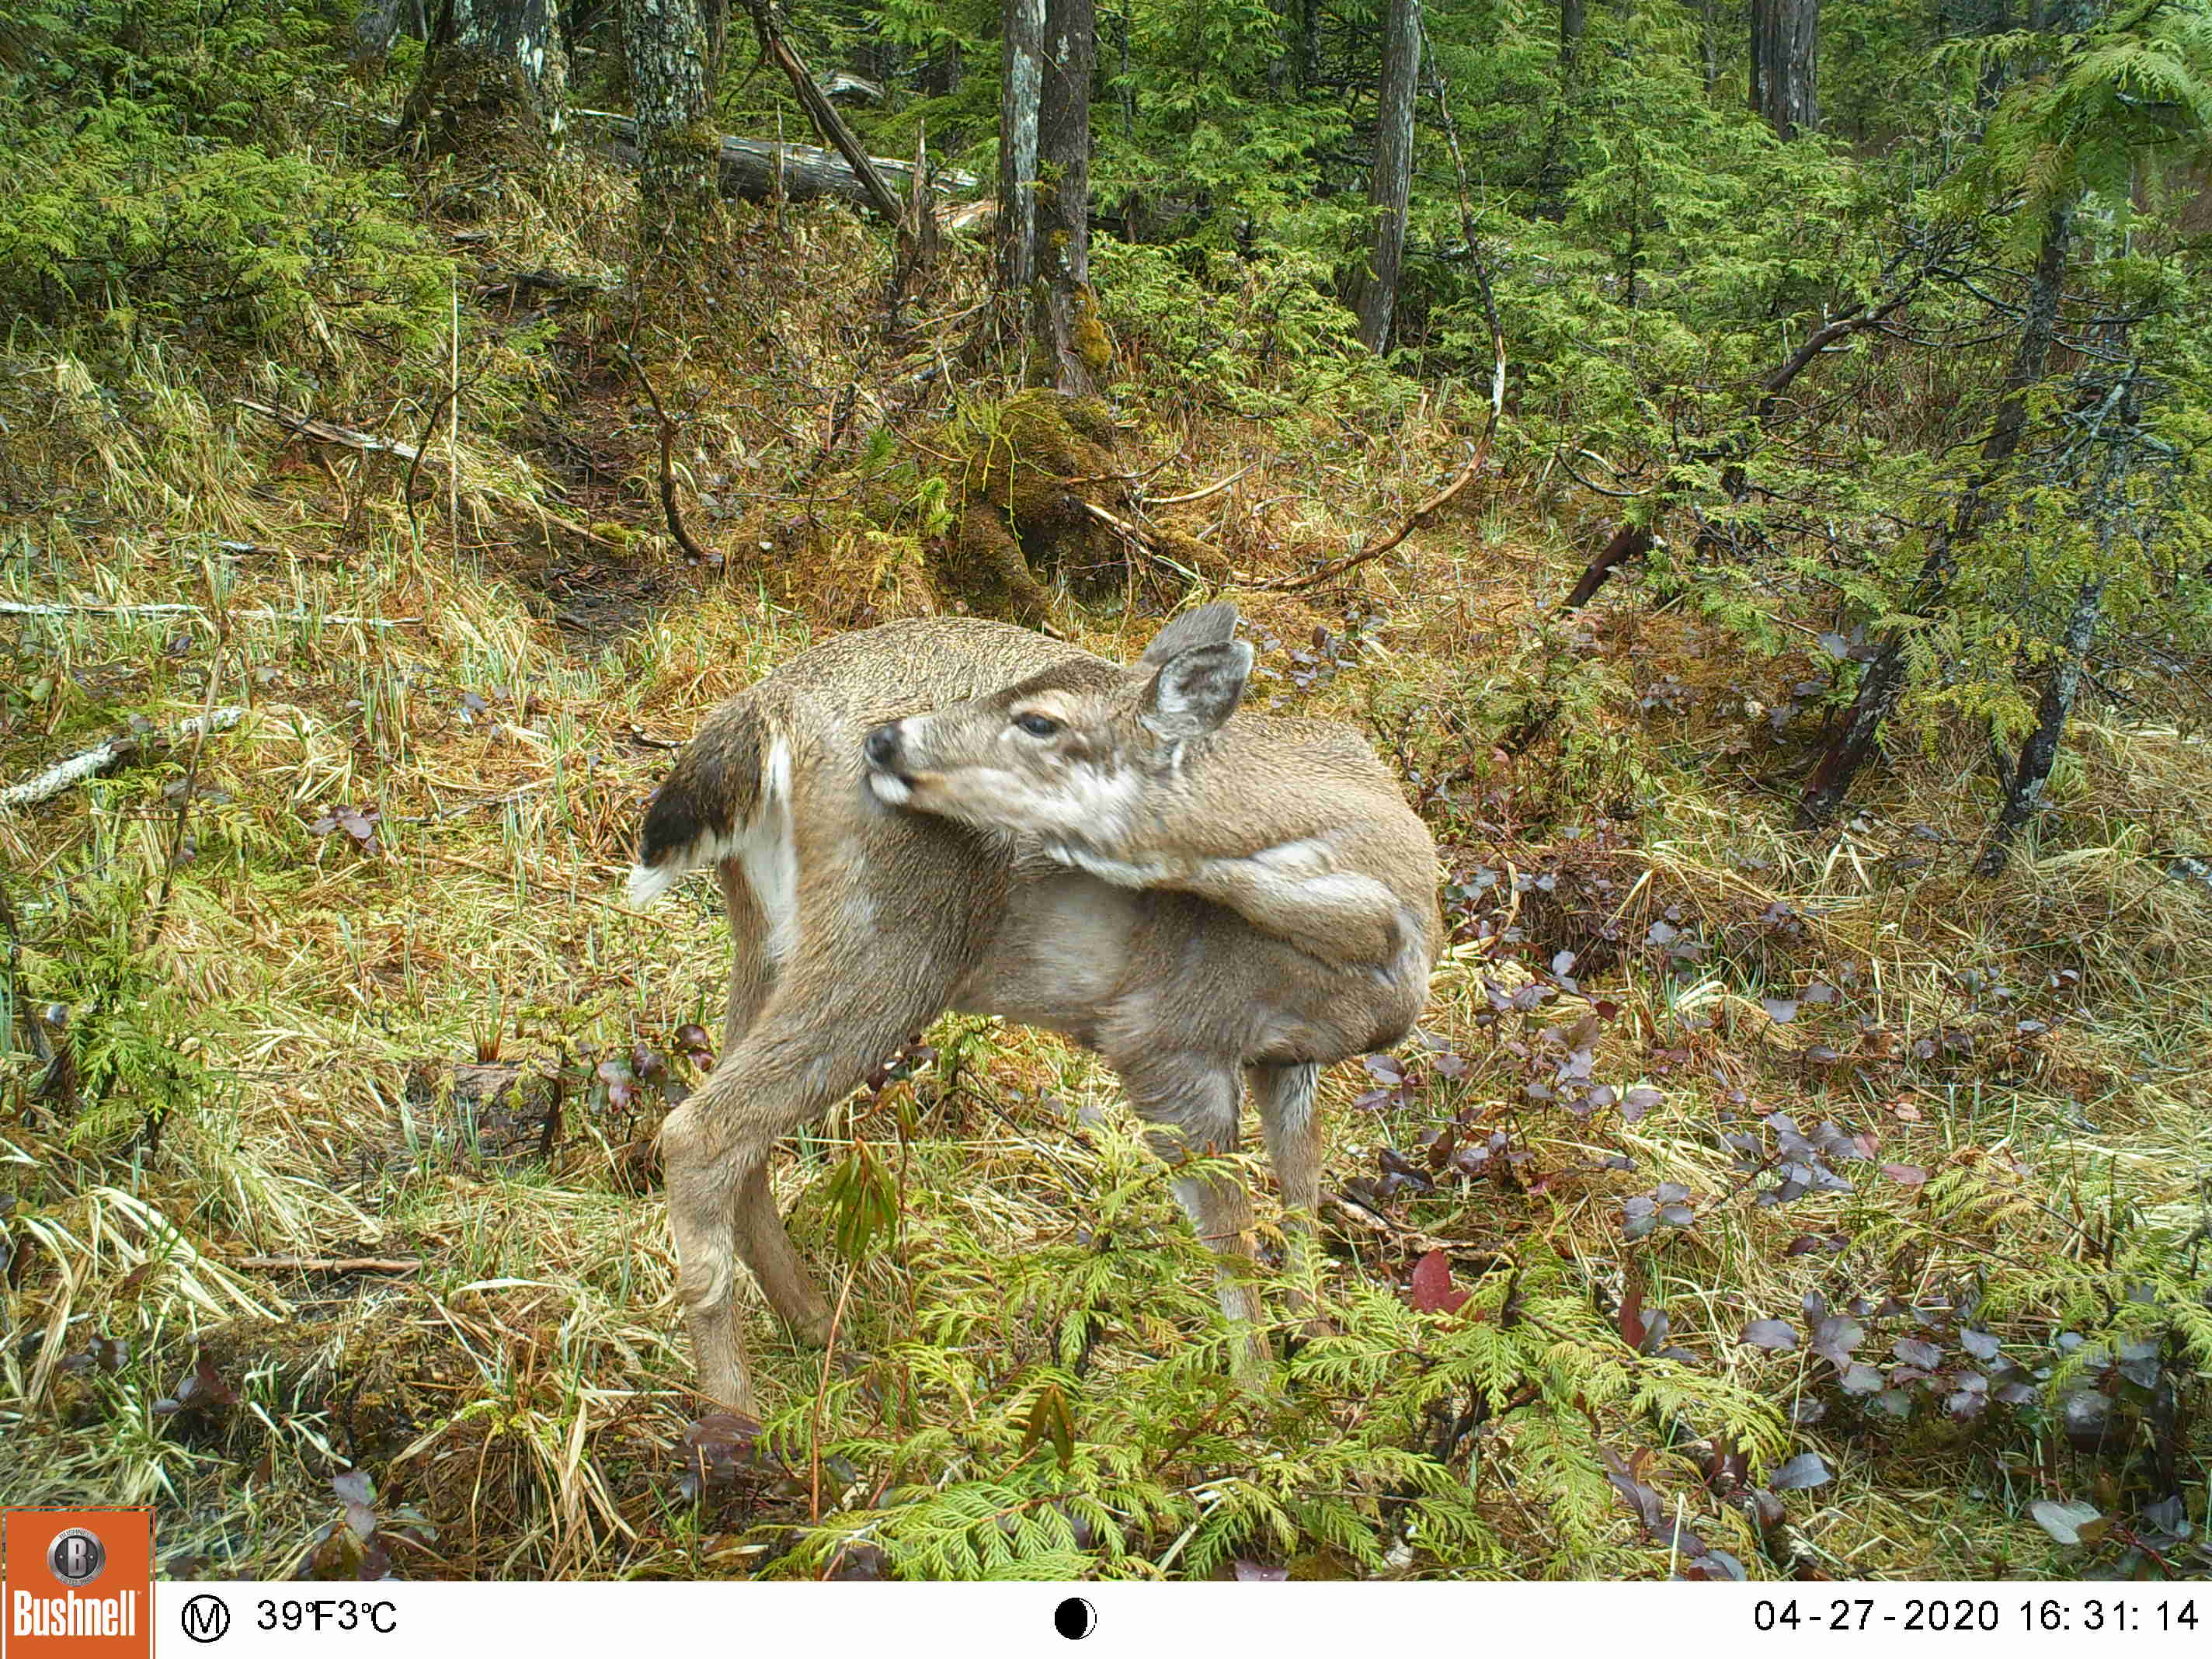
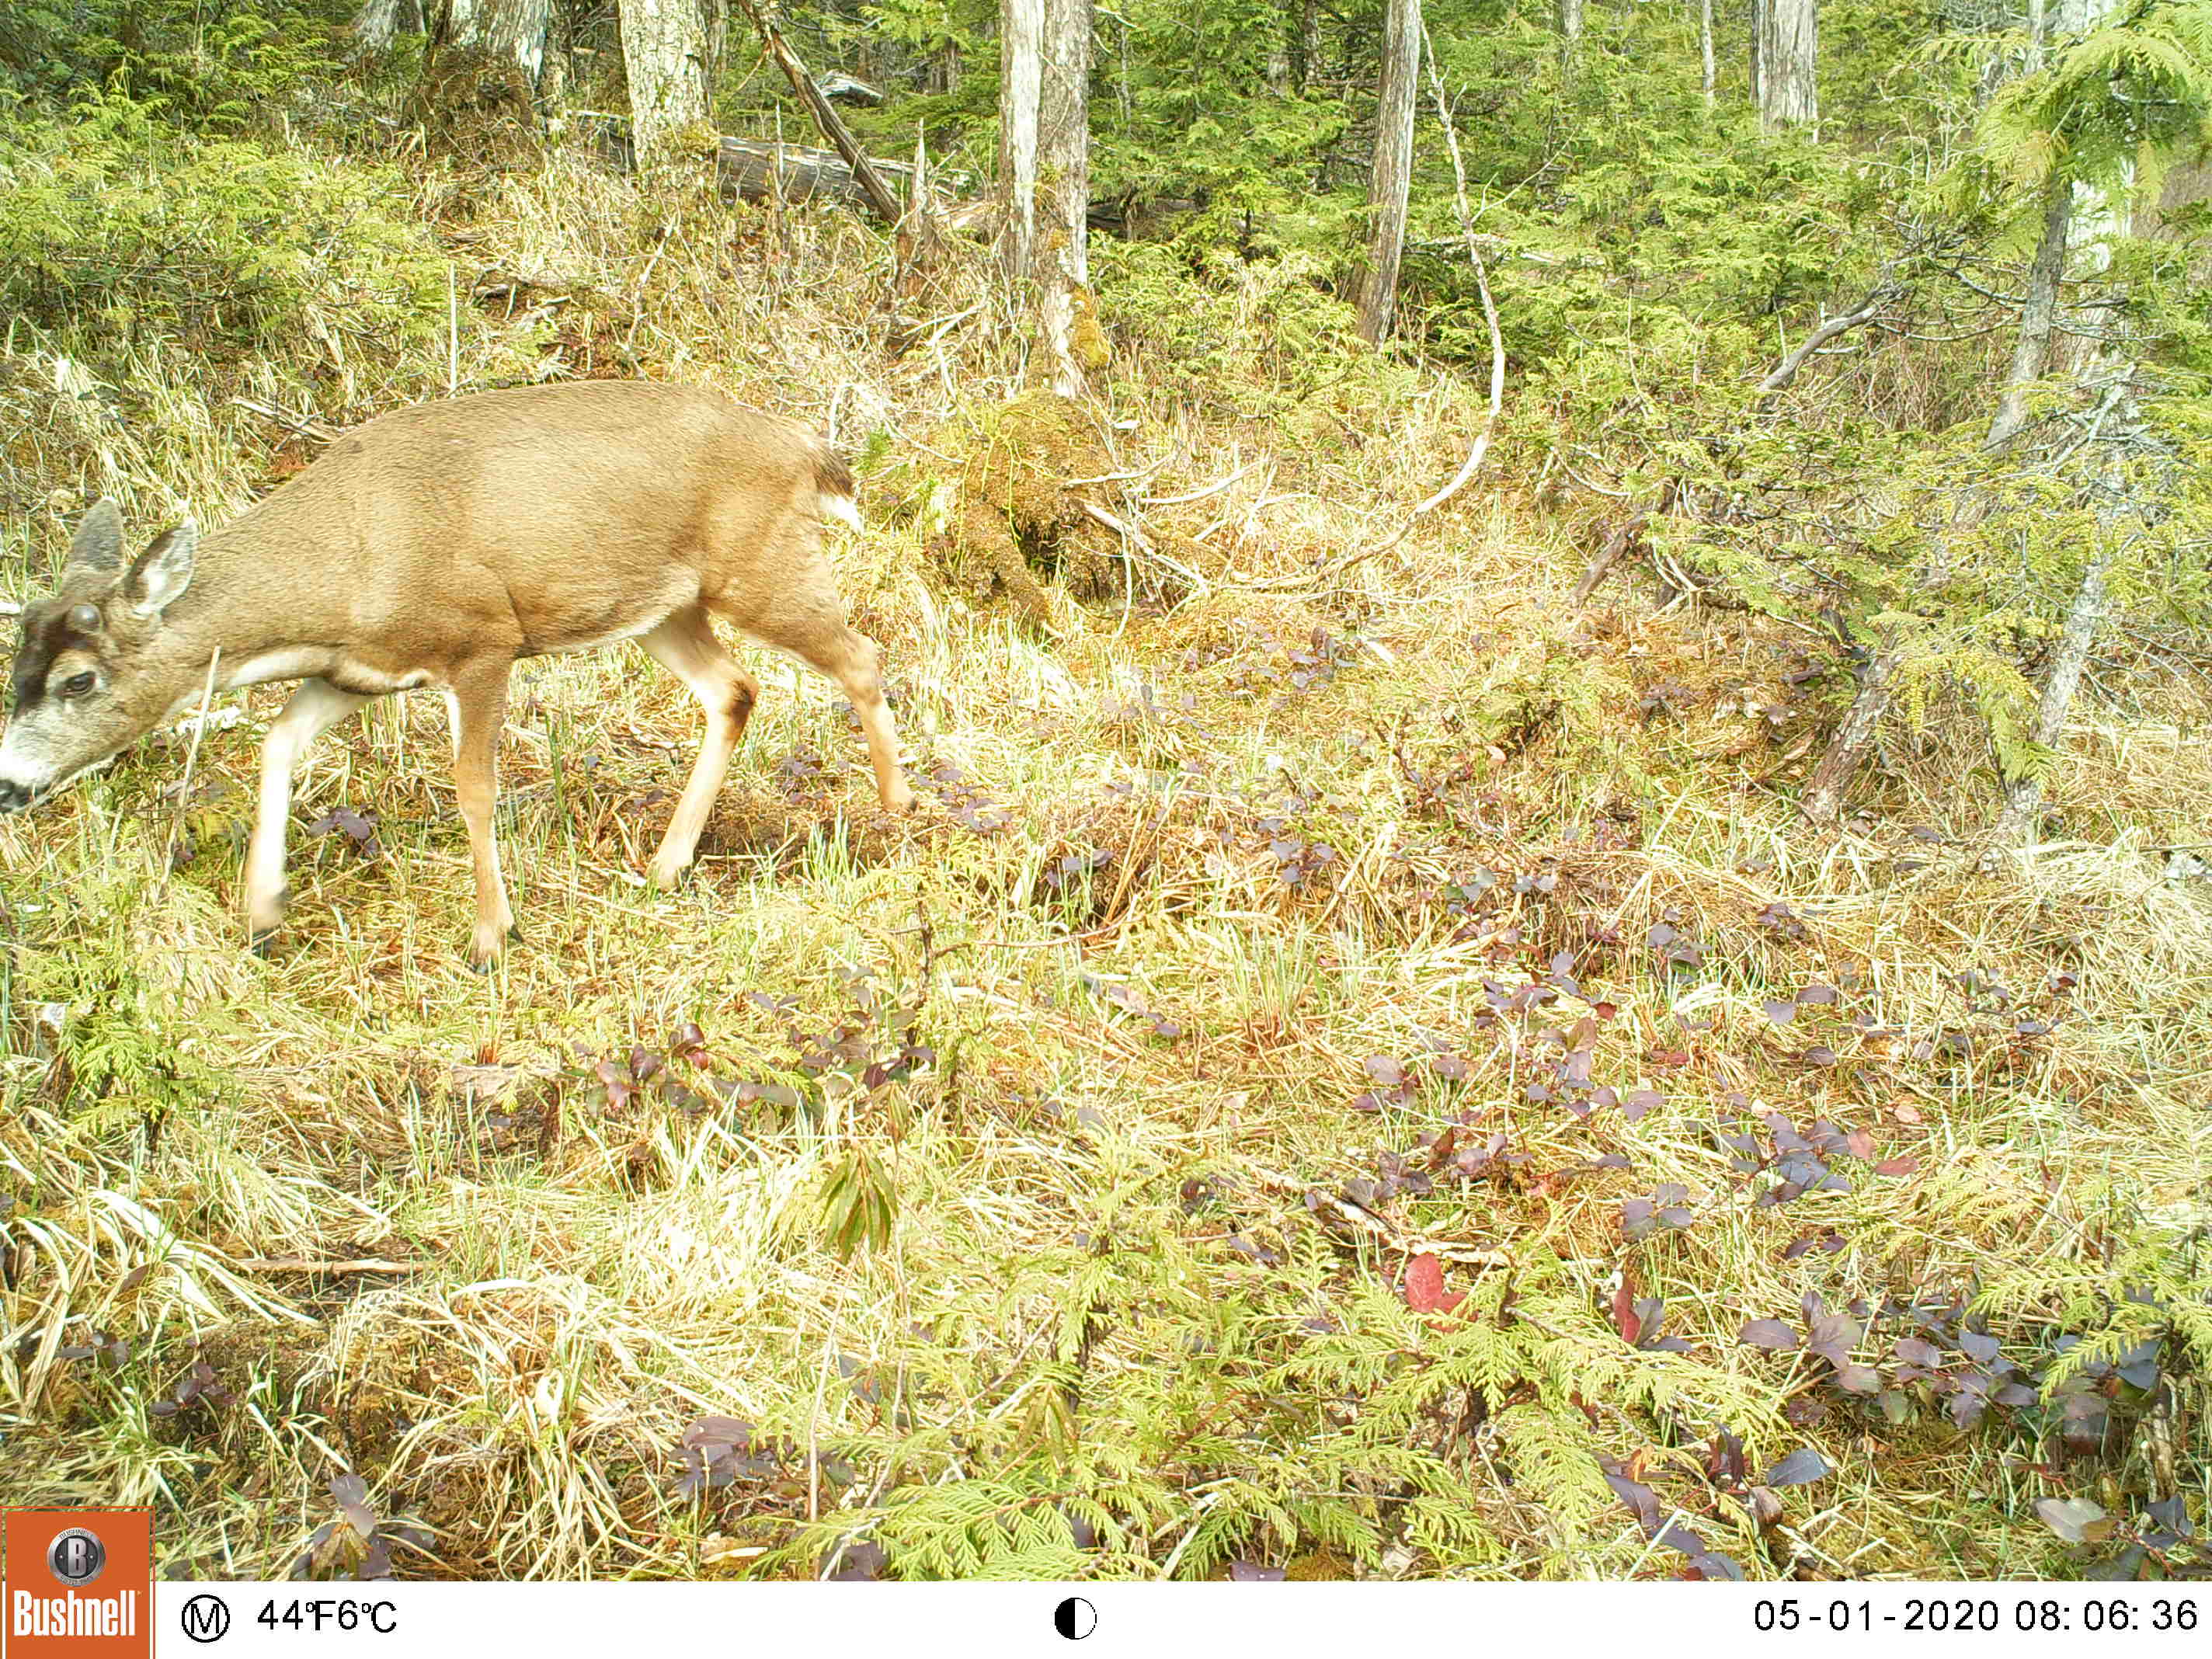
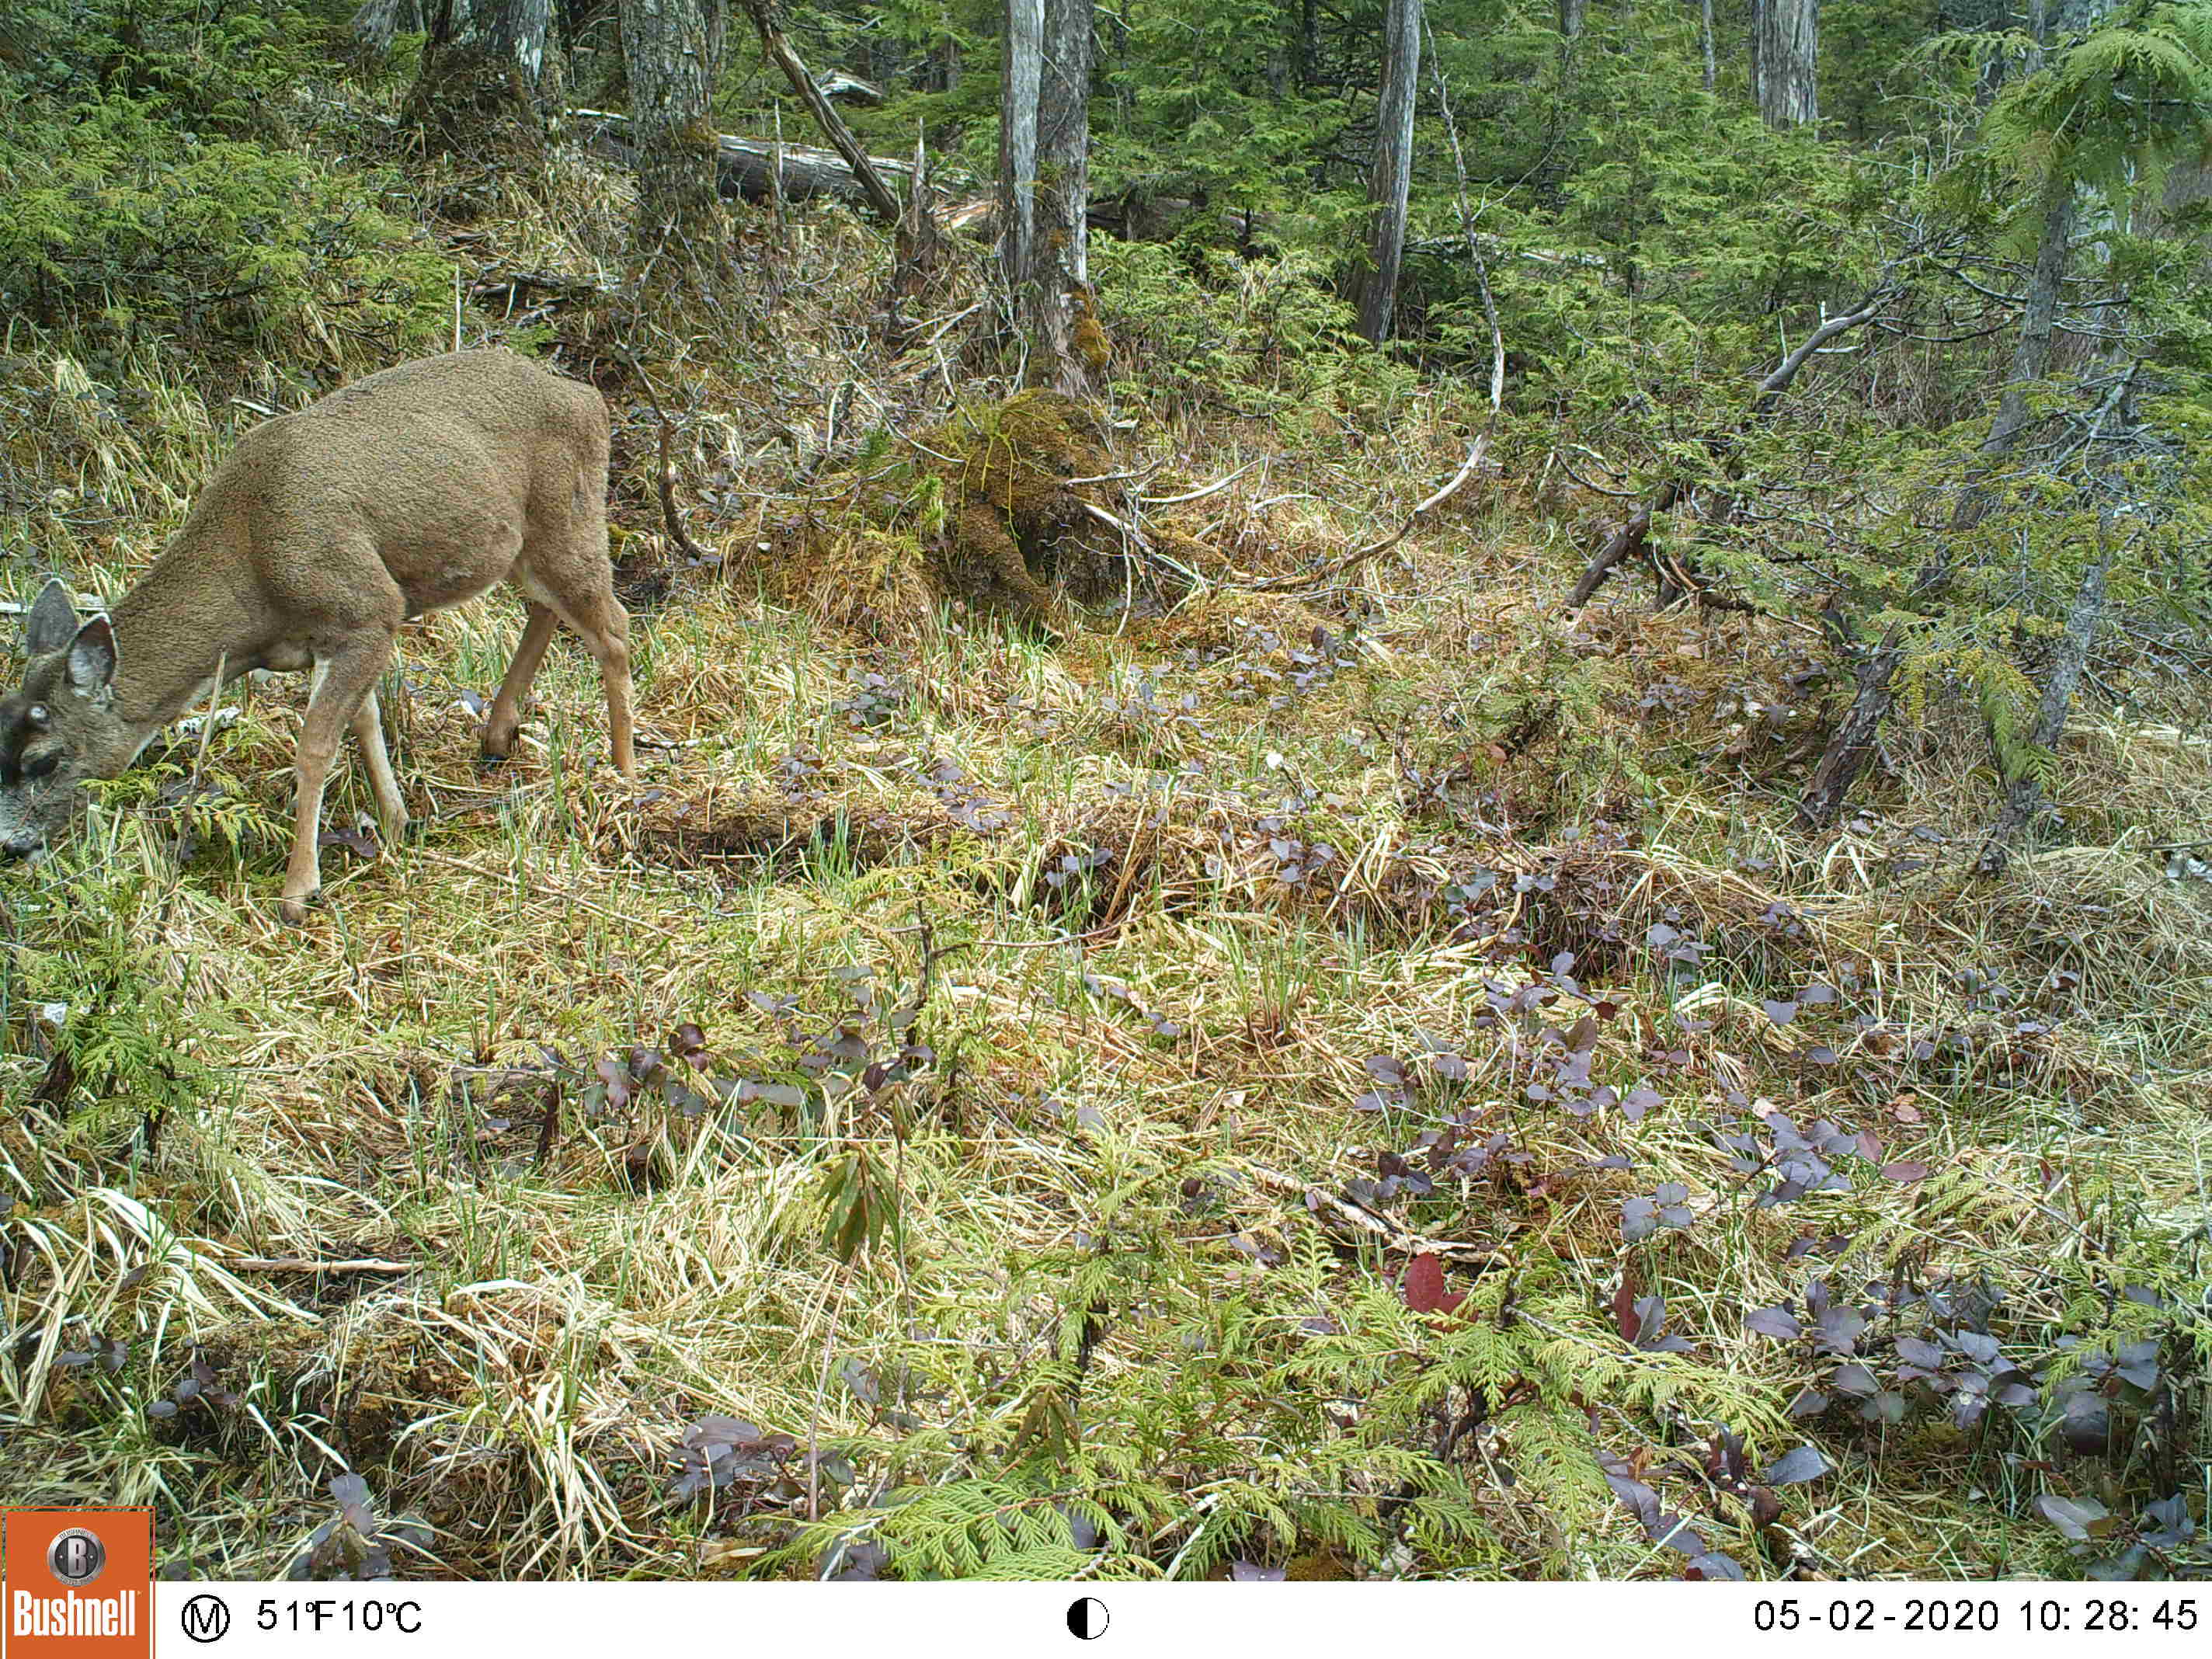


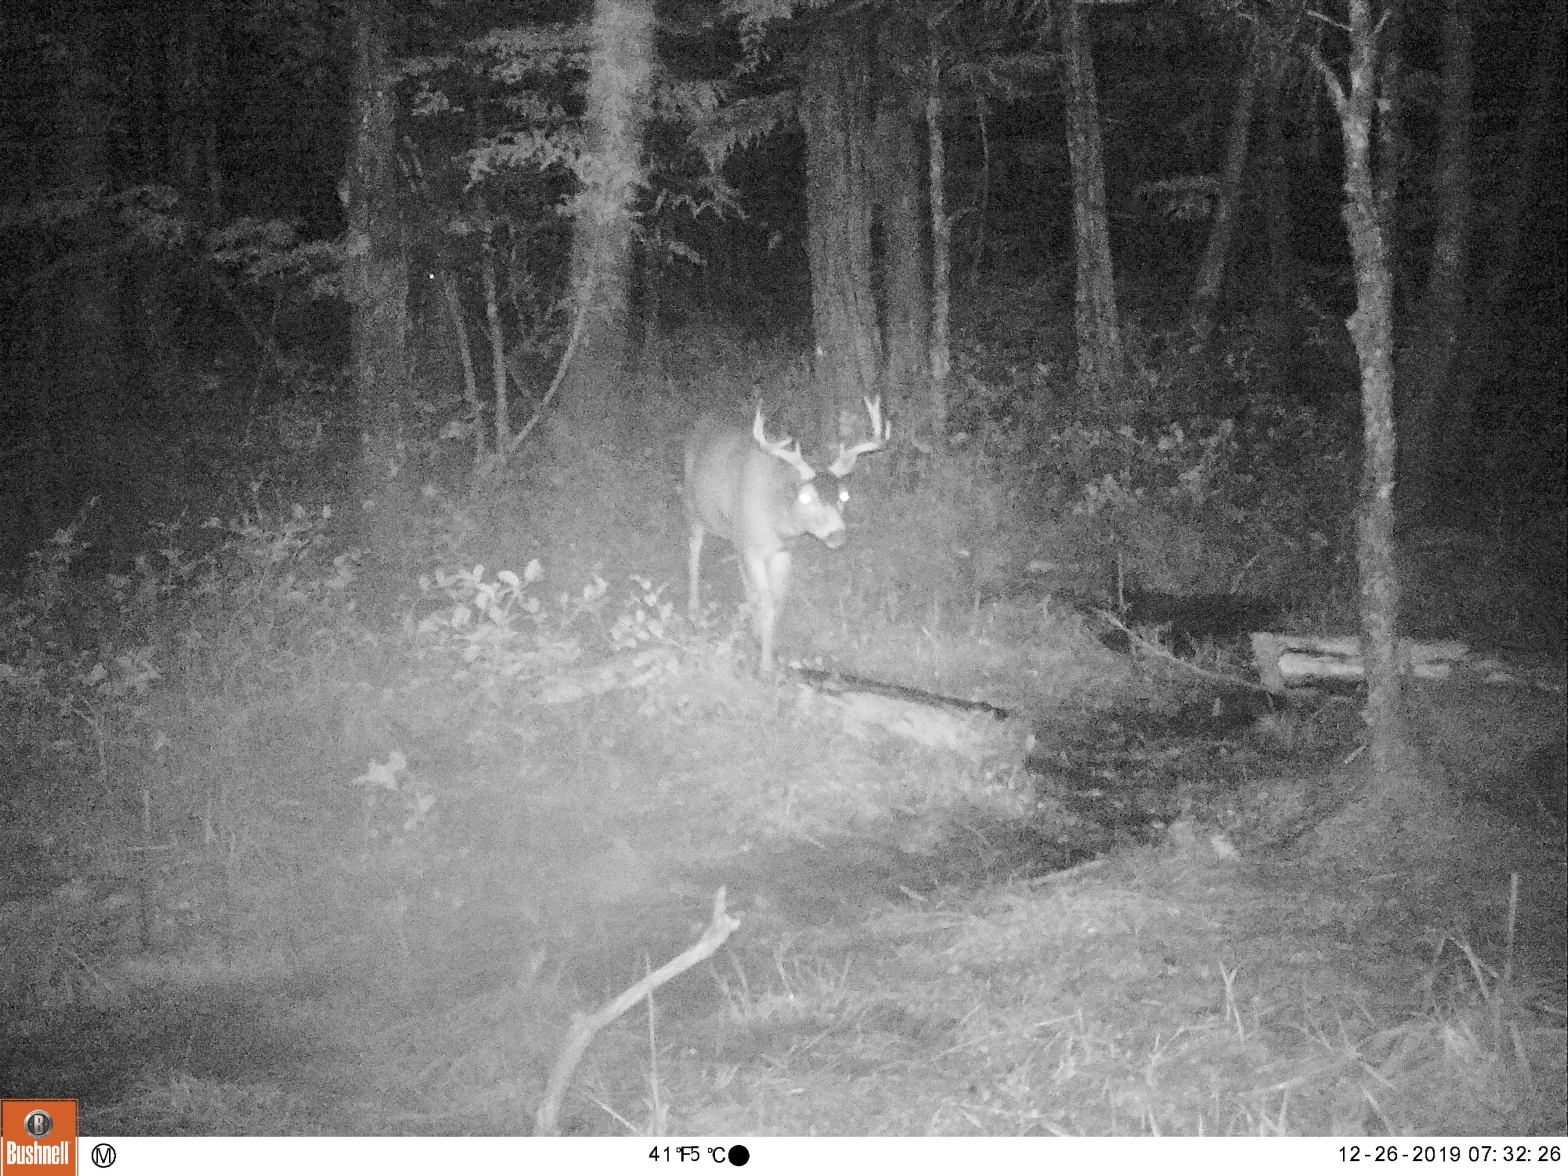
This spot has been really good for a few years, especially for bucks, they really like to scent mark on that low hanging branch.













 Joe's Trailcams